Introduction
Welcome to our guide on how to apply a PSU (Power Supply Unit) to your PC. The PSU plays a crucial role in powering all the components of your computer, making it an important part to consider when building or upgrading your PC.
In this article, we will take you through the process of choosing the right PSU for your needs and guide you step-by-step on how to install it properly. We understand that this may seem like a daunting task, especially for those who are new to the world of PC building, but fear not – we are here to help!
Before we dive into the nitty-gritty details, it’s important to understand the PSU and its significance. The PSU is responsible for converting the alternating current (AC) power from your wall socket into the direct current (DC) power that your computer components need to function. It provides stable and regulated power to your motherboard, CPU, graphics card, and other peripherals.
Choosing the right PSU is crucial to ensure that your PC operates smoothly and efficiently. Factors such as wattage, efficiency, and reliability should be considered when making your selection. We’ll explore these considerations further in the next section.
Whether you’re building a new PC from scratch or upgrading your current setup, installing a new PSU can be a great way to enhance your computer’s performance or replace an old unit that may be causing issues. By following the steps outlined in this guide, you’ll be able to safely install your new PSU and get your PC up and running in no time.
So, without further ado, let’s get started on the journey to applying a PSU to your PC!
Understanding the PSU
Before we proceed with the installation process, it is essential to have a clear understanding of the PSU and its components. The PSU is a critical component of your computer’s power system, and being familiar with its key features will help you make informed decisions when selecting or troubleshooting your PSU.
The primary function of a PSU is to provide power to all the components in your PC. When choosing a PSU, you need to consider its wattage, efficiency, and form factor. The wattage determines how much power the PSU can deliver to your components. It is crucial to ensure that the PSU has enough wattage to handle the power requirements of your system. Insufficient wattage can cause stability issues, while excessive wattage can be a waste of money.
Efficiency is another crucial aspect to consider. An efficient PSU converts AC power from the wall socket to DC power with minimal energy loss. Look for PSUs with high efficiency ratings, such as 80 Plus Bronze, Silver, Gold, or Platinum certified units. These certifications indicate that the PSU meets specific efficiency standards and will save you money on electricity bills in the long run.
The form factor of a PSU refers to its physical size and shape. Common form factors include ATX, SFX, and TFX. Ensure that the PSU you choose matches the form factor supported by your computer case. It’s also worth noting that some high-performance components, such as high-end graphics cards, require additional power connectors. Make sure your chosen PSU has enough connectors to accommodate your specific setup.
Another essential consideration is the PSU’s modular or non-modular design. Modular PSUs allow you to detach unnecessary cables, resulting in a cleaner and more organized build. On the other hand, non-modular PSUs come with fixed cables, which may lead to cable clutter inside your case. Choose the design that best suits your preferences and cable management goals.
Additionally, it is important to note that PSUs have various safety features, such as overvoltage protection (OVP), undervoltage protection (UVP), overcurrent protection (OCP), and short-circuit protection (SCP). These safety mechanisms safeguard your components from potential damage due to power surges or other electrical issues.
Understanding these key aspects of the PSU will empower you to make an informed decision when selecting a new PSU for your PC. It will also help you troubleshoot any power-related issues that may arise in the future. Now that we have a solid grasp of the PSU’s basics, let’s move on to the next step: choosing the right PSU for your system.
Step 1: Choosing the Right PSU
Choosing the right PSU for your computer is crucial to ensure optimal performance and stability. Here are some factors to consider when selecting a PSU:
1. Wattage: Determine the power requirements of your components and choose a PSU with sufficient wattage. A general rule of thumb is to have a PSU that provides around 20% more power than your system’s estimated peak usage.
2. Efficiency: Look for PSUs with high-efficiency ratings, such as 80 Plus Bronze, Silver, Gold, or Platinum certified units. These PSUs convert power more efficiently, resulting in lower energy consumption and reduced heat output.
3. Form Factor: Ensure that the PSU you choose matches the form factor supported by your computer case. Common form factors include ATX, SFX, and TFX.
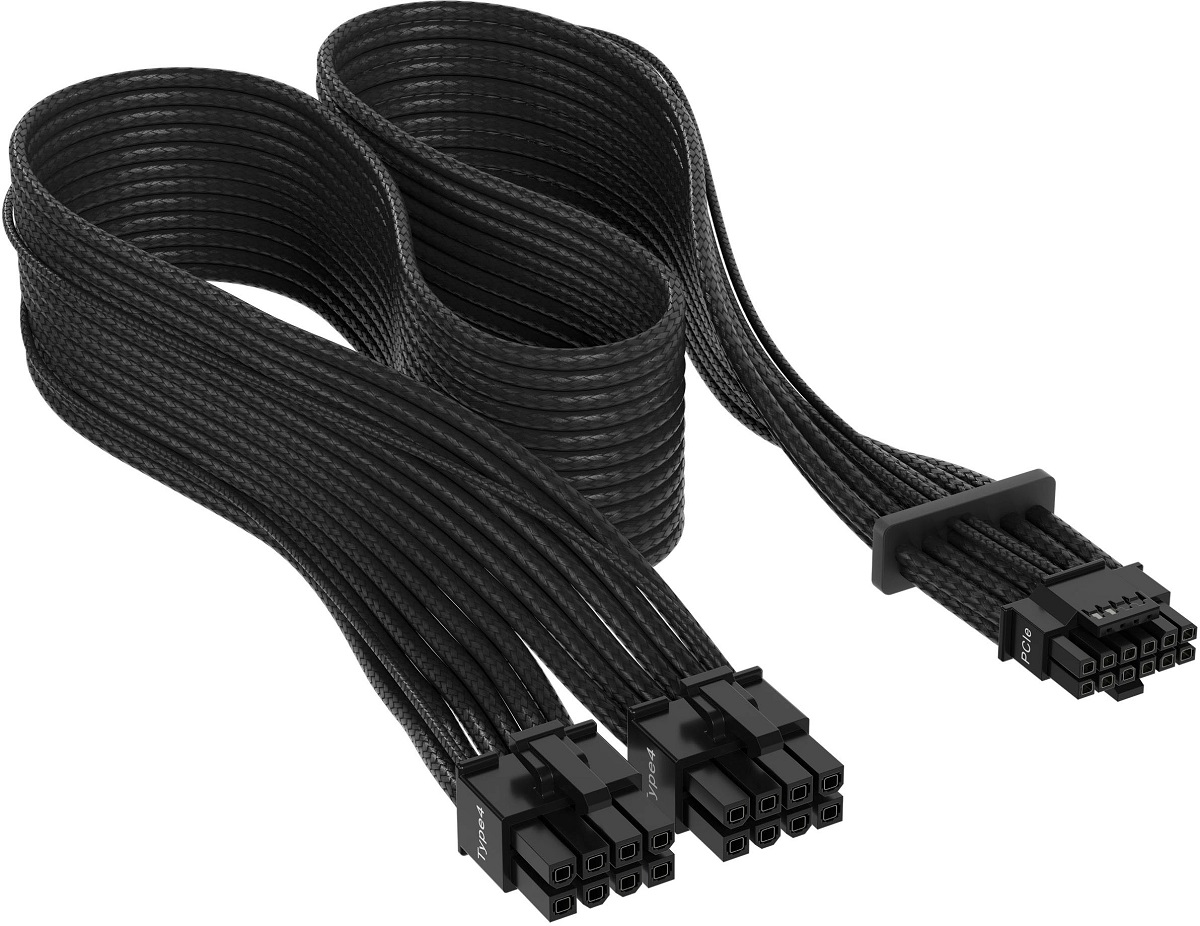
4. Connectors: Check if the PSU has enough connectors to support all your components, including graphics cards, storage drives, and peripherals. Ensure that it has the necessary PCIe, SATA, and peripheral connectors.
5. Modular or Non-Modular: Decide whether you prefer a modular or non-modular PSU. Modular PSUs allow you to detach unnecessary cables, resulting in a cleaner build and better cable management.
6. Brand and Reliability: Opt for reputable brands known for producing reliable PSUs. Check reviews and ratings to gauge the reliability and performance of different PSU models.
7. Budget: Consider your budget and find a PSU that offers the right balance between features, performance, and price.
Once you have considered these factors, it’s time to choose the specific PSU model that meets your requirements. Research different PSU options, read reviews, and compare prices to make an informed decision.
Remember that investing in a high-quality PSU is essential for protecting your computer’s components and ensuring a stable power supply. It is a long-term investment that will save you from potential issues and system failures down the line.
In the next step, we will provide a guide on preparing your PC for the PSU installation. Let’s move on to step 2 of the process.
Step 2: Preparing Your PC
Before you begin the installation of your new PSU, you need to prepare your PC by following these steps:
1. Power Down: Turn off your computer and unplug it from the power source. This will ensure your safety and prevent any electrical damage during the installation process.
2. Ground Yourself: Static electricity can damage sensitive components. To prevent this, ground yourself by touching a grounded metal object or wearing an anti-static wristband. This will discharge any static electricity from your body.
3. Gather Tools: Gather the necessary tools for the installation, including a screwdriver and cable ties. These will help secure the PSU and manage cables for a clean and organized build.
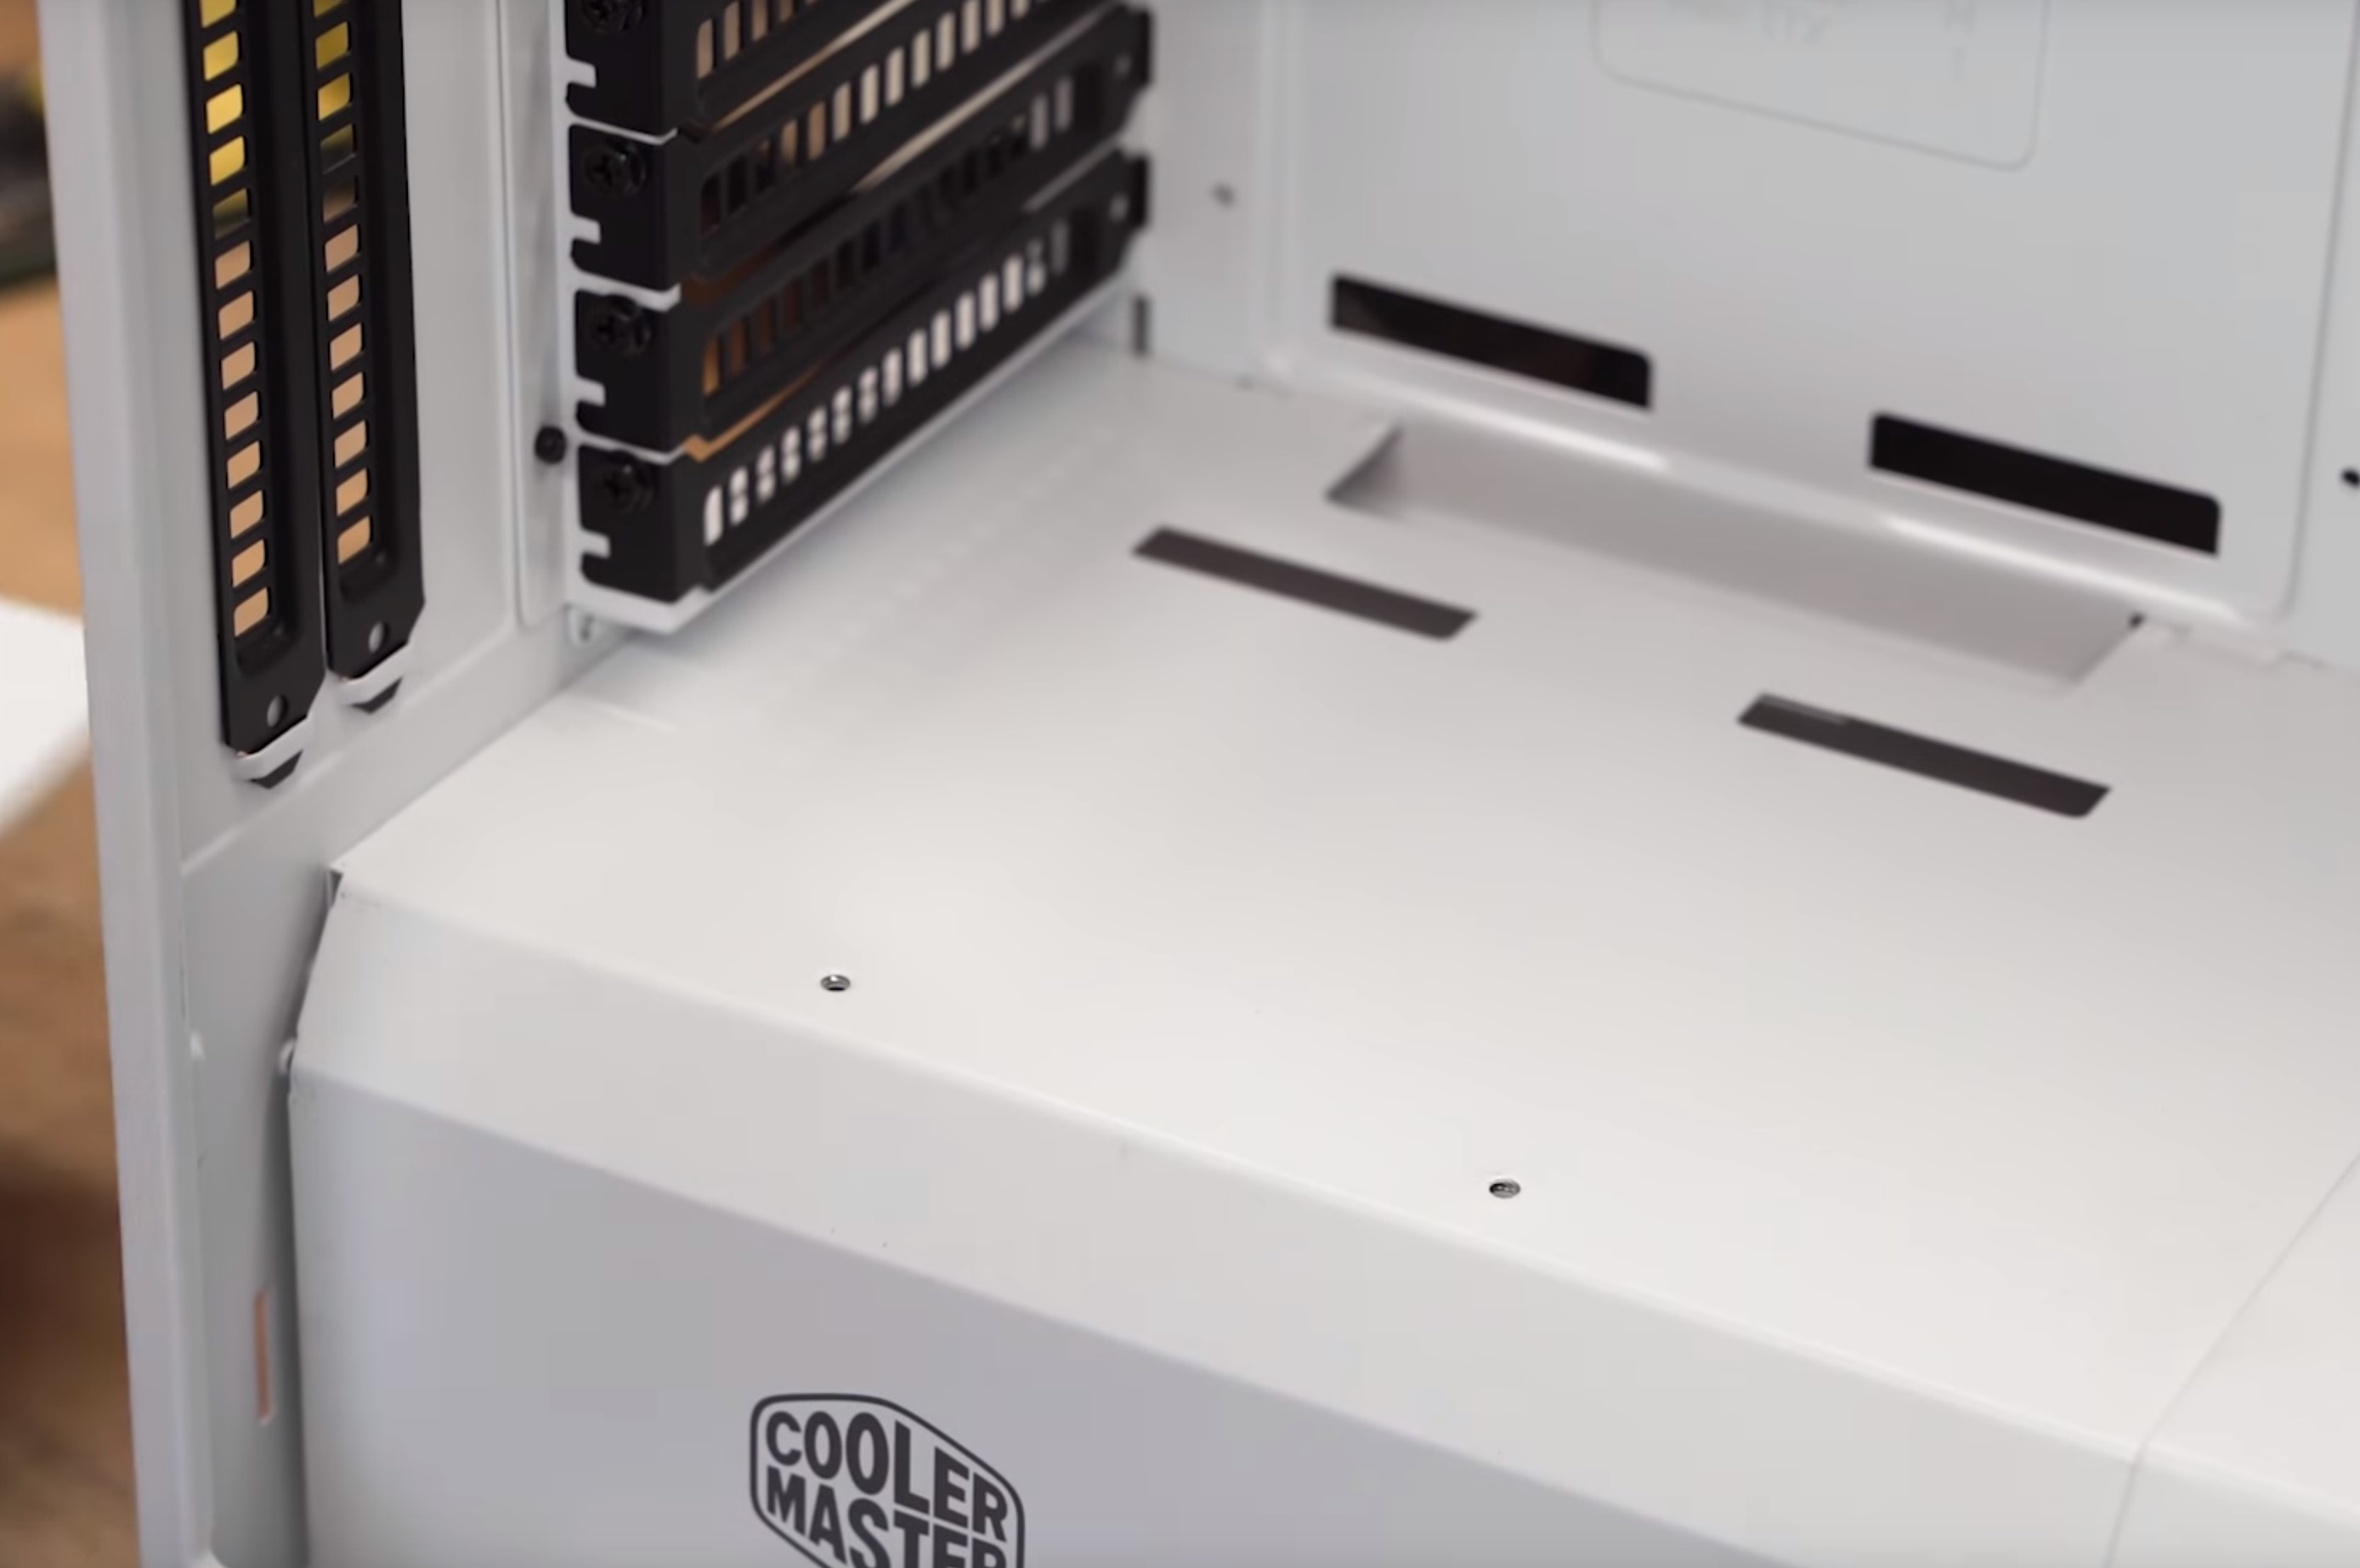
4. Open the Case: Depending on your computer case, remove the side panel to access the internal components. Refer to your case’s manual for specific instructions on how to open it.
5. Identify the PSU Location: Locate the existing PSU in your PC. It is typically located at the top or bottom rear of the case. Take note of how it is mounted and connected to the components.
6. Remove Cables: Carefully disconnect all cables connected to the existing PSU. Take note of their positions and connections for reference when installing the new PSU.
7. Remove the Old PSU: Unscrew the PSU from its mounting location and carefully remove it from the case. Be gentle to avoid any damage to the components or cable connections.
8. Clean the Area: Use a can of compressed air or a soft brush to remove any dust or debris from the PSU mounting area and the internal components of your PC. This will ensure optimal airflow and prevent overheating.
By properly preparing your PC, you are creating a clean and organized workspace for the installation of the new PSU. This step is crucial in ensuring a smooth and hassle-free process. Once your PC is prepared, you can move on to the next step: disconnecting the old PSU.
Step 3: Disconnecting the Old PSU
Disconnecting the old PSU is a crucial step before installing the new one. Follow these steps to disconnect the old PSU from your PC:
1. Identify Power Connectors: Take a close look at the power connectors attached to your old PSU. These connectors supply power to various components in your PC, including the motherboard, graphics card, and storage drives.
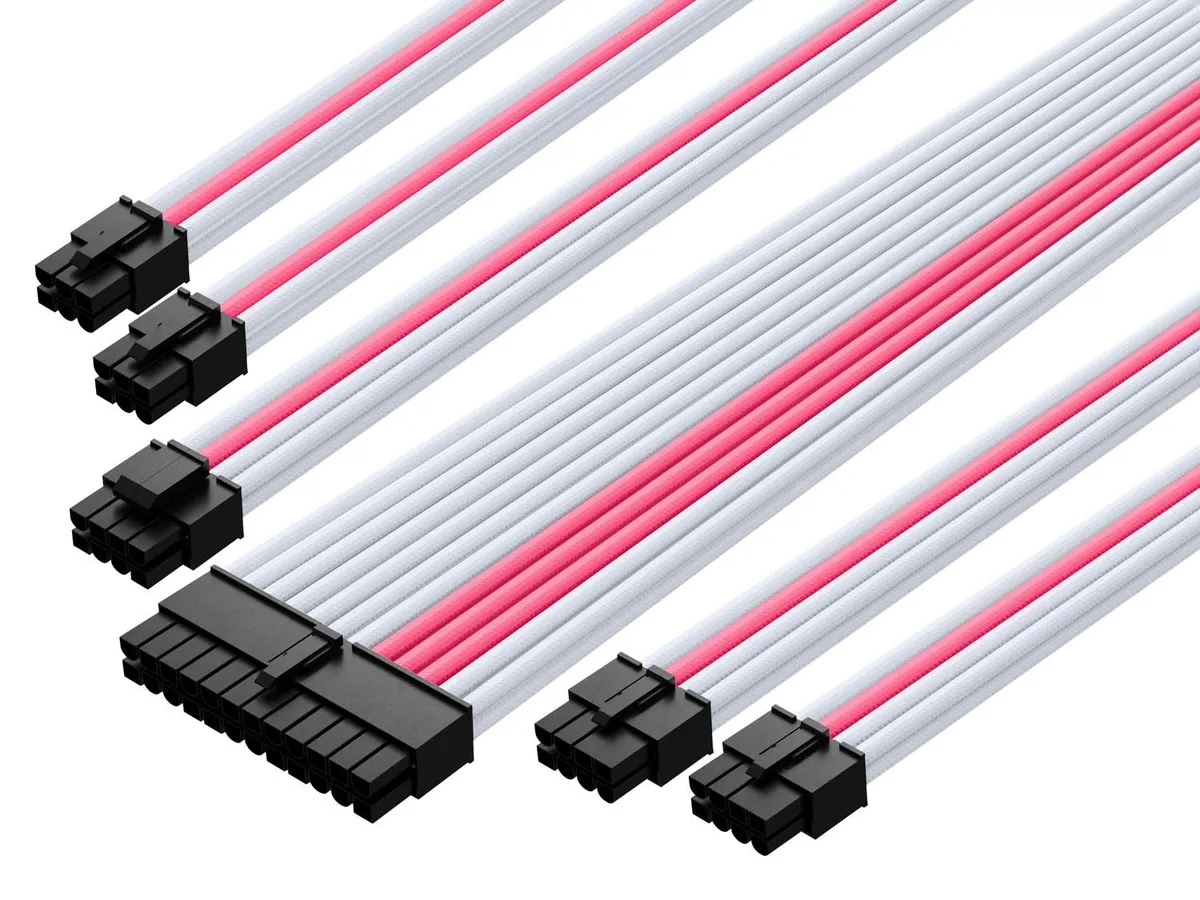
2. Unplug Power Cables: Start by unplugging the main power cable connected to the motherboard. This cable is usually a thick, 24-pin connector. Firmly grasp the connector and gently pull it away from the motherboard.
3. Disconnect Auxiliary Power Cables: If your motherboard has additional power connectors, such as a 4-pin or 8-pin CPU power connector, disconnect them as well. These connectors ensure stable power delivery to the processor.
4. Detach Peripherals: Locate any power cables connected to your storage drives, graphics card, and other peripherals. Carefully disconnect these cables from the old PSU. Take note of their positions and connections for later reference.
5. Remove Cable Ties: If there are any cable ties or clips securing the power cables to the case, carefully remove them to free the cables.
6. Inspect for Additional Connections: Double-check for any other cables or connections that may be attached to the old PSU, such as fan cables or RGB connectors. Detach these cables as well.
7. Remove the Old PSU: Once all the cables are disconnected, use a screwdriver to unscrew the mounting screws holding the old PSU in place. Gently slide the PSU out of its mounting area and remove it from your PC.
Remember to handle all components with care and avoid applying excessive force when disconnecting cables. Taking these precautions will prevent damage to your components and ensure a smooth transition to the new PSU.
In the next step, we will guide you through the process of installing the new PSU into your PC. Let’s proceed to step 4.
Step 4: Installing the New PSU
Now that you have successfully disconnected the old PSU, it’s time to install the new one. Follow these steps to install the new PSU into your PC:
1. Position the PSU: Take the new PSU and position it in the mounting area previously occupied by the old PSU. Ensure that the PSU’s fan faces the correct direction, either towards the inside of the case for bottom-mounted PSUs or towards the rear exhaust for top-mounted PSUs.
2. Align Screw Holes: Align the screw holes on the PSU with the corresponding holes in the case. Be careful not to overtighten the screws, as it may damage the PSU or the case.
3. Secure the PSU: Use the screwdriver to securely fasten the PSU in place by tightening the screws. Ensure that the PSU is firmly attached to prevent it from moving during operation.
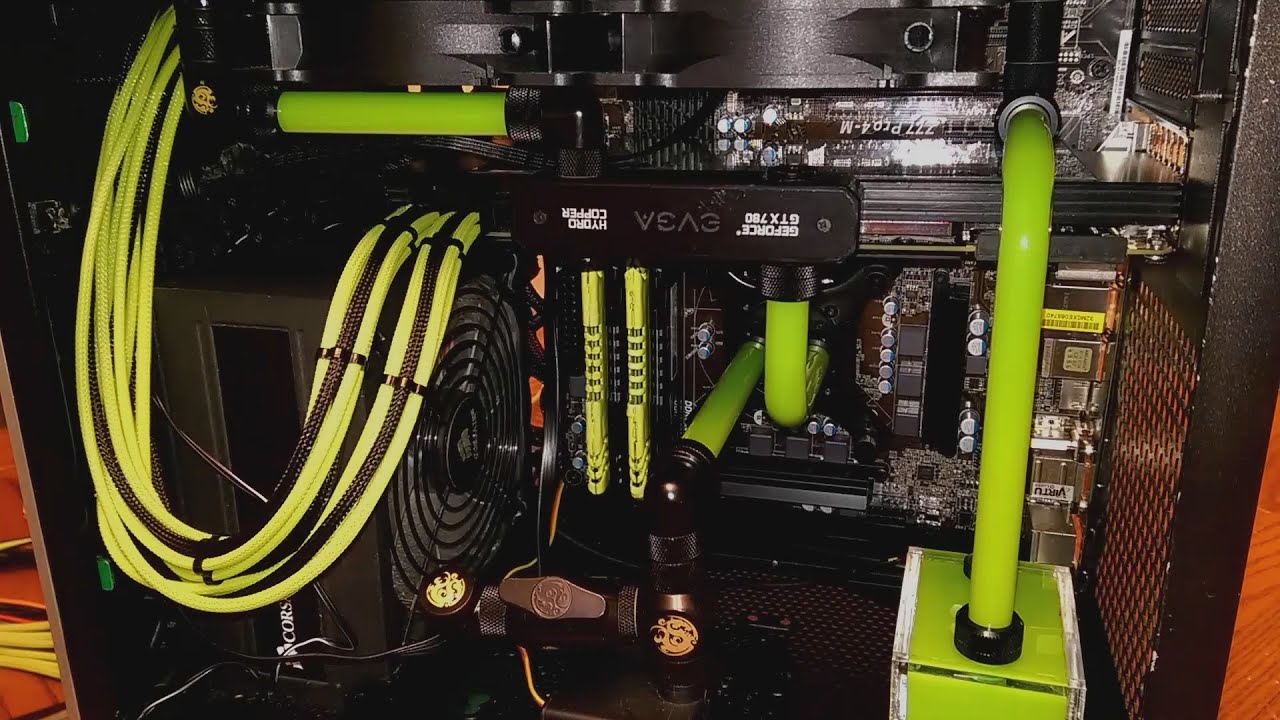
4. Cable Management: Organize the PSU cables inside your case for efficient cable management. Use cable ties or clips to secure the cables and prevent them from obstructing airflow or interfering with other components.
5. Connect Power Cables: Begin by connecting the main power cable to the motherboard. Align the connector with the corresponding socket on the motherboard and firmly push it into place until it clicks.
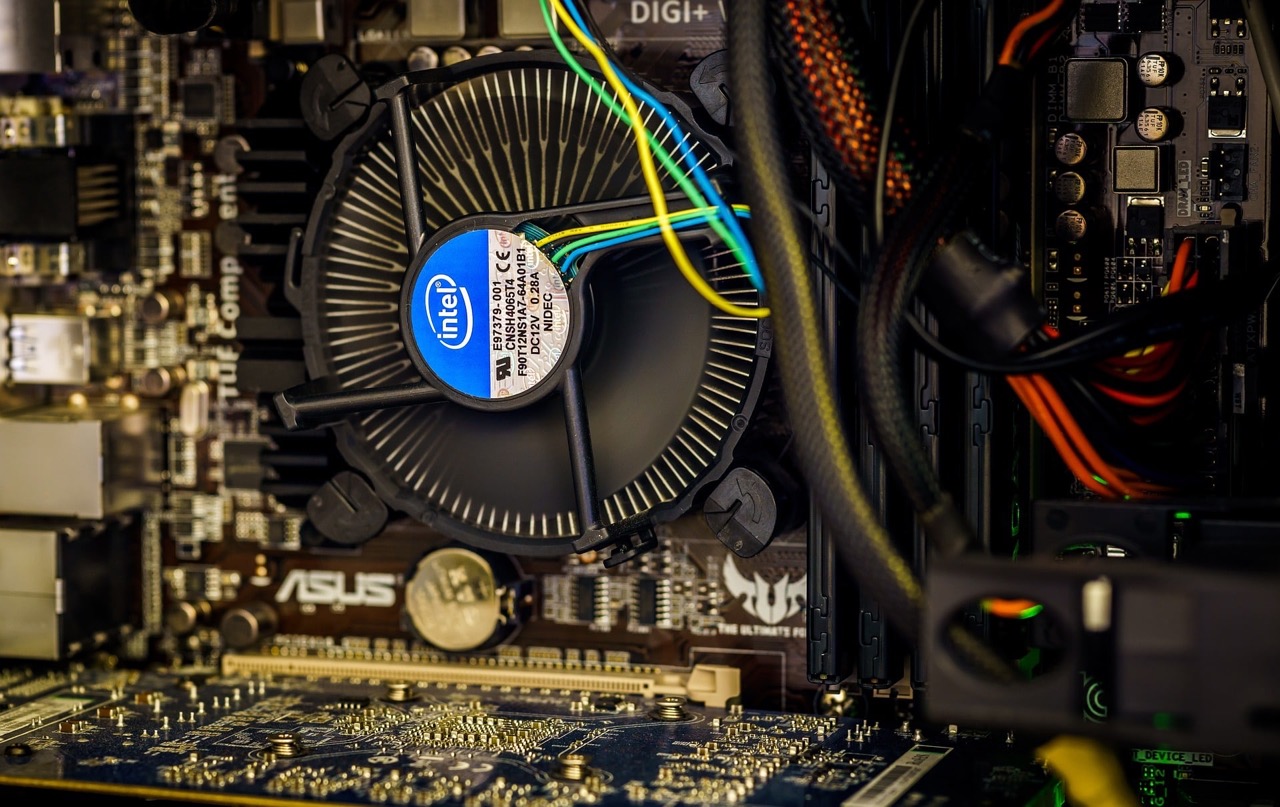
6. Connect Auxiliary Power Cables: If your motherboard has additional power connectors, such as a 4-pin or 8-pin CPU power connector, connect them to the respective sockets on the motherboard.
7. Connect Peripherals: Connect the power cables to your storage drives, graphics card, and other peripherals. Refer to your component’s user manual if you’re unsure about the proper connections.
8. Double-Check Connections: Double-check all the connections to ensure that they are secure and properly seated. Ensure that no cables are pinched or tangled.
With the new PSU securely installed and all the necessary connections made, you’ve successfully completed the installation phase. However, it’s essential to ensure that all the cables are connected correctly before powering on your PC.
In the next step, we will guide you through connecting the cables properly. Let’s move on to step 5.
Step 5: Connecting Cables
Once you have installed the new PSU into your PC, it’s time to connect the necessary cables. Follow these steps to ensure proper cable connections:
1. CPU Power Cable: Connect the CPU power cable from the PSU to the appropriate socket on the motherboard. This cable provides power to the processor and is usually a 4-pin or 8-pin connector.
2. Motherboard Power Cable: Connect the main power cable from the PSU to the motherboard. This cable is typically a 24-pin connector and ensures that the motherboard receives power for its various components.
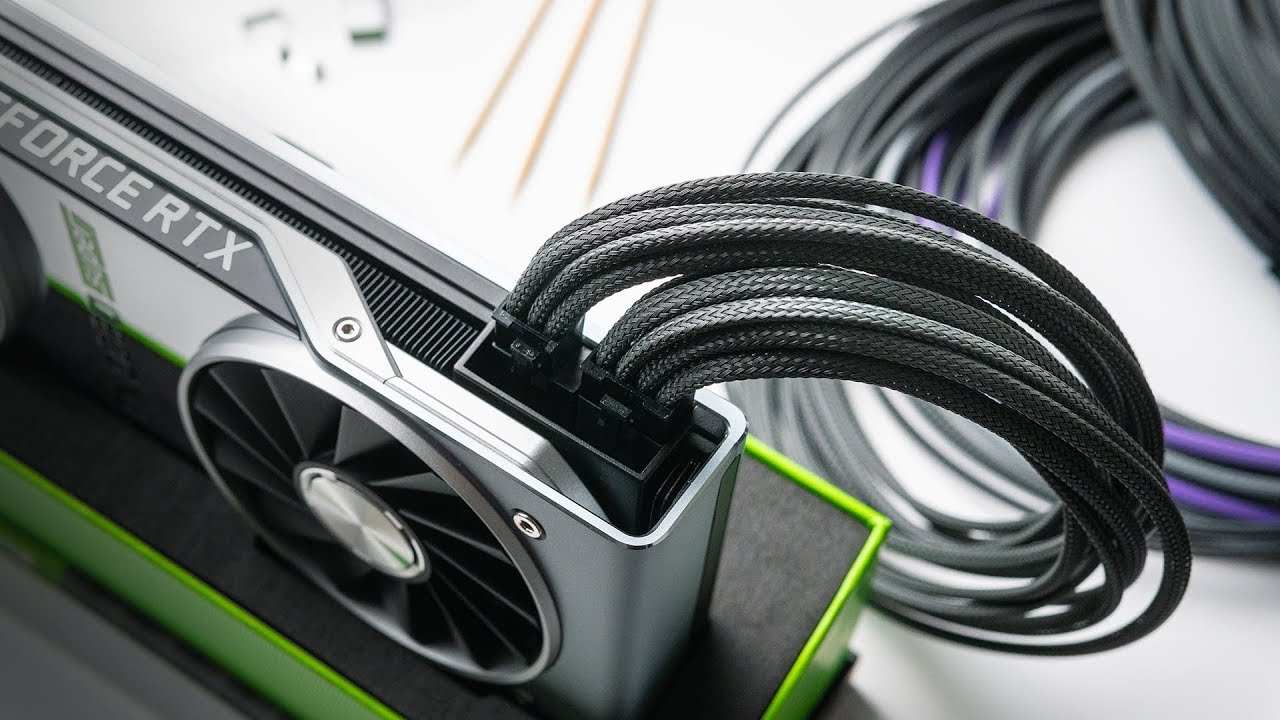
3. Graphics Card Power Cable: If you have a dedicated graphics card, connect the appropriate power cables from the PSU to the graphics card. Most modern graphics cards require either one or two 6-pin or 8-pin power connectors, depending on their power requirements.
4. Storage Drives: Connect the power cables from the PSU to your storage drives, such as hard drives or solid-state drives. These cables typically use SATA connectors.
5. Peripherals: Connect the necessary power cables from the PSU to any additional peripherals, such as optical drives or cooling fans. Make sure the connections are secure.
6. Cable Management: Ensure that all the cables are neatly organized and secured using cable ties or clips. Proper cable management promotes better airflow and prevents cable clutter, enhancing the overall aesthetics of your system.
7. Double-Check Connections: Double-check all the connections to ensure they are tight and secure. Loose connections can cause system instability or power issues.
It’s crucial to be mindful of cable routing during this step. Keep cables away from fans, radiators, or any moving parts to prevent them from obstructing airflow or causing damage.
With all the cables properly connected and secured, you’re almost ready to power on your PC. However, before you do, it’s essential to test and troubleshoot to ensure everything is functioning correctly. Let’s move on to step 6 and cover testing and troubleshooting.
Step 6: Testing and Troubleshooting
After connecting all the cables, it’s time to test your PC to ensure that the new PSU is functioning correctly. Follow these steps for testing and troubleshooting:
1. Double-Check Connections: Before powering on your PC, double-check all the connections one more time. Ensure that all cables are securely connected and properly seated.
2. Plug-In and Power On: Plug in your PC and turn on the power. Listen for any unusual noises, such as rattling or grinding sounds, which could indicate a hardware issue. If everything seems normal, proceed to the next step.
3. BIOS Check: As your PC boots up, keep an eye on the BIOS screen. Ensure that the correct PSU model and power information are displayed. If there’s an issue with the PSU, you may see error messages or incorrect power readings.
4. Monitor Power-On Self-Test (POST): The POST is a series of tests that the computer performs during startup to ensure all hardware components are working correctly. Monitor the POST process for any error messages or abnormal behavior.
5. System Stability: Once your operating system has loaded, check the overall stability of your system. Run intensive tasks and benchmarks to stress-test the components and make sure they operate within acceptable limits.
6. Verify Power Delivery: Use software utilities or hardware monitoring tools to verify that your components are receiving the correct voltage and current from the PSU. This will help identify any potential power-related issues.
7. Troubleshooting: If you encounter any issues during the testing phase, refer to the documentation provided with your PSU or consult relevant online resources for troubleshooting steps. Common issues could include system instability, random shutdowns, or abnormal temperature readings.
8. Seek Professional Help: If you’re unable to resolve the issues on your own, consider seeking assistance from a professional or contacting technical support for further guidance.
By following this testing and troubleshooting process, you can identify any potential issues early on and take the necessary steps to rectify them. It’s crucial to ensure the stability and reliability of your new PSU before using your PC for everyday tasks.
Once you have confirmed that everything is in working order, you can start using your computer with the new PSU installed. Enjoy the improved performance and power supply efficiency!
Conclusion
Congratulations! You have successfully applied a new PSU to your PC. By following the step-by-step guide, you have learned how to choose the right PSU, prepare your PC, disconnect the old PSU, install the new PSU, connect the necessary cables, and test for proper functionality. Ensuring a stable and reliable power supply is crucial for optimal performance and longevity of your PC components.
Remember to consider factors such as wattage, efficiency, form factor, and brand reliability when selecting a PSU. Take the time to properly prepare your PC, disconnect the old PSU, and install the new one with care. Organize your cables for optimal airflow and clean cable management.
Testing and troubleshooting are essential steps. Monitor the system during startup, check the BIOS information for correct PSU readings, and verify power delivery to ensure stable operation. If any issues arise, refer to the documentation and seek professional assistance if needed.
Applying a new PSU to your PC can improve overall system performance, enhance power efficiency, and provide a reliable power source for your components. With proper installation and thorough testing, you can enjoy a smooth and efficient computing experience.
Thank you for following along with our guide on how to apply a PSU to your PC. We hope that this information has been helpful and that you now have the confidence to undertake this process. Happy computing!