Introduction
Welcome to this comprehensive guide on how to sleeve a non-modular PSU. If you are someone who loves customizing your computer build or is simply looking to improve the aesthetics of your system, sleeving your non-modular power supply unit (PSU) can be a great way to achieve that sleek and professional look.
Many modern PSUs come with pre-sleeved cables, but non-modular PSUs, which have all their cables permanently attached, often lack this feature. While non-modular PSUs may offer more affordable options, the jumble of cables inside your PC case can create a messy appearance and hinder airflow.
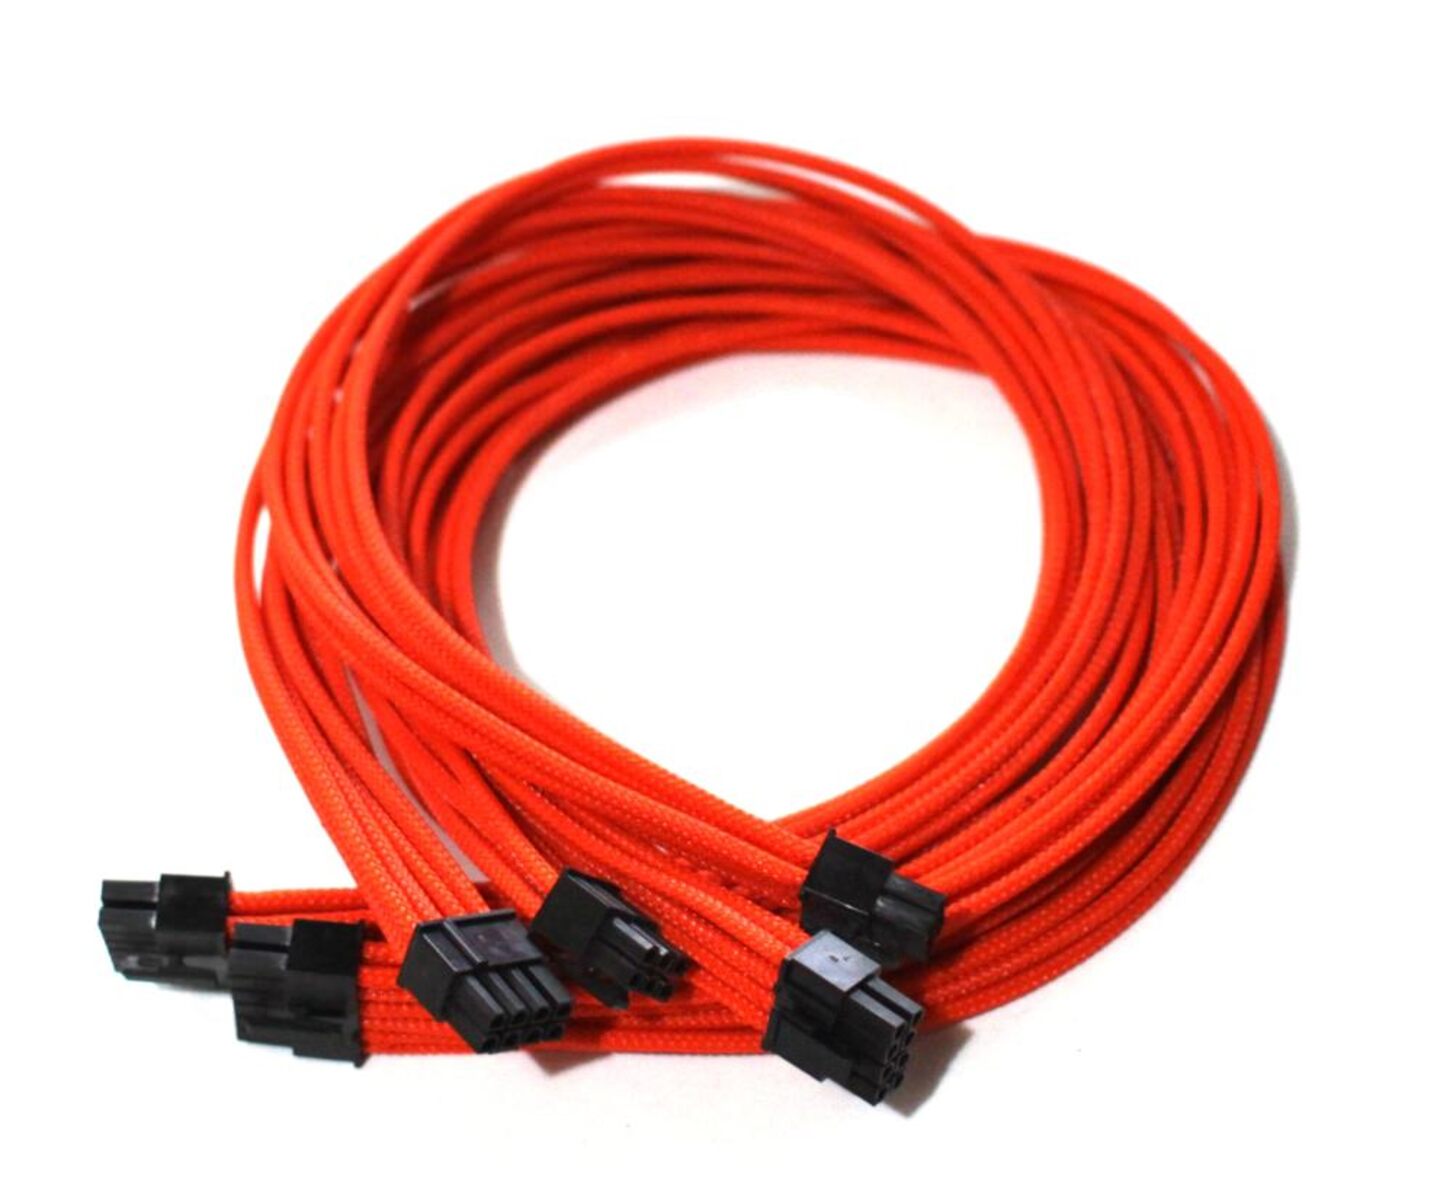
Sleeving the cables of your non-modular PSU involves covering the individual wires with a protective sleeve, giving your system a clean and organized look. The sleeving process not only improves the aesthetics of your build but also improves cable management and airflow, leading to better overall performance.
In this guide, we will take you through each step of the sleeving process, providing you with the knowledge and skills to tackle this project confidently. Whether you are a seasoned PC enthusiast or a beginner, this guide is designed to help you achieve professional-looking results.
Before we dive into the steps, it’s important to note that sleeving a non-modular PSU requires some basic tools and materials. Ensuring you have everything you need beforehand will make the process smoother and more efficient. So, without further ado, let’s get started on the journey to sleeve your non-modular PSU!
What is a Non-Modular PSU?
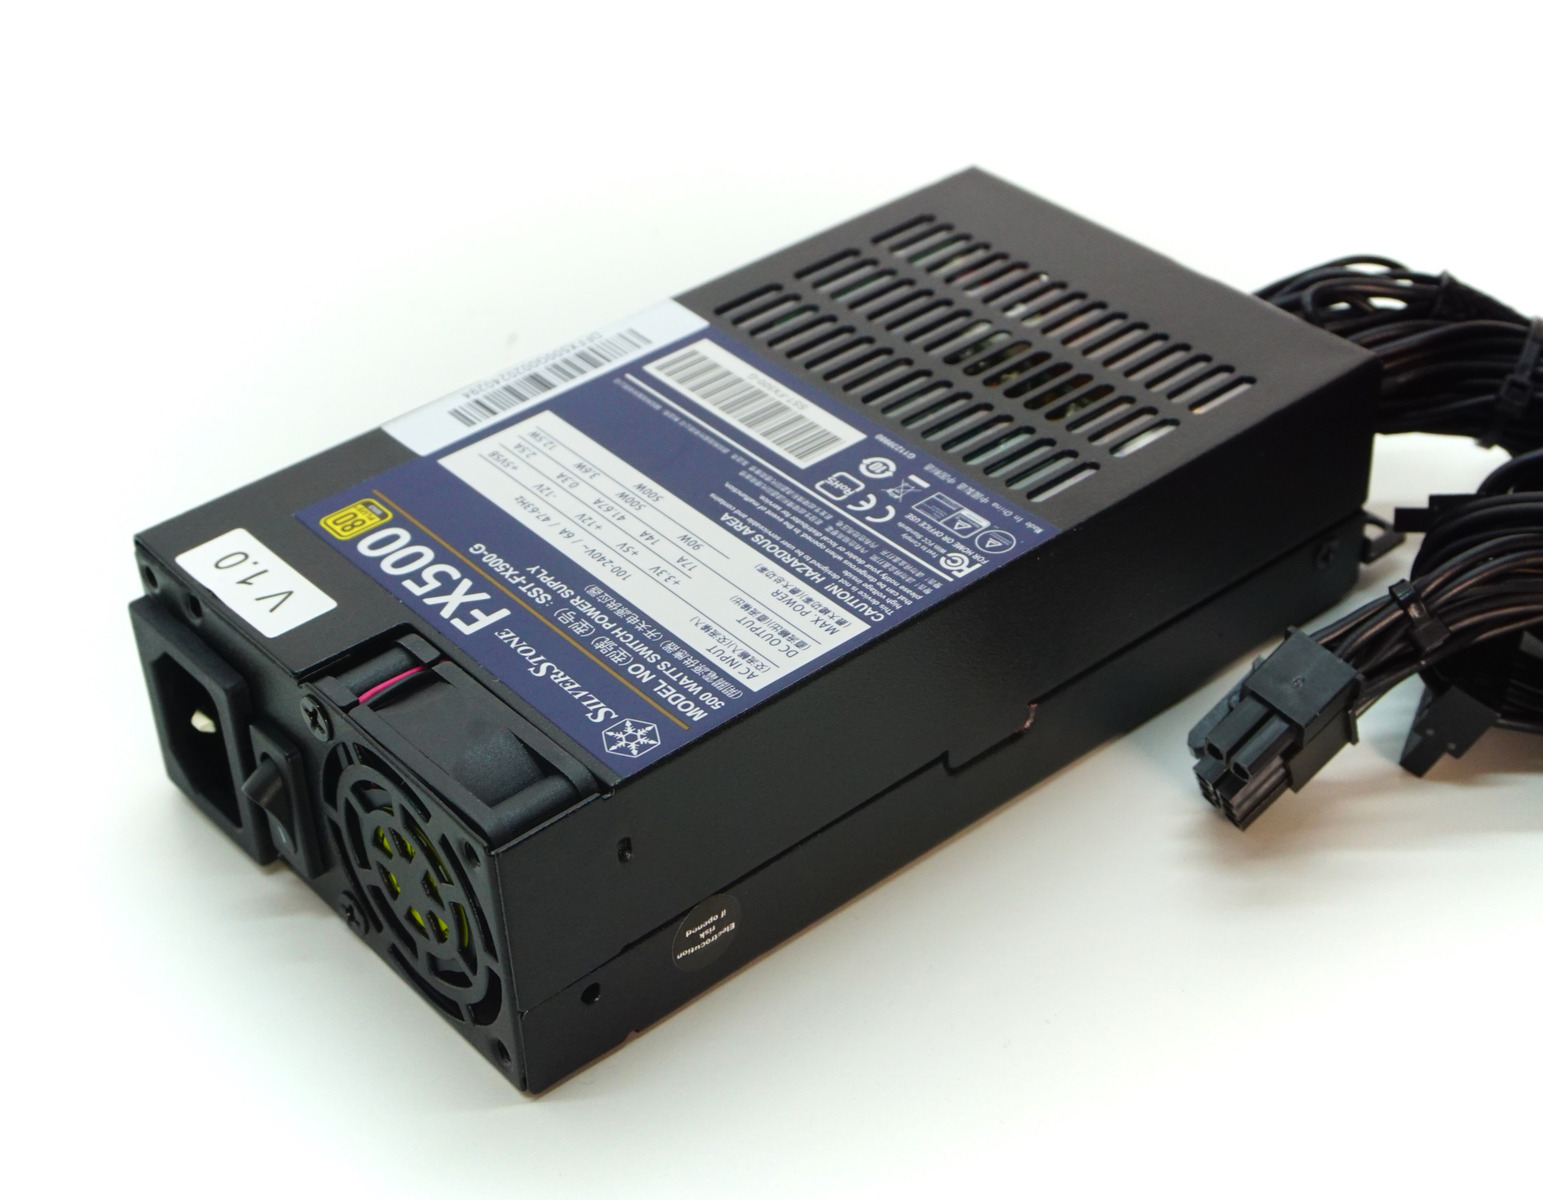
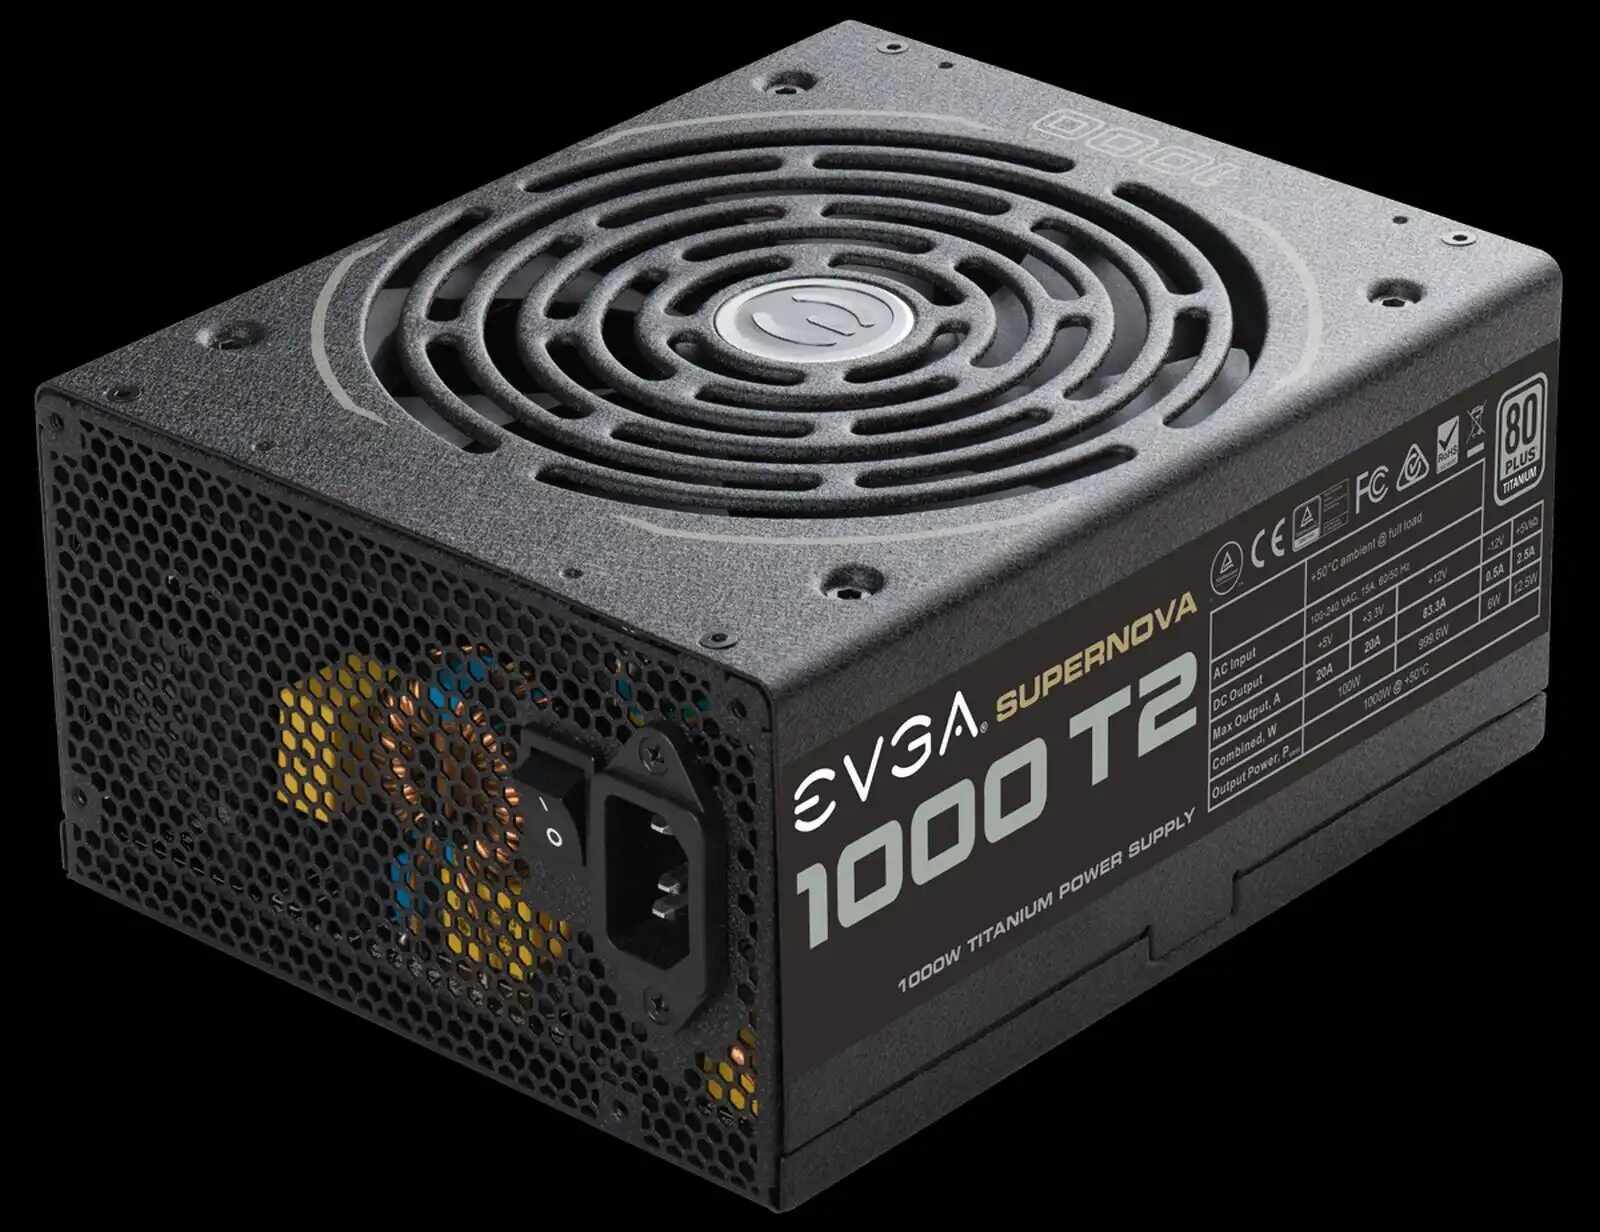
A non-modular PSU, short for non-modular power supply unit, is a type of power supply unit commonly used in computer systems. Unlike modular PSUs, which offer the flexibility to detach and customize cables, non-modular PSUs have all the cables permanently connected to the unit.
This means that regardless of the number of cables needed for your specific system configuration, all the cables are fixed in place, which can lead to a cluttered and unorganized internal setup. Non-modular PSUs typically come with a standard set of cables, including those required for motherboard power, CPU power, and peripheral connections.
Due to the fixed nature of the cables, non-modular PSUs can sometimes pose challenges in terms of cable management. Excess cables not being used can take up valuable space and hinder airflow inside the computer case. This can lead to increased temperatures and reduced overall system performance.
However, non-modular PSUs do have their advantages. They are often more affordable than modular alternatives, making them a popular choice for budget-conscious PC builders. Additionally, the lack of detachable cables means there is no risk of accidentally disconnecting a cable during system operation, ensuring stable and reliable power delivery.
While non-modular PSUs may not offer the convenience and customization options of modular PSUs, there are ways to overcome the cable management challenges and improve the overall aesthetics of your system. One such method is sleeving the cables, which we will explore in detail in this guide.
By understanding the nature of a non-modular PSU and its limitations, you can better appreciate why sleeving the cables is an effective solution. Not only does it enhance the visual appeal of your system, but it also helps in organizing and managing the cables for optimal performance.
Now that we have a clear understanding of what a non-modular PSU is, let’s move on to the next section, where we will discuss why sleeving a non-modular PSU is beneficial.
Why Sleeve a Non-Modular PSU?
Sleeving a non-modular PSU offers several benefits that make it a worthwhile endeavor, regardless of your level of PC building experience. Here are some compelling reasons to consider sleeving the cables of your non-modular PSU:
Improved Aesthetics:
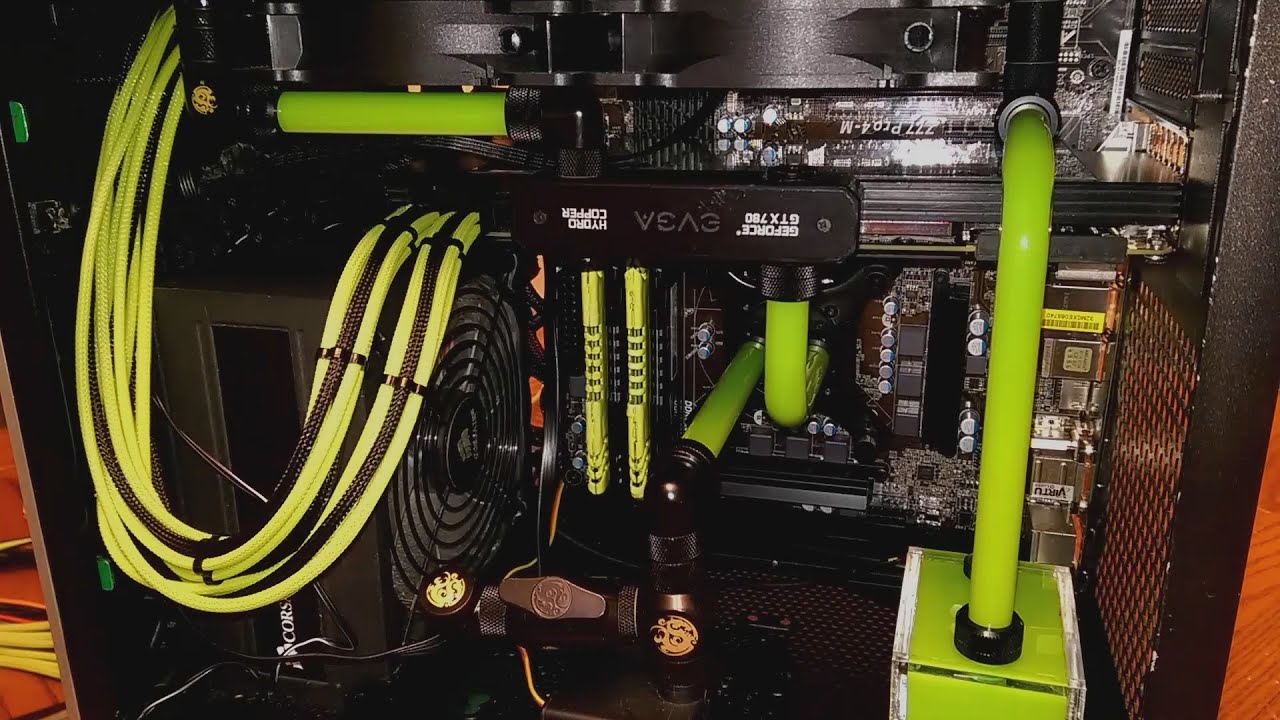
Sleeving the cables of your non-modular PSU gives your computer build a clean, professional, and organized appearance. The protective sleeve adds a visually appealing element to the wires, hiding the individual colors and creating a unified look. This can greatly enhance the overall aesthetics of your system, especially if you have a windowed PC case or enjoy showcasing your build.
Enhanced Cable Management:
One of the biggest challenges with non-modular PSUs is managing the excess cables that aren’t being used. The fixed cables can create a tangled mess inside the PC case, obstructing airflow and making it difficult to access components during upgrades or maintenance. By sleeving the cables, you can neatly bundle them together and secure them, improving cable management and promoting better airflow. This not only ensures a tidier internal setup but also helps maintain lower temperatures, which can positively impact system performance and longevity.
Customization Options:
Sleeving your non-modular PSU allows for personalization and customization. With a wide range of sleeve colors and styles available, you can match the overall theme of your build or create a unique color scheme. This level of customization adds a personal touch to your PC and can make your build stand out from the rest.
Protection and Durability:
The sleeve material used in the sleeving process provides an additional layer of protection to the wires. It acts as a shield against potential damage from sharp edges or accidental tugs, reducing the risk of exposed wires or short circuits. Additionally, the sleeve can help prevent cable tangling, making it easier to manage and maintain connections in the long run.
Overall, sleeving your non-modular PSU is an effective way to improve the appearance, organization, and performance of your computer build. Whether you’re a PC enthusiast looking to create a visually stunning system or simply aiming to optimize cable management, sleeving is a worthwhile investment of time and effort.
Now that we understand the benefits of sleeving a non-modular PSU, it’s time to familiarize ourselves with the tools and materials needed for this project. Stay tuned for the upcoming section!
Tools and Materials Needed
Before you begin sleeving your non-modular PSU, it’s important to gather all the necessary tools and materials. Having everything on hand will make the process smoother and more efficient. Here’s a list of what you’ll need:
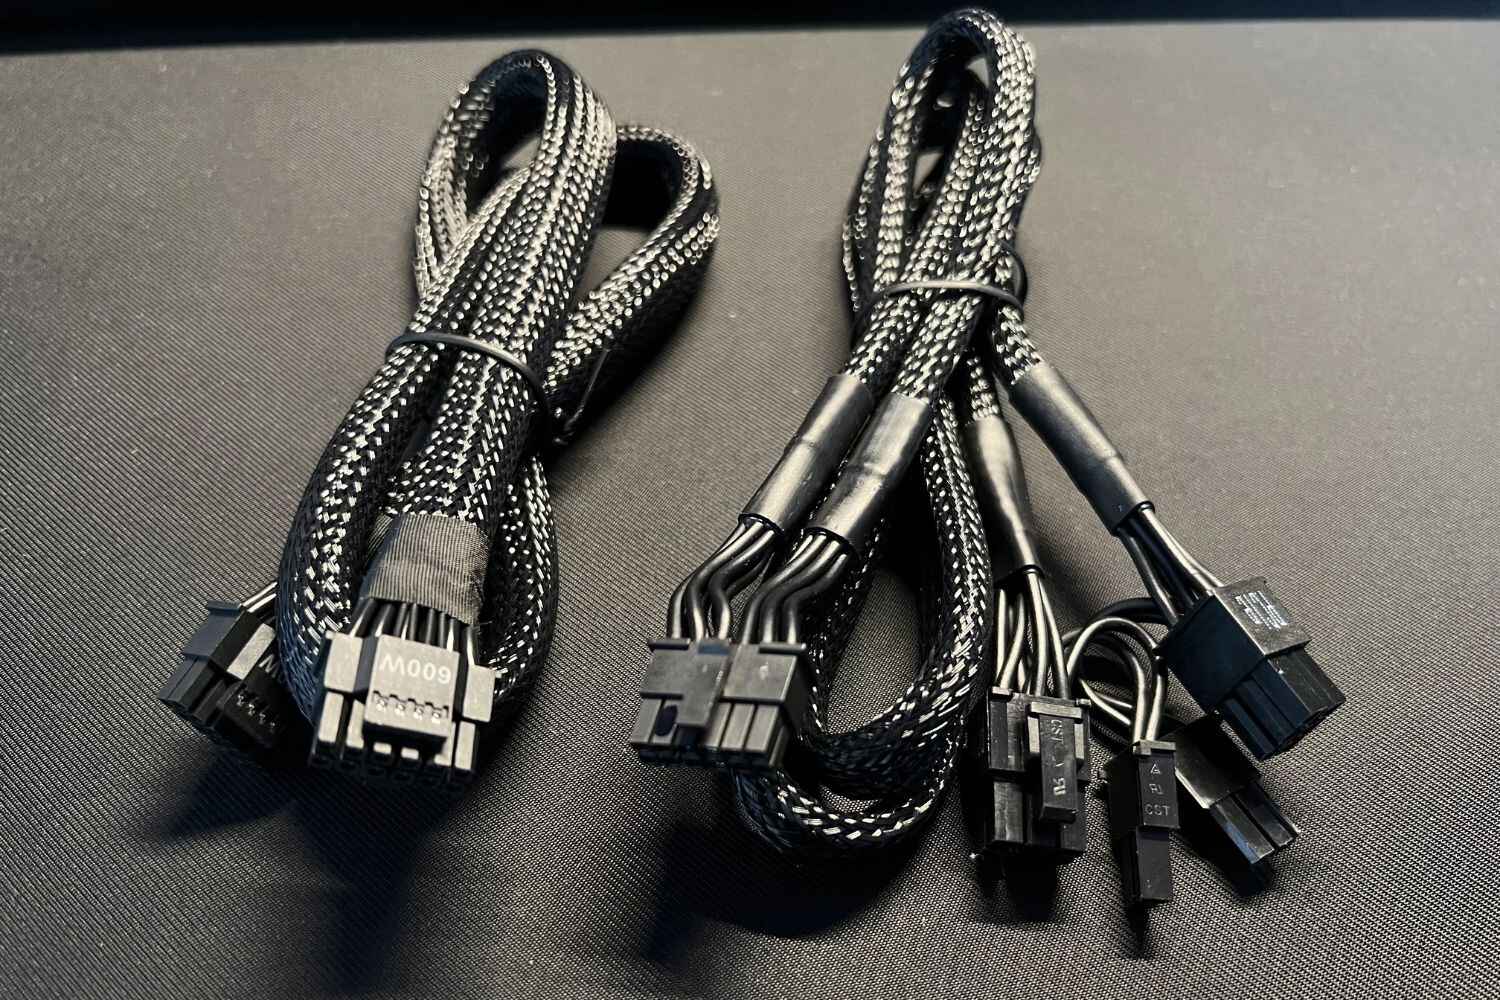
1. Sleeving Material:
The main component for sleeving is the protective material that covers the individual wires. There are various options available, including expandable braided sleeving, paracord, PET sleeving, and more. Choose a sleeving material that suits your aesthetic preferences and offers a good balance between flexibility and durability.
2. Heat Shrink Tubing:
Heat shrink tubing is used to secure the sleeving material at the ends of the wires. It provides a clean and professional finish by preventing the sleeving from unraveling. Make sure to choose the appropriate size of heat shrink tubing to fit snugly over the sleeved wires.
3. Wire Cutters and Strippers:
Wire cutters and strippers are essential tools for removing the cables from your non-modular PSU and preparing them for sleeving. They allow you to precisely cut and strip the wires, ensuring a clean and accurate sleeving process.
4. Heat Gun or Lighter:
A heat gun or lighter is used to shrink the heat shrink tubing. The heat applied melts the tubing, causing it to contract and create a secure seal around the sleeved wires. Make sure to use caution and work in a well-ventilated area when applying heat to the tubing.
5. Cable Combs or Zip Ties:
Cable combs or zip ties help to keep the sleeved wires organized and aligned. They can be used to bundle the cables together and ensure a neat and tidy appearance. Cable combs are specifically designed for cable management and provide a more professional look.
6. Scissors:
A good pair of scissors is necessary for cutting the sleeving material and trimming the excess heat shrink tubing. Make sure to use sharp scissors to achieve clean and precise cuts.
These are the essential tools and materials you’ll need to successfully sleeve your non-modular PSU. Gathering everything beforehand will enable you to work efficiently and achieve professional results. Once you have everything ready, it’s time to dive into the step-by-step guide on sleeving a non-modular PSU. Let’s get started!
Step-by-Step Guide to Sleeve a Non-Modular PSU
Now that you have all the necessary tools and materials, let’s dive into the step-by-step process of sleeving a non-modular PSU. Follow these instructions carefully to achieve a clean and professional result:
Step 1: Disconnect and Power Down:
Before working on your non-modular PSU, make sure to disconnect it from the power source and power down your computer. This will ensure your safety and prevent any potential damage to your components.
Step 2: Remove the PSU from the PC Case:
Unscrew the screws that secure the PSU to the PC case and carefully remove it. Place it on a clean and static-free working surface.
Step 3: Remove the Cables from the PSU:
Identify the cables connected to the non-modular PSU and gently disconnect them one by one. Take note of their positions and how they are routed to make reassembly easier later.
Step 4: Prepare the Sleeving Material:
Measure and cut the sleeving material according to the length of each cable. It’s helpful to leave a bit of extra length for ease of installation. Slide the sleeving material onto each cable and ensure it covers the entire length.
Step 5: Sleeve the Individual Wires:
Starting from one end of the cable, carefully push the sleeving material over the individual wires. Use gentle pressure and work gradually along the length of the cable. Ensure that the sleeving material is evenly distributed and tight against the wires.
Step 6: Secure the Sleeving:
At both ends of the sleeved cable, slide a piece of heat shrink tubing over the sleeving and position it near the base of the sleeving. Use a heat gun or lighter to apply heat evenly to the tubing, causing it to shrink and secure the sleeving in place. Repeat this process for each cable.
Step 7: Reconnect the Sleeved Cables to the PSU:
Refer to the notes you made during cable removal and reconnect the sleeved cables to the appropriate slots on the non-modular PSU. Ensure they are firmly connected and properly oriented. Take your time to avoid any mistakes.
Step 8: Test the PSU:
Reinstall the PSU into your PC case and reconnect it to the power source. Turn on your computer and check if everything is functioning correctly. Ensure that all the cables are secure and there are no loose connections.
Step 9: Reassemble Your System:
If everything is working properly, reassemble your computer by carefully routing the sleeved cables and ensuring they are neatly arranged. Use cable combs or zip ties to keep the cables organized and maintain a clean and tidy build.
That’s it! You have successfully sleeved your non-modular PSU. Admire your handiwork and enjoy the improved aesthetics and cable management of your system.
Now that you have mastered the sleeving process, take a moment to review the tips and tricks in the next section. These insights will further enhance your sleeving skills and help you troubleshoot any potential issues that may arise.
Removing the Cables from the PSU
Before you can begin sleeving the cables of your non-modular PSU, you first need to disconnect the existing cables. Follow these steps to safely remove the cables from your PSU:
Step 1: Turn Off and Unplug:
Begin by turning off your computer and unplugging it from the power source. This step is crucial to ensure your safety and prevent any potential damage to your system.
Step 2: Locate the PSU:
Identify the non-modular PSU inside your PC case. It is usually located at the top rear section, secured with screws or brackets.
Step 3: Ground Yourself:
Before working on any internal components, it’s important to ground yourself by touching a grounded metal surface. This helps to discharge any static electricity that could potentially damage sensitive components.
Step 4: Disconnect Peripherals:
Next, disconnect any peripheral devices that are connected to the non-modular PSU, such as hard drives or CD/DVD drives. Take note of which peripherals are connected to which cables for easy reassembly later.
Step 5: Unscrew and Remove the PSU:
Using a screwdriver, unscrew the screws or release the brackets that secure the non-modular PSU to the PC case. Once the screws are removed, carefully slide the PSU out of the case, ensuring you support its weight to prevent any damage.
Step 6: Identify and Disconnect Cables:
On the back of the non-modular PSU, you will find various cables attached. Each cable corresponds to a specific component or function, such as motherboard power, CPU power, or peripheral connections.
Gently identify each cable and follow its path to its corresponding connection point on the PSU. Carefully disconnect each cable by pulling the connector straight out from the PSU. Avoid pulling on the cables themselves to prevent any damage.
Step 7: Organize or Label the Cables:
As you remove each cable, it’s helpful to organize them or label them in some way. This will make reassembly much easier later on. You can use cable ties or tape to group cables together or label them with stickers or markers.
Step 8: Double-check and Document:
Once all the cables are disconnected, double-check for any leftover connections and ensure that no cables are accidentally left inside the PC case. Take a moment to document the cable connections or take pictures as a visual reference for reassembly.
By following these steps, you can safely and systematically remove the cables from your non-modular PSU in preparation for sleeving. With the cables detached, you are ready to move on to the next step of the sleeving process: preparing the sleeving material.
Preparing the Sleeving Material
Now that you have successfully removed the cables from your non-modular PSU, it’s time to prepare the sleeving material. This step is crucial to ensure a smooth and efficient sleeving process. Follow these steps to properly prepare the sleeving material:
Step 1: Choose the Right Sleeving Material:
There are different types of sleeving materials available, including expandable braided sleeving, paracord, and PET sleeving. Select a sleeving material that meets your aesthetic preferences and offers the flexibility and durability you desire.
Step 2: Measure the Length of the Cables:
Using a tape measure or ruler, measure the length of each cable individually. It’s important to measure each cable separately to ensure the sleeving material will fit correctly. Add a little extra length to account for any twists or bends in the cables.
Step 3: Cut the Sleeving Material:
Using a sharp pair of scissors, carefully cut the sleeving material to the appropriate length for each cable. Take your time to ensure clean and precise cuts. It’s always better to cut slightly longer and trim any excess later, as it’s easier to adjust the length than to add more material.
Step 4: Slide the Sleeving Material onto the Cables:
Holding one end of the sleeving material, gently slide it over the individual wires of the cable. Start from one end and work your way to the other, pushing the sleeving material gradually and evenly over the wires. Be careful not to snag or catch any of the wires in the process.
Step 5: Ensure Complete Coverage:
As you slide the sleeving material over the cables, ensure that it fully covers each wire. The sleeving should fit snugly and evenly over the cables, without any gaps or looseness. If needed, adjust the sleeving material to ensure complete coverage by gently pulling and pushing it into place.
Step 6: Trim Excess Sleeving Material:
Once the sleeving material is in place, inspect the ends of the cable to see if there is any excess material extending beyond the connectors. Using your scissors, carefully trim any excess sleeving material to ensure a clean and neat finish. Take care not to cut any of the wires or disrupt the integrity of the sleeving.
By properly preparing the sleeving material, you set the stage for a successful sleeving process. Ensuring the proper fit and coverage of the sleeving material will result in a professional and aesthetically pleasing outcome. With the sleeving material ready, you can now proceed to sleeve the individual wires of your non-modular PSU.
Sleeve the Individual Wires
Now that the sleeving material is prepared, it’s time to sleeve the individual wires of your non-modular PSU. This step is crucial to achieving the clean and organized look you desire. Follow these steps to properly sleeve the wires:
Step 1: Start from One End:
Choose one end of the cable to start with and hold it firmly. It’s recommended to start from the end that will be connected to the PSU as this ensures a clean and seamless transition from the sleeving to the connector.
Step 2: Slide the Sleeving Material:
Gently push the sleeving material over the individual wires, starting from the chosen end. Use even and gradual pressure to ensure the sleeving material covers each wire evenly. Take care not to pull or twist the wires as you slide the sleeving in place.
Step 3: Work Your Way Along the Cable:
Continue pushing the sleeving material along the length of the cable, working your way towards the other end. It’s important to maintain a steady pace and ensure the sleeving material is properly aligned and tight against the wires.
Step 4: Adjust the Sleeving as Needed:
As you sleeve the wires, periodically check the alignment and tightness of the sleeving material. Adjust it as needed, gently pulling or pushing it into place. Ensure there are no gaps or loose sections of sleeving, as this can affect the overall appearance and performance.
Step 5: Support the Wires as You Sleeve:
To prevent any strain on the wires, support them with one hand as you sleeve. This helps maintain the integrity of the wires and ensures they stay in their proper positions. Be mindful not to put too much pressure on the wires or pull them excessively.
Step 6: Repeat for Each Wire:
Continue the sleeving process for each individual wire of the cable, one at a time. Take your time with each wire to ensure the sleeving material is properly aligned and secure. Pay attention to any twists or bends in the wires and adjust the sleeving accordingly.
Step 7: Finish with Heat Shrink Tubing:
Once all the wires are sleeved, it’s time to secure the ends of the sleeving with heat shrink tubing. Slide a piece of appropriately sized heat shrink tubing over each end of the sleeving material and position it near the base of the sleeving. Apply heat using a heat gun or lighter, causing the tubing to shrink and create a secure seal.
By following these steps, you can successfully sleeve the individual wires of your non-modular PSU. Remember to work carefully and take your time to ensure a clean and professional result. With the sleeving complete, the next step is to reconnect the sleeved cables to the non-modular PSU.
Reconnecting the Sleeved Cables to the PSU
With the cables properly sleeved, it’s time to reconnect them to the non-modular PSU. Follow these steps to ensure a secure and accurate reconnection:
Step 1: Refer to Your Documentation:
Consult the notes or pictures you took during the cable removal process to identify the correct placement of each cable. This will help ensure that you connect the sleeved cables to their proper slots on the non-modular PSU.
Step 2: Orient the Connectors Correctly:
Before connecting the cables, check the orientation of the connectors to make sure they are aligned properly. Match the shapes, notches, or keys on the connectors with the corresponding slots on the PSU. Be gentle but firm when inserting the connectors to ensure a secure connection.
Step 3: Push Connectors Firmly:
When inserting the connectors into their respective slots on the non-modular PSU, make sure to push them in firmly. You should feel a satisfying click or resistance when the connectors are properly seated. This ensures a stable and reliable connection.
Step 4: Double-Check Each Connection:
After connecting each cable, double-check to ensure that it is securely seated in its slot. Wiggle the connector gently to ensure it doesn’t come loose. This step is crucial in preventing any potential issues down the line and ensuring proper functionality of your non-modular PSU.
Step 5: Organize the Sleeved Cables:
As you reconnect the sleeved cables, take the opportunity to organize them neatly and efficiently. Use cable combs or zip ties to bundle and secure the cables together, maintaining a clean and tidy appearance. Proper cable management not only improves aesthetics but also aids in airflow within your PC case.
Step 6: Connect Peripherals:
Once all the cables are properly reconnected to the non-modular PSU, you can proceed to reconnect your peripherals. Attach the necessary cables to your hard drives, SSDs, graphics card, and any other components that require power or data connections.
Step 7: Double-Check and Test:
After reassembling your system, double-check all the cable connections to ensure they are properly secured. Once you’re confident in the connections, plug your computer back into the power source and turn it on to test the functionality of your sleeved non-modular PSU.
By following these steps, you can safely and effectively reconnect the sleeved cables to your non-modular PSU. Take your time and be meticulous to ensure a proper and reliable connection. With the reconnection complete, you’re ready to move on to the next step: testing the PSU and ensuring everything is functioning as intended.
Testing the PSU
After sleeving and reconnecting the cables of your non-modular PSU, it’s crucial to perform thorough testing to ensure everything is functioning properly. Follow these steps to test your PSU:
Step 1: Power On Your System:
Plug your computer back into the power source and turn it on. Pay close attention to any unusual noises, sparks, or smoke. If any of these occur, immediately turn off your system and double-check the connections and sleeving for any errors or damage.
Step 2: Monitor Boot Sequence:
Observe the boot sequence of your computer. Watch for any error messages, freezing, or unexpected shutdowns. If your computer fails to boot or experiences consistent issues, it may indicate a problem with the PSU or the sleeving process.
Step 3: Monitor System Stability:
Once your computer successfully boots, monitor its stability during regular usage. Run demanding applications or stress tests to assess the PSU’s ability to provide stable power under load. Make sure to keep an eye out for any sudden shutdowns, excessive heat, or abnormal behavior.
Step 4: Check the Voltages:
Use a multimeter to measure the voltages of the PSU. Connect the multimeter to the appropriate pins on the PSU connectors and compare the readings with the specifications for your components. Ensure that each rail is providing the correct voltage as indicated by your PSU’s specifications.
Step 5: Assess Cable Management:
As you test the PSU, evaluate the overall cable management and airflow within your PC case. Confirm that the sleeved cables are neatly arranged and do not obstruct the cooling system, obstruct the fans, or create any unnecessary strain on the connectors.
Step 6: Look for Potential Issues:
During the testing process, keep an eye out for any potential issues such as inconsistent power delivery, voltage drops, or excessive heat. These can be indicative of problems with the PSU or the sleeving process itself.
Step 7: Seek Professional Assistance, if Necessary:
If any issues arise during testing or if you are unsure about the results, it’s advisable to consult a professional technician. They can perform further diagnostics and help resolve any problems or concerns you may have.
By conducting thorough testing, you can ensure that your sleeved non-modular PSU is functioning optimally and providing stable power to your system. Proper testing not only guarantees the reliability of your PSU but also ensures the long-term performance and safety of your computer.
Once you have completed the testing process and are satisfied with the results, you can move on to enjoying the improved aesthetics and cable management provided by your sleeved non-modular PSU.
Tips and Tricks
Sleeving a non-modular PSU can be a rewarding but intricate process. Here are some tips and tricks to help you achieve the best results:
1. Plan and Prepare:
Before starting, take some time to plan your sleeving project. Gather all the necessary tools and materials and familiarize yourself with the sleeving process. This will ensure you have a smoother and more organized experience.
2. Take Clear Pictures:
Document the original cable connections and routing with clear pictures or notes. This will serve as a helpful reference during the reconnection process, preventing errors or confusion. It’s also a useful resource to consult if you need to troubleshoot or upgrade your system in the future.
3. Use Cable Combs:
Consider using cable combs to help keep your sleeved cables organized and aligned. These combs come in various sizes and can improve the overall aesthetics, ensuring a professional and tidy appearance.
4. Heat Shrink Tubing Sizing:
When selecting heat shrink tubing, choose a diameter that tightly fits over the sleeved cable. It should provide a snug fit without being too tight or too loose. Remember to slide the heat shrink tubing onto the cable before starting the sleeving process.
5. Practice Patience and Precision:
Take your time when sleeving the individual wires. Pay attention to details, such as ensuring the sleeving material covers each wire evenly and aligning the heat shrink tubing correctly. Precision and patience will result in professional-looking sleeved cables.
6. Test the Connections:
After reconnecting the sleeved cables, double-check the connections to ensure they are secure. Gently tug on each connector to confirm a tight fit. This step will help prevent loose connections that could lead to malfunctions or power issues.
7. Optimize Cable Routing:
During the reassembly process, take the opportunity to optimize cable routing within your PC case. Proper cable management can improve airflow, reduce clutter, and enhance the overall aesthetics of your build.
8. Seek Inspiration:
Draw inspiration from online resources, forums, and PC build communities. Explore different sleeving techniques, color combinations, and cable management ideas. This can help you create a unique and visually appealing system that reflects your personal style.
Remember, practice makes perfect. Don’t be discouraged if your first attempt at sleeving isn’t flawless. With time and experience, you’ll develop the skills to master the art of sleeving a non-modular PSU.
Conclusion
Congratulations on completing the journey of sleeving a non-modular PSU! By taking the time to sleeve your cables, you have transformed your computer build, enhancing both its aesthetics and functionality.
Sleeving a non-modular PSU may seem like a daunting task, but with the right tools, materials, and guidance, you can achieve professional-looking results. By following the step-by-step guide and implementing the tips and tricks provided, you have successfully sleeved the cables of your non-modular PSU and improved cable management within your system.
Not only does sleeving your non-modular PSU offer visual benefits, such as a clean and organized appearance, but it also provides practical advantages, including improved cable management and optimized airflow within your PC case. These factors contribute to better system performance, stability, and longevity.
Remember, the sleeving process requires patience, precision, and attention to detail. Take your time, plan ahead, and ensure each step is performed accurately. Whether you’re an experienced PC enthusiast or a beginner, expanding your skills to include sleeving a non-modular PSU is a worthwhile endeavor.
Lastly, always prioritize safety when working with your computer’s power supply. Make sure to disconnect the PSU from the power source before beginning any sleeving or maintenance tasks. Exercise caution when using heat guns or lighters, and be mindful of static electricity to prevent damage to sensitive components.
Enjoy the fruit of your labor and admire the aesthetic upgrade you have given to your computer build. With your newly sleeved non-modular PSU, your system will not only perform optimally but also stand out as a unique reflection of your personal style and attention to detail.
Thank you for joining us on this sleeving journey. We hope this guide has been informative and inspiring, empowering you to take on new challenges and explore the world of custom PC building.