Introduction
Welcome to our guide on how to put a power supply in a PC case. The power supply is a vital component that provides the necessary electrical power to all the components in your computer. It is important to properly install and secure the power supply to ensure optimal performance and safety.
Whether you are building a new PC or replacing the existing power supply, this step-by-step guide will walk you through the process. We will cover everything from choosing the right power supply to connecting the cables and components.
Before we dive into the installation process, it’s essential to understand the importance of selecting the right power supply for your PC. The power supply’s wattage, efficiency rating, and connectors all play a significant role in ensuring compatibility and efficient power delivery.
In this guide, we will also provide tips on gathering the necessary tools and preparing the PC case before placing the power supply. Additionally, we will cover how to secure the power supply in the case and connect the cables to the various components.
Properly installing the power supply is crucial to avoid any damage to your computer’s hardware and to prevent potential electrical hazards. Following this guide will help you safely and effectively install the power supply in your PC case.
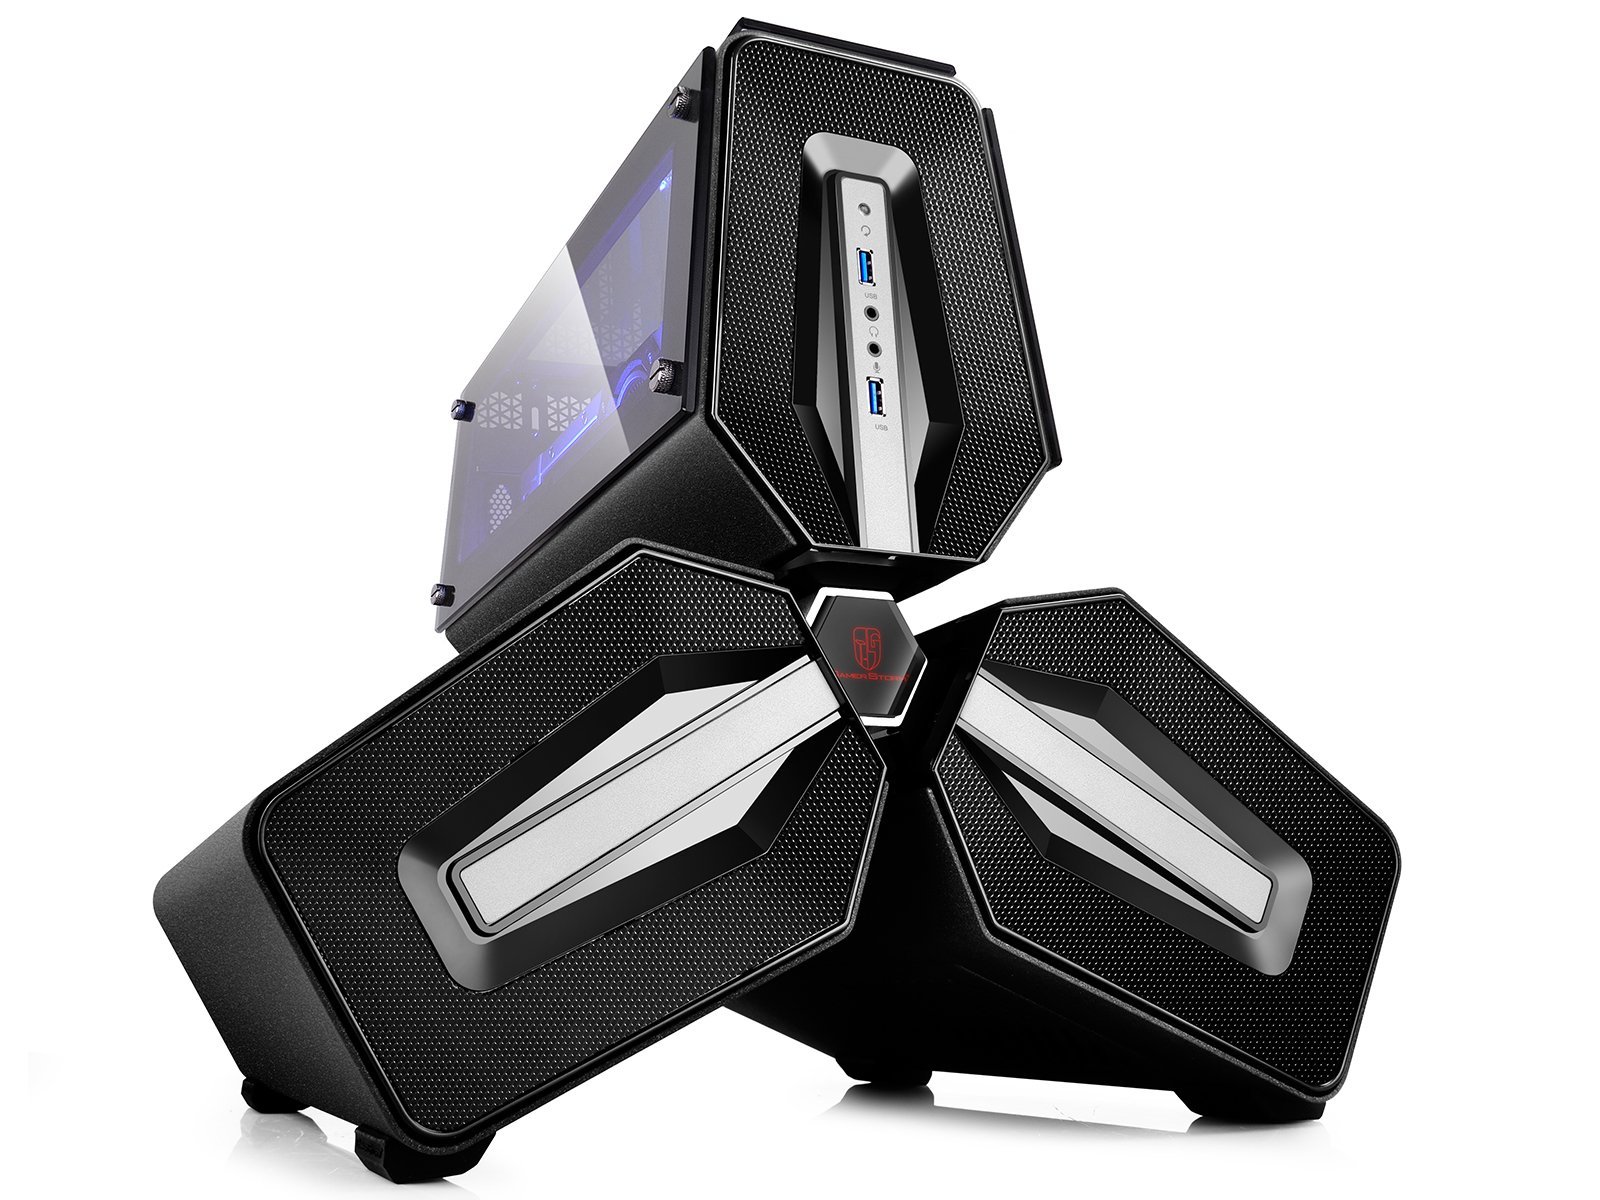
Choosing the Power Supply
When it comes to choosing a power supply for your PC, there are a few key factors to consider. The power supply’s wattage, efficiency rating, and connectors are all important factors to ensure compatibility and efficient power delivery.
The wattage of the power supply determines how much power it can provide to your components. It’s essential to choose a power supply with sufficient wattage to meet the needs of your computer. Consider the power requirements of your CPU, GPU, and other components, and choose a power supply with a wattage rating that exceeds those requirements. This will ensure that your system has enough power for normal operation and any potential future upgrades.
Another important consideration is the efficiency rating of the power supply. The efficiency rating indicates how effectively the power supply converts AC power from the wall outlet to DC power for your components. A higher efficiency rating means less wasted energy and lower electricity bills. Look for power supplies with 80 Plus certification, which guarantees a certain level of efficiency.
Next, consider the connectors on the power supply. Different components require different types of connectors, such as SATA power connectors for hard drives and SSDs, PCIe connectors for graphics cards, and CPU power connectors. Ensure that the power supply you choose has the necessary connectors for your components.
It’s also worth considering the brand and quality of the power supply. Opt for reputable brands known for their reliable and high-quality products. A good power supply will provide stable and clean power to your components, minimizing the risk of system instability or hardware damage.
Take into account any additional features or extras that may be important to you, such as modular cables for easier cable management, fanless operation for silent performance, or RGB lighting for customization.
By carefully considering the wattage, efficiency rating, connectors, brand, and features, you can choose a power supply that meets your specific requirements and ensures a stable and reliable power supply for your PC.
Gathering the Necessary Tools
Before you begin installing the power supply in your PC case, it’s essential to gather all the necessary tools. Having the right tools on hand will make the installation process smoother and more efficient.
Here are some tools and equipment you’ll need:
- Screwdriver – A Phillips head screwdriver is typically needed to secure the power supply in the case. Make sure you have the appropriate size for your case’s screws.
- Tweezers – Tweezers can come in handy for handling small screws or cables in tight spaces.
- Anti-static wrist strap – An anti-static wrist strap is optional but recommended to protect your computer components from electrostatic discharge (ESD) during the installation process.
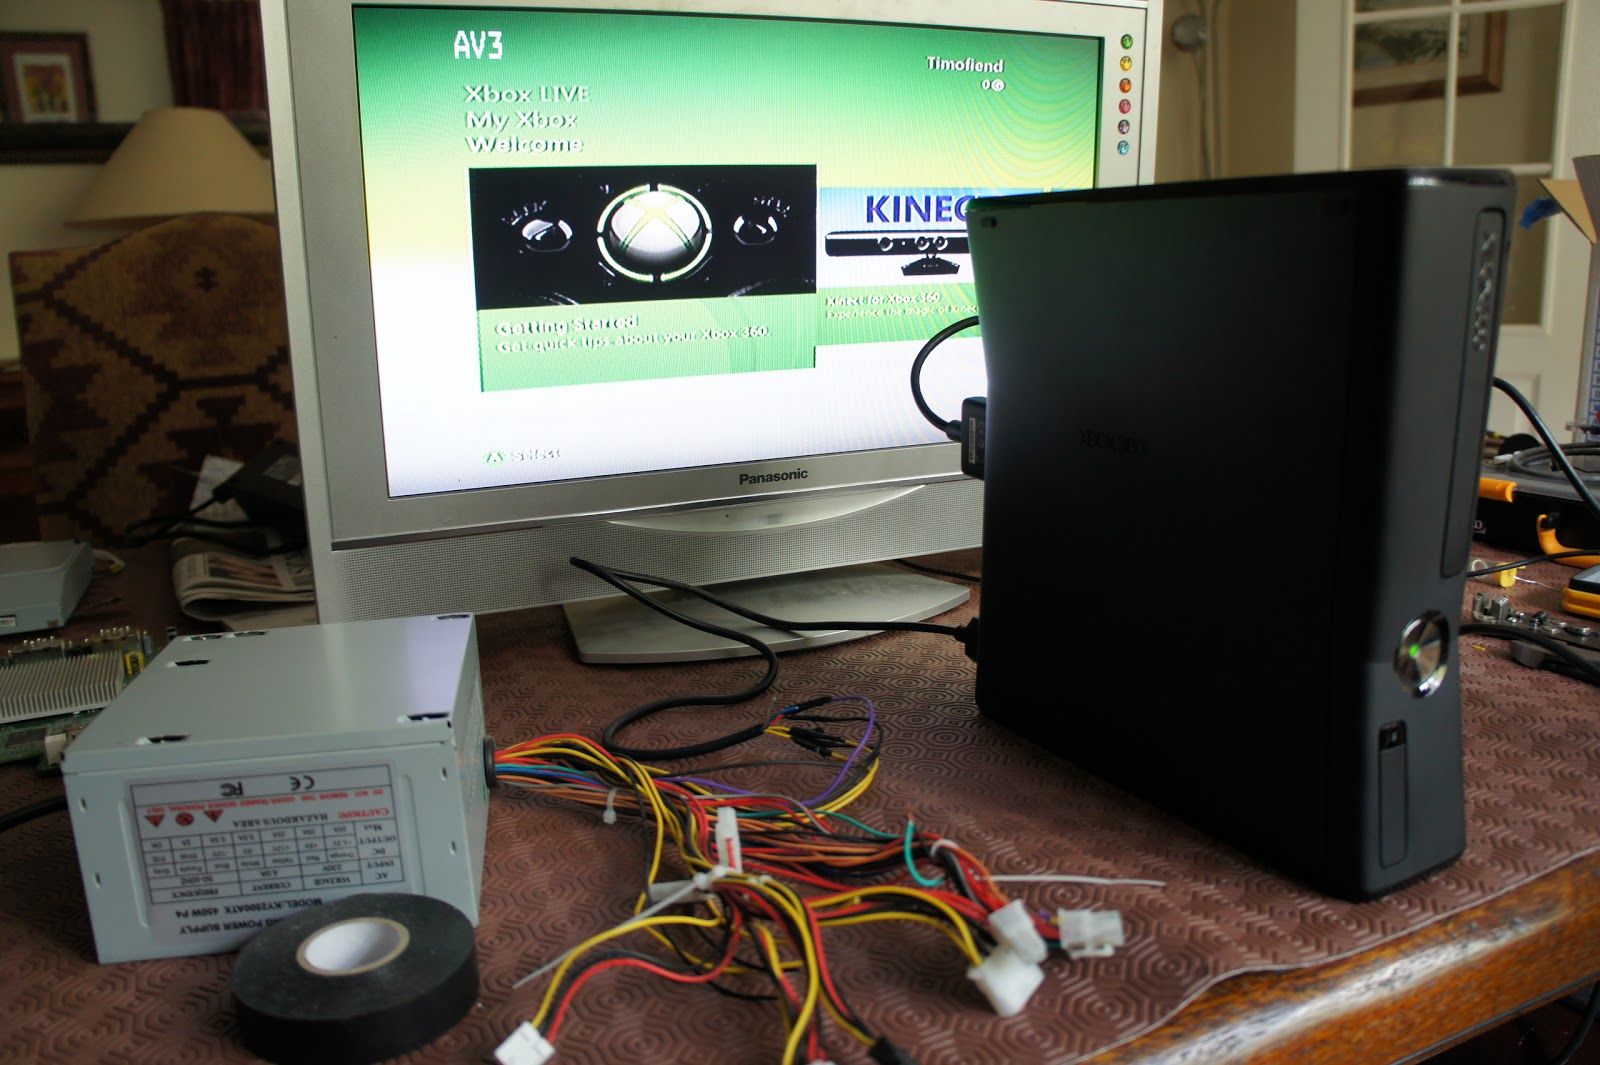
- Power supply cables – Depending on the specific power supply model, you may need to gather the necessary cables for connecting to your components. It’s important to have the required cables to ensure proper connectivity.
- Zip ties – Zip ties can be useful for cable management, keeping your cables neat and organized inside the case.
Before you start gathering the tools, it’s always a good idea to read the user manual or documentation that came with your power supply. The manual can provide valuable information on specific tools or additional components you may need for installation.
Having all the necessary tools ready at your workstation will make the installation process more efficient and minimize the risk of losing or misplacing any important components. It’s always better to be prepared beforehand to ensure a smooth and successful installation process.
Preparing the PC Case
Before installing the power supply in your PC case, it’s important to prepare the case to ensure a proper fit and optimal airflow. Preparing the PC case involves a few important steps:
- Open the PC case – Start by opening the PC case. This may involve removing screws or releasing latches depending on the design of your case. Check the user manual for specific instructions if needed.
- Clean the case – Take the opportunity to clean the inside of the case. Use compressed air or a soft brush to remove any dust or debris that may have accumulated. This will help improve airflow and prevent any potential obstructions to the power supply or other components.
- Identify the mounting location – Look for the designated mounting location for the power supply inside the case. Typically, it is located at the top or bottom of the case, towards the back. Refer to the user manual for specific instructions if you’re unsure.
- Remove any obstacles – Check for any cables, brackets, or other obstacles that may obstruct the installation of the power supply. Ensure that there is enough clearance and remove any unnecessary components that may be in the way.
- Mounting screws and brackets – Check if your case requires any mounting brackets or screws to secure the power supply. Some cases have built-in brackets, while others may require separate brackets to be installed. Consult the user manual for specific instructions and use the appropriate screws or brackets provided.
By properly preparing the PC case, you ensure that the power supply has a secure and well-fitted position within the case. It also helps to optimize airflow and prevent any potential issues during installation.
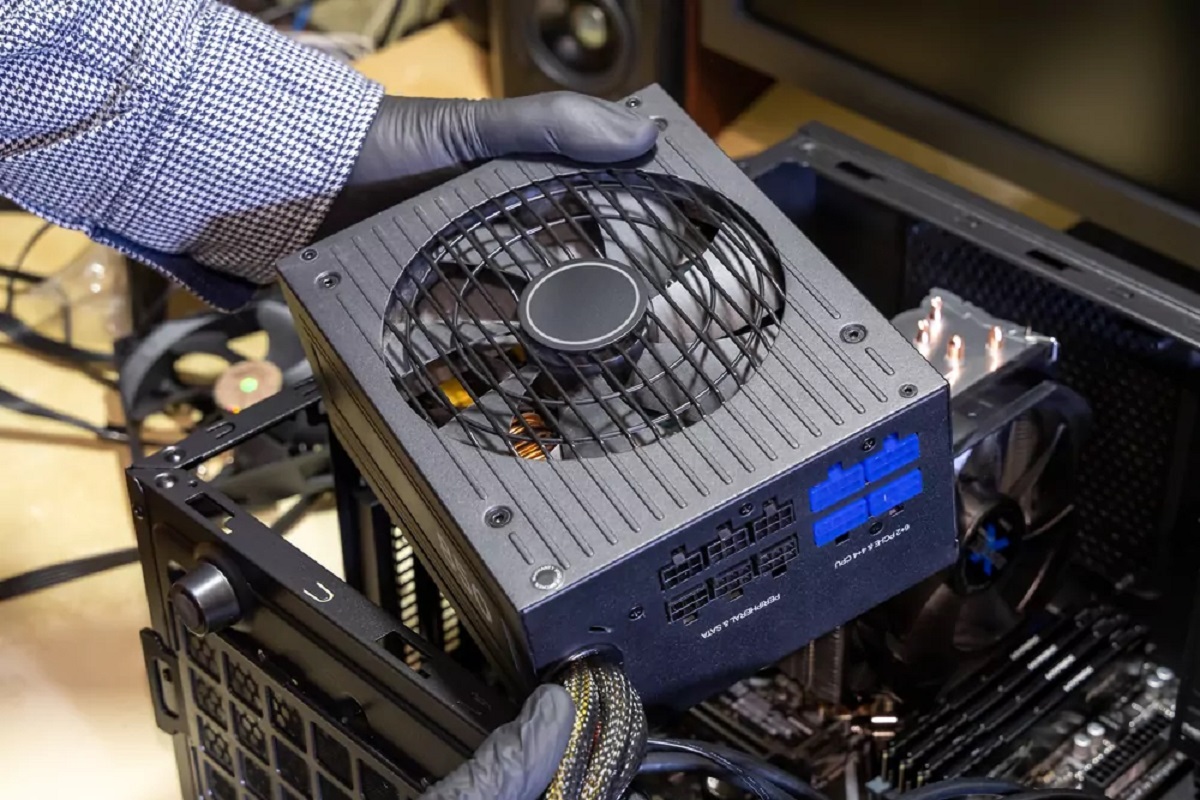
Placing the Power Supply in the Case
Once you have prepared the PC case, it’s time to place the power supply inside. Follow these steps to ensure a proper placement:
- Locate the mounting area – Identify the designated mounting area for the power supply in your PC case. This is typically located at the top or bottom of the case, towards the back.
- Align the power supply – Align the power supply with the mounting area, making sure that the fan and cables face the appropriate direction. Most cases have a vented area or a designated spot for the power supply fan to ensure proper ventilation.
- Slide in the power supply – Slowly slide the power supply into the mounting area, ensuring that it fits snugly. Be cautious not to force it or apply excessive pressure, as this can damage the power supply or the case.
- Check for alignment – Double-check the alignment of the power supply to ensure that it is evenly positioned within the case. Make sure that the screw holes on the power supply align with the corresponding holes in the case.
It’s important to note that some cases may require the power supply to be installed from the back of the case. In such cases, you may need to remove a backplate to access the mounting area. Refer to your case’s user manual for specific instructions.
Take your time during this step to ensure that the power supply is properly placed within the case. A secure and well-fitted power supply will help prevent any potential issues and ensure effective cooling and ventilation for your components.
Securing the Power Supply
Once the power supply is properly placed inside the PC case, the next step is to secure it in place. Securing the power supply ensures that it remains stable and prevents any movement or vibrations that could potentially damage the components or disrupt the airflow. Follow these steps to secure the power supply:
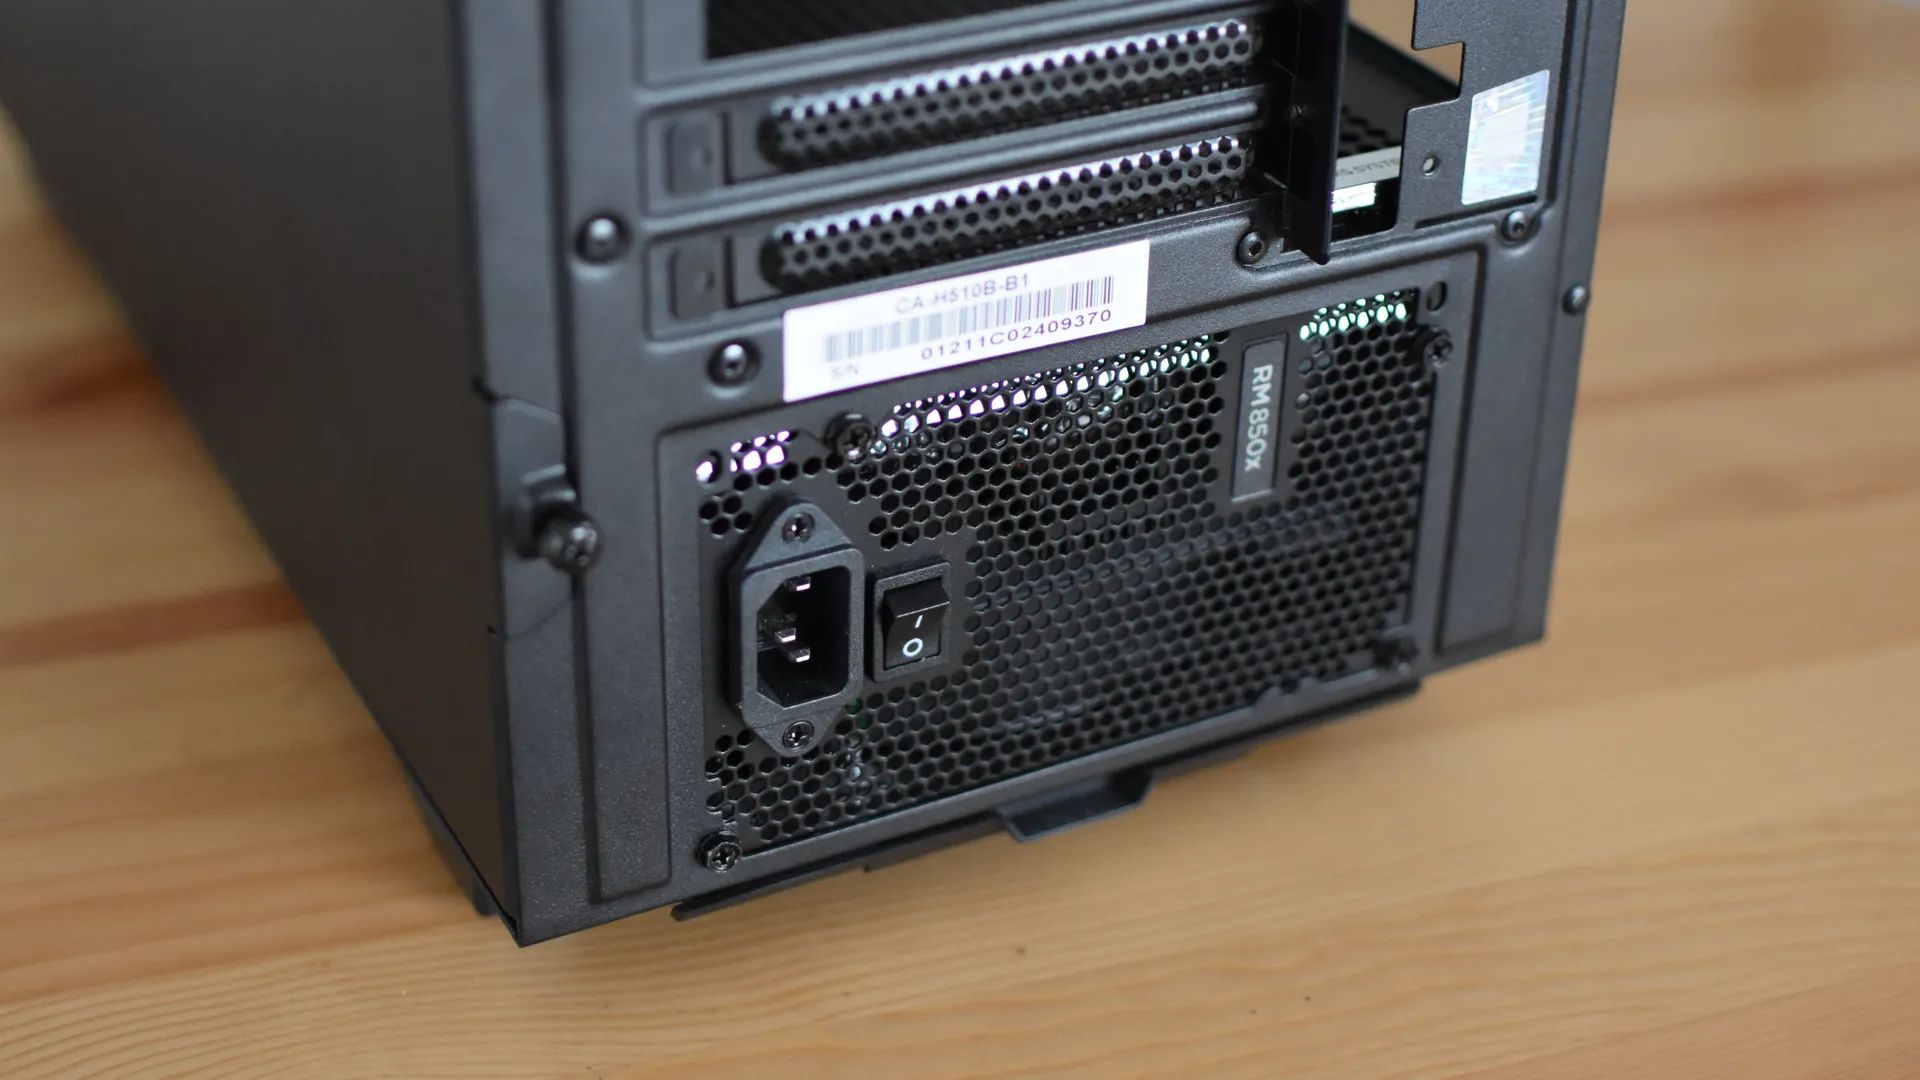
- Locate the mounting screw holes – Identify the mounting screw holes on the power supply and the corresponding holes in the case. These holes are typically located on the rear side of the power supply and align with the screw holes in the case.
- Insert the screws – Take the appropriate screws and insert them into the screw holes, aligning them with the holes on the case. Use a screwdriver to tighten the screws, but be careful not to overtighten them, as it could damage the case or strip the screws.
- Double-check the stability – After securing the screws, gently shake the case to ensure that the power supply remains stable and doesn’t move. If there is any movement, tighten the screws a bit more, ensuring a secure fit.
It’s important to use the proper screws provided with your case or power supply to ensure a secure attachment. Using incorrect screws can lead to instability and potential damage to the components and the case.
Once the power supply is securely fastened, it’s time to move on to the next step of connecting the necessary cables from the power supply to the various components in your PC.
By properly securing the power supply in the case, you ensure stable and reliable performance, as well as prevent any potential damage or disruption caused by loose components.
Connecting Cables and Components
Now that the power supply is securely mounted in the case, it’s time to connect the necessary cables to the various components in your PC. Follow these steps to ensure a proper and efficient connection:
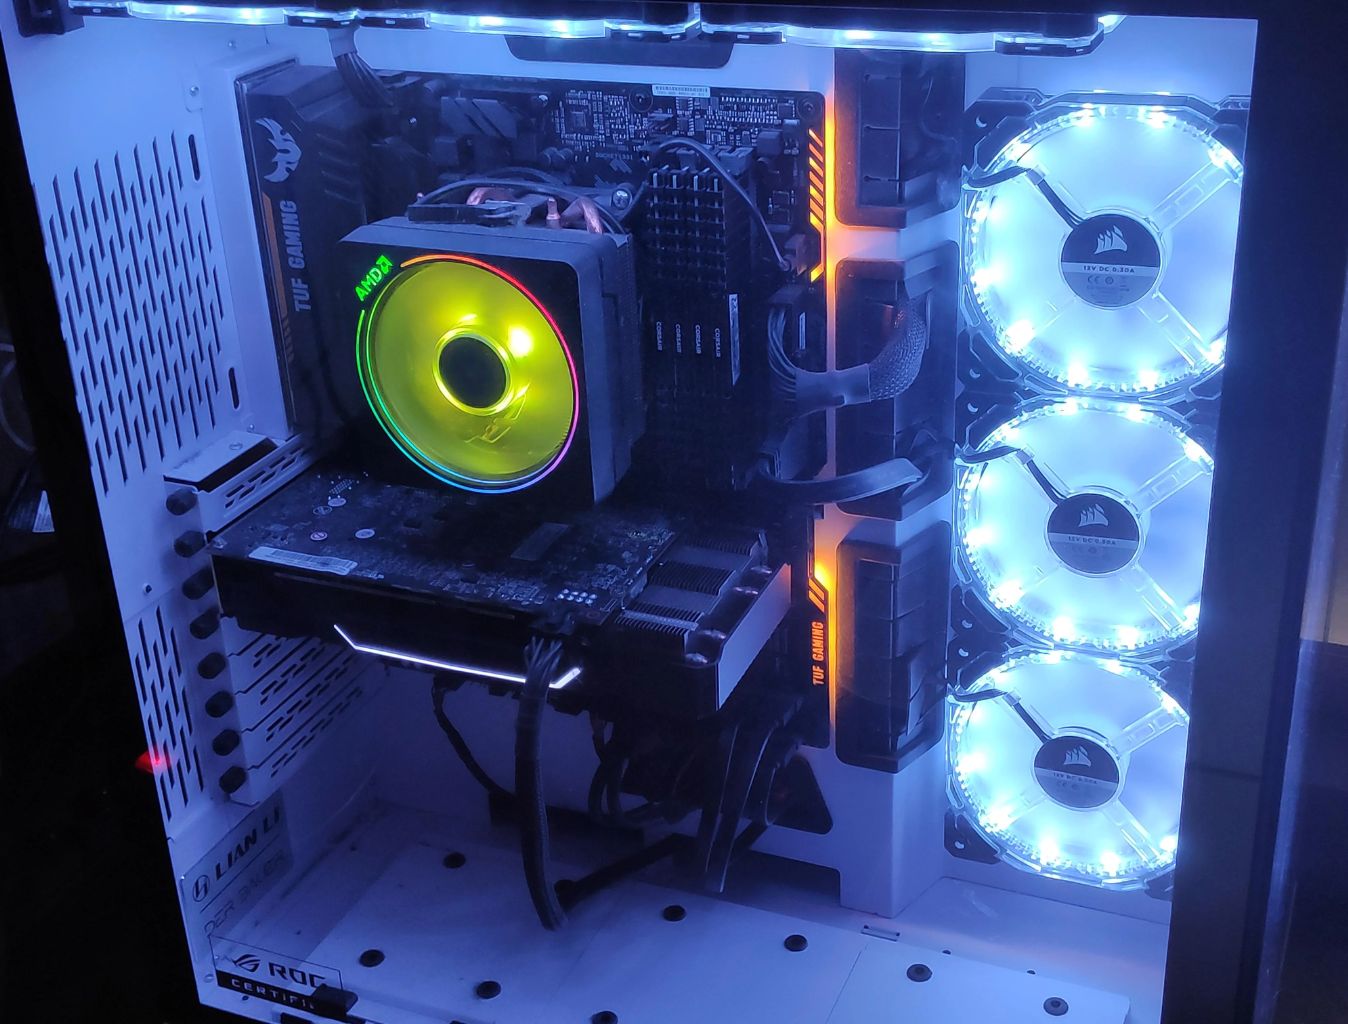
- Cable management – Before connecting any cables, take a moment to plan your cable management strategy. Keeping cables organized and neatly arranged will not only improve airflow but also make future upgrades or maintenance easier.
- Main motherboard power – Locate the main motherboard power connector on the power supply. Connect the corresponding cable to the motherboard’s power socket. This cable provides power to the motherboard and is usually a large 24-pin connector.
- CPU power – Locate the CPU power connector on the power supply. Connect the corresponding cable to the CPU power socket on the motherboard. This cable is typically an 8-pin or 4+4-pin connector.
- Graphics card power – If you have a dedicated graphics card that requires additional power, locate the appropriate PCIe power connectors on the power supply. Connect the corresponding cables to the graphics card’s power sockets. Depending on your graphics card, you may need 6-pin, 8-pin, or a combination of both connectors.
- Storage drives – Connect the necessary power cables to your storage drives, such as hard drives and solid-state drives (SSDs). Most modern drives use SATA power connectors, which can be connected to the power supply using SATA power cables.
- Other components – If you have any additional components that require power, such as optical drives or fan controllers, connect the necessary power cables from the power supply to these components.
As you connect the cables, be mindful of cable routing and ensuring that they are not in the way of any fans or obstructing airflow. Use zip ties or cable management solutions to secure the cables and keep them organized.
Double-check all connections to ensure they are securely plugged in. Loose connections can result in unreliable performance or system instability.
Once all the necessary cables are connected, you have successfully completed the process of connecting the power supply to the various components in your PC.
Testing the Power Supply
After connecting all the necessary cables and components, it’s crucial to test the power supply to ensure that it is functioning correctly. Testing the power supply helps identify any potential issues early on and ensures that your PC will receive stable and reliable power. Follow these steps to test the power supply:
- Double-check connections – Before proceeding with the test, double-check all the connections to ensure they are securely plugged in. Verify that the power cable is properly connected to both the power supply and the wall outlet.
- Power on the PC – Press the power button on your PC to turn it on. If the power supply is functioning correctly, you should hear the fans spinning, and the lights on the components should illuminate.
- Monitor the PC’s performance – Once the PC powers on, monitor its performance closely. Check if all the components are working properly, including the CPU, GPU, and storage devices. Make sure there are no unusual noises, overheating, or error messages.
- Stress tests – To further test the power supply’s stability, you can run stress tests or demanding tasks on your PC, such as gaming or running resource-intensive software. Pay attention to any performance issues or system crashes that may indicate a faulty power supply.
If you encounter any issues during the testing process, it might be a sign of an inadequate or faulty power supply. In such cases, consider consulting with a professional or contacting the manufacturer for further assistance or warranty claims.
However, if the power supply passes the testing phase without any apparent issues, you can proceed to use your PC and enjoy its reliable performance. Remember to regularly monitor your PC during usage to identify any potential power-related problems that may arise in the future.
Testing the power supply is an essential step in ensuring the stability and performance of your PC. By verifying the functionality of the power supply, you safeguard against potential problems and ensure smooth operations for your computer.
Conclusion
Installing and setting up a power supply in your PC case is a crucial step in ensuring the proper functioning and stability of your computer. By following the steps outlined in this guide, you can successfully install and connect the power supply, resulting in a reliable power source for your PC components.
Remember to carefully choose a power supply that meets your system’s requirements in terms of wattage, efficiency rating, and compatibility with your components. Gathering the necessary tools beforehand and preparing the PC case will make the installation process smoother.
When placing the power supply in the case, take care to align it properly and securely fasten it using the appropriate screws. Connecting the cables to the various components requires attention to cable management and ensuring secure connections.
Lastly, don’t forget to test the power supply to ensure it is functioning correctly by powering on the PC and monitoring its performance. This step helps identify any potential issues and ensures the stability of your PC’s power supply.
With the power supply properly installed and tested, you can now enjoy using your computer with confidence, knowing that it is powered by a reliable and efficient source.
If you encounter any difficulties or have further questions, don’t hesitate to consult the user manual or seek assistance from a professional. Proper installation and maintenance of the power supply will help prolong the life of your computer and provide a seamless and uninterrupted experience for your computing needs.