Introduction
Welcome to the world of Roku, a popular streaming platform that provides access to a vast array of entertainment channels. Whether you’re a movie buff, sports enthusiast, or seeking educational content, Roku has something for everyone. To unlock the full potential of your Roku device, you’ll need to add channels. In this guide, we’ll walk you through the step-by-step process of adding channels to your Roku.
Roku channels are essentially apps or services that offer a wide range of content, from movies and TV shows to news, sports, and games. The Roku Channel Store is home to thousands of channels, including popular options like Netflix, Hulu, Amazon Prime Video, and Disney+. You can even find niche channels catering to specific interests like cooking, fitness, or travel.
Adding channels to your Roku is a simple and straightforward process. You don’t need any technical expertise or advanced knowledge of HTML. All you need is your Roku device, a stable internet connection, and a few minutes of your time. In the following sections, we’ll guide you through the step-by-step process, from accessing the Roku Channel Store to finding and launching your newly added channels.
So, whether you’re looking to catch up on your favorite television shows, explore new documentaries, or indulge in the latest blockbusters, get ready as we show you how to expand your Roku experience by adding exciting channels to your streaming lineup.
Step 1: Accessing the Roku Channel Store
Before you can add channels to your Roku, you’ll need to navigate to the Roku Channel Store. The Channel Store is where you’ll find a wide selection of channels to choose from.
To access the Roku Channel Store, follow these steps:
- Make sure your Roku device is powered on and connected to your TV.
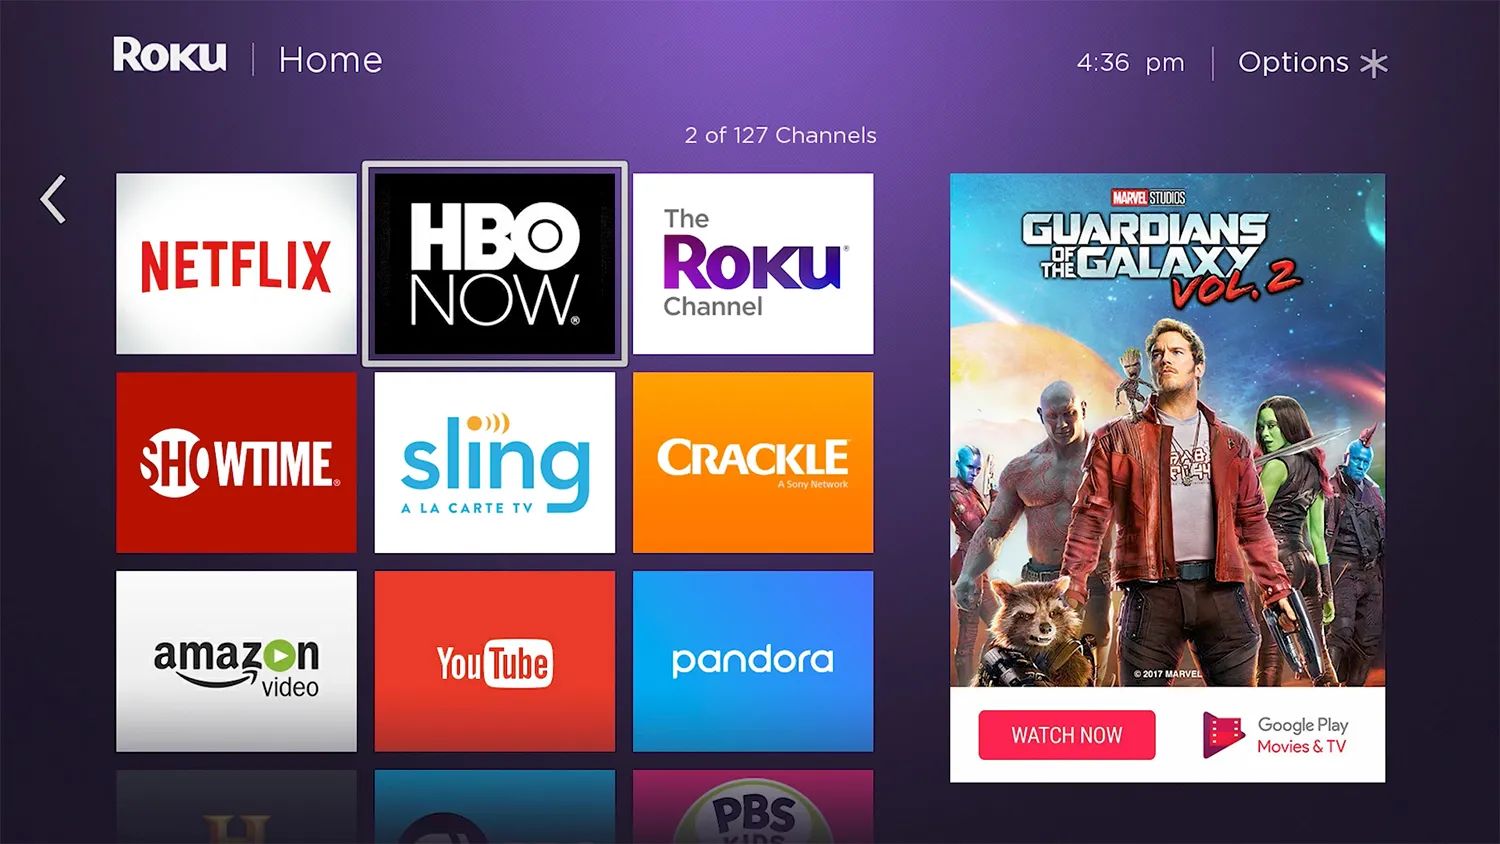
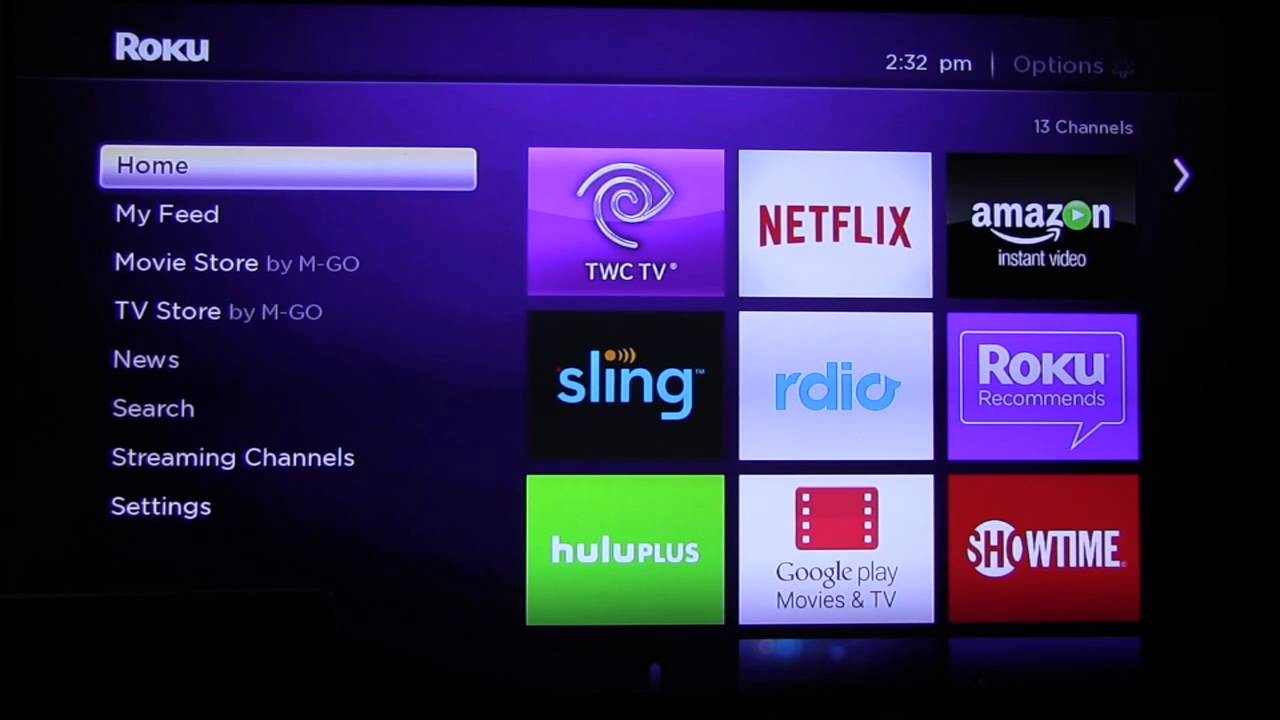
- Using your Roku remote, press the Home button. This will take you to the Roku home screen.
- On the home screen, navigate to the left side menu by pressing the left arrow button on your remote.
- Scroll down and select “Streaming Channels” to open the Roku Channel Store.
Once you select “Streaming Channels,” a new screen will appear displaying various categories and featured channels. This is your gateway to explore the wide world of Roku channels.
If you prefer a quicker method to access the Roku Channel Store, you can also use the Roku mobile app. Simply open the app on your smartphone or tablet, select the “Channels” tab, and tap “Channel Store.” This option allows you to browse and add channels directly from your mobile device.
Now that you’ve successfully accessed the Roku Channel Store, you’re ready to explore the vast collection of channels available. In the next step, we’ll guide you on how to browse the Channel Store and find the channels that pique your interest.
Step 2: Browse the Channel Store
Once you’re inside the Roku Channel Store, you’ll have the opportunity to browse through a variety of channels to find the ones that suit your interests. The Roku Channel Store offers multiple ways to navigate and discover new channels.
Here are a few ways you can browse the Channel Store:
- Featured Channels: The first thing you’ll see when you enter the Roku Channel Store is a selection of featured channels. These channels are handpicked by Roku and are typically popular or newly added options. You can scroll through the featured channels section to see if anything catches your eye.
- Categories: The Channel Store is organized into different categories to help you narrow down your search. Some of the popular categories include Movies & TV, News, Sports, Kids & Family, Music, and more. Simply select a category that aligns with your interests to explore channels specifically related to that genre.
- Search Functionality: If you have a specific channel in mind or want to search for channels based on keywords, you can use the search functionality in the Roku Channel Store. Simply enter the name or relevant keywords in the search bar, and Roku will display channels that match your query.
- Top Free / Top Paid: Roku provides a list of top free and top paid channels. This list can be helpful if you’re looking for the most popular channels or are willing to invest in premium content.
- New & Notable: Roku highlights new and notable channels that have recently been added to the Channel Store. This section is perfect for those who want to stay updated on the latest additions and explore fresh content options.
As you browse through the Channel Store, you can also read channel descriptions, user ratings, and reviews to get more information about each channel. This will help you make an informed decision before adding a channel to your Roku.
Once you’ve found a channel that interests you, it’s time to move on to the next step: selecting and adding the channel to your Roku device.
Step 3: Select the Channel
After browsing through the Roku Channel Store and finding a channel that catches your attention, the next step is to select and access the channel’s details page. This page provides you with more information about the channel and allows you to proceed with adding it to your Roku device.
Here’s how you can select a channel:
- Using your Roku remote, navigate through the Channel Store using the directional buttons (up, down, left, right).
- As you scroll through the available channels, focus on the channel you wish to select. You can use the highlighted box or cursor to guide you.
- Once you’ve highlighted the desired channel, press the OK or Select button on your remote to access the channel’s details page.
On the channel’s details page, you’ll find important information such as a brief description of the channel, screenshots, reviews, and additional details specific to the channel. Take a moment to review this information to ensure it meets your expectations.
If you’re still unsure about the channel or want to explore more options, you can always go back to the Channel Store and continue browsing other channels. Roku offers a diverse selection, so you’re bound to find something that suits your interests.
Once you’re satisfied with your selection and have reviewed the channel’s details, you’re ready to move on to the next step: adding the channel to your Roku device. We’ll walk you through this process in the following step.
Step 4: Add the Channel
Now that you’ve selected a channel and accessed its details page, it’s time to add the channel to your Roku device. Adding a channel is a simple process, and Roku provides different options for adding channels based on your preferences.
Here’s how you can add a channel to your Roku:
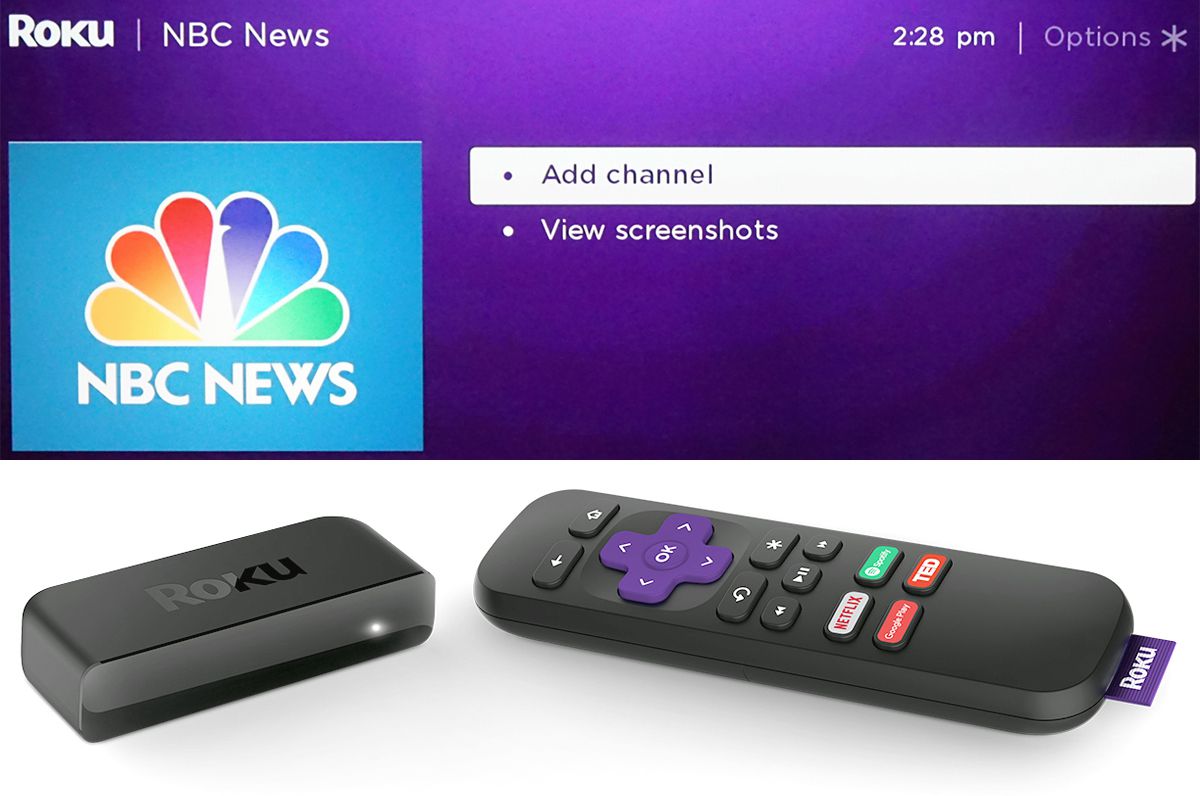
- On the channel’s details page, you’ll find an option labeled “Add Channel” or “Add to Roku.” Select this option using the OK or Select button on your Roku remote.
- If the channel is free, you’ll be prompted to confirm the addition. Simply select “Add Channel” or “Yes” to proceed.
- If the channel requires a subscription or payment, you’ll be redirected to another page where you can sign in or create an account and complete the necessary payment steps.
After you’ve added the channel, Roku will start the process of downloading and installing the channel onto your device. The time it takes to complete this process may vary depending on your internet connection speed and the size of the channel.
Once the channel is successfully added, you’ll see a confirmation message on your screen. Some channels may also provide an option to launch the channel immediately after adding it. If you’re ready to start enjoying the newly added channel, go ahead and select the “Go to channel” or “Launch channel” option.
It’s important to note that adding a channel to your Roku device doesn’t incur any additional charges from Roku itself. However, certain channels may require a subscription, rental fees, or in-app purchases to access their content. Always review the channel’s details and terms before adding and using the channel.
Now that you’ve added the channel to your Roku device, it’s time to move on to the next step: finding and launching the newly added channel. We’ll guide you through this process in the following step.
Step 5: Confirm the Channel Addition
After adding a channel to your Roku device, it’s always a good idea to confirm that the channel has been successfully added. This step ensures that the channel is installed and ready to use, giving you peace of mind.
Here’s how you can confirm the addition of a channel:
- Once you’ve added a channel, you’ll typically see a confirmation message on your screen. This message indicates that the channel has been added and is ready to use. Take a moment to read through the confirmation message to ensure that everything is in order.
- After confirming the channel addition, you can press the Home button on your Roku remote to return to the Roku home screen.
- On the home screen, navigate through your Roku channels by using the left or right arrow buttons on your remote. Look for the newly added channel in the list of channels.
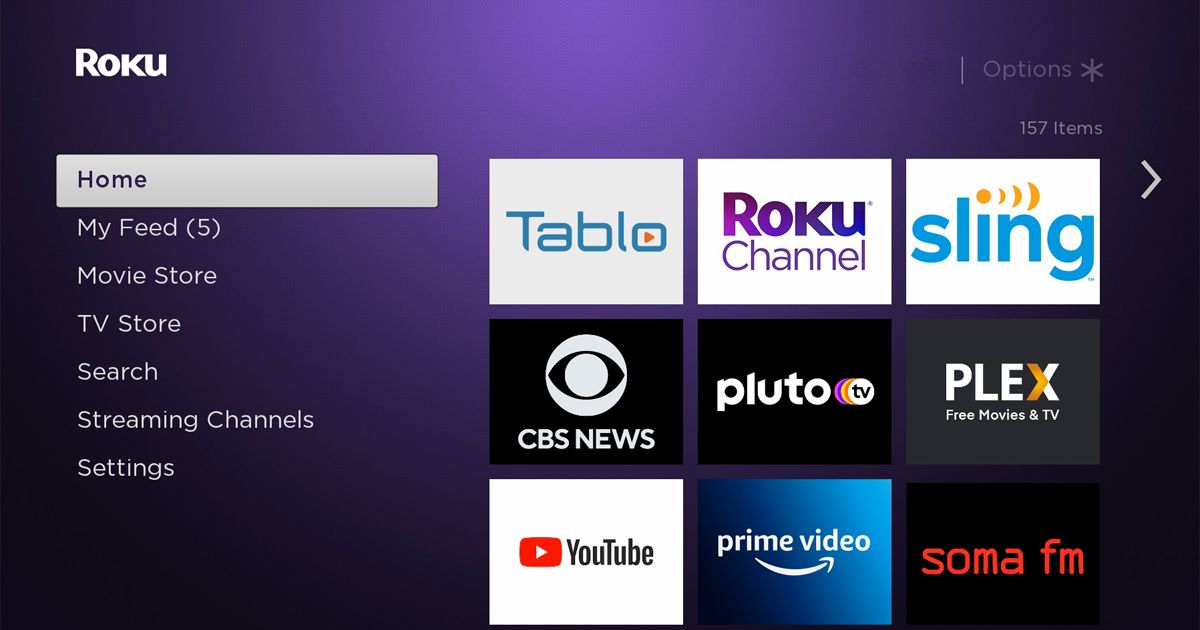
- If you don’t immediately see the added channel on the home screen, try navigating to the right side menu and selecting “My Channels.” This menu will display a complete list of all your installed channels, making it easier to find the newly added channel.
If you successfully locate the channel on your Roku home screen or in the “My Channels” section, this confirms that the channel has been added to your Roku device and is ready to be used. You can now proceed to the next step: finding and launching the newly added channel.
In case you encounter any issues or don’t see the newly added channel, ensure that you have a stable internet connection and that your Roku device is properly connected. You can also try restarting your Roku device and checking for any system updates. If the problem persists, consult the Roku support website for troubleshooting assistance.
With the channel addition confirmed, let’s move on to the next step and learn how to find and launch the newly added channel.
Step 6: Finding and Launching the New Channel
Now that you’ve confirmed the addition of a new channel to your Roku device, it’s time to find and launch the channel so you can start enjoying its content. Roku provides different methods to locate and access your newly added channels.
Here are a few ways you can find and launch your new channel:
- Roku Home Screen: The most common way to find and launch your newly added channel is by navigating to the Roku home screen. From there, you can scroll through the list of channels until you find the one you added. You can use the directional buttons on your remote to browse through the channels and press the OK or Select button to launch the channel.
- Roku Channel Store: If you prefer, you can also access your newly added channel directly from the Roku Channel Store. Simply navigate back to the Channel Store, locate the channel you added, and select it to launch the channel.
- My Channels: Another method is to use the “My Channels” menu. Press the Home button on your Roku remote to go to the Roku home screen, scroll to the right side menu, and select “My Channels.” This menu displays all the channels installed on your Roku device, making it easy to find and launch your new channel.
- Voice Command: If your Roku device supports voice control, you can use the voice command feature to launch your new channel. Simply press the voice command button on your remote and say the name of the channel you added. Roku will recognize your command and launch the channel for you.
- Roku Mobile App: If you have the Roku mobile app installed on your smartphone or tablet, you can also use it to find and launch your newly added channel. Open the app, select “Channels,” and scroll through the list of channels until you find the one you added. Tap on the channel to launch it on your Roku device.
Choose the method that is most convenient for you and enjoy exploring the content available on your newly added channel. With just a few clicks or voice commands, you’ll be immersed in a world of entertainment right at your fingertips.
Congratulations! You have successfully found and launched your newly added channel on your Roku device. In the next step, we’ll discuss how to remove channels from your Roku if you decide you no longer want them.
Step 7: Removing Channels from Roku
As you explore and try out different channels on your Roku device, you may come across channels that you no longer wish to keep. Luckily, Roku makes it easy to remove unwanted channels from your device.
Here’s how you can remove channels from your Roku:
- On your Roku home screen, navigate to the channel you want to remove using the directional buttons on your remote.
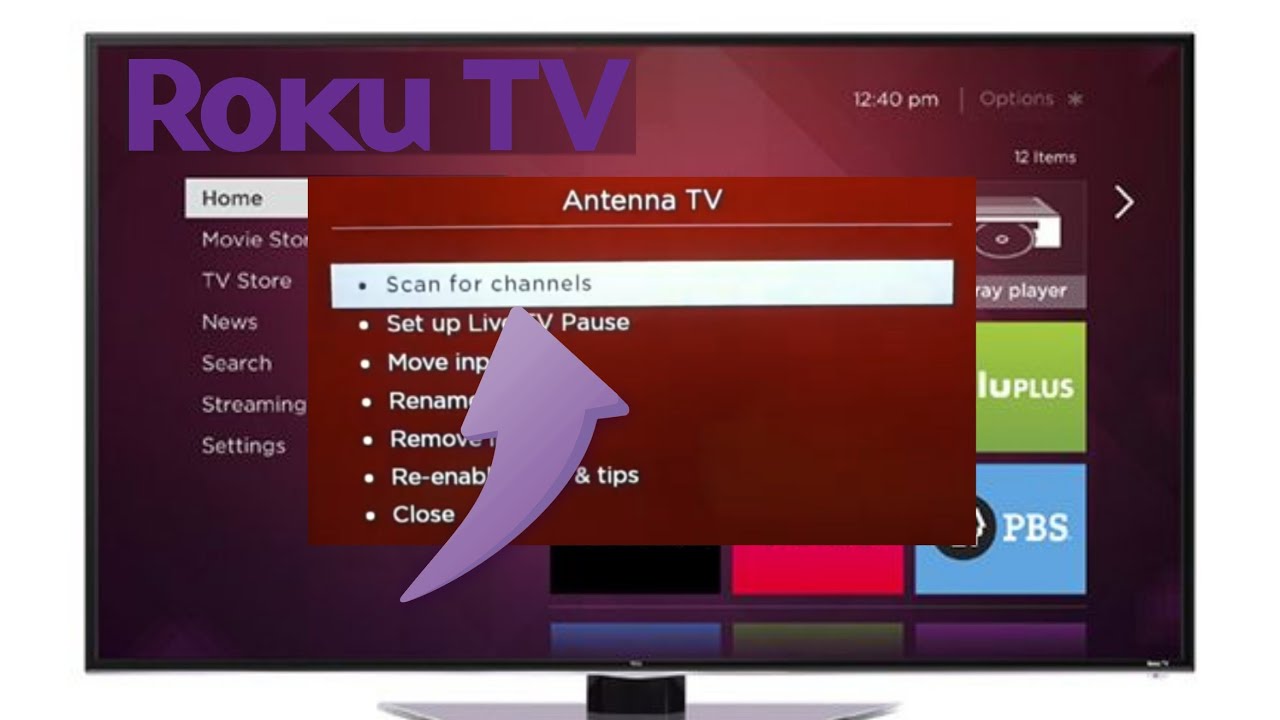
- Once you’ve highlighted the channel you want to remove, press the asterisk (*) button on your remote to bring up the options menu.
- In the options menu, select “Remove Channel” and press the OK or Select button.
After confirming the removal, the channel will be uninstalled from your Roku device. The process of removing the channel may take a few moments, depending on your internet connection speed.
Alternatively, you can also remove channels from your Roku using the Roku mobile app:
- Open the Roku mobile app on your smartphone or tablet and connect it to your Roku device.
- In the app, select “Channels” and scroll through the list until you find the channel you want to remove.
- Swipe left on the channel’s name to reveal the remove option.
- Tap on the “Remove” button to uninstall the channel from your Roku device.
By removing unwanted channels, you can declutter your Roku home screen and have quick access to the channels that truly matter to you.
It’s important to note that removing a channel from your Roku device doesn’t cancel any subscriptions or accounts associated with that channel. To cancel subscriptions or manage channel-specific settings, you’ll need to visit the channel’s website or follow the instructions provided by the channel provider.
Congratulations! You now know how to remove channels from your Roku device. With this knowledge, you can easily customize your Roku experience and keep your collection of channels up to date.
Conclusion
Adding channels to your Roku device is a straightforward process that allows you to expand your streaming options and access a wide variety of content. With the step-by-step guide outlined in this article, you can easily navigate the Roku Channel Store, select and add channels, and confirm their addition to your device. Additionally, we discussed how to find and launch your newly added channels, as well as how to remove unwanted channels from your Roku.
With thousands of channels available in the Roku Channel Store, you have the freedom to customize your streaming experience according to your preferences. Whether you’re looking for movies, TV shows, sports, news, or niche content, there’s a channel for every interest.
Remember to explore different categories, use the search functionality, and take advantage of Roku’s featured and top-rated channels to discover new and exciting content. Make sure to read channel descriptions, user ratings, and reviews to ensure the channels align with your preferences and expectations.
Roku provides various ways to access and control your channels, whether through the Roku home screen, Channel Store, or the Roku mobile app. This flexibility allows you to enjoy your favorite content from the comfort of your couch or on the go.
As you continue to explore the world of Roku, don’t forget to periodically check for new channels and updates in the Roku Channel Store. Roku constantly adds new and noteworthy channels to their collection, ensuring there’s always something fresh and exciting to discover.
So, grab your Roku remote and start adding channels to unlock a world of entertainment possibilities. Happy streaming!