Setting up your Roku
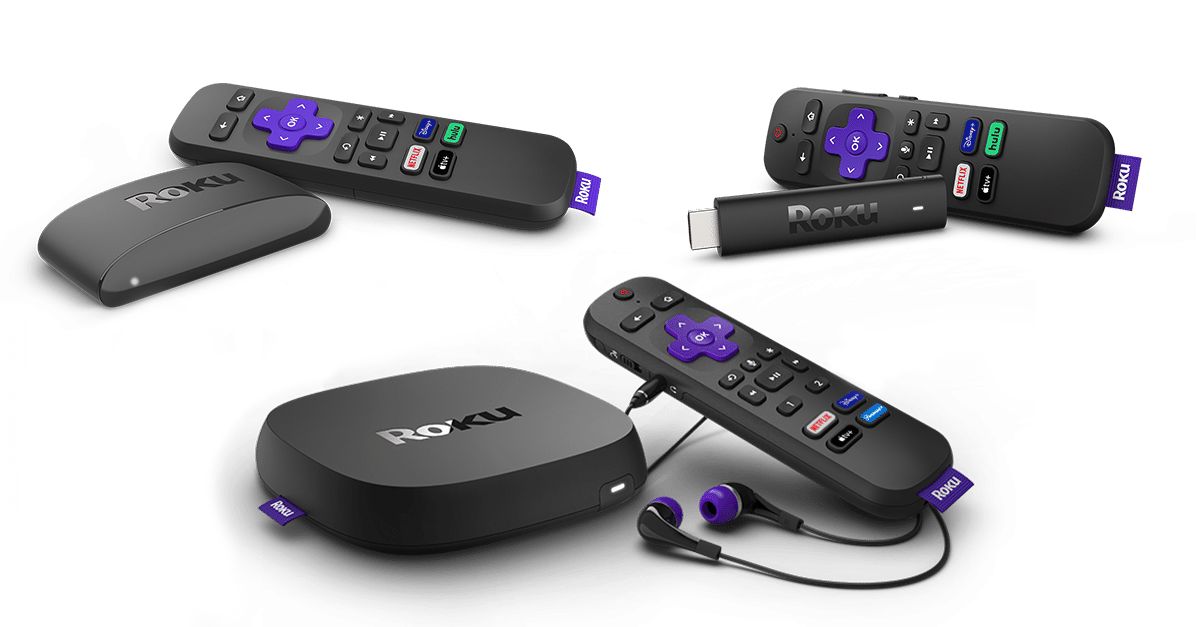
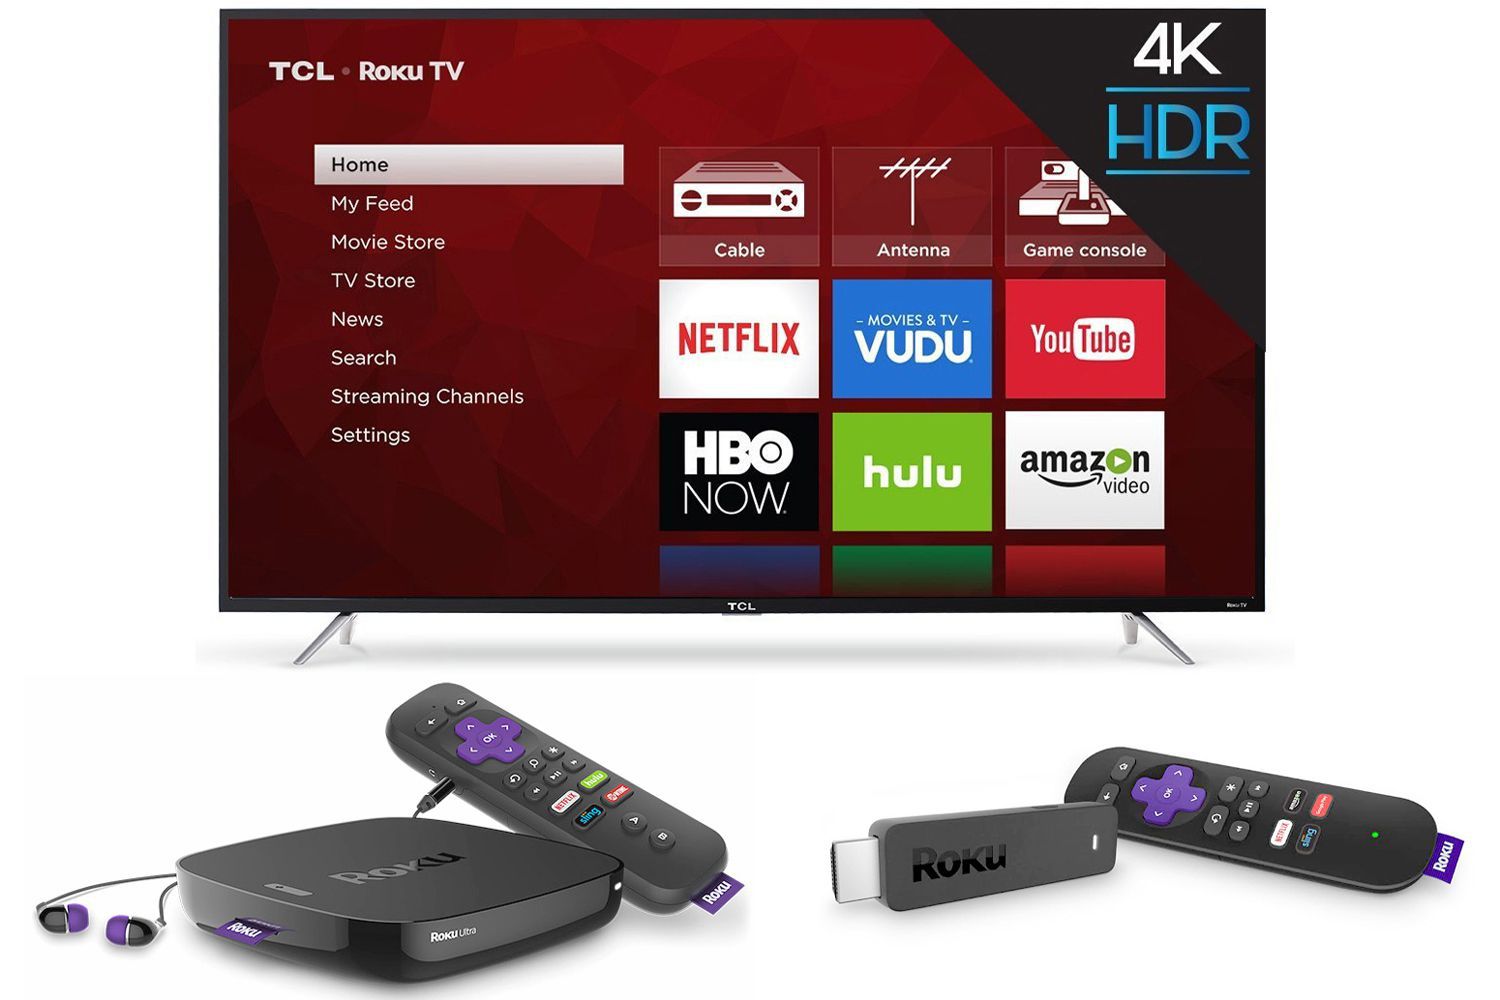
Setting up your Roku device is the first step to unlocking a world of entertainment. Whether you have the Roku Express, Roku Streaming Stick, or Roku Ultra, the setup process is fairly straightforward.
To begin, you’ll need to connect your Roku device to your TV. Most Roku devices come with an HDMI cable, so you can simply connect one end to the HDMI port on your TV and the other end to the HDMI port on your Roku device. If your TV doesn’t have an HDMI port, don’t worry! Roku also offers devices that support older TV models with composite or component cables.
Once you’ve connected your Roku device to your TV, you’ll need to set up a wireless connection. Roku devices are designed to connect to the internet via Wi-Fi, so ensure that you have a stable and secure wireless network in your home. During the setup process, your Roku device will scan for available Wi-Fi networks, and you’ll need to select your network and enter the password.
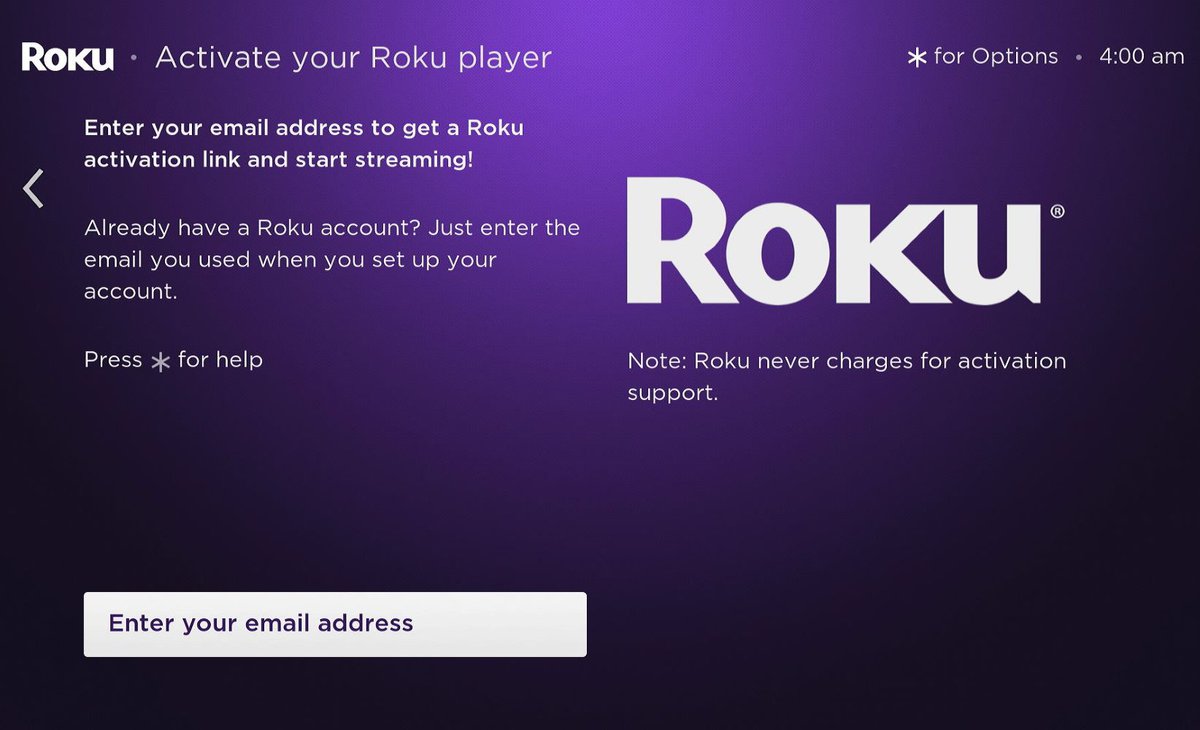
After connecting to Wi-Fi, you’ll be prompted to create a Roku account or sign in if you already have one. Creating an account is quick and easy, requiring only basic information. Once your account is set up, your Roku device will automatically update to the latest software version and display a unique activation code on your TV screen.
To complete the setup, visit the Roku website on your computer or smartphone and enter the activation code. This will link your device to your Roku account, allowing you to access a vast library of streaming channels and services. Once activated, your Roku device will restart, and you’ll be ready to start streaming!
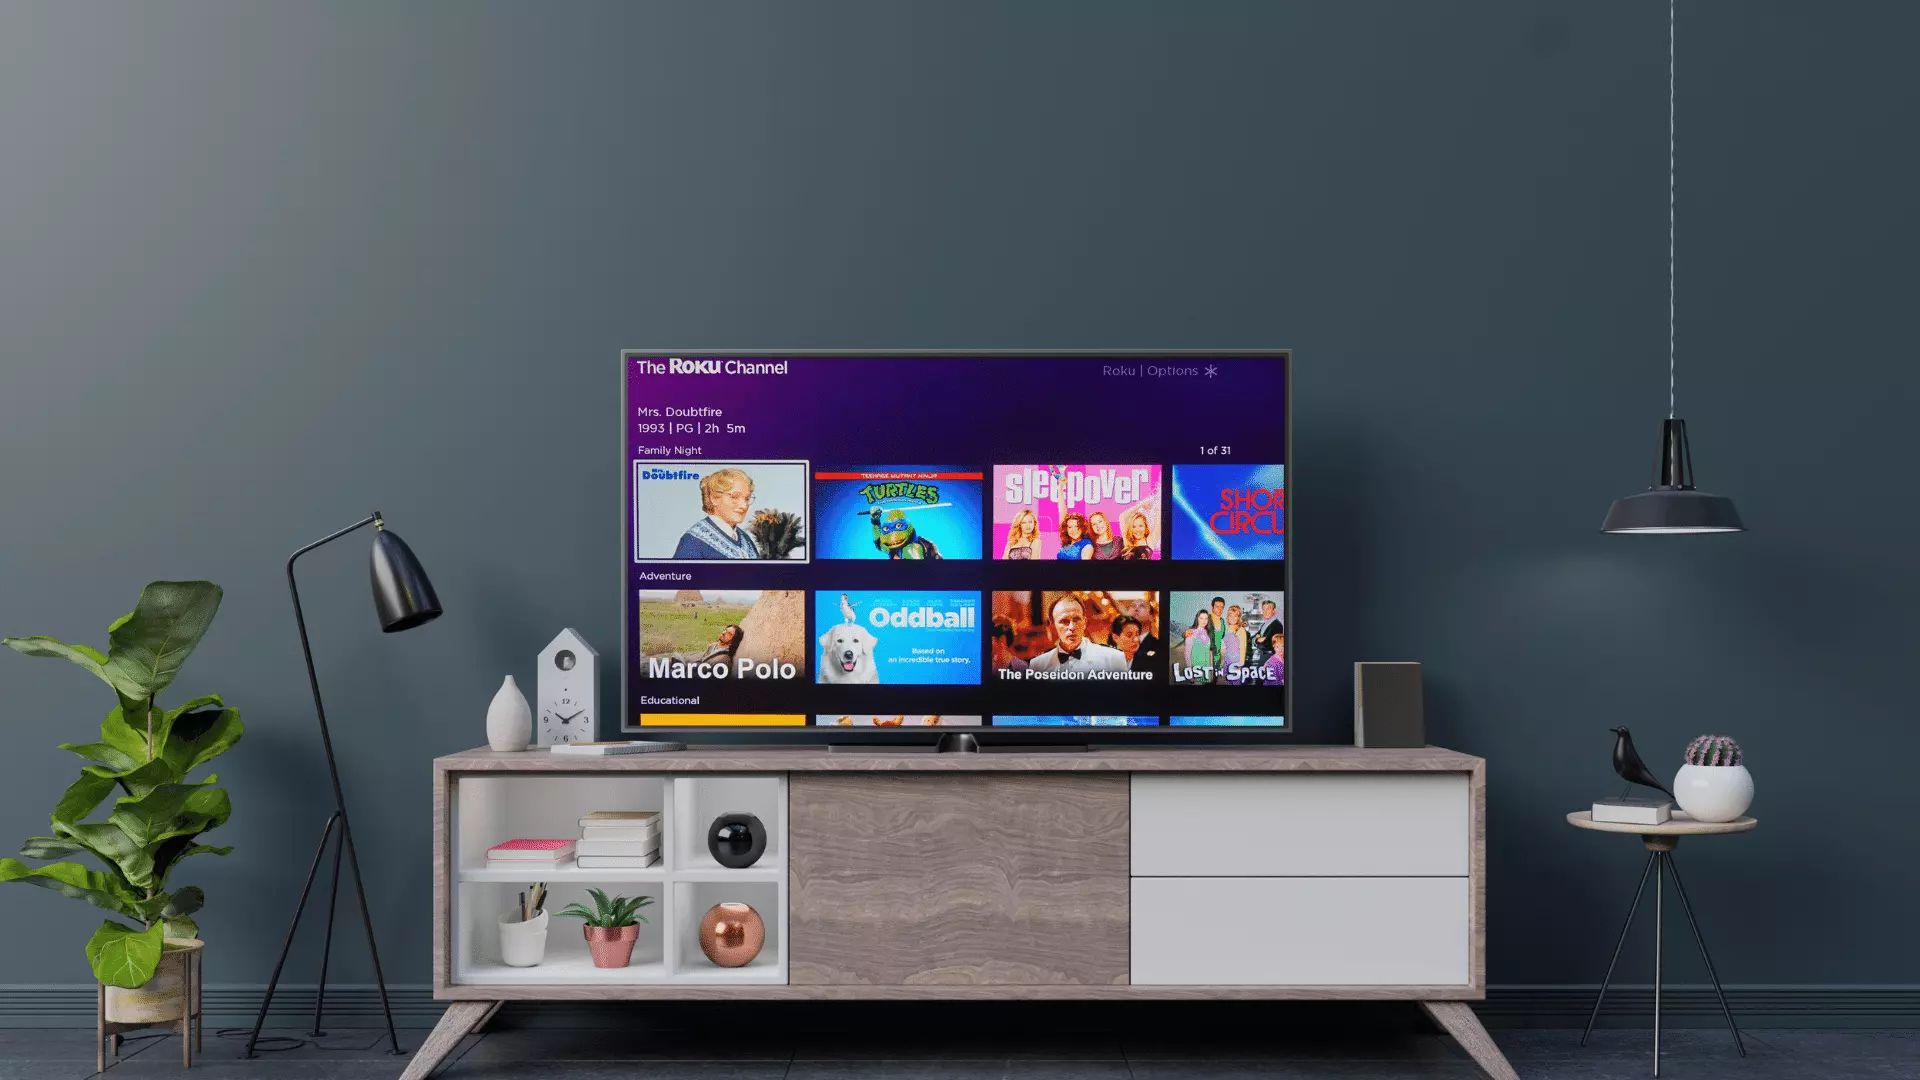
Now that your Roku device is set up, you’ll want to customize your channel lineup. The Roku Channel Store offers a diverse selection of streaming channels, including popular services like Netflix, Amazon Prime Video, Hulu, and more. Simply browse through the channel store, select the ones you want, and add them to your Roku device.
In summary, setting up your Roku is a simple process that involves connecting your device to your TV, connecting to a wireless network, creating a Roku account, and activating your device. Once set up, you can start personalizing your channel lineup and enjoying endless streaming entertainment.
Connecting your Roku to your TV
Connecting your Roku device to your TV is a crucial step in the setup process. Whether you have a Roku Express, Roku Streaming Stick, or Roku Ultra, the connection procedure remains fairly similar.
To begin, locate the HDMI port on your TV and plug one end of the HDMI cable into it. The other end of the cable goes into the HDMI port on your Roku device. If your TV doesn’t have an HDMI port, don’t worry! Roku also provides devices that support older TV models with composite or component cables.
Once you have connected your Roku to your TV, make sure to power on your TV and select the corresponding HDMI input. If everything is properly connected, you should see the Roku logo or the home screen of your Roku device.
If you’re using a Roku Streaming Stick, it fits directly into the HDMI port on your TV, eliminating the need for cables. However, make sure that your TV has a powered USB port or use the provided power adapter to ensure the device receives enough power.
In the case of a Roku Ultra, it offers additional audio connection options. You can connect your Roku Ultra to your TV via HDMI or use an optical or analog audio cable to enhance your audio experience.
If you’re using a Roku device with composite or component cables, connect the corresponding cables to the matching ports on your TV. Make sure to match the colors of the cables to the colors of the ports for proper connectivity.
Once you have established the connection between your Roku device and your TV, you can proceed with the setup process by following the on-screen instructions or configuring additional settings according to your preferences.
It’s important to note that Roku devices typically require a stable internet connection for streaming content. So, make sure that your Wi-Fi network is set up and your Roku is connected to it to fully enjoy the streaming experience.
With your Roku properly connected to your TV, you’re now ready to dive into the world of endless entertainment that Roku has to offer.
Setting up wireless connection
Setting up a wireless connection is an essential part of configuring your Roku device. With a stable and secure wireless network, you can enjoy seamless streaming of your favorite movies, TV shows, and more. Here’s a step-by-step guide to help you set up a wireless connection on your Roku device.
1. Power on your Roku device and your TV. Navigate to the Roku home screen using your Roku remote.
2. From the home screen, select “Settings” and then choose “Network”.
3. In the Network settings, select “Wireless (Wi-Fi)” and then choose “Set up new Wi-Fi connection”.
4. Your Roku device will start scanning for available Wi-Fi networks. Once it detects the networks in range, select your network from the list.
5. If your network is secured with a password, enter the password using the on-screen keyboard. Pay close attention to capitalization and special characters as you enter the password.
6. After entering the password, select “Connect” to establish the wireless connection between your Roku device and your Wi-Fi network.
7. Wait for your Roku device to connect to the network. Once connected, you’ll see an “Excellent” signal strength indication on your screen. This ensures a strong and stable connection for streaming.
8. If your Roku device fails to connect or if you encounter any issues during the process, make sure that your Wi-Fi router is within range and properly functioning. Check that you have entered the correct password and that your network is active and accessible.
9. If necessary, you can also manually enter your network SSID (Wi-Fi name) by choosing “I don’t see my network” during the Wi-Fi setup process. Enter your network name, select the appropriate security type, and enter your password to connect.
10. Once your Roku device successfully connects to your Wi-Fi network, it will automatically check for software updates. If any updates are available, your device will download and install them, ensuring that you have the latest features and enhancements.
Setting up a wireless connection on your Roku device is crucial for accessing the wide variety of streaming content available. By following these steps, you can ensure a smooth and reliable streaming experience on your Roku device.
Creating a Roku account
Creating a Roku account is an important step to fully access the features and content available on your Roku device. With a Roku account, you can personalize your streaming experience, add channels, and manage your preferences. Here’s a guide to help you create a Roku account:
1. On your Roku device, navigate to the Roku home screen using your Roku remote.
2. Select “Sign in” or “Create account” from the menu options.
3. If you already have a Roku account, choose “Sign in”. Enter your email address and password associated with your Roku account, and follow the prompts to sign in to your account.
4. If you do not have a Roku account, select “Create account”. You will be directed to the account creation page.
5. Provide the necessary information to create your Roku account, including your first name, last name, email address, and password. Choose a secure password that meets the specified criteria.
6. After entering your information, select “Continue” to proceed to the next step.
7. On the next page, you will be prompted to add a payment method. While adding a payment method is optional, it allows you to rent or purchase content from the Roku Channel Store. You can choose to add a credit card, PayPal account, or choose “Skip, I’ll add later” if you don’t want to add a payment method at this time.
8. Once you have added or skipped the payment method, review the terms and conditions, and privacy policy. Select the checkbox to indicate that you have read and agree to the terms.
9. Finally, select “Continue” to complete the account creation process. Your Roku account will be created, and your Roku device will automatically sign in with your new account.
It’s worth noting that you can also create a Roku account online by visiting the Roku website. Simply click on “Sign in” or “Create account” and follow the prompts to set up your account. Once your account is created, you can sign in to your Roku device using your email address and password.
A Roku account is essential for unlocking the full potential of your Roku device. It allows you to customize your streaming experience and access a wide range of channels and content.
Adding channels to your Roku
One of the key benefits of owning a Roku device is the ability to access a vast array of streaming channels. Whether you’re a movie lover, sports enthusiast, or news junkie, Roku offers a wide range of channels to suit your preferences. Here’s how you can add channels to your Roku device:
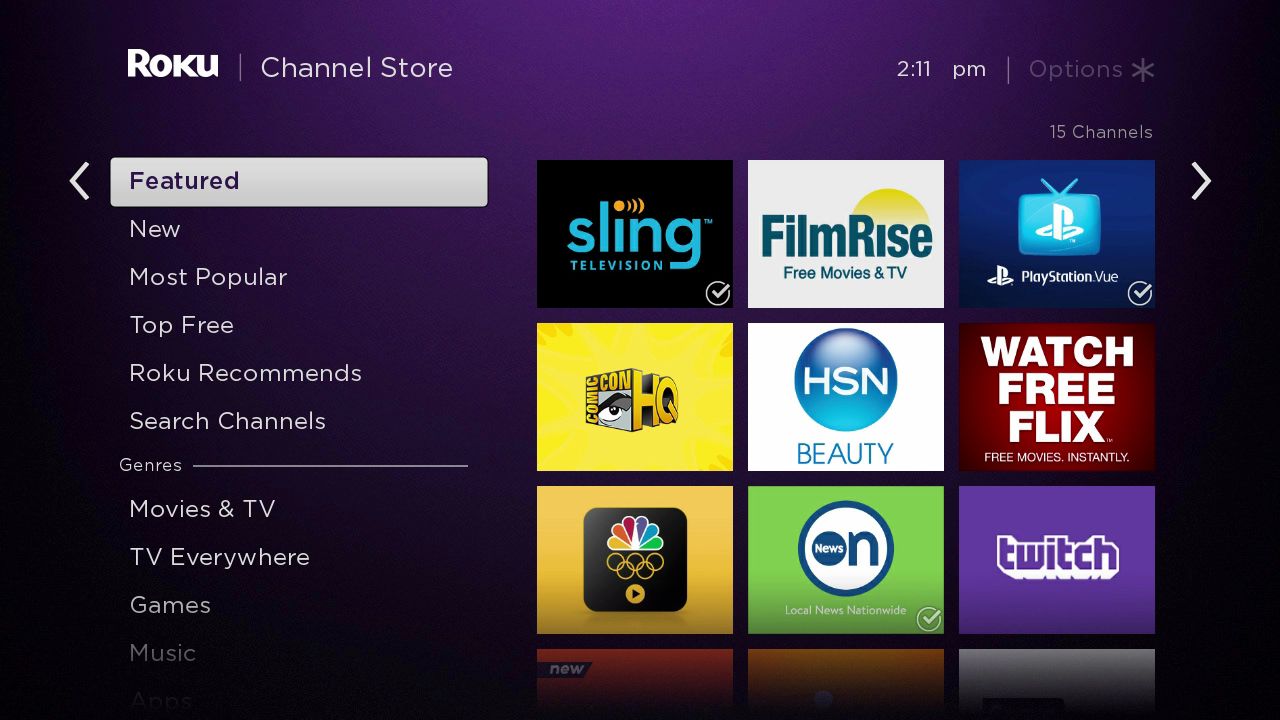
1. From the Roku home screen, scroll to the left and select “Streaming Channels” to open the Roku Channel Store.
2. You’ll be presented with different categories and featured channels. Browse through the available options or use the search function to find specific channels.
3. Once you find a channel you want to add, select it to view more details. You can read the channel description, check user reviews, and see if it offers any free content or requires a subscription.
4. To add the channel, select “Add Channel” or “Install”. You may be prompted to enter your Roku account credentials for authentication.
5. The channel will begin to download and install on your Roku device. Depending on the size of the channel and your internet connection speed, this process may take a few moments.
6. Once the installation is complete, you’ll see a confirmation message indicating that the channel has been added to your Roku device.
7. Return to the Roku home screen, and you’ll find the newly added channel listed on your channels grid or the home screen depending on your Roku device’s interface.
Repeat these steps to add as many channels as you like. You can always explore new channels, discover hidden gems, and remove channels if you no longer wish to use them.
Additionally, Roku offers a Featured Free section where you can find curated content from various channels that are free to watch. This section is a great way to discover new channels and enjoy free entertainment.
In some cases, you may come across private or hidden channels that are not listed in the Roku Channel Store. These channels require a special code to add them to your Roku device. You can find the channel codes from various online sources and enter them in the “Add Channel with a code” option in the Roku Channel Store.
With the ability to add channels directly from the Roku Channel Store, you have the power to customize your streaming experience and access a vast library of content on your Roku device.
Navigating the Roku home screen
The Roku home screen serves as the central hub for accessing all the channels and features on your Roku device. Understanding how to navigate the home screen will help you quickly find and enjoy your favorite content. Here’s a guide to navigating the Roku home screen:
1. After powering on your Roku device and connecting it to your TV, you’ll be greeted with the Roku home screen. The layout of the home screen may vary depending on the Roku model you have.
2. The home screen consists of rows of channel icons, each representing a different channel or application. Scroll vertically through these rows using the direction buttons on your Roku remote.
3. The primary row on the home screen is the “Featured Free” row. Here, you’ll find a curated selection of free content available from various channels.
4. Below the “Featured Free” row, you’ll find rows for other categories such as “New & Notable”, “Movies”, “TV Shows”, and more. Scroll horizontally within these rows to view additional content within each category.
5. To access a specific channel, highlight the channel icon and press the select button on your Roku remote. This will open the channel and allow you to start streaming.
6. To move a channel icon to a different position, highlight the channel and press the options button (typically indicated by three lines or dots) on your Roku remote. From the options menu, select “Move Channel” and use the directional buttons to relocate the channel to your desired position.
7. Some Roku devices allow you to customize the home screen further by creating customized rows. These rows can be filled with your favorite channels, specific genres, or other preferences. To create a customized row, navigate to the “Settings” menu and select “Home Screen” or a similar option depending on your Roku device.
8. You can also navigate the home screen by using voice commands if your Roku remote supports voice control. Simply press the microphone button on your remote and speak your desired command, such as “Open Netflix” or “Search for action movies”.
9. On newer Roku devices, you may find additional features on the home screen, such as shortcuts to quickly access settings, search, and other key areas. Explore these shortcuts to enhance your Roku experience.
By mastering the navigation of the Roku home screen, you can easily explore and access a wide variety of channels and content, making your streaming experience enjoyable and efficient.
Using the Roku remote
The Roku remote is an essential tool for controlling your Roku device and navigating through the various channels and features. It allows you to effortlessly browse and stream your favorite content. Here’s a guide on how to use the Roku remote:
1. Power on your Roku device and ensure that your TV is set to the correct input/source to display the Roku home screen.
2. Familiarize yourself with the buttons on the Roku remote. The basic Roku remote typically consists of directional buttons (up, down, left, right), a select button (usually in the center), a back button (to go back to the previous screen or menu), a home button (to return to the Roku home screen), and playback controls (play/pause, rewind, fast forward).
3. Use the directional buttons to navigate through the Roku interface. Move the cursor up, down, left, or right to highlight different options and channels on the screen.
4. Press the select button to make a selection or open a highlighted channel. This will allow you to access the channel and start streaming.
5. To return to the previous screen or menu, press the back button. This is useful when you want to go back from a channel or navigate through different settings or menus within a channel.
6. The home button is used to quickly return to the Roku home screen from any point in the interface. Simply press the home button, and you’ll be taken back to the main screen, ready to explore more channels or options.
7. The playback controls on the Roku remote allow you to control the playback of videos or other media within a channel. Use the play/pause button to start, pause, or resume playback. The rewind and fast forward buttons let you skip backward or forward through the content at different speeds.
8. Some Roku devices come with additional buttons, such as volume control buttons or a mute button. These buttons allow you to control the volume directly on your TV without needing to switch to a different remote.
9. On select Roku remotes, you may also have a microphone button or a voice search button. This feature enables you to use voice commands to search for content or control your Roku device by simply speaking into the remote.
10. If you’re having trouble with your Roku remote, make sure it has fresh batteries. If the remote still isn’t working, try restarting your Roku device or re-pairing the remote by following the instructions specific to your model.
The Roku remote is designed to make your streaming experience convenient and user-friendly. By familiarizing yourself with the buttons and functionalities of the remote, you can easily navigate through channels, control playback, and enjoy your favorite content on your Roku device.
Adjusting Roku settings
Adjusting the settings on your Roku device allows you to customize your streaming experience and optimize it to your preferences. From display settings to parental controls, Roku provides a range of options to enhance your viewing experience. Here’s a guide on how to adjust Roku settings:
1. From the Roku home screen, navigate to the “Settings” menu using your Roku remote. The Settings menu is typically located on the left-hand side of the home screen.
2. In the Settings menu, you’ll find various options categorized into different sections. Scroll vertically to explore the different settings available.
3. Display and audio settings: Under the “Display type” or “Display settings” section, you can adjust the display resolution to match the capabilities of your TV. You can also select the appropriate audio settings to ensure optimal sound quality.
4. Network settings: In the “Network” section, you can view and manage your Wi-Fi network connection. You can perform tasks such as connecting to a new network, checking network status, and troubleshooting network-related issues.
5. Theme and screensaver settings: Under the “Theme” or “Screensaver” section, you can customize the overall look and feel of your Roku device. You can choose from different themes and screensavers to personalize your Roku interface.
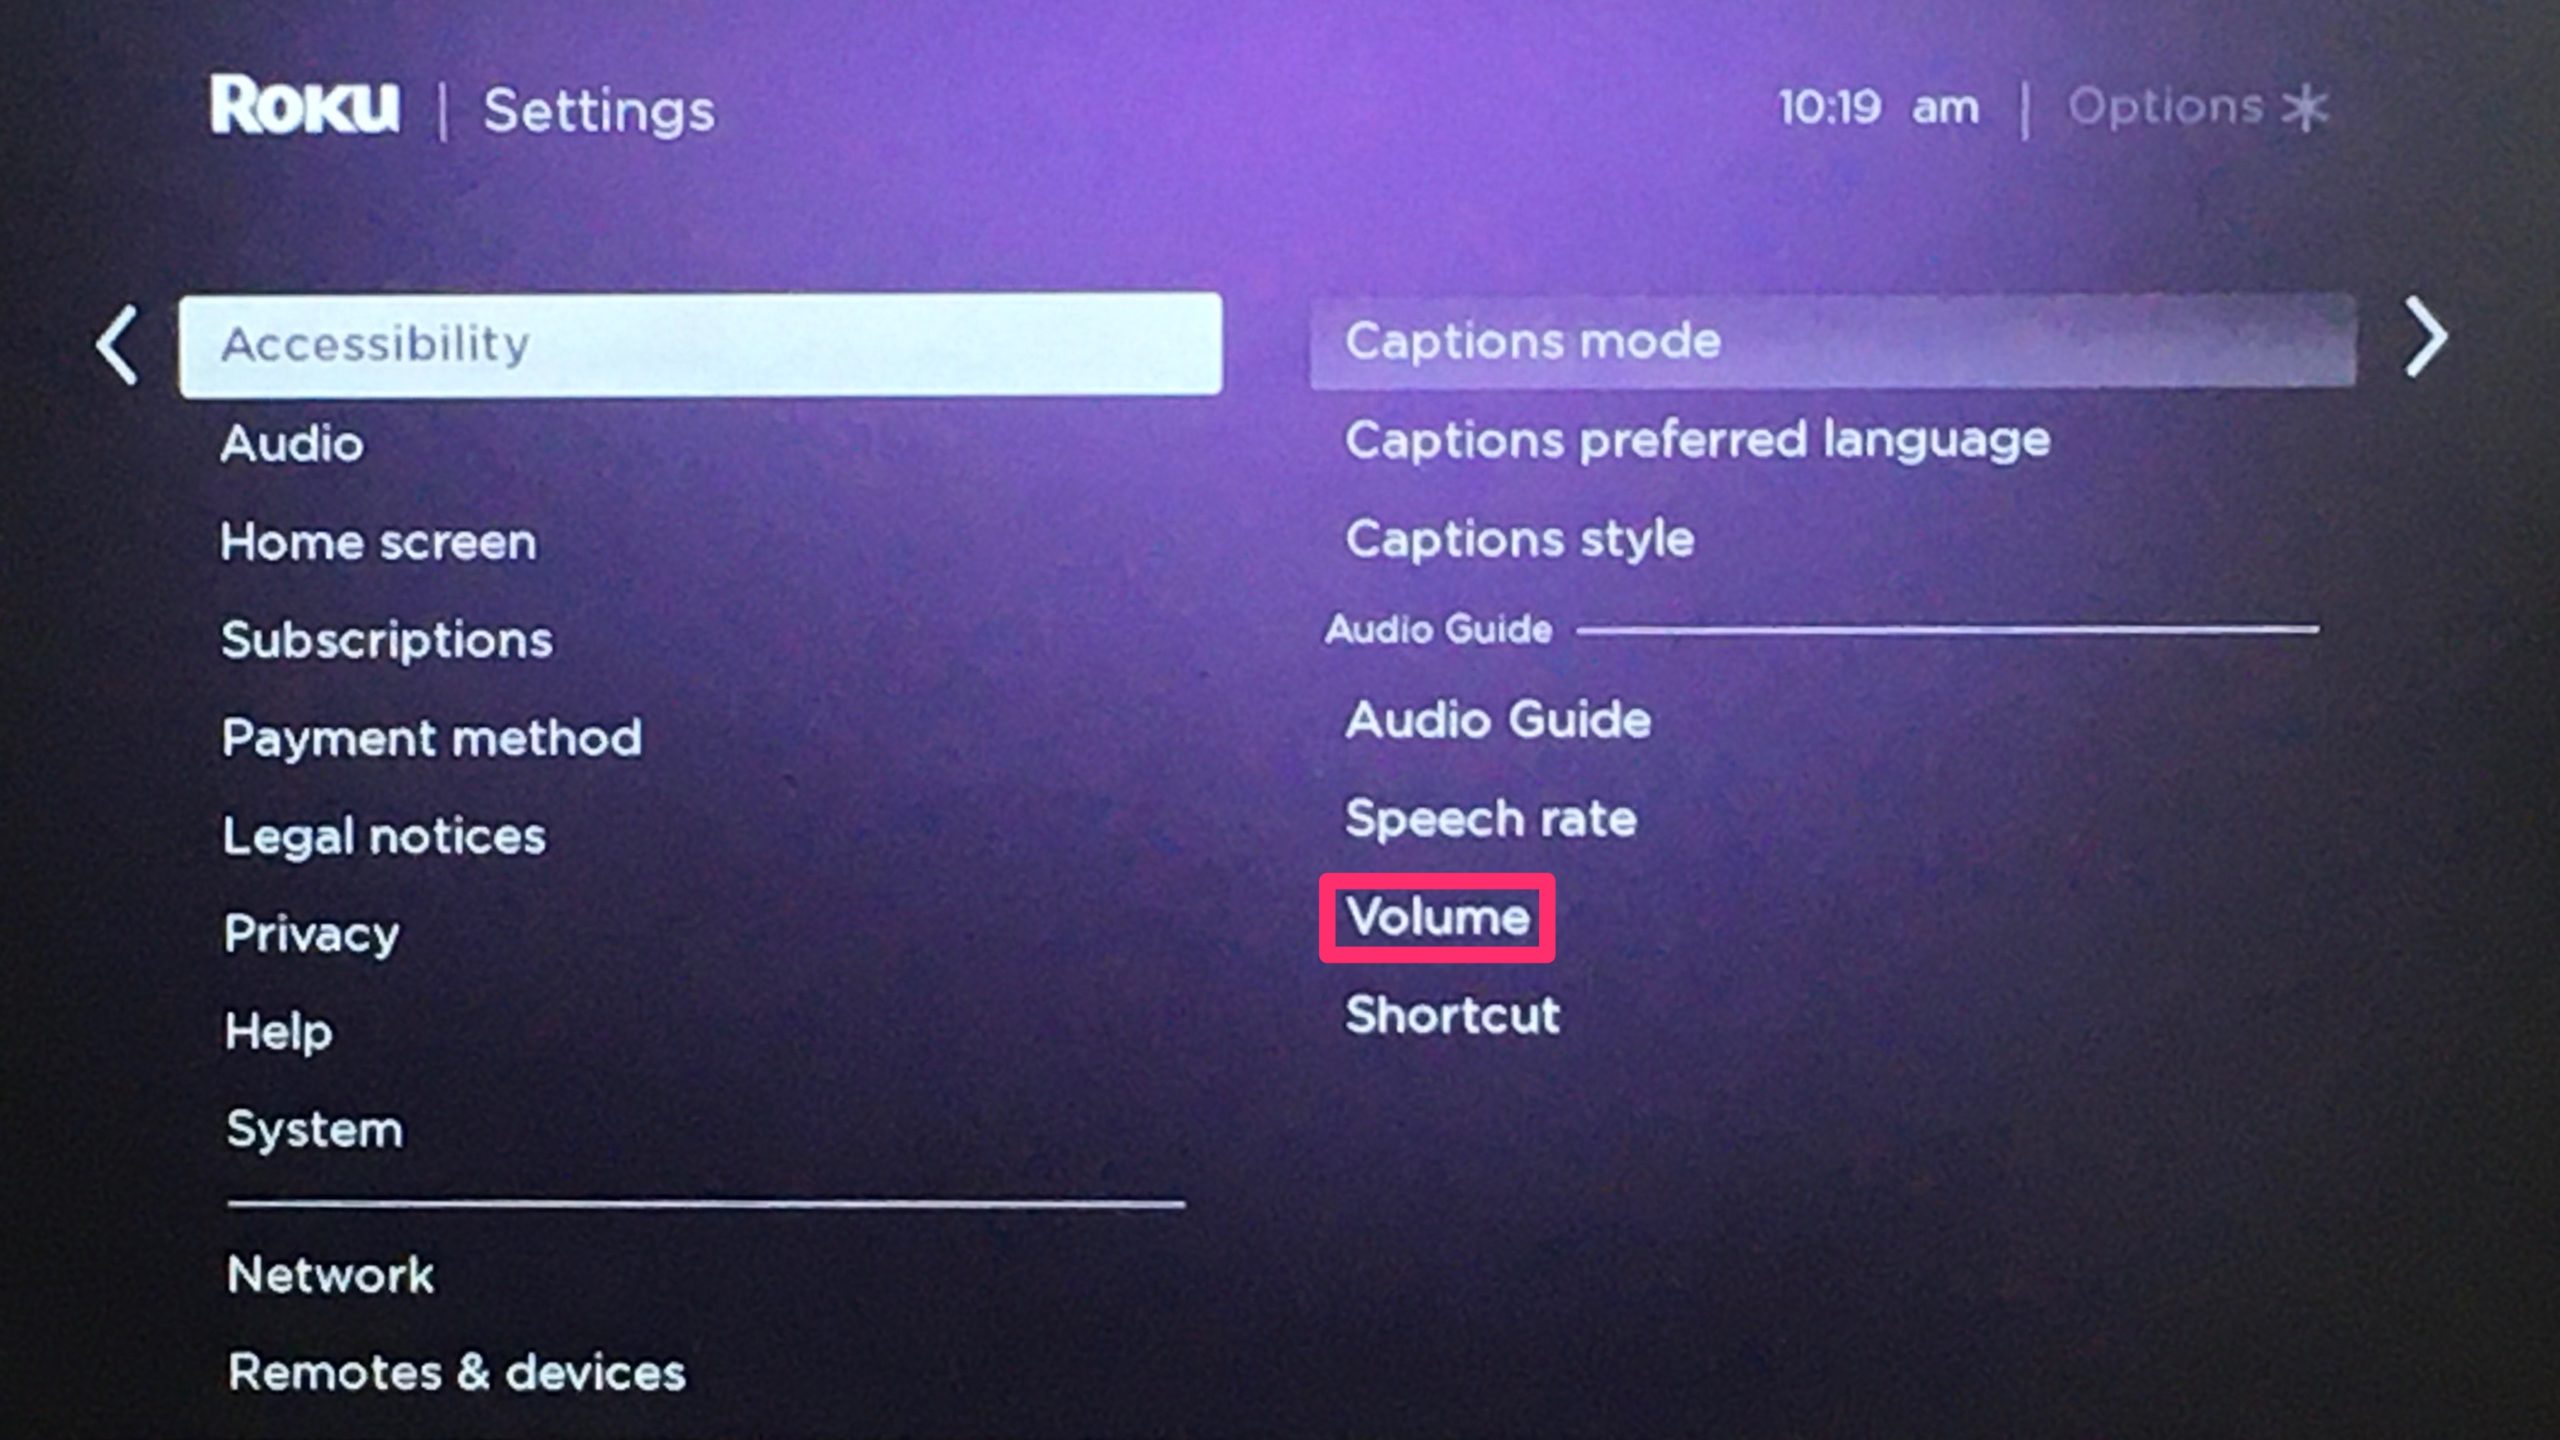
6. Accessibility settings: Roku provides various accessibility features to make content accessible to all users. You can enable closed captions, adjust audio volume modes, and enable audio guides for enhanced accessibility.
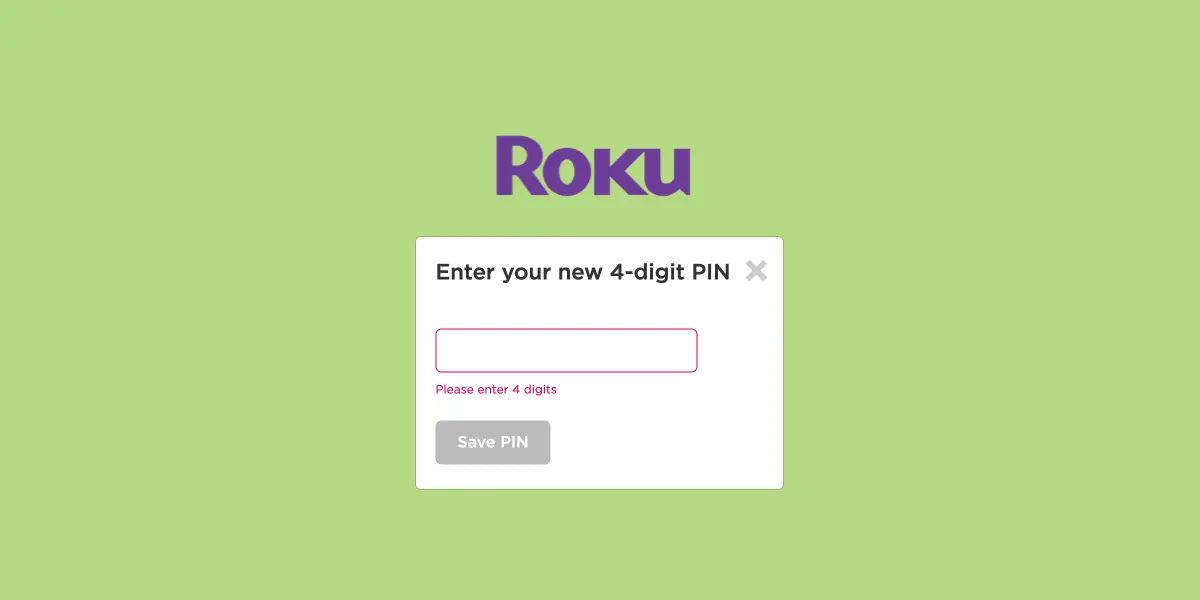
7. Parental controls: If you have children using the Roku device, you can set up parental controls to restrict content based on ratings. This ensures that only age-appropriate content is accessible.
8. System updates: To ensure that your Roku device is running the latest software, check for system updates in the “System” or “System updates” section. You can manually check for updates and enable automatic updates for hassle-free maintenance.
9. Remote settings: Some Roku devices offer additional remote settings, allowing you to customize the behavior of your remote control. You can adjust settings such as remote finder, pair new remotes, or enable voice search functionality.
10. Privacy settings: Under the “Privacy” section, you can manage the privacy settings on your Roku device. You can control personalized advertising preferences and manage data collection policies.
Take your time to explore the various settings available on your Roku device and customize them to your liking. Adjusting the settings will enhance your streaming experience, cater to your preferences, and ensure optimal performance.
Streaming content on Roku
Streaming content is at the heart of the Roku experience. With a wide variety of channels and services available, Roku allows you to enjoy your favorite movies, TV shows, and more right on your TV screen. Here’s a guide on how to stream content on Roku:
1. From the Roku home screen, scroll through the rows of channel icons using the directional buttons on your Roku remote. Browse through the available channels to find the one that offers the content you want to stream.
2. Once you’ve found the channel, highlight it and press the select button to open the channel. This will take you to the channel’s home screen or main menu.
3. Use the channel’s menu, interface, or controls to browse through the available content. Channels may have different layouts, so familiarize yourself with the navigation options within each channel.
4. Select the specific movie, TV show, or video you want to stream from the channel’s content library. Use the select button to confirm your selection.
5. Depending on the channel and content, you may have different streaming options available. Some channels offer a play button or resume option, while others provide episode lists or categories for you to choose from. Follow the on-screen prompts to start streaming.
6. During playback, you can use the playback controls on your Roku remote to pause, play, rewind, fast forward, or adjust the volume. These controls vary depending on your remote model.
7. To exit the channel and return to the Roku home screen while a video is playing, press the home button on your remote. The video will pause, and you can resume playback from where you left off when you re-enter the channel.
8. If you want to explore other channels or watch content from a different channel, simply navigate back to the Roku home screen and select a new channel to open.
9. Roku also offers a universal search feature, allowing you to search for specific movies, TV shows, actors, or genres across multiple channels. Use the search function on the Roku home screen or press the dedicated search button on your remote to perform a search.
10. To enhance your streaming experience, some channels on Roku offer additional features such as live TV, DVR capabilities, and personalized recommendations. Explore the channel settings and options to make the most of each channel’s offerings.
With Roku, streaming content from various channels is a seamless and enjoyable experience. Take advantage of the wide range of channels available and start streaming your favorite movies, shows, and videos right from the comfort of your own home.
Using Roku Voice Search
Roku Voice Search is a convenient feature that allows you to search for your favorite movies, TV shows, actors, or genres using voice commands. With Voice Search, you can easily find content across multiple channels without the need to type. Here’s a guide on how to use Roku Voice Search:
1. Ensure that your Roku device’s remote has a built-in microphone or voice search button. If your remote does not have this feature, you may need to use the Roku mobile app as an alternative.
2. From the Roku home screen, press and hold the voice search button on your remote or use the voice search option in the Roku mobile app.
3. When prompted, speak clearly and concisely into the microphone or mobile app. You can say the name of a movie, TV show, actor, director, or even a genre.
4. As you speak, Roku will display search results on the screen or mobile app, showing relevant content across multiple channels.
5. Scroll through the search results using the directional buttons on your remote or by swiping on the mobile app. The results will update in real-time as you navigate through the available options.
6. Once you’ve found the content you’re looking for, highlight it and press the select button on your remote or tap on it in the mobile app to open the channel that offers that content.
7. If the content you’re searching for requires a subscription or rental, Roku will provide options to access the content from different channels. Choose the channel or service that suits your preferences.
8. Follow the on-screen prompts to stream or rent the selected content. If the content is free to watch, you can start streaming immediately.
9. If you encounter any issues finding the desired content, try rephrasing your search query or provide more specific details, such as the full name of a movie or TV show. Roku Voice Search uses natural language processing to improve search accuracy.
10. Note that while Roku Voice Search can provide search results across multiple channels, selecting and playing the content will depend on the availability and requirements of each specific channel.
Roku Voice Search is a powerful tool that saves you time and simplifies the process of finding content to watch. With a simple voice command, you can quickly discover and stream your favorite movies and TV shows on your Roku device.
Casting Videos to Your Roku
Casting videos to your Roku device allows you to enjoy content from your smartphone, tablet, or computer onto the big screen of your TV. Whether it’s a video you captured on your phone or a movie from a streaming app, here’s a guide on how to cast videos to your Roku:
1. Make sure your Roku device and your casting device (such as a smartphone, tablet, or computer) are connected to the same Wi-Fi network.
2. On your Roku home screen, navigate to the “Settings” menu and select “System”. From there, choose “Screen mirroring” or “Screen mirroring mode”. Ensure that screen mirroring is enabled on your Roku device.
3. On your casting device, open the app or website from which you want to cast a video. Look for the casting icon, which is usually represented by a rectangle with curved lines in the corner, or a “Cast” or “AirPlay” option within the app or player.
4. Tap or select the casting icon or option. Your casting device will scan for available devices to cast to, and your Roku device should appear on the list. Select your Roku device from the list.
5. Once connected, your casting device’s screen (or a specific video or media player screen) will be mirrored on your TV through the Roku device. This means everything you see on your casting device will be displayed on your TV.
6. Play the video on your casting device, and it will be streamed and displayed on your TV through the Roku device. You can use the controls on your casting device to pause, play, adjust volume, and navigate through the video.
7. While casting, you can continue to use your casting device for other activities without interrupting the video playback on the TV.
8. To stop casting, simply navigate to the casting controls on your casting device and select the disconnect or stop casting option.
Note that not all apps or websites may support casting directly to Roku. Some popular apps, such as YouTube and Netflix, have built-in casting options, but others may require specific methods or third-party apps to cast to Roku.
By casting videos to your Roku device, you can enjoy your favorite content from various devices on the larger screen of your TV, making for a more immersive viewing experience.
Playing Games on Roku
Aside from streaming movies and TV shows, Roku devices also offer a variety of fun and entertaining games to enjoy right on your TV screen. Whether you’re looking for casual puzzles or immersive multiplayer experiences, here’s a guide on how to play games on Roku:
1. From the Roku home screen, navigate to the “Streaming Channels” or “Games” section. You can find this option by scrolling left or right.
2. Browse through the available game channels in the Roku Channel Store. Many popular games are available for free, while others may require a one-time purchase or in-game purchases.
3. Select a game channel that interests you and press the select button on your remote to open the channel.
4. Within the game channel, you’ll find a variety of games to choose from. Use the directional buttons on your remote to navigate through the game selection and highlight the game you want to play.
5. Press the select button to launch the selected game. Follow any on-screen instructions or prompts to start playing.
6. Roku games can be played using the Roku remote control or a compatible game controller. Some games may offer multiplayer options, allowing you to play with friends or family locally or online.
7. During gameplay, use the buttons on your remote or game controller to interact with the game. The specific controls will depend on the game you’re playing. Some games may require you to use motion controls on the remote.
8. Enjoy playing the game and immerse yourself in the unique gaming experience offered by Roku. Take advantage of the diverse selection of games available, from classic arcade titles to modern puzzles and action games.
9. Keep in mind that while Roku games offer entertainment and fun, they are typically not as robust as console or PC games. However, they provide a casual gaming experience suitable for a wide range of players.
10. If you get tired of a game or want to try something new, return to the game channel’s menu and select a different game to play.
By exploring the available games on Roku, you can add an interactive and enjoyable aspect to your streaming experience. Whether you prefer solo challenges or multiplayer competitions, Roku offers a variety of games to cater to different gaming preferences.
Streaming Music on Roku
In addition to streaming movies and TV shows, Roku devices also provide the ability to stream music, allowing you to enjoy your favorite tunes through your TV or audio setup. Whether you want to listen to curated playlists or stream your personal music library, here’s a guide on how to stream music on Roku:
1. From the Roku home screen, navigate to the “Streaming Channels” or “Music” section. This option can be found by scrolling left or right.
2. Browse through the available music channels in the Roku Channel Store. You’ll find popular services like Spotify, Pandora, Apple Music, Amazon Music, and more.
3. Select a music channel that suits your preferences and press the select button on your Roku remote to open the channel.
4. Within the music channel, you’ll typically find various music categories, playlists, or recommended tracks. Explore the options and find the music you want to listen to.
5. Choose a playlist, album, artist, or genre of your liking and select it to start playing. Some channels allow you to create your own playlist or access personalized recommendations.
6. Enjoy listening to the music as it streams through your TV or audio setup connected to your Roku device. Adjust the volume to your desired level using the Roku remote or your audio system’s controls.
7. Many music channels provide additional features such as creating custom radio stations based on your favorite artists, exploring music charts and genres, or discovering new releases.
8. If you have a specific song or album in mind, you can also use the Roku search function to find it across the available music channels. Simply enter the song or album title using the Roku remote or voice search feature.
9. Some music channels may require a subscription or offer premium features for an additional cost. Make sure to check the details and pricing options within each specific music channel.
10. If you have your own music collection, you can also stream it on Roku by setting up a media server on your computer or using a supported music streaming app that allows local network streaming.
By utilizing the variety of music channels available on Roku, you can easily stream your favorite music and enjoy a personalized listening experience on your TV or audio setup.
Using the Roku Mobile App
The Roku mobile app is a powerful tool that complements your Roku device, providing additional features and convenience right on your smartphone or tablet. With the app, you can control your Roku device, navigate channels, stream content, and more. Here’s a guide on how to use the Roku mobile app:
1. Download and install the Roku mobile app from the App Store (iOS) or Google Play Store (Android). Ensure that your smartphone or tablet is connected to the same Wi-Fi network as your Roku device.
2. Launch the Roku mobile app and sign in with your Roku account credentials. If you don’t have a Roku account, you can create one directly from the app.
3. Once signed in, the app will automatically detect your Roku device(s) on the network. Select your Roku device from the list to establish a connection.
4. The Roku mobile app provides several features. The “Remote” feature allows you to control your Roku device using your smartphone or tablet. Use the virtual buttons on the app’s interface to navigate, select, and control playback on your Roku device.
5. The “Channels” feature in the app allows you to browse and add channels to your Roku device directly from your mobile device. You can search for channels, read descriptions, and add channels to your Roku device with just a few taps.
6. Use the “Search” feature to easily find movies, TV shows, actors, or genres across multiple channels. Simply enter your search query in the app, and the app will display relevant results from available channels.
7. The “Play on Roku” feature enables you to cast videos, photos, and music from your mobile device to your TV through the Roku device. Select the content you want to cast, choose your Roku device, and enjoy your media on the big screen.
8. The Roku mobile app also offers a “My Feed” feature, which allows you to create a personalized feed of your favorite movies, TV shows, and actors. The app will send you notifications when new content related to your favorites becomes available.
9. Additionally, the app provides access to your Roku account settings, allowing you to manage preferences, update payment information, and control various account-related settings.
10. Take advantage of the app’s features and customization options to tailor your Roku experience to your preferences and make the most of your streaming sessions.
The Roku mobile app enhances the functionality of your Roku device, providing seamless control, convenient browsing, and additional features right at your fingertips. Download the app and unlock a new level of convenience and flexibility in enjoying your favorite content.
Troubleshooting Common Issues
Like any technological device, Roku devices may encounter certain issues from time to time. Fortunately, many common issues can be resolved with some simple troubleshooting steps. Here are some solutions to common issues you may encounter with your Roku device:
1. No power or no display:
- Check that the power cable is securely connected to both the Roku device and the power outlet.
- Confirm that your TV is set to the correct input/source for your Roku device.
- Try unplugging the power cable from both the Roku device and the power outlet, waiting for a few moments, and then plugging it back in.
2. Wi-Fi connection problems:
- Ensure that your Wi-Fi network is functioning properly and other devices can connect to it.
- Restart your Wi-Fi router and Roku device to refresh the connection.
- Move your Roku device closer to your Wi-Fi router to strengthen the signal.
- Double-check that you have entered the correct Wi-Fi password during the setup process.
3. Remote control not responding:
- Check that the batteries in your remote control are fresh and installed correctly.
- Try restarting your Roku device by unplugging it from the power outlet and plugging it back in.
- If you have a Wi-Fi-enabled remote, ensure that it is paired properly with your Roku device.
4. Audio or video issues:
- Make sure that your TV’s volume is turned up and not muted.
- Check the audio and video cables to ensure they are securely connected.
- Verify that your TV and Roku device are set to the correct resolution and display settings.
- Try using different HDMI cables or ports to rule out any cable or port issues.
5. Channel-specific problems:
- If you’re experiencing issues with a specific channel, try removing and re-adding the channel to your Roku device.
- Check for any available updates for the problematic channel.
- Contact the channel provider’s customer support for further assistance.
6. Remote app connection issues:
- Ensure that your mobile device and Roku device are on the same Wi-Fi network.
- Restart both your mobile device and Roku device.
- Check that you have the latest version of the Roku mobile app installed on your device.
- If the issue persists, try uninstalling and reinstalling the Roku mobile app.
If the troubleshooting steps mentioned above do not resolve the issue or if you have a specific problem not covered here, it may be helpful to consult the Roku support website or contact Roku customer support for further assistance. They will be able to provide you with specific troubleshooting steps or escalate the issue if necessary.
Tips and Tricks for Using Roku
Maximizing your experience with Roku involves more than just streaming your favorite content. Knowing some tips and tricks can help you navigate and discover new features on your Roku device. Here are some tips to enhance your Roku experience:
1. Customize your Roku home screen:
- Move channels around to prioritize your favorites by highlighting a channel icon, pressing the options button on your remote, and selecting “Move Channel”.
- Create themed rows on your home screen to group your channels by genre or preference.
- Use the “Settings” menu to configure your home screen, such as hiding channels you don’t use or enabling screensavers.
2. Utilize Roku Search:
- Take advantage of the powerful Roku Search function to find specific movies, TV shows, actors, or genres across multiple channels.
- Use voice search, if available, to perform hands-free searches by pressing the microphone button on your remote or using the voice search feature in the Roku mobile app.
3. Enable closed captions and subtitles:
- If you prefer to watch content with closed captions or subtitles, enable them in your Roku settings. Go to “Settings” > “Accessibility” to adjust caption settings to your preference.
- Many Roku channels provide closed captions and/or subtitles for the Deaf and Hard of Hearing, enhancing accessibility for a wider audience.
4. Use the “My Feed” feature:
- Create a personalized feed by adding your favorite movies, TV shows, or actors to receive notifications when new content becomes available.
- Stay updated on new releases or price drops for movies and TV shows you’re interested in.
5. Cast videos from mobile devices:
- Install the Roku mobile app on your smartphone or tablet to cast videos, photos, and music from your device to your TV through your Roku device.
- Enjoy sharing your personal media collections or streaming content from compatible apps on your mobile device with the convenience of casting.
6. Explore free channels:
- Browse through the “Featured Free” section on the Roku home screen to discover a variety of free content available across different channels.
- These free channels offer a wide range of movies, TV shows, and more without any additional cost.
7. Discover hidden channels:
- Find lesser-known channels or niche content by researching and adding hidden channels using specific channel codes.
- Several websites provide lists of popular hidden Roku channels that you can explore and add to your channel lineup.
8. Utilize shortcuts on the Roku remote:
- Press the home button twice to quickly launch the last channel you were watching.
- Press the asterisk (*) button to access additional options and settings specific to the current screen or channel you’re on.
9. Parental controls:
- Set up parental controls in your Roku settings to restrict access to certain channels or content based on ratings.
- Ensure that content is appropriate for your family members and create a safe streaming environment.
10. Stay updated:
- Regularly check for system updates in your Roku settings to ensure that you have the latest features, improvements, and security patches.
- Check individual channel settings for updates to enhance your streaming experience.
By utilizing these tips and tricks, you can optimize your Roku experience and make the most of the features and options available to you. Whether it’s customizing your home screen, exploring hidden channels, or using casting features, these tips will help you navigate, discover, and enjoy your favorite content on Roku.