Introduction
Welcome to this guide on how to cast from your iPhone to Roku! Streaming media from your iPhone to your Roku device allows you to enjoy your favorite videos, photos, and music on a bigger screen and with better audio quality. Whether you want to watch a movie with friends and family, view photos from your recent vacation, or stream your favorite music playlist, casting from your iPhone to Roku is a simple and convenient solution.
With the advancement in technology, smartphones have become an integral part of our lives, serving as a hub for entertainment, communication, and more. Roku, on the other hand, is a popular streaming device that provides access to various streaming services and apps.
By casting from your iPhone to Roku, you can leverage the power of both devices, bringing together the user-friendly interface of your iPhone and the large screen and high-quality audio of your Roku device.
In this step-by-step guide, we will walk you through the process of casting from your iPhone to Roku, ensuring that you can seamlessly enjoy your favorite content on a bigger screen. So, let’s dive in and discover how you can easily cast from your iPhone to Roku!
Step 1: Ensure your iPhone and Roku are connected to the same Wi-Fi network
The first step in casting from your iPhone to Roku is to ensure that both devices are connected to the same Wi-Fi network. This is crucial as it allows the devices to communicate with each other and establish a connection for streaming media.
To check if your iPhone is connected to the same Wi-Fi network as your Roku, follow these simple steps:
- On your iPhone, open the Settings app.
- Scroll down and tap on “Wi-Fi.”
- Make sure that the Wi-Fi toggle is turned on.
- From the list of available Wi-Fi networks, locate and select the network that your Roku is connected to.
Once you have verified that your iPhone is connected to the correct Wi-Fi network, it’s time to ensure that your Roku device is also connected to the same network. Here’s how you can do it:
- On your TV, ensure that your Roku device is turned on and connected to the HDMI port.
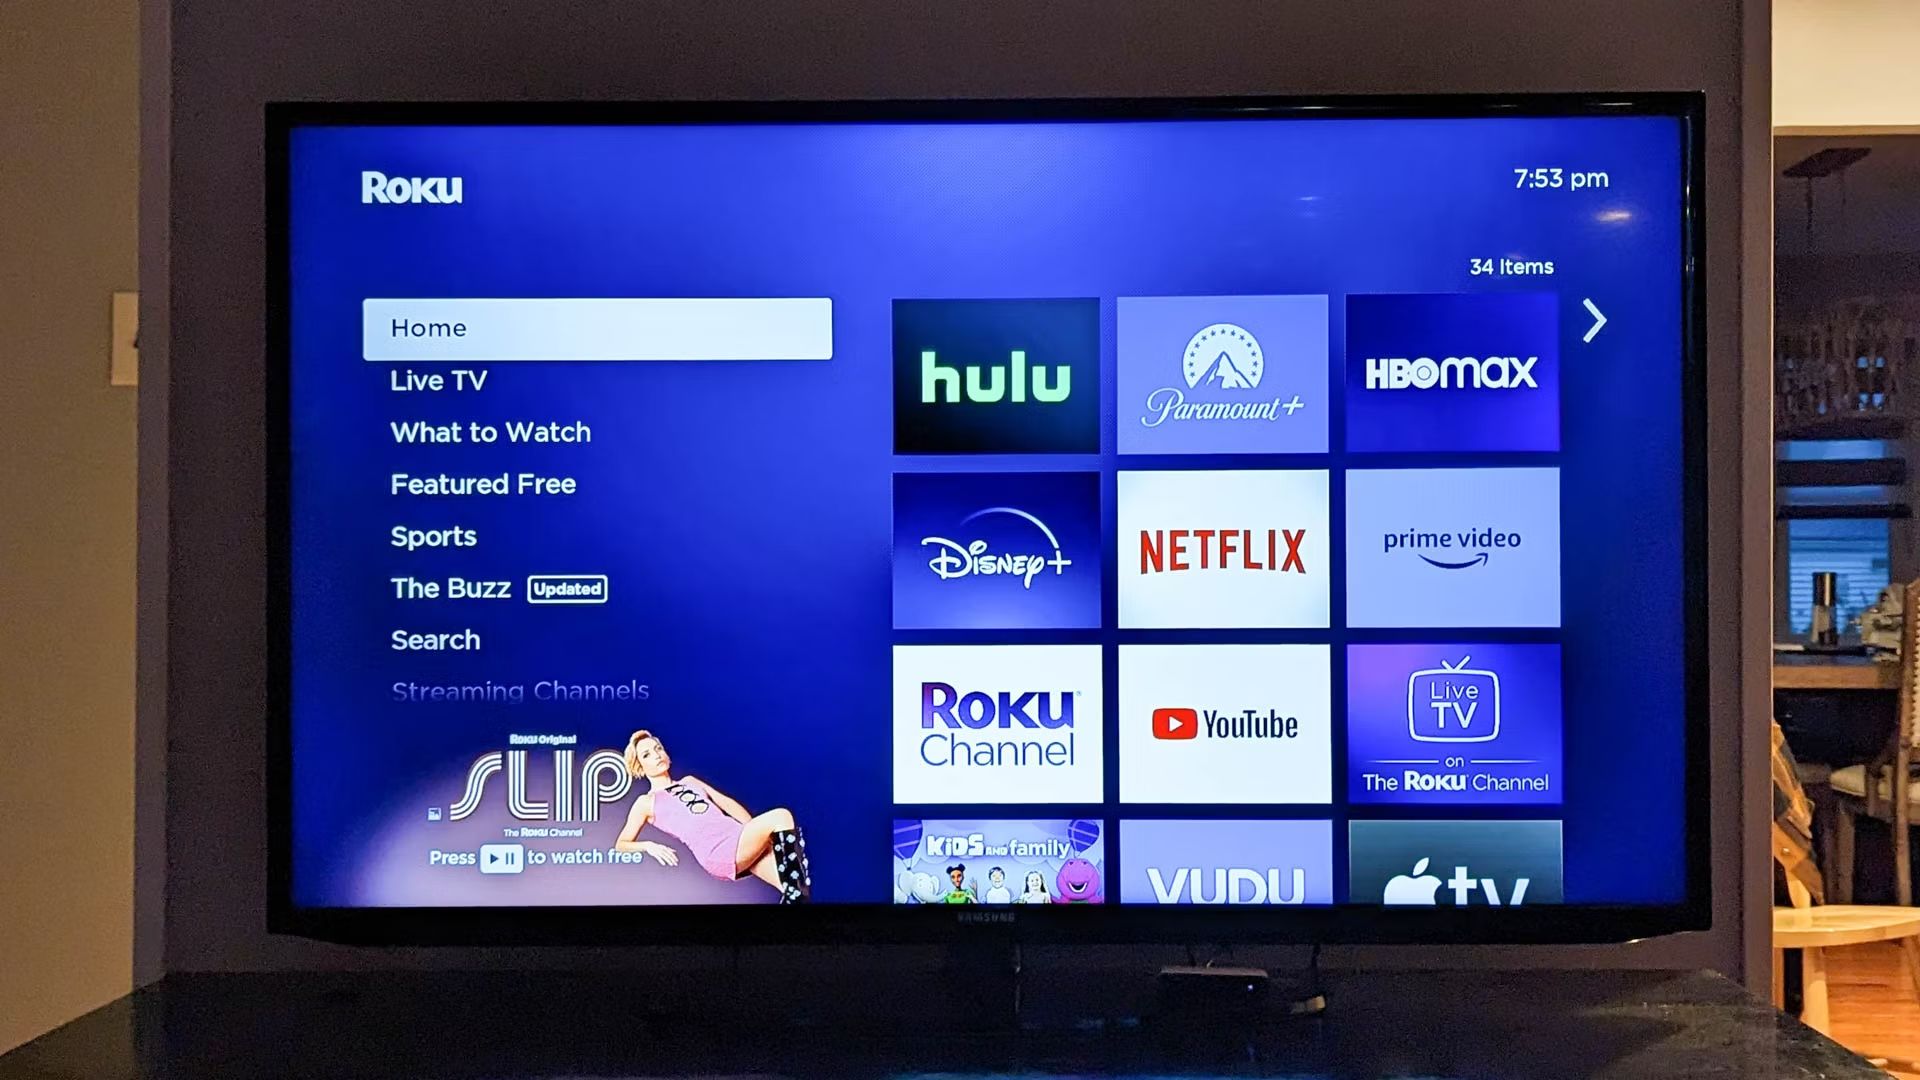
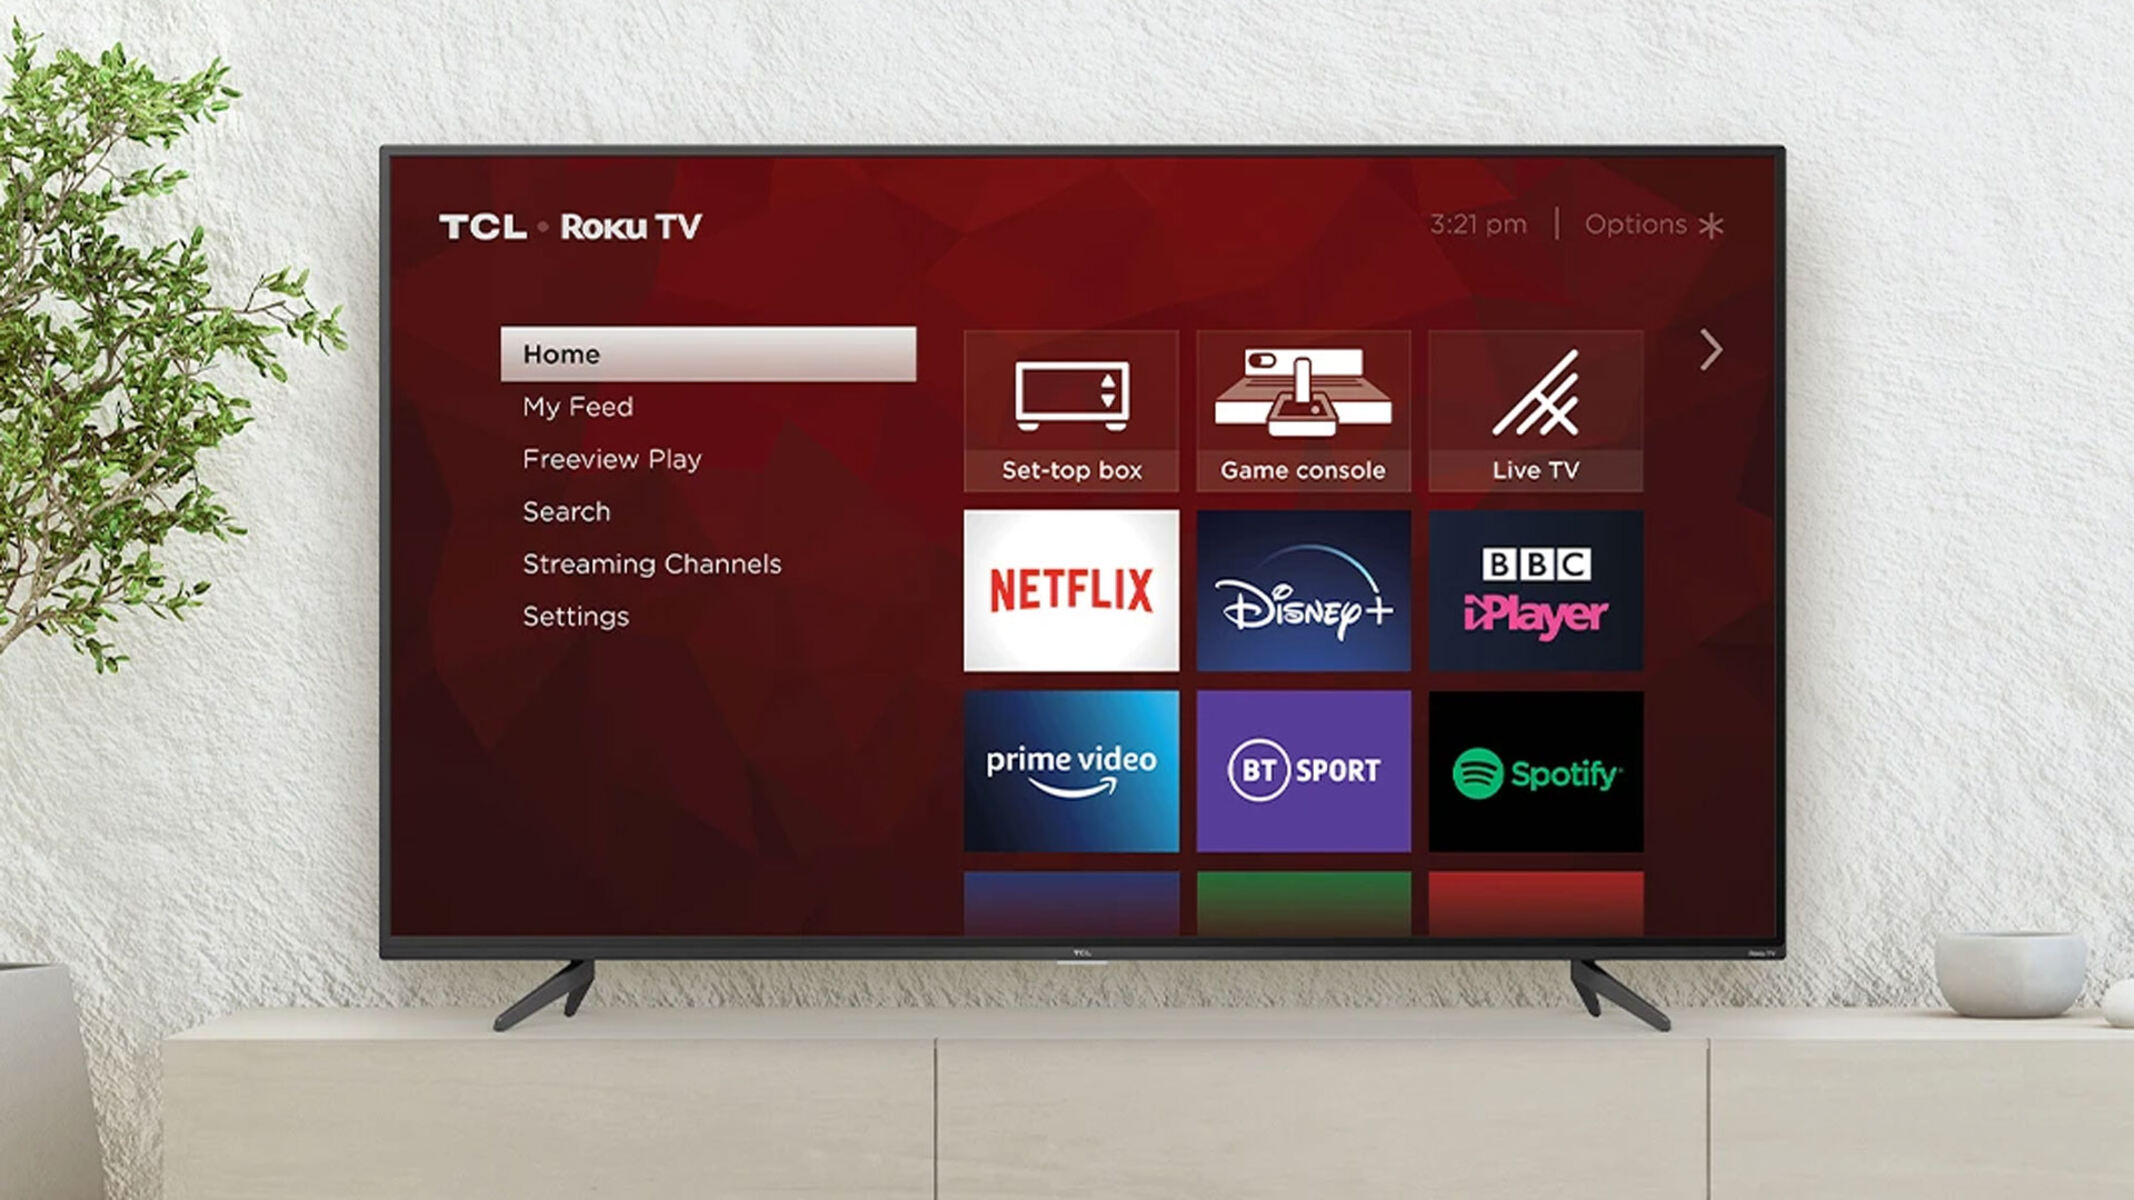
- Using your Roku remote, navigate to the Roku home screen.
- Scroll to the “Settings” option and press the OK button on your remote.
- Select “Network” from the list of options.
- Choose “Set up connection” and select “Wireless.”
- From the list of available Wi-Fi networks, choose the same network that your iPhone is connected to.
- Enter the Wi-Fi password if prompted.
- Wait for your Roku device to establish a connection to the Wi-Fi network.
Once both your iPhone and Roku are connected to the same Wi-Fi network, you are ready to move on to the next step and start casting from your iPhone to Roku. It’s crucial to ensure a stable and strong Wi-Fi connection for a seamless streaming experience.
Step 2: Download and install the Roku app on your iPhone
In order to successfully cast from your iPhone to Roku, you’ll need to download and install the Roku app on your iPhone. The Roku app acts as a bridge between your iPhone and Roku device, allowing you to control and stream media seamlessly.
Here’s how you can download and install the Roku app on your iPhone:
- Launch the App Store on your iPhone.
- Tap on the search icon at the bottom of the screen.
- Type “Roku” into the search bar and tap on the search button.
- From the search results, locate the official Roku app and tap on it.
- Tap on the “Get” or “Install” button next to the Roku app.
- If prompted, enter your Apple ID password or use Touch ID/Face ID to authorize the installation.
- Wait for the app to download and install on your iPhone.
- Once installed, you should see the Roku app icon on your iPhone’s home screen.
Once you have successfully downloaded and installed the Roku app, you are one step closer to casting from your iPhone to Roku. The Roku app provides you with a user-friendly interface and a range of features to enhance your streaming experience.
It’s important to keep the Roku app updated to ensure compatibility with the latest firmware on your Roku device. You can enable automatic app updates on your iPhone or manually check for updates in the App Store to stay up-to-date with the latest features and bug fixes.
Now that you have the Roku app installed on your iPhone, let’s move on to the next step and learn how to use it to cast media from your iPhone to Roku.
Step 3: Launch the Roku app on your iPhone
After successfully installing the Roku app on your iPhone, it’s time to launch the app and get ready to cast media from your iPhone to your Roku device. The Roku app serves as a control center, allowing you to navigate through the Roku interface and select the media you want to stream.
Follow these simple steps to launch the Roku app on your iPhone:
- Locate the Roku app icon on your iPhone’s home screen.
- Tap on the Roku app icon to launch the app.
- Wait for the app to load and display the Roku home screen on your iPhone.
Upon launching the Roku app, you will be greeted with a familiar Roku interface that mirrors the layout and functionality of your Roku device. The app provides a range of features, including access to your favorite channels, search functionality, and the ability to control playback on your Roku device.
It’s important to ensure that your iPhone and Roku device are still connected to the same Wi-Fi network. If for any reason your iPhone gets disconnected from the network, you may face difficulties in casting media to your Roku device. Make sure to follow step 1 to verify the connection if needed.
With the Roku app launched and the connection between your iPhone and Roku established, you are all set to move on to the next step and start selecting the media you want to cast from your iPhone to Roku.
Step 4: Select the media you want to cast from your iPhone
With the Roku app launched on your iPhone, it’s time to select the media you want to cast to your Roku device. The Roku app provides an intuitive interface that allows you to easily browse and choose the content you want to stream.
Follow these steps to select the media you want to cast from your iPhone:
- On the Roku app home screen, you will find various sections, including “Featured,” “My Channels,” “Search,” and more.
- Explore the sections and navigate through the available options to find the media you want to cast.
- If you have a specific channel in mind, navigate to the “My Channels” section and select the desired channel.
- Once you have selected a channel, browse through the available content such as movies, TV shows, or videos.
- If you prefer to search for specific content, use the search functionality by tapping on the “Search” icon.
- Enter the title, genre, or any relevant keywords to search for the desired media.
- From the search results, select the media you want to cast to your Roku device.
Remember, the availability and selection of media may vary depending on the channels and apps you have installed on your Roku device. Make sure to explore the options and discover the vast library of content available for streaming.
The Roku app also allows you to access your own media library stored on your iPhone. You can cast photos, videos, and music from your iPhone’s storage directly to your Roku device for a personalized streaming experience.
Once you have chosen the media you want to cast from your iPhone to Roku, it’s time to proceed to the next step and initiate the casting process. Get ready to see your selected media playing on the big screen!
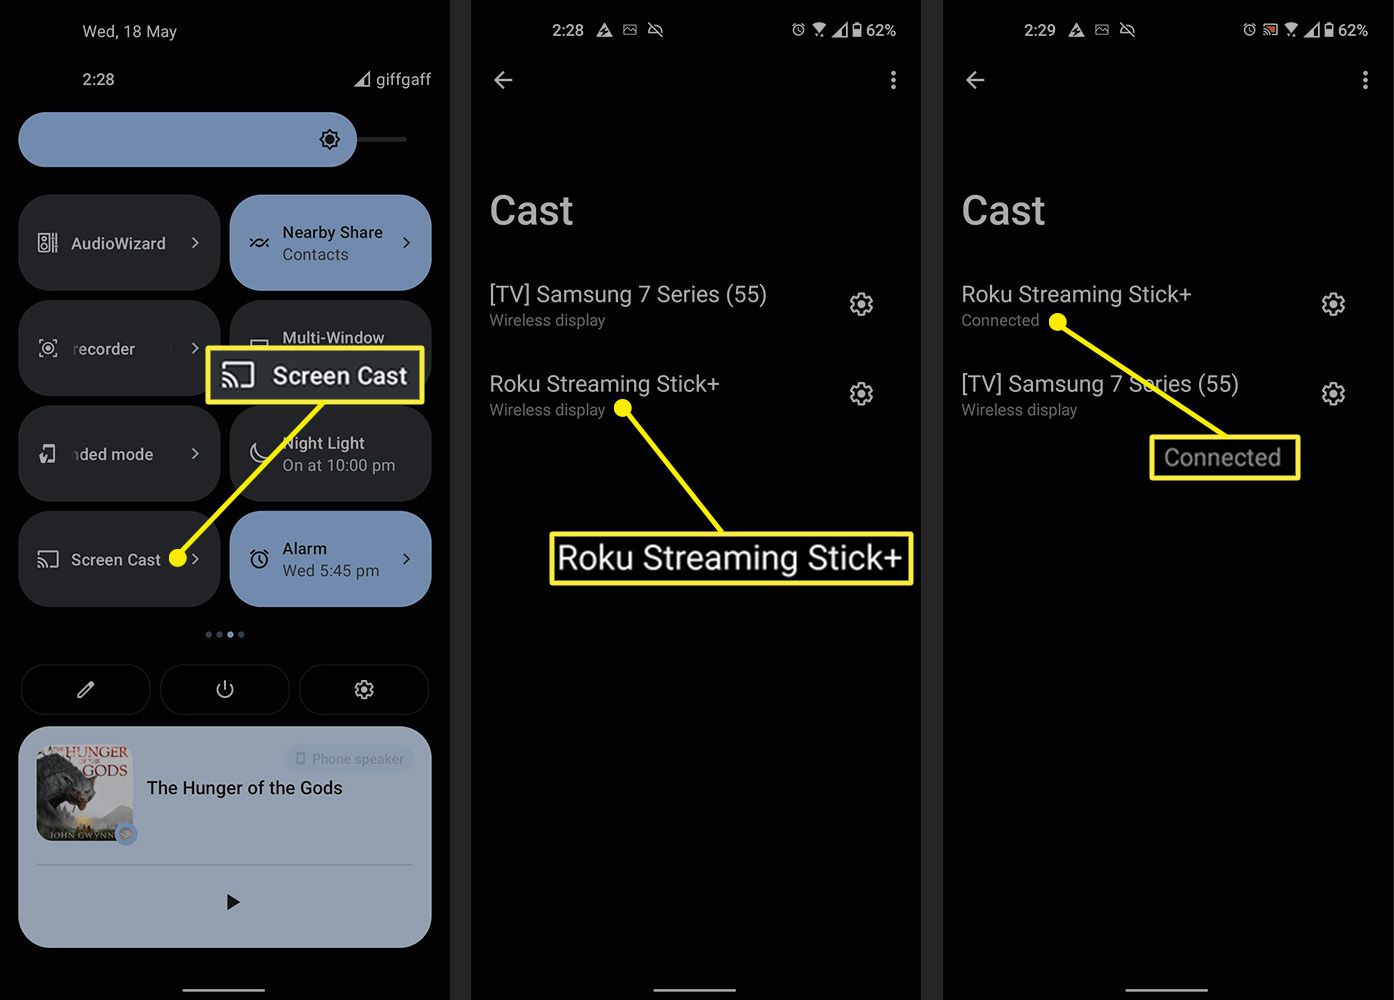
Step 5: Tap on the “Cast” icon in the Roku app
After selecting the media you want to cast from your iPhone to Roku, it’s time to initiate the casting process. The Roku app provides a convenient “Cast” feature that allows you to seamlessly transfer and play the selected media on your Roku device.
Follow these steps to tap on the “Cast” icon in the Roku app:
- On the media playback screen in the Roku app, you will find a “Cast” icon usually represented by a screen or monitor with Wi-Fi waves emanating from it.
- Tap on the “Cast” icon to bring up the list of available devices.
- The Roku app will search for Roku devices on the same Wi-Fi network.
- Once the search is completed, you will see a list of available Roku devices.
- Select your Roku device from the list by tapping on it.
Once you have tapped on the “Cast” icon and selected your Roku device, the Roku app will establish a connection with your Roku device to start streaming the selected media.
Keep in mind that the casting process may take a few seconds to initiate, depending on your Wi-Fi network’s speed and stability. Ensure that both your iPhone and Roku device are connected to a reliable Wi-Fi network for uninterrupted streaming.
Now that you have initiated the casting process by tapping on the “Cast” icon in the Roku app, get ready to see your selected media playing on the larger screen of your Roku device. Sit back, relax, and enjoy the enhanced viewing and listening experience!
Step 6: Choose your Roku device from the list
After tapping on the “Cast” icon in the Roku app, you will be presented with a list of available Roku devices on your Wi-Fi network. This step allows you to select the specific Roku device to which you want to cast the media from your iPhone.
Follow these steps to choose your Roku device from the list:
- Once you tap on the “Cast” icon in the Roku app, it will perform a search for available Roku devices.
- After the search is completed, the Roku app will display a list of Roku devices found on the same Wi-Fi network.
- Look through the list of devices and locate your specific Roku device.
- Tap on your Roku device from the list to select it.
It’s important to ensure that you choose the correct Roku device from the list. If you have multiple Roku devices set up in different rooms, make sure to select the one you want to cast to.
Once you have selected your Roku device, the Roku app will establish a connection with it and begin streaming the selected media. You will notice the media appearing on the screen of your Roku device, ready to be enjoyed on a larger display with enhanced audio quality.
If you do not see your Roku device in the list, make sure that both your iPhone and Roku device are connected to the same Wi-Fi network. You may also try restarting your iPhone or Roku device if the connection is not established properly.
Now that you have successfully chosen your Roku device from the list, it’s time to sit back, relax, and enjoy the media streaming on your television or larger screen. Get ready for an elevated entertainment experience!
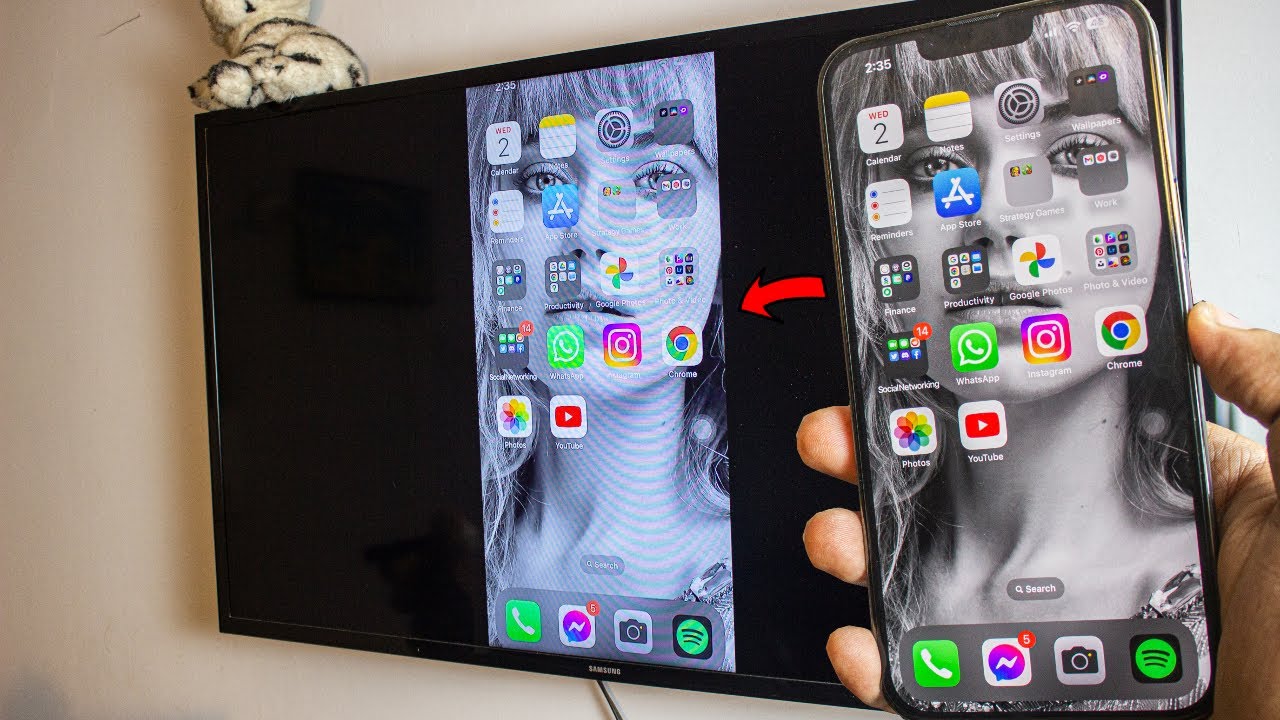
Step 7: Enjoy streaming content from your iPhone to Roku
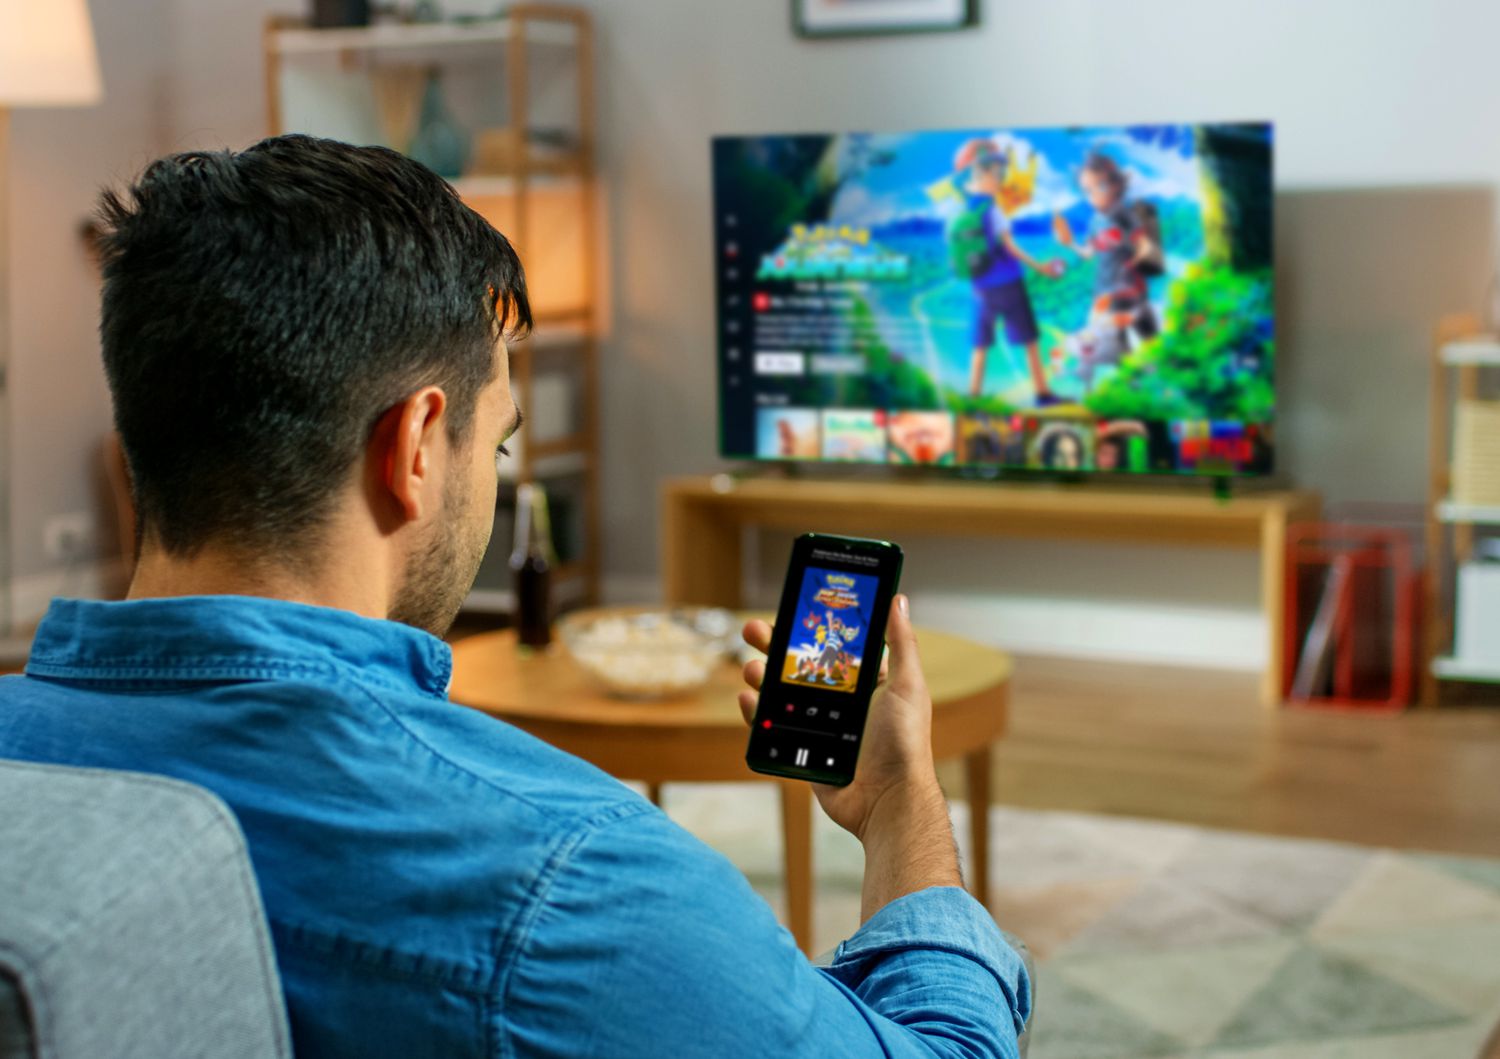
After selecting your Roku device from the list, it’s time to sit back, relax, and enjoy streaming the content from your iPhone to your Roku device. With the media now playing on your Roku, you can fully immerse yourself in the experience of watching movies, TV shows, or even sharing your own personal photos and videos on the big screen.
Here are a few things to keep in mind as you enjoy streaming content from your iPhone to Roku:
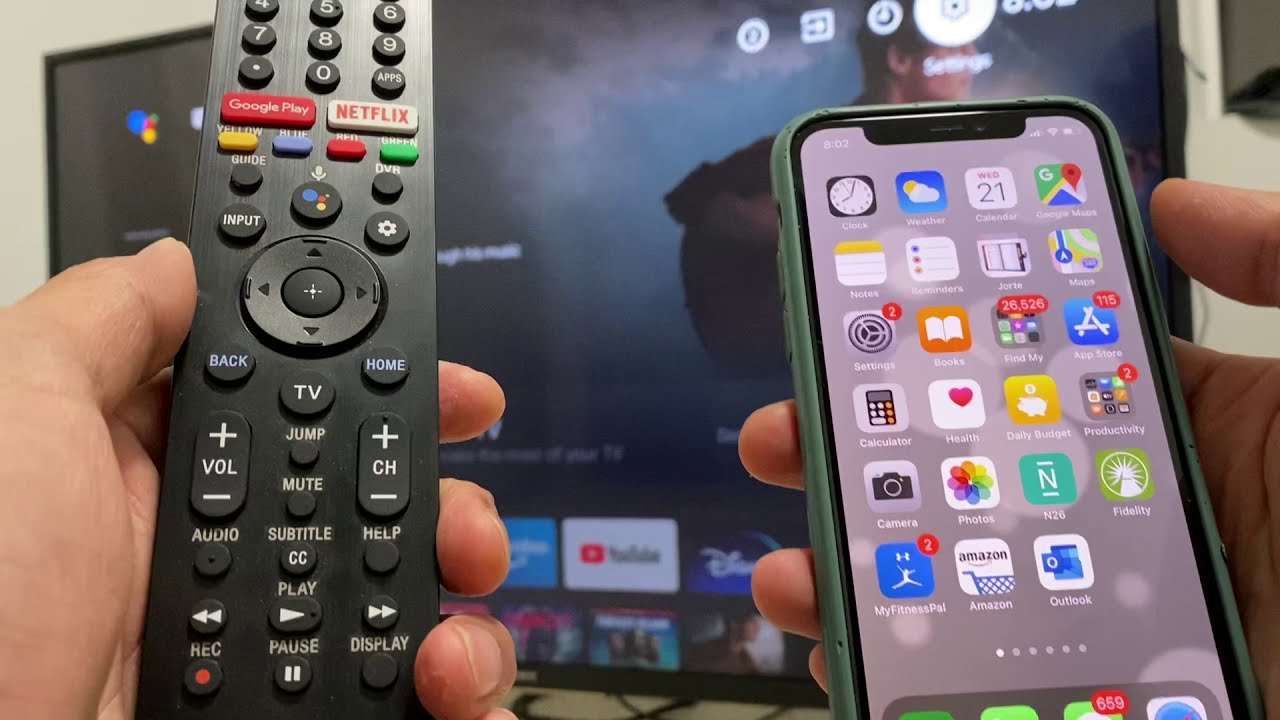
- Use the Roku app on your iPhone as a remote control to pause, play, rewind, or adjust the volume of the media playback on your Roku device.
- Explore the various features and settings available on your Roku device to customize the streaming experience according to your preferences.
- If you encounter any issues during playback, ensure that your Wi-Fi network is stable and the Roku device is within range of your network’s signal.
- If desired, you can continue using your iPhone for other tasks while streaming to Roku, as long as both devices remain connected to the same Wi-Fi network.
- Enjoy the benefits of a bigger screen and enhanced audio quality as you watch your favorite movies, TV shows, or videos on your Roku device.
Whether you’re hosting a movie night, sharing a slideshow of your recent vacation photos, or simply enjoying your favorite streaming services on a larger screen, casting from your iPhone to Roku provides a versatile and convenient way to enjoy content.
Remember to disconnect the casting session once you’re done streaming. Simply tap on the “Cast” icon again in the Roku app and select “Disconnect” or “Stop Casting” to end the streaming session.
Now that you have successfully casted and are ready to enjoy streaming content from your iPhone to your Roku device, sit back, relax, and indulge in the ultimate entertainment experience!
Conclusion
Casting from your iPhone to a Roku device opens up a world of possibilities for streaming and sharing content on a larger screen with enhanced audio quality. By following the simple and straightforward steps outlined in this guide, you can easily cast media from your iPhone to Roku and enjoy a seamless streaming experience.
From watching movies and TV shows to viewing personal photos and videos, casting allows you to transform your iPhone into a powerful media hub that connects with your Roku device. The versatility and convenience of casting enable you to enjoy your favorite content in a more immersive and engaging way.
Remember to ensure that both your iPhone and Roku device are connected to the same Wi-Fi network before initiating the casting process. This ensures a smooth and uninterrupted connection between the two devices for a seamless streaming experience.
With the Roku app installed on your iPhone, you have full control over selecting and playing media on your Roku device. Use the app as a remote control to navigate through channels, search for specific content, adjust playback settings, and more.
Whether you’re hosting a movie night, enjoying a slideshow of memorable photos, or streaming your favorite music playlist, casting from your iPhone to Roku allows you to amplify your entertainment experience and share it with family and friends.
So, get ready to transform your living room into a personalized theater using the power of your iPhone and Roku device. Follow the steps in this guide and start enjoying the benefits of casting from your iPhone to Roku today!