Introduction
Are you tired of flipping through countless cable channels and paying hefty monthly bills? Look no further – Roku is here to revolutionize your TV-viewing experience. With its wide range of streaming devices, Roku offers a comprehensive solution that brings your favorite shows, movies, and music directly to your living room.
Whether you’re new to the world of streaming or looking to upgrade your existing device, this article will guide you through the process of getting Roku and setting it up. We’ll cover everything from connecting Roku to your TV to customizing its settings to suit your preferences.
Roku is a fantastic alternative to cable TV, providing access to a wide variety of streaming services and channels. From popular streaming platforms like Netflix, Hulu, and Amazon Prime Video to specialty channels and live sports, Roku has something for everyone.
But before you can dive into the world of streaming, you need to get your hands on a Roku device. There are several models to choose from, each with its own unique features and capabilities. We’ll help you select the right Roku model that meets your needs and budget.
Once you have your Roku device in hand, it’s time to set it up. Don’t worry, it’s a simple process that can be completed in a few easy steps. We’ll walk you through each step, providing clear instructions and tips along the way.
After setting up your Roku, you’ll need to create a Roku account and activate your device. This will give you access to thousands of streaming apps and channels, allowing you to personalize your viewing experience. We’ll show you how to create an account and activate your device hassle-free.
With your Roku device up and running, it’s time to explore the rich world of streaming entertainment. We’ll guide you through the process of downloading and installing apps on your Roku, so you can start enjoying your favorite movies, TV shows, music, and more.
But the fun doesn’t stop there. Roku offers a range of customizable settings that allow you to tailor your streaming experience to your preferences. From adjusting display settings to managing parental controls, we’ll cover everything you need to know to personalize your Roku experience.
Of course, even the most seamless technology can sometimes run into issues. That’s why we’ll also cover common troubleshooting techniques to help you overcome any challenges you might encounter while using your Roku device.
So, whether you’re a tech-savvy streamer or just starting your streaming journey, this article is your go-to resource for getting Roku and making the most of its features. Let’s dive in and unlock a world of entertainment at your fingertips!
Setting up Roku
Setting up your Roku device is a straightforward process that can be completed in just a few minutes. Whether you have a Roku streaming stick or a Roku box, the steps are virtually the same. Here’s a detailed guide on how to set up your Roku:
1. Connect the Roku device to your TV: Start by connecting your Roku device to an HDMI port on your TV. If you have a Roku streaming stick, insert it directly into the HDMI port. For other Roku models, you’ll need to connect an HDMI cable from the device to the TV.
2. Power up the Roku device: Once the Roku device is connected to your TV, plug it into a power source using the included power adapter. Make sure to use the provided power adapter, as using a different one may cause compatibility issues.
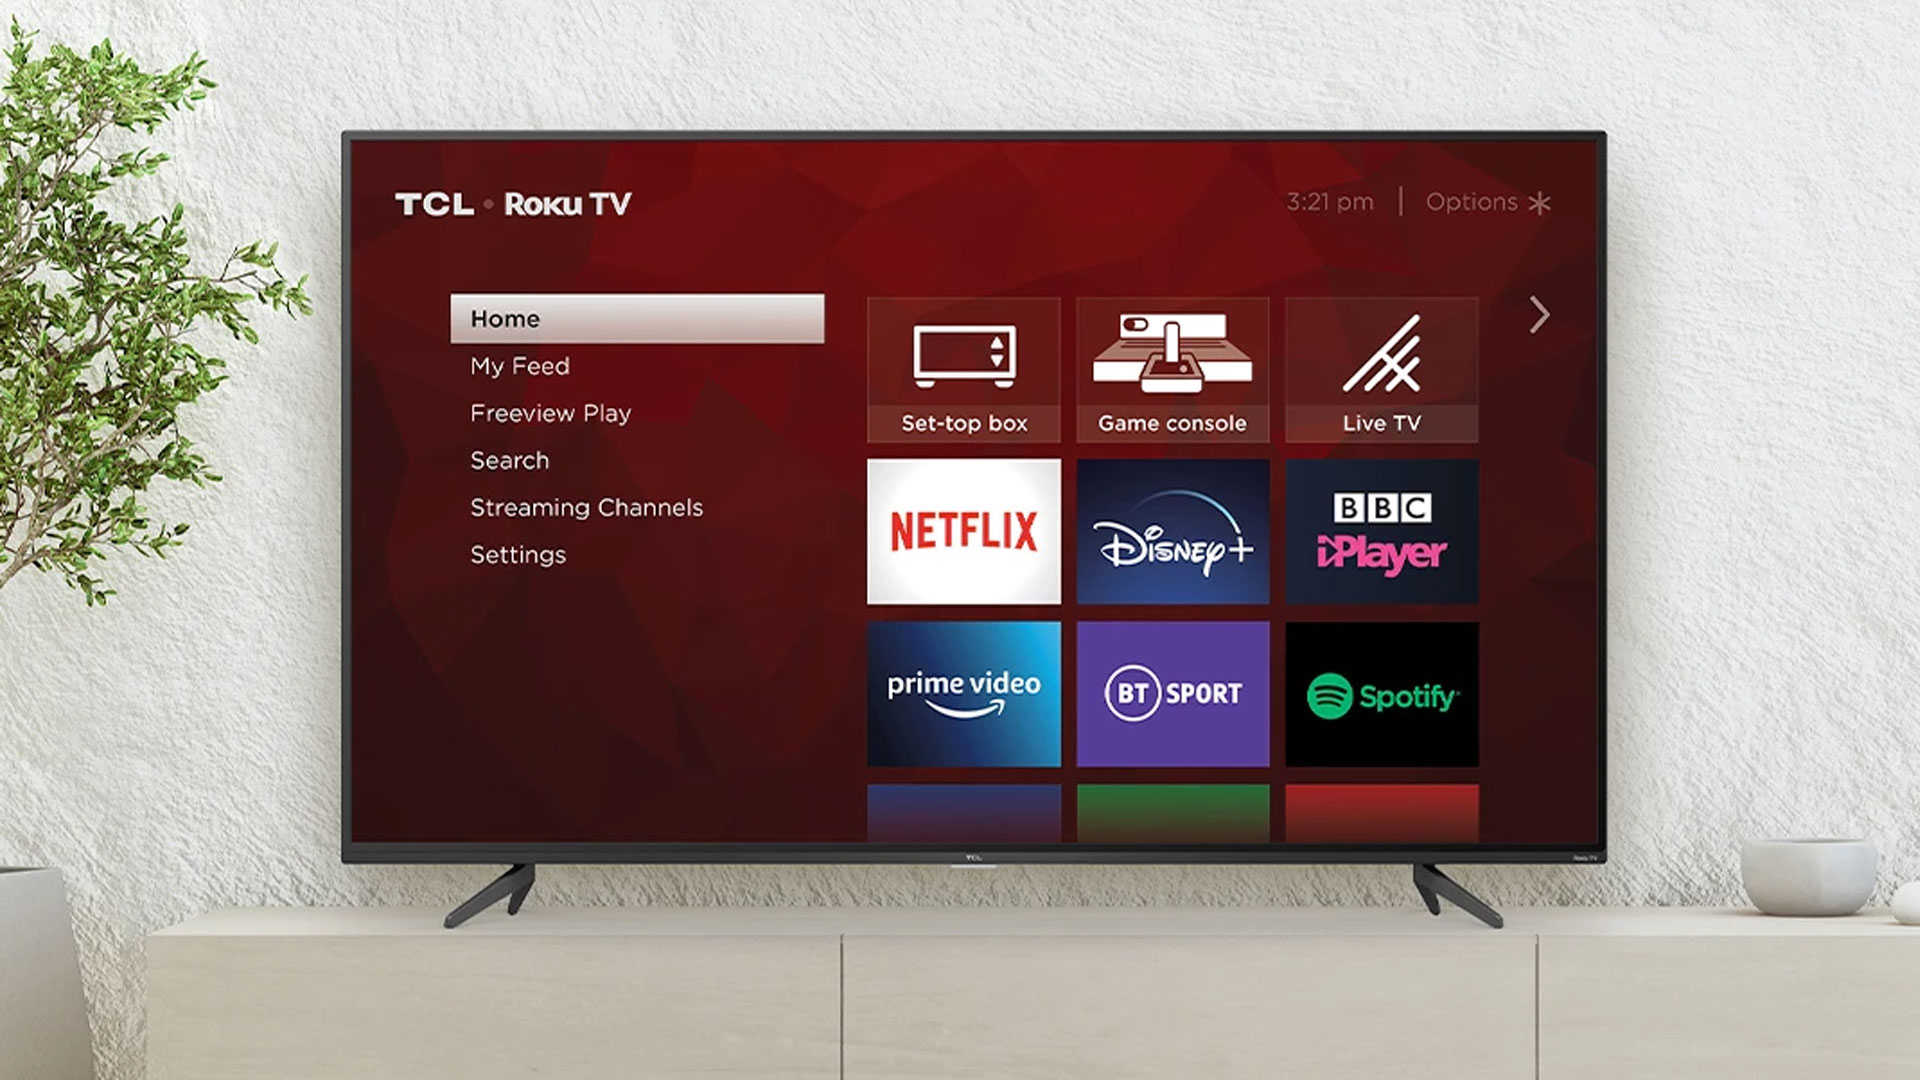
3. Select the right input source: Use your TV remote to navigate to the input/source selection menu. Choose the HDMI port where your Roku device is connected. You should now see the Roku logo appear on your TV screen.
4. Set up your remote: If your Roku device comes with a physical remote, insert the batteries and ensure it is working properly. Some Roku models also offer a mobile app that can be used as a remote. Download and install the Roku mobile app if available.
5. Choose your language: On your TV screen, you will be prompted to choose your preferred language for the Roku interface. Use the remote or mobile app to select your desired language.
6. Connect to your network: Next, you’ll need to connect your Roku device to your Wi-Fi network. Select your network from the available options and enter the password if required. Once connected, your Roku device will download the latest software updates automatically.
7. Set display type: Your Roku device will now detect the best display resolution for your TV. Select the recommended setting or manually choose the resolution that matches your TV’s capabilities.
8. Create a Roku account: To fully enjoy the Roku experience, you’ll need to create a Roku account. Go to the Roku website or use the mobile app to create an account. Provide the necessary information, including a valid email address and a secure password.
9. Link your Roku device to your account: On your TV screen, a unique code will appear. Enter this code on the Roku website or mobile app to link your Roku device to your account. Once linked, your Roku device will automatically activate and complete the setup process.
10. Customize your settings: After the setup is complete, you can further customize your Roku settings to suit your preferences. This includes adding channels, adjusting audio and video settings, and enabling parental controls.
And there you have it! Your Roku device is now set up and ready to use. Enjoy the seamless streaming experience brought to you by Roku’s incredible selection of entertainment options.
Connecting Roku to the TV
One of the key steps in setting up your Roku device is connecting it to your TV. Depending on the model of your Roku and your TV, there are a few different methods you can use to establish the connection. Here’s a comprehensive guide on connecting Roku to your TV:
1. HDMI connection: Most Roku devices, including streaming sticks and boxes, use an HDMI cable to connect to your TV. Start by inserting one end of the HDMI cable into the HDMI port on your Roku device and the other end into an HDMI input port on your TV. Remember to take note of which HDMI input you use, as you’ll need to switch to that input on your TV later.
2. HDMI ARC (Audio Return Channel): If your TV has an HDMI ARC port, you can connect your Roku device directly to that port. This allows for audio to be transmitted back to your TV speakers without the need for an additional audio cable. Simply connect the Roku device to the HDMI ARC port using an HDMI cable, and you’re good to go.
3. Composite or component connection: If you have an older TV model that doesn’t have an HDMI port, you can use a composite or component connection instead. Roku provides composite and component cables that can be connected to the corresponding ports on your TV. Insert the cables into the respective color-coded ports on both the Roku device and the TV, and then use the input/source selection menu on your TV to switch to the correct input.
4. USB connection: Some Roku devices, such as the Roku streaming stick, have a USB-powered option. In this case, you can connect the Roku device directly to a USB port on your TV. This eliminates the need for a separate power adapter, making it a convenient option for those who have limited power outlets available.
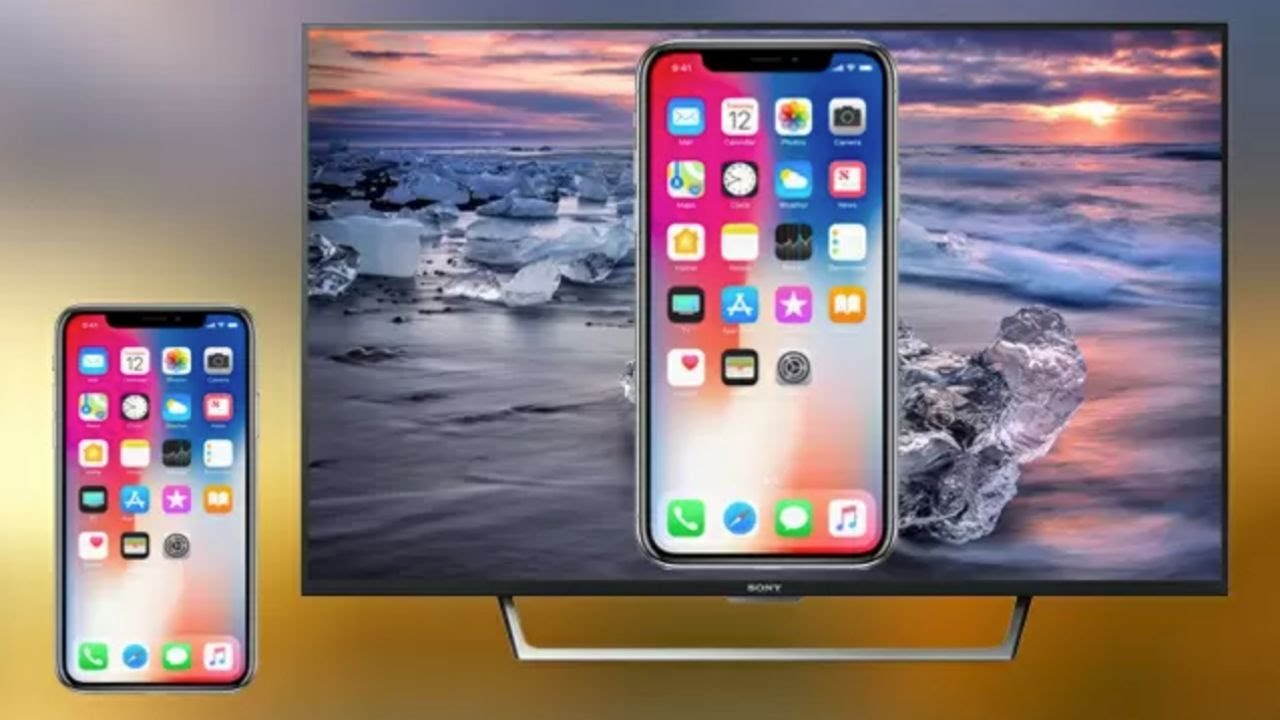
5. Wi-Fi Display or Miracast: If your Roku device and TV support Wi-Fi Display or Miracast, you can wirelessly mirror your device’s screen to your TV. This allows you to stream content directly from your smartphone, tablet, or computer to your TV. To set this up, enable the Wi-Fi Display or Miracast feature on both your Roku device and TV, and follow the on-screen instructions to establish the connection.
Once you have successfully connected your Roku device to your TV, use your TV remote to switch to the corresponding HDMI input or input source that you connected the Roku device to. You should then see the Roku logo appear on your TV screen, indicating a successful connection.
Remember, the specific steps may vary depending on the model of your Roku device and your TV. Consult the user manual for your Roku device and TV for precise instructions on establishing the connection.
Now that you’ve successfully connected your Roku device to your TV, you’re one step closer to enjoying a world of entertainment at your fingertips.
Choosing the Right Roku Model
When it comes to choosing a Roku model, it’s essential to consider your specific needs and preferences. Roku offers a range of devices, each with its own features and capabilities. Here are some factors to keep in mind when selecting the right Roku model for you:
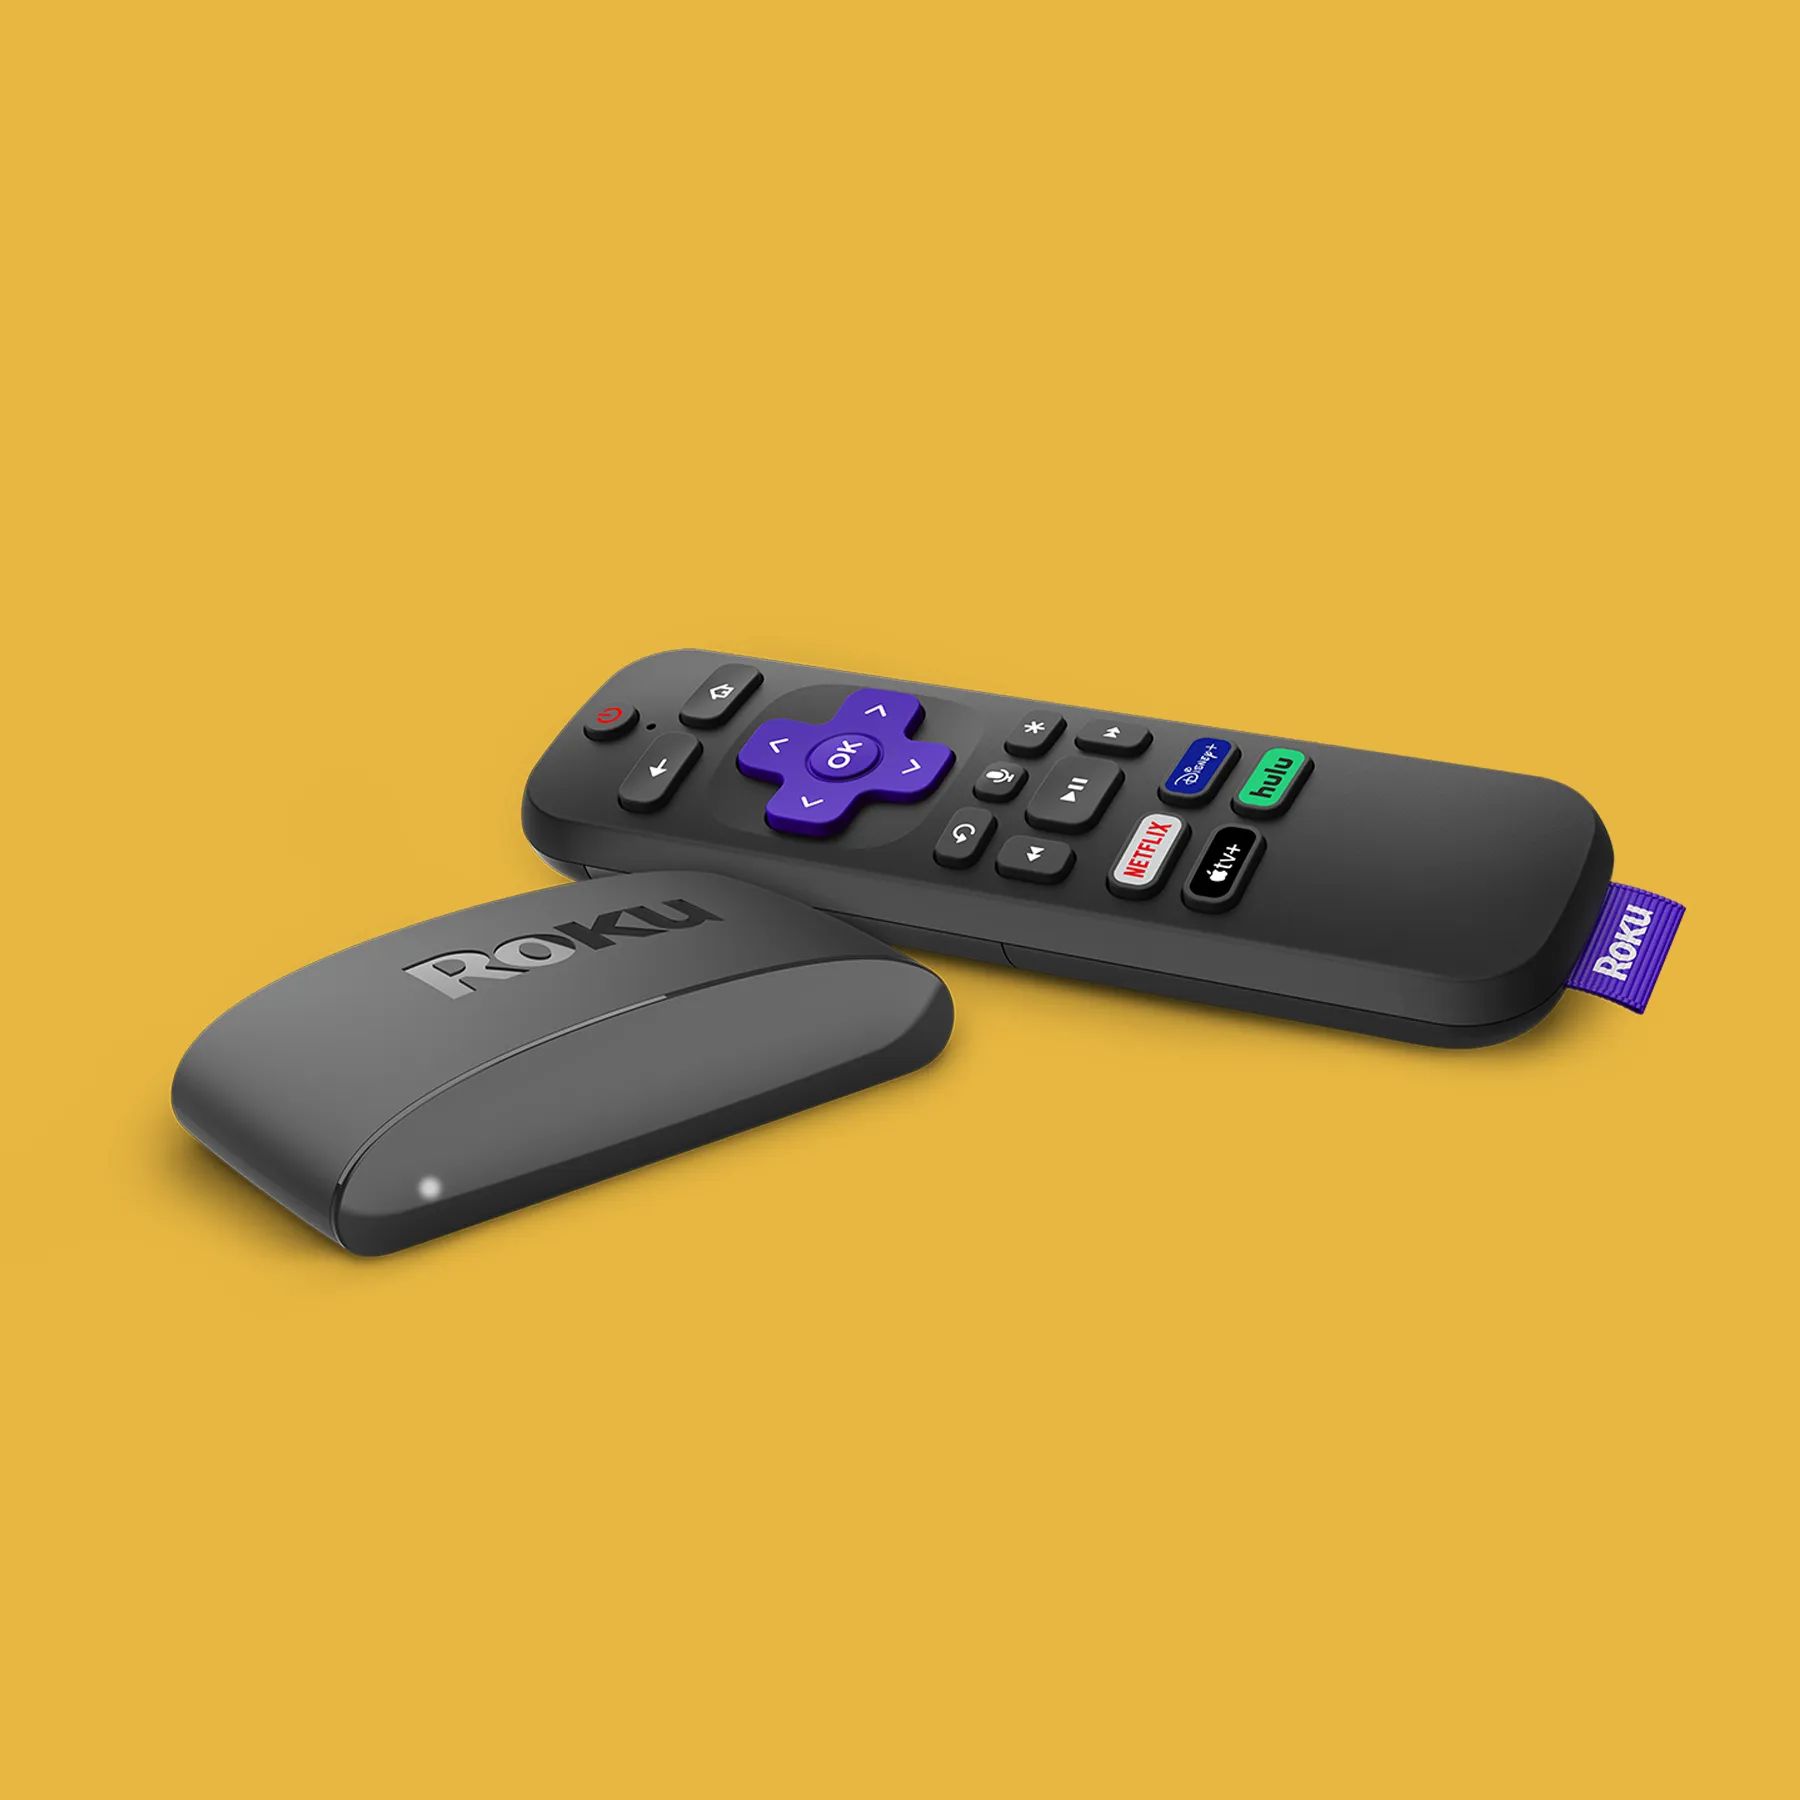
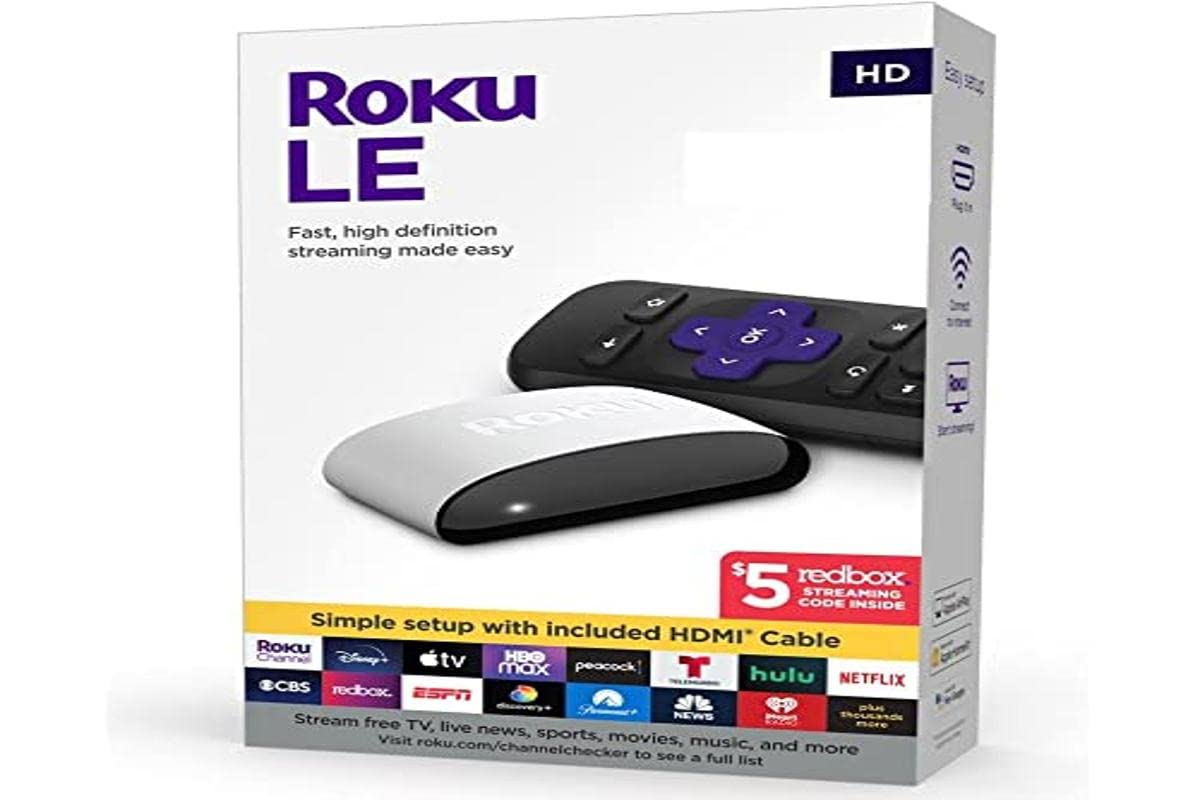
1. Streaming Stick vs. Set-Top Box: Roku offers both streaming sticks and set-top boxes. Streaming sticks, like the Roku Streaming Stick+ or the Roku Express, are compact and plug directly into your TV’s HDMI port. Set-top boxes, such as the Roku Ultra or Roku Premiere, are larger and usually provide additional features like Ethernet connectivity and enhanced 4K picture quality. Consider the space available around your TV and the additional features you desire when deciding between a streaming stick and a set-top box.
2. Resolution and Picture Quality: If you have a 4K Ultra HD TV, you’ll want a Roku device that supports 4K streaming. Models like the Roku Ultra or Roku Streaming Stick+ offer stunning 4K picture quality for a more immersive viewing experience. If you have a standard HD TV, a lower-resolution Roku model like Roku Express or Roku Premiere will suffice.
3. HDR and Dolby Vision Support: If your TV supports High Dynamic Range (HDR) or Dolby Vision technology, look for a Roku model that also supports these formats. Devices like the Roku Ultra, Roku Streaming Stick+, and Roku Premiere offer HDR and Dolby Vision support, providing enhanced color, contrast, and detail in compatible content.
4. Audio Capabilities: Some Roku models, like the Roku Ultra, support advanced audio formats like Dolby Atmos for a cinematic audio experience. If you have a surround sound system or wish to enjoy immersive audio, consider a Roku device with advanced audio capabilities.
5. Additional Features: Roku devices offer various additional features, such as voice search, private listening, and gaming capabilities. If these features are important to you, opt for a Roku model that includes them. The Roku Ultra, for example, comes with a voice-controlled remote and a headphone jack for private listening, while the Roku Streaming Stick+ offers a portable design and supports gaming apps.
6. Budget and Value: Consider your budget when choosing a Roku model. The price range varies across the different models, with higher-end models carrying a higher price tag. Assess the features and capabilities that are most important to you and find a Roku device that offers the best value within your budget.
By considering these factors, you can select the right Roku device that aligns with your needs and enhances your streaming experience. Remember, with Roku’s wide range of models, there’s something for everyone, whether you’re a casual streamer or an avid entertainment enthusiast.
Purchasing a Roku Device
Once you have determined the right Roku model that fits your needs, it’s time to purchase your Roku device. Roku devices are widely available through various retailers, both online and in physical stores. Here’s a guide to purchasing a Roku device:
1. Official Roku website: The official Roku website is a reliable source for purchasing Roku devices. Visit roku.com and explore their product lineup to find the specific model you want. The website often runs promotions, discounts, and bundle offers, so keep an eye out for any deals that may be available.
2. Online retailers: Major online retailers such as Amazon, Best Buy, Walmart, and Target offer a wide selection of Roku devices. Visit their websites and search for the Roku model you want. Compare prices, read customer reviews, and check for any ongoing sales or discounts that could help you save money.
3. Physical stores: If you prefer a hands-on shopping experience, you can find Roku devices in various brick-and-mortar stores. This includes electronics retailers, department stores, and even some supermarkets. Check the electronics section of stores like Best Buy, Walmart, and Costco, or inquire at the customer service desk if you’re unsure where to find Roku devices.
4. Authorized resellers: Roku devices are often sold by authorized resellers, both online and offline. These resellers include authorized distributors, specialty electronics stores, and local retailers. Always make sure to purchase from authorized sellers to ensure the authenticity and warranty coverage of your Roku device.
5. Consider refurbished models: If you’re looking to save some money, consider purchasing a refurbished Roku device. Refurbished models are devices that have been returned, repaired, and tested by the manufacturer to ensure they meet the same quality standards as new devices. Refurbished Roku devices are usually sold at a discounted price and come with a warranty, making them a cost-effective option for budget-conscious buyers.
Before making your purchase, double-check that the Roku device you choose includes all the features and specifications you require. Pay attention to bundled accessories, such as the remote control or HDMI cable, to ensure you have everything you need to set up your Roku device right away.
Lastly, keep an eye out for any additional offers or incentives that may come with your Roku device purchase. This could include free trials for streaming services or promotional codes for renting or purchasing movies. Take advantage of these extras to further enhance your streaming experience.
With your Roku device in hand, you’re ready to embark on a journey of endless entertainment. Now, let’s move on to the next step: setting up your Roku account.
Setting up a Roku Account
Setting up a Roku account is a crucial step in getting the most out of your Roku device. It allows you to access a wide range of streaming apps and channels, personalize your preferences, and manage your device. Here’s a step-by-step guide on how to set up your Roku account:
1. Visit the Roku website: Using a web browser on your computer or smartphone, go to the official Roku website at roku.com. Click on the “Sign In” button located at the top right corner of the page.
2. Create a Roku account: If you haven’t created a Roku account yet, click on the “Create account” link next to the “Sign In” button. Fill in the required information, including your name, email address, and password. Make sure to choose a strong password to protect your account.
3. Verify your email address: After entering your information, Roku will send a verification email to the email address you provided during registration. Open the email and click on the verification link to confirm your email address. This step is essential for account security and activation.
4. Link your Roku device to your account: On your TV screen, a unique activation code will appear after setting up your Roku device. To link your device to your Roku account, go to roku.com/link on your computer or smartphone. Enter the activation code displayed on your TV and click on the “Submit” button.
5. Complete the account setup: After entering the activation code, your Roku device will automatically connect to your account, completing the account setup process. You can now explore and download various streaming apps and channels to personalize your Roku experience.
6. Set up payment information (optional): While setting up your Roku account, you’ll have the option to add a payment method. This is not mandatory, but if you wish to rent or purchase movies, subscribe to premium channels, or make in-app purchases, you may need to provide payment information. Roku accepts credit cards, PayPal, and some other payment methods.
7. Customize your account settings: Once the account setup is complete, you can customize your preferences and settings. This includes adjusting display settings, enabling closed captions, managing parental controls, and creating pin codes for purchases or restricting certain content.
By setting up a Roku account, you gain access to a vast library of streaming content and features that enhance your streaming experience. A Roku account also ensures that your preferences and settings are synchronized across multiple Roku devices.
Remember, all the information you provide for your Roku account, including your email address and payment information, is securely encrypted to protect your privacy. With your Roku account ready, let’s proceed to the next step: activating your Roku device.
Activating the Roku Device
Activating your Roku device is a crucial step that allows you to start enjoying the vast selection of streaming content available on the Roku platform. Once you have set up your Roku account and linked your device to it, activating the device is a simple process. Here’s a step-by-step guide on how to activate your Roku device:
1. Turn on your Roku device: Ensure that your Roku device is properly connected to your TV and powered on. Use the remote control or mobile app to turn on the device.
2. Select the correct input on your TV: Using your TV remote, select the input/source that corresponds to the HDMI port where your Roku device is connected. You should see the Roku logo appear on your TV screen.
3. Follow the on-screen instructions: Once the Roku logo appears, your device will display an activation screen with a unique activation code. Make a note of this code as you will need it to complete the activation process.
4. Open a web browser: On your computer or smartphone, open a web browser and go to the Roku activation website at roku.com/link. Alternatively, you can directly enter the activation website address provided on the activation screen.
5. Enter the activation code: On the Roku activation website, you will be prompted to enter the activation code displayed on your TV screen. Carefully input the code, ensuring that all characters are correct, and then click on the “Submit” or “Continue” button.
6. Sign in to your Roku account: If you haven’t already signed in to your Roku account, you will be prompted to do so during the activation process. Enter your Roku account email address and password to sign in.
7. Wait for the device to activate: Once you have entered the activation code and signed in to your Roku account, the activation process will begin. Your device will communicate with the Roku server to activate your device and link it to your account. This process usually takes a few moments, so be patient.
8. Device activation confirmation: Upon successful activation, your Roku device will display a confirmation message on your TV screen. This confirms that your device is now activated and ready to use. You can now start exploring the wide range of channels and streaming apps available on the Roku platform.
Note that if you encounter any issues during the activation process, double-check your internet connection, ensure that you have entered the activation code correctly, and verify that you are signed in to the correct Roku account. If problems persist, consult the Roku support website or contact their customer support for assistance.
With your Roku device successfully activated, it’s time to dive into the world of streaming and start enjoying endless entertainment options at your fingertips.
Downloading and Installing Apps on Roku
One of the most exciting features of Roku is its extensive collection of apps, offering a wide range of streaming content to cater to your entertainment needs. Once you have successfully set up and activated your Roku device, it’s time to delve into the world of apps. Here’s a step-by-step guide on how to download and install apps on Roku:
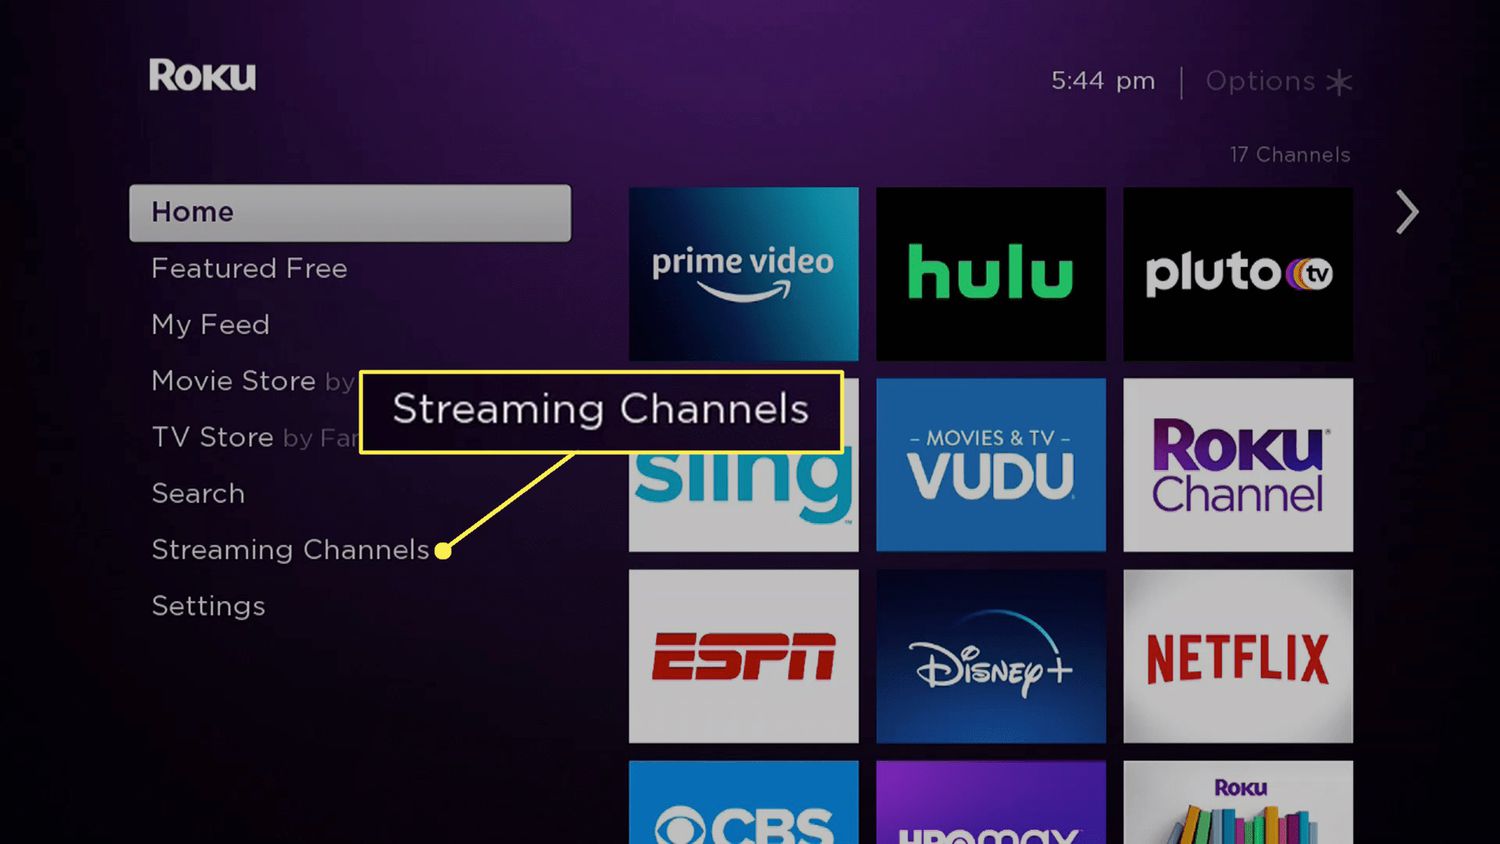
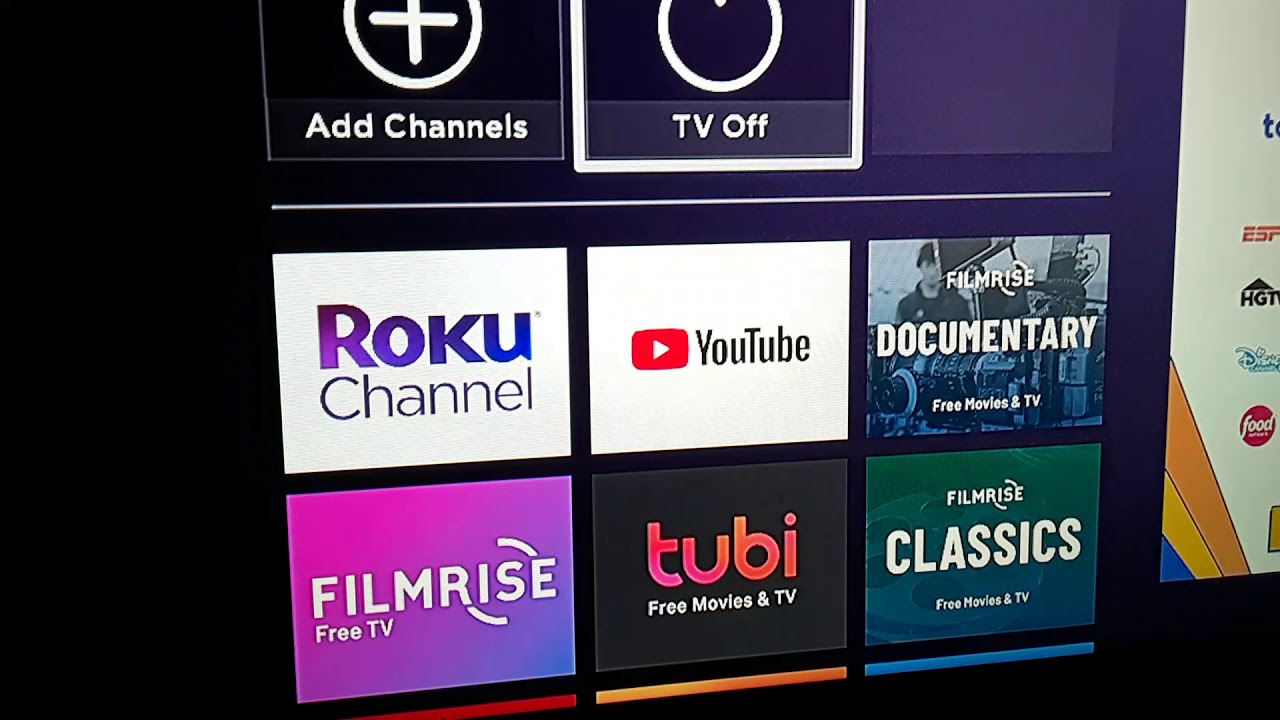
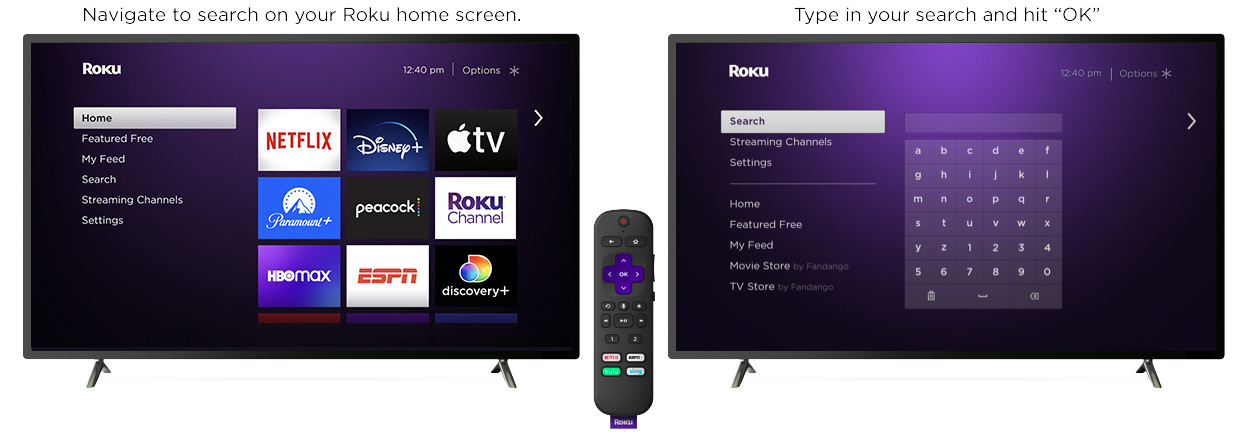
1. Navigate to the Roku Home Screen: Begin by pressing the Home button on your Roku remote to access the Home Screen. This is where you’ll find all the installed apps and channels.
2. Go to the Roku Channel Store: On the Home Screen, scroll down and select the “Streaming Channels” option. Once selected, you’ll be taken to the Roku Channel Store, which houses a vast collection of apps and channels.
3. Browse the Channel Store: In the Roku Channel Store, you can explore various categories to find apps that match your interests. Browse through popular channels, featured apps, or search for specific apps by using the provided search function.
4. Select an app: Once you find an app you’re interested in, select it to view more information about the app, including a description, ratings, and screenshots. Make sure to read user reviews and check the app’s ratings to ensure it meets your expectations.
5. Install the app: To install an app, select the “Add Channel” or “Install” button. This will initiate the installation process, and the app will be added to your Roku device. Depending on the size of the app, the installation may take a few moments.
6. Return to the Home Screen: After installing an app, press the Home button on your remote to return to the Roku Home Screen. The newly installed app will now appear in the list of channels and apps on the Home Screen.
7. Launch the app: To launch an app, highlight the app and press the OK or “*” button on your remote. The app will open, and you can start exploring its content and features.
8. Manage your apps: As you install more apps on your Roku device, you may want to manage their placement and organization on the Home Screen. To do this, highlight the app you want to move or delete and press the “*” button on your remote. From there, you can move the app, remove it, or even create app shortcuts for easy access.
9. Check for app updates: Periodically, app developers release updates to improve performance or add new features. To check for updates, go to the Roku Home Screen, highlight the app you want to update, and press the “*” button on your remote. From the options that appear, select “Check for updates.” If there’s an update available, follow the on-screen instructions to update the app.
With access to a vast array of channels and apps, Roku provides endless entertainment options. Explore the Roku Channel Store, discover new apps, and install those that suit your interests. Whether you’re into streaming movies, binge-watching TV shows, or exploring niche content, Roku has you covered.
Enjoy the flexibility and convenience of streaming your favorite content whenever you want, all from the comfort of your own living room.
Customizing Roku Settings
Roku offers a range of customizable settings that allow you to personalize your streaming experience and tailor it to your preferences. From adjusting display settings to managing parental controls, these settings empower you to create an optimized viewing environment. Here’s how you can customize your Roku settings:
1. Display settings: Roku gives you control over the display settings to ensure the best visual experience. From the Roku Home Screen, go to Settings and select Display Type. Choose the display resolution that matches your TV’s capabilities, such as 1080p or 4K. You can also adjust other settings like screen size, aspect ratio, and color temperature to suit your preferences.
2. Audio settings: Roku allows you to customize the audio options to enhance your audio experience. In the Settings menu, select Audio. From here, you can adjust settings like volume mode, speech clarity, and audio leveling. If you have a soundbar or home theater system, you can also set up the audio output format and make audio-specific adjustments.
3. Network settings: To ensure a stable and reliable network connection, navigate to the Settings menu and select Network. From here, you can connect to a Wi-Fi network, set up a wired Ethernet connection, or configure advanced network options. Adjusting network settings can help optimize streaming performance and reduce buffering issues.
4. Screen mirroring settings: If your Roku device supports screen mirroring, you can enable or disable this feature in the System settings. Screen mirroring allows you to cast or mirror your smartphone, tablet, or computer screen onto your TV. Adjusting these settings ensures you have control over which devices can connect to your Roku device for screen mirroring.
5. Parental controls: Roku provides robust parental control features to help manage what content can be accessed. From the Settings menu, select Parental Controls. Here, you can set a PIN code to prevent unauthorized access to certain channels or content ratings. You can also set time limits for content viewing and customize restrictions based on individual profiles.
6. Theme settings: Roku allows you to personalize the appearance of the user interface with various themes. From the Settings menu, select Themes. Browse through the available themes and select the one that best suits your style. You can also customize the screensaver settings to display your own photos or artwork while your Roku device is idle.
7. Accessibility settings: Roku offers accessibility features to ensure inclusivity for all users. In the Settings menu, select Accessibility. From here, you can enable closed captions, adjust caption style and size, enable audio guide, and activate other accessibility options like audio descriptions and tactile feedback.
8. Remote settings: If you’re using a Roku remote, you can customize the remote settings to enhance convenience and navigation. In the Settings menu, select Remote. From here, you have options to adjust remote volume control, enable voice search, program the remote to control your TV’s power and volume, and even enable private listening through the Roku mobile app.
By customizing your Roku settings, you can create an optimized and personalized streaming experience. Take advantage of these settings to tailor your Roku device to your specific preferences and make the most out of your entertainment options.
Remember to regularly explore the Roku settings menu to discover new customization options and stay up to date with any software updates that provide additional features or improvements.
Troubleshooting Common Roku Issues
While Roku provides a smooth and seamless streaming experience, occasional issues may arise that can disrupt your enjoyment. Fortunately, many common Roku issues can be easily resolved with a few troubleshooting steps. Here are some common Roku issues and steps to troubleshoot them:
1. Poor Wi-Fi or internet connectivity: If you’re experiencing buffering or playback issues, it may be due to a weak Wi-Fi signal or an unstable internet connection. Verify that your Roku device is connected to your Wi-Fi network and try moving the device closer to the router. You can also restart your router and modem to refresh the connection.
2. Remote not working: If your Roku remote is unresponsive or not working properly, first check the batteries and ensure they are properly inserted. If the issue persists, try re-pairing the remote with your Roku device by following the on-screen instructions. If re-pairing doesn’t work, consider using the Roku mobile app as a remote or purchase a replacement remote.
3. Frozen or unresponsive device: If your Roku device becomes frozen or unresponsive, try performing a soft reset. Simply unplug the power adapter from the device, wait for at least 10 seconds, and plug it back in. Allow the device to restart and check if the issue is resolved.
4. App or channel issues: If a specific app or channel is not working correctly, start by checking for app updates. Go to the Roku Home Screen, highlight the app in question, press the “*” button on your remote, and select “Check for updates.” If an update is available, install it. If the issue persists, try removing the app and reinstalling it from the Roku Channel Store.
5. Audio or video synchronization issues: If you notice a delay or synchronization problem between the audio and video on your Roku, check the audio settings on your TV. Some TVs have audio delay settings that can cause synchronization issues. Adjust the audio settings on your TV or try changing the audio output settings on your Roku device to resolve the issue.
6. HDMI handshake issues: If you’re experiencing issues with the HDMI connection between your Roku device and your TV, start by ensuring that both the HDMI cable and the HDMI ports on your devices are working properly. Try using a different HDMI cable or connecting the Roku device to a different HDMI port on your TV. You can also try power cycling both the Roku device and your TV to establish a new HDMI handshake.
7. Error messages or software issues: Occasionally, you may encounter error messages or experience software-related issues with your Roku device. In these cases, check for any available system updates for your Roku device. Go to the Settings menu, select System, and choose System update to check for updates. If an update is available, install it to resolve any software-related issues.
If you’ve exhausted these troubleshooting steps and the issue persists, it may be beneficial to consult the Roku support website or reach out to Roku customer support for further assistance. Provide them with specific details about the issue you’re facing, including any error codes or messages you encounter, to receive accurate and timely support.
Remember, keeping your Roku device’s software up to date and regularly checking for app updates can help prevent and resolve many common issues. By following these troubleshooting steps, you can quickly resolve any hiccups and continue enjoying your streaming experience.
Conclusion
Congratulations! You’ve now learned how to get started with Roku, from setting up the device to customizing your settings and troubleshooting common issues. Roku provides an excellent streaming experience, bringing a vast array of entertainment options right to your living room.
By connecting Roku to your TV and choosing the right model, you can enjoy your favorite movies, TV shows, music, and more on demand. Setting up a Roku account and activating your device unlocks a world of streaming apps and channels, allowing you to create a personalized entertainment hub.
Downloading and installing apps on Roku enables you to explore a wide range of content, while customizing the settings allows you to tailor your Roku experience to your preferences. Whether it’s adjusting display and audio settings, managing parental controls, or personalizing themes and accessibility features, Roku puts you in control.
And when issues arise, rest assured that most common Roku problems can be easily resolved through simple troubleshooting steps. From Wi-Fi connectivity to remote issues, audio or video problems, or app-related concerns, following the recommended troubleshooting techniques will help you quickly get back to enjoying your favorite shows and movies.
Remember, with Roku, your entertainment options are virtually limitless. Take advantage of the extensive collection of streaming apps and channels, both free and subscription-based, to enjoy a wide range of content tailored to your interests.
So go ahead, sit back, relax, and immerse yourself in the world of entertainment provided by your Roku device. Whether you’re a casual viewer or a dedicated binge-watcher, Roku offers a seamless and user-friendly streaming experience that will keep you entertained for hours on end.
From selecting the right Roku model to troubleshooting any issues that may arise, you now have the knowledge and tools to make the most of your streaming journey with Roku. Enjoy the convenience, versatility, and endless entertainment that Roku brings to your TV, and happy streaming!