Introduction
Welcome to the world of Roku, where you can bring your app to millions of streaming users. With its growing popularity, adding an app to Roku can provide a fantastic opportunity to reach a large audience and showcase your content or services. Whether you’re a developer looking to expand your reach or a business seeking to engage customers through a streaming platform, this guide will walk you through the process of adding an app to Roku.
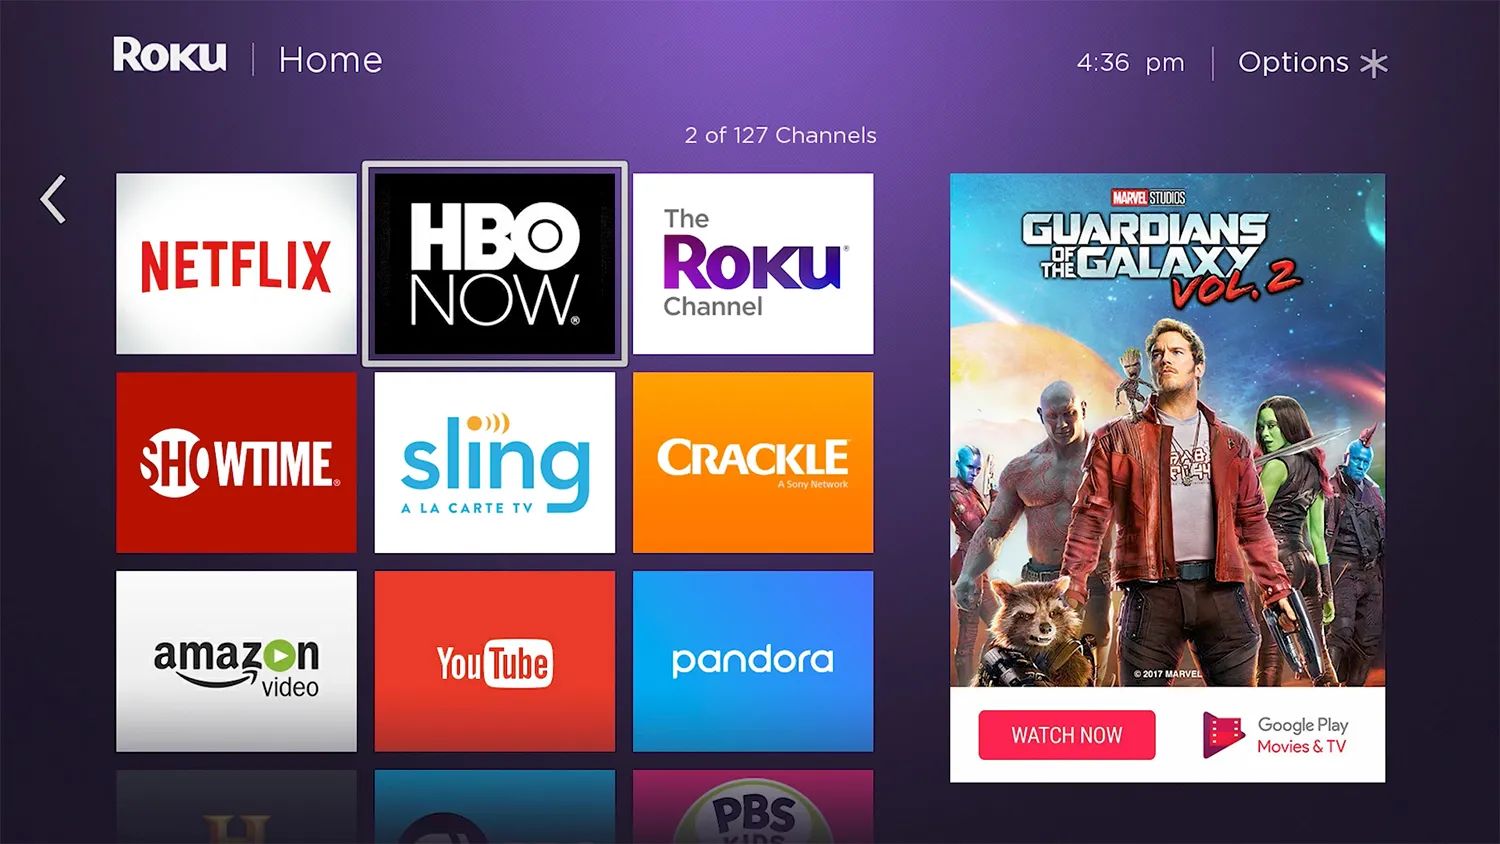
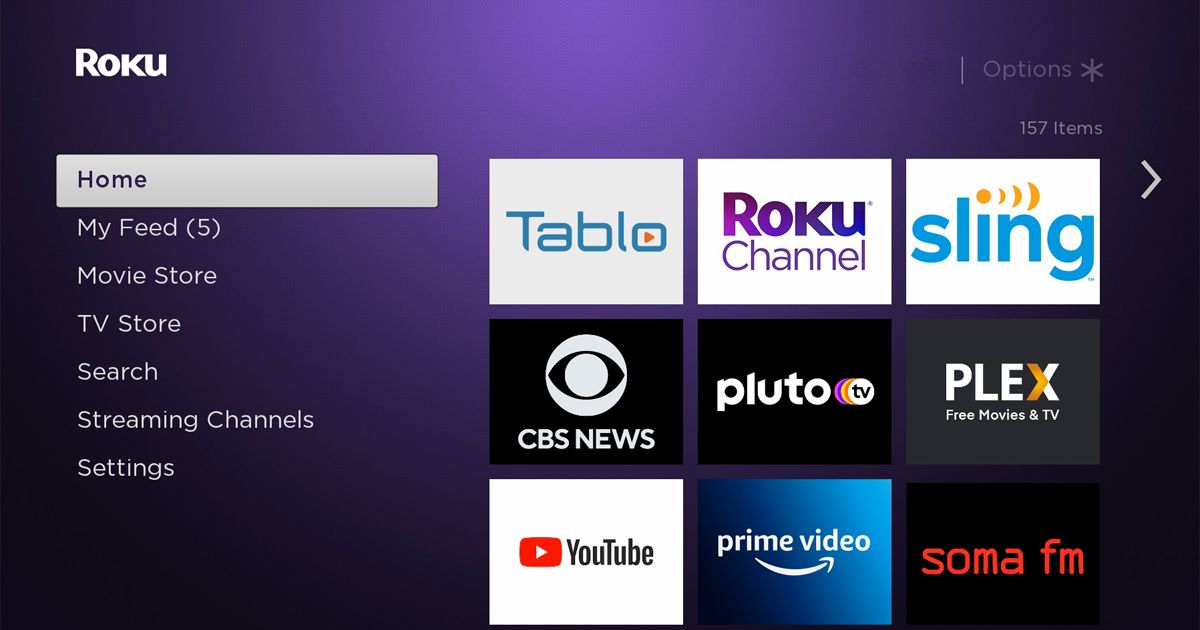
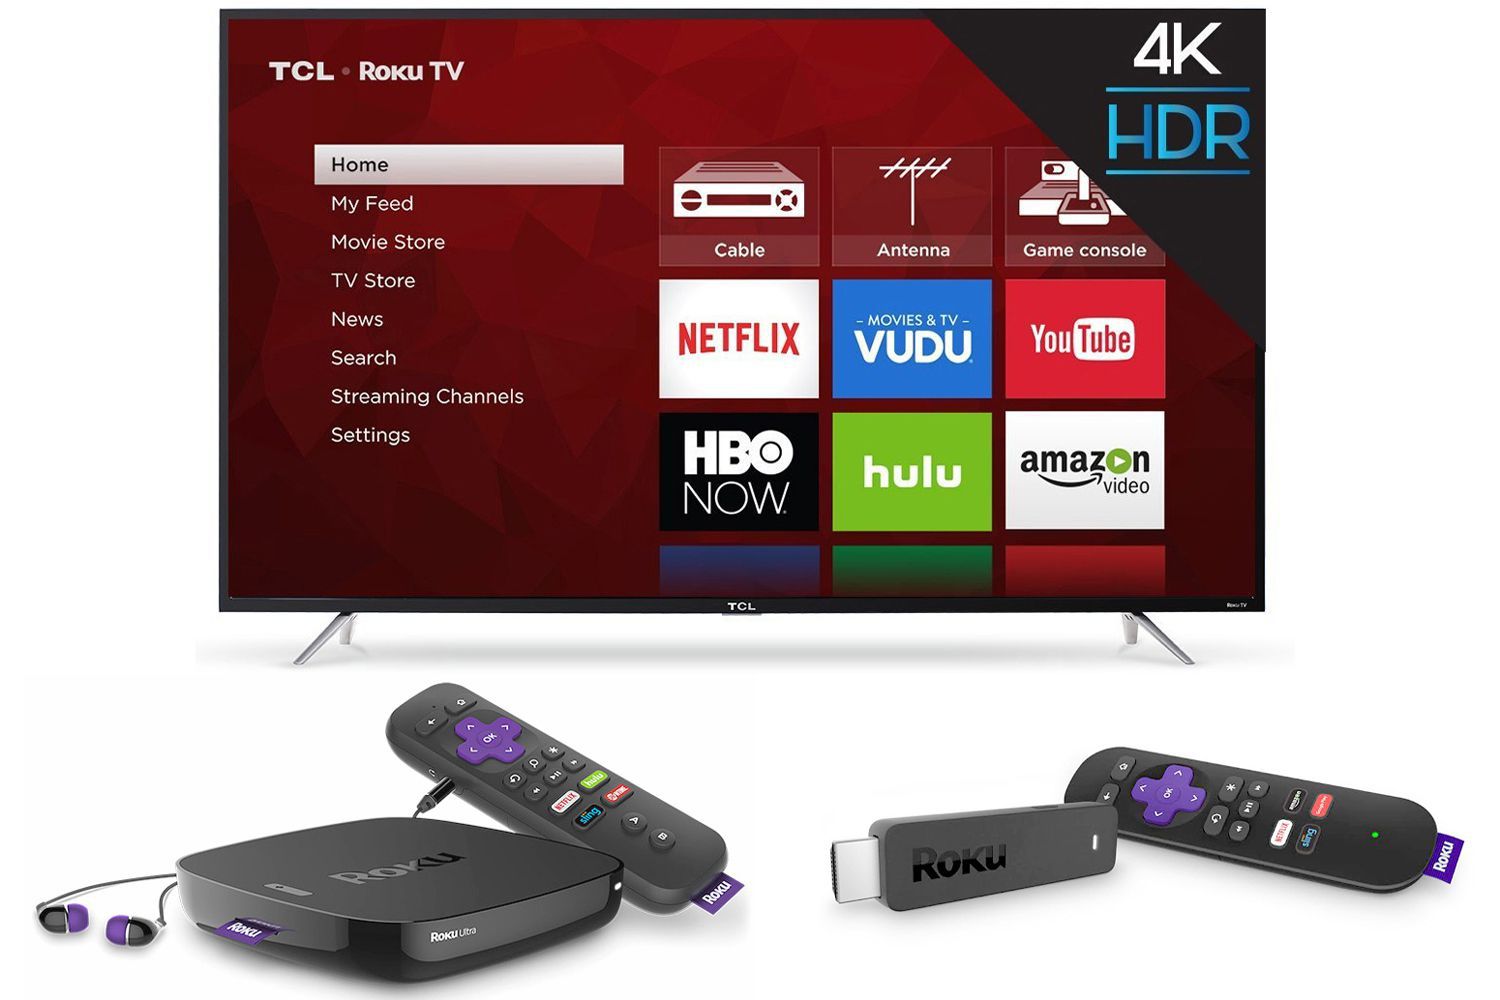
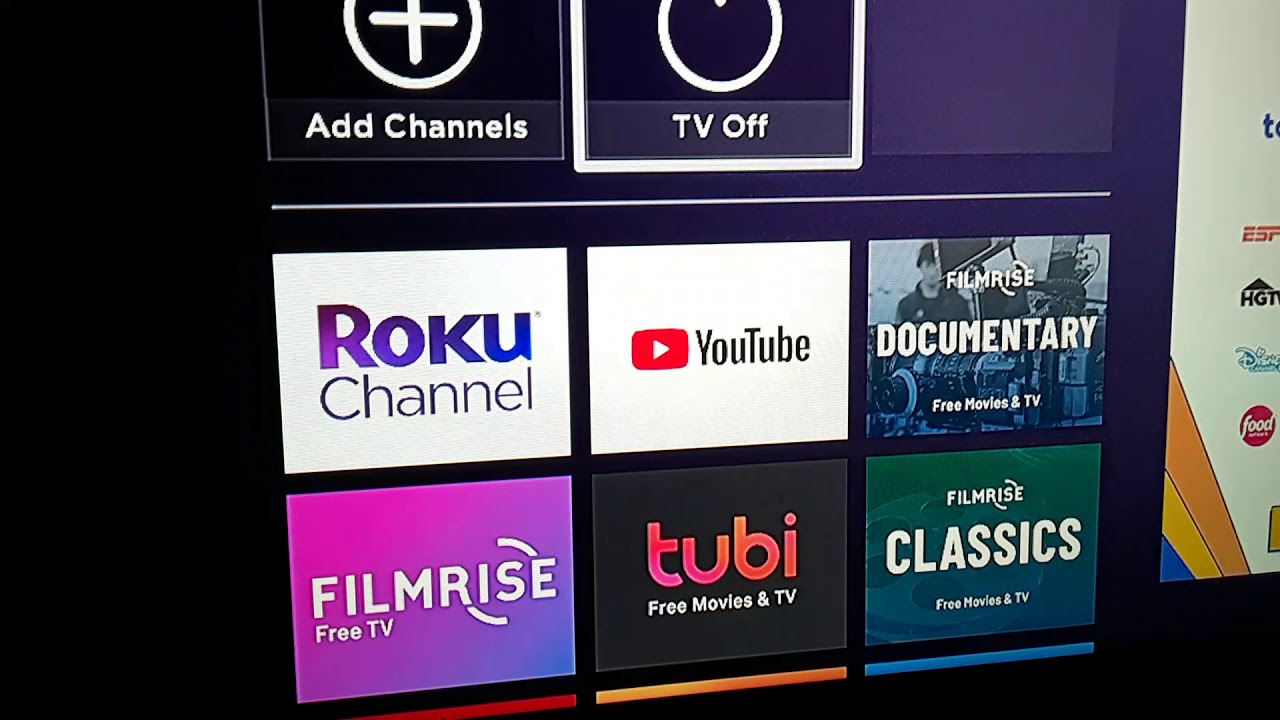
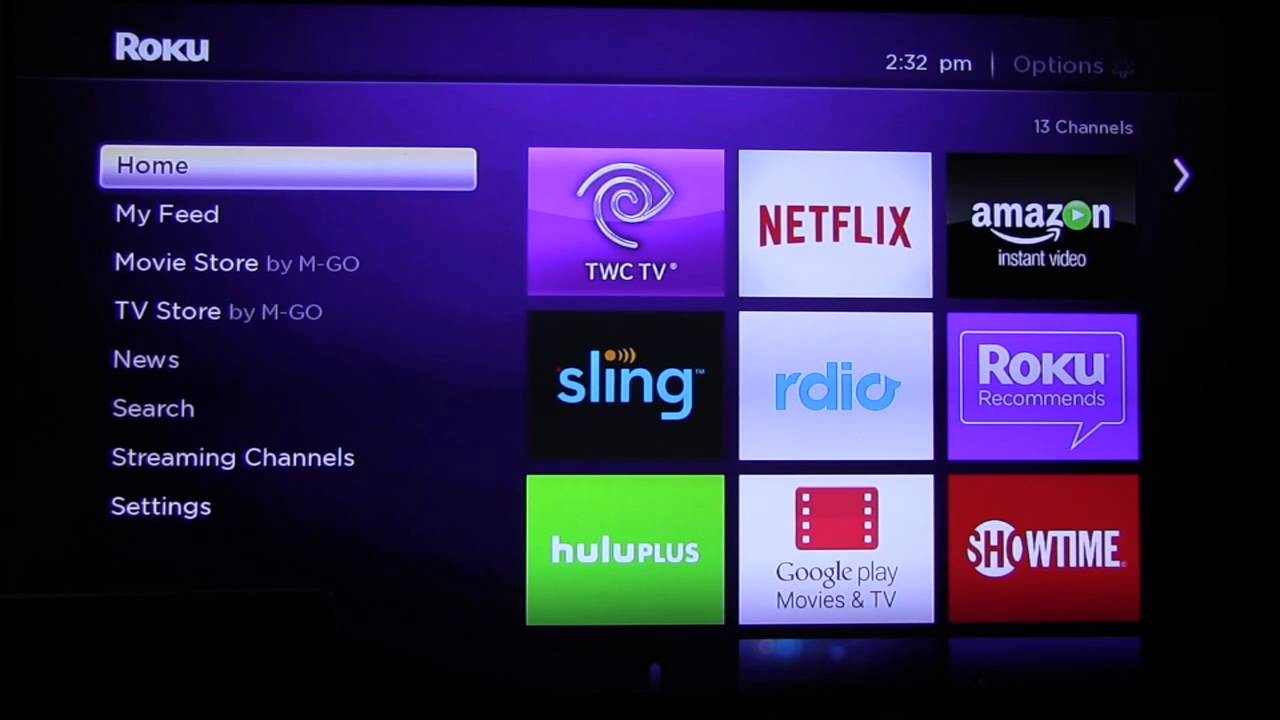
Roku is a leading streaming platform that offers a wide range of streaming devices and smart TVs. It provides users with access to a vast selection of channels, including popular streaming services like Netflix, Hulu, and Amazon Prime Video, as well as a variety of niche channels catering to specific interests.
Adding an app to Roku involves a few steps, including creating a developer account, enabling developer mode on your Roku device, generating a developer key, and configuring channel settings. You’ll also need to package and publish your channel, as well as test and install it on your Roku device.
Whether you’re a seasoned developer or new to app development, this guide will provide you with the necessary steps to get your app up and running on the Roku platform. Let’s dive in and explore how you can add an app to Roku and tap into the vast potential of this popular streaming platform.
Step 1: Create a Roku Developer Account
The first step towards adding an app to Roku is to create a Roku Developer Account. This account will give you access to the Roku Developer Dashboard, where you can manage your channels, monitor their performance, and track user downloads and engagement.
To create a Roku Developer Account, visit the Roku Developer website and click on the “Sign In” button at the top right corner of the page. If you don’t have an existing Roku account, you’ll need to create one. Simply fill in the required information, including your email address and a secure password. Once you’ve created your Roku account, sign in with your credentials.
After signing in, you’ll be redirected to the Roku Developer Dashboard. Here, you can navigate through various sections, including Application Management, Analytics, and Billing, to manage your channels and access important information about their performance and monetization.
Before you can start developing and publishing a channel, you’ll need to complete the Developer Agreement. This agreement outlines the terms of service and usage guidelines for Roku developers. Read through the agreement carefully, and if you agree to the terms, click on the “Accept Agreement” button to proceed.
Once you’ve accepted the Developer Agreement, you’ll be directed to the next step in the process. It’s important to note that creating a developer account is free, but there may be fees associated with certain aspects of channel development and distribution, such as in-app purchases or channel subscriptions.
By creating a Roku Developer Account, you gain access to a wealth of resources, documentation, and support from the Roku Developer community. This account is the gateway to building and distributing your app on Roku’s extensive platform.
Now that you have successfully created a Roku Developer Account, you’re ready to move on to the next step: enabling developer mode on your Roku device.
Step 2: Enable Developer Mode on Roku Device
In order to add and test your app on a Roku device, you need to enable Developer Mode. Enabling Developer Mode allows you to sideload and install custom channels on your Roku device for testing and development purposes.
Here’s how you can enable Developer Mode on your Roku device:
- Go to the Roku Home screen by pressing the Home button on your Roku remote
- Using your remote, navigate to the left sidebar and select “Settings”
- In the Settings menu, scroll down and select “System”
- Within the System menu, choose “Advanced system settings”
- Next, select “Developer options”
- In the Developer options menu, choose “Enable developer mode”
- You will now see a warning message informing you about the risks of enabling developer mode. Read through the message and select “OK” to proceed
- Note down the IP address displayed on the screen, as you will need it later for development and testing purposes
Once you have followed these steps and enabled Developer Mode on your Roku device, it is now ready to accept sideloaded channels. This allows you to install and test your custom channels directly on the device. However, it’s important to note that Developer Mode is only meant for development and testing purposes, and any channels installed in Developer Mode cannot be distributed or accessed by the general Roku user base.
Enabling Developer Mode opens up a world of possibilities for testing and refining your app on an actual Roku device. This step is crucial for ensuring that your app functions correctly and delivers the desired user experience. With Developer Mode enabled, you can proceed to the next step of generating a Developer Key.
Step 3: Generate a Developer Key
Before you can begin developing and testing your Roku channel, you’ll need to generate a Developer Key. The Developer Key is a unique alphanumeric code that allows your Roku device to communicate with the Roku Developer Dashboard and access the necessary resources for channel development.
Here are the steps to generate a Developer Key:
- Go to the Roku Developer Dashboard and sign in with your Roku Developer Account credentials.
- In the Developer Dashboard, select “Manage Your Channels” under the “Development Application” section.
- Click on the “Add Channel” button to create a new channel.
- Provide the necessary information for your channel, including the name, description, and category.
- Once you’ve filled in the required details, click on the “Save and Continue to Package” button.
- In the “Package Setup” section, you will find the Developer Key. It will be a combination of letters and numbers.
- Take note of the Developer Key as you will need it to package and test your channel on a Roku device.
The Developer Key is an essential piece of the puzzle as it establishes the connection between your Roku device and the Roku Developer Dashboard. This key helps authenticate your streaming device and allows you to submit updates or new versions of your channel for review and distribution.
Keep in mind that the Developer Key is unique to each channel you create. Therefore, if you plan to develop multiple channels, you will need to generate a separate Developer Key for each one.
Now that you have successfully generated a Developer Key, you’re ready to move on to the next step: installing the Roku Developer SDK.
Step 4: Install Roku Developer SDK
In order to develop and build your Roku channel, you will need to install the Roku Developer Software Development Kit, or SDK. The SDK provides the necessary tools and resources to create, package, and test your channel before publishing it on the Roku platform.
Here’s how you can install the Roku Developer SDK:
- Go to the Roku Developer Dashboard and sign in using your Roku Developer Account credentials.
- In the Developer Dashboard, navigate to the “Developer Setup Guide” section and click on the “SDK Setup” link.
- Choose the appropriate SDK for your development environment. The Roku SDK is available for Windows, macOS, and Linux.
- Follow the instructions provided to download and install the SDK on your computer.
- Once the installation is complete, launch the Roku Developer SDK.
- Sign in using your Roku Developer Account credentials to establish a connection between the SDK and the Roku Developer Dashboard.
With the Roku Developer SDK installed, you gain access to a range of development tools and resources. This includes the Roku Direct Publisher, a web-based tool that simplifies the process of creating and publishing Roku channels without the need to write code.
If you prefer to develop your channel using code, the Roku SDK provides various templates, samples, and documentation to help you get started. The SDK also includes a debugging console that allows you to view logs and troubleshoot any issues that may arise during development.
Having the Roku Developer SDK installed on your computer streamlines the channel development process and provides a seamless integration with the Roku Developer Dashboard, making it easier for you to build, test, and refine your app before it’s ready for distribution.
Now that you have the Roku Developer SDK up and running, you can proceed to the next step: creating a new Roku channel.
Step 5: Create a New Roku Channel
Now that you have the Roku Developer SDK installed and set up, it’s time to start creating your new Roku channel. The channel serves as the container for your app and is where you will add content, features, and functionality to engage your audience.
Here’s how you can create a new Roku channel:
- Launch the Roku Developer SDK on your computer.
- In the SDK, navigate to the “Channels” section and click on “Create New Channel”.
- Provide the necessary details for your channel, including the name, version, and channel ID.
- Choose the channel type that best suits your app, such as a video-based channel or a games channel.
- Configure any additional settings, such as content ratings, parental controls, or ad preferences.
- Save your channel configuration and proceed to the next step.
Creating a new Roku channel sets the foundation for your app and allows you to define its structure and behavior. It’s important to carefully consider the type of channel you want to create and the target audience you’re aiming to reach.
Once you have created your channel, you can start adding content, features, and functionality to make it engaging and valuable to your users. This may include incorporating media files, designing an intuitive user interface, implementing search functionality, or integrating monetization options.
The Roku Developer SDK provides various resources and documentation to guide you through the process of channel creation. You can leverage templates, examples, and guidelines to ensure a smooth development experience and create a high-quality channel that meets the Roku platform’s standards.
By creating a new Roku channel, you’re one step closer to bringing your app to life and reaching millions of Roku users. With the foundation of your channel in place, it’s time to move on to the next step: configuring channel settings.
Step 6: Configure Channel Settings
After creating your Roku channel, the next step is to configure its settings. This involves customizing various aspects of your channel, such as the layout, branding, metadata, and monetization options, to ensure it aligns with your app’s goals and meets the needs of your target audience.
Here’s how you can configure the settings for your Roku channel:
- Access the Roku Developer Dashboard and navigate to the “Manage Your Channels” section.
- Select the channel you wish to configure from the list of channels associated with your account.
- Under the channel’s settings, you can customize the branding elements, including the channel logo, background images, and color scheme, to create a visually appealing and cohesive user experience.
- Configure the channel’s metadata, such as the title, description, and keywords, to optimize its discoverability in the Roku Channel Store and search results.
- Set up the appropriate content ratings and parental controls to ensure your channel adheres to the appropriate guidelines and restrictions.
- Explore the monetization options available for your channel, such as in-app purchases, subscriptions, or advertising, and configure them according to your desired revenue model.
- Review and validate your channel’s settings to ensure everything is accurate and reflects your app’s objectives.
- Save your changes and proceed to the next step.
Configuring the settings for your Roku channel allows you to personalize the user experience and optimize its performance. By thoughtfully customizing the branding, metadata, and monetization options, you can increase the chances of attracting and engaging your target audience.
It’s important to keep in mind that the channel settings can be updated and adjusted as needed. This flexibility allows you to refine and improve your channel even after it has been published on the Roku platform.
With the channel settings configured, your Roku channel is one step closer to being ready for publication. The next step in the process is to add the content and features that will make your app truly shine. This brings us to Step 7: adding app content and features.
Step 7: Add App Content and Features
Adding compelling content and features to your Roku channel is a crucial step in creating a captivating user experience. It’s important to provide engaging and relevant content that keeps users coming back for more. This step involves organizing your content, integrating various features, and ensuring a seamless user interface.
Here’s how you can add app content and features to your Roku channel:
- Access the Roku Developer Dashboard and navigate to the “Manage Your Channels” section.
- Select the channel you want to add content and features to.
- Depending on the type of channel you’re creating, you’ll need to add relevant content, such as videos, images, or audio files, to provide a rich and engaging experience for your viewers.
- Consider implementing advanced features such as search functionality, recommendations, playlists, or user profiles to enhance the user experience and enable easy navigation through your channel’s content.
- Ensure a user-friendly and intuitive interface by organizing your content in an easily accessible manner. Use categories, menus, and submenus to help users find content quickly.
- Optimize the viewing experience by implementing video playback controls, such as pause, rewind, and fast-forward options, to give users control over their viewing experience.
- Consider incorporating interactive features, such as quizzes, games, or polls, to further engage and entertain your audience.
- Regularly update and refresh your content to provide fresh and relevant material for your audience.
Adding app content and features that resonate with your target audience is key to the success of your Roku channel. By offering a combination of high-quality content, intuitive navigation, and engaging features, you can create an immersive experience that keeps users coming back for more.
As you add content and features to your Roku channel, keep in mind the limitations and guidelines set by the Roku platform, such as file format compatibility and content restrictions. Adhering to these guidelines ensures a smooth and compliant user experience.
With your channel’s content and features in place, you’re nearing completion. The next step is to package and publish your channel, which will be discussed in Step 8.
Step 8: Package and Publish the Channel
After creating, configuring, and adding content to your Roku channel, it’s time to package and publish it on the Roku platform. Packaging involves bundling all the necessary files and assets into a single package that can be distributed and installed on Roku devices. Publishing, on the other hand, involves submitting your packaged channel to the Roku Channel Store for review and approval.
Here’s how you can package and publish your Roku channel:
- In the Roku Developer Dashboard, navigate to the “Manage Your Channels” section and select the channel you want to package and publish.
- In the channel’s settings, click on the “Package” button to package your channel.
- Follow the instructions provided to create the package. This may involve selecting the appropriate SDK version, specifying the channel’s version number, and including any necessary assets and files.
- Once you have successfully created the package, you will receive a packaged channel file (with a .pkg extension) that contains all the necessary files and assets for your channel.
- Now, it’s time to submit your packaged channel for review and publication. In the Roku Developer Dashboard, navigate to the “Manage Your Channels” section, select your channel, and click on the “Submit” button.
- Fill in the necessary details, such as the name, description, metadata, and monetization options for your channel.
- Upload the packaged channel file (.pkg) you created earlier.
- Review and confirm the channel’s submission, ensuring that all the information provided is accurate and meets the Roku platform’s guidelines and requirements.
- Submit your channel for review and wait for approval from the Roku team. The approval process may take some time, as the Roku team ensures that the channel meets quality standards and complies with their guidelines.
Once your channel has been approved, it will be available for download and installation on Roku devices through the Roku Channel Store. Users can search for your channel, browse through categories, or discover it through recommendations, expanding your potential audience reach.
Remember that the packaging and publishing process is not the end of your channel journey. It’s important to continually monitor and update your channel with fresh content, bug fixes, and new features to keep your audience engaged and ensure a positive user experience.
With your channel packaged and submitted, you’re almost ready to see it live on Roku devices. In the next step, we will cover how to install and test your channel on a Roku device.
Step 9: Install and Test the Channel on Roku Device
Once your Roku channel has been approved and published in the Roku Channel Store, it’s time to install and test it on an actual Roku device. Testing your channel on a physical device is crucial to ensure that your app functions correctly and delivers the desired user experience.
Here’s how you can install and test your channel on a Roku device:
- Ensure that your Roku device is connected to the same network as your computer.
- On your Roku device, go to the Roku Home screen by pressing the Home button on your remote.
- Navigate to the Roku Channel Store and search for your channel using its name or keywords.
- Once you find your channel, select it and choose the “Add Channel” option to install it on your Roku device.
- Wait for the installation to complete. Once installed, the channel will appear on your Roku device’s home screen.
- Launch the channel and test its functionality, ensuring that all features, content, and navigation are working as intended. Pay close attention to any specific functionality or features that you implemented.
- Check for any technical issues, performance glitches, or user experience hiccups that may arise during testing.
- If you encounter any issues, review the logs and debugging information provided by the Roku Developer SDK to identify and resolve any bugs or errors.
- Iterate, refine, and retest your channel as needed until you are satisfied with its performance and user experience.
In addition to testing the channel’s functionality, it’s essential to ensure that the content within the channel is regularly updated and remains accurate. This includes updating video libraries, refreshing images, and keeping metadata up to date to ensure a seamless user experience.
By thoroughly testing your channel on a Roku device, you can address any issues or bugs before they impact the user experience. It’s important to deliver a high-quality app that provides value to your audience while maintaining a smooth and enjoyable user journey.
With your channel successfully installed and tested on a Roku device, you’re ready to move on to the final step: promoting and monetizing your Roku channel.
Step 10: Promote and Monetize Your Roku Channel
After you have successfully created, tested, and published your Roku channel, the next step is to promote and monetize it to maximize its reach and potential revenue. Promoting your channel helps increase its visibility and attract a larger audience, while monetization strategies allow you to generate income from your channel’s content and features.
Here are some effective strategies for promoting and monetizing your Roku channel:
1. Utilize Social Media: Leverage social media platforms to create a presence for your channel and engage with potential viewers. Share updates, snippets of content, and behind-the-scenes peeks to generate excitement and encourage followers to check out your channel on Roku.
2. Cross-Promotion: Collaborate with other Roku channel creators who have a similar target audience. Cross-promote each other’s channels to expand your reach and tap into new viewership.
3. Optimize Channel Metadata: Ensure that your channel’s metadata, including the title, description, and keywords, is optimized with relevant and trending search terms. This can help improve your channel’s visibility in the Roku Channel Store and search results.
4. Encourage User Reviews and Ratings: Positive reviews and ratings can significantly enhance your channel’s credibility and attract new viewers. Encourage users to rate and review your channel by incorporating prompts or incentives within your app.
5. In-App Purchases and Subscriptions: Offer premium content, additional features, or exclusive access through in-app purchases or subscription models. This allows you to monetize your channel and provide value to your subscribers.
6. Advertisements: Incorporate advertising within your content to generate revenue. Consider partnering with ad networks or exploring direct advertising opportunities to monetize your channel through targeted ads.
7. Sponsorship and Brand Partnerships: Form strategic partnerships with brands or sponsors that align with your channel’s content. This can include sponsored videos, product placements, or collaborations that help monetize your channel and reach a wider audience.
8. Regularly Update Content: Consistently add fresh and engaging content to keep viewers coming back for more. Regular updates help maintain viewer interest and increase the chances of positive word-of-mouth recommendations.
9. Engage with your Audience: Interact with your viewers through comments, messages, and social media platforms. Building a community around your channel fosters loyalty and can lead to increased engagement and viewership.
10. Measure and Analyze Performance: Utilize analytics and performance metrics provided by the Roku Developer Dashboard to gather insights about your channel’s performance. This information can guide your promotional and monetization strategies, allowing you to make informed decisions to optimize your channel’s success.
Remember, promoting and monetizing your Roku channel requires ongoing effort and adaptation. Continuously evaluate and refine your strategies based on audience feedback and market trends, and always seek new opportunities to expand your channel’s reach and revenue potential.
By effectively promoting and monetizing your Roku channel, you can maximize its visibility, engage a wider audience, and turn your passion for content creation into a sustainable and successful venture.
Conclusion
Congratulations on successfully adding your app to Roku! By following the steps outlined in this guide, you have learned how to create a Roku Developer Account, enable Developer Mode on your Roku device, generate a Developer Key, install the Roku Developer SDK, create a new Roku channel, configure its settings, add content and features, package and publish the channel, and finally, promote and monetize your Roku channel.
Adding an app to Roku opens up a world of opportunities to reach millions of streaming users and showcase your content or services. Roku’s growing popularity and extensive platform provide a powerful platform to engage your target audience and expand your viewership.
Remember, success on Roku requires a combination of compelling content, seamless user experience, effective promotion, and smart monetization strategies. Continuously iterate, update, and refine your channel based on user feedback and market trends to ensure its long-term success and growth.
Stay involved with the Roku Developer community, utilize the resources and support available, and keep up to date with platform updates and guidelines to adapt and enhance your channel as needed.
Now that you’ve completed the process of adding your app to Roku, it’s time to put your channel to work. Engage your viewers, deliver valuable content, stay innovative, and enjoy the journey of sharing your app with Roku’s vast user base. Best of luck with your Roku channel and the exciting opportunities that lie ahead!