Introduction
Welcome to this guide on how to add Roku to your Logitech Harmony remote. Roku streaming devices have become increasingly popular in recent years, offering a wide range of streaming channels and entertainment options for users. Logitech Harmony remotes, on the other hand, are renowned for their ability to control multiple devices with just one remote. By integrating your Roku with your Harmony remote, you can simplify your entertainment experience and enjoy seamless control over all your devices.
Whether you’re a fan of movies, TV shows, sports, or music, having your Roku integrated with the Logitech Harmony remote allows you to control all your entertainment devices, including your TV, sound system, and Roku, from one convenient remote. No more juggling multiple remotes or struggling to find the right one for each device!
In this guide, we will walk you through the step-by-step process of adding your Roku device to your Logitech Harmony remote. We will cover everything from connecting your Roku to the Harmony hub to customizing activities and troubleshooting common issues that may arise along the way.
Before we begin, it’s important to note that to follow this guide, you will need a Logitech Harmony remote and a Roku streaming device. If you don’t already have a Harmony remote, you can easily find one online or at your nearest electronics store. Additionally, ensure that your Harmony remote is set up and connected to your home Wi-Fi network, and your Roku is already connected to your TV and working properly.
Overview of Roku and Logitech Harmony Remote
Roku is a popular streaming device that allows users to access a wide variety of streaming channels and content, including popular streaming services like Netflix, Hulu, and Amazon Prime Video. It offers a user-friendly interface and a vast library of entertainment options, making it a favorite among streaming enthusiasts.
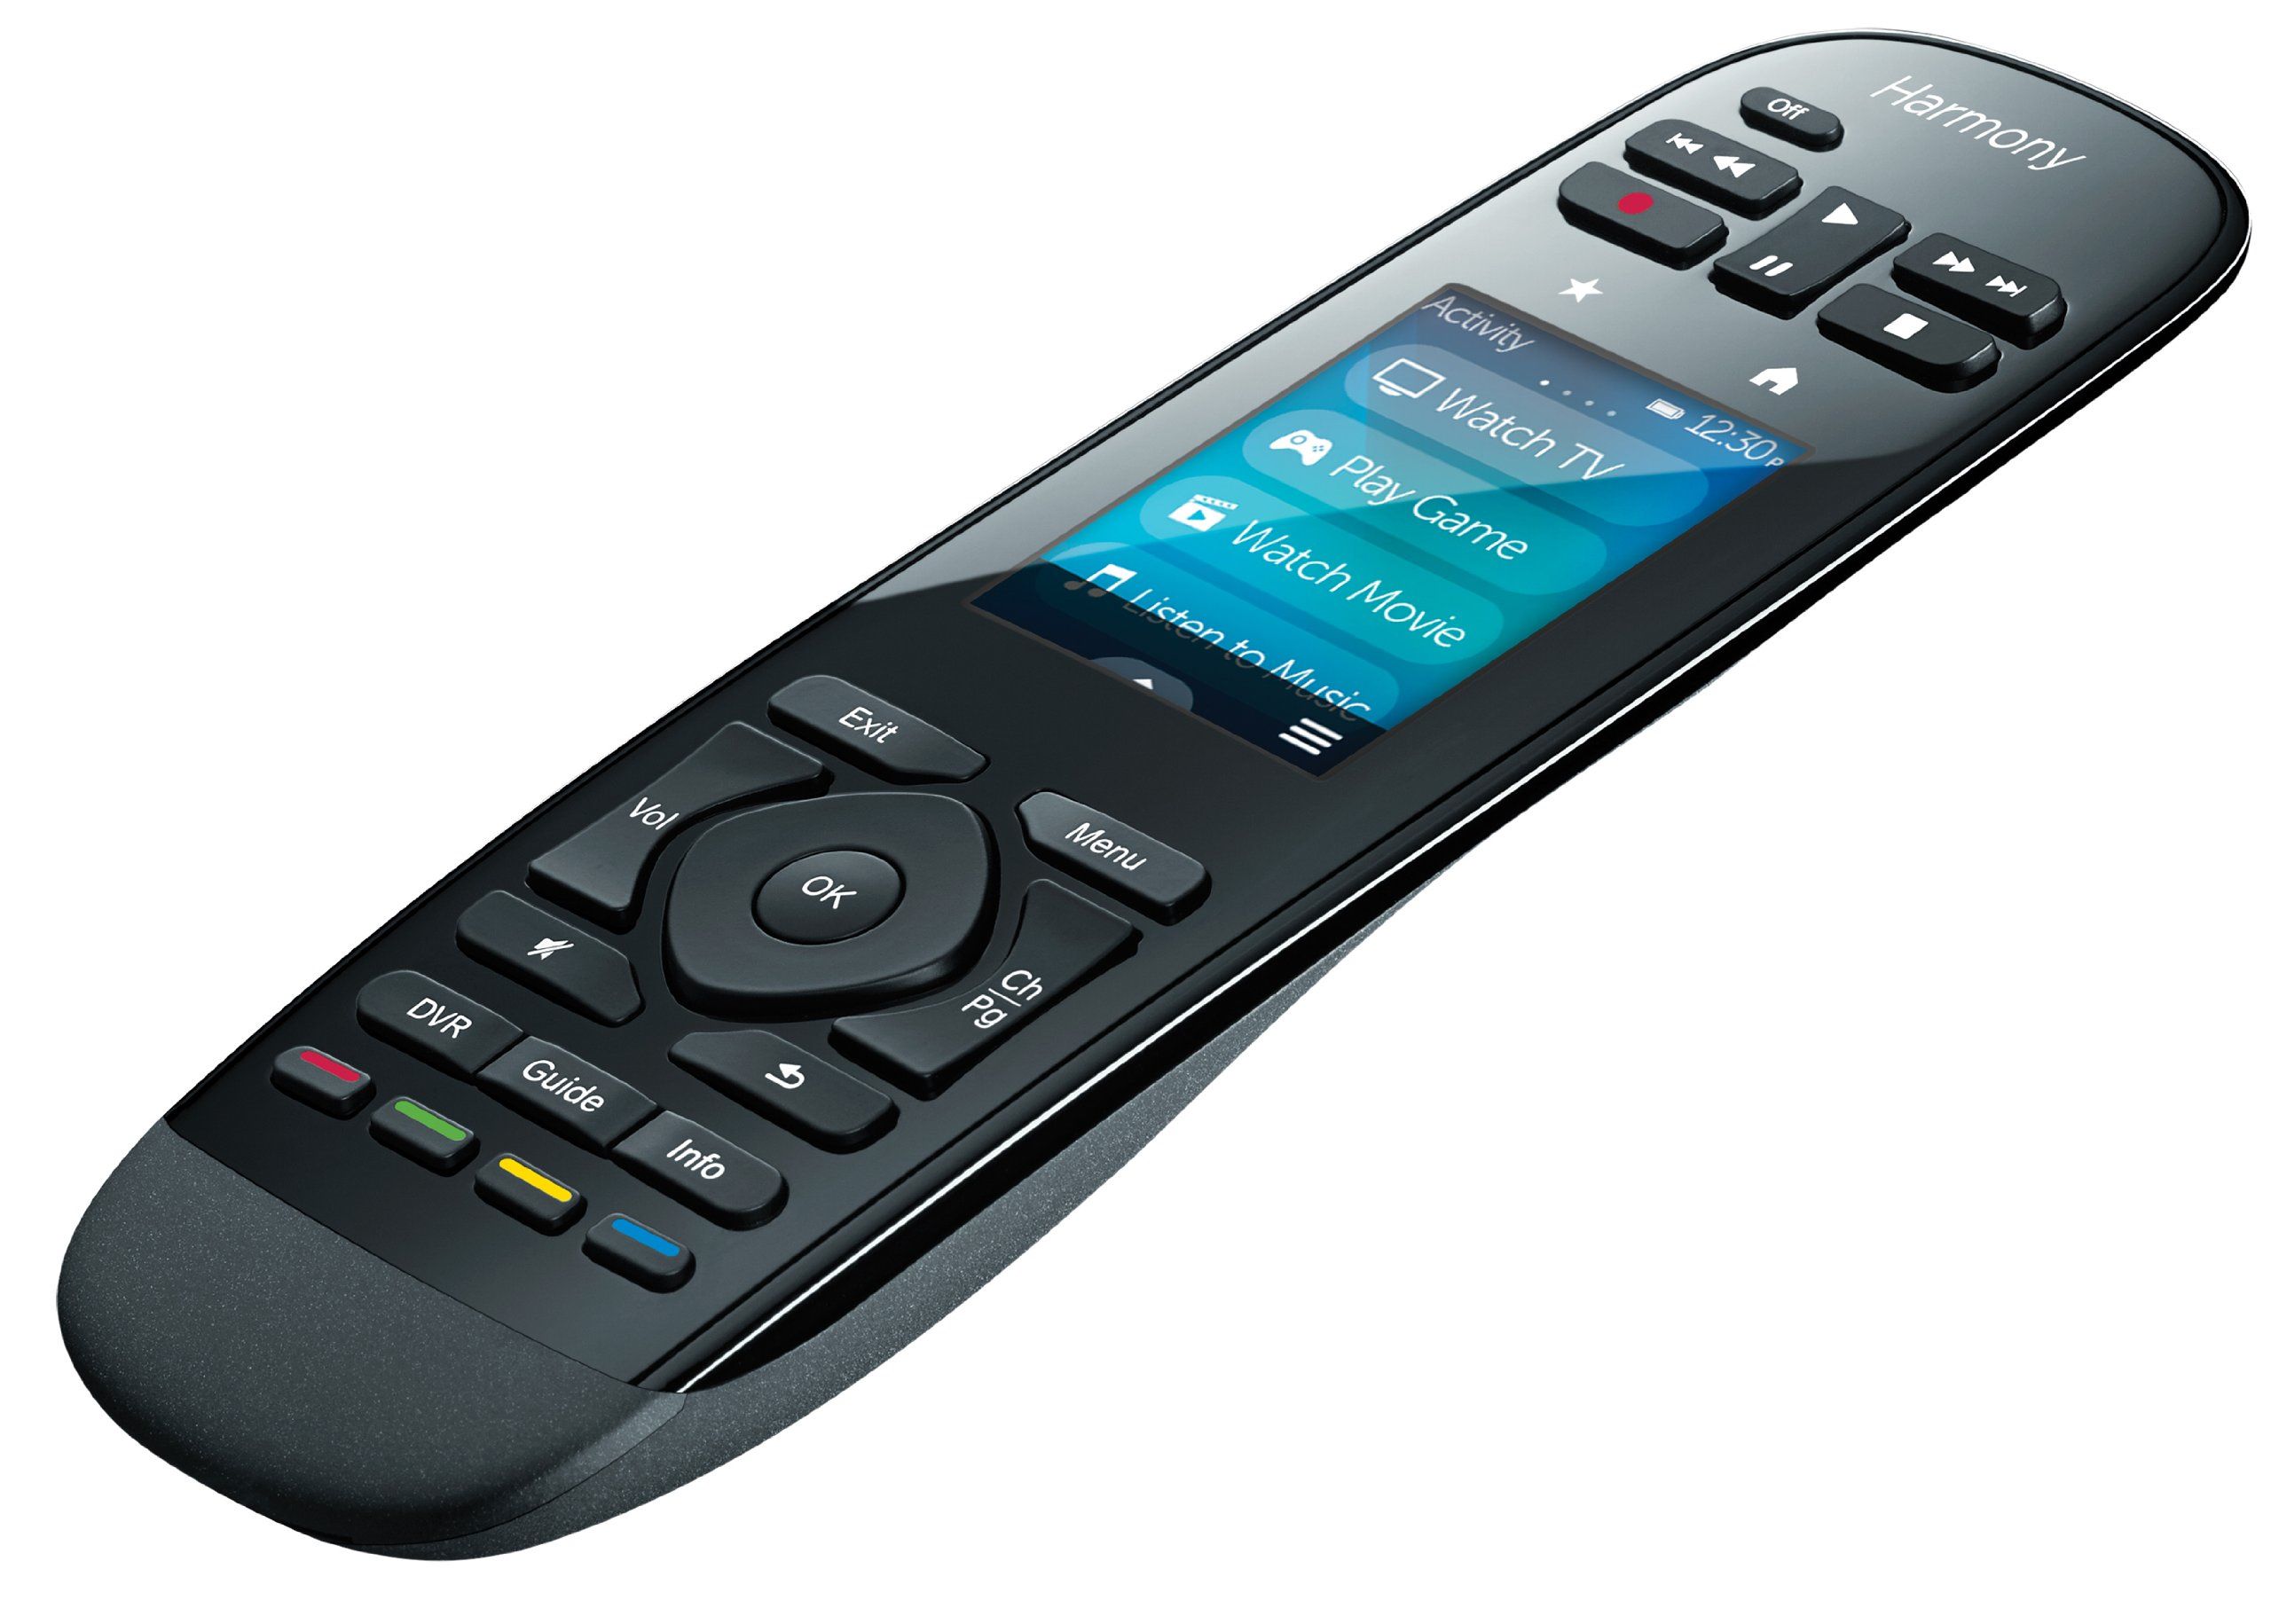
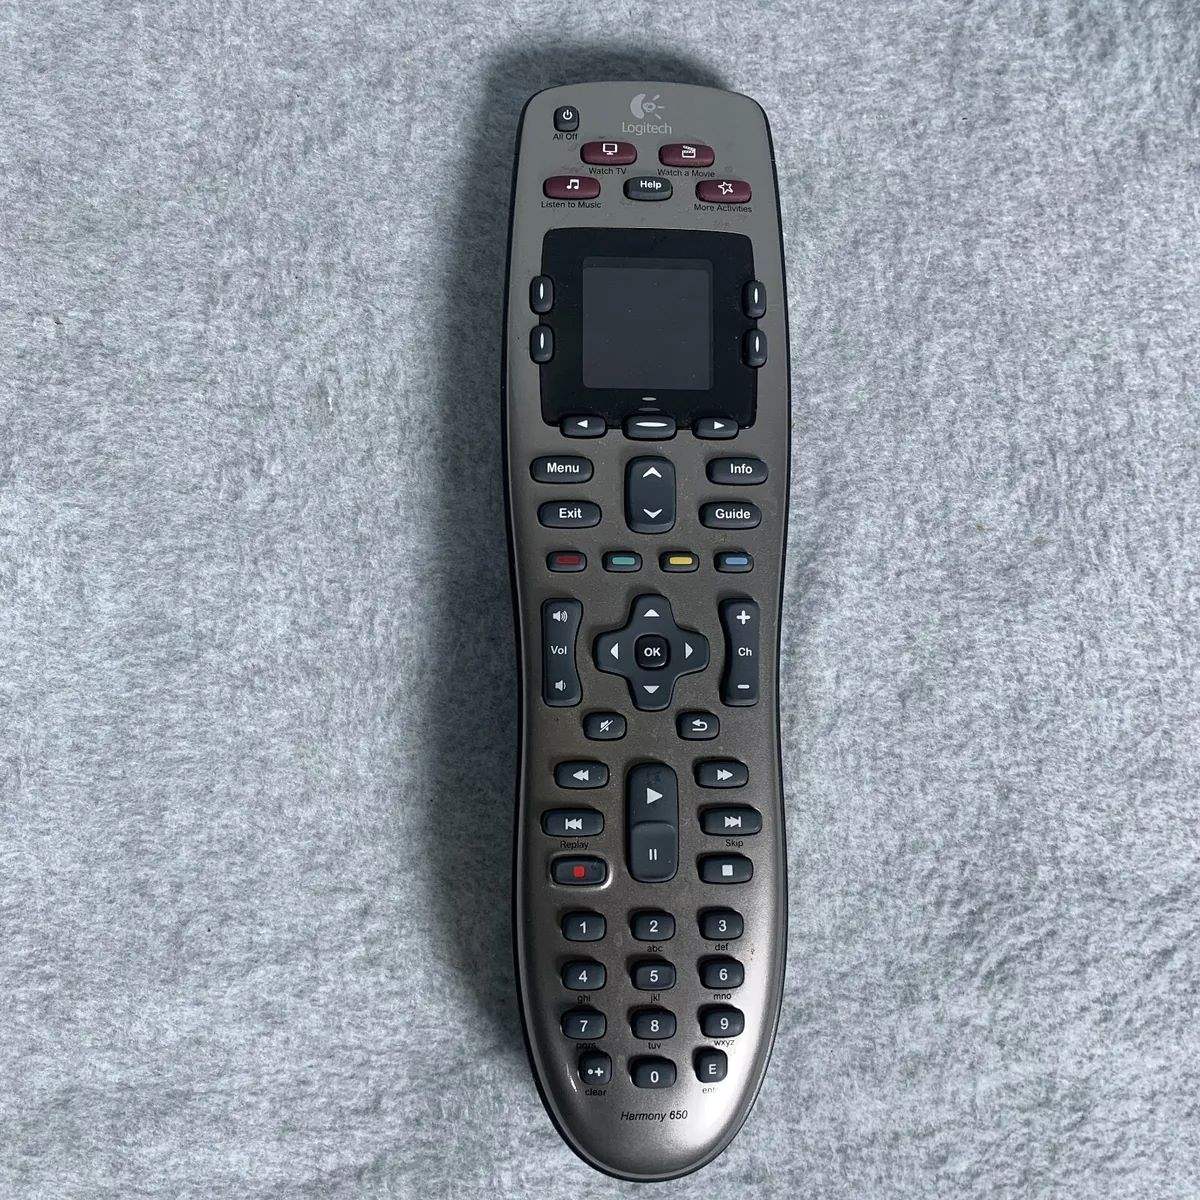
On the other hand, Logitech Harmony remotes are known for their versatility and convenience. They are universal remotes that can control multiple devices, such as TVs, gaming consoles, sound systems, and streaming devices like Roku. The Logitech Harmony remote eliminates the need for multiple remotes cluttering your coffee table and streamlines the control of all your entertainment devices into one remote.
When you integrate your Roku with the Logitech Harmony remote, you can control your Roku device alongside your other devices using the same remote. This means you don’t have to switch remotes or go through a complex setup process every time you want to use your Roku. With just a few simple steps, you can enjoy the convenience of controlling your Roku device and other entertainment devices with ease.
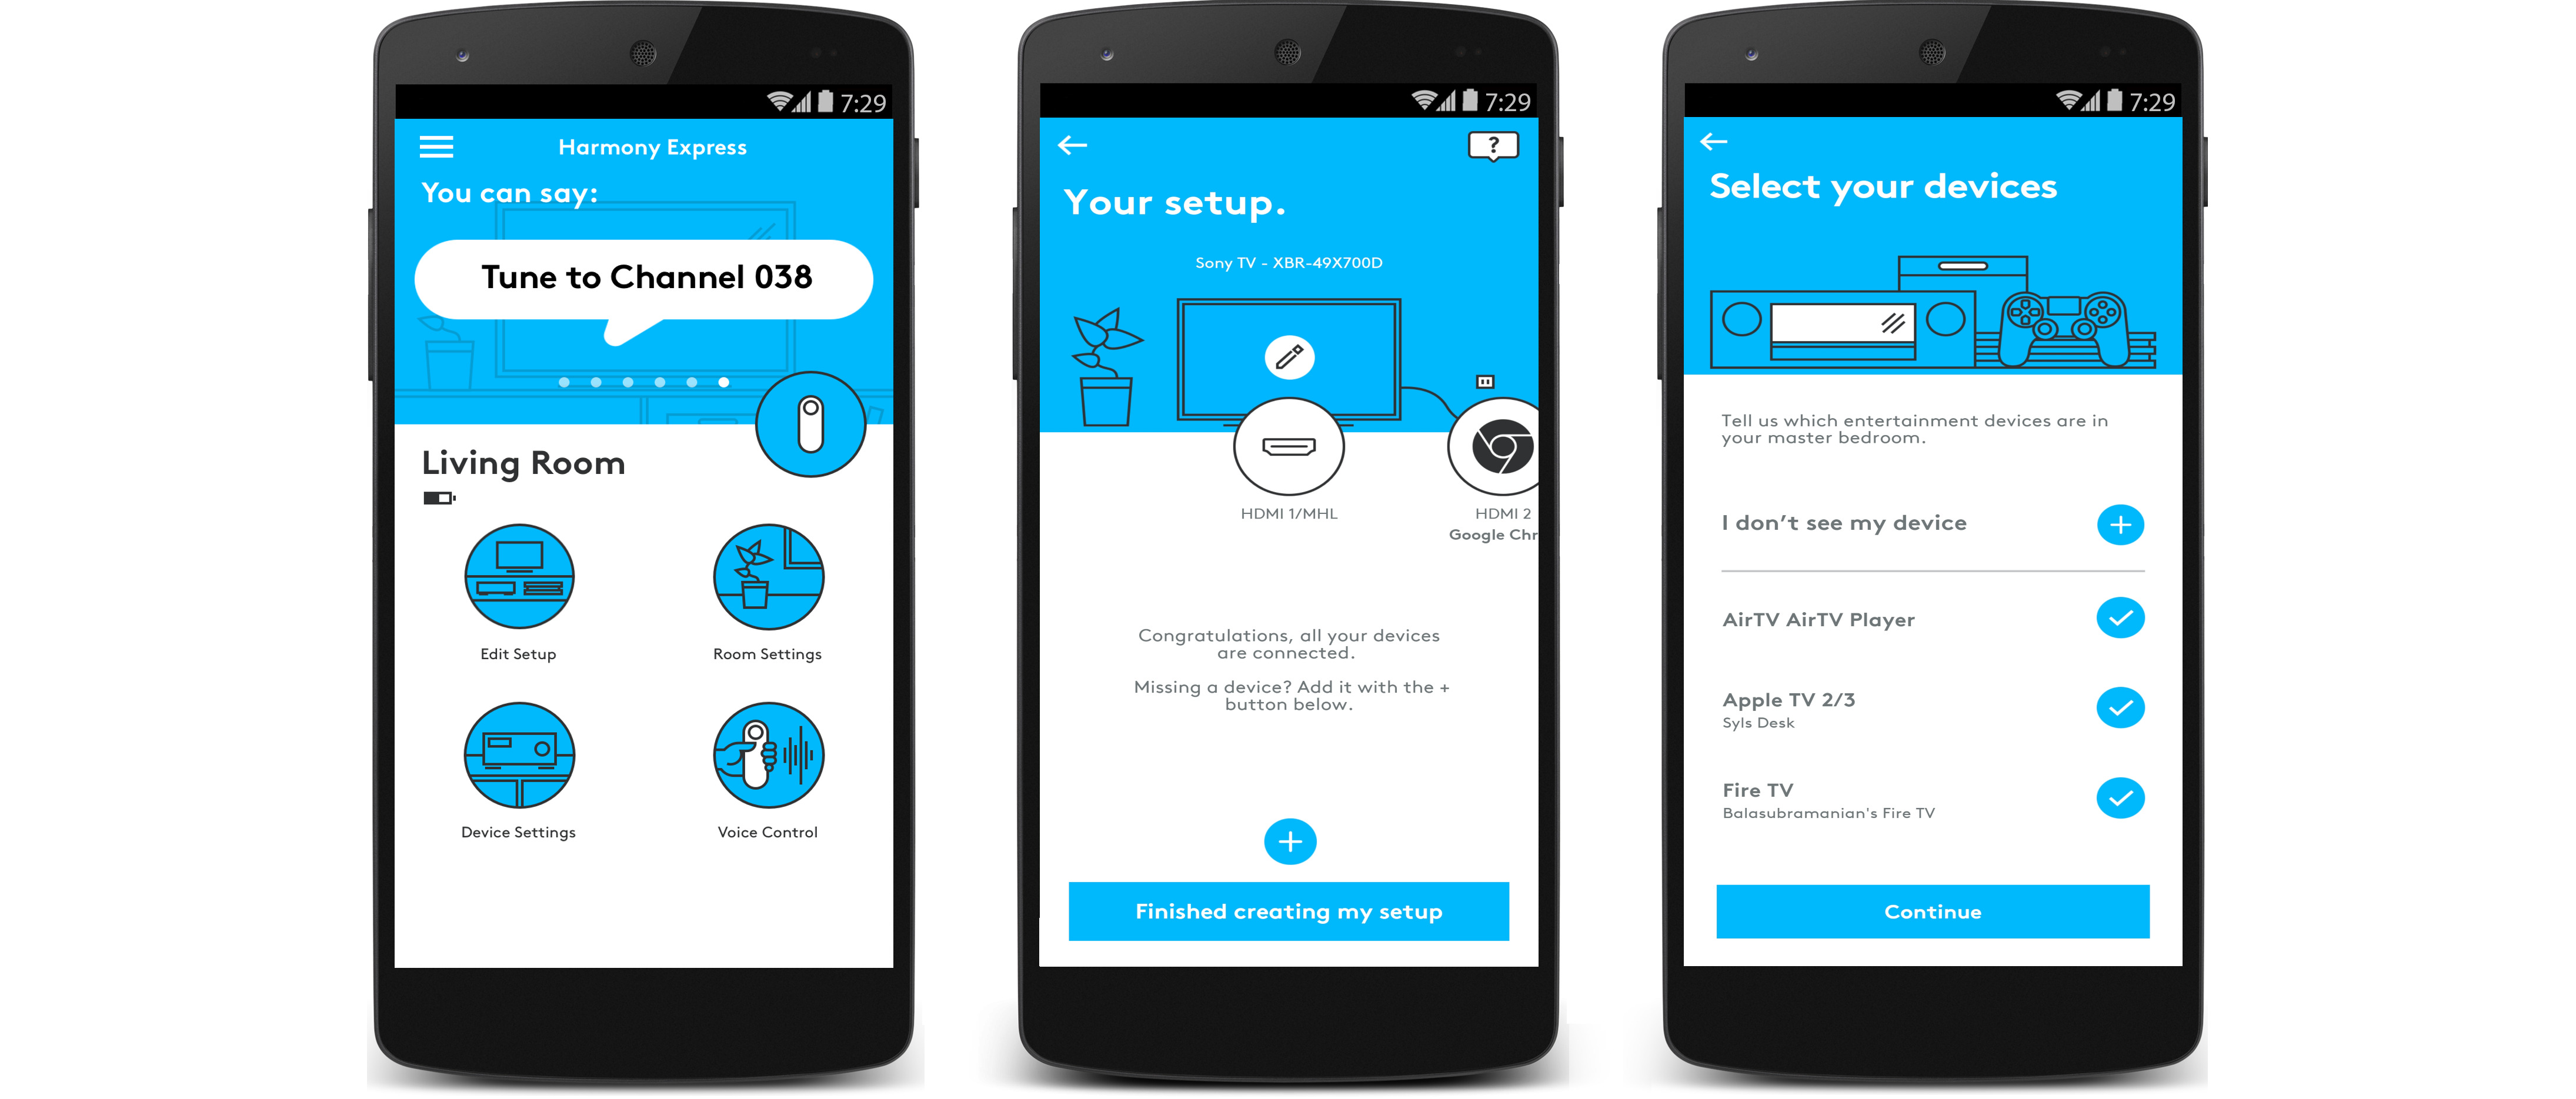
Adding your Roku to the Logitech Harmony remote also unlocks the powerful Harmony Activities feature. Activities allow you to create customized sequences of commands that control multiple devices simultaneously. For example, you can set up an “Watch TV” activity that turns on your TV, sets it to the correct input, turns on your sound system, and launches the Roku streaming device, all with a single button press.
By creating and customizing Activities in the Harmony app, you can simplify your entertainment experience and eliminate the need for multiple button presses to bring everything together. It’s a seamless way to control your entire entertainment system, including your Roku, without the need for separate remotes or complicated setup processes.
Now that we have an overview of Roku and Logitech Harmony remote, we can move on to the step-by-step process of adding Roku to your Logitech Harmony remote.
Step 1: Connect Roku to Logitech Harmony Hub
The first step in integrating your Roku with the Logitech Harmony remote is to connect your Roku device to the Logitech Harmony hub. The Harmony hub acts as the bridge between your Harmony remote and your Roku.
To connect your Roku to the Harmony hub, follow these steps:
- Locate the HDMI port on the back of your Roku streaming device and connect one end of the HDMI cable to it.
- Connect the other end of the HDMI cable to an available HDMI input on your TV.
- Plug the power adapter into your Roku device and connect it to a power outlet.
- Turn on your TV and switch to the corresponding HDMI input that you connected your Roku to.
- Ensure that both the Roku and your TV are powered on and displaying the Roku home screen.
- Open the Logitech Harmony app on your mobile device or computer and navigate to the Devices tab.
- Add a new device by clicking on the “+” or “Add Device” button. Select “Media Player” as the device type.
- Search for Roku in the list of available devices and select it.
- Follow the on-screen instructions to complete the pairing process between the Harmony hub and your Roku device.
Once the Roku is successfully connected to the Harmony hub, you have established communication between the two devices. This allows the Logitech Harmony remote to send commands to the Roku and control its functions.
Now that your Roku is connected to the Harmony hub, we can move on to the next step of setting up the Roku device in the Logitech Harmony app.
Step 2: Set Up Roku Device in Logitech Harmony App
After connecting your Roku to the Logitech Harmony hub, the next step is to set up the Roku device in the Logitech Harmony app. This will allow you to control and manage the Roku device using your Harmony remote.
Follow these steps to set up your Roku device in the Logitech Harmony app:
- Open the Logitech Harmony app on your mobile device or computer.
- Navigate to the Devices tab and click on the “+” or “Add Device” button.
- Select “Media Player” as the device type.
- In the brand selection menu, choose “Roku” from the list of available brands.
- Next, you will be prompted to enter the Roku device’s model number. This information can usually be found on the bottom or back of the Roku device.
- Enter the model number and click on “Next” to proceed.
- The Harmony app will now attempt to automatically identify and connect to your Roku device. Follow the on-screen instructions and ensure that your Roku device is turned on and connected to the same network as your Harmony hub.
- Once the app successfully recognizes your Roku device, you can proceed to the next step.
By setting up your Roku device in the Logitech Harmony app, you have established a connection between the two. This allows you to control your Roku using the Harmony remote, as well as customize and personalize the device settings within the Harmony app.
Now that your Roku device is set up in the Logitech Harmony app, we can move on to the next step of syncing your Harmony remote with the Roku device.
Step 3: Sync Harmony Remote with Roku
Once you have connected your Roku to the Logitech Harmony hub and set up the Roku device in the Logitech Harmony app, it’s time to sync your Harmony remote with the Roku. Syncing your remote will enable you to control your Roku device using the buttons and commands on your Harmony remote.
Follow these steps to sync your Harmony remote with your Roku:
- Open the Logitech Harmony app on your mobile device or computer.
- Navigate to the Devices tab and select the Roku device you set up in the previous step.
- Click on “Sync” or “Sync Now” to initiate the syncing process.
- The Harmony app will now send the necessary commands to your Harmony hub to pair it with your Roku device.
- Ensure that your Roku device is turned on and connected to the same network as your Harmony hub.
- Follow any on-screen instructions that may appear in the Harmony app to complete the syncing process.
- Once the syncing is complete, your Harmony remote is now synced with your Roku device.
With the successful sync, you can now use your Harmony remote to control your Roku device. This includes navigating through the Roku interface, selecting content, adjusting volume, and more.
Remember to keep your Harmony remote and Harmony hub within range of the Roku device for seamless communication and optimal performance.
Now that your Harmony remote is synced with your Roku, let’s move on to the next step of customizing Harmony activities specifically for your Roku device.
Step 4: Customize Harmony Activities for Roku
Customizing Harmony activities for your Roku device allows you to create personalized sequences of commands that control multiple devices simultaneously. With Harmony activities, you can streamline your entertainment experience and eliminate the need for multiple button presses to set up your desired configuration.
Follow these steps to customize Harmony activities for your Roku:
- Open the Logitech Harmony app on your mobile device or computer.
- Navigate to the Activities tab and click on the “+” or “Add Activity” button.
- Give your new activity a name that reflects its purpose. For example, you can name it “Watch Roku” or “Movie Time”.
- Select the devices you want to include in the activity. This can include your Roku device, TV, sound system, and any other devices that you want to control simultaneously.
- Configure the sequence of commands for the activity. For example, you can set it to turn on the TV, switch it to the correct input, turn on the sound system, and launch the Roku streaming device.
- Customize the buttons and layouts of your Harmony remote for the activity, if needed. This allows you to have specific commands easily accessible during the activity.
- Save the activity and exit the customization settings.
Once you have created and customized the Harmony activity for your Roku, you can now initiate the activity using your Harmony remote or the Harmony app. Activating the activity will automatically execute the series of commands you set up for seamless control of your Roku and other devices.
With customized Harmony activities, you can create a tailored entertainment experience with just one press of a button. Whether it’s launching your favorite streaming app on Roku or setting up the perfect audio and video settings for movie nights, Harmony activities make it effortless and enjoyable.
Now that you have customized Harmony activities for your Roku, you are all set to enjoy the convenience and flexibility of controlling your entire entertainment system with your Harmony remote!
Troubleshooting Common Issues
While adding Roku to your Logitech Harmony remote is a relatively straightforward process, you may encounter some common issues along the way. Here are a few troubleshooting tips to help you overcome these issues:
Issue 1: Harmony remote not controlling Roku
If you are having trouble controlling your Roku device with your Harmony remote after completing the setup process, try the following:
- Make sure your Harmony remote is placed within range of the Harmony hub and Roku device.
- Ensure that your Roku device is powered on and connected to the same network as the Harmony hub.
- Verify that the Harmony remote is synced properly with the Harmony hub.
- Check the batteries in your Harmony remote and replace them if necessary.
- Restart your Harmony hub and Roku device, then try controlling the Roku again.
Issue 2: Failing to sync Roku with Harmony hub
If you encounter difficulties in syncing your Roku with the Harmony hub, follow these steps:
- Ensure that your Roku device is turned on and connected to the same network as the Harmony hub.
- Restart both the Harmony hub and the Roku device.
- Try resetting your Harmony hub by unplugging the power adapter, waiting a few seconds, and then plugging it back in.
- Ensure that you have entered the correct model number of your Roku device during the setup process in the Harmony app.
- Double-check that the firmware on your Harmony hub is up to date.
Issue 3: Harmony activities not working with Roku
If your Harmony activities are not functioning as expected with your Roku, follow these troubleshooting steps:
- Make sure the Harmony activity you’re trying to use includes your Roku device.
- Verify that the device sequence and commands in the activity settings are correct.
- Check that your Roku is powered on and connected to the same network as the Harmony hub.
- Synchronize your Harmony remote with the Harmony hub again to refresh the activity settings.
- Consider deleting and re-creating the activity if the issue persists.
If you are still experiencing difficulties with your Logitech Harmony remote and Roku integration, it may be helpful to consult the official Logitech support resources or community forums for further assistance.
By troubleshooting common issues, you can ensure a smooth and hassle-free experience while using your Logitech Harmony remote with your Roku device.
Conclusion
Congratulations! You have successfully learned how to add Roku to your Logitech Harmony remote. By connecting your Roku device to the Harmony hub, setting it up in the Harmony app, syncing your Harmony remote, and customizing Harmony activities, you can now enjoy seamless control over your entertainment devices with just one remote.
Integrating your Roku with your Logitech Harmony remote offers numerous benefits, such as easy navigation through the Roku interface, streamlined control of multiple devices, and the ability to create personalized Harmony activities. You no longer have to fumble with multiple remotes or go through complex setup processes to enjoy your favorite shows, movies, and music on Roku.
Should you encounter any issues during the process, we have provided troubleshooting tips to help you overcome common obstacles. Remember to keep your Harmony remote synced with the Harmony hub and your Roku device powered on and connected to the same network as the Harmony hub for optimal performance.
We hope that this guide has been helpful in assisting you with integrating your Roku with your Logitech Harmony remote. Now, sit back, relax, and enjoy your fully integrated entertainment system with the convenience and simplicity of one remote control.