Introduction
Welcome to the ultimate guide on how to program your Logitech Harmony 700 remote control! The Logitech Harmony 700 is a versatile and powerful remote that allows you to control all your entertainment devices with just one click. If you’re tired of dealing with multiple remotes and the complexity of managing different devices, this guide is for you.
The Logitech Harmony 700 offers a seamless solution to the common problem of juggling various remotes for your TV, cable/satellite box, DVD player, and other audio-visual equipment. With its easy-to-use interface and customizable settings, this remote gives you the convenience and flexibility to control your entire home entertainment system effortlessly. Whether you want to watch your favorite show, play a movie, or listen to music, the Logitech Harmony 700 simplifies the process.
In this guide, we will take you through a step-by-step process to successfully program your Logitech Harmony 700 remote. You will learn how to unbox and set up the remote, install the Logitech Harmony software, create an account, add devices, set up activities, customize buttons and layouts, sync the remote, and troubleshoot any potential issues you may encounter.
Before we dive into the detailed steps, it’s important to note that programming the Logitech Harmony 700 requires a basic understanding of technology and following instructions carefully. However, don’t worry if you’re not a tech wizard – we will explain everything in a simple and straightforward manner, ensuring that you can complete the process successfully.
So, if you’re ready to simplify your home entertainment experience and unleash the full potential of your Logitech Harmony 700 remote, let’s get started with the unboxing and setup process!
Step 1: Unboxing and Setup
Before you start using your Logitech Harmony 700 remote, you need to unbox it and perform the initial setup. Here are the steps to get you started:
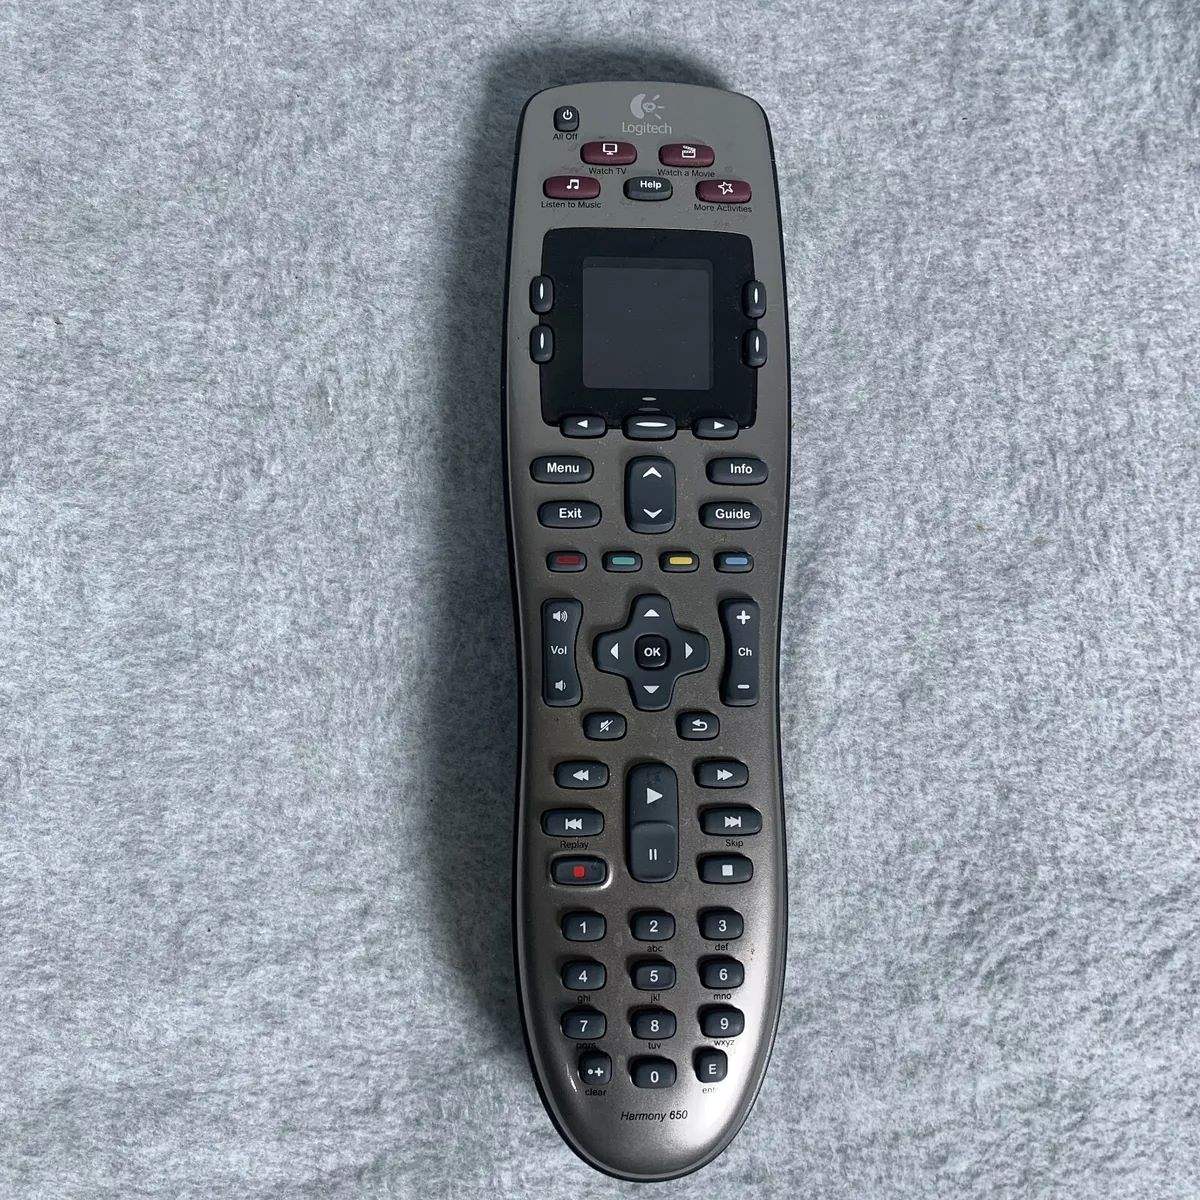
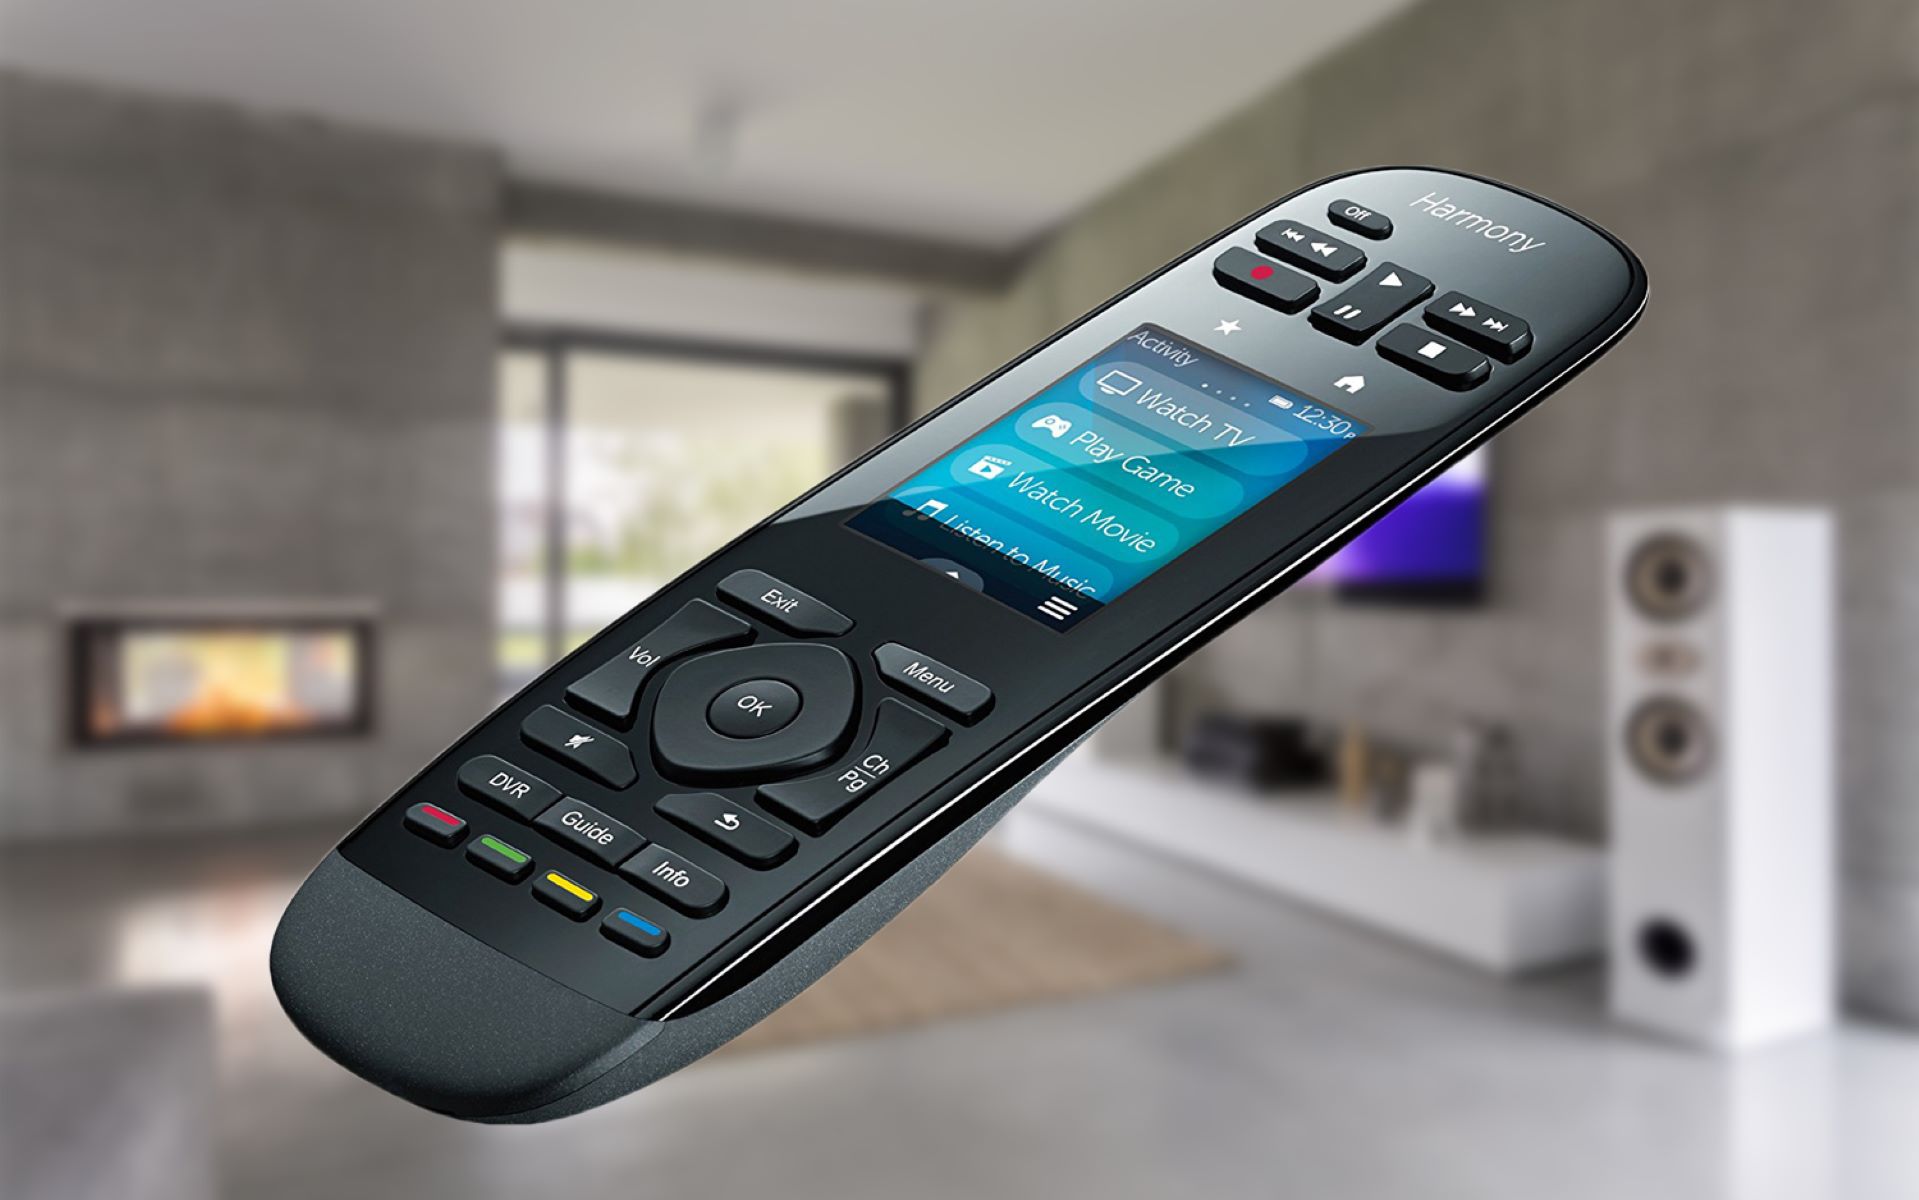
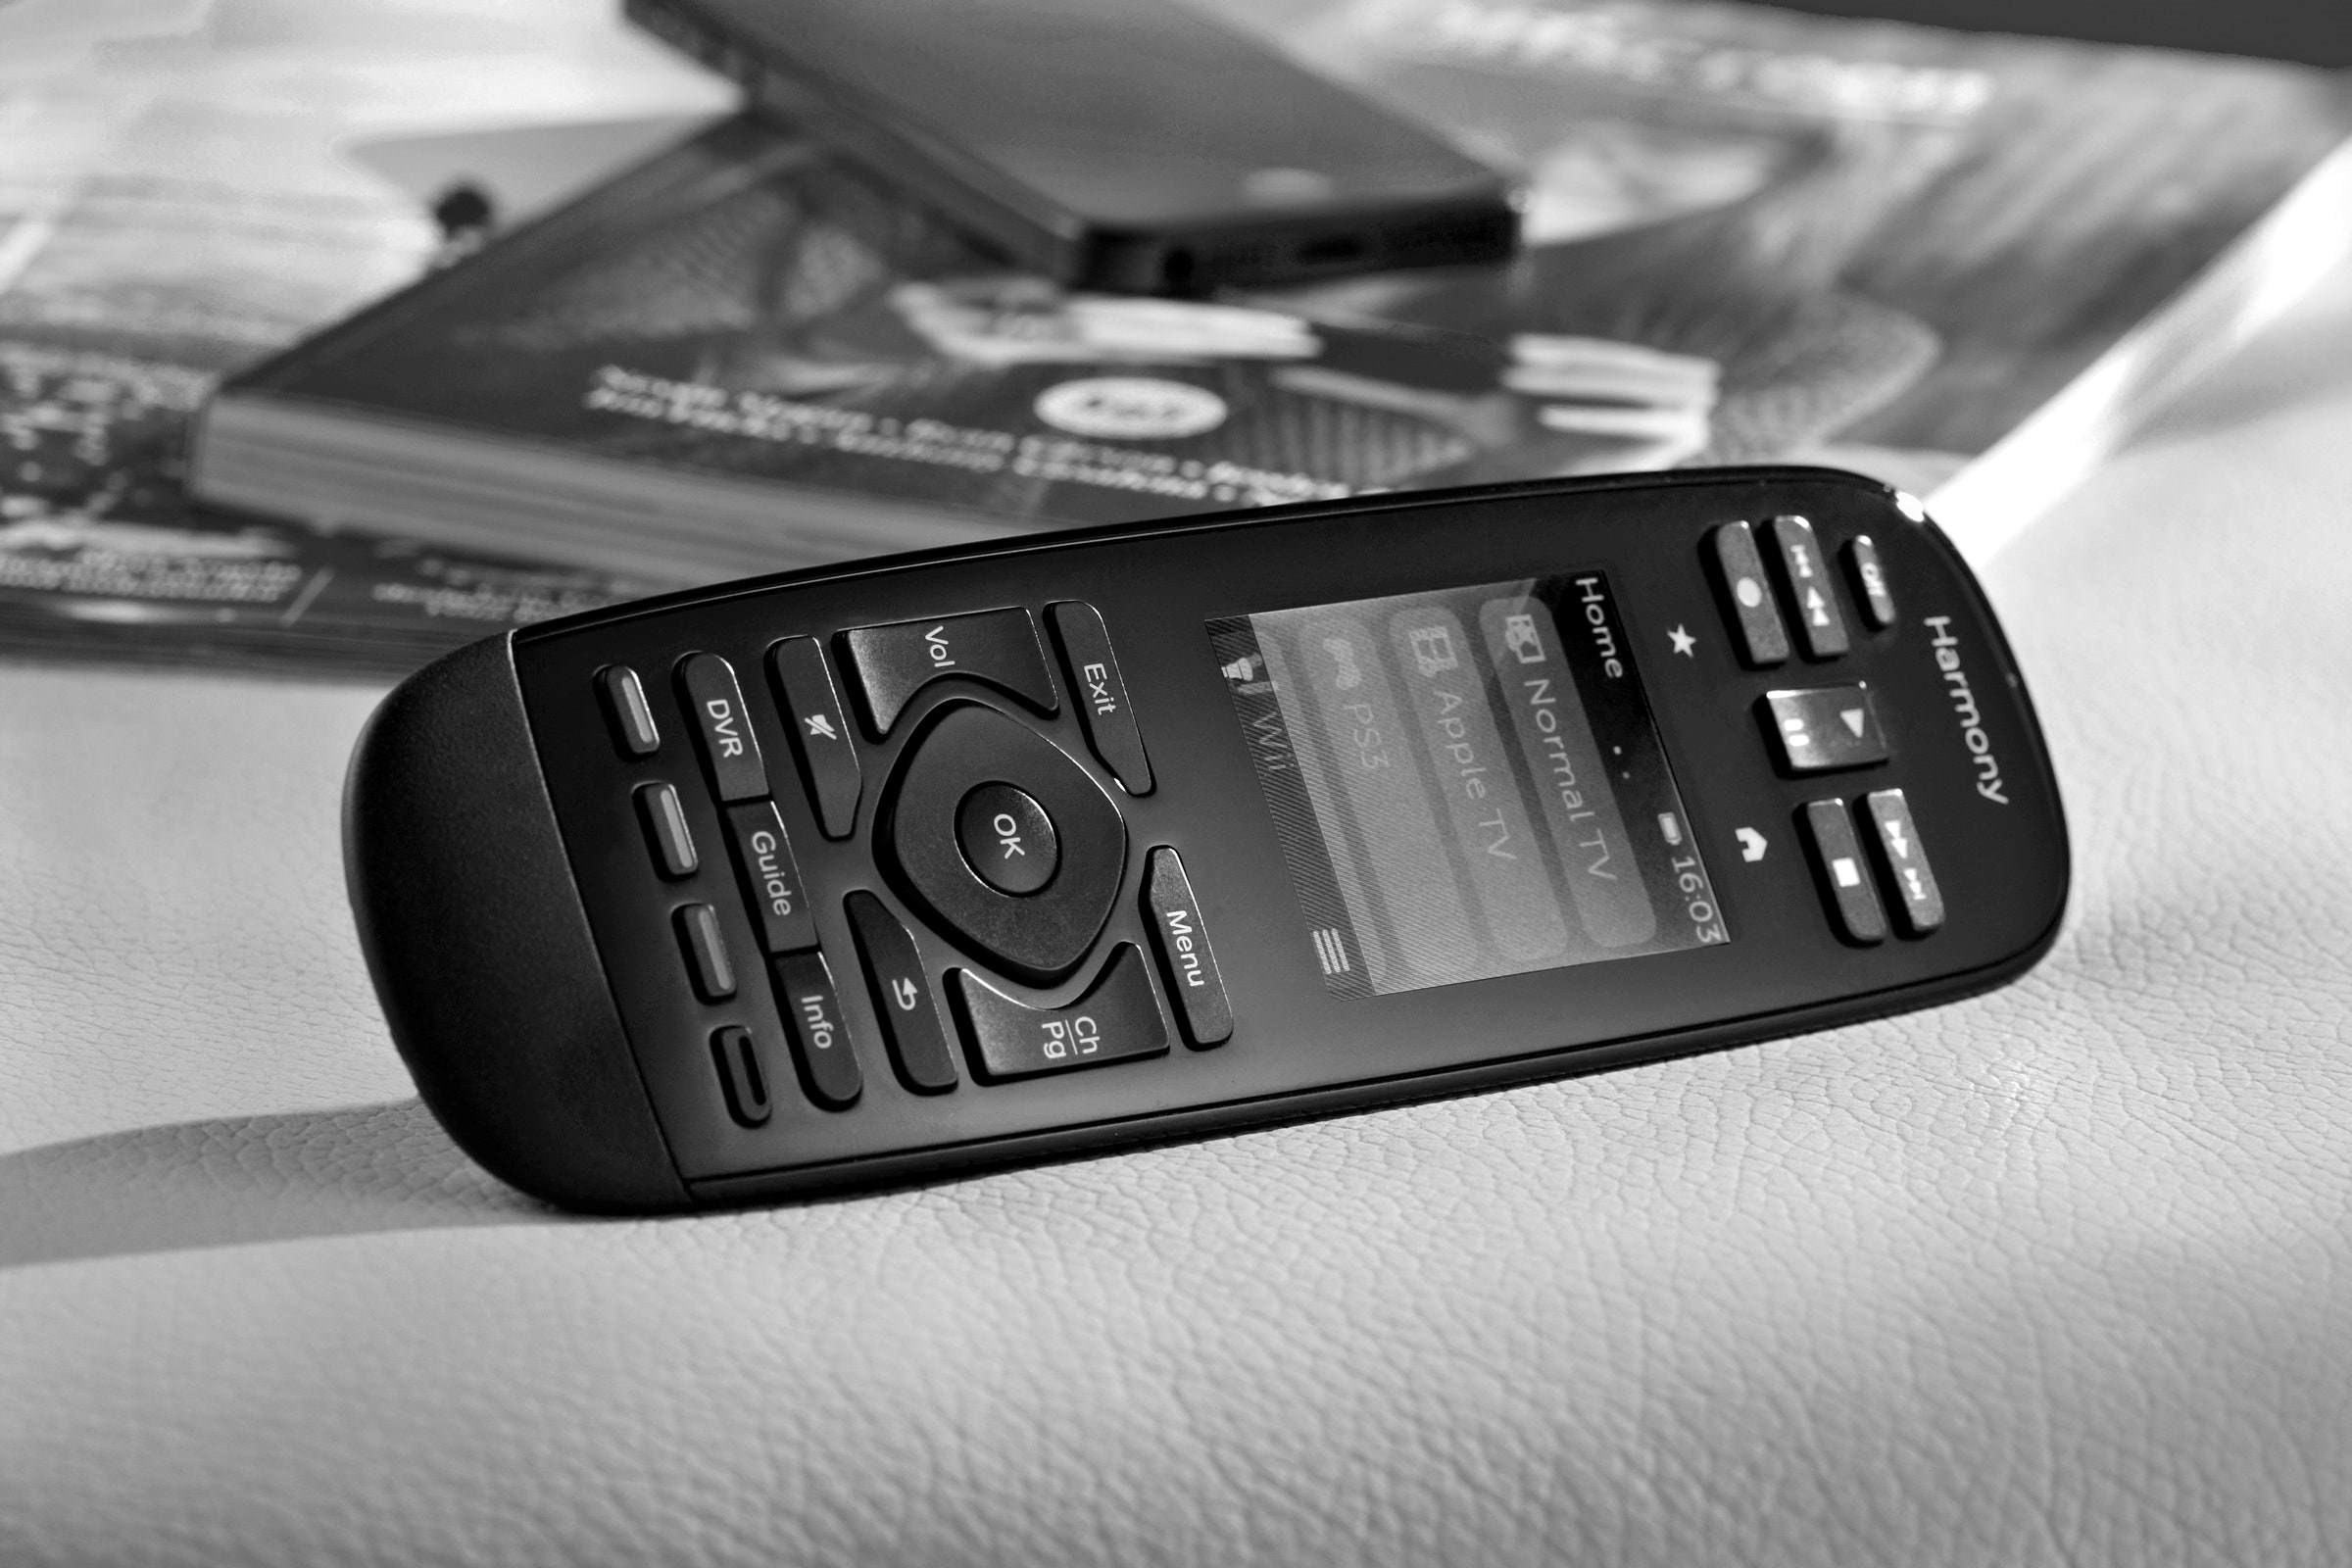
- Remove the Logitech Harmony 700 remote from its packaging. Take a moment to admire its sleek design and compact form.
- Check if the package includes all the necessary components, such as the USB cable and batteries. If anything is missing, reach out to Logitech’s customer support for assistance.
- Insert the batteries into the remote. The battery compartment is usually located at the back of the remote. Make sure to follow the polarity markings to insert the batteries correctly.
- Power on the remote by pressing and holding the power button until the display lights up. You may need to wait a few seconds for the remote to boot up.
- Select your preferred language and time zone. Use the navigation buttons on the remote to navigate through the on-screen menus and press the confirmation button to make selections.
- Connect the Logitech Harmony 700 remote to your computer using the provided USB cable. Once connected, the remote will automatically enter “USB Mode.”
- If you haven’t already done so, download and install the Logitech Harmony software on your computer. You can find the software on Logitech’s official website.
- Follow the on-screen instructions to complete the installation process. Make sure to agree to the terms and conditions and choose the appropriate installation options.
- Once the installation is complete, launch the Logitech Harmony software. The software will detect the connected Logitech Harmony 700 remote and prompt you to set it up.
- Follow the on-screen instructions to create a new account or log in to your existing account. Creating an account allows you to save and manage your remote settings in the future.
- After logging in, the Logitech Harmony software will guide you through the setup process. It may ask you to enter some basic information about your entertainment devices, such as the brand and model numbers.
- Once you’ve completed all the necessary setup steps, the Logitech Harmony software will sync the remote with your account and download any available updates.
Congratulations! You have successfully unboxed and set up your Logitech Harmony 700 remote. In the next step, we will guide you through the process of installing the Logitech Harmony software on your computer.
Step 2: Installing the Logitech Harmony Software
In order to configure and program your Logitech Harmony 700 remote, you need to install the Logitech Harmony software on your computer. The software serves as the control center for your remote, allowing you to customize its settings and add devices. Follow these simple steps to install the software:
- Visit the official Logitech website and navigate to the Support section.
- Search for the Logitech Harmony software and select the appropriate version for your operating system (Windows or Mac).
- Click on the download link to start the download process. Depending on your internet connection speed, this may take a few moments.
- Once the download is complete, locate the installer file and double-click on it to run the installation wizard.
- Follow the on-screen instructions to proceed with the installation. Make sure to read and accept the terms and conditions before moving forward.
- Choose the installation location and any additional settings according to your preferences. By default, the software will be installed in the Program Files (Windows) or Applications (Mac) folder.
- Click on the “Install” button to start the installation process. Be patient as this may take a few minutes to complete.
- Once the installation is finished, you can launch the Logitech Harmony software from your desktop or start menu.
After the software launches, you’ll have access to a user-friendly interface where you can manage your Logitech Harmony 700 remote. The main screen will display your remote model and any configured devices or activities.
If you encounter any issues during the installation process or have difficulty finding the software, you can refer to Logitech’s support documentation or contact their customer support for further assistance.
With the Logitech Harmony software successfully installed on your computer, you are now ready to proceed to the next step: creating an account and adding devices to your Logitech Harmony 700 remote control.
Step 3: Creating an Account and Adding Devices
Now that you have the Logitech Harmony software installed on your computer, it’s time to create an account and add your devices to the Logitech Harmony 700 remote. Follow these steps to get started:
- Launch the Logitech Harmony software on your computer. If you haven’t already logged in, you will be prompted to create a new account or sign in with your existing account.
- If you’re creating a new account, enter your email address and select a secure password. Make sure to use a strong password that includes a combination of letters, numbers, and special characters.
- After creating your account, log in using your credentials. If you already have an account, simply enter your email address and password to proceed.
- Once logged in, you will be prompted to add your devices to the Logitech Harmony software. Click on the “Add Device” button to get started.
- In the Add Device wizard, you can search for your devices by brand or model number. Alternatively, you can choose from a list of popular devices if your specific device isn’t listed.
- Follow the on-screen instructions to add each device to your Logitech Harmony 700 remote. You may be asked to provide additional details, such as the device type and how it is connected (e.g., HDMI, Wi-Fi, etc.).
- Repeat this process for all the devices you want to control with your remote, including your TV, cable/satellite box, Blu-ray player, sound system, and any other entertainment devices.
- Once you’ve added all your devices, you can organize them into rooms or categories to make it easier to navigate on your Logitech Harmony 700 remote.
- Make sure to save your changes after adding each device. The Logitech Harmony software will automatically sync the device information to your remote.
By creating an account and adding your devices to the Logitech Harmony software, you can conveniently manage and control your entire home entertainment system from a single remote. Whether you have a complex setup with multiple devices or a simple configuration, the Logitech Harmony 700 gives you the flexibility and ease of use.
Once you’ve successfully added your devices, you’re ready to move on to the next step: setting up activities with your Logitech Harmony 700 remote. Stay tuned!
Step 4: Setting Up Activities
Now that you have added all your devices to the Logitech Harmony software, it’s time to set up activities on your Logitech Harmony 700 remote. Activities are customized commands that allow you to perform multiple functions on different devices with a single button press. Follow these steps to set up activities:
- In the Logitech Harmony software, click on the “Activities” tab or navigate to the “Activities” section in the sidebar.
- Click on the “Add Activity” button to create a new activity.
- Type a descriptive name for your activity. For example, if you want to watch a movie, you can name the activity “Watch a Movie.”
- Select the devices that you want to include in the activity. This can be your TV, Blu-ray player, and sound system.
- Choose the inputs or channels for each device that need to be configured for the activity. For example, you might want the TV to switch to HDMI 1 and the sound system to be set to the correct audio input.
- Set the activity options and preferences, such as whether you want the TV to turn on or off, and the desired volume level for the sound system.
- Configure any additional settings specific to your activity, such as lighting control or adjusting the thermostat, if applicable.
- Once everything is set up, click on the “Save” button to save the activity.
Repeat these steps for each activity you want to create. You can have activities for different scenarios, such as watching TV, playing games, or listening to music. The Logitech Harmony software allows you to create and customize activities according to your specific needs and preferences.
Once you have set up your activities, they will be automatically synced to your Logitech Harmony 700 remote. You can easily access and switch between activities using the dedicated activity buttons on the remote.
Setting up activities on your Logitech Harmony 700 remote simplifies your entertainment experience by eliminating the need for multiple button presses and remotes. With just a single button press, you can seamlessly control all your devices and enjoy your favorite activities without any hassle.
In the next step, we will explore how to customize buttons and layouts on your Logitech Harmony 700 remote. Stay tuned!
Step 5: Customizing Buttons and Layouts
Now that you have set up activities on your Logitech Harmony 700 remote, it’s time to customize the buttons and layouts to suit your preferences. The Logitech Harmony software allows you to personalize your remote by assigning specific functions to buttons and rearranging their positions. Follow these steps to customize buttons and layouts:
- In the Logitech Harmony software, navigate to the “Remote” tab or look for the “Remote Settings” section.
- Select the activity for which you want to customize the buttons and layout.
- You will see a visual representation of your remote on the screen. This shows the current assigned functions to each button.
- Click on a button that you want to customize. This will bring up a list of available functions that you can assign to that button.
- Choose the desired function from the list or use the search function to find a specific function.
- Repeat this process for each button you want to customize. You can assign different functions for each activity or have common functions across multiple activities.
- If you want to rearrange the button positions, simply click and drag the buttons to your desired locations on the virtual remote.
- Once you are satisfied with the button assignments and layout, click on the “Save” button to apply the changes.
By customizing the buttons and layouts on your Logitech Harmony 700 remote, you can create a personalized remote control experience that suits your preferences and usage habits. Whether you want to prioritize certain functions or make frequently used buttons easily accessible, the Logitech Harmony software gives you the flexibility to tailor your remote to your liking.
It’s worth noting that the Logitech Harmony software offers advanced customization options for power users who want to fine-tune their remote. You can create macros, add delays between commands, or even assign long-press actions to buttons, providing even more control over your devices and activities.
Once you have customized the buttons and layouts, the changes will be synced to your Logitech Harmony 700 remote. You can now enjoy your personalized remote control experience and effortlessly navigate through your activities and devices.
In the next step, we will guide you through the process of syncing your Logitech Harmony 700 remote and conducting a thorough testing. Keep reading!
Step 6: Syncing the Remote and Testing
After customizing the buttons and layouts on your Logitech Harmony 700 remote, it’s important to sync the changes to your remote and conduct thorough testing to ensure everything works as expected. Follow these steps to sync your remote and perform testing:
- Ensure that your Logitech Harmony 700 remote is connected to your computer via the USB cable.
- In the Logitech Harmony software, locate and click on the sync or update button. This will initiate the syncing process between the software and your remote.
- Wait for the sync to complete. This may take a few moments as the software transfers the updated settings to your remote.
- Once the sync is finished, disconnect the USB cable and ensure that your Logitech Harmony 700 remote is powered on.
- Begin testing your remote by selecting an activity and pressing the corresponding activity button on the remote.
- Confirm that the chosen activity powers on the correct devices, sets the desired inputs or channels, and adjusts the volume as expected.
- Test the functions of each custom button you have assigned, ensuring they perform the intended actions on the associated devices.
- If you encounter any issues during testing, return to the Logitech Harmony software and make the necessary adjustments to button assignments or settings.
- Continue refining and testing your remote until all activities and buttons are functioning correctly.
Testing is a crucial step to ensure that your Logitech Harmony 700 remote is fully programmed and configured to your satisfaction. It allows you to identify and address any potential issues or conflicts with device compatibility, button assignments, or activity settings.
If you encounter any challenges during testing or find that certain functions are not working correctly, consult the Logitech Harmony software and documentation for troubleshooting tips. In some cases, additional configuration or adjustments may be necessary to resolve the issue.
By performing comprehensive testing, you can fine-tune your Logitech Harmony 700 remote and achieve a seamless and intuitive control experience for all your entertainment devices and activities.
In the final step, we will provide you with some helpful troubleshooting tips that can assist you in resolving common issues that may arise during the use of your Logitech Harmony 700 remote. Let’s dive in!
Step 7: Troubleshooting Tips
While the Logitech Harmony 700 remote is designed to provide a seamless and user-friendly experience, you may encounter some issues or challenges along the way. Here are some troubleshooting tips to help you overcome common problems and ensure optimal performance:
- If the remote is not responding, check the battery level. Replace the batteries if necessary to ensure a sufficient power supply to the remote.
- Make sure that the remote is properly synced with the Logitech Harmony software. Connect the remote to your computer using the USB cable and perform a sync to ensure the software and remote are up-to-date.
- If certain devices are not being controlled properly, double-check that the correct IR signals are assigned. Go to the Logitech Harmony software, navigate to the device settings, and verify that the correct device model is selected.
- Some devices may require additional configuration, such as enabling the IR receiver or setting specific options. Refer to the device’s user manual or consult the manufacturer’s support website for guidance on configuring these devices.
- When troubleshooting connectivity issues, ensure that all devices are properly connected to the appropriate inputs and outputs. Check cables, HDMI connections, and wireless network connections to ensure everything is securely and correctly connected.
- If you experience intermittent connectivity issues, power cycle your devices. Turn off all devices, unplug them from power sources, wait for a few seconds, and then power them back on. This can help resolve temporary communication glitches.
- If you are unable to locate a specific device or brand in the Logitech Harmony software database, try the “Learn IR” feature. This feature allows you to teach the remote the IR commands for a particular device by pointing its original remote towards the Logitech Harmony 700.
- Ensure that your Logitech Harmony 700 remote is free from any obstructions or physical barriers that may interfere with the IR signals. Clear any objects or obstacles that may obstruct the line of sight between the remote and the devices.
- If you are still experiencing difficulties, consult Logitech’s support documentation or contact their customer support for further assistance. They have a dedicated team available to help troubleshoot and resolve any technical issues you may encounter.
By following these troubleshooting tips and utilizing the available resources, you can effectively address common issues and enjoy a seamless remote control experience with your Logitech Harmony 700.
With your remote working flawlessly, you can now sit back, relax, and effortlessly control all your entertainment devices with just a touch of a button!
Conclusion
Congratulations on successfully programming your Logitech Harmony 700 remote control! You have learned how to unbox and set up the remote, install the Logitech Harmony software, create an account, add devices, set up activities, customize buttons and layouts, sync the remote, and troubleshoot any potential issues.
The Logitech Harmony 700 remote offers a convenient solution to simplify your home entertainment experience. With its ability to control multiple devices with just one click, you can enjoy your favorite activities seamlessly without the hassle of managing multiple remotes.
Throughout the programming process, you have customized your remote to suit your preferences and needs. By personalizing activity buttons and layouts, you have created a remote control experience that is intuitive and user-friendly.
Remember to perform thorough testing to ensure that all activities and buttons are functioning correctly. Should you encounter any issues, refer to the troubleshooting tips provided to address common problems and optimize the performance of your Logitech Harmony 700 remote.
We hope this detailed guide has been helpful in assisting you with programming your Logitech Harmony 700 remote. Enjoy the convenience and simplicity it brings to your home entertainment setup, and discover a new level of control and enjoyment.
Thank you for choosing the Logitech Harmony 700 and happy remote controlling!