Introduction
Connecting an HDMI cable to your TV is a simple and essential step to unlock the full visual and audio capabilities of your devices. Whether you want to watch high-definition movies, play video games, or stream content from your laptop to the big screen, HDMI provides a reliable and high-quality connection. In this guide, we will walk you through the steps to connect an HDMI cable to your TV, ensuring that you can enjoy your favorite content with ease and convenience.
HDMI, or High Definition Multimedia Interface, is a standard interface that allows the transmission of high-definition audio and video signals between devices. It is widely used in modern TVs, laptops, gaming consoles, and other multimedia devices. By connecting your TV to these devices using an HDMI cable, you can enjoy crystal-clear picture quality and immersive sound, creating a cinematic experience in the comfort of your own home.
Whether you are a tech-savvy individual or a beginner, connecting an HDMI cable to your TV is a straightforward process that requires no special technical skills. All you need is the right equipment and a few minutes of your time. So, grab your HDMI cable and let’s get started!
Step 1: Gather the necessary equipment
Before you can successfully connect an HDMI cable to your TV, you will need to gather the necessary equipment. Here’s what you’ll need:
- An HDMI cable: Make sure you have a high-speed HDMI cable that is compatible with your TV and the device you want to connect. It is recommended to use a cable that is at least 6 feet long to provide flexibility in positioning your devices.
- Your TV: Ensure that your TV has at least one HDMI input port. Most modern TVs come with multiple HDMI ports, so you have the option to connect multiple devices simultaneously.
- The device you want to connect: This can be a laptop, gaming console, Blu-ray player, streaming device, or any other device that has an HDMI output port. Make sure you have the device on hand for the setup process.
Once you have gathered these items, you are ready to move on to the next steps. Having the right equipment ensures a smooth and reliable connection, allowing you to enjoy high-definition content on your TV.
Step 2: Turn off your TV and the device you want to connect
Before connecting an HDMI cable to your TV, it is essential to power off both your TV and the device you want to connect. This step ensures a safe and hassle-free setup process. Here’s how to do it:
- Using your TV remote, navigate to the power button and turn off your TV. This will prevent any potential electrical damage and keep your TV’s settings intact.
- For the device you want to connect, such as a laptop or gaming console, make sure it is completely powered off. This means shutting down the device and disconnecting it from any power sources.
Turning off both the TV and the device you want to connect not only protects your devices but also makes it easier to establish a successful HDMI connection. Once your devices are powered off, you can move on to the next step of the setup process.
Step 3: Locate the HDMI ports on your TV and device
To connect an HDMI cable to your TV, you need to locate the HDMI ports on both your TV and the device you want to connect. Here’s how to find them:
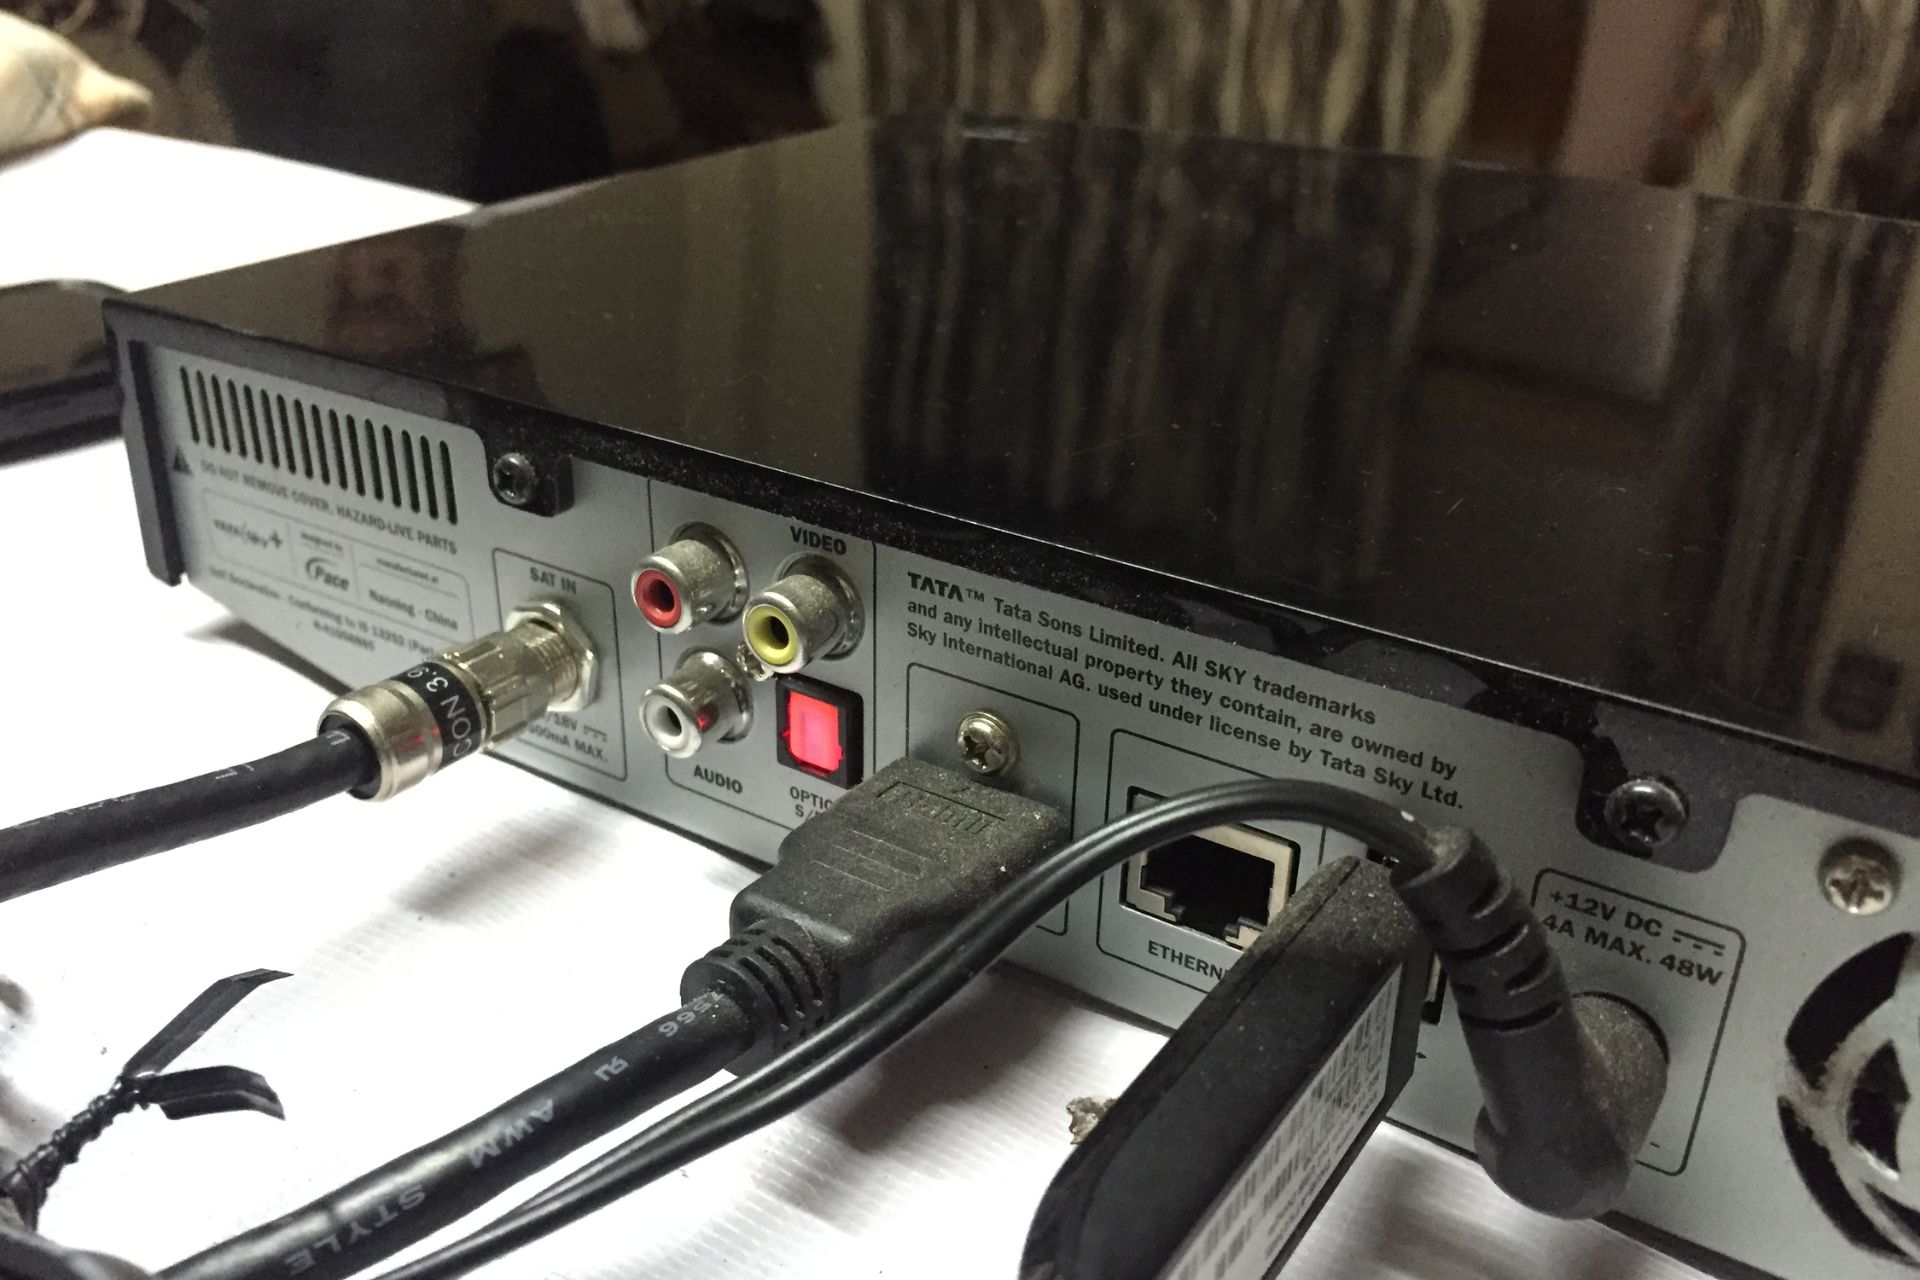
- On your TV: Take a look at the back or side panel of your TV. You should see one or more HDMI ports labeled as “HDMI”. The number of HDMI ports will vary depending on the make and model of your TV.
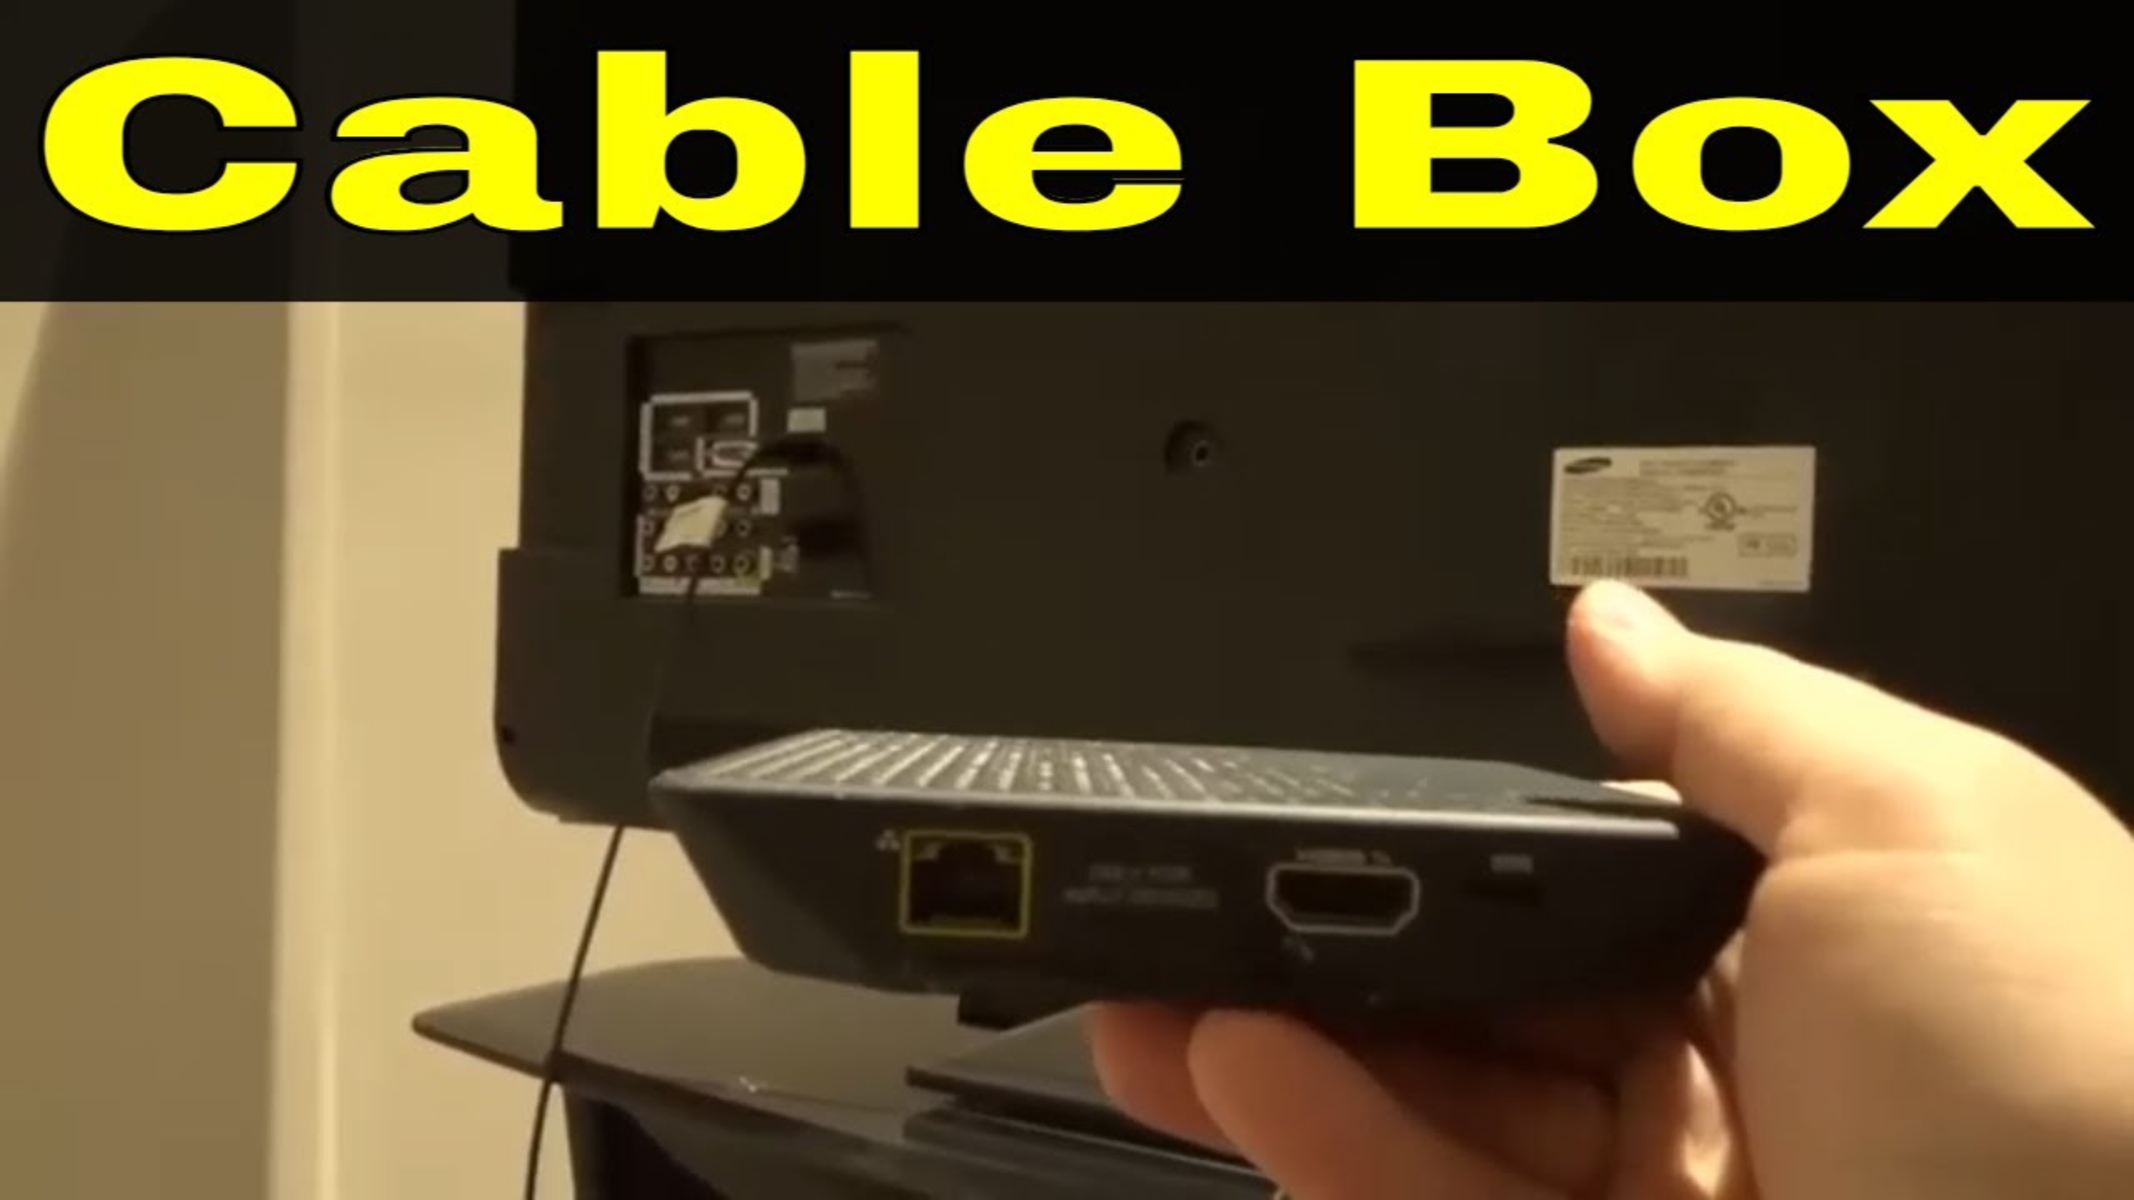
- On your device: Check the back or side of your device for an HDMI output port. It is usually labeled as “HDMI Out” or “HDMI”. If you’re unsure, refer to the device’s manual for the exact location of the HDMI port.
Locating the HDMI ports on your TV and device is an important step as it allows you to properly connect the HDMI cable. It’s worth noting that HDMI ports are usually rectangular in shape and have 19 pinholes. Once you have identified the HDMI ports on both your TV and device, you’re ready to move on to the next step.
Step 4: Connect one end of the HDMI cable to your TV
Once you have located the HDMI port on your TV, it’s time to connect one end of the HDMI cable. Follow these steps:
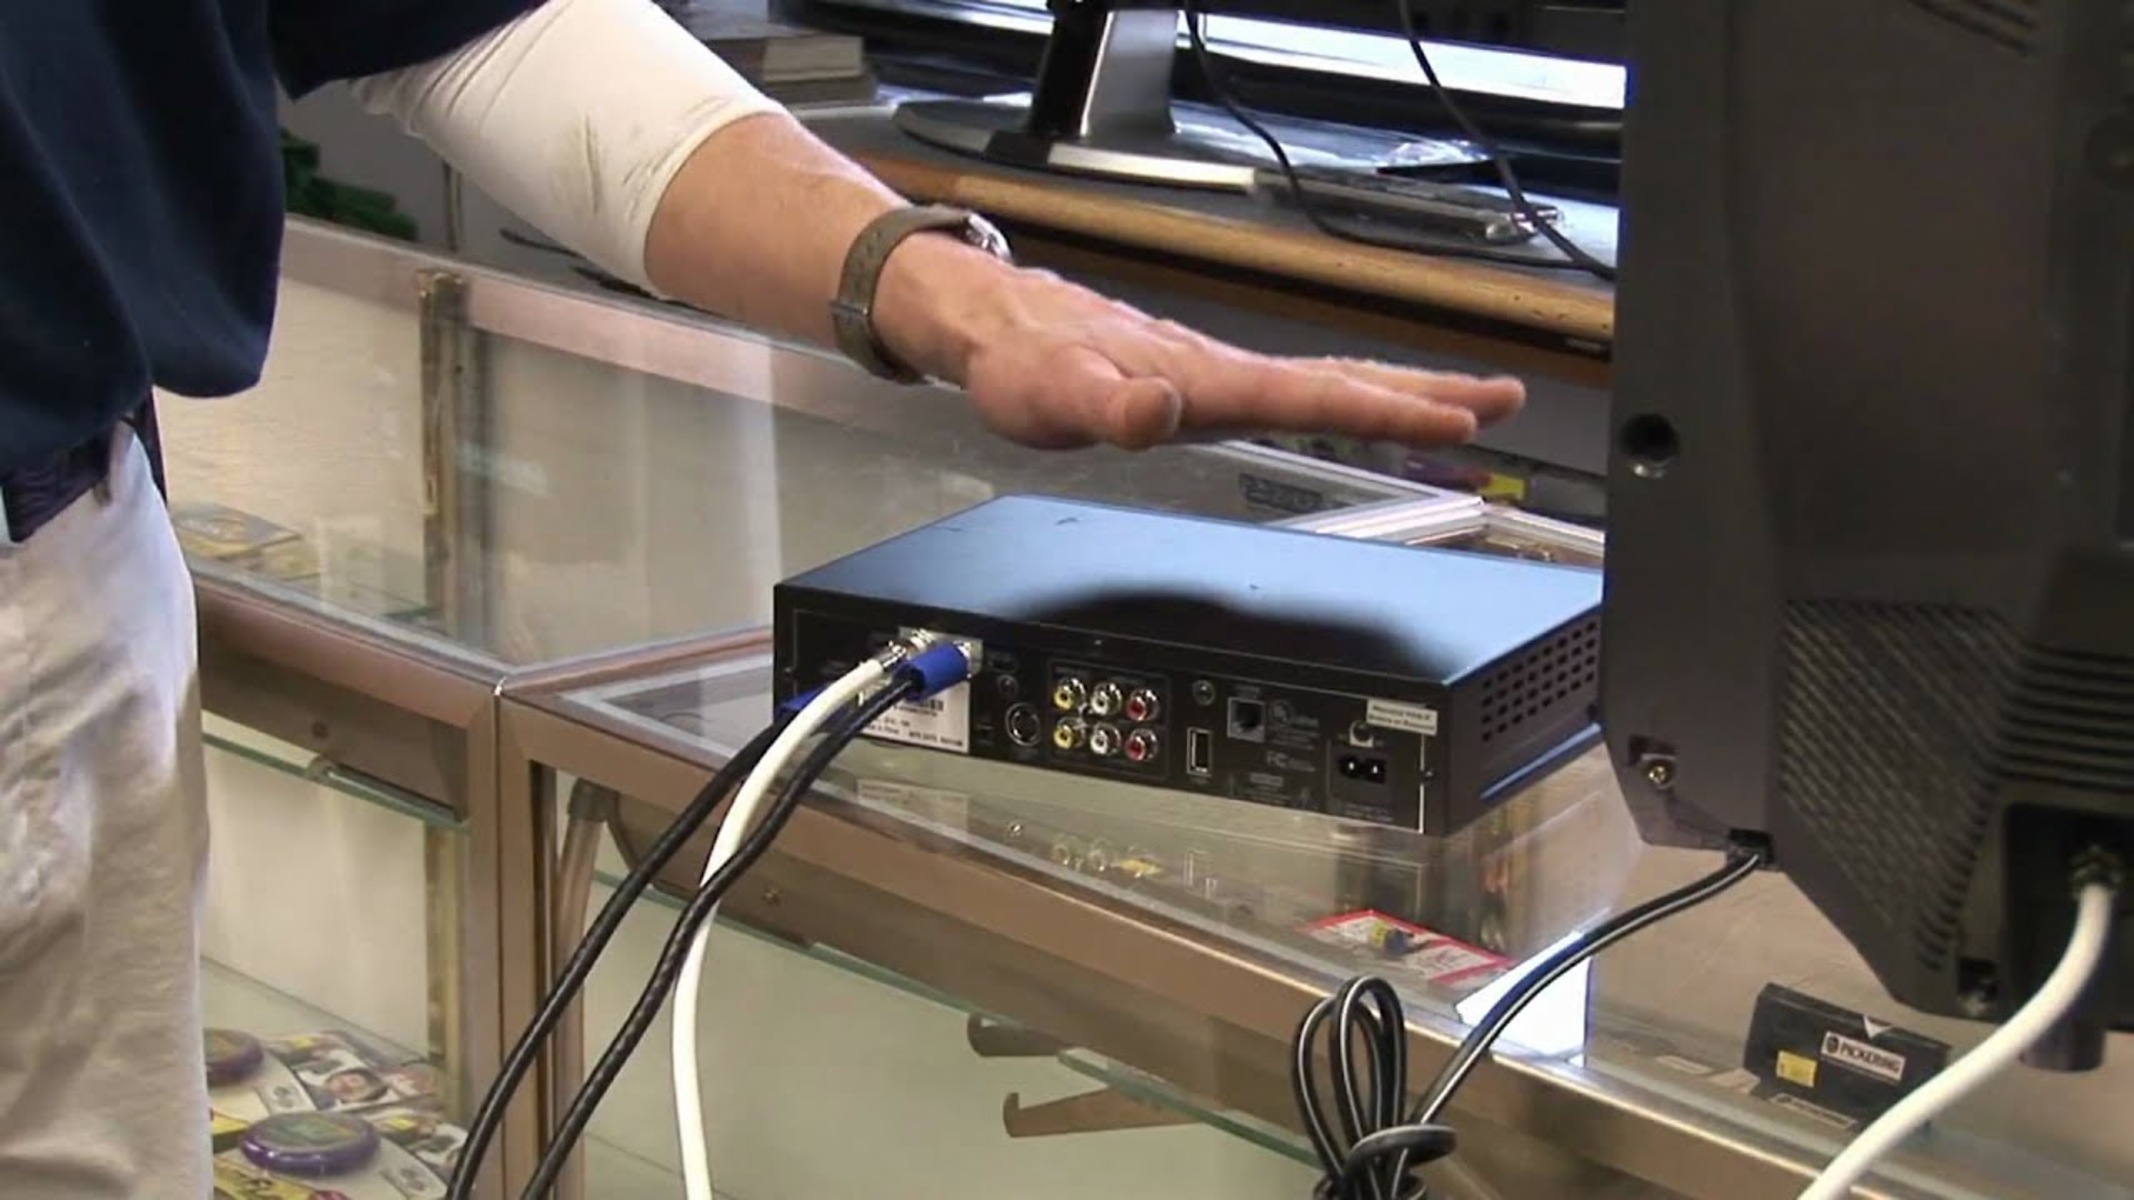
- Take one end of the HDMI cable and carefully insert it into the HDMI port on your TV. Make sure the HDMI cable is aligned with the port and insert it firmly, but gently, until it is securely connected.
- Ensure that you properly match the HDMI connector on the cable with the HDMI port on your TV. They should fit together seamlessly with no force required.
- Once connected, check that the HDMI cable is firmly in place. You should not be able to pull it out easily. A secure connection prevents any interruptions in the audio or video signal.
Connecting one end of the HDMI cable to your TV is a crucial step in establishing a connection. It forms the foundation for transmitting high-quality audio and video signals from your device to the TV. Take your time to ensure a secure and proper connection before moving on to the next step.
Step 5: Connect the other end of the HDMI cable to your device
After connecting one end of the HDMI cable to your TV, it’s time to connect the other end to your device. Follow these steps:
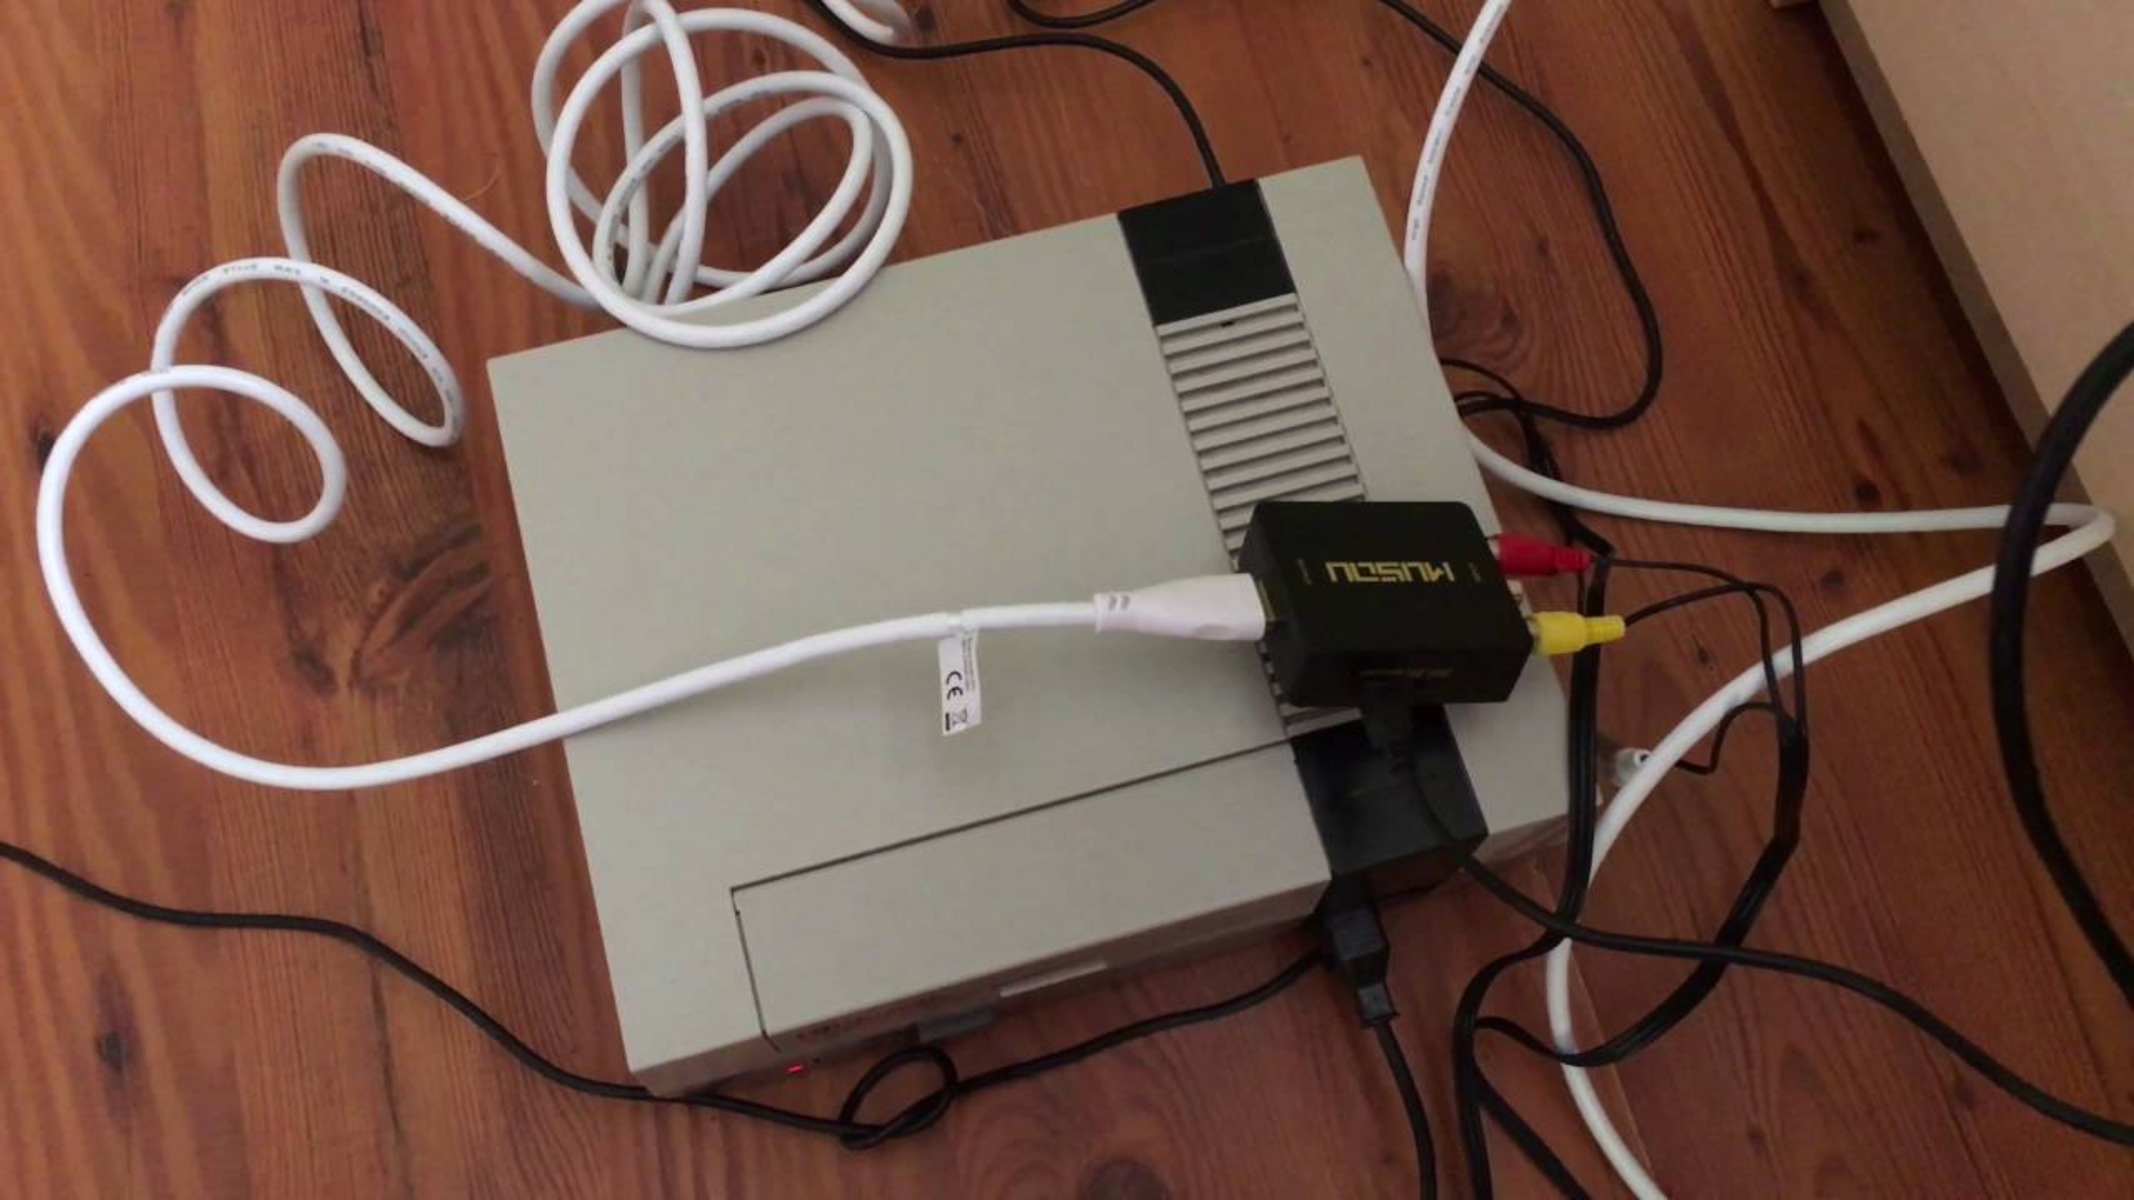
- Take the other end of the HDMI cable and insert it into the HDMI output port on your device. Make sure the HDMI cable is properly aligned with the port and insert it securely, but gently.
- Double-check that you are connecting the HDMI cable to the correct port on your device. It should be labeled as “HDMI Out” or “HDMI”. Refer to your device’s manual if you are unsure.
- Ensure that the HDMI cable is securely connected to your device. Similar to the connection on your TV, it should fit snugly without any force required.
Connecting the other end of the HDMI cable to your device is a crucial step in establishing the connection between your device and the TV. This completes the HDMI connection and enables the transmission of high-quality audio and video signals from your device to the TV.
Once you have successfully connected the HDMI cable to your device, move on to the next step to complete the setup process.
Step 6: Turn on your TV and the device you want to connect
With the HDMI cable connected to both your TV and device, it’s time to power everything on. Follow these steps to turn on your TV and the device you want to connect:
- Using your TV remote, press the power button to turn on your TV. Wait for it to boot up and display the home screen or any other screen that indicates it is powered on.
- For the device you want to connect, such as a laptop or gaming console, press the power button or use the designated method to power it on. Wait for the device to boot up and reach the main screen or desktop.
It is important to ensure that both your TV and the device you want to connect are powered on before proceeding. This allows them to establish a communication link through the HDMI cable and prepares them for the next steps in the setup process.
Once you have turned on your TV and the device, proceed to the next step to select the HDMI input on your TV.
Step 7: Select the HDMI input on your TV
Now that your TV and device are powered on, it’s time to select the correct HDMI input on your TV. Here’s how to do it:
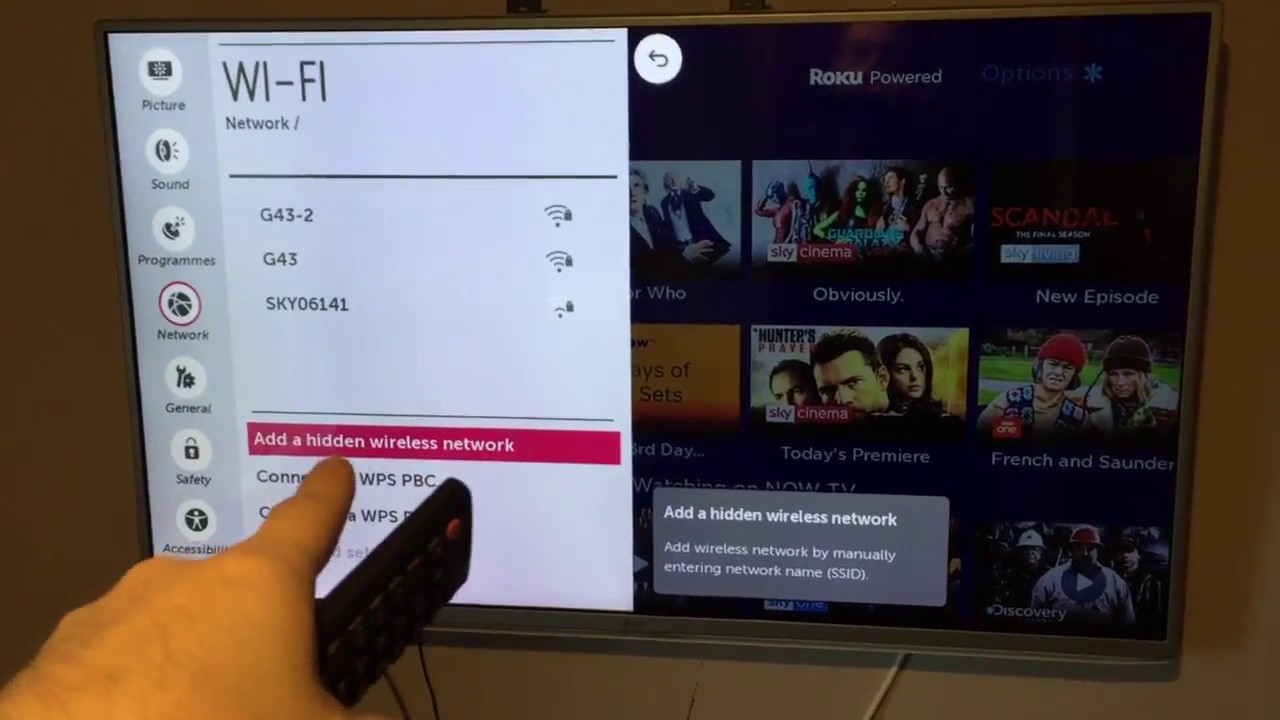
- Using the remote control that came with your TV, locate the input/source button. The name and location of this button may vary depending on your TV model.
- Press the input/source button to display the available input options on your TV screen.
- Using the arrow keys or navigation buttons on your remote, select the HDMI input that corresponds to the port you connected your device to. It might be labeled as HDMI 1, HDMI 2, etc.
- Press the OK or Enter button on your remote to confirm the selection.
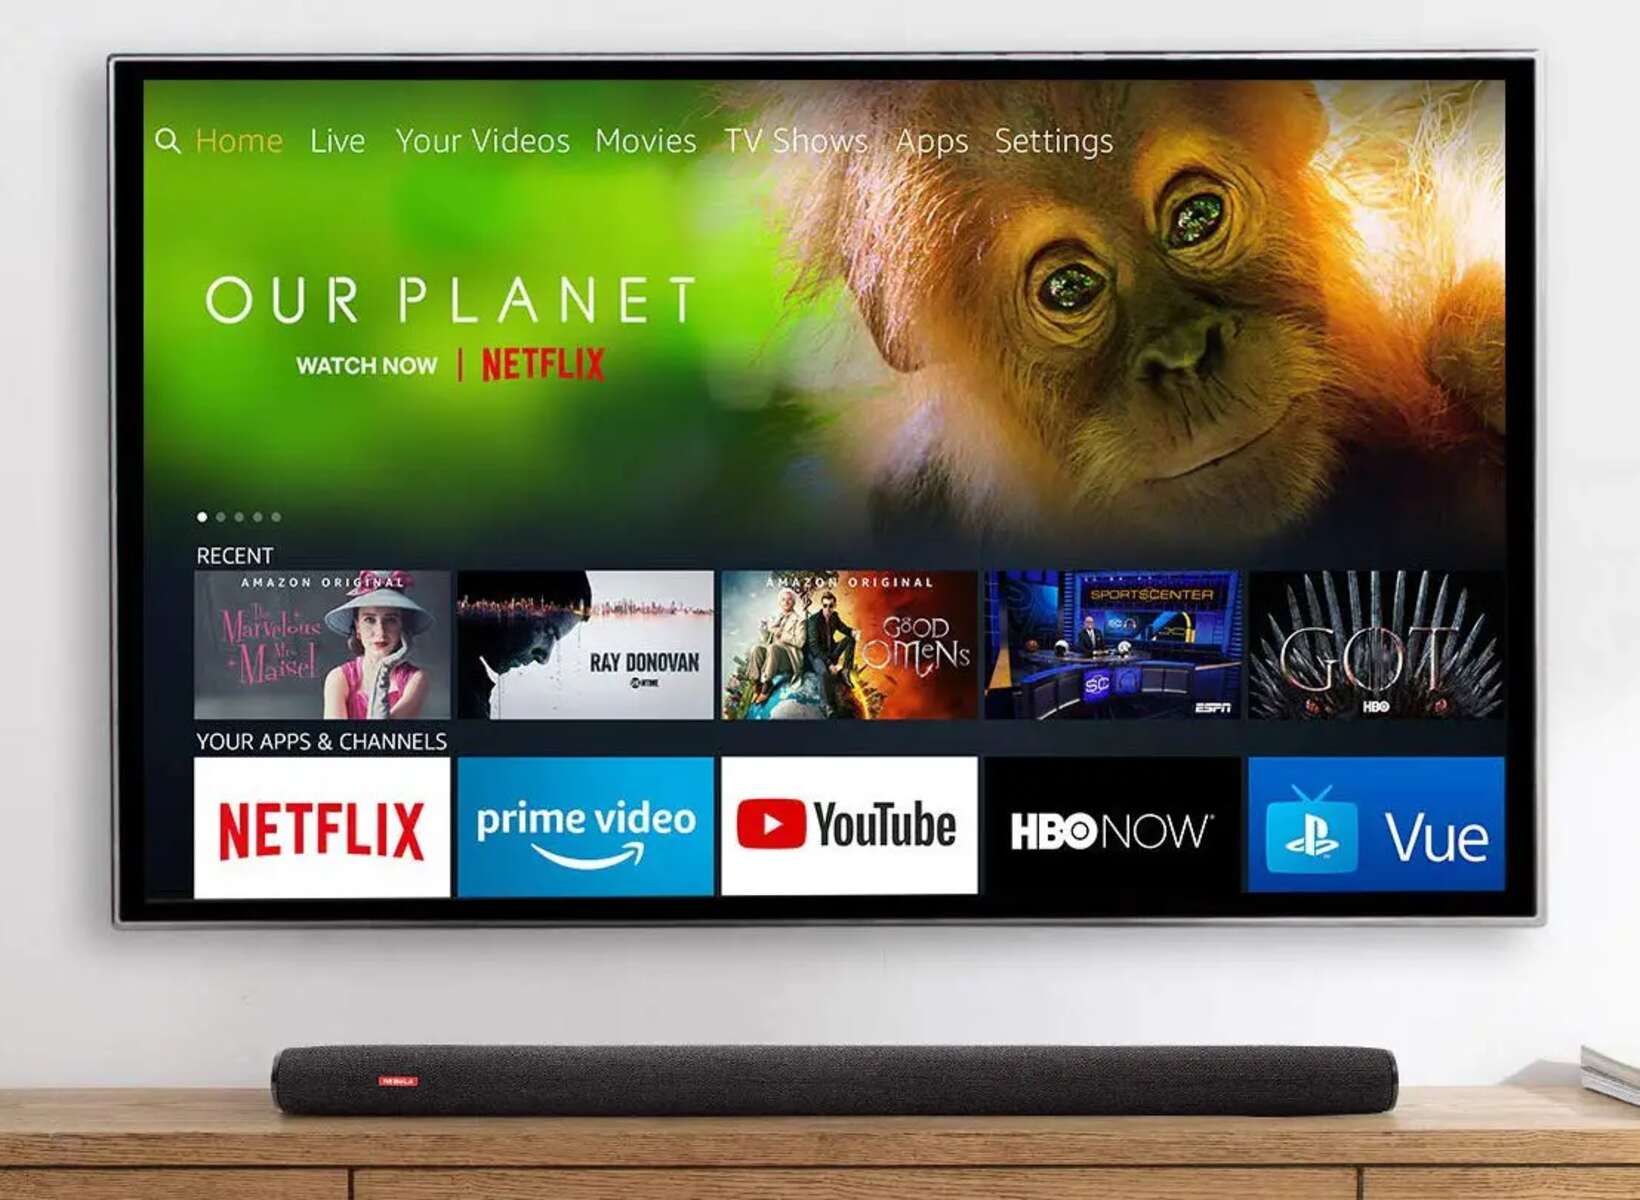
By selecting the correct HDMI input, you are instructing your TV to display the audio and video signals transmitted through the HDMI cable from your connected device. Depending on your TV model, you may also have the option to rename the HDMI input for easier identification in the future.
Once you have selected the HDMI input on your TV, you should see the screen of your device displayed on the TV. If not, ensure that all connections are secure and try selecting a different HDMI input. Adjusting the display settings on your device may also be necessary, which leads us to the next step.
Step 8: Adjust the display settings on your device, if necessary
After selecting the HDMI input on your TV, you may need to adjust the display settings on your connected device to ensure optimal visual performance. Here’s what you can do:
- On your device, go to the display settings. The location of these settings may vary depending on the operating system or device you have.
- Check the resolution settings and make sure they match the capabilities of your TV. Select the highest resolution option available for the best image quality.
- Explore other display settings, such as aspect ratio, color settings, or screen position, and adjust them according to your preferences.
- Make use of any additional features or options available in the display settings to enhance your viewing experience.
By adjusting the display settings on your device, you can optimize the visuals to ensure a crisp and clear image on your TV. This step may be especially necessary if the default settings do not match the resolution or display preferences of your TV.
Take your time to explore the display settings and experiment with different options until you achieve the desired visual performance. Remember to save any changes you make in the display settings to ensure they are applied every time you connect your device to the TV.
Congratulations! You have successfully connected your device to your TV using an HDMI cable. Enjoy your favorite movies, games, and content on the big screen with immersive audio and stunning visuals.
Conclusion
Connecting an HDMI cable to your TV opens up a world of possibilities for enjoying high-quality audio and video content. By following the simple steps outlined in this guide, you can easily connect your devices and enhance your entertainment experience.
Throughout the process, it is important to gather the necessary equipment, including an HDMI cable, and ensure that both your TV and devices are powered off. Locating the HDMI ports on your TV and devices is crucial for a successful connection. Properly connecting the HDMI cable to your TV and device is essential to establish a secure link.
Turning on your TV and devices and selecting the correct HDMI input allows the audio and video signals to flow seamlessly, bringing your content to life on the big screen. Adjusting the display settings on your device, if necessary, ensures optimal visual performance and customization.
With everything set up, you can now sit back, relax, and enjoy your favorite movies, TV shows, video games, and more on your TV with incredible clarity and immersive sound. The HDMI connection provides a reliable and high-quality link to enhance your entertainment experience.
Now that you have mastered the art of connecting an HDMI cable to your TV, you can explore the endless possibilities of multimedia content and enjoy a truly cinematic experience from the comfort of your own home.