Choosing the Right HDMI Cable
When it comes to connecting your cable box to your TV using HDMI, choosing the right cable is crucial for a high-quality viewing experience. With so many options available, it’s important to understand which factors to consider. Here are some tips to help you select the right HDMI cable:
- Check the HDMI version: HDMI cables come in different versions, including HDMI 1.4, HDMI 2.0, and HDMI 2.1. Each version offers different features and capabilities, such as support for higher resolutions, faster refresh rates, and enhanced audio formats. Depending on the capabilities of your TV and cable box, choose the HDMI version that meets your needs.
- Consider cable length: HDMI cables are available in various lengths, ranging from a few feet to several meters. To ensure optimal signal quality, choose a cable that is long enough to reach from your cable box to your TV without strain. Avoid excessively long cables, as they may result in signal degradation.
- Look for high-speed cables: Opt for HDMI cables labeled as “high-speed” or “certified premium.” These cables are designed to support higher bandwidth and can handle higher resolutions, refresh rates, and advanced features such as HDR (High Dynamic Range) and Dolby Atmos.
- Consider cable construction: Pay attention to the build quality of the HDMI cable. Look for cables with gold-plated connectors, as they offer better conductivity and corrosion resistance, ensuring a reliable connection over time. Also, consider cables with durable shielding to reduce signal interference.
Remember, the quality of the HDMI cable you choose can have a direct impact on the overall video and audio performance. While it’s tempting to opt for the cheapest option, investing in a high-quality HDMI cable is worthwhile to ensure a seamless and immersive viewing experience.
Checking the HDMI Ports on Your TV and Cable Box
Before connecting your cable box to your TV using HDMI, you need to ensure that both devices have the necessary HDMI ports. Follow these steps to check the HDMI ports:
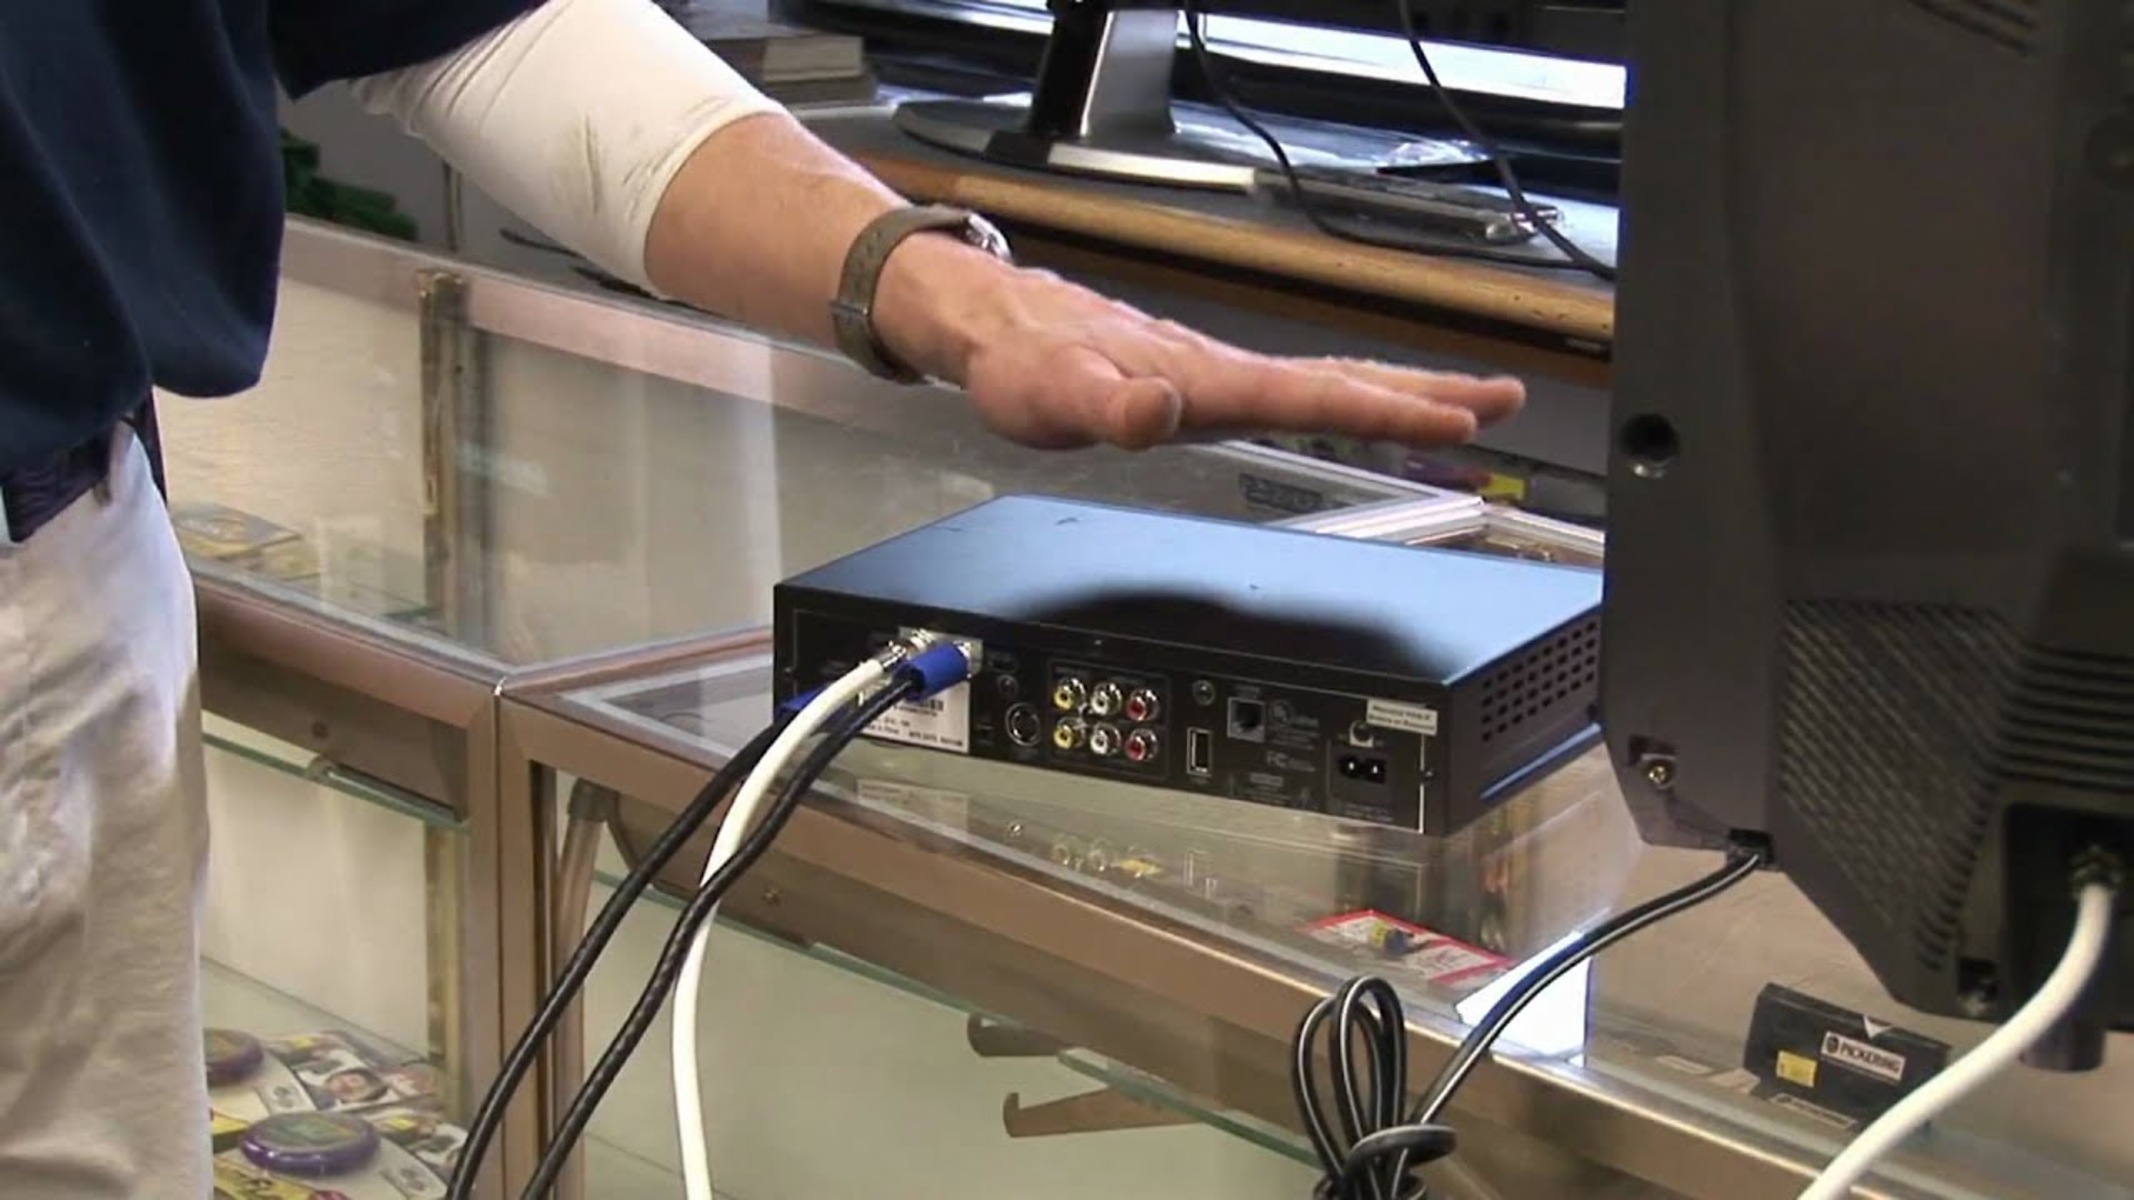
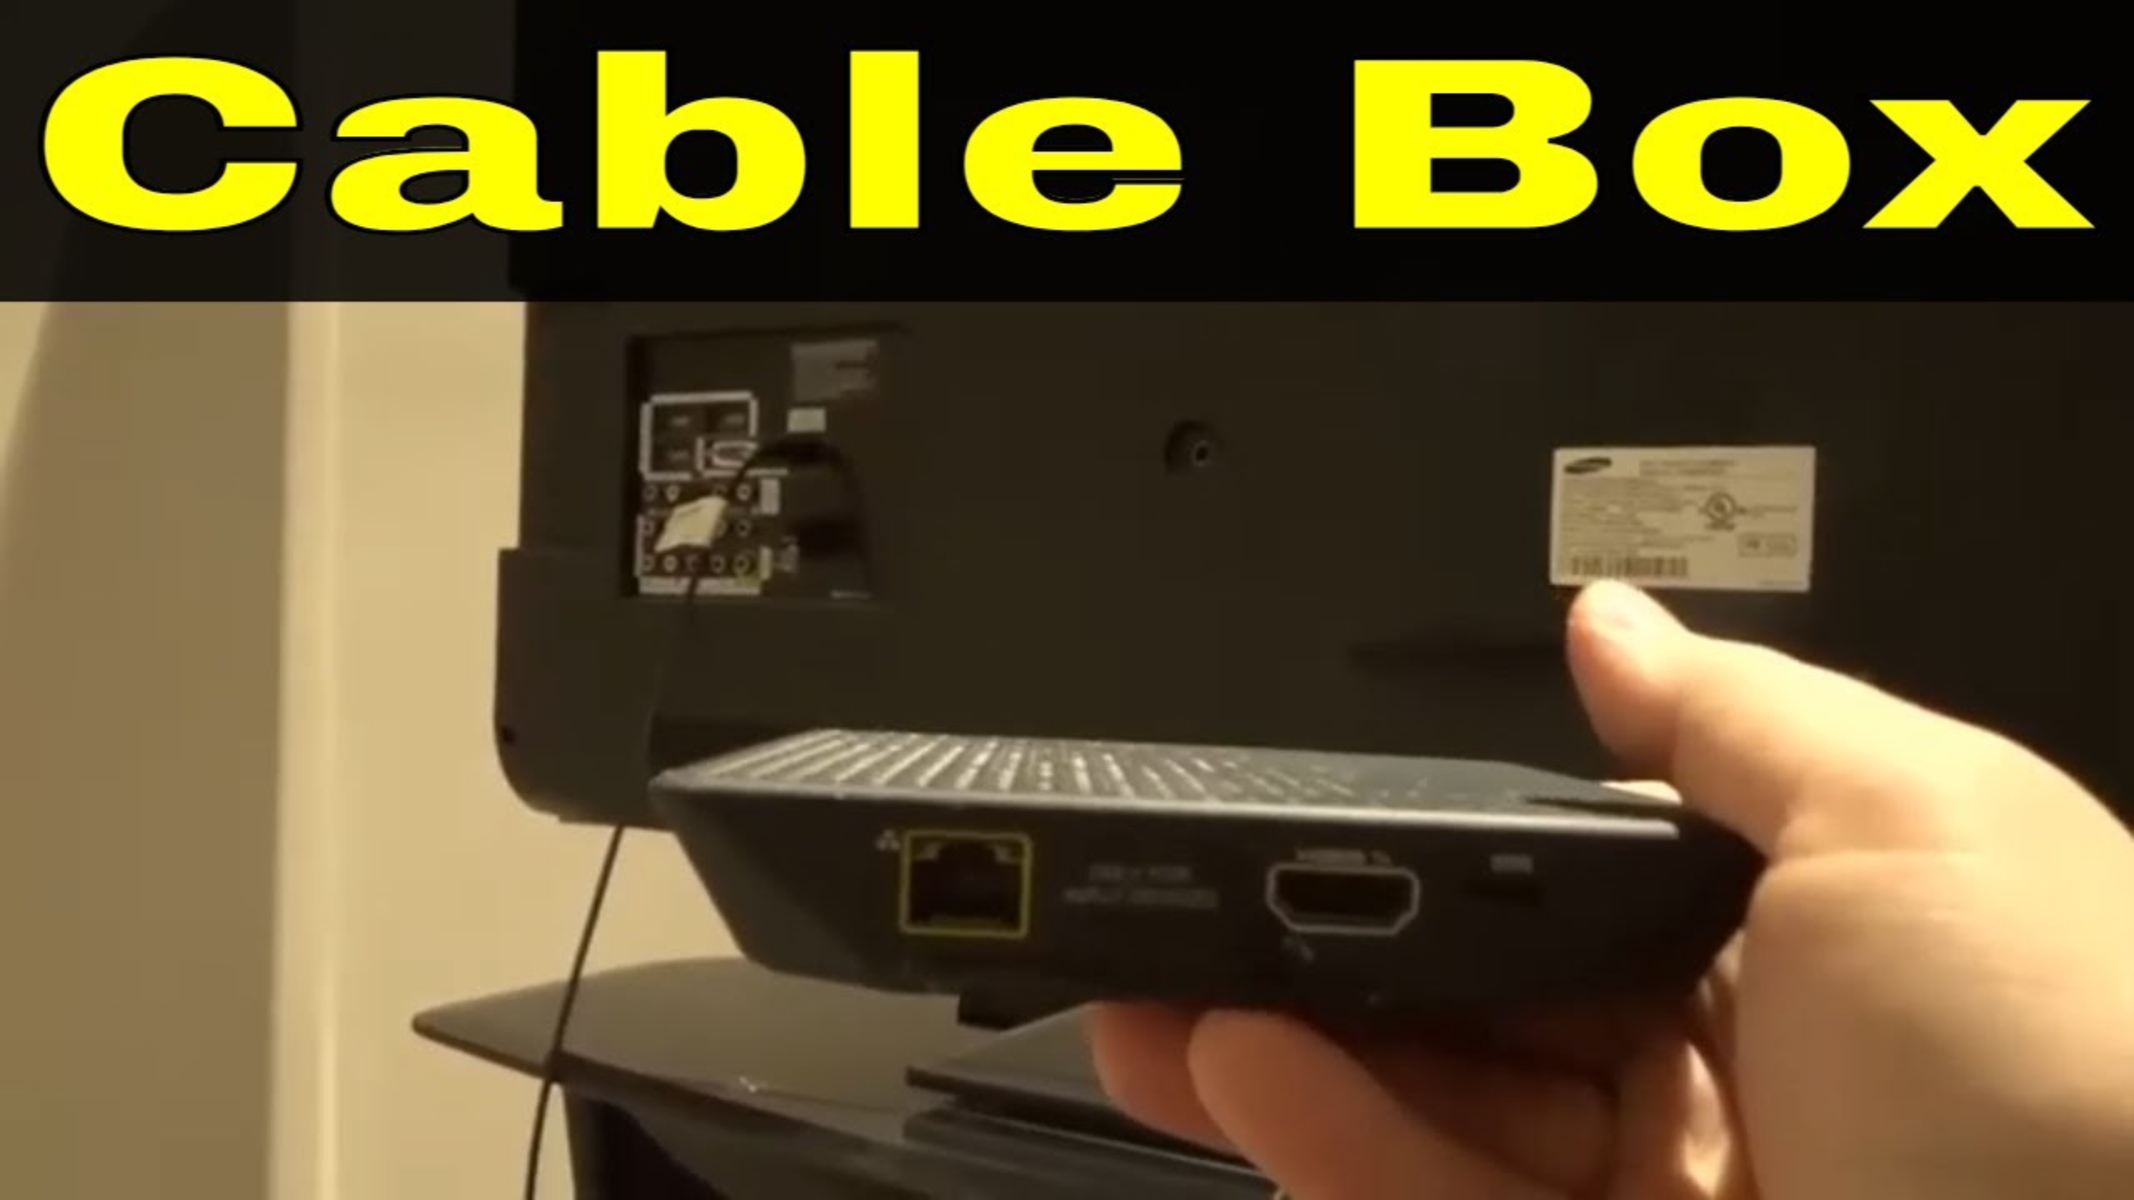
- Locate the HDMI ports: On your TV and cable box, look for HDMI ports. They are usually labeled as “HDMI” and may be located on the back, side, or bottom panels of the devices. Take note of the number of HDMI ports available on each device.
- Inspect the HDMI ports: Check the condition of the HDMI ports to ensure they are not damaged or obstructed. Look for any bent pins or debris that may hinder proper connectivity. If you notice any issues, contact the manufacturer for assistance.
- Identify the HDMI ARC port: Some newer TVs and cable boxes feature an HDMI ARC (Audio Return Channel) port. This port allows you to connect your TV to your cable box and other audio devices for enhanced audio playback. If your TV and cable box have an HDMI ARC port, consider using it for improved audio performance.
- Take note of the HDMI port numbers: If your TV and cable box have multiple HDMI ports, assign numbers to each port for easy identification. This step will come in handy when selecting the correct HDMI input on your TV later.
By double-checking the HDMI ports on your TV and cable box, you ensure that they are in good condition and compatible with each other. This step will help avoid any connectivity issues during the setup process.
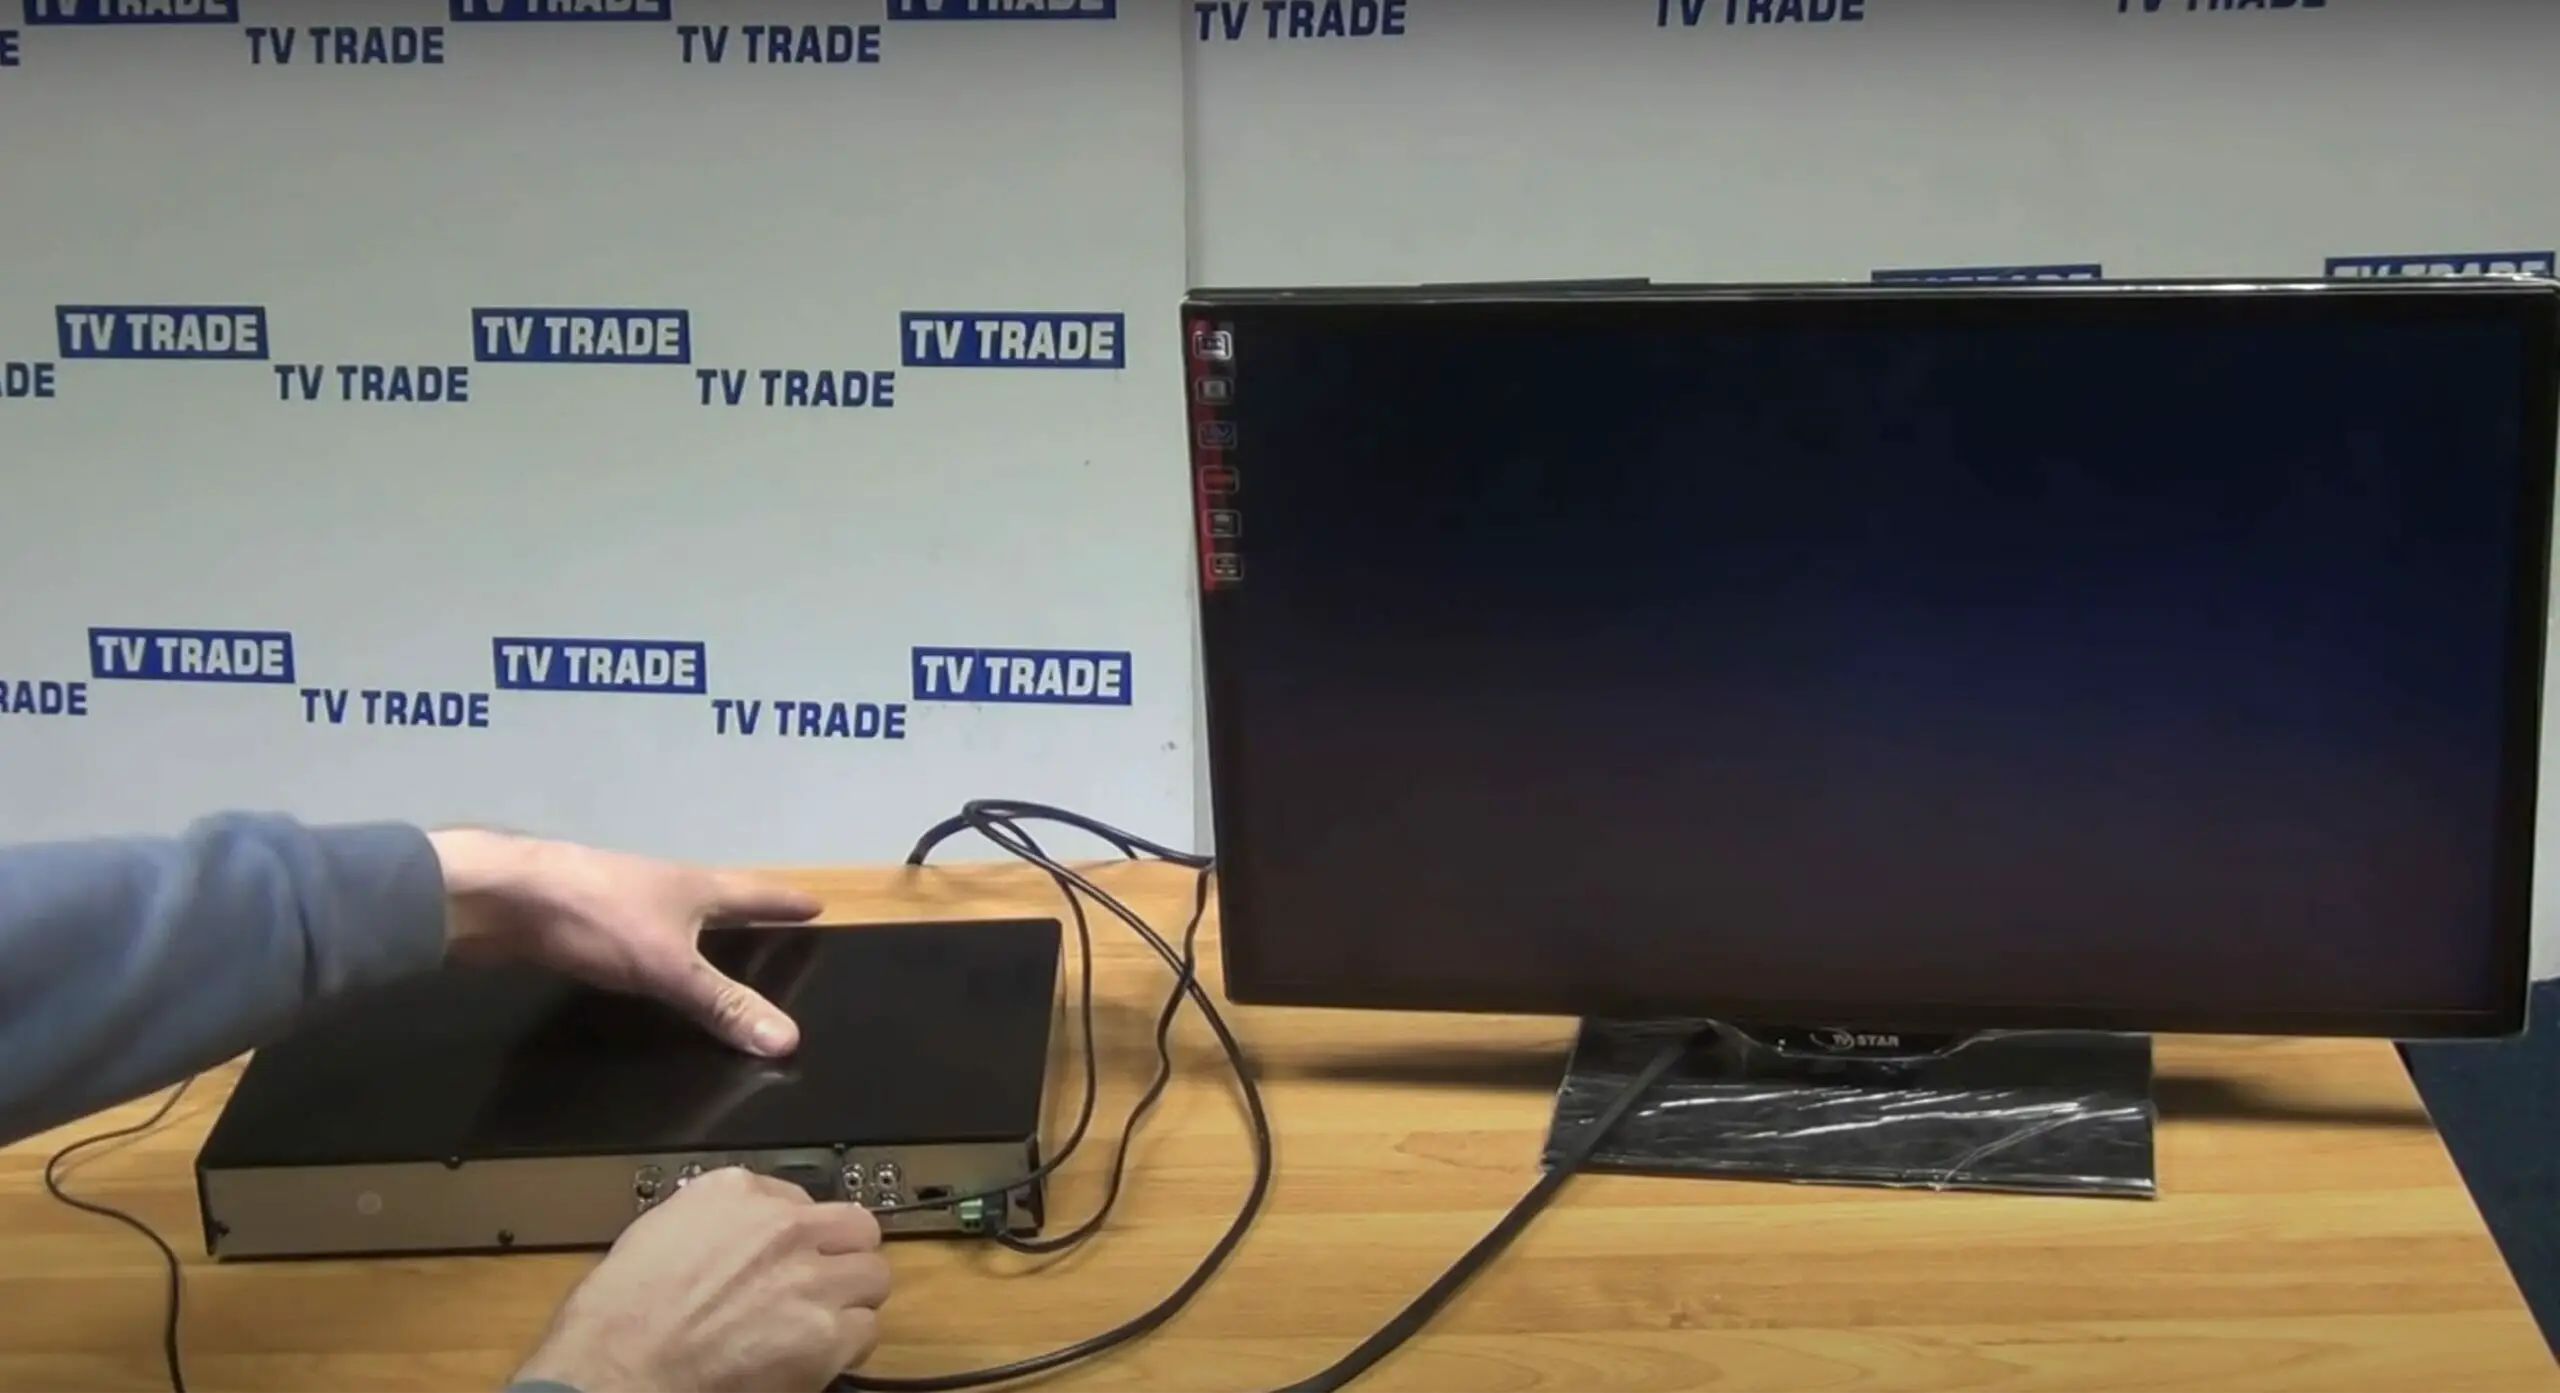
Connecting the HDMI Cable to Your TV
Now that you have checked the HDMI ports on your TV and cable box, it’s time to connect the HDMI cable. Follow these steps to ensure a proper connection:
- Power off your TV and cable box: Before connecting the HDMI cable, make sure both your TV and cable box are turned off. This step helps protect the devices and prevents any potential damage during the setup process.
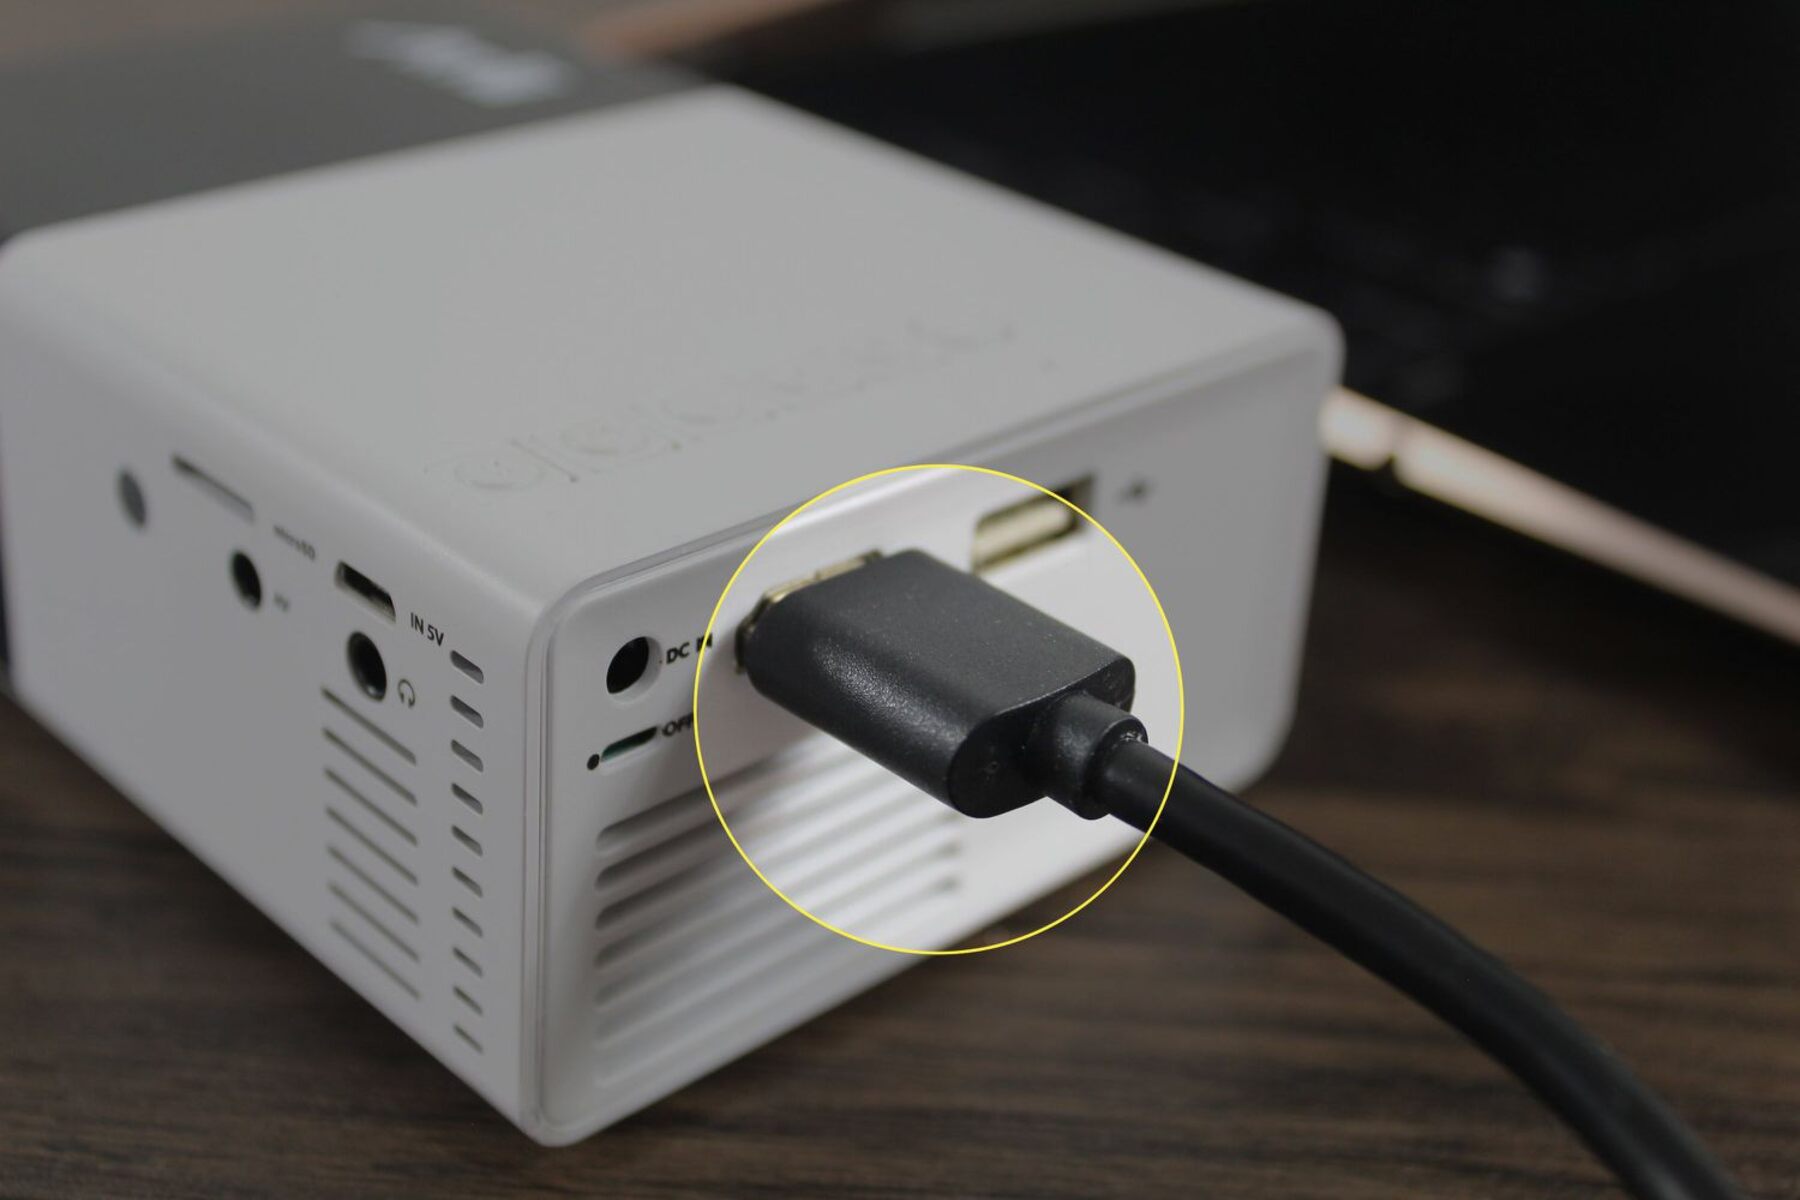
- Plug one end of the HDMI cable into your cable box: Take one end of the HDMI cable and insert it into the HDMI out port on your cable box. Ensure a secure connection by firmly pushing the cable all the way into the port. Be cautious not to force the connection, as HDMI connectors are designed to fit snugly.
- Plug the other end of the HDMI cable into your TV: Locate the HDMI input port on your TV and insert the other end of the HDMI cable into it. Align the cable connector with the HDMI input port and gently push it in until it is securely connected.
- Tighten the cable connections: Once both ends of the HDMI cable are plugged in, ensure that they are securely connected by gently wiggling the cable. If there is any looseness or disconnection, adjust the cable and tighten the connection until it is snug.
- Power on your TV and cable box: Now that the HDMI cable is properly connected, turn on your TV and cable box. Allow them a few seconds to boot up and establish a connection.
By following these steps, you will successfully connect the HDMI cable between your TV and cable box. Next, you need to select the correct HDMI input on your TV to ensure the signal from the cable box is properly displayed.
Powering on Your TV and Cable Box
After connecting the HDMI cable between your TV and cable box, the next step is to power on both devices. Here’s how to do it:
- Locate the power buttons: On your TV and cable box, locate the power buttons. The location of the power buttons may vary depending on the make and model of your devices. Commonly, the power button on the TV is located either on the front or side panel, while the cable box power button is usually on the front or top.
- Power on your TV: Press the power button on your TV to turn it on. Wait for a few seconds for the TV to boot up and display the menu or home screen. Make sure the TV is set to the correct input source, usually labeled as “HDMI,” which corresponds to the HDMI port you connected the cable to.
- Power on your cable box: Press the power button on your cable box to turn it on. Wait for the cable box to initialize and establish a connection with the TV. This process may take a moment, so avoid pressing any other buttons during this time.
- Verify the connection: Once both devices are powered on, you should see the video and audio from your cable box displayed on your TV screen. If you don’t see anything, double-check the HDMI cable connections, ensure the correct HDMI input is selected on your TV, and make sure both devices are turned on.
By properly powering on your TV and cable box, you will ensure that both devices are ready to receive and display the cable signal. If you encounter any issues with the power-up process, refer to the user manuals of your TV and cable box for specific troubleshooting steps.
Selecting the HDMI Input on Your TV
Once your TV and cable box are powered on and connected via HDMI, you need to select the correct HDMI input on your TV to display the cable box’s content. Follow these steps:
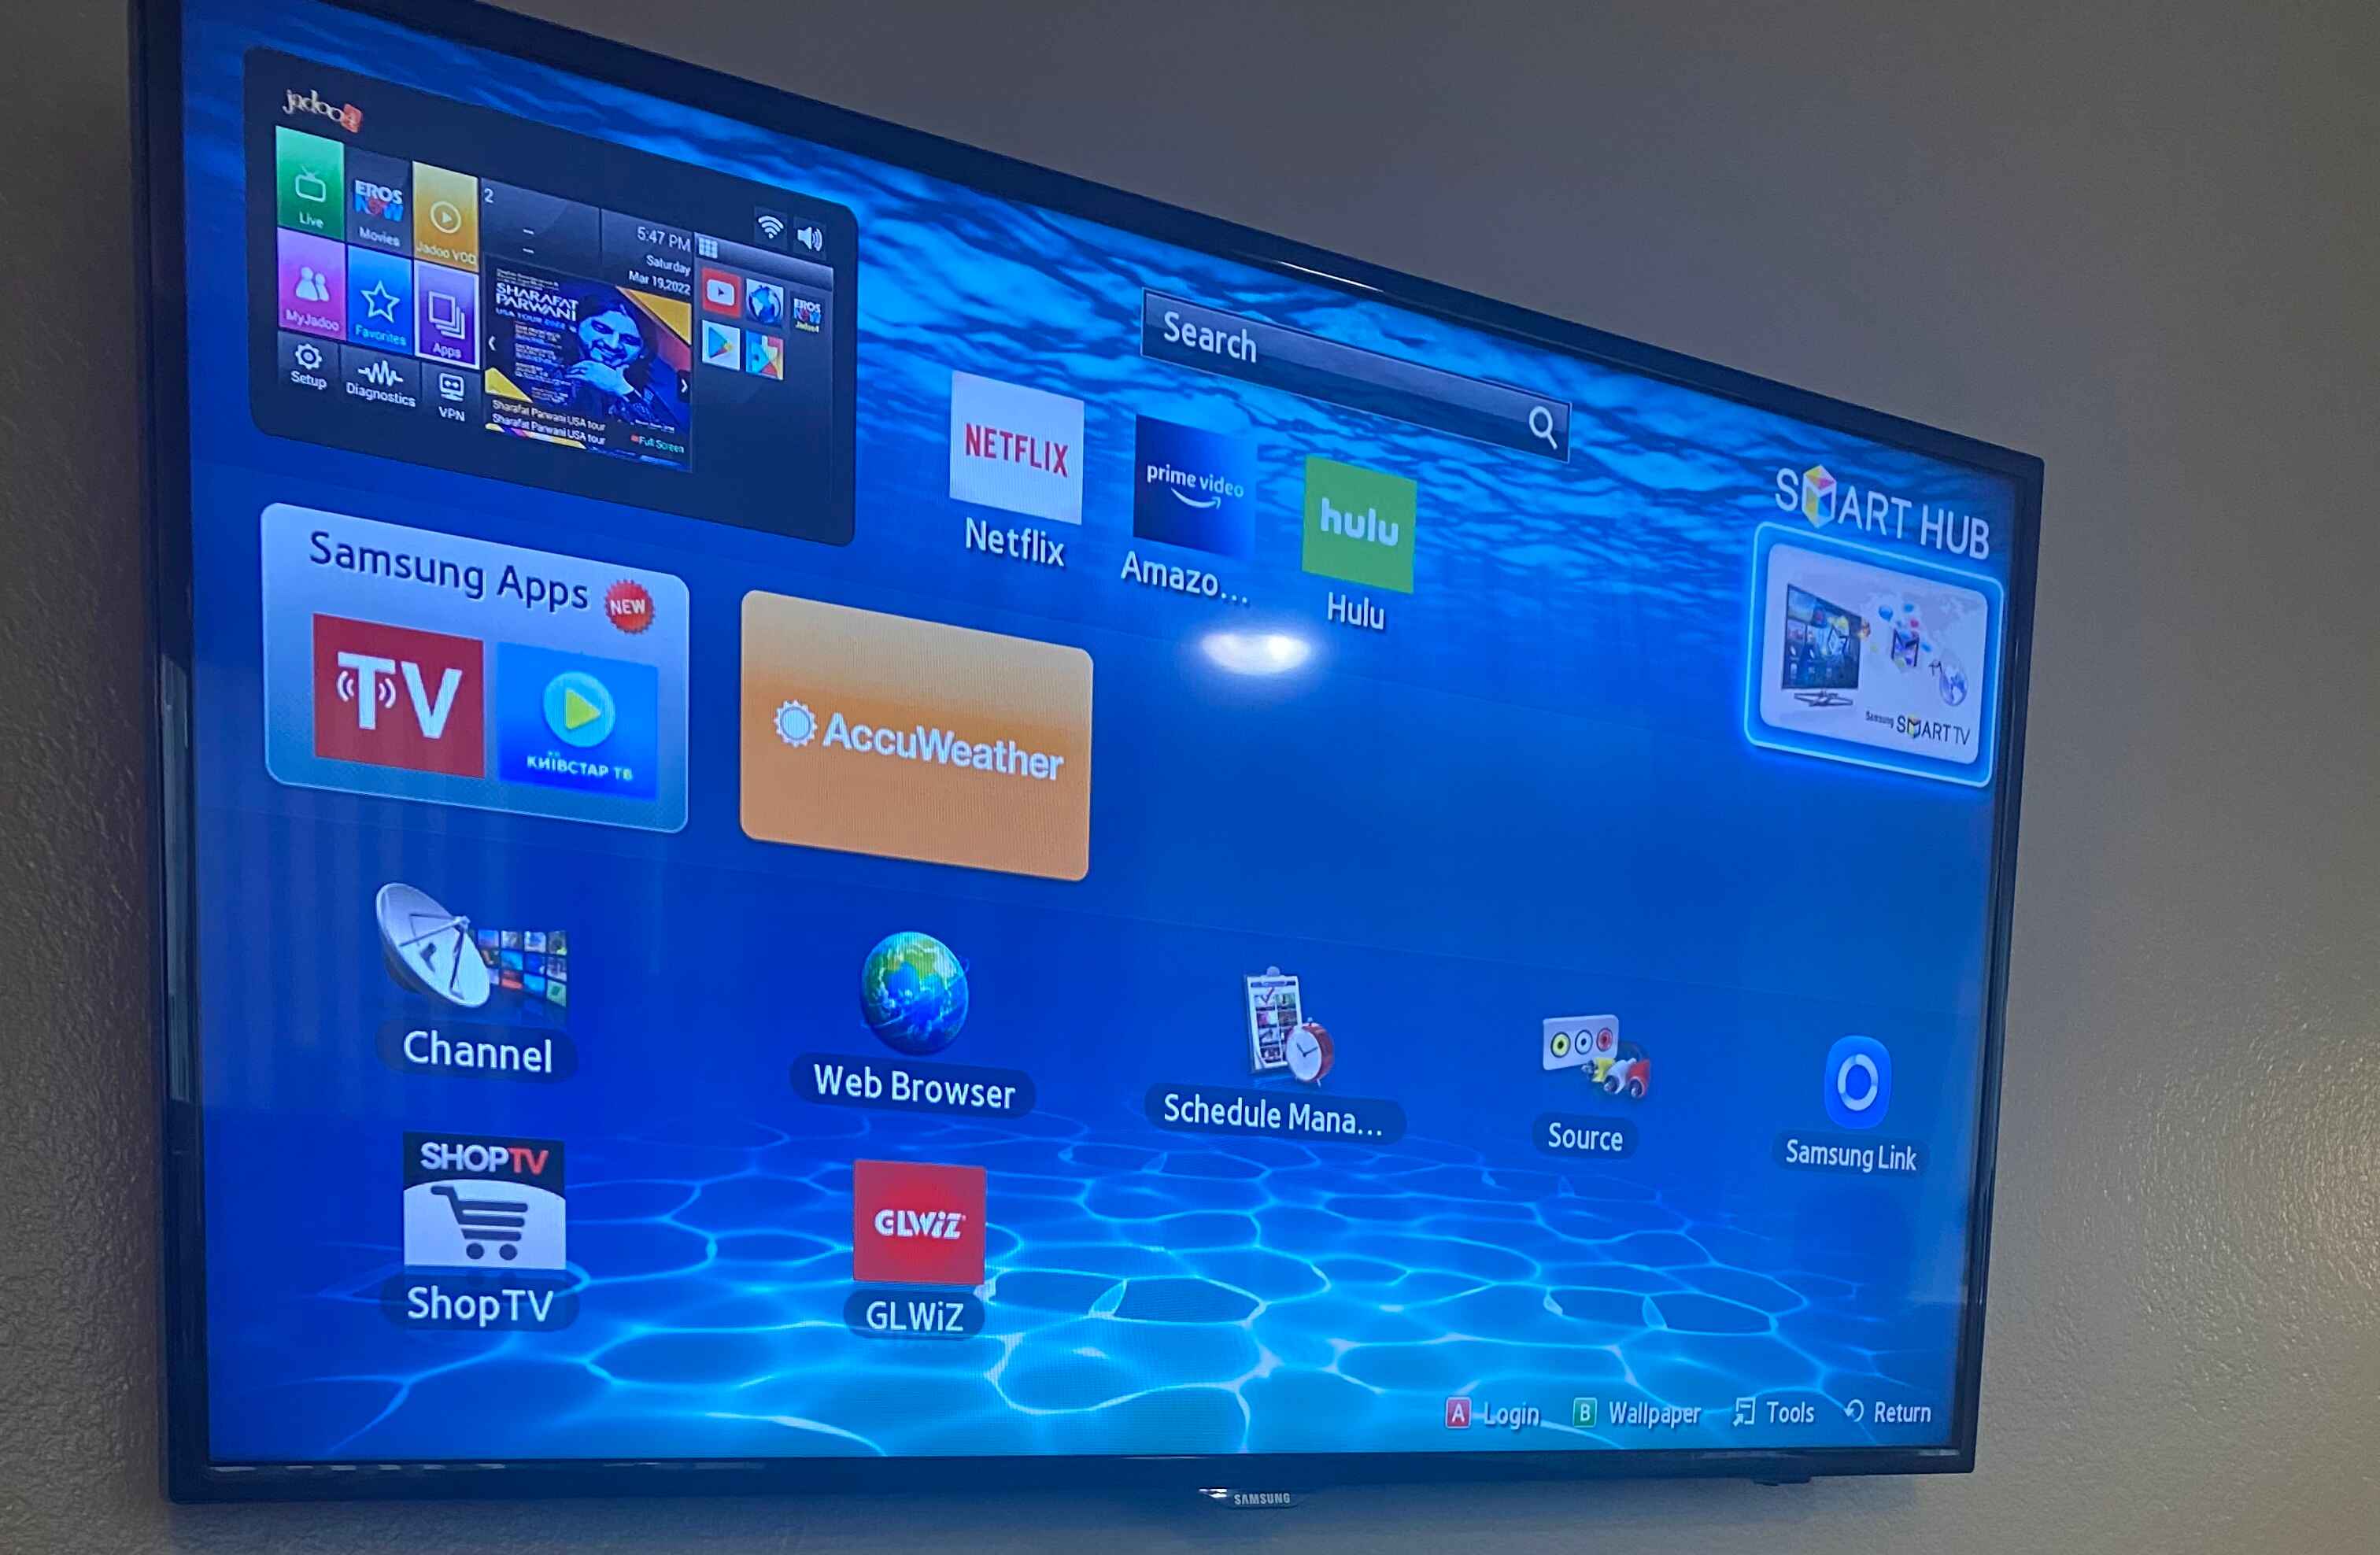
- Access the input/source menu: Look for the input/source button on your TV remote control. This button may be labeled “Input,” “Source,” or have an icon that resembles a rectangle with an arrow pointing into it. Press the input/source button to access the input/source menu.
- Navigate to the HDMI inputs: In the input/source menu, navigate using the arrow keys on your remote control to select the HDMI input corresponding to the port you connected the cable box to. The HDMI inputs are usually labeled as “HDMI 1,” “HDMI 2,” and so on, or may have labels specific to your TV’s make and model.
- Select the HDMI input: Once you have highlighted the appropriate HDMI input, press the OK or Enter button on your remote control to select it.
Your TV will now switch to the selected HDMI input, and you should see the content from your cable box displayed on the screen. If you encounter any issues, such as no signal or a blank screen, double-check the HDMI cable connections, ensure that both devices are powered on, and try selecting a different HDMI input if available.
It’s worth noting that some TVs offer additional features related to HDMI inputs, such as HDMI-CEC (Consumer Electronics Control) or HDMI-ARC (Audio Return Channel). These features allow you to control multiple devices connected via HDMI using a single remote control or enable enhanced audio capabilities. If your TV supports these features, consult the user manual or explore the TV’s settings menu for additional options.
Troubleshooting Common Issues
While connecting your cable box to your TV using HDMI is generally a straightforward process, occasionally, you may encounter some common issues. Here are some troubleshooting tips for resolving these issues:
- No signal: If you see a “No signal” message or a blank screen on your TV, first ensure that both your TV and cable box are powered on and the HDMI cable is securely connected. Try unplugging and reconnecting the HDMI cable, making sure it is firmly inserted into both devices. If the problem persists, try using a different HDMI port on your TV or a different HDMI cable.
- Poor picture or sound quality: If you notice a degradation in picture or sound quality, check the HDMI cable to ensure it is a high-speed cable capable of supporting the desired resolution and audio format. Additionally, verify that your cable box and TV settings are properly configured for optimal picture and sound quality. Adjust the display and audio settings using the on-screen menus of your TV and cable box as needed.
- No audio: If you have video but no audio, first check the volume level on your TV and cable box to ensure they are not muted or set to a very low level. Additionally, confirm that the HDMI input on your TV is set to receive audio by accessing the audio settings in the TV’s menu. If the issue persists, try connecting the cable box to a different HDMI port or using an optical audio cable to connect the audio output of the cable box to your TV or sound system.
- HDMI handshake issue: Sometimes, the HDMI handshake between your TV and cable box may fail, resulting in no signal or a scrambled image. To resolve this, power off both devices, unplug the HDMI cable, wait for a few minutes, and then reconnect the HDMI cable and power on the devices again. This process can help establish a fresh handshake between the devices.
- Incompatible resolution: If your TV displays a message indicating an incompatible resolution, it means that the resolution output by the cable box is not supported by your TV. To fix this, access the display settings of your cable box, typically found in the cable box’s menu, and adjust the resolution settings to a compatible option supported by your TV.
If none of these troubleshooting steps resolve the issue, consult the user manuals of your TV and cable box for specific troubleshooting guidance or contact the manufacturer’s customer support for further assistance.
Additional Tips and Recommendations
When hooking up your cable box to your TV with HDMI, here are some additional tips and recommendations to optimize your viewing experience:
- Use high-quality HDMI cables: Invest in high-quality HDMI cables to ensure a stable and reliable connection. While expensive cables are not always necessary, opt for cables labeled as “high-speed” or “certified premium” to support advanced features and future-proof your setup.
- Keep cables organized: Arrange and manage your cables to avoid tangling or a messy appearance behind your TV. Consider using cable management products, such as cable clips or sleeves, to keep cables neat and organized.
- Update firmware/software: Periodically check for firmware or software updates for both your TV and cable box. These updates often address performance issues, add new features, or improve compatibility with HDMI connections.
- Consider using an HDMI switch or splitter: If you have multiple HDMI devices, such as a gaming console or Blu-ray player, and not enough HDMI ports on your TV, consider using an HDMI switch or splitter. These devices allow you to connect multiple HDMI devices to a single HDMI input on your TV, providing convenience and flexibility.
- Use HDMI cable locks: To secure the HDMI cable connections, especially if you have a wall-mounted TV, consider using HDMI cable locks. These small devices attach to the HDMI ports and provide additional support and stability to prevent accidental disconnections.
- Label your HDMI inputs: If you have multiple HDMI devices connected to your TV, label each HDMI input accordingly. This makes it easy to know which input corresponds to which device and simplifies the selection process.
- Explore additional features: Take advantage of the advanced features available through HDMI, such as HDMI-CEC (which allows you to control multiple devices with a single remote), HDMI-ARC (for enhanced audio playback), and HDMI-CEA (which optimizes video and audio performance).
By following these tips and recommendations, you can optimize your cable box to TV connection and enjoy a seamless and immersive viewing experience.