Materials Needed
Before you can connect your Nintendo Switch to your TV using HDMI, you will need a few essential materials. These include:
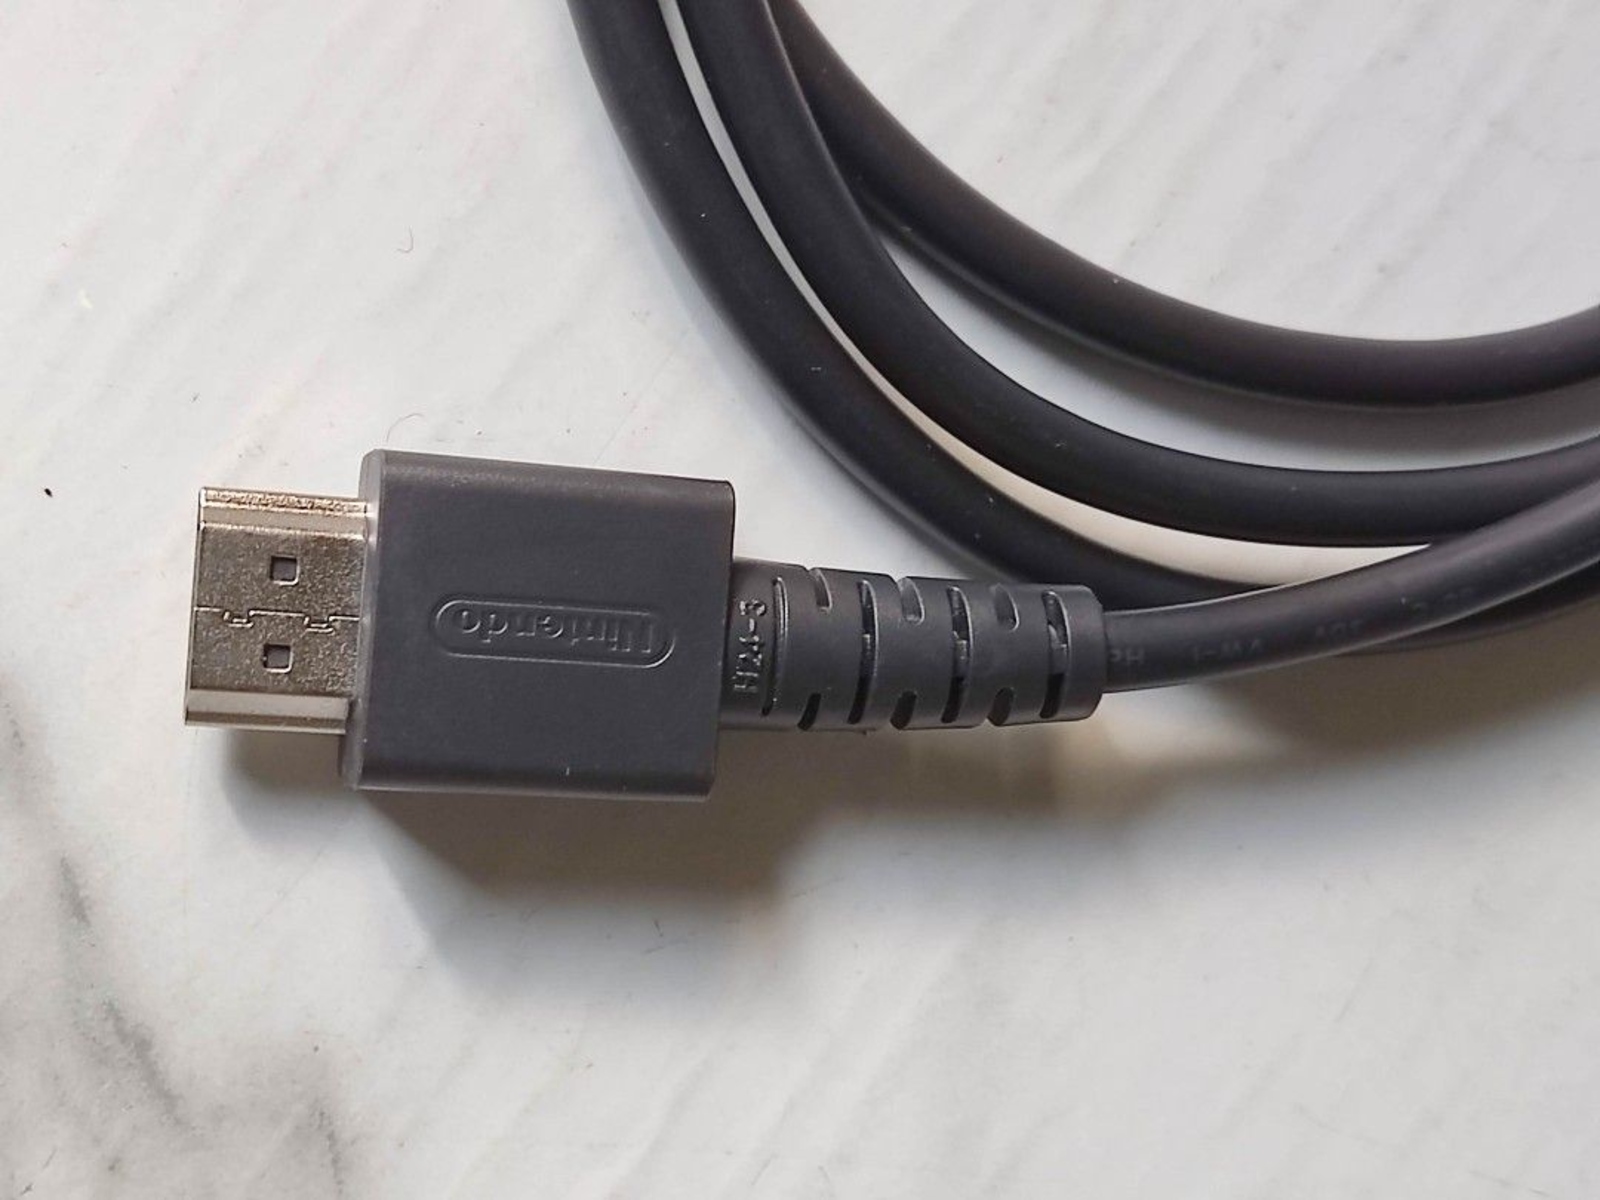
- An HDMI cable: Ensure you have a high-quality HDMI cable that is compatible with your Nintendo Switch and your TV. This cable will be responsible for transmitting both audio and video signals.
- A Nintendo Switch: Of course, you will need the Nintendo Switch console itself. Make sure it is charged and turned off before proceeding with the connection.
- A TV with an HDMI port: Check if your TV has at least one HDMI port. Most modern TVs have multiple HDMI ports, so you can choose the one that suits your preferences.
- A power source: Ensure that both your Nintendo Switch and TV are plugged into a power source. This is necessary for them to function properly during the connection process.
With these materials ready, you are all set to set up your Nintendo Switch and enjoy your favorite games on the big screen. Let’s move on to the step-by-step guide on how to connect your Switch to your TV using HDMI.
[Article continues…]
Step 1: Locate the HDMI Port on Your Switch
The first step in connecting your Nintendo Switch to your TV with HDMI is to locate the HDMI port on your Switch. The HDMI port is used to transfer audio and video signals from the console to your TV, providing a seamless gaming experience.
Take a close look at your Switch and locate the HDMI port. It is usually located on the back or the sides of the console. The HDMI port is rectangular in shape and has a small opening. Some Switch models may have multiple HDMI ports, so make sure you choose the correct one.
Once you have identified the HDMI port, ensure that it is free of any debris or dust. Use a gentle cleaning cloth or compressed air to clean the port if needed. This will help ensure a secure and uninterrupted connection between your Switch and your TV.
Note that if you are using a Nintendo Switch dock, the HDMI port will be on the back of the dock rather than on the console itself. The dock allows you to easily connect your Switch to your TV without the need for additional cables.
Now that you have located the HDMI port on your Switch and ensured its cleanliness, we can move on to the next step: turning off both your Switch and your TV.
[Article continues…]
Step 2: Turn Off Both Your Switch and TV
Before you start connecting your Nintendo Switch to your TV with HDMI, it is important to turn off both devices. This ensures a safe and hassle-free connection process.
Begin by powering off your Nintendo Switch. If the console is currently in sleep mode, hold down the power button until the Power Options menu appears. From there, select “Power Options” and then “Turn Off” to shut down the Switch completely. Make sure the console is no longer displaying any lights or signs of being powered on.
Next, navigate to your TV and locate the power button. Press the power button to turn off the TV. Wait a few moments to ensure that the TV is completely powered off before proceeding to the next steps.
By turning off both your Nintendo Switch and your TV, you eliminate any potential electrical interference that could occur during the connection process. This will also prevent any accidentally sent signals or data transfer issues.
Remember, safety is key when handling electronic devices. Always handle your Nintendo Switch and your TV with care and make sure to follow the manufacturer’s instructions for each device.
Once you have turned off both your Switch and your TV, you are ready to move on to the next step: connecting the HDMI cable to your Switch.
[Article continues…]
Step 3: Connect the HDMI Cable to Your Switch
Now that your Nintendo Switch and TV are turned off, it’s time to connect the HDMI cable to your Switch. This cable will transmit both audio and video signals from your Switch to your TV, allowing you to enjoy your games on the big screen.
Take one end of the HDMI cable and locate the HDMI port on your Nintendo Switch. The HDMI port is typically located on the back or the sides of the console. Ensure that the cable is properly aligned with the port and gently insert it until it is firmly connected.
It’s important to handle the HDMI cable with care to avoid any damage or bending of the connectors. Align the cable straight and exert even pressure when inserting it into the HDMI port. Do not force the connection or use excessive force, as this could potentially damage the port or the cable.
Once the HDMI cable is securely connected to your Nintendo Switch, you can proceed to the next step: connecting the other end of the HDMI cable to your TV.
[Article continues…]
Step 4: Connect the Other End of the HDMI Cable to Your TV
With the HDMI cable connected to your Nintendo Switch, it’s time to connect the other end to your TV. This step will complete the physical connection between the two devices and prepare them for the gaming experience.
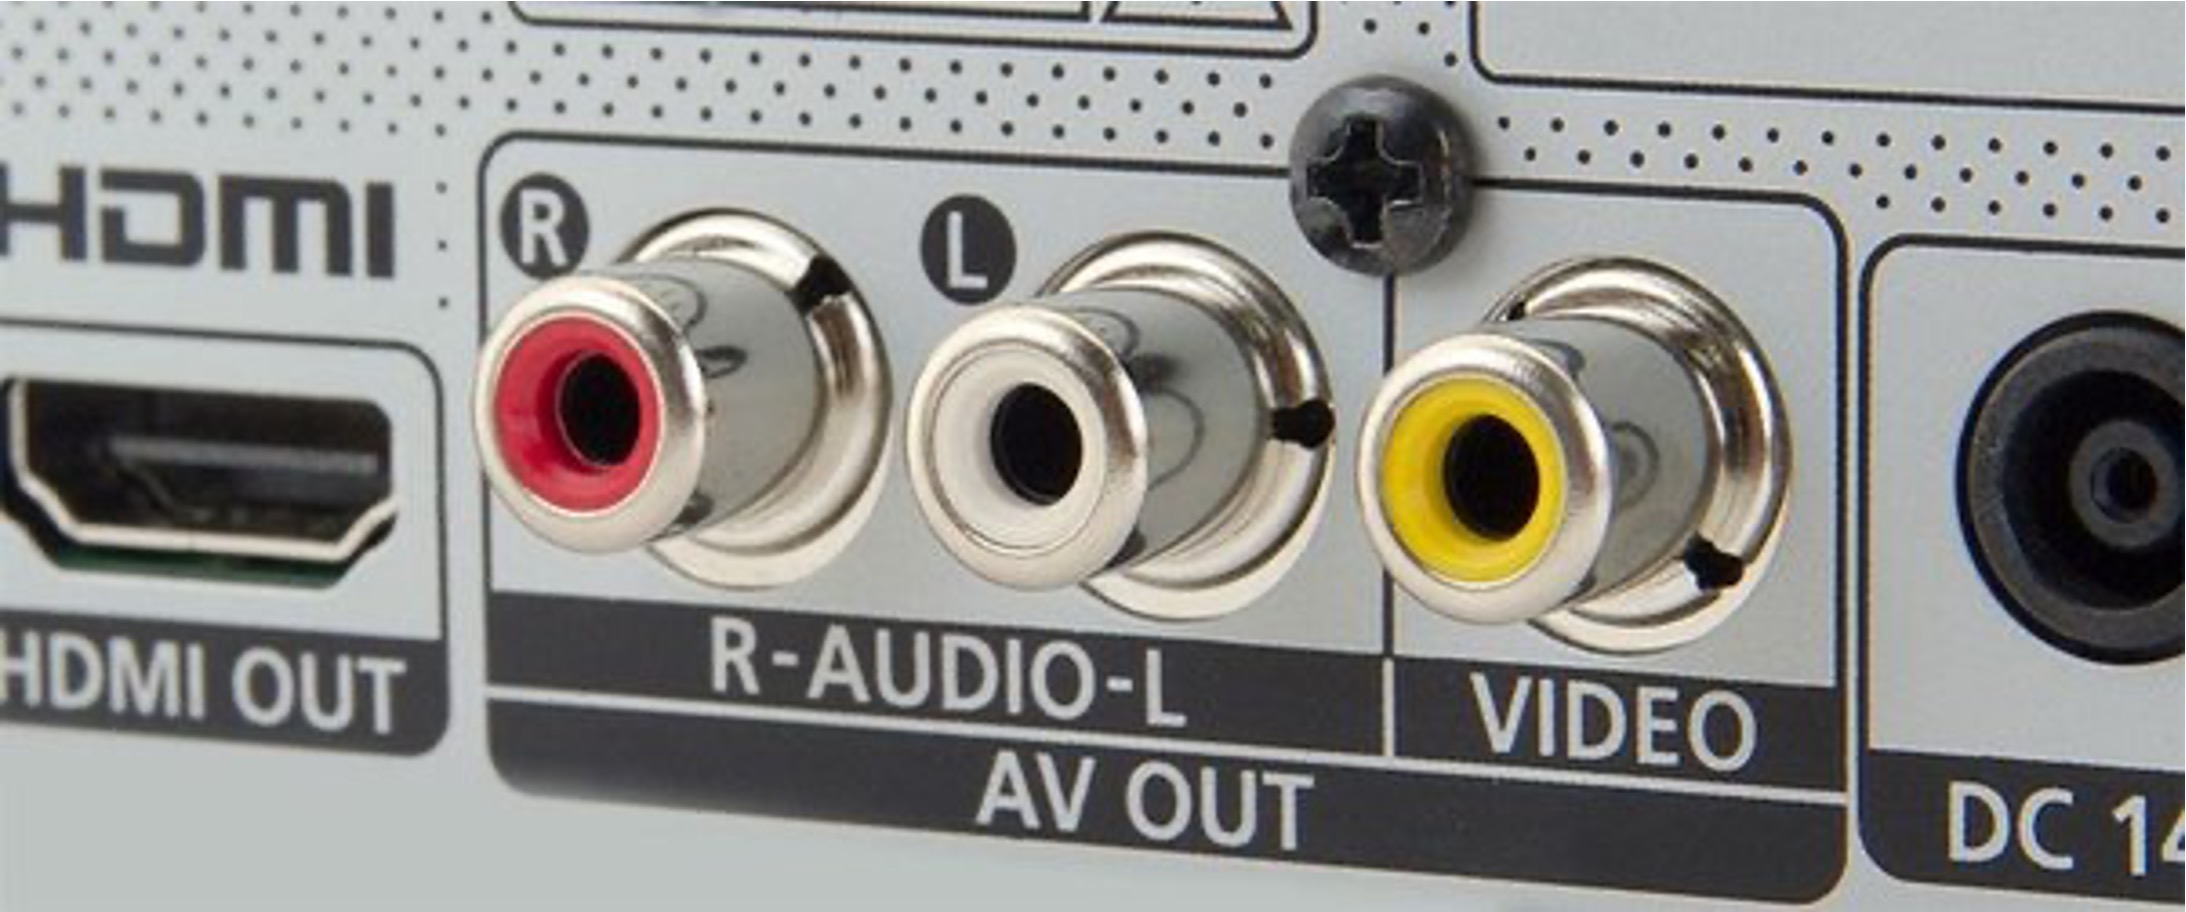
Locate the HDMI input port on your TV. Most modern TVs have multiple HDMI ports, so choose an available port that you prefer to use. Make sure the TV is turned off before proceeding.
Take the other end of the HDMI cable, and align it with the HDMI input port on your TV. Insert the cable into the port, ensuring a secure and snug connection. You may hear a click or feel a slight resistance when the cable is properly inserted.
It’s important to connect the HDMI cable to the correct HDMI input port on your TV. Typically, the ports are labeled with numbers or names (e.g., HDMI 1, HDMI 2, etc.). Consult your TV’s user manual or check the labeling around the HDMI ports to ensure you have selected the appropriate port.
Once the HDMI cable is connected to your TV, you have successfully established the physical connection between your Nintendo Switch and your TV. Now, let’s move on to the next step to prepare your TV for receiving the Switch’s signal.
[Article continues…]
Step 5: Power On Your TV
Now that the HDMI cable is securely connected between your Nintendo Switch and your TV, it’s time to power on your TV. This step will ensure that your TV is ready to receive the signal from your Switch and display it on the screen.
Locate the power button on your TV, usually located on the front or side panel. Press the power button and wait for your TV to turn on. Depending on your TV model, it may take a few moments for the screen to light up.
Once your TV is powered on, you may see a blank or static screen. Don’t worry, this is normal at this stage. The screen will come to life once your Nintendo Switch is powered on and the input source is selected on your TV.
Ensure that your TV is set to the correct HDMI input source, which is the one you connected your Nintendo Switch to in the previous steps. Most modern TVs have an Input or Source button on the remote control or the TV itself. Press the Input or Source button until you see the corresponding HDMI input source on your TV screen.
Once you have powered on your TV and selected the correct HDMI input source, you are now ready to power on your Nintendo Switch. We will cover this in the next step.
[Article continues…]
Step 6: Change the Input Source on Your TV
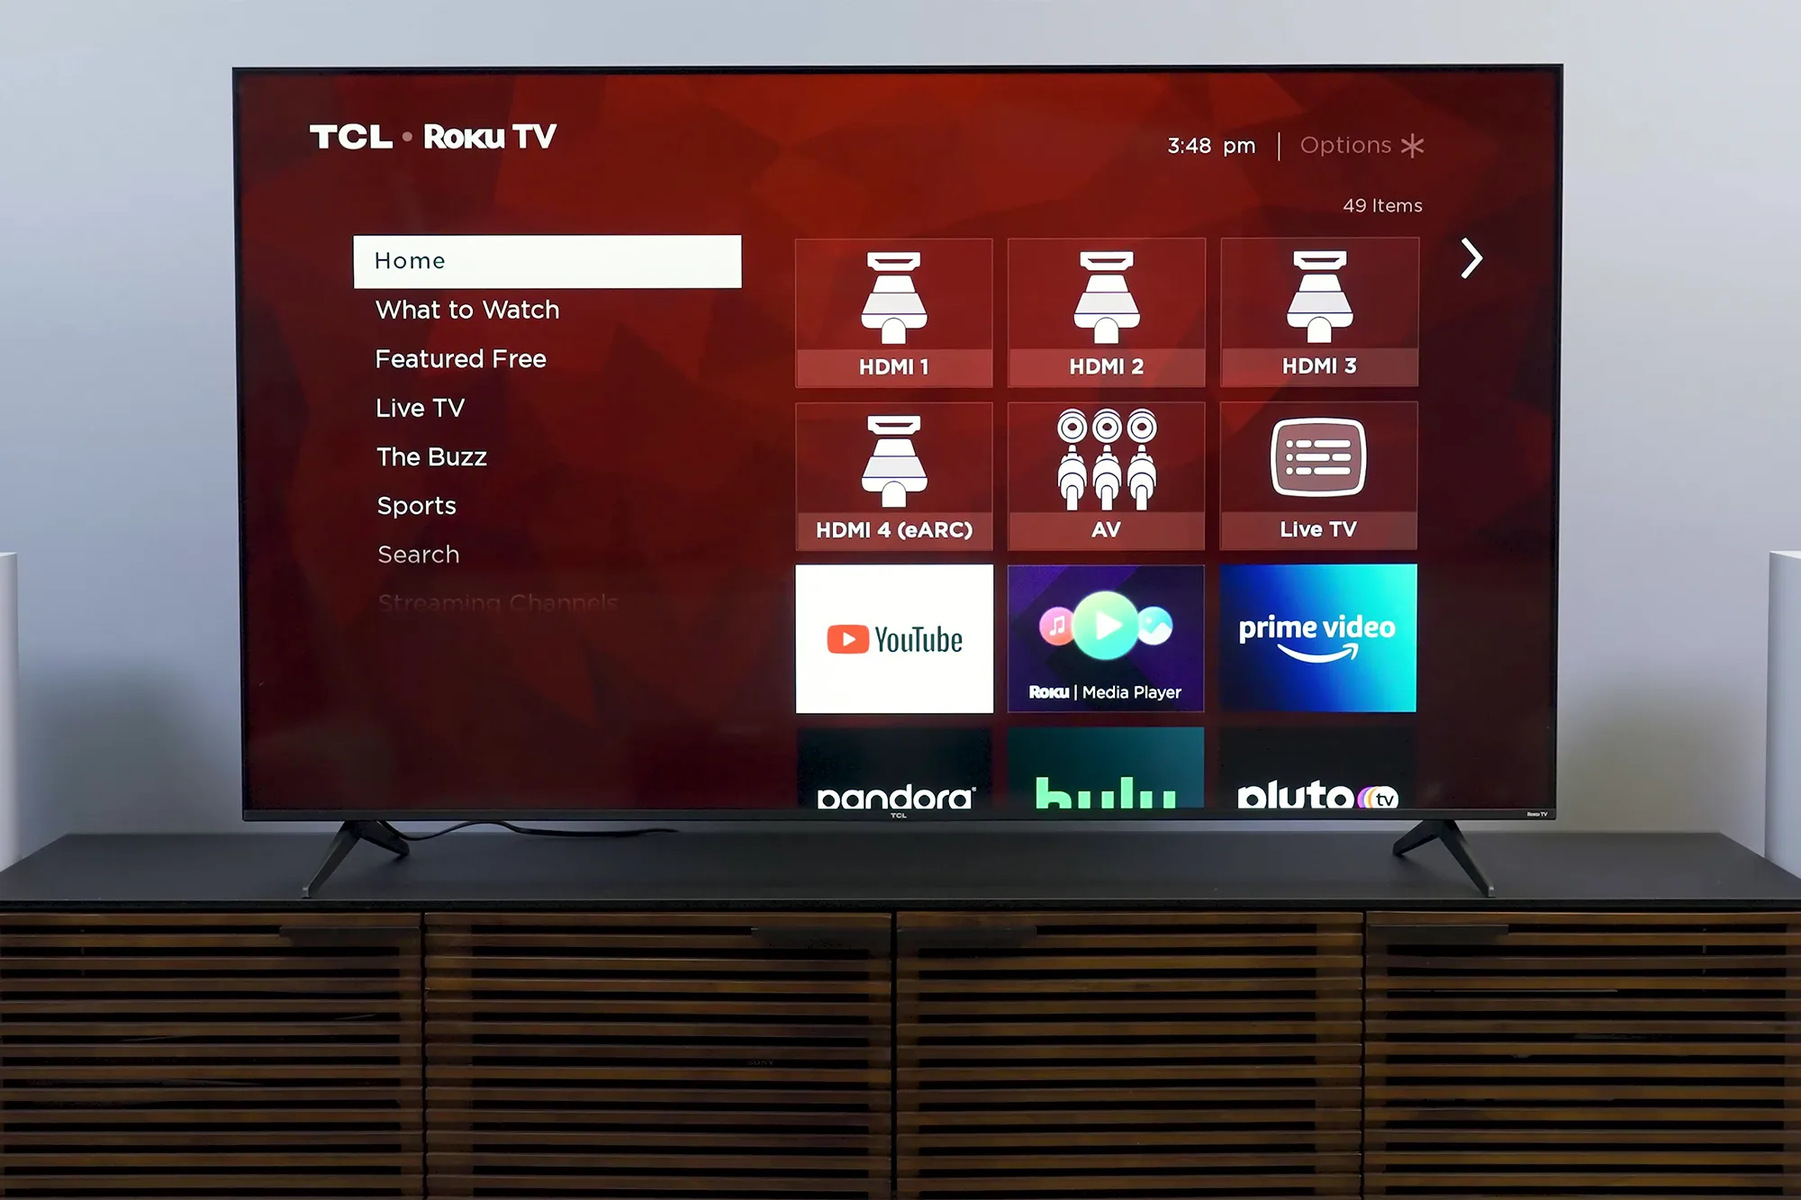
After turning on your TV and selecting the correct HDMI input source, it’s time to change the input source on your TV to the Nintendo Switch. This step is crucial to ensure that the TV receives the signal from your Switch and displays it on the screen.
Using your TV remote control, locate the Input or Source button. Press the button to bring up a menu or a list of available input sources on your TV.
Navigate through the list until you find the HDMI input source that corresponds to the port you connected your Nintendo Switch to. It may be labeled as HDMI 1, HDMI 2, or have a specific name associated with it. Select the HDMI input source that matches the port you used.
Once you have selected the correct HDMI input source, your TV will switch to that input and start searching for the signal from your Nintendo Switch. Depending on your TV model, it may take a few moments for the screen to update and display the Nintendo Switch’s signal.
Keep an eye on your TV screen during this process. If the screen remains blank or shows “No Signal,” double-check that the HDMI cable is securely connected to both your Nintendo Switch and your TV. You may need to repeat the previous steps to ensure a proper connection.
Once your TV recognizes the signal from your Nintendo Switch, you will see the Switch’s home screen displayed on the TV screen. This means the input source has been successfully changed, and your Nintendo Switch is ready to be powered on.
[Article continues…]
Step 7: Power On Your Switch
With your TV set to the correct HDMI input source, it’s time to power on your Nintendo Switch. This step will initiate the connection between your Switch and your TV, allowing you to enjoy gaming on the big screen.
If your Nintendo Switch was previously turned off, locate the power button on the top edge of the console. Press and hold the power button for a few seconds until the Nintendo Switch logo appears on the screen. This indicates that your Switch is powering on.
If your Switch was in sleep mode, simply press the power button momentarily to wake it up. The Switch will quickly resume where you left off, and the screen will display the game or home screen.
As you power on your Nintendo Switch, keep an eye on your TV screen. It should update to display the content from your Switch. Depending on your TV settings, you may need to wait a few moments for the screen to adjust and show the Switch’s output.
If your TV doesn’t show any signal or the screen remains blank, double-check the HDMI connection between your Switch and your TV. Ensure that both ends of the HDMI cable are securely plugged in. You may also want to try a different HDMI port on your TV to troubleshoot any potential connection issues.
Once your Nintendo Switch is powered on and the TV displays its content, you are now ready to indulge in the world of gaming on the big screen. Grab your controller and start playing your favorite games with enhanced visuals and an immersive experience.
[Article continues…]
Step 8: Adjust TV Settings if Necessary
After powering on your Nintendo Switch and seeing its content on your TV screen, it’s a good idea to check and adjust the TV settings if needed. This step ensures that you have the best possible gaming experience and optimal display quality.
First, take a look at the display settings on your TV. Navigate to the settings menu, usually accessible through the remote control. Look for options related to display, picture, or image settings.
Here are a few adjustments you can consider making:
- Brightness and Contrast: Adjust the brightness and contrast levels to your liking. Find the balance that offers clear visuals without being too bright or too dark.
- Color and Saturation: Fine-tune the color and saturation settings to enhance the vibrancy and depth of the colors on your TV screen.
- Sharpness: Modify the sharpness settings to ensure that the details in the game visuals are crisp and well-defined.
- Game Mode: Some TVs have a specific “Game Mode” option. Enabling this mode can reduce input lag and optimize the TV’s performance for gaming.
- Audio Settings: Adjust the audio settings on your TV if needed to ensure the best sound quality while playing games.
Feel free to explore the different settings available on your TV and make adjustments based on your personal preferences and the requirements of the game you’re playing.
Keep in mind that the exact steps for adjusting TV settings may vary depending on the brand and model of your TV. Consult your TV’s user manual for detailed instructions on accessing and modifying the settings.
Once you have adjusted the TV settings to your satisfaction, you’re all set to enjoy your Nintendo Switch games on the big screen with optimal visuals and audio.
[Article continues…]
Step 9: Enjoy Gaming on your TV
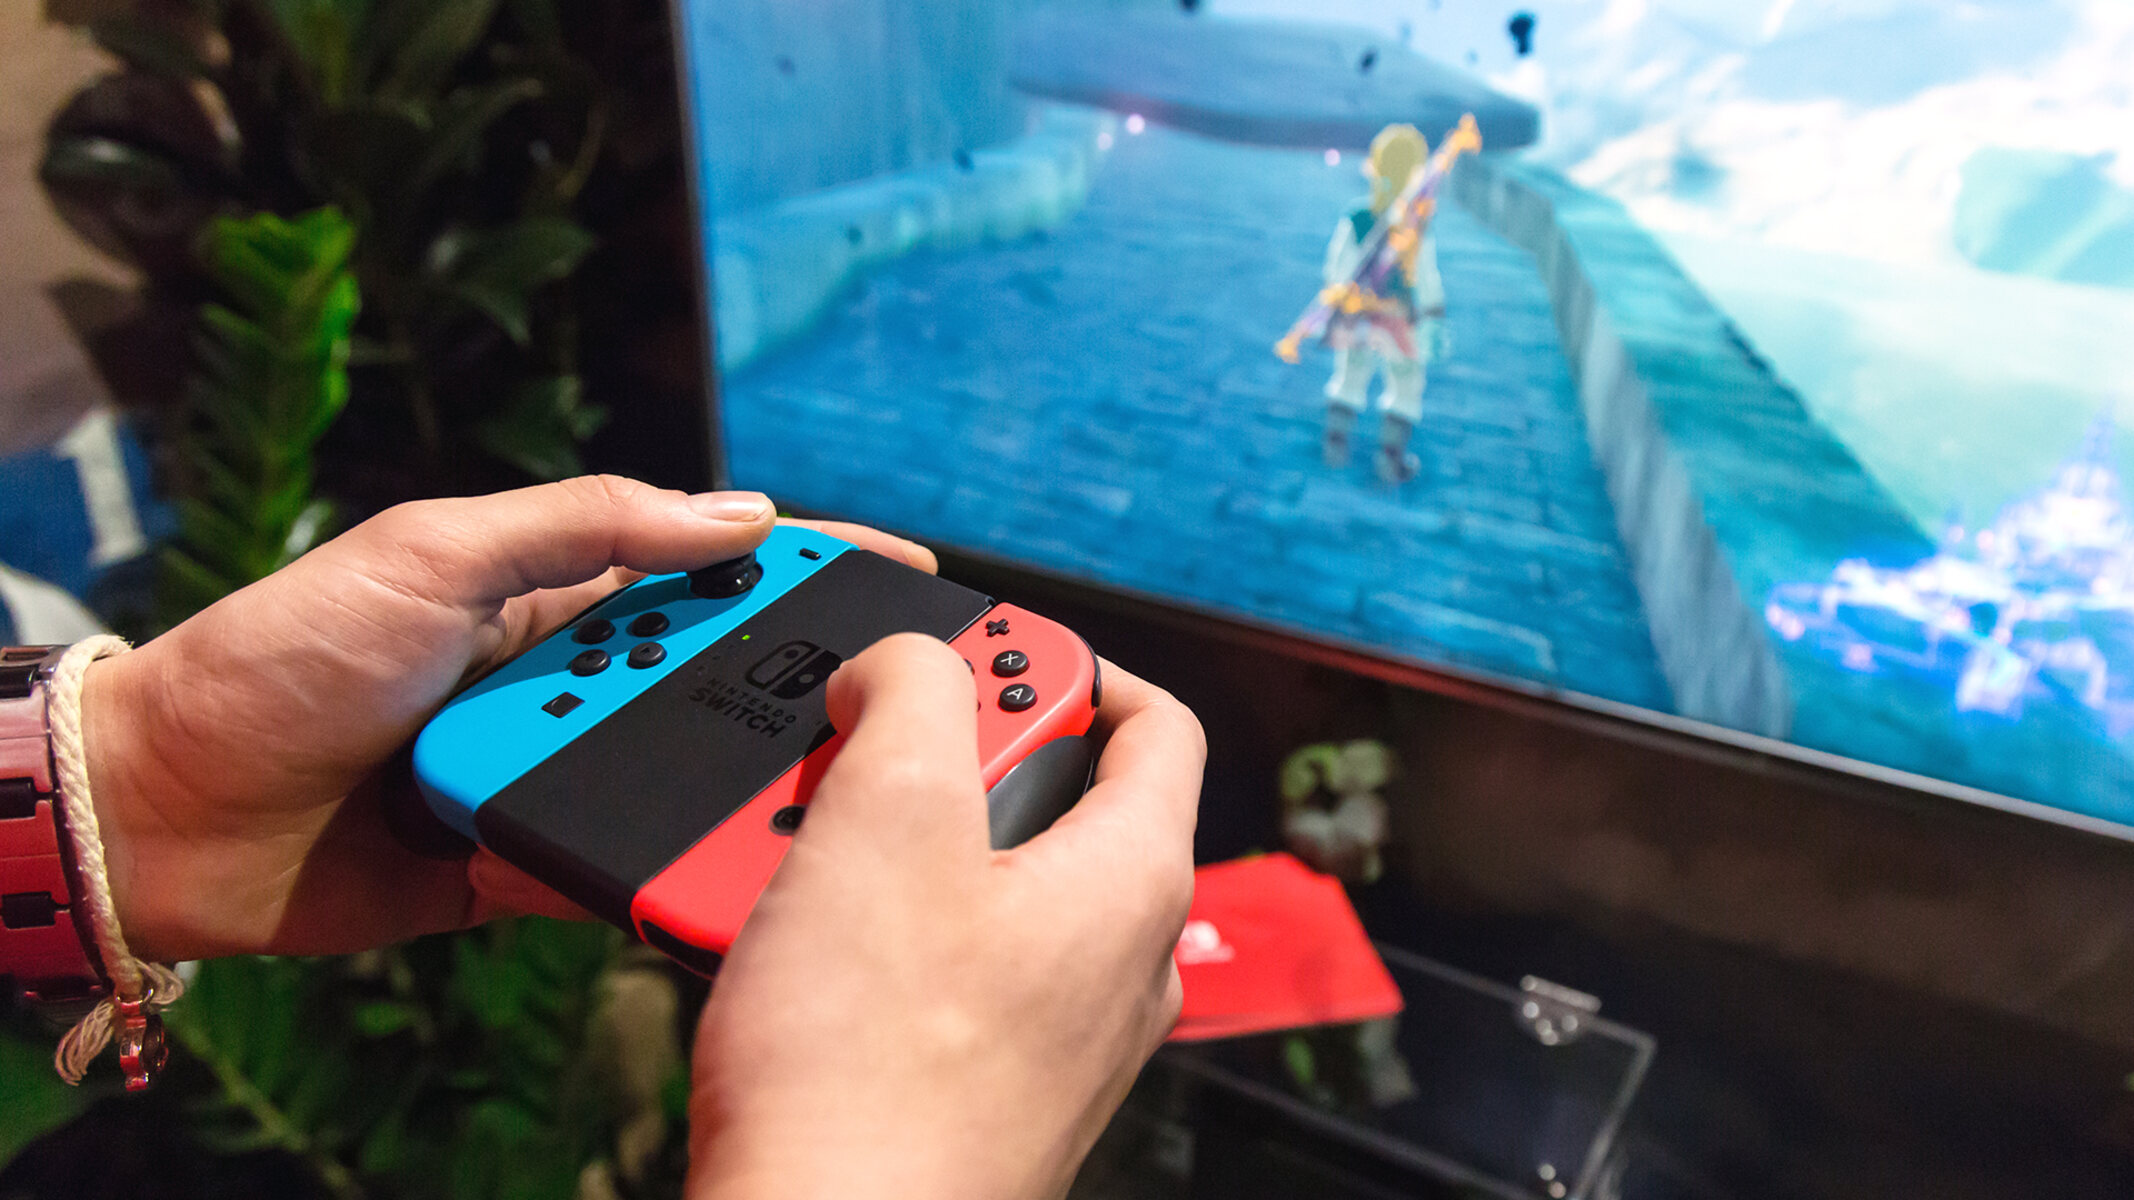
Now that you have successfully connected your Nintendo Switch to your TV with HDMI and made any necessary adjustments to the TV settings, it’s time to sit back, relax, and enjoy gaming on the big screen.
Grab your Nintendo Switch controller, whether it’s the Joy-Con controllers or a compatible Pro Controller, and get ready to dive into your favorite games with an immersive gaming experience.
With the Nintendo Switch connected to your TV, you can enjoy stunning visuals and enhanced gameplay. The larger screen size allows for a more immersive gaming experience, bringing the worlds of your favorite games to life in front of you.
Whether you’re navigating through the vast open worlds of action-adventure games, competing in intense multiplayer battles, or exploring imaginative virtual realms, playing your Nintendo Switch on the TV provides a whole new level of entertainment.
As you play, take advantage of the TV’s bigger screen and better sound system to fully enjoy the audiovisual experience. Immerse yourself in the captivating sound effects, music, and dialogue of your games, while the stunning graphics come to life on the larger display.
Remember to take breaks, maintain good posture, and play in a well-lit room to prevent eye strain and ensure a comfortable gaming experience.
Finally, don’t forget to explore all the gaming possibilities your Nintendo Switch offers. With a wide range of games and genres available, from action and adventure to sports and puzzles, you can indulge in endless hours of entertainment and discover new gaming adventures.
So sit back, relax, and enjoy gaming on your TV with your Nintendo Switch. Let the adventures begin!
[Article continues…]