Introduction
Welcome to a step-by-step guide on how to hook up your Sega Genesis to a smart TV. If you’re a fan of classic gaming, then you’re probably familiar with the joys of playing Sega Genesis games. However, with the advent of smart TVs and their modern connectivity options, it can be a bit challenging to figure out how to connect your retro gaming console.
Don’t worry, though. We’ve got you covered. In this article, we will walk you through the process of connecting your Sega Genesis to a smart TV, allowing you to relive those nostalgic gaming moments on a bigger and better screen.
Before we dive into the steps, let’s briefly discuss some pre-requisites. Firstly, you’ll need to ensure that your smart TV is compatible with the Sega Genesis. Most modern TVs have HDMI ports, which makes the process easier. However, if your TV doesn’t have an HDMI port, don’t worry – we’ll provide alternative solutions for you.
Secondly, it’s important to gather all the necessary equipment beforehand. Depending on your TV’s compatibility and the connections available on your Sega Genesis, you may need some additional cables or adapters to establish a successful connection.
Now that we have a basic understanding of what to expect, let’s jump right into the step-by-step process of connecting your Sega Genesis to a smart TV. By the end of this guide, you’ll be ready to play your favorite Sega Genesis games in all their retro glory.
Step 1: Check the TV’s Compatibility
Before you begin setting up your Sega Genesis with your smart TV, it’s important to check the TV’s compatibility to ensure a successful connection. Most modern smart TVs come with HDMI ports, which makes the process straightforward.
Start by examining the ports available on your TV. Look for an HDMI input port; it is usually labeled as “HDMI” and numbered accordingly. If you find an HDMI port on your TV, this means that you can connect your Sega Genesis easily.
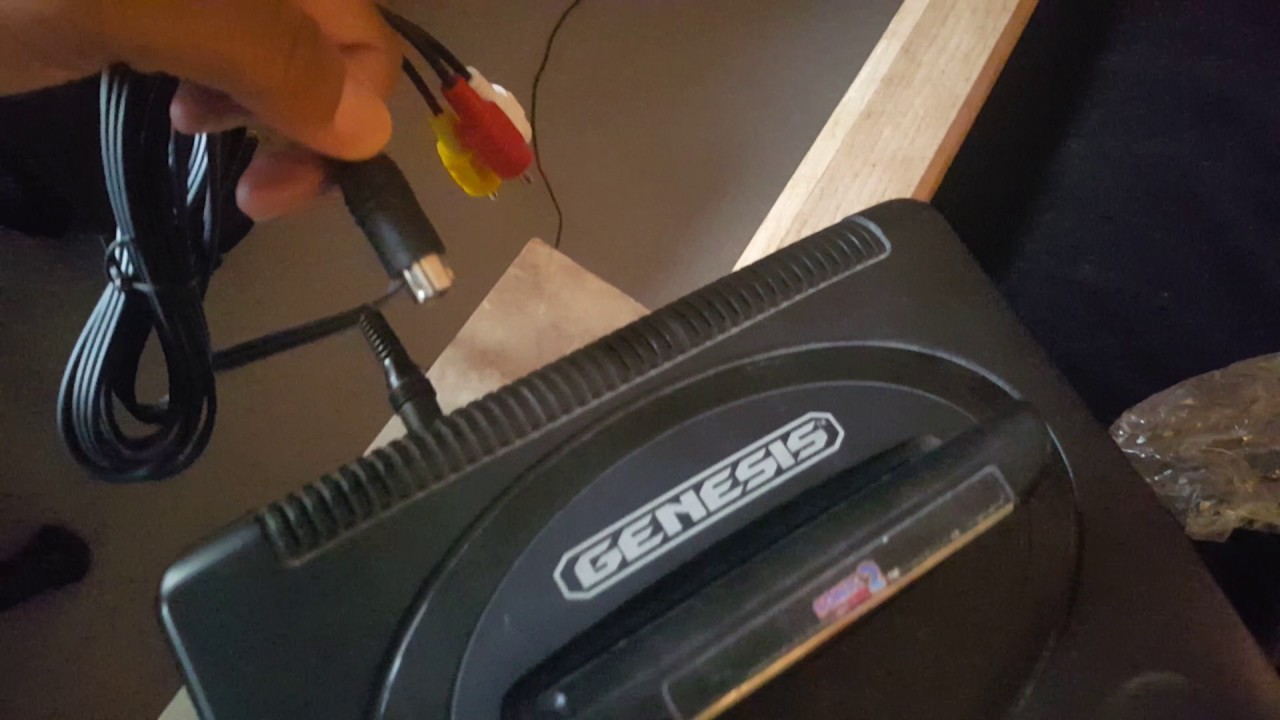
If your TV doesn’t have an HDMI port, don’t worry. Some older models may have composite or component inputs. Composite inputs are color-coded with red, white, and yellow plugs, while component inputs use red, green, blue, and red and white audio plugs. In this case, you’ll need the corresponding cables to connect your Sega Genesis to the TV.
Alternatively, if your TV has a coaxial input (a round-shaped plug), you may need an RF switch or an RF adapter. This will allow you to connect the Sega Genesis using a coaxial cable.
In case your TV doesn’t have any of these inputs, you may need an HDMI to RCA converter or an HDMI to coaxial converter, depending on the available connections on your TV. These converters can be purchased separately and will enable you to connect your Sega Genesis to your TV.
Remember, every TV model is different, so it’s important to review its user manual or consult the manufacturer’s website for specific information about the available inputs and compatibility options.
Once you have confirmed the compatibility of your TV and determined the necessary connections, you’re ready to move on to the next step: gathering the equipment required for the setup.
Step 2: Gather the Necessary Equipment
Now that you have checked the compatibility of your TV and determined the type of connections needed, it’s time to gather the necessary equipment to connect your Sega Genesis to your smart TV.
Here are the items you may need:
- HDMI cable: If your smart TV has an HDMI port and your Sega Genesis has an HDMI output, you’ll need an HDMI cable to establish the connection. Make sure to choose a cable of sufficient length to reach from your Sega Genesis to the TV.
- Composite or component cables: If your TV doesn’t have an HDMI port, you may need composite or component cables (depending on the available inputs) to connect your Sega Genesis. These cables usually come with color-coded connectors and are readily available at electronic stores.
- RF switch or RF adapter: If your TV has a coaxial input, you’ll need an RF switch or an RF adapter to connect the Sega Genesis. This will allow you to use a coaxial cable for the connection.
- HDMI to RCA converter or HDMI to coaxial converter: If your TV has different inputs and you need to convert the HDMI signal from the Sega Genesis to RCA or coaxial, you’ll need the respective converter. These converters can be purchased separately from electronics retailers.
Make sure to check the cables and adapters you already have at home before purchasing anything new. It’s possible that you may already own some of the required equipment, saving you money and time.
Once you have gathered all the necessary equipment, double-check that you have everything you need before moving on to the next step. With the equipment in hand, you’re ready to start connecting your Sega Genesis to your smart TV.
Step 3: Connect the Sega Genesis to the TV
Now that you have checked the compatibility of your TV and gathered the necessary equipment, it’s time to connect your Sega Genesis to your smart TV. Follow these step-by-step instructions to establish the connection:
- If you’re using an HDMI cable, locate the HDMI output port on your Sega Genesis. It is usually located at the back of the console. Connect one end of the HDMI cable to the HDMI output port of the Sega Genesis.
- Next, locate the HDMI input port on your smart TV. It is often found on the side or back panel of the TV. Connect the other end of the HDMI cable to the HDMI input port of the TV.
- If you’re using composite or component cables, carefully plug in the corresponding connectors into the appropriate ports on both the Sega Genesis and the TV. Make sure the colors match the ports (red to red, white to white, etc.).
- If you’re using an RF switch or RF adapter, connect one end of the coaxial cable to the Sega Genesis and the other end to the RF switch or RF adapter. Connect the RF switch or RF adapter to the coaxial input on your TV.
- If you’re using an HDMI to RCA converter or HDMI to coaxial converter, connect one end of the HDMI cable to the Sega Genesis and the other end to the corresponding input of the converter. Then, connect the RCA or coaxial cables from the converter to the matching input on the TV.
After making the necessary connections, ensure that all cables are securely plugged in. Double-check that the colors are matching for composite/component cables, and that the HDMI cable is connected to the correct ports.
Once the connections are established, you can proceed to the next step of setting up the TV input to display the Sega Genesis signal.
Step 4: Set up the TV Input
Now that you have connected your Sega Genesis to your smart TV, it’s time to set up the TV input to display the signal from the console. Follow these steps to complete the setup:
- Turn on your smart TV using its remote control.
- Using the TV remote or the TV’s user interface, navigate to the input/source selection menu. This menu is usually denoted by a button labeled “Input” or “Source”.
- From the input/source selection menu, choose the corresponding input source where you connected your Sega Genesis. Look for the label that matches the port or connection you used (HDMI, composite, component, or coaxial).
- Once you have selected the correct input source, press the “Enter” or “OK” button on the remote to confirm the selection.
After selecting the input source, your smart TV should now be ready to display the signal from your Sega Genesis. If you don’t see the game or console menu on the screen, make sure that the Sega Genesis is turned on and check your connections again, ensuring they are secure.
It’s worth noting that some smart TVs automatically detect the input source, so you may not need to manually select it. However, if your TV doesn’t automatically switch to the Sega Genesis input, following the above steps should solve the issue.
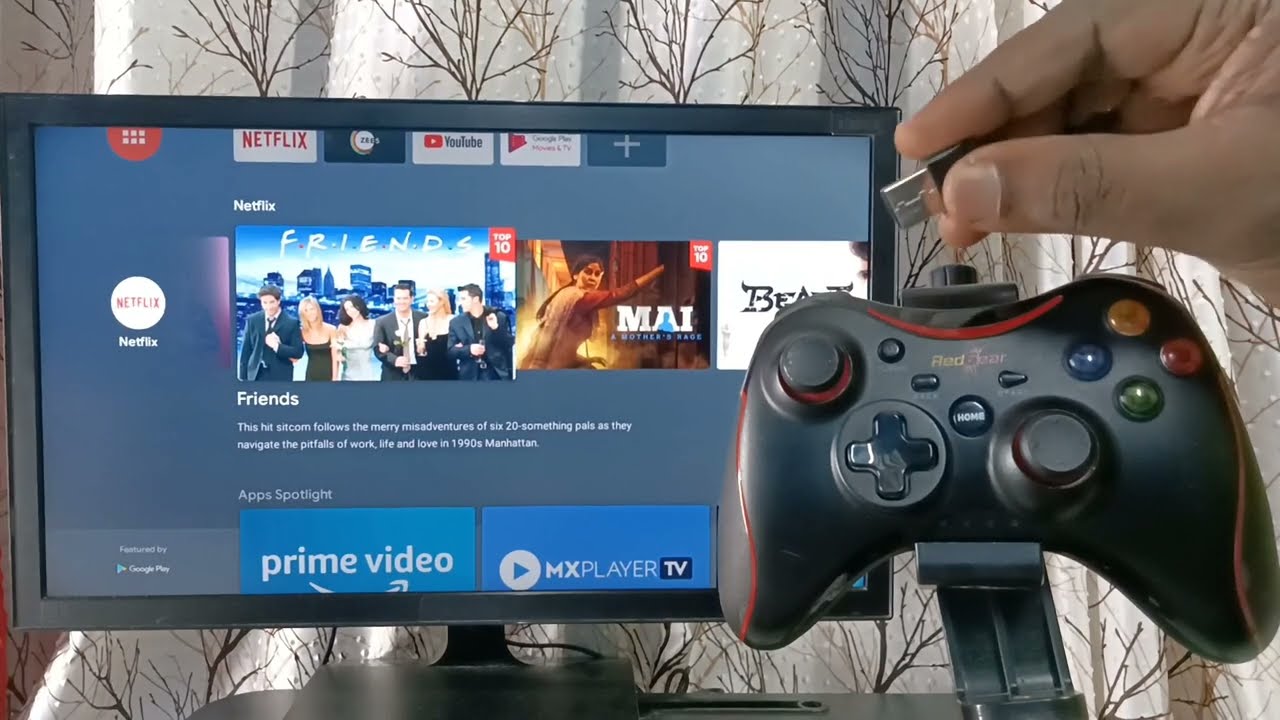
If you have multiple gaming consoles, such as a Nintendo Switch or a PlayStation, it’s a good idea to label each input on your TV to easily identify and switch between them in the future.
With the TV input now set up, it’s time to move on to the final step of adjusting the display settings for optimal gaming experience.
Step 5: Adjust Display Settings
After successfully connecting your Sega Genesis to your smart TV and setting up the input, it’s important to adjust the display settings for the best possible gaming experience. Follow these steps to optimize the display:
- Access the TV’s settings menu using the remote control or through the TV’s user interface.
- Navigate to the display or picture settings section. This may be labeled as “Picture”, “Display”, or a similar term.
- Adjust the aspect ratio to match the native resolution of the Sega Genesis games. The standard aspect ratio for Sega Genesis games is 4:3. However, some modern TVs default to a widescreen 16:9 ratio. Select the appropriate aspect ratio for the best visual representation.
- Enable any relevant display enhancements or special modes offered by your TV. These options may vary depending on the TV model, but common features include color balance, sharpness, and motion smoothing. Experiment with these settings based on your personal preference.
- Make sure to disable any unnecessary video processing settings that may introduce input lag or additional visual artifacts. Look for features like “Game Mode” or “PC Mode” that prioritize responsiveness over image processing.
While adjusting the display settings, remember to refer to your TV’s user manual for specific guidance related to picture settings. Every TV model and brand may have slightly different navigation and terminology.
Once you have made the necessary adjustments, test out your Sega Genesis by launching a game and ensuring that the visuals appear sharp, vibrant, and accurately scaled. Fine-tune the settings as needed until you achieve the desired display quality.
By optimizing the display settings, you can fully enjoy the retro gaming experience and immerse yourself in the nostalgic world of Sega Genesis.
With the display settings adjusted, it’s time for the final step: testing the connection to ensure everything is working correctly.
Step 6: Test the Connection
Now that you have completed the setup process of connecting your Sega Genesis to your smart TV and adjusting the display settings, it’s crucial to test the connection to ensure everything is working as expected. Follow these steps to perform a quick test:
- Turn on your Sega Genesis and make sure the TV is set to the correct input source.
- Select a game from your Sega Genesis library and start playing.
- Observe the TV screen and ensure that the game is displayed properly without any visual issues such as flickering, distortion, or display lag.
- Play for a few minutes to ensure a stable and consistent gaming experience. Test different games from your collection to validate the connection across various titles.
During this testing phase, it’s important to consider the audio as well. Ensure that the sound is coming through the TV speakers or the connected audio system, depending on your setup preferences.
If you encounter any issues such as no video display, distorted visuals, or audio problems, double-check all connections to make sure they are secure. It may also be helpful to consult the troubleshooting section of your TV’s user manual for specific guidance.
Additionally, if you notice any input lag or delay between your controller inputs and actions on the screen, you may want to adjust your TV’s game mode or enable any low-latency options available to minimize the delay.
By thoroughly testing the connection, you can ensure that your Sega Genesis is successfully linked to your smart TV, allowing you to enjoy hours of retro gaming bliss.
With the testing completed, you have successfully connected and tested your Sega Genesis with your smart TV. Now, you can relive the excitement of classic Sega Genesis games on the big screen and indulge in nostalgia like never before!
Conclusion
Congratulations, you have successfully hooked up your Sega Genesis to your smart TV! By following the step-by-step guide in this article, you have learned how to check your TV’s compatibility, gather the necessary equipment, connect the Sega Genesis to the TV, set up the TV input, adjust display settings, and finally, test the connection.
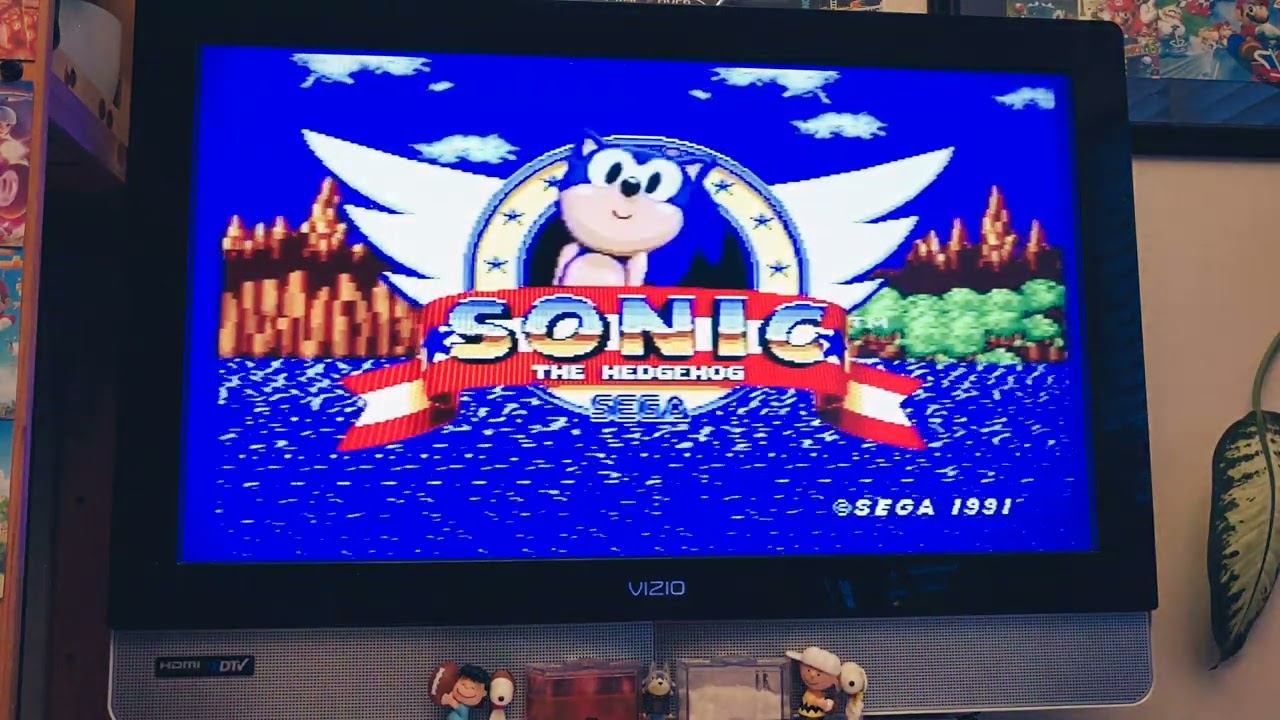
With the Sega Genesis now connected to your smart TV, you can relive the nostalgia and enjoy the classic gaming experience on a larger and more modern screen. Whether you’re playing your favorite Sonic the Hedgehog game or exploring other classic titles, the visual and audio quality provided by your smart TV will enhance your gaming experience.
Remember, each TV model may have different options and settings, so it’s always a good idea to consult your TV’s user manual for specific instructions and guidance. Additionally, if you encounter any issues during the setup process or while testing the connection, don’t hesitate to seek help from technical support or online communities dedicated to retro gaming.
Now, grab your controller, sit back, and enjoy the wonderful world of retro gaming on your Sega Genesis and smart TV. Happy gaming!