Introduction
Welcome to the world of classic gaming! If you’re a fan of retro games and own a Sega Genesis, you might be wondering how to connect it to your modern smart TV for an immersive gaming experience. Luckily, with the right cables and a few simple steps, you can easily connect your Sega Genesis to your smart TV and start enjoying all those iconic games from your childhood.
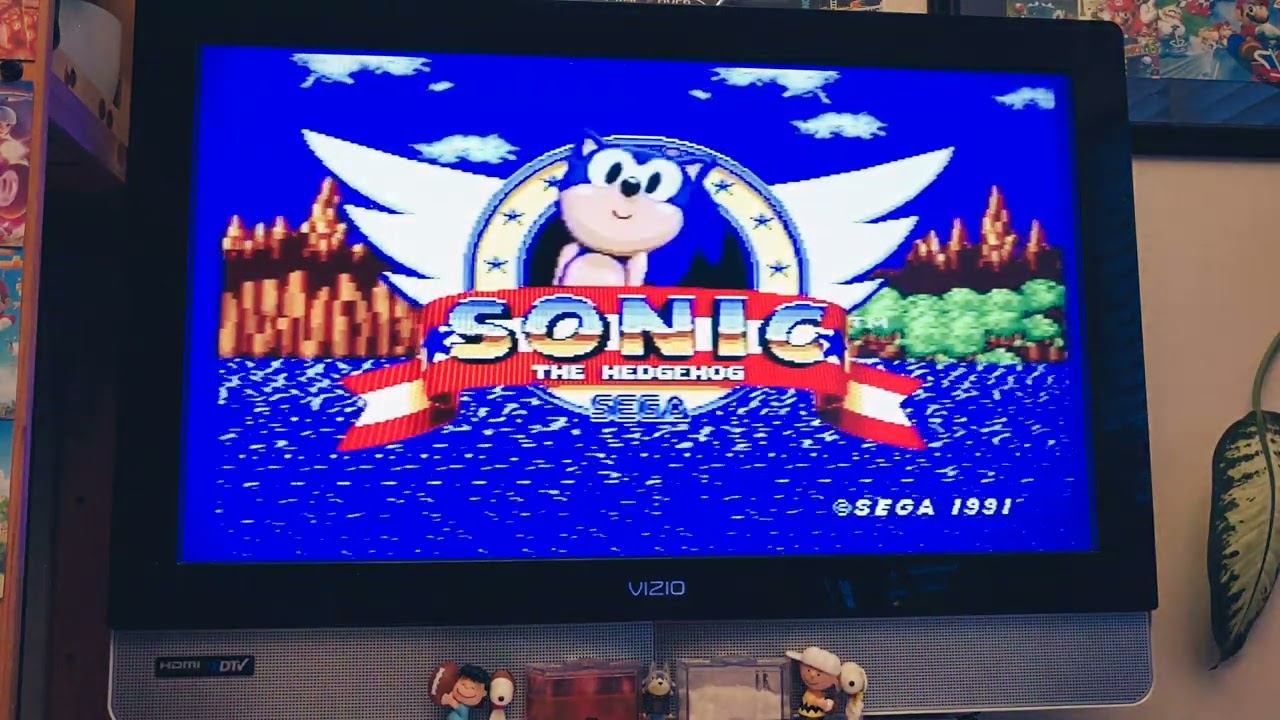
The Sega Genesis, also known as the Mega Drive, was a popular gaming console released in the late 80s and early 90s. It became known for its extensive library of games, including beloved titles like Sonic the Hedgehog, Streets of Rage, and Phantasy Star. And while modern gaming consoles offer incredible graphics and immersive gameplay, sometimes there’s nothing quite like going back to the classics and reliving those nostalgic gaming moments.
However, connecting an older console like the Sega Genesis to a modern smart TV can be a bit tricky, as the connections and input options have drastically changed over the years. This is where our guide comes in. We will walk you through the steps to connect your Sega Genesis to your smart TV, so you can dust off those old cartridges and dive into the world of retro gaming.
In this guide, we will outline the steps you need to follow to successfully connect your Sega Genesis to your smart TV. We’ll cover everything from identifying the inputs and outputs on your console and TV, to purchasing the necessary cables and adapters, to configuring the TV input source and adjusting the display settings. By the end of this guide, you’ll be ready to relive those nostalgic gaming sessions on a big screen with your favorite classic games.
So, without further ado, let’s dive into the step-by-step process of connecting your Sega Genesis to your smart TV!
Step 1: Identify the Inputs and Outputs on Your Sega Genesis and Smart TV
Before you begin connecting your Sega Genesis to your smart TV, it’s important to familiarize yourself with the inputs and outputs on both devices. This will ensure that you have the right cables and adapters to make the connection.
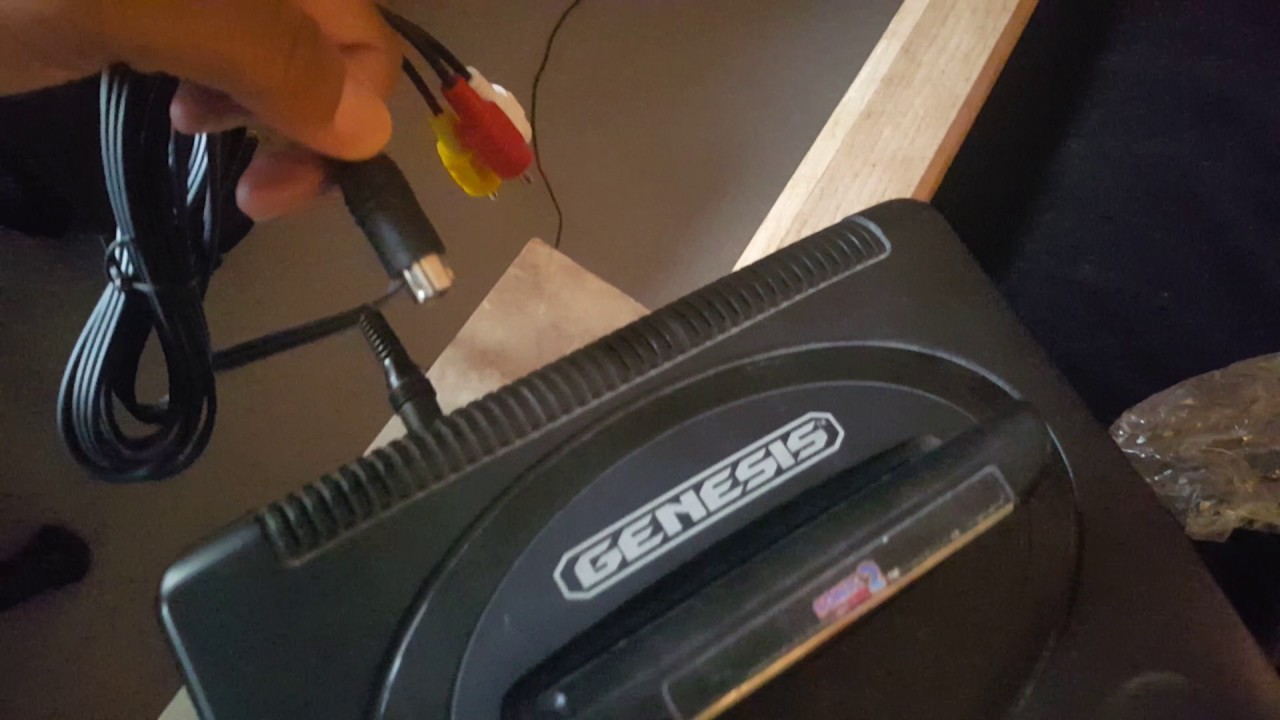
Start by examining your Sega Genesis console. Typically, the Sega Genesis has a port on the back labeled “AV Out.” This port is used to output both audio and video signals. The Sega Genesis usually supports two types of video output: composite video and RF (radio frequency). The composite video output provides better picture quality compared to RF, so we recommend using the composite video output if available.
Next, take a look at your smart TV. Look for the available input ports. Common input ports on smart TVs include HDMI, RCA, and component inputs. HDMI ports are the most common and provide the best video and audio quality. RCA inputs consist of three separate cables for video (yellow) and audio (red and white), while component inputs also have three cables for video (red, green, and blue) and two for audio (red and white).
Once you have identified the available input ports on both your Sega Genesis and smart TV, check if you have the necessary cables and adapters to connect them. If your smart TV has an HDMI input and your Sega Genesis only has composite video output, you will need an HDMI to composite converter or an RCA to HDMI adapter. Similarly, if your smart TV only has RCA or component inputs, you will need the appropriate cables and adapters to connect to the Sega Genesis AV Out port.
Make a note of the specific input ports on your smart TV that you will be using to connect the Sega Genesis. This will be important in the next steps when setting up the connections and configuring the TV input source.
By identifying the inputs and outputs on your Sega Genesis and smart TV, you are one step closer to connecting the two devices. Next, we will discuss purchasing the necessary cables and adapters to establish the connection.
Step 2: Purchase the Necessary Cables and Adapters
Now that you have identified the inputs and outputs on your Sega Genesis and smart TV, the next step is to ensure you have the necessary cables and adapters to connect the two devices. The specific cables and adapters you will need depend on the input and output options available on your devices.
If your smart TV has an HDMI input and your Sega Genesis only has composite video output, you will need an HDMI to composite converter or an RCA to HDMI adapter. These devices convert the composite video signal from the Sega Genesis to HDMI, allowing you to connect it to your smart TV via an HDMI cable.
On the other hand, if your smart TV has RCA or component inputs, you will need the appropriate cables to connect to the Sega Genesis AV Out port. For RCA inputs, you will need an RCA cable with a yellow connector for video and red and white connectors for audio. For component inputs, you will need component cables with red, green, and blue connectors for video and red and white connectors for audio.
Before purchasing the cables and adapters, make sure to check the specifications of your smart TV and Sega Genesis to ensure compatibility. Take note of the specific input ports on your smart TV that you will be using, as this will determine the type and quantity of cables and adapters you need to purchase.
You can find these cables and adapters at electronics stores, online retailers, or even in gaming specialty stores. It’s always a good idea to read reviews and compare prices before making a purchase to ensure you’re getting the best quality for your money.
Once you have obtained the necessary cables and adapters, you’re ready to move on to the next step – connecting your Sega Genesis to your smart TV. In the following section, we’ll guide you through the process of establishing the physical connection between the two devices.
Step 3: Connect the Sega Genesis to the Smart TV
Now that you have the required cables and adapters, it’s time to connect your Sega Genesis to your smart TV. The process may vary depending on the input and output options available on your devices, but we will provide a general guideline to help you through the setup.
Start by locating the AV Out port on your Sega Genesis console. It is typically found on the back of the console and labeled accordingly. If you have an HDMI to composite converter or an RCA to HDMI adapter, connect the composite video cable or RCA cable to the AV Out port of the Sega Genesis.
Next, connect the other end of the composite video cable or RCA cable to the corresponding input on the converter or adapter. If you’re using an HDMI to composite converter, connect the HDMI cable from the converter to an available HDMI input on your smart TV. If you’re using an RCA to HDMI adapter, connect the HDMI cable from the adapter to an available HDMI input on your smart TV.
If your smart TV has RCA or component inputs, connect the RCA or component cables from the AV Out port of the Sega Genesis to the corresponding inputs on the smart TV. Match the colors of the cables with the colors of the inputs (yellow cable for video, red and white cables for audio).
Once you have made all the necessary connections, power on your Sega Genesis and smart TV. Use the TV remote to navigate to the input source that you connected the Sega Genesis to. You may need to consult your TV’s user manual or menu options to select the correct input source.
If all the connections have been made correctly, you should see the Sega Genesis screen or menu displayed on your smart TV. Congratulations! You have successfully connected your Sega Genesis to your smart TV.
In the next step, we will discuss how to configure the TV input source to optimize the gaming experience on your Sega Genesis.
Step 4: Configure the TV Input Source
Once you have connected your Sega Genesis to your smart TV, it’s important to configure the TV input source to ensure the best possible gaming experience. Depending on your TV model, the process may vary slightly, but the general steps are outlined below.
Using your TV remote, access the menu or settings option on your smart TV. Look for the section related to inputs or source selection. In this section, you should find a list of available input sources.
Navigate through the input sources and locate the one that corresponds to the port you connected your Sega Genesis to. It may be labeled as HDMI, AV, RCA, or Component, depending on the TV model.
Once you have selected the appropriate input source for your Sega Genesis, save the changes and exit the menu or settings. Your smart TV should now be configured to receive the signal from the Sega Genesis.
It’s also worth checking if your TV has any picture or display settings that can be adjusted to enhance your gaming experience. These settings could include options for aspect ratio, picture mode, brightness, contrast, and sharpness.
Play around with these settings and find the configuration that works best for you. Keep in mind that some settings might need to be adjusted based on the specific game you’re playing, as different games might have different display requirements.
Take the time to explore your TV’s menu options and experiment with different settings to find the optimal configuration for your Sega Genesis games. This will ensure that you get the best visuals and gameplay experience.
Once the TV input source and display settings have been configured, you’re ready to move on to the next and final step – testing the connection and enjoying your games on the big screen.
Step 5: Adjust the Display Settings on the Smart TV
Now that you have connected your Sega Genesis to your smart TV and configured the input source, it’s time to fine-tune the display settings for the best gaming experience. Adjusting the display settings can help optimize the visuals and ensure that you get the most out of your classic games.
Start by accessing the settings or menu options on your smart TV. Look for a section related to picture or display settings. The exact location and terminology may vary depending on your TV model.
Within the picture or display settings, you will find various options to customize the visuals. Here are a few key settings you may want to adjust:
- Aspect Ratio: Set the aspect ratio to match the resolution of your Sega Genesis games. The Sega Genesis typically uses a 4:3 aspect ratio.
- Brightness and Contrast: Adjust the brightness and contrast levels to your preference. These settings can help enhance the visibility of details in the game.
- Sharpness: Fine-tune the sharpness setting to strike a balance between clear visuals and avoiding excessive image noise.
- Color Saturation: Modify the color saturation to ensure vibrant and accurate colors in your retro games.
It’s important to note that the optimal display settings may vary depending on individual preferences and the specific game being played. Feel free to experiment with different settings until you find what works best for you.
Additionally, if your smart TV has advanced gaming features such as game mode or low latency mode, enable them to reduce input lag and improve responsiveness during gameplay.
Once you have adjusted the display settings to your liking, save the changes and exit the menu. Your smart TV is now optimized to display your Sega Genesis games with enhanced visuals.
With the display settings configured, you’re now ready to proceed to the final step – testing the connection and enjoying your classic games on the big screen.
Step 6: Test the Connection and Enjoy Your Games!
Congratulations! You have successfully connected your Sega Genesis to your smart TV, adjusted the display settings, and now it’s time to put everything to the test and dive into the world of classic gaming.
Start by turning on your Sega Genesis console and selecting a game from your collection. With the smart TV input source set correctly, you should see the game’s graphics appear on the screen. Take a moment to ensure the visuals are clear and the audio is playing correctly.
Use your gaming controller to navigate through menus and play the game. Pay attention to the responsiveness of the controls and the overall gameplay experience. If everything is working smoothly, you’re ready to reminisce and enjoy hours of nostalgic gaming sessions.
Take the opportunity to explore different games from your Sega Genesis library. Experience the fast-paced action of Sonic the Hedgehog, the intense beat ’em up gameplay of Streets of Rage, or the immersive RPG adventures of Phantasy Star. Rediscover your favorite childhood classics or try out new games you may have missed.
As you play, pay attention to any issues or quirks that may arise. If you encounter any audio or video glitches, double-check the connections and make sure everything is securely plugged in. It’s also worth referring to the user manuals for both your Sega Genesis console and smart TV for troubleshooting tips.
Take breaks and give yourself time to fully immerse yourself in the retro gaming experience. Share the nostalgia with friends or family members, and relive the excitement of multiplayer games. Gather around the big screen and challenge each other in multiplayer classics like Street Fighter II or Golden Axe.
And remember, don’t forget to save your progress! Many Sega Genesis games offer the ability to save your game, so you can continue your quest at a later time without losing your progress.
With the connections tested and your games running smoothly, it’s time to sit back, relax, and enjoy your Sega Genesis games on your smart TV. Let the memories wash over you as you embark on your retro gaming adventures.
Thank you for following this guide and we hope you have a fantastic time revisiting the world of Sega Genesis gaming on your smart TV!
Conclusion
In conclusion, connecting your Sega Genesis to your smart TV opens up a world of nostalgic gaming experiences. By following the steps outlined in this guide, you can easily connect your Sega Genesis to your modern TV and enjoy your favorite retro games in all their glory.
We began by identifying the inputs and outputs on both the Sega Genesis and the smart TV, ensuring that we have a clear understanding of the necessary cables and adapters required for the connection.
Next, we discussed the importance of purchasing the right cables and adapters to establish a successful connection. With the appropriate cables in hand, we moved on to the actual process of connecting the Sega Genesis to the smart TV.
Once the physical connection was established, we focused on configuring the TV input source to ensure that it recognizes and displays the signal from the Sega Genesis. Adjusting the display settings on the smart TV was the next step, enhancing the visual quality and optimizing the gaming experience.
Lastly, we tested the connection and encouraged you to enjoy your favorite Sega Genesis games. We emphasized the nostalgic experience of playing classic games and the joy of sharing them with friends and family.
Remember, the journey of retro gaming doesn’t end here – continue exploring the vast library of Sega Genesis games and relive those cherished moments from the past. Take advantage of the save functionality to pick up where you left off and savor the joy of multiplayer gaming.
With this guide, you are now equipped with the knowledge and resources to connect your Sega Genesis to your smart TV. Get ready to rediscover the magic of classic gaming and embark on memorable adventures once again. Happy gaming!