Introduction
Removing a channel from your Roku device is a simple and straightforward process that allows you to customize your streaming experience. Whether you no longer use a particular channel or want to free up storage space on your device, removing unwanted channels can help streamline your Roku home screen.
With the wide variety of channels available on Roku, it’s natural to accumulate a list of channels over time. However, having too many channels can clutter your home screen and make it difficult to navigate to the ones you actually use.
In this article, we’ll guide you through the steps to remove a channel from your Roku device, both directly on your Roku device itself and through the Roku website. With these simple instructions, you’ll be able to declutter your Roku home screen and ensure that it only displays the channels you love.
Please note that the process to remove a channel may vary slightly depending on your specific Roku model and software version. However, the general steps outlined in this article should apply to most Roku devices.
Step 1: Accessing the Roku Home Screen
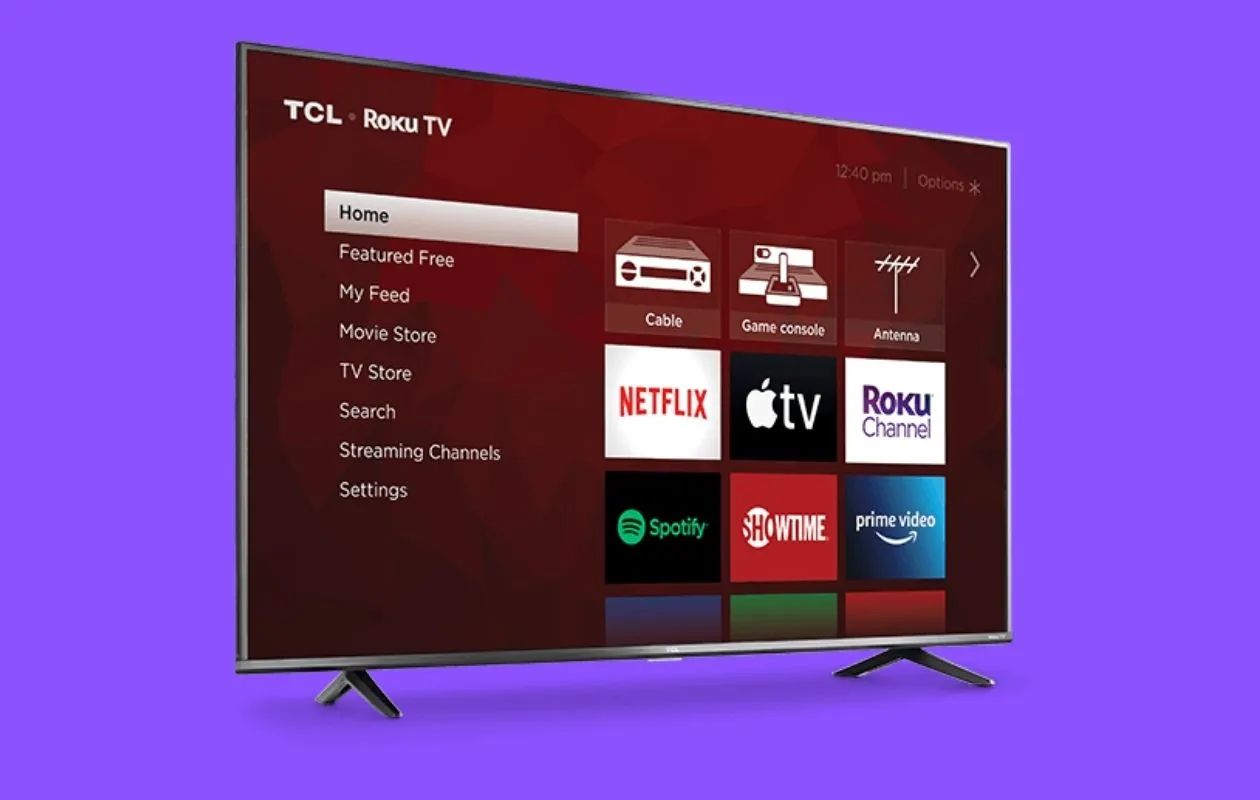
The first step to removing a channel from your Roku device is to access the Roku home screen. The home screen is where all your installed channels are displayed for easy access.
To access the home screen, make sure your Roku device is turned on and powered up. Use your Roku remote to navigate to the home button, which is typically represented by a house-shaped icon.
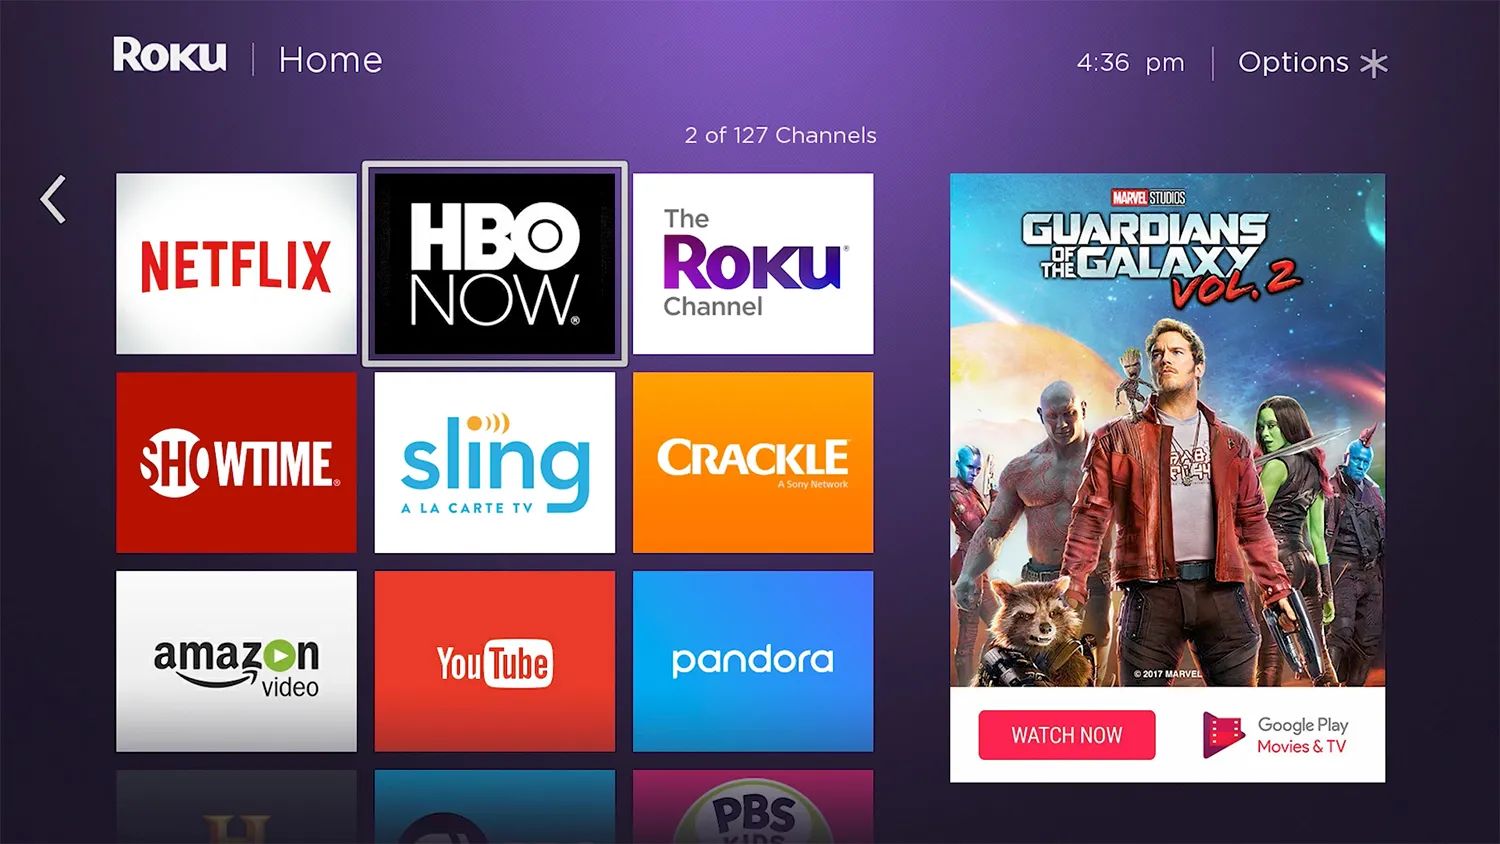
Press the home button on your remote, and you will be instantly taken to the Roku home screen. Here, you will see a grid of icons representing the channels that are currently installed on your device.
Accessing the home screen is a crucial first step as it allows you to easily locate and select the channel you wish to remove. Once you’re on the home screen, you can move on to the next step in the process.
If, for any reason, you’re already on your Roku home screen, proceed to the next step directly. Remember, the home button on the Roku remote is your shortcut to accessing the home screen from anywhere within the Roku interface.
Having trouble accessing the home screen? Ensure that your Roku device and remote are in proper working condition. Check the batteries in your remote and make sure they are properly inserted. If you’re still encountering difficulties, try restarting your Roku device by unplugging it from the power source for a few seconds and then plugging it back in.
Step 2: Navigating to the Channel Store
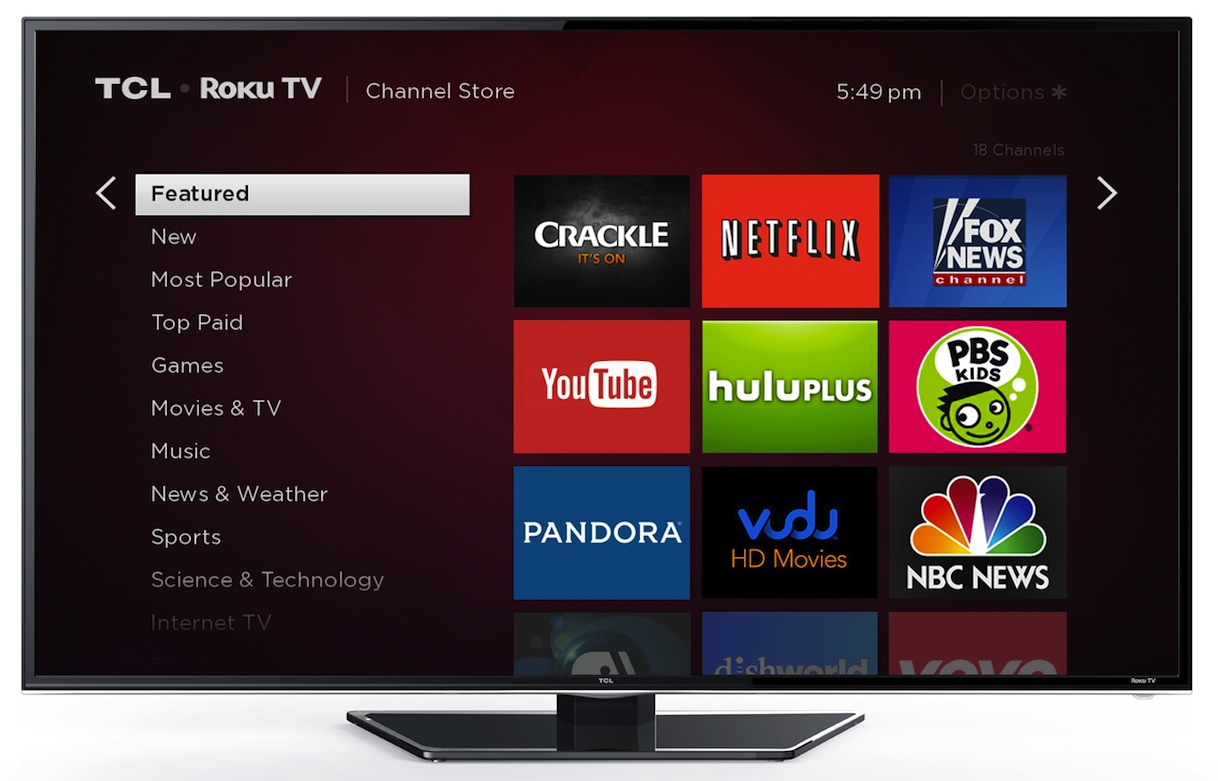
Once you have accessed the Roku home screen, the next step is to navigate to the Channel Store. The Channel Store is where you can browse and explore the vast collection of channels available for installation on your Roku device.
To navigate to the Channel Store, use your Roku remote to move the cursor or highlighter on the screen. The cursor is typically represented by a small arrow or hand icon that you can control with the directional buttons on your remote.
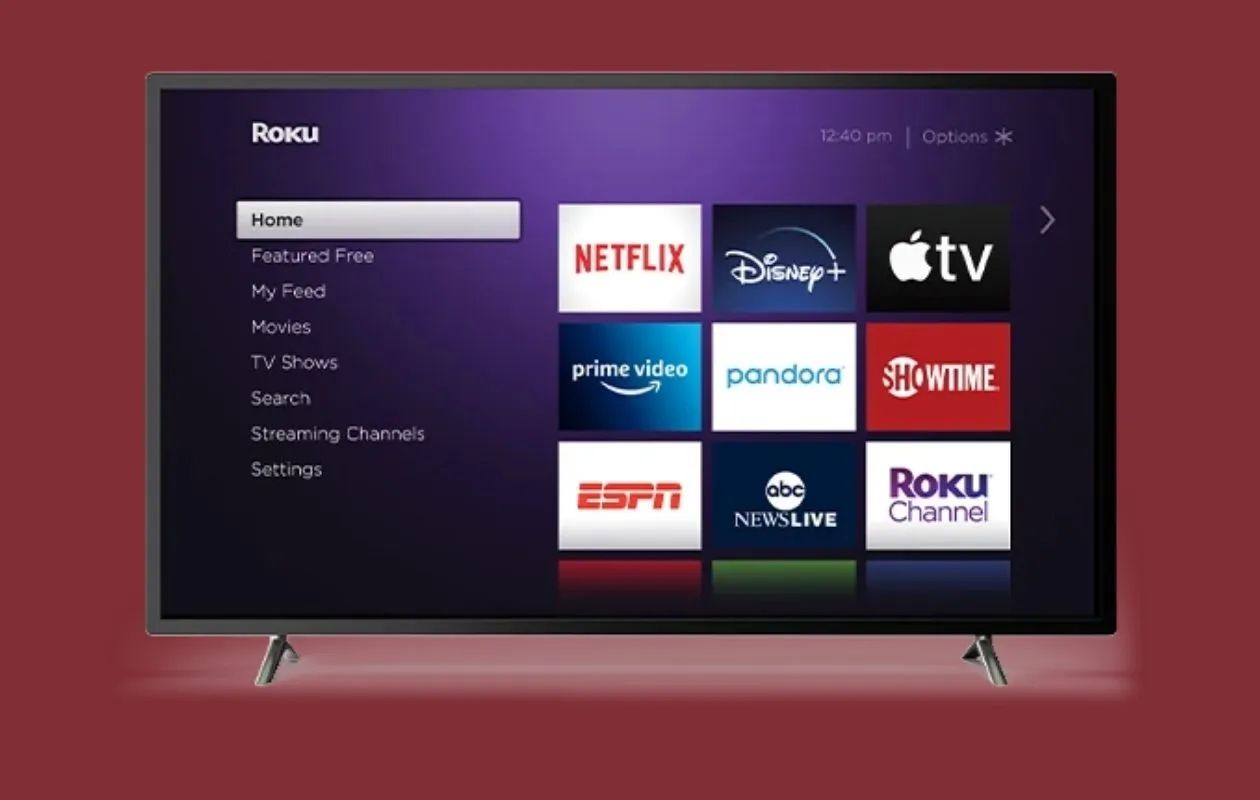
Scroll through the icons on the home screen until you find the option that says “Streaming Channels,” “Channel Store,” or something similar. This icon usually resembles a store or shopping bag to indicate where you can discover and add new channels.
Select and click on the Channel Store icon to enter the Channel Store. This action will redirect you to a new screen where you can explore a wide range of available channels.
It’s important to mention that the location of the Channel Store icon may vary depending on your Roku device model and software version. If you’re having trouble locating the Channel Store icon on your home screen, refer to your device’s user manual or perform a quick online search for specific instructions.
Once you have successfully navigated to the Channel Store, you are ready to proceed to the next step and select the channel you wish to remove from your Roku device.
Step 3: Selecting the Channel to Remove
After accessing the Channel Store on your Roku device, it’s time to select the specific channel you want to remove. The Channel Store offers a wide array of channels, so take your time to locate the channel you wish to delete from your Roku device.
Using your Roku remote, navigate through the Channel Store by moving the cursor or highlighter on the screen. The available channels are typically organized into various categories such as “Top Free,” “New and Notable,” or “Featured,” making it easier to find popular options.
Scroll through the different categories or use the search function within the Channel Store to locate the specific channel you want to remove. You can often search by channel name, category, or even keywords related to the content.
Once you’ve found the channel you want to remove, click on it with your remote to access its details and options. A new screen will appear, displaying more information about the channel, including its description, rating, and any additional features or subscription requirements.
Take a moment to review the channel details to confirm that you have selected the correct channel for removal. Ensure that you are not accidentally selecting a channel that you still want to keep on your Roku device.
If you’re uncertain whether you want to permanently remove the channel or simply temporarily hide it, you can explore the options provided by the channel before proceeding with the removal. Some channels may have the option to “hide” rather than “remove” from your device, allowing you to easily bring them back in the future.
Remember, selecting the channel is a crucial step in the process, as this will determine which channel will be removed from your Roku device. Once you are confident in your choice, move on to the next step to initiate the removal process.
Step 4: Choosing the “Remove Channel” Option
Now that you have selected the channel you want to remove from your Roku device, it’s time to proceed with the removal process. While the specific wording may vary slightly depending on your Roku device model and software version, the general steps to remove a channel remain consistent.
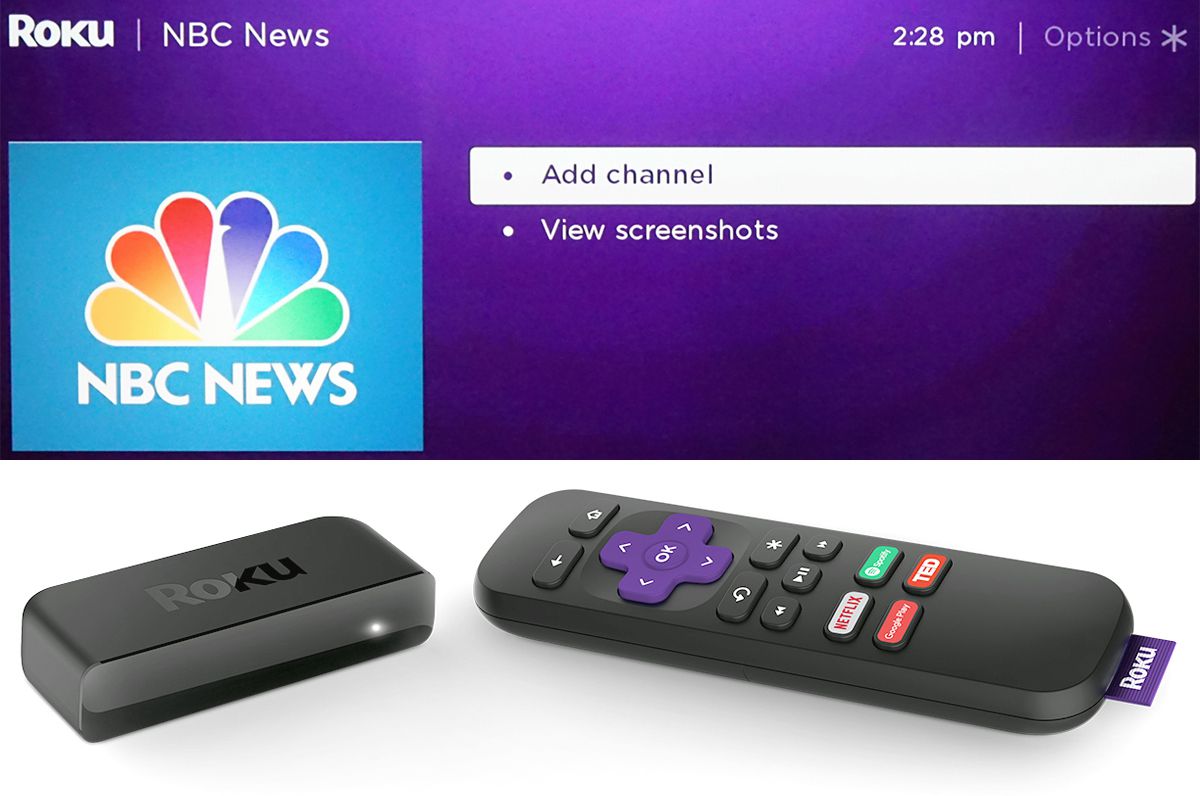
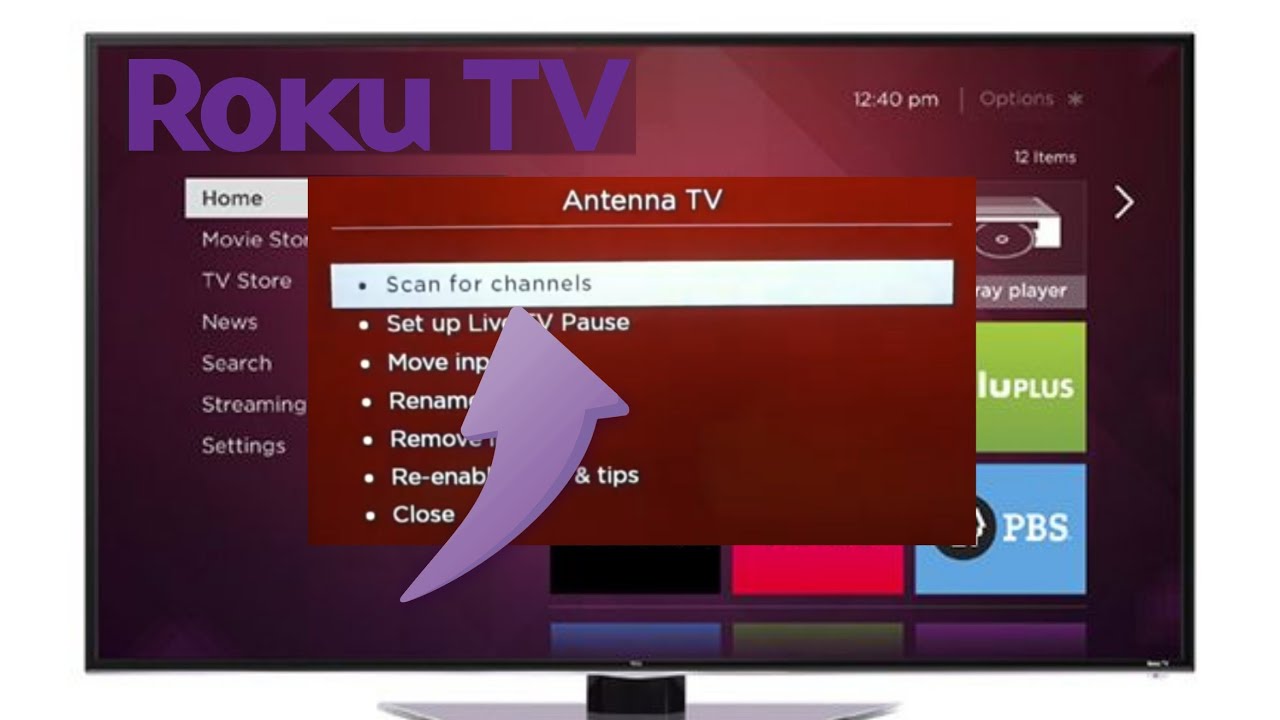
On the screen displaying the details of the channel you want to remove, look for an option that says “Remove,” “Delete,” or something similar. This option is typically located near the bottom of the screen and is designed to allow users to remove unwanted channels from their devices.
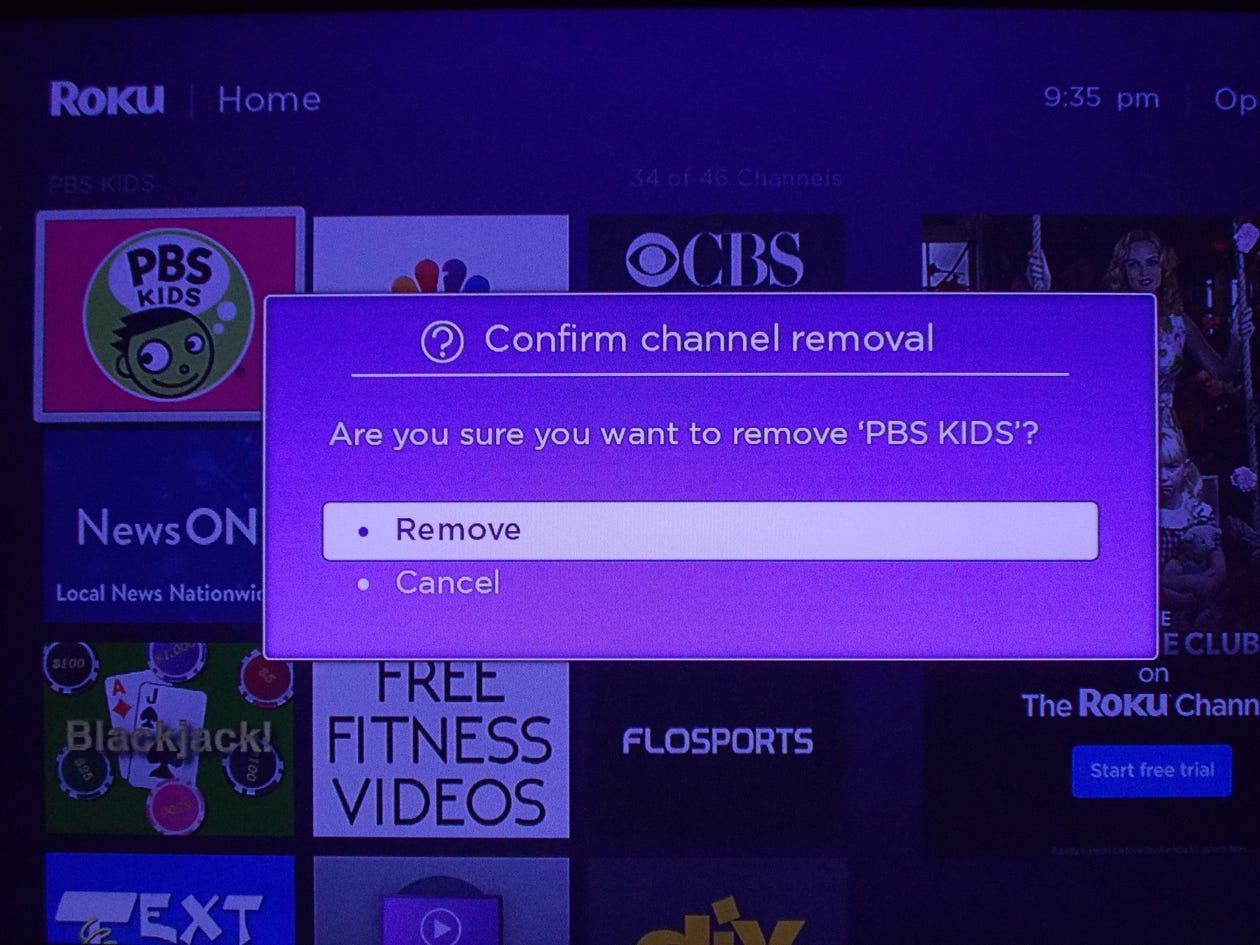
Using your Roku remote, move the cursor or highlighter to the “Remove” option and select it by pressing the appropriate button on your remote. This action will prompt a confirmation pop-up or dialogue box to ensure that you want to proceed with the removal.
It’s important to note that once you confirm the removal, the channel will be permanently deleted from your Roku device. Any personalized settings, preferences, or saved content associated with that channel will also be removed.
Double-check the channel name and make sure it matches the channel you intended to remove. This helps prevent accidentally deleting the wrong channel.
After confirming the removal, your Roku device will initiate the process of uninstalling the channel. The time it takes to complete this process may vary depending on the channel’s size and your internet connection speed.
During the removal process, you may see a progress bar or a message indicating the status of the removal. It’s important to allow the process to complete before continuing to ensure that the channel is successfully removed from your Roku device.
Once the removal process is complete, you can proceed to the next step and confirm the channel removal on your Roku device.
Step 5: Confirming the Removal
After initiating the removal process, it’s crucial to confirm that the channel has been successfully removed from your Roku device. This confirmation step ensures that you no longer have the channel on your device and helps you verify the completion of the removal process.
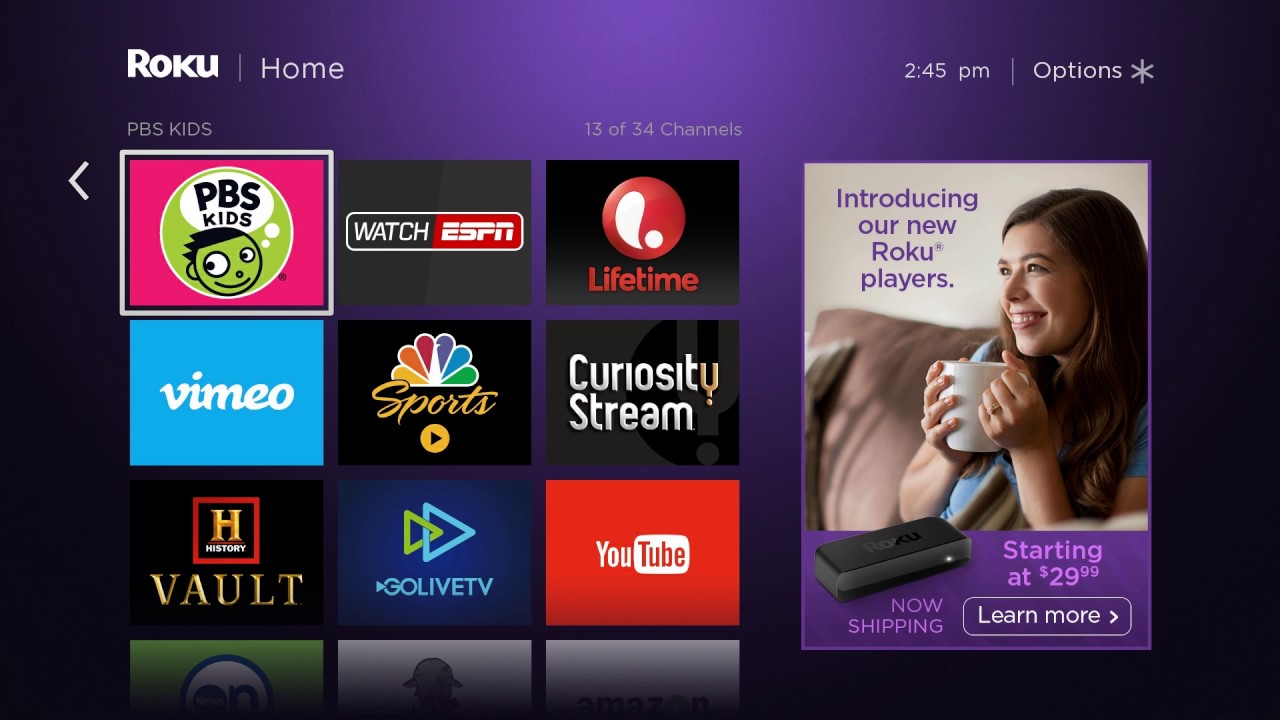
Once the removal process is complete, your Roku device will automatically navigate back to the home screen. On the home screen, you’ll typically see the remaining channels that are still installed on your device.
Take a moment to navigate through the home screen and verify that the channel you removed is no longer present. Look for the icon or tile representing the deleted channel. If the channel is no longer displayed, it means that the removal was successful.
It’s important to note that some Roku devices may require a manual refresh of the home screen to fully remove the deleted channel. To refresh the home screen, simply press the home button on your remote to return to the home screen again.
If, after refreshing the home screen, the channel you removed still appears, do not worry. Sometimes, it may take a little longer for the home screen to update and fully remove the deleted channel. Give your Roku device a few minutes and try refreshing the home screen again.
Once you have confirmed that the channel is no longer present on your home screen, you can be confident that the removal process was successful and the channel has been completely removed from your Roku device.
Congratulations! You have successfully removed a channel from your Roku device. Now, continue to the next step to learn an alternative method for removing channels via the Roku website.
Step 6: Channel Removal Completion
After confirming the removal of the channel on your Roku device, you have completed the final step in the process of removing a channel. This step signifies the successful removal of the unwanted channel from your Roku device.
To ensure that the removal is complete, it’s essential to restart your Roku device. Although this step is optional, it helps refresh the device and ensures that any traces of the removed channel are no longer present.
Restarting your Roku device is a simple process. Locate the power button on your device or unplug the power cord for a few seconds. After the brief pause, plug the power cord back in or press the power button to turn on your Roku device.
Once your Roku device has restarted, navigate back to the home screen and verify that the removed channel is still absent. The removed channel should no longer appear on the home screen or in the list of installed channels.
If, after the restart, you still see the removed channel on your home screen, repeat the process of removing the channel from your Roku device. Double-check that you followed each step accurately to ensure a successful removal.
By completing this step, you have fully removed the unwanted channel from your Roku device. Your home screen should now reflect your desired set of channels, providing you with a more streamlined and personalized streaming experience.
Remember, if you ever want to re-install a channel that you previously removed, you can always visit the Channel Store and search for it again. Channels that you have removed from your device remain accessible for re-installation, allowing you to customize your channel lineup whenever you desire.
Now that you have completed the channel removal process successfully, you can navigate your Roku device without any unnecessary clutter. Enjoy a streamlined, tailored streaming experience with your favorite channels!
Alternative Method: Removing Channels via the Roku Website
In addition to removing channels directly from your Roku device, you can also remove channels via the Roku website. This alternative method offers convenience and flexibility, allowing you to manage your channels from your computer or mobile device.
To remove channels via the Roku website, follow these steps:
- Open a web browser on your computer or mobile device and visit the Roku website. Sign in to your Roku account using your credentials.
- Once you are logged in, navigate to the “My Account” section on the website. This section typically contains your account information, preferences, and settings.
- In the “My Account” section, look for the “Manage Your Subscriptions” or “Manage Your Channels” option. This option may vary slightly depending on the layout and design of the website.
- Click on the “Manage Your Channels” option, and you will be redirected to a page that displays all the channels associated with your Roku account.
- Scroll through the list of channels and locate the specific channel you want to remove. Click on the channel to access more information and options for that channel.
- On the channel’s page, look for an option to remove or delete the channel. This option is usually represented by a button or link.
- Click on the “Remove” or “Delete” option to initiate the removal of the channel from your Roku account.
- A confirmation message or pop-up will appear, asking you to confirm the removal. Review the channel name and details to ensure you are removing the correct channel, and then proceed to confirm the removal.
- Once you have confirmed the removal, the channel will be removed from your Roku account. This means that it will no longer be available on any Roku device linked to your account.
By utilizing the Roku website to remove channels, you have an alternative method that offers ease of use and the ability to manage your channels from any device with internet access. This method can be especially helpful if you want to remove multiple channels or prefer the convenience of using a computer or mobile device for channel management.
Remember, the removal of a channel via the Roku website is permanent, and the channel will no longer be accessible on any Roku devices linked to your account. If you ever decide to reinstall a channel, you can do so by searching for it again in the Roku Channel Store and adding it back to your account.
Now, you have learned an alternative method for removing channels via the Roku website. Use this method when you want to streamline your channel lineup and manage your channels easily from any device with internet access.
Conclusion
Removing a channel from your Roku device is a simple process that allows you to customize your streaming experience according to your preferences. Whether you want to declutter your home screen or no longer find a particular channel useful, being able to remove unwanted channels is a valuable feature.
In this article, we discussed the step-by-step process of removing a channel from your Roku device. We explored how to access the Roku home screen, navigate to the Channel Store, select the desired channel for removal, choose the “Remove Channel” option, confirm the removal, and ensure the completion of the removal process.
We also discussed an alternative method for removing channels via the Roku website, providing you with flexibility and convenience in managing your channels from a computer or mobile device.
Remember, it’s important to follow the proper steps and to confirm the removal of a channel to ensure its successful removal from your Roku device. Take the time to double-check your choices and review the channel details before proceeding with the removal.
By removing unwanted channels, you can streamline your Roku home screen, making it easier to navigate and find the channels that matter to you. This customization allows for a more tailored streaming experience, enhancing your enjoyment of Roku’s vast selection of entertainment options.
Whether you choose to remove channels directly from your Roku device or via the Roku website, the ability to manage and personalize your channel lineup is a valuable feature. This way, you can ensure that your Roku device displays only the channels that align with your viewing preferences and interests.
Now that you have learned how to remove channels from your Roku device, you can take control of your streaming experience. Enjoy a clutter-free home screen and a personalized selection of channels, tailored to your tastes and interests.
Thank you for reading this article, and we hope that it has provided you with the guidance you need to successfully remove channels from your Roku device. Happy streaming!