Introduction
Welcome to this guide on how to add an email to Google Calendar! As many of us rely on Google Calendar to manage our schedules and stay organized, it can be incredibly helpful to integrate our email communications directly into our calendar. This not only allows us to have all our important information in one place, but also helps us keep track of our commitments more effectively. Whether it’s a meeting invitation, a reminder for an upcoming event, or simply an email that needs to be associated with a specific date, adding emails to your Google Calendar can streamline your workflow and improve your productivity.
This step-by-step tutorial will walk you through the process of adding an email to your Google Calendar. We’ll cover the necessary steps to access your Google Calendar, creating a new event, adding the email to the event, and finally, saving the event with the email attachment. By the end of this guide, you’ll be able to seamlessly combine your email correspondence with your calendar, ensuring that you never miss an important meeting or event.
So, let’s not waste any more time and get started with the first step: accessing your Google Calendar. It’s time to unlock the full potential of Google Calendar by integrating it with your email communications!
Step 1: Access Google Calendar
The first step in adding an email to Google Calendar is to access your Google Calendar account. Follow the instructions below to get started:
- Open a web browser on your computer or mobile device.
- Navigate to the Google Calendar website by typing “calendar.google.com” in the address bar and hitting Enter.
- Sign in to your Google account. If you don’t have a Google account, you can create one by clicking on the “Create account” option and following the on-screen instructions.
- Once signed in, you will be redirected to your Google Calendar interface.
By completing these simple steps, you will have successfully accessed your Google Calendar account. Now you’re ready to move on to the next step: creating a new event.
It’s worth noting that you can also access Google Calendar through the Google Calendar app on your mobile device. Simply download the app from the App Store or Google Play Store, sign in to your Google account, and you’re good to go!
Step 2: Create A New Event
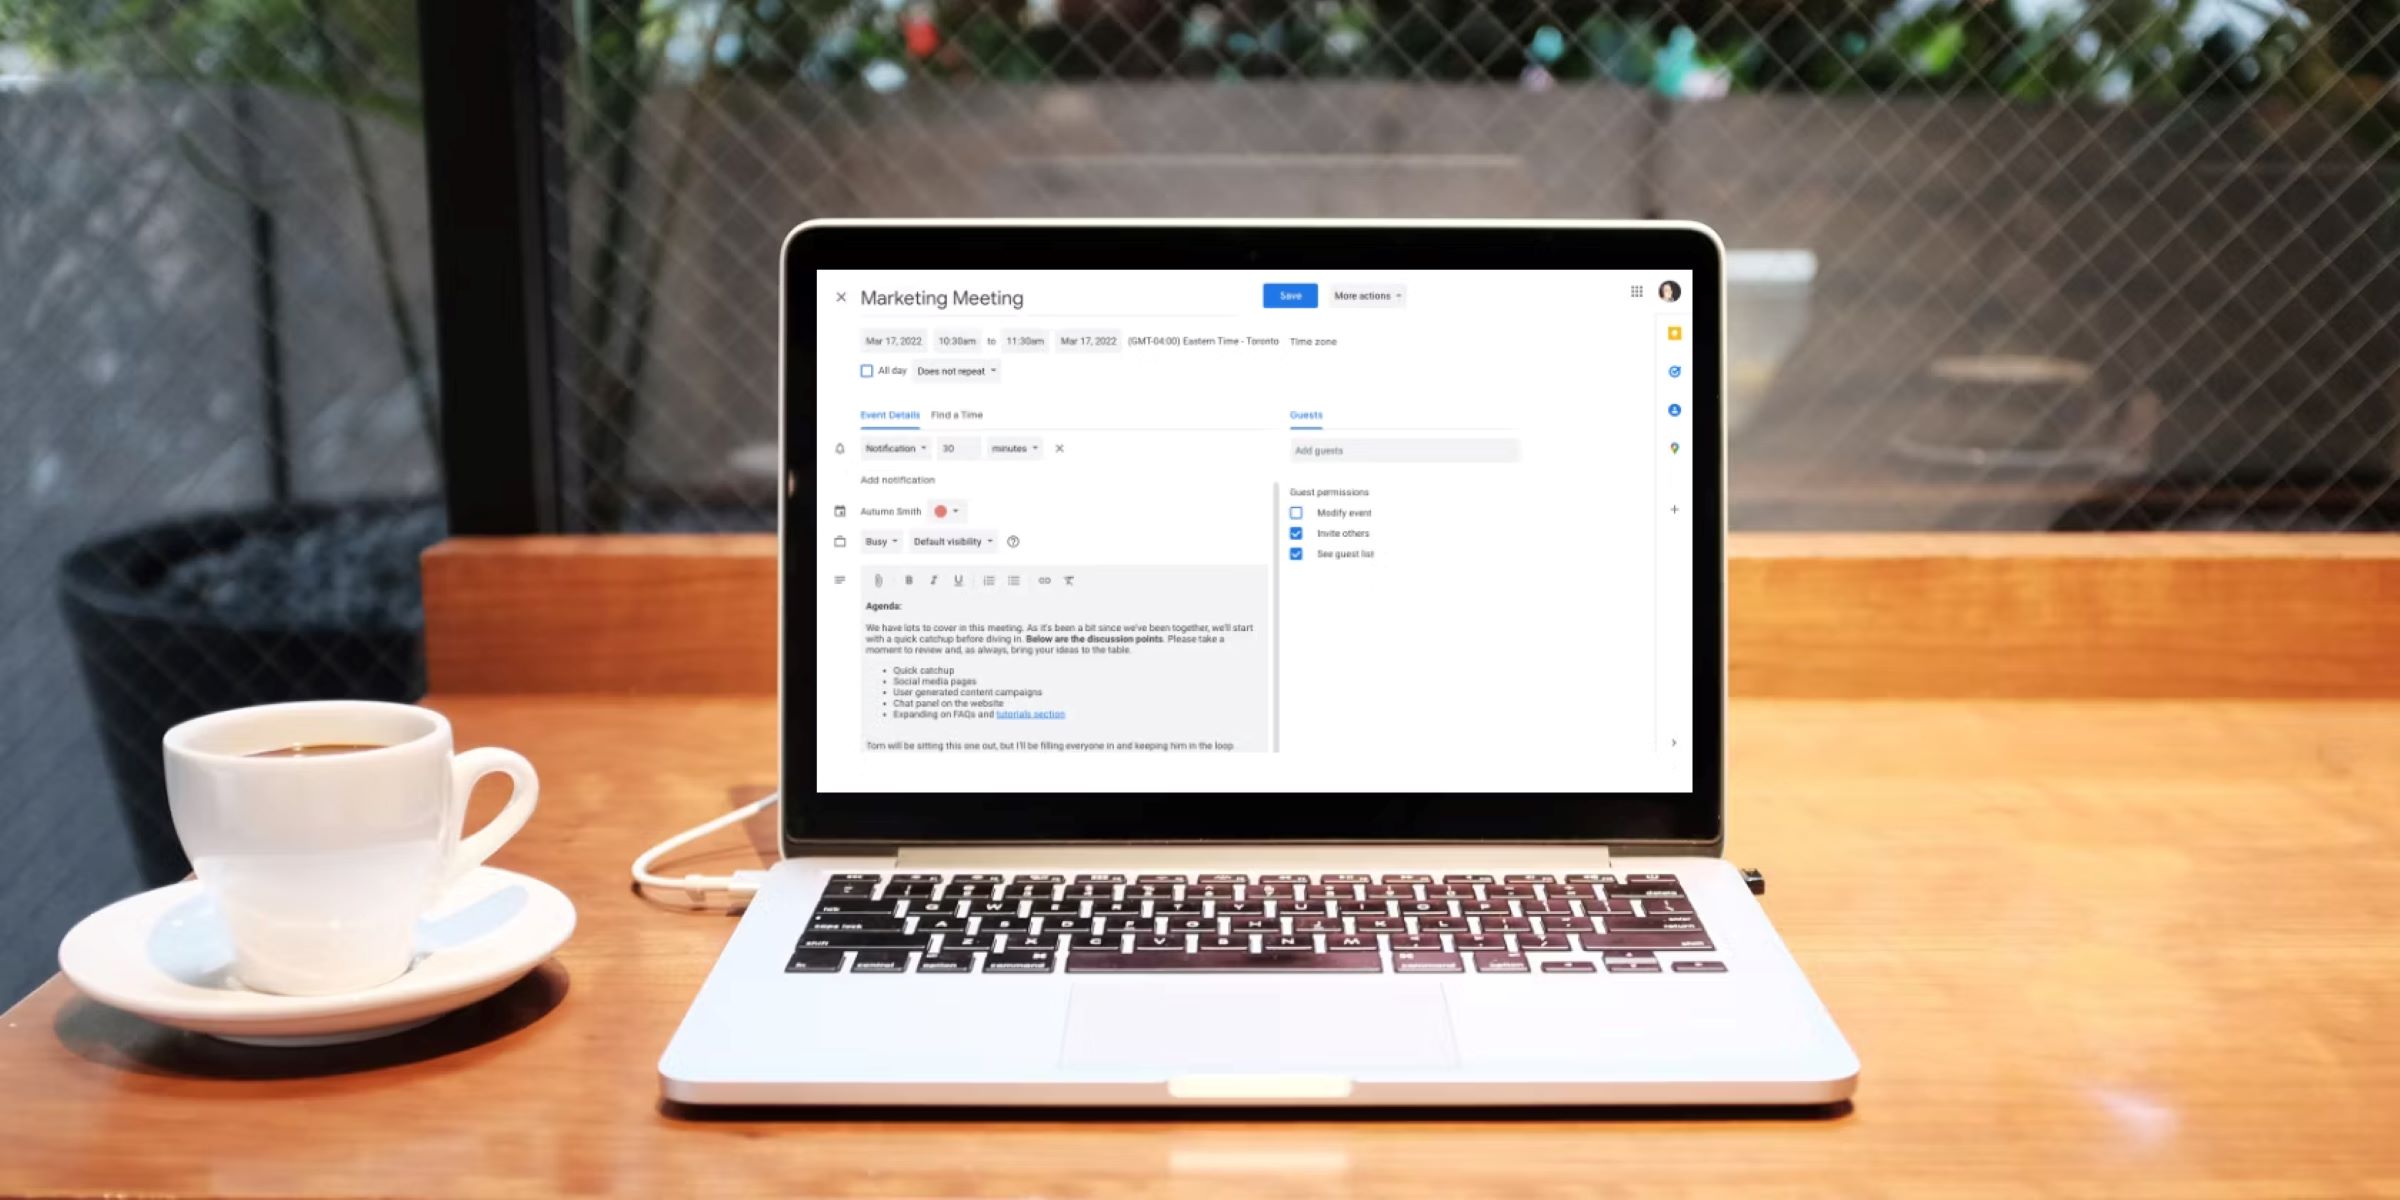
Now that you have accessed your Google Calendar, it’s time to create a new event. Follow the steps below to add a new event to your calendar:
- On the Google Calendar interface, look for the “+” button, usually located in the top-left corner. Click on it to create a new event.
- A new event window will pop up, prompting you to fill in details for the event. Start by entering a title for the event in the designated field. For example, you can use the subject line of the email as the event title.
- Next, specify the date and time of the event by clicking on the respective fields and selecting the desired options from the calendar and time dropdown menus.
- You can also set the duration of the event by clicking on the “Duration” field and choosing the appropriate timing.
- If the event has a location, you can add it by typing in the address or name of the venue in the “Where” field.
- Additionally, you can add a description or any additional notes about the event in the “Description” field.
Once you have entered all the necessary details for the event, you can proceed to the next step: adding the email to the event. This will allow you to associate the email with the specific event in your calendar, making it easily accessible when needed.
Now that you know how to create a new event in Google Calendar, let’s move on to the next step and learn how to add the email to the event!
Step 3: Add The Email
Adding the email to the event in your Google Calendar is a straightforward process. Follow the steps below to associate the email with the event:
- In the event creation window, look for the option to add attachments. This may be represented by a paperclip icon or an “Add attachment” button.
- Click on the attachment option to bring up the file selection window.
- Navigate to the folder or location where the email is stored on your device.
- Select the email file that you want to attach to the event, and click “Open” or “Attach.”
Your email will now be added as an attachment to the event in your Google Calendar. This means that whenever you access the event, you will be able to view and open the email file directly from the event details.
It’s important to note that when you add an email as an attachment, it is not modifying the original email or sending a separate copy. Instead, it creates a reference to the email file, allowing you to conveniently access it within the context of the event in your calendar.
With the email successfully added to the event, all relevant information will be in one place, making it easy to review the email content before or during the event itself. This integration between email and calendar helps streamline your workflow and ensures that you have all the necessary information at your fingertips.
Now that you’ve added the email to the event, it’s time to move on to the final step: saving the event with the email attachment.
Step 4: Save The Event
After adding the email to the event in your Google Calendar, the final step is to save the event to ensure that all the changes are stored and ready for future reference. Follow the steps below to save the event:
- Review all the details of the event, including the event title, date, time, location, and attached email.
- If needed, make any additional edits or modifications to the event, such as adding reminders or inviting guests.
- Once you are satisfied with the event details, click the “Save” or “Create” button, usually located at the bottom of the event creation window.
By saving the event, you are confirming all the information and ensuring that it is securely stored in your Google Calendar. The event, along with the attached email, will now be visible in your calendar view on the specified date and time.
Now that you have successfully saved the event with the email attachment, you can conveniently access the email whenever you need it. Simply locate the event in your Google Calendar, open the event details, and click on the attached email to view its content.
This integration between email and calendar in Google Calendar allows you to stay organized and have all your relevant information in one place. Whether it’s a meeting invitation, an event reminder, or any other important communication, associating emails with your events can help you manage your schedule more efficiently.
With these simple steps, you can seamlessly combine your email correspondence with your Google Calendar, ensuring that you never miss an important email or event.
Congratulations! You have successfully learned how to add an email to your Google Calendar. Now it’s time to put this knowledge into practice and enjoy the benefits of having all your important information in one place.
Conclusion
Integrating your email communications with Google Calendar can greatly enhance your productivity and organization. By following the steps outlined in this guide, you can easily add an email to an event in your Google Calendar, ensuring that all relevant information is in one place. Whether it’s a meeting invitation, a reminder for an important event, or any other email that needs to be associated with a specific date, Google Calendar provides a seamless way to manage your schedule and stay on top of your commitments.
Remember, the process begins by accessing your Google Calendar account. From there, you can create a new event, add the email attachment, and save the event to store all the changes. This integration between email and calendar streamlines your workflow and allows you to conveniently access the email content when needed.
By utilizing Google Calendar’s powerful features, you can stay organized, never miss an important email, and efficiently manage your schedule. The ability to integrate your email communications with your calendar can save you valuable time and ensure that you have all the necessary information at your fingertips.
So, don’t hesitate to explore the possibilities and start adding your emails to Google Calendar today. Unlock the full potential of this powerful tool and experience the benefits of seamless integration between email and calendar.
Now that you have completed this guide, you are equipped with the knowledge to add an email to your Google Calendar. Put your newfound skills into action and enjoy a more organized and efficient approach to managing your schedule and email communications!


