Introduction
Welcome to our step-by-step guide on how to add a Google Calendar invite to an email. Google Calendar is a powerful tool for managing your schedule and coordinating events with others.
Whether you’re planning a meeting, organizing a webinar, or sending out a reminder, including a Google Calendar invite in your email can make it easier for recipients to add the event to their own calendars with just a few clicks.
In this article, we will walk you through the process of creating a Google Calendar event, generating the invite link, and adding it to an email. By following our instructions, you’ll be able to efficiently share event details and ensure that everyone is on the same page.
Before we dive into the steps, it’s worth noting that Google Calendar integrates seamlessly with Gmail, making it convenient to send invitations directly from your email account. This integration streamlines the process and saves you time, eliminating the need to switch between multiple apps.
So, if you’re ready to learn how to add a Google Calendar invite to an email, let’s get started with Step 1: Accessing Google Calendar.
Step 1: Accessing Google Calendar
The first step in adding a Google Calendar invite to an email is to access Google Calendar itself. Here’s how:
- Open a web browser on your computer or mobile device.
- Go to the Google Calendar website by entering “calendar.google.com” into the address bar.
- If you’re not already signed in to your Google account, enter your credentials and sign in.
- Once signed in, you’ll be taken to the main Google Calendar interface.
If you prefer to use the Google Calendar app on your mobile device, you can download it from the App Store for iOS devices or the Google Play Store for Android devices. Sign in to the app using your Google account credentials to access your calendar.
Whether you’re accessing Google Calendar through a web browser or the mobile app, the next steps will remain the same.
Now that you’re in the Google Calendar interface, you’re ready to create an event. In the next step, we’ll show you how to do just that. So, let’s move on to Step 2: Creating an Event in Google Calendar.
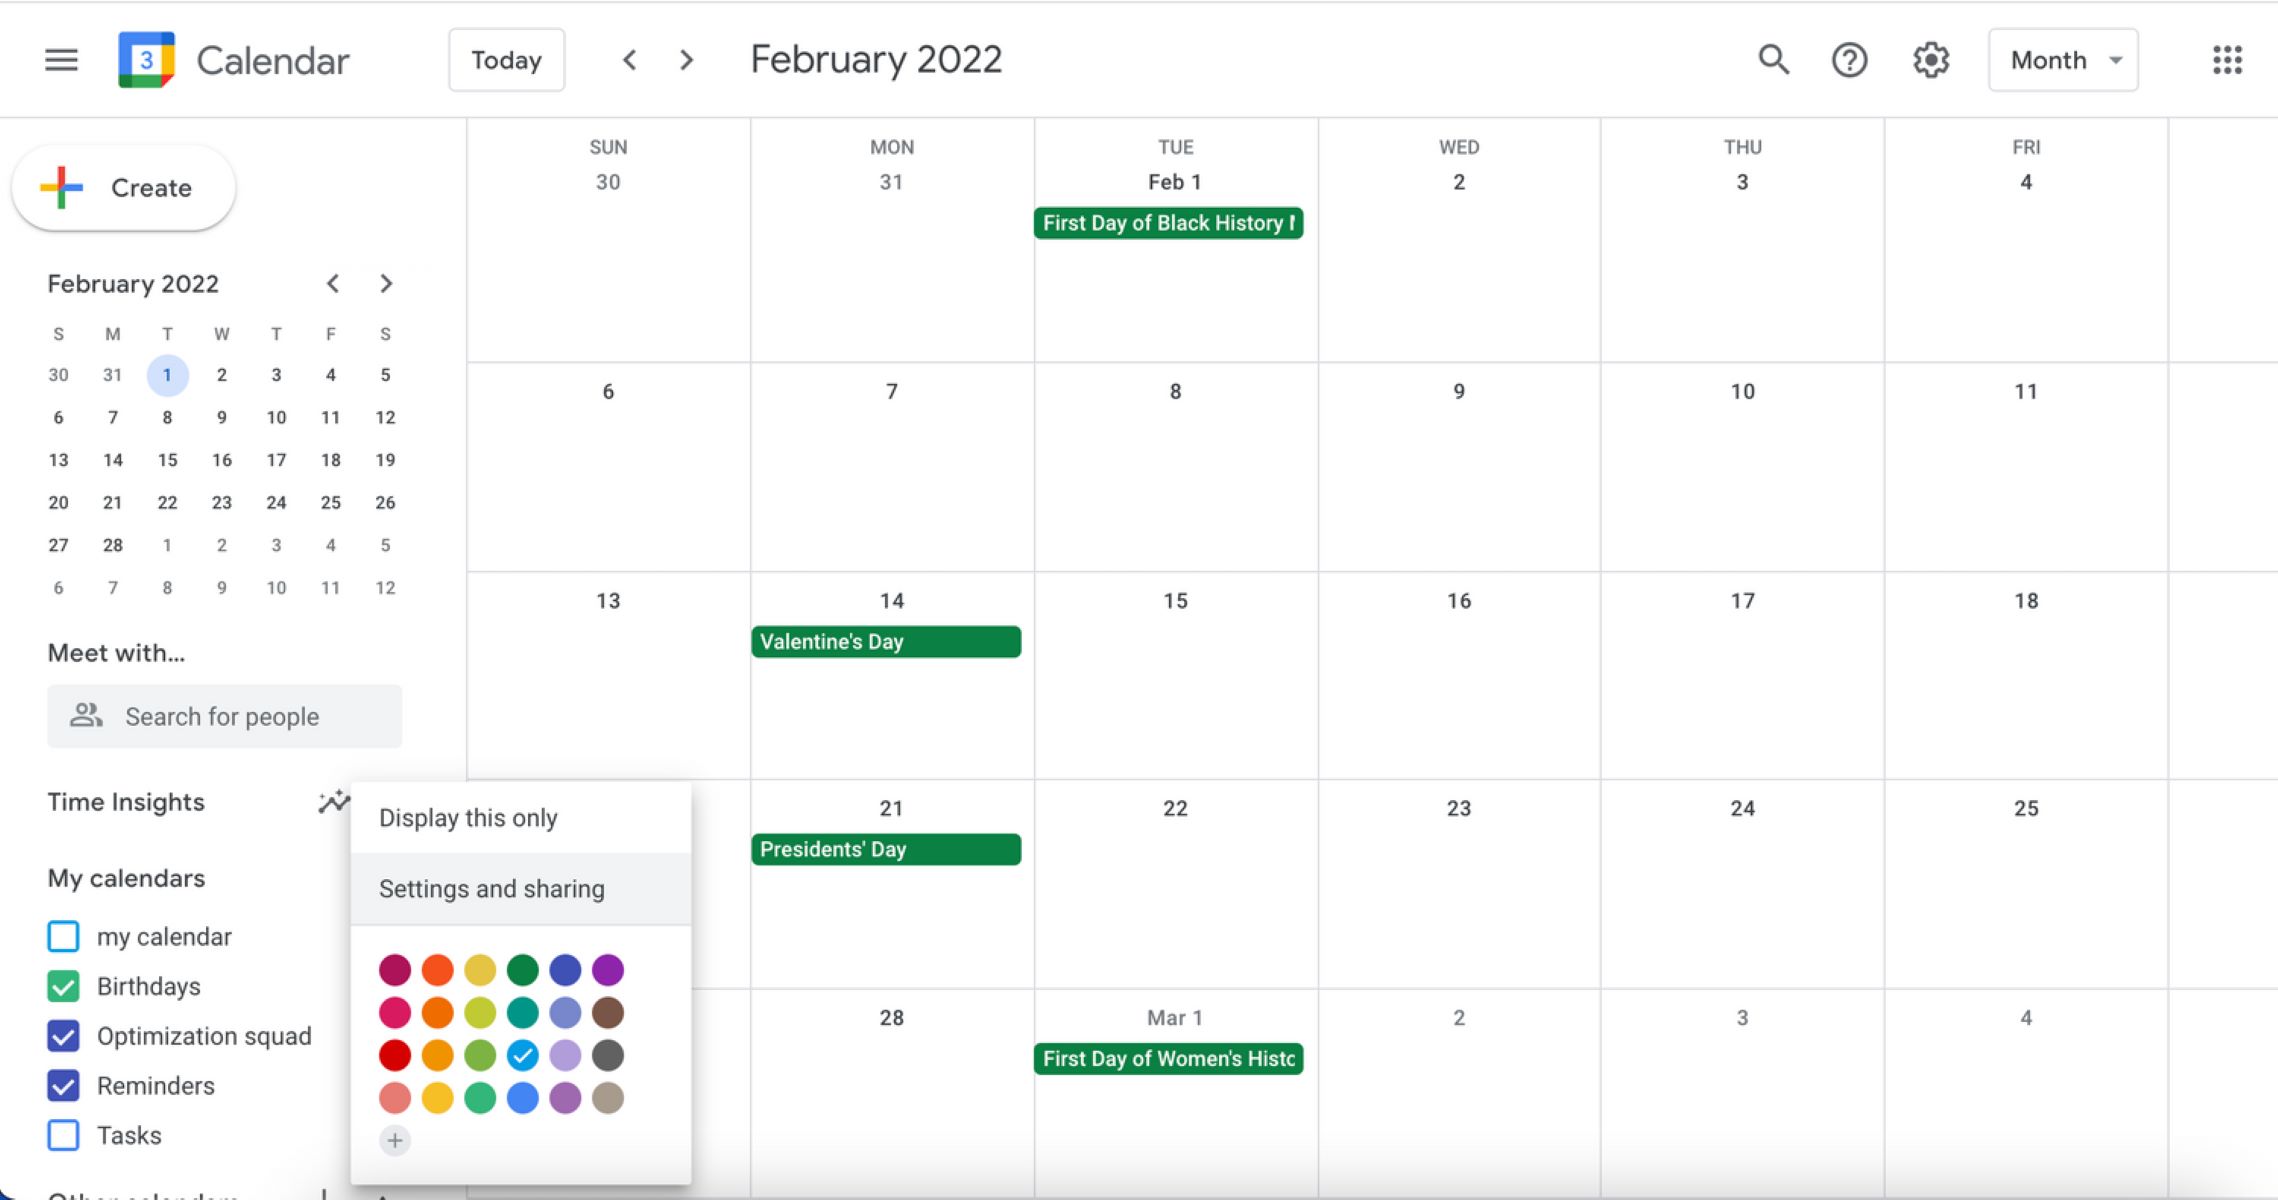
Step 2: Creating an Event in Google Calendar
Now that you have accessed Google Calendar, you can start creating your event. Follow these steps to create an event in Google Calendar:
- Click on the “+” button or the “Create” button on the main interface to initiate the event creation process.
- A pop-up window will appear, allowing you to enter the event details.
- In the “Title” field, enter a descriptive name for your event.
- Specify the date and time for the event by selecting the appropriate options in the “Start” and “End” fields.
- If the event spans multiple days, click on the “More Options” link to expand the event details and select the desired duration.
- You can also set a location for the event by entering the venue or selecting the “Location” field to access your address book or use Google Maps for suggestions.
- Add any necessary notes or additional details in the “Description” field.
- Customize the event settings by clicking on the “Edit” button next to “Event details” or “Visibility”. Here, you can adjust privacy settings, invite specific guests, and specify event reminders.
- Click “Save” to create the event and return to the main Google Calendar interface.
Once you have created the event, you can proceed to the next step, which involves adding guests to the event. This will ensure that everyone you want to invite receives the necessary details. Continue reading to learn more about Step 3: Adding Guests to the Event.
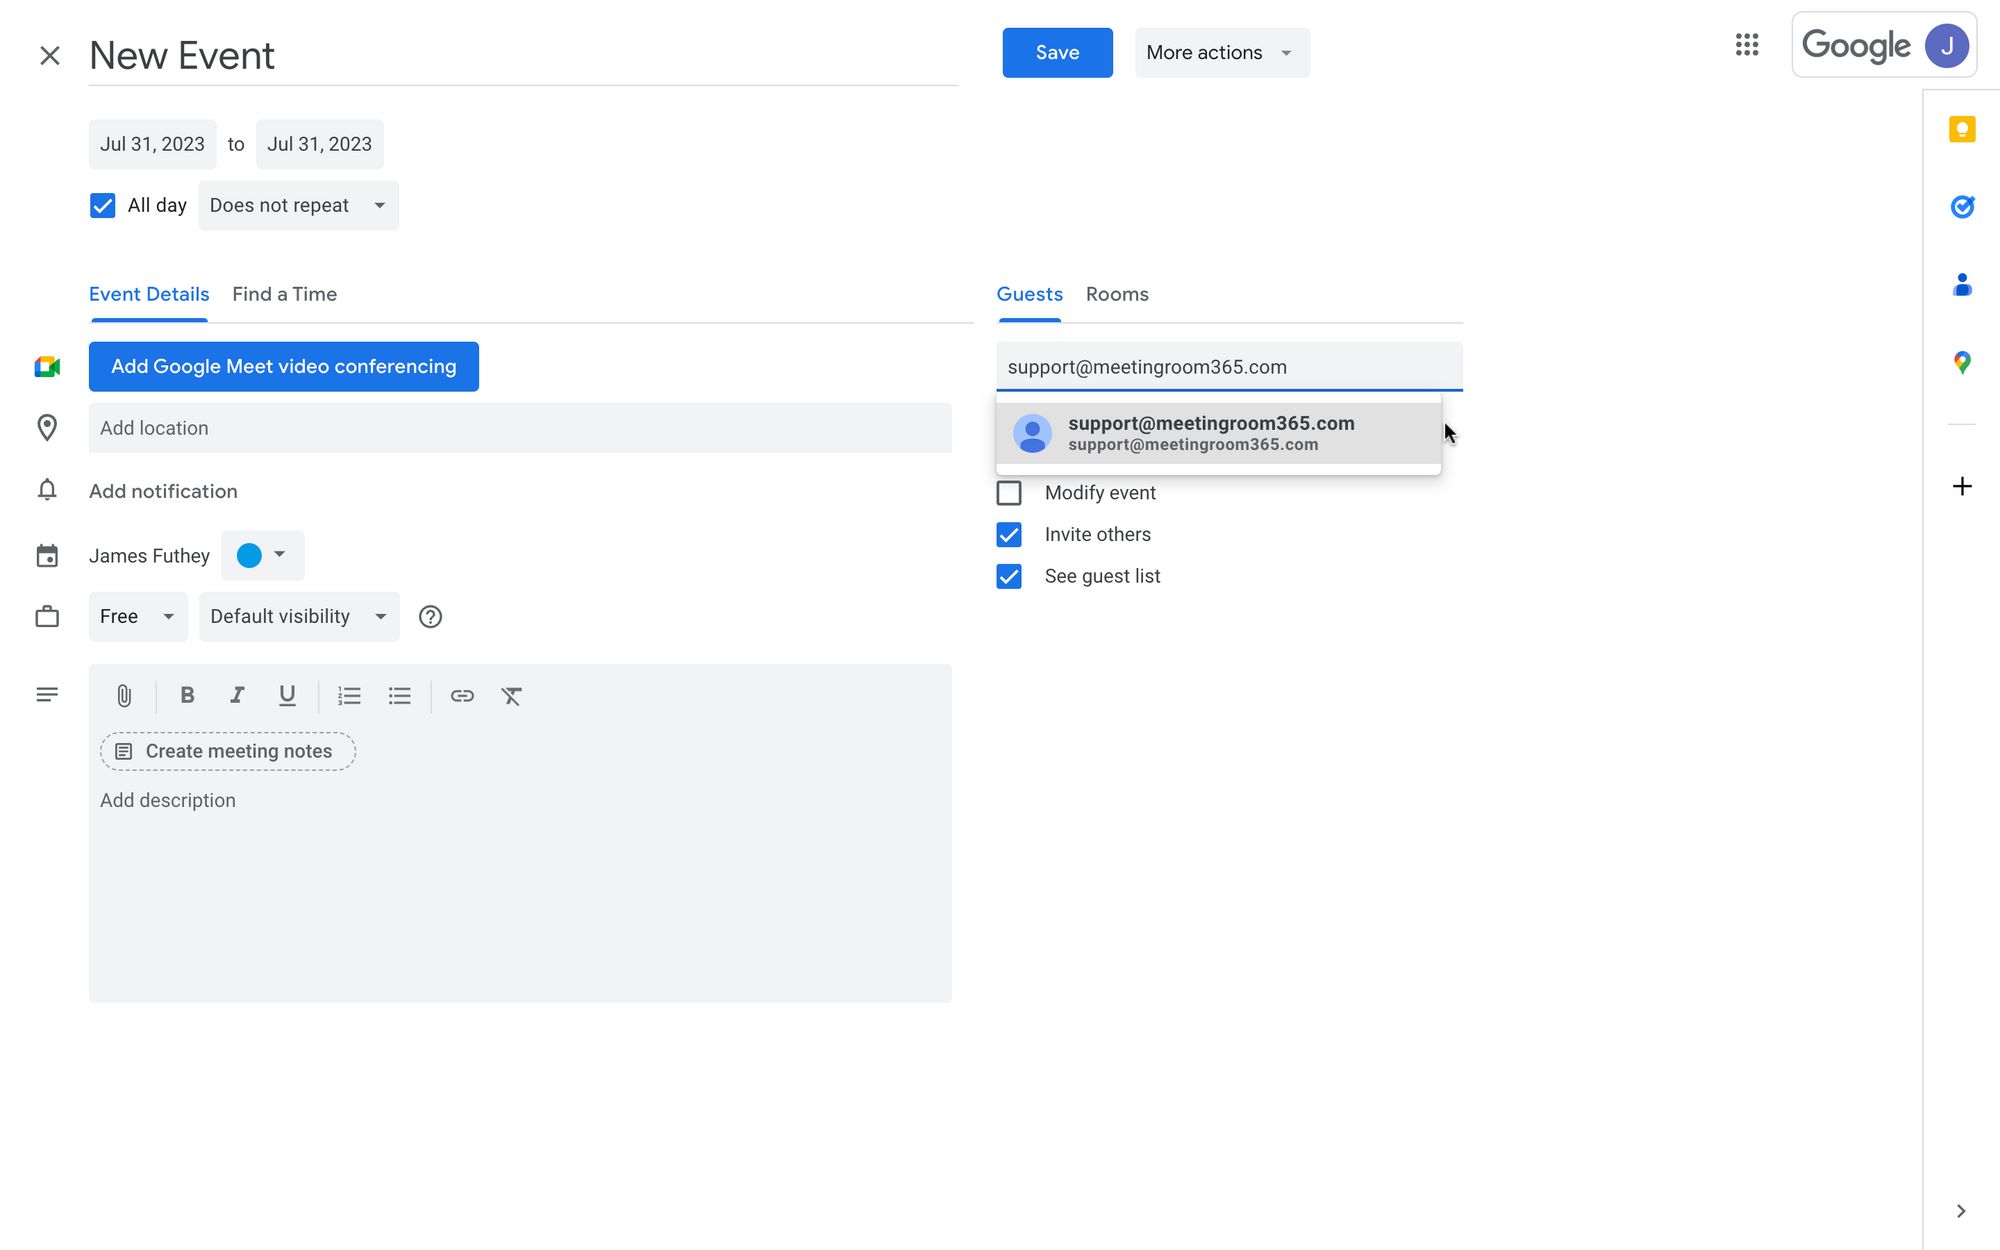
Step 3: Adding Guests to the Event
After creating your event in Google Calendar, it’s time to invite guests to join. Follow these steps to add guests to your event:
- Open the event that you just created by clicking on it in your Google Calendar.
- In the event details pane, locate the “Add guests” field.
- Enter the email addresses of the guests you would like to invite. Separate multiple email addresses with commas or semicolons.
- As you enter the email addresses, Google Calendar will automatically suggest matching contacts from your address book. Simply click the correct suggestion to add the guest.
- If necessary, you can add a personal message to the guests in the “Add a message” field. This message can provide additional details about the event or any specific instructions.
- After adding the guests and optional message, click “Save” to update the event and send out the invitations.
Once the invitations have been sent, each guest will receive an email notification with the event details and an option to accept or decline the invitation. They can also use the Google Calendar invite link to add the event to their own calendars.
In the next step, we will guide you on how to generate the invite link, which allows guests to easily add the event to their own calendars. Continue reading to learn more about Step 4: Generating the Invite Link.
Step 4: Generating the Invite Link
To make it easier for your guests to add the event to their calendars, you can generate an invite link in Google Calendar. Here’s how:
- Open the event in Google Calendar by clicking on it.
- In the event details pane, locate the “More actions” button, represented by three vertical dots.
- Click on the “More actions” button to reveal a dropdown menu.
- In the dropdown menu, select the “Copy event link” option.
- A notification will appear, indicating that the event link has been copied to your clipboard.
The invite link generated will be a unique URL that guests can click on to add the event to their calendars. This eliminates the need for them to manually enter the event details.
It’s important to note that the invite link is dynamic, meaning that if you make any changes to the event details or update the event time, the link will reflect those changes for the guests.
Now that you have the invite link, the next step is to add it to an email so you can easily share it with your guests. Continue reading to learn more about Step 5: Adding the Invite Link to an Email.
Step 5: Adding the Invite Link to an Email
Once you have generated the invite link for your event in Google Calendar, you can easily add it to an email to share with your guests. Follow these steps to include the invite link in your email:
- Open your preferred email client or service, such as Gmail or Outlook.
- Compose a new email by clicking on the “Compose” button or similar option.
- In the body of the email, position your cursor where you want to insert the invite link.
- Right-click and select the “Paste” option to paste the invite link into the email.
- Alternatively, you can use the keyboard shortcut Ctrl/Command + V to paste the invite link.
- Format the text or add any additional information you want to include in the email body.
- Compose the subject line and complete the email with any necessary attachments or additional content.
By including the invite link in your email, you’re providing your guests with an easy way to access the event details and add it to their calendars. This ensures that everyone is on the same page and avoids any confusion regarding date, time, and location.
Now that you have added the invite link to your email, the final step is to send the email with the Google Calendar invite. In the next step, we will guide you through the process of sending the email. Continue reading to learn more about Step 6: Sending the Email with Google Calendar Invite.
Step 6: Sending the Email with Google Calendar Invite
After adding the Google Calendar invite link to your email, you’re ready to send it to your guests. Follow these steps to send the email with the Google Calendar invite:
- Review the email content, including the subject line, message, and attached files, to ensure everything is accurate and complete.
- Double-check that the invite link is inserted in the appropriate location within the email body.
- Ensure that all necessary recipients are added to the “To” field.
- If desired, include additional recipients in the “Cc” or “Bcc” fields.
- Click on the “Send” button or a similar option to send the email.
- Once the email is sent, your guests will receive it in their respective inboxes.
- They can then click on the invite link in the email to access the event details.
- Guests will have the option to accept, decline, or tentatively respond to the event invitation.
- If they choose to accept, the event will be added to their own Google Calendar or the calendar app of their choice.
By sending the email with the Google Calendar invite, you have successfully shared the event details and provided an easy way for your guests to add it to their calendars. This streamlined process helps ensure that everyone is aware of the event and can plan accordingly.
Remember to keep an eye on the responses you receive from your guests to manage attendance and make any necessary adjustments to the event planning.
Now that you know how to send the email with the Google Calendar invite, you have completed all the necessary steps. Congratulations!
Conclusion
Adding a Google Calendar invite to an email can greatly simplify the process of sharing event details and coordinating with your guests. By following the steps outlined in this guide, you can effortlessly create an event in Google Calendar, invite guests, generate an invite link, and include it in an email.
With Google Calendar’s seamless integration with popular email clients, such as Gmail, you can easily send invitations without the need to switch between different platforms. This not only saves time but also ensures that all your event-related information is in one place.
Remember to customize event settings and provide clear instructions and additional details to your guests. The invite link generated in Google Calendar allows recipients to quickly add the event to their calendars, eliminating the need for manual entry and reducing the chances of miscommunication or missed events.
Whether you’re planning a business meeting, a social gathering, or a personal event, utilizing Google Calendar and its email integration can enhance your organization and communication. By keeping your guests informed and synchronized, you can ensure that everyone is on the same page and maximize attendance.
We hope this guide has been helpful in teaching you how to add a Google Calendar invite to an email. Now that you have the knowledge and tools, go ahead and start leveraging the power of Google Calendar for seamless event planning and coordination.
Happy scheduling!