Introduction
Welcome to this guide on how to set up a meeting in Google Calendar! Google Calendar is a powerful tool that can help you efficiently schedule and manage your meetings. Whether you’re organizing a team meeting, a client presentation, or a brainstorming session, Google Calendar has all the features you need to ensure a smooth and productive meeting.
With just a few simple steps, you can easily create and share meeting invitations, set up reminders, and even reserve meeting rooms if needed. In this article, we will walk you through the process of setting up a meeting in Google Calendar, from accessing the platform to sending out the invitation to your guests.
Setting up a meeting in Google Calendar offers a range of benefits. First and foremost, it provides a centralized platform for all participants to view and manage their schedules, reducing the chances of scheduling conflicts. Additionally, Google Calendar seamlessly integrates with other Google tools such as Gmail, allowing you to easily send and receive meeting invitations and reminders.
Whether you are a business professional, entrepreneur, or student, understanding how to effectively utilize Google Calendar can significantly enhance your scheduling and time management skills. By following the steps outlined in this guide, you’ll be able to leverage the full potential of Google Calendar and streamline your meeting organization process.
So, let’s dive in and learn how to set up a meeting in Google Calendar step by step!
Step 1: Accessing Google Calendar
The first step to setting up a meeting in Google Calendar is accessing the platform. Here’s how you can do it:
1. Open your web browser and navigate to https://calendar.google.com.
2. If you already have a Google account, enter your email address and password to sign in. If you don’t have a Google account, click on the “Create account” button to set one up.
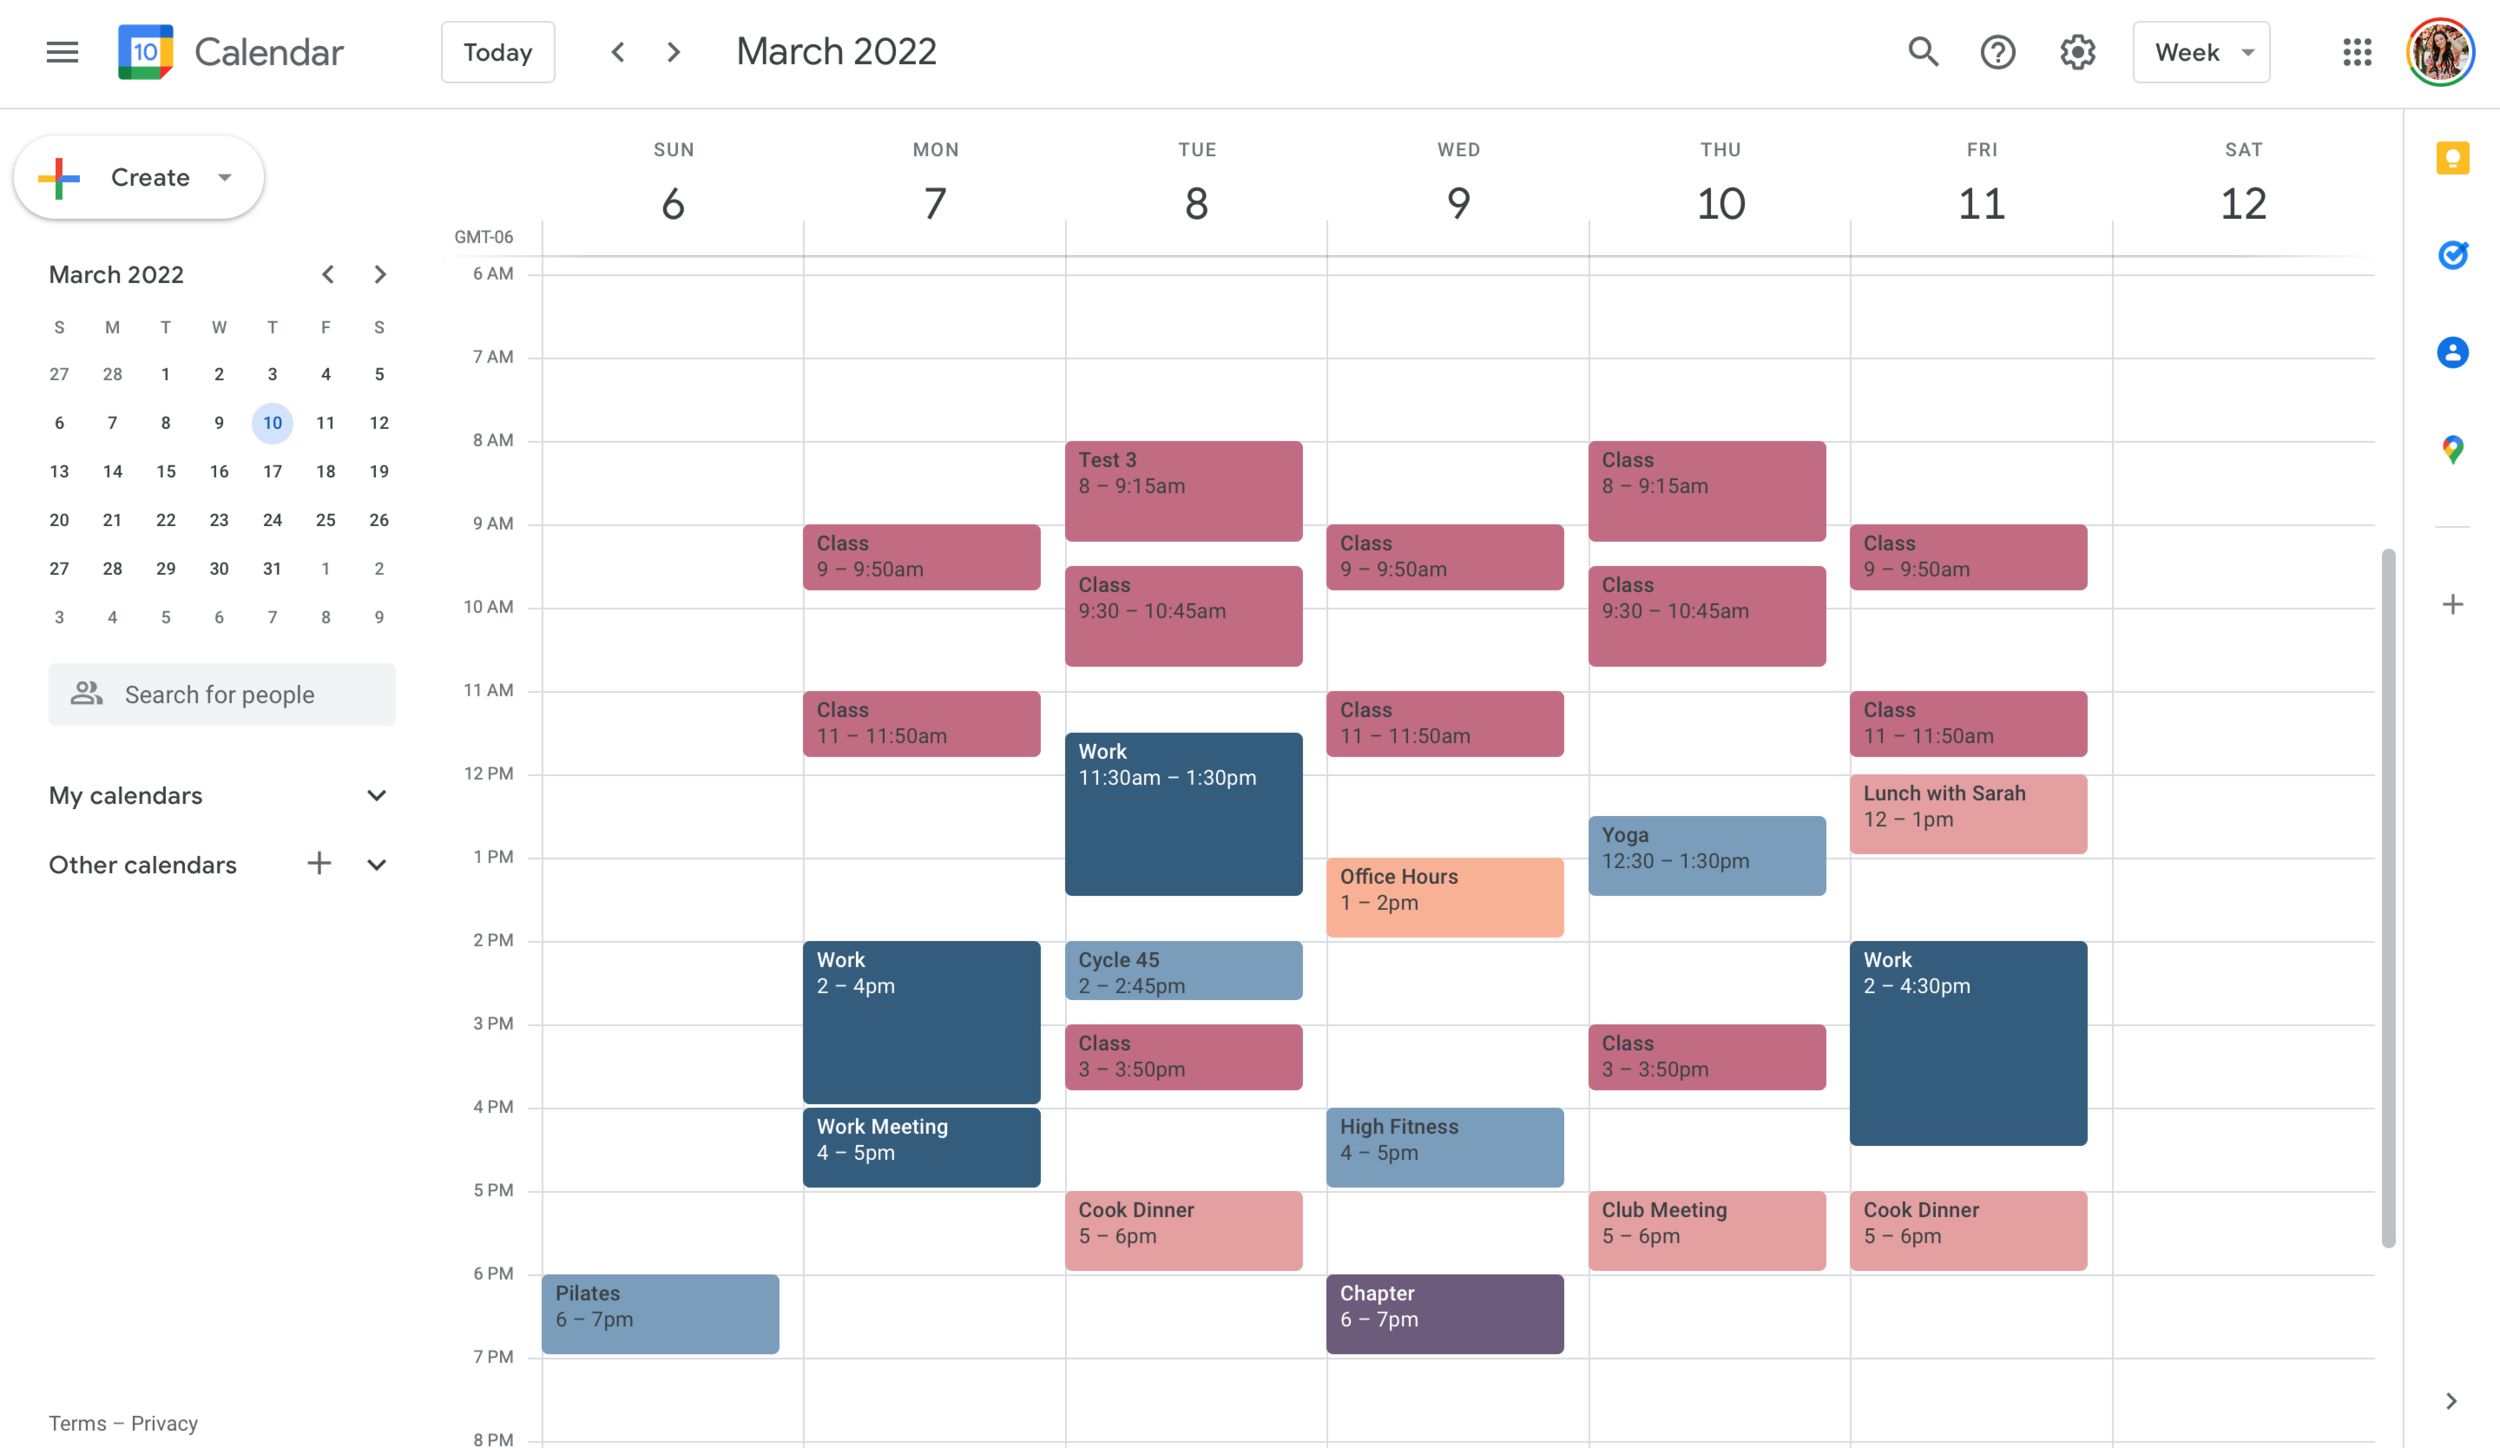
3. Once you’re signed in, you’ll be redirected to the Google Calendar page. Here, you’ll find the calendar interface with a view of the current month, along with any events or meetings you have scheduled.
4. Take a moment to familiarize yourself with the different features and options available in Google Calendar. You can customize the calendar view, switch between day, week, and month views, and adjust various settings according to your preferences.
5. It’s also worth exploring the Google Calendar app on your mobile device, available for both iOS and Android. This way, you can access your calendar on the go and easily manage your meetings and events.
Now that you’ve successfully accessed Google Calendar, you’re ready to move on to the next step: creating a new event for your meeting.
Remember, Google Calendar is a user-friendly platform that offers a wide range of features and customization options to suit your needs. Take some time to explore and familiarize yourself with the interface, as it will make scheduling your meetings much easier and more efficient.
Step 2: Creating a New Event
Once you’ve accessed Google Calendar, the next step is to create a new event for your meeting. Follow these simple steps:
1. On the Google Calendar interface, click on the “+” button or simply double-click on the desired date and time on the calendar. This will open up the event creation window.
2. In the event creation window, enter a title for your meeting. Make it descriptive and concise, so attendees can quickly understand the purpose of the meeting.
3. Below the title, you’ll find the date and time options. Select the date and start time for your meeting. If the meeting has a specific duration, you can also set the end time. Google Calendar will automatically calculate the duration based on your inputs.
4. If your meeting is a recurring event, such as a weekly team meeting, click on the “Repeat” option. Here, you can choose how often the meeting will repeat, whether it’s daily, weekly, monthly, or on a custom schedule. Specify the end date if the recurring meetings have a finite duration.
5. The next step is to add a location for your meeting. You can do this by either entering the physical address or providing a link to a virtual meeting platform, such as Zoom or Google Meet. This will help attendees easily access the meeting.
6. Right below the location field, you’ll find a description box. Use this space to provide additional details about the meeting agenda, objectives, or any necessary preparation attendees need to make. A clear and informative description will ensure everyone is on the same page.
7. To categorize your meeting, you can assign it to a specific calendar by clicking on the “Calendar” dropdown menu. This is useful if you have multiple calendars, such as personal and work calendars, and want to keep your meetings organized.
8. Finally, you can add any attachments, such as relevant documents or presentation slides, by clicking on the paperclip icon. This allows you to share important files with your attendees.
Once you’ve filled in all the necessary details for your meeting, you’re ready to move on to the next step: inviting guests to the meeting. Creating a new event in Google Calendar is quick and straightforward, enabling you to efficiently organize and manage your meetings.
Step 3: Adding Event Details
Now that you’ve created a new event for your meeting in Google Calendar, it’s time to provide additional event details. Follow these steps to ensure your attendees have all the information they need:
1. Start by selecting the event you just created on the calendar. You can do this by clicking on the event or finding it in the event list on the right side of the screen.
2. Once you’ve selected the event, you’ll see a panel on the right side of the screen with various options. This is where you can add and edit the event details.
3. To add event details, click on the “Edit event” pencil icon at the top-right corner of the panel. This will allow you to modify the event information.
4. In the event details section, you can fill in key information such as the event location, description, and attachments. The event location could be a physical address, a meeting room, or a virtual meeting link.
5. The event description is a great place to provide a more in-depth overview of the meeting, including the agenda, goals, and any pre-meeting preparation that attendees should complete. Use this space to ensure everyone is adequately prepared and knows what to expect.
6. Adding attachments can be helpful, especially if there are relevant documents, presentation slides, or reference materials that attendees need to review prior to the meeting. Attachments can easily be shared by clicking on the paperclip icon in the event details section.
7. If you want to allocate a specific event color or change the visibility settings, you can do so in the “Event details” section as well. This allows you to customize the appearance and accessibility of your event.
8. Once you have added all the necessary event details, click on the “Save” button at the top-right of the event panel to save your changes and update the event.
By providing comprehensive event details, you help ensure that all attendees have the necessary information to prepare for the meeting. Clear and concise details also minimize confusion and enable efficient communication among participants.
Now that you’ve added event details, it’s time to move on to the next step: inviting guests to the meeting.
Step 4: Inviting Guests
One of the key features of Google Calendar is the ability to easily invite guests to your meetings. Here’s how you can invite attendees to your meeting:
1. With your event open in Google Calendar, locate the “Add guests” box or the “People” field, usually found below the event title and date/time.
2. Enter the email addresses of the guests you want to invite. You can directly type in the email addresses or use the “Add guests” feature to search for contacts in your address book or by typing their name.
3. As you add guests, Google Calendar will auto-complete the addresses for you, making it easier to add multiple attendees at once. You can also click on the “+” button to invite additional guests.
4. If you want to control the level of access or have specific permissions for guests, click on the guest’s email address to bring up additional settings. Here, you can choose to make the event visible only to specific guests or allow guests to modify the event details.
5. If you want to include a personalized message with the invitation, you can do so in the “Add a message” field. This allows you to provide any additional instructions, reminders, or important information to your guests.
6. Once you have added the guests and customized the settings, click on the “Save” button to update the event and send out the invitations.
Google Calendar will automatically send email invitations to all the guests you have invited. These invitations will include the meeting details, such as the date, time, and location, as well as any additional information you have provided. Guests can then accept, decline, or tentatively respond to the invitation directly from the email, and their responses will be reflected in your calendar.
Remember to provide your guests with ample time to respond to the invitation and encourage them to RSVP promptly. Tracking guest responses in Google Calendar simplifies the process of managing attendee lists and ensures you have an accurate count of who will be attending the meeting.
Inviting guests to your meeting in Google Calendar is a straightforward process that helps streamline communication and collaboration. With these simple steps, you can easily create a comprehensive attendee list and ensure that everyone is informed about the meeting.
Step 5: Setting a Date and Time
Setting a date and time for your meeting in Google Calendar is an essential step to ensure that all participants can attend. Follow these steps to set the date and time:
1. Open the event you created in Google Calendar or create a new event by clicking on the desired date and time on the calendar.
2. In the event details section, locate the date and time options. Here, you can specify the start and end time for your meeting.
3. To select the date, click on the date field and choose the appropriate date from the calendar pop-up. You can also manually enter the date in the format of your choice.
4. Next, specify the start time by clicking on the time field. A drop-down menu will appear, allowing you to select the desired start time. Similarly, select the end time by adjusting the corresponding field.
5. If your meeting has a specific duration, Google Calendar will automatically calculate the end time based on the start time and duration. You can also manually adjust the end time if necessary.
6. If your meeting is recurring, such as a weekly team meeting, click on the “Repeat” option below the date and time fields. Google Calendar provides various options for recurring events, such as daily, weekly, monthly, or custom schedules. Select the appropriate recurrence pattern for your meeting and specify the end date if applicable.
7. If there are any exceptions to the recurrence pattern, such as a specific date when the meeting won’t occur, you can add those exceptions by clicking on the “Add an exception” button. This gives you more flexibility in managing recurring meetings.
8. Once you have set the date and time of your meeting, click on the “Save” button to update the event with the new time settings.
Setting a clear and specific date and time for your meeting is crucial for ensuring that all participants can plan and allocate their schedules accordingly. Adjusting the recurrence options allows you to easily schedule regular meetings without the need to create individual events for each occurrence.
Now that you’ve set the date and time, it’s time to move on to the next step: choosing a meeting room, if applicable.
Step 6: Choosing a Meeting Room (if applicable)
If you’re organizing an in-person meeting, one important consideration is choosing a suitable meeting room. Google Calendar provides a feature that allows you to reserve meeting rooms and include the location in your event details. Follow these steps to choose a meeting room:
1. Open the event you created in Google Calendar or create a new event by clicking on the desired date and time on the calendar.
2. In the event details section, locate the “Location” field. This is where you can specify the meeting room or venue for your in-person meeting.
3. Start typing the name or description of the meeting room you want to reserve. Google Calendar will auto-populate suggestions based on your input.
4. Select the appropriate meeting room from the suggestions or continue typing until you find the desired room.
5. If you have access to a shared calendar that includes the availability of meeting rooms, Google Calendar will also display the availability of the room based on your selected date and time. This way, you can easily see if the room is already booked or if it’s available for your meeting.
6. Once you have chosen the meeting room, it will be automatically added to your event details along with the address and any other necessary information.
7. If you have multiple meeting rooms available, you can repeat the process to select additional rooms or specify different rooms for different occurrences if the meeting is recurring.
8. Remember to save the event to update the room reservation and include the meeting room details in the event invitation.
Choosing a meeting room in Google Calendar is particularly helpful for in-person meetings, as it allows attendees to easily identify the location of the meeting. This feature streamlines the scheduling process by providing a visual representation of room availability and ensuring that there are no conflicts with other events or bookings.
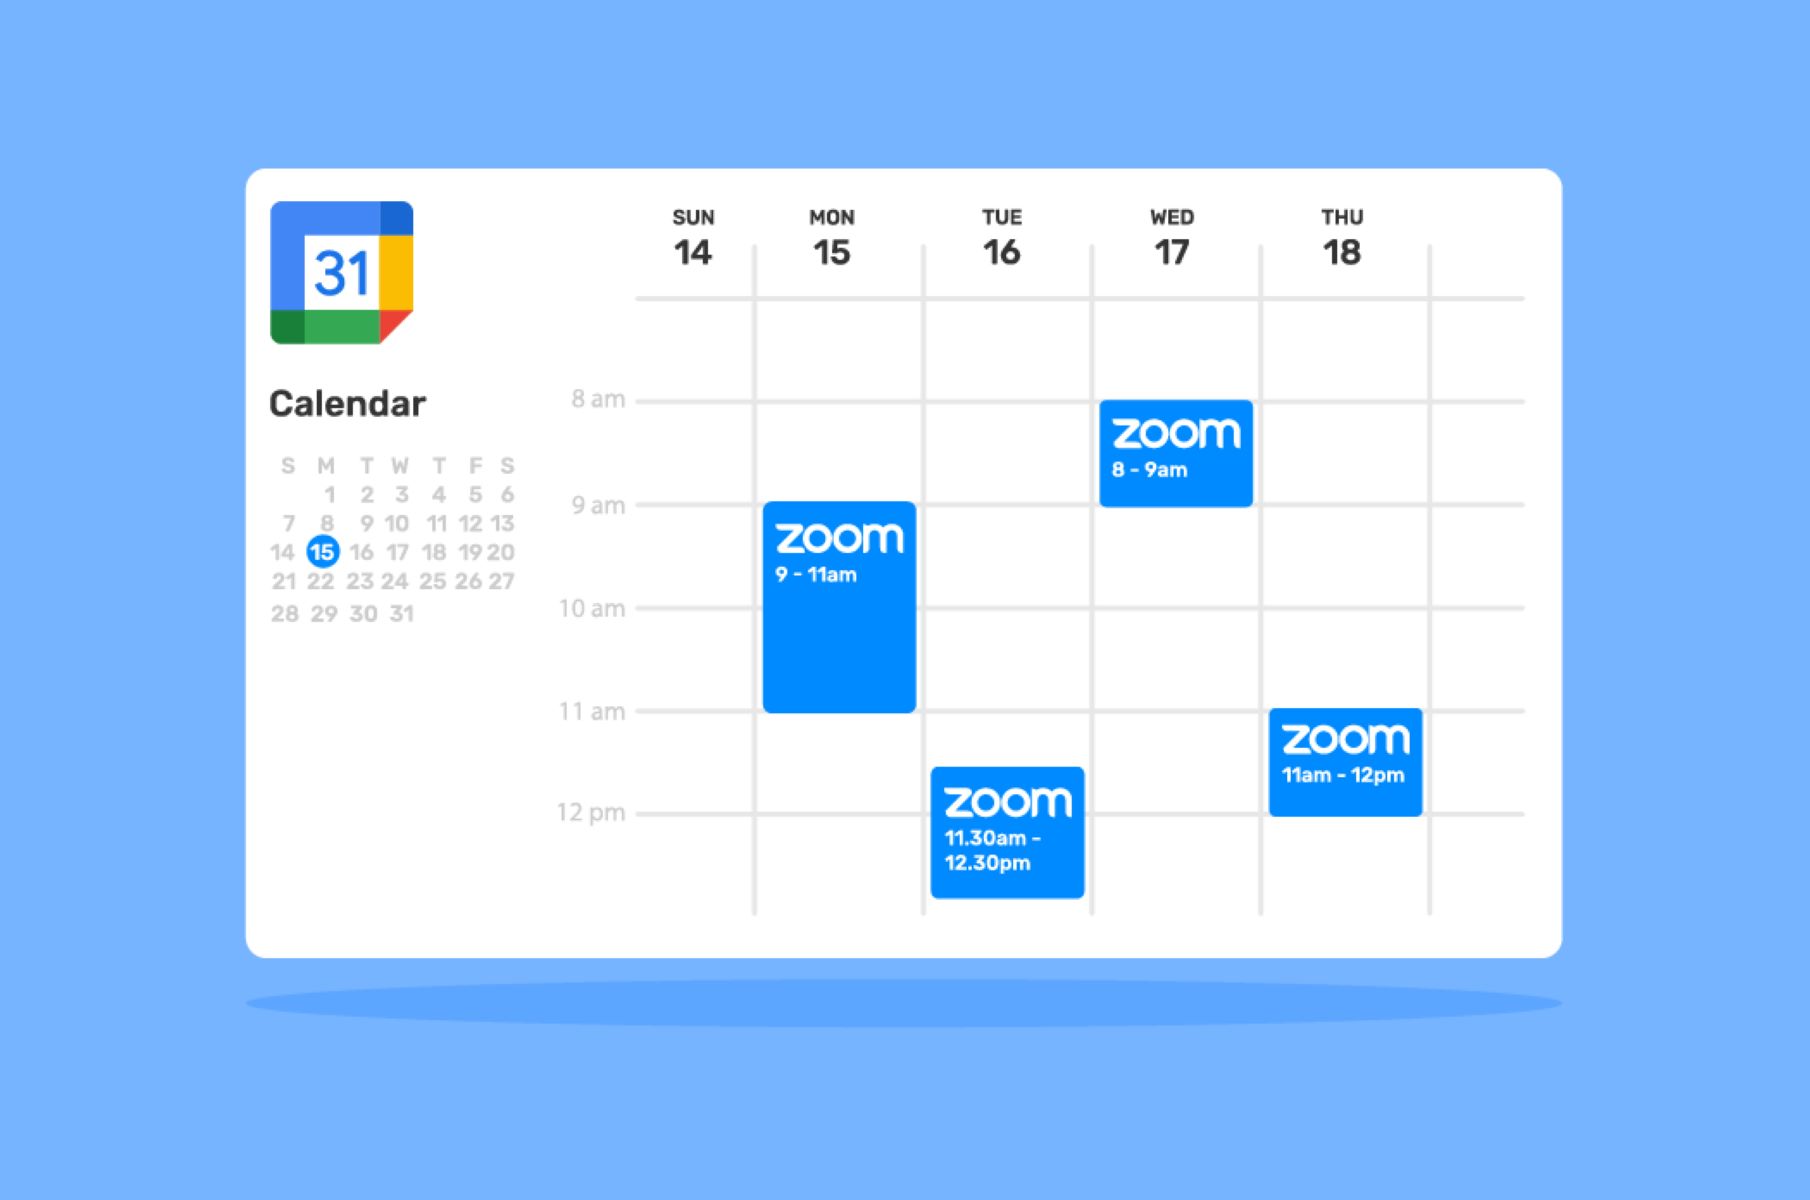
If your meeting is virtual, rather than requiring a physical meeting room, you can utilize the “Location” field to include a link to the virtual meeting platform, such as Zoom or Google Meet. This way, attendees can easily join the meeting from their preferred location.
Now that you’ve chosen a meeting room or virtual platform for your meeting, it’s time to move on to the next step: adding reminders to ensure everyone is prepared and on time.
Step 7: Adding Reminders
Adding reminders to your meeting in Google Calendar ensures that both you and your meeting participants stay on track and don’t miss any important deadlines or preparations. Follow these steps to add reminders to your meeting:
1. Open the event you created in Google Calendar or create a new event by clicking on the desired date and time on the calendar.
2. In the event details section, locate the “Add a reminder” option. This can usually be found right below the date and time settings.
3. Click on the drop-down menu to choose when you want the reminder to be sent out. Google Calendar offers various options, such as minutes, hours, or days before the meeting.
4. Once you’ve chosen the timeframe, enter the number of minutes, hours, or days for the reminder. This will determine how much advance notice you and your guests will receive.
5. If you want to add multiple reminders, you can click on the “Add a reminder” option again and repeat the process.
6. You can also choose to receive reminders via email, pop-up notifications, or both. To customize these settings, click on the “Settings” gear icon in the top-right corner of the event details panel, and select “Settings for this event.” Here, you can choose your preferred method of reminder delivery.
7. Once you have set up the reminders, click on the “Save” button to update the event with the new reminder settings.
Adding reminders to your meeting in Google Calendar acts as a helpful tool to keep everyone informed and prepared. These reminders serve as prompts to complete any necessary preparations, review meeting materials, or simply ensure that everyone is aware of the upcoming meeting.
Remember to consider the appropriate lead time for your reminders based on the nature of the meeting and the tasks involved. Selecting the preferred delivery method, whether it’s email notifications or pop-up reminders, allows you to receive timely updates and stay organized.
Now that you’ve added reminders to your meeting, it’s time to move on to the final step: sending out the meeting invitations to your guests.
Step 8: Sending the Invitation
With all the necessary details in place, it’s time to send out the meeting invitations to your guests. Google Calendar makes it easy to distribute the invitation and ensure that everyone receives the information they need. Follow these steps to send the invitation:
1. Open the event you created in Google Calendar or create a new event by clicking on the desired date and time on the calendar.
2. In the event details section, make sure that all the information is accurate and up to date, including the title, date, time, location, and any additional details you’ve entered.
3. Double-check the list of invited guests in the “People” field. Ensure that all the email addresses are entered correctly and that you haven’t missed anyone who should be included in the invitation.
4. If you want to include a personalized message with the invitation, you can do so in the “Add a message” field. This message can serve as a reminder, include any last-minute updates, or provide additional instructions or materials for the meeting.
5. Once you’re satisfied with the event details and the guest list, click on the “Send” button to send out the invitations.
6. Google Calendar will automatically generate and send email invitations to all the guests you’ve invited. These invitations will contain all the relevant details of the meeting, including the date, time, location, and any additional information you’ve included.
7. As the event organizer, you will also receive a copy of the invitation email, along with any responses from the guests. This allows you to keep track of RSVPs and make any necessary adjustments to the meeting.
By sending the meeting invitation through Google Calendar, you ensure that all the necessary information is readily available to your guests. The invitation email will contain a summary of the meeting details and provide a simple way for recipients to accept, decline, or tentatively respond to the invitation.
Once the invitations are sent, it’s helpful to follow up with your guests to ensure that they have received the invitation and to address any questions or concerns they may have. This proactive communication will help ensure a successful and well-attended meeting.
Now that you’ve sent out the meeting invitation, you’ve completed all the necessary steps in setting up a meeting in Google Calendar. With these simple instructions, you can effectively utilize Google Calendar to organize and manage your meetings efficiently.
Conclusion
Setting up a meeting in Google Calendar is a straightforward process that can greatly enhance your scheduling and organization capabilities. By following the steps outlined in this guide, you can create and manage meetings efficiently, ensuring that all participants have the necessary information and are well-prepared.
From accessing Google Calendar to sending out meeting invitations, each step plays a crucial role in facilitating successful meetings. We explored how to access Google Calendar, create new events, add event details, invite guests, set dates and times, choose meeting rooms, add reminders, and send out invitations.
Through Google Calendar’s user-friendly interface and features, you can streamline the meeting organization process, reduce scheduling conflicts, and improve communication among participants. The ability to customize event details, invite guests with ease, and set reminders ensures that everyone is on the same page and can actively participate in the meeting.
Furthermore, Google Calendar’s integration with other Google tools, such as Gmail and Google Meet, allows for seamless collaboration and communication during meetings. The ability to share documents, hold virtual meetings, and receive notifications helps maximize productivity and efficiency.
Remember to explore additional features and settings within Google Calendar to fully optimize your experience. Consider adjusting calendar views, integrating with other productivity tools, and customizing event colors to suit your preferences and enhance your scheduling capabilities.
By leveraging the power of Google Calendar, you can effectively manage your meetings, stay organized, and make the most of your time. Whether you’re a busy professional, an entrepreneur, or a student, implementing the steps outlined in this guide will help you harness the full potential of Google Calendar and enhance your productivity.
So, start setting up your meetings in Google Calendar today and enjoy the benefits of efficient scheduling, seamless collaboration, and effective time management.