Introduction
Welcome to this step-by-step guide on how to add an event to a specific Google Calendar. Google Calendar is a powerful tool that helps you manage your schedule and stay organized. Whether you want to keep track of important meetings, appointments, or personal events, Google Calendar makes it easy to stay on top of your commitments.
Adding an event to your Google Calendar is a simple process, but many users can get confused when it comes to selecting a specific calendar to add the event to. In this guide, we will walk you through the necessary steps to add an event to a specific Google Calendar, ensuring that you stay organized and keep all your events separate and easily accessible.
By the end of this guide, you will have a clear understanding of how to add an event to your desired Google Calendar, allowing you to manage your schedule effectively and avoid any confusion or overlapping events.
So, let’s get started with the first step: signing in to your Google account.
Step 1: Sign in to your Google account
The first step to add an event to a specific Google Calendar is to sign in to your Google account. If you already have an account, you can proceed to the next step. If you don’t have an account, you will need to create one before you can access Google Calendar.
To sign in to your Google account, follow these steps:
- Open a web browser and go to the Google homepage.
- Click on the “Sign in” button located at the top right corner of the page.
- Enter your email address or phone number associated with your Google account.
- Click on the “Next” button.
- Enter your password and click on the “Sign in” button.
Once you have successfully signed in to your Google account, you will have access to a wide range of Google services, including Google Calendar.
It is important to sign in to your account before proceeding with the next steps, as you need to be logged in to add an event to your Google Calendar. By signing in, you ensure the event will be associated with your account and can be easily accessed and synced across your devices.
Now that you have signed in to your Google account, let’s move on to the next step: opening Google Calendar.
Step 2: Open Google Calendar
Once you have signed in to your Google account, the next step is to open Google Calendar. Google Calendar is a web-based application that allows you to create and manage events, view your schedule, and share calendars with others.
To open Google Calendar, follow these steps:
- On the Google homepage, click on the “Apps” icon located at the top right corner of the page. It looks like a grid of squares.
- From the drop-down menu, click on “Calendar”. This will open Google Calendar in a new tab.
Alternatively, you can directly access Google Calendar by typing “calendar.google.com” in the address bar of your web browser.
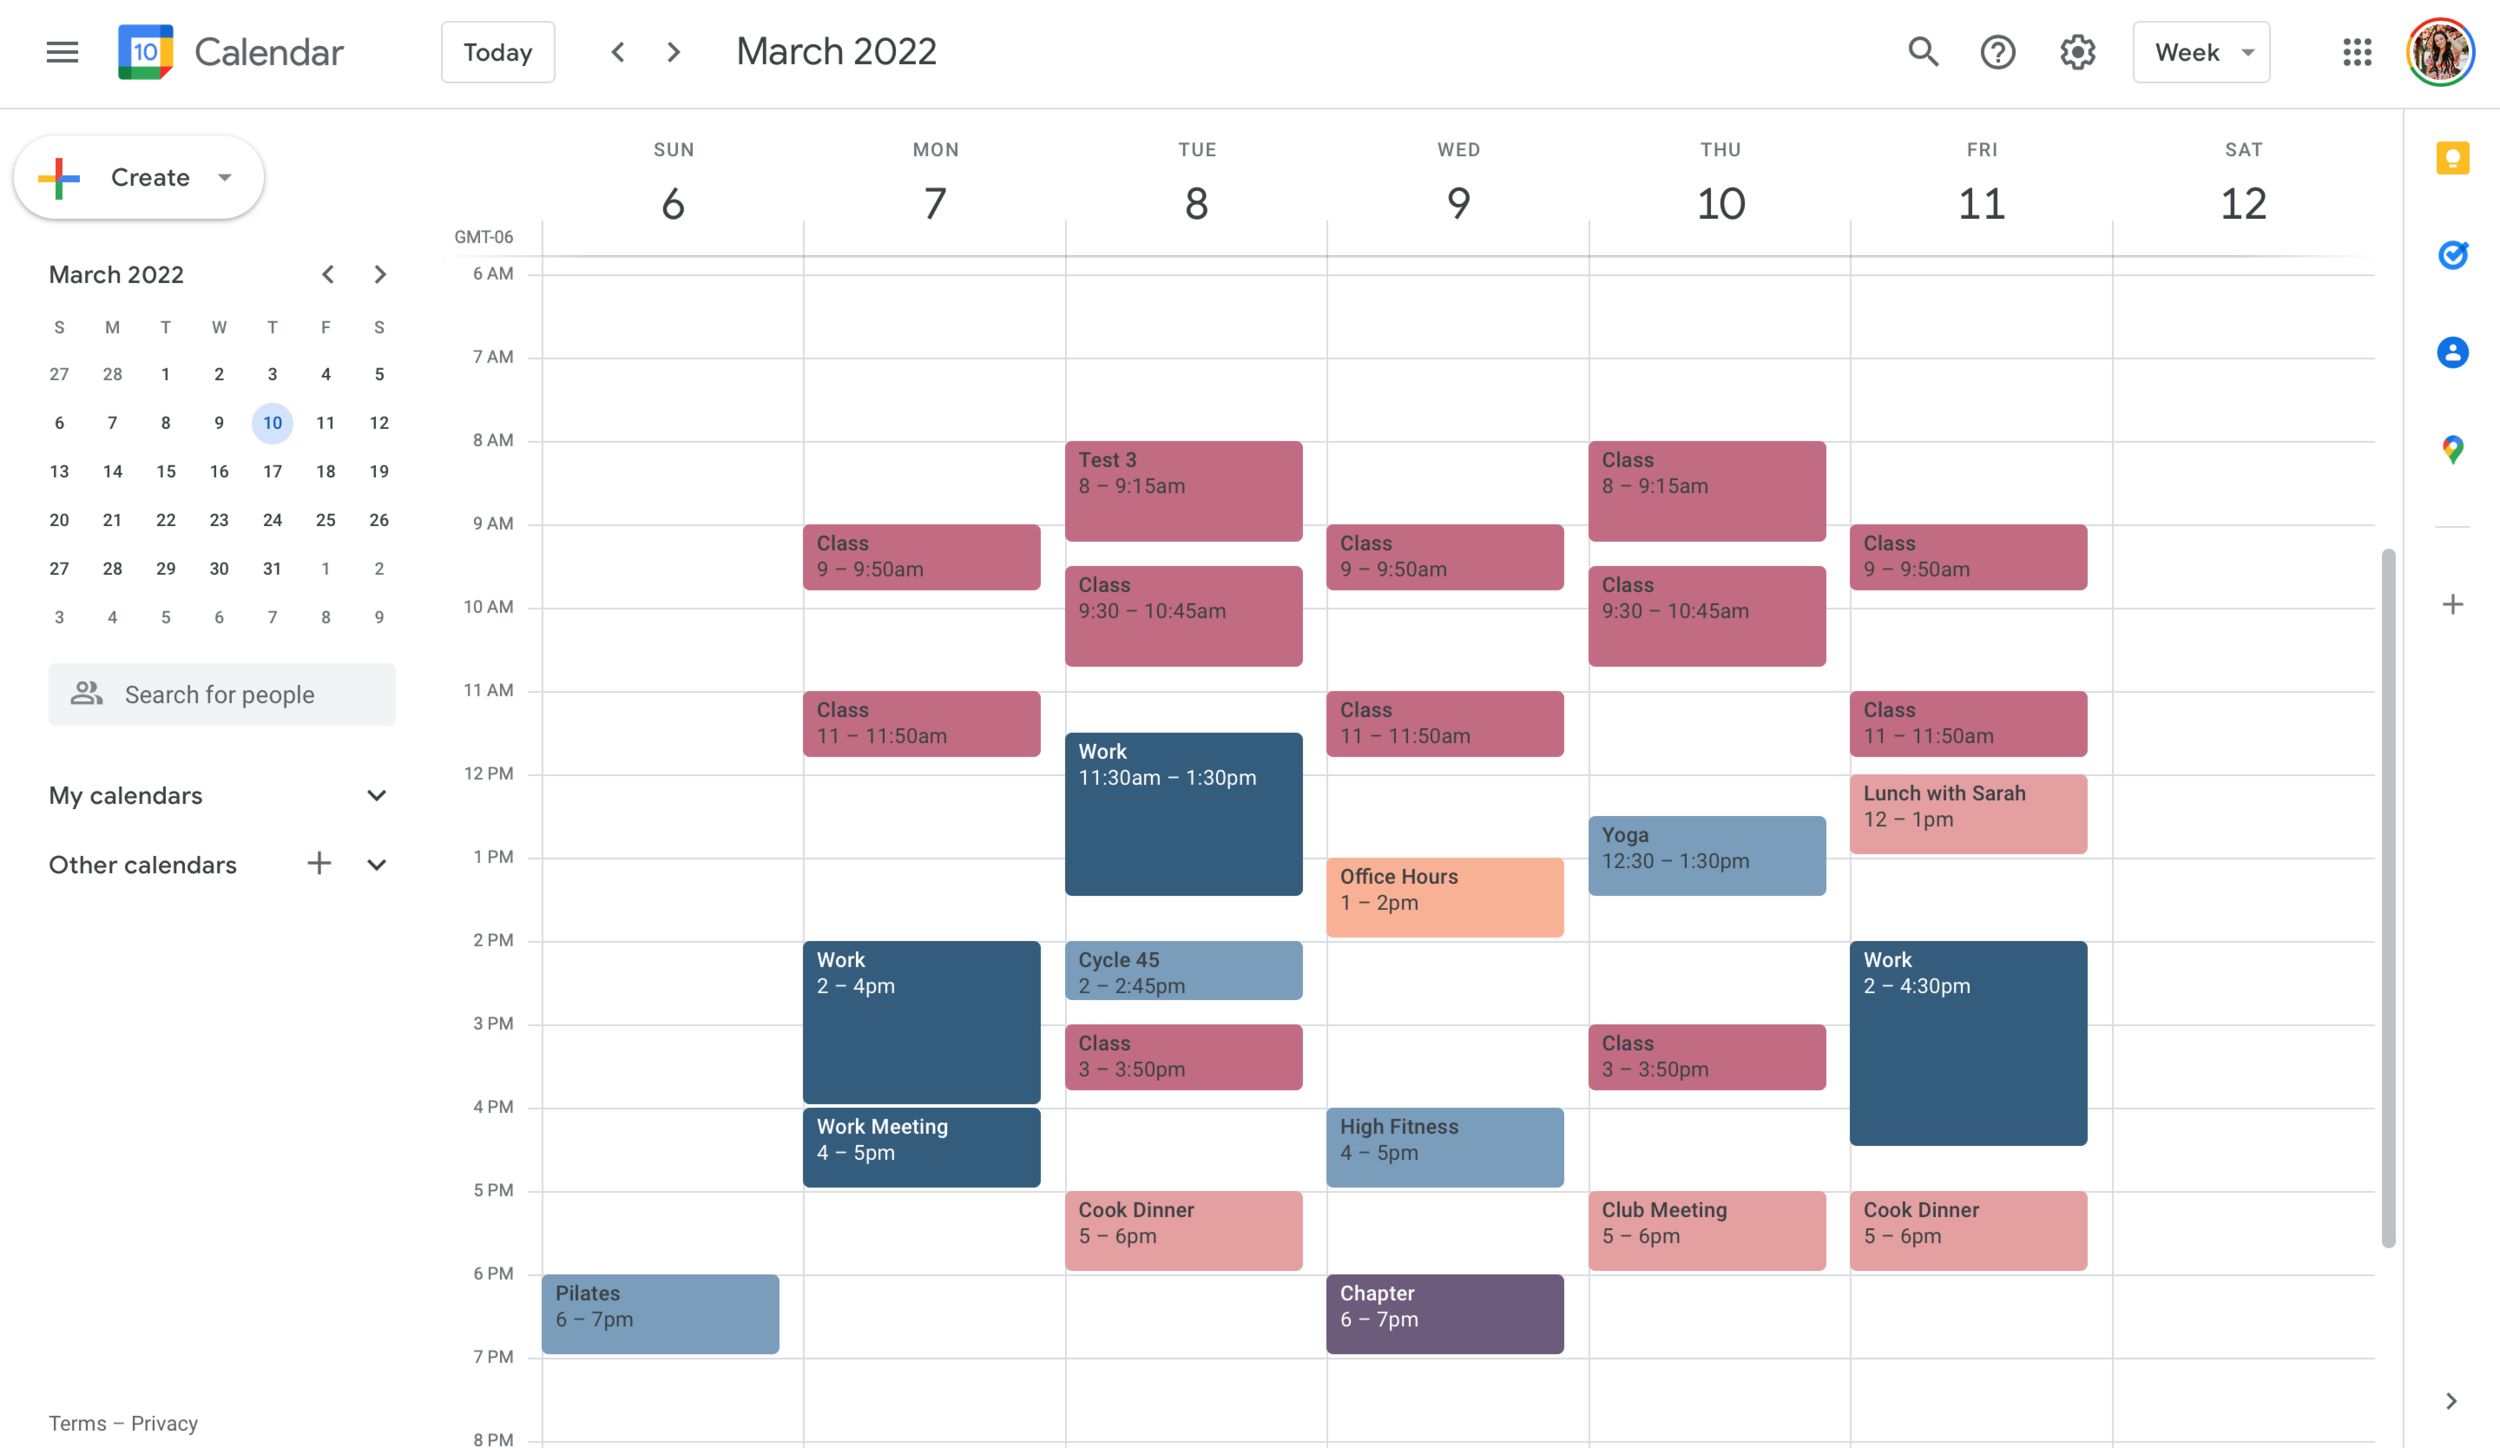
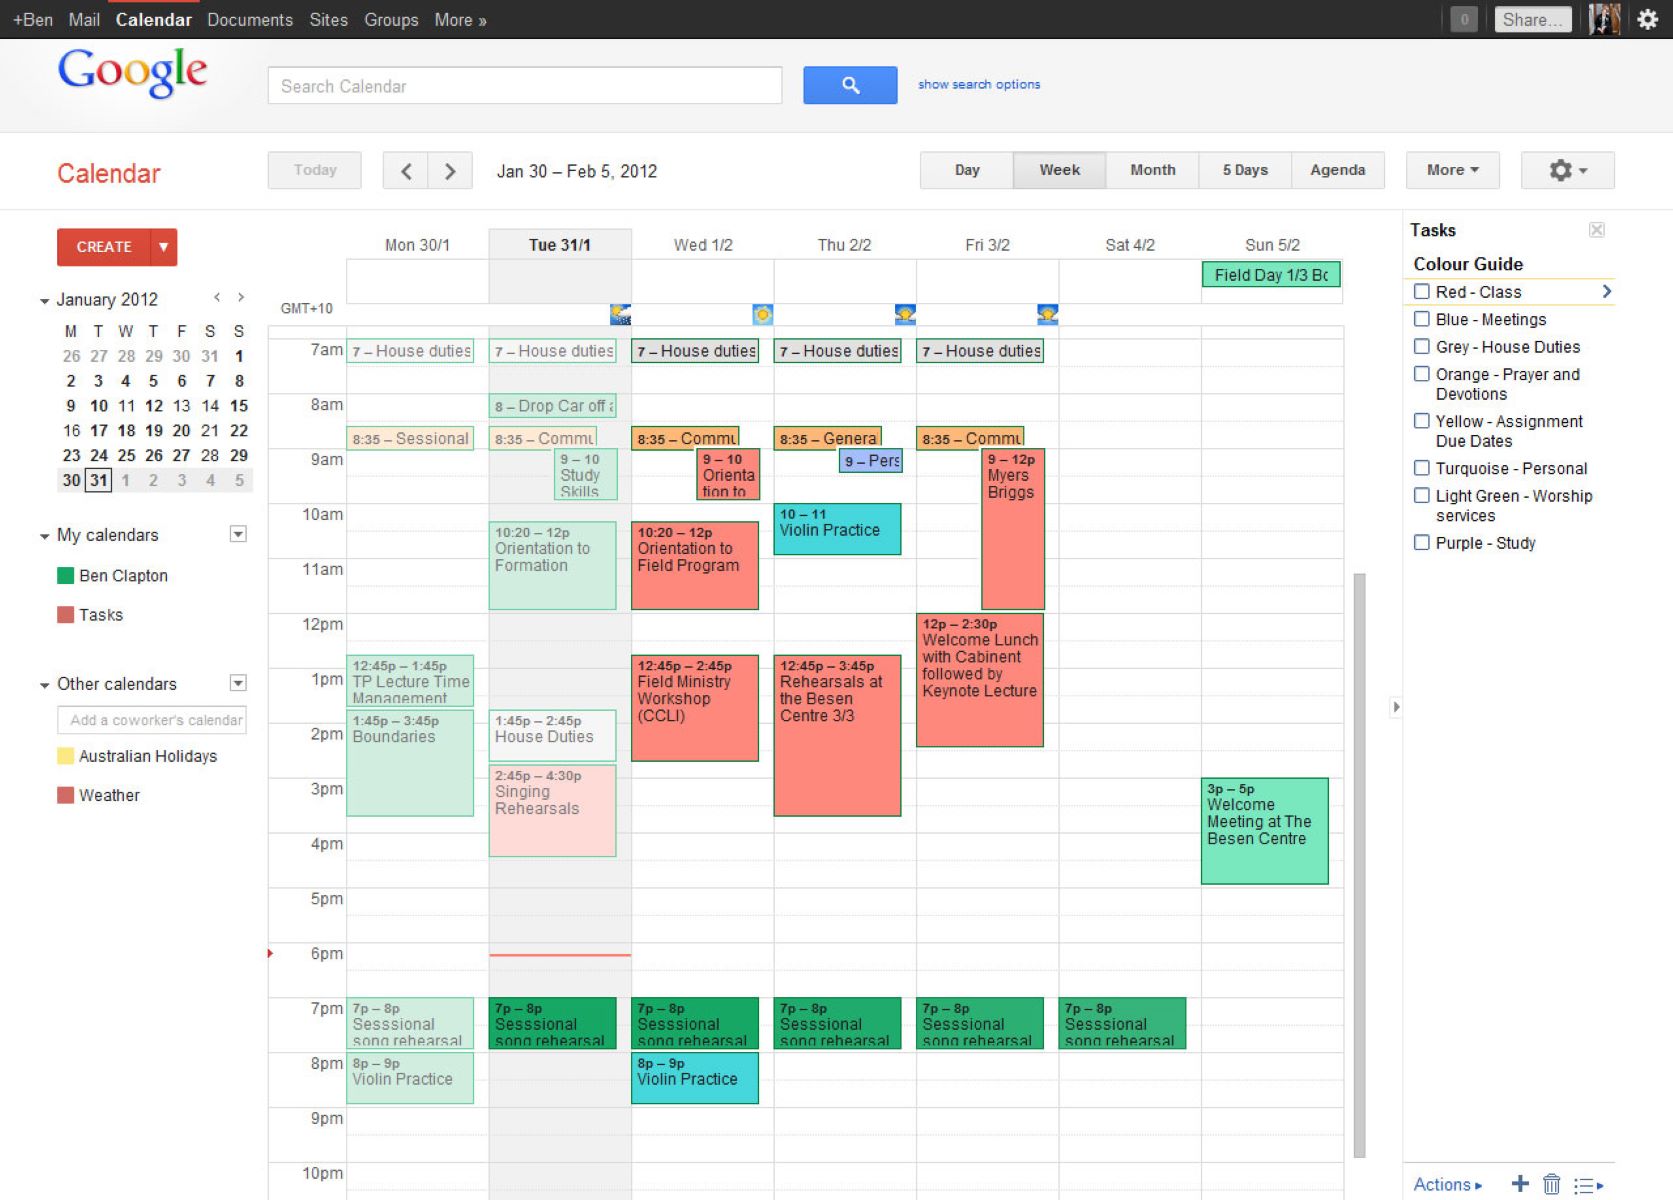
Once you have opened Google Calendar, you will be presented with a clean and intuitive interface, displaying your current calendar view. You can customize the calendar view to your preference by selecting different views such as day, week, month, or agenda.
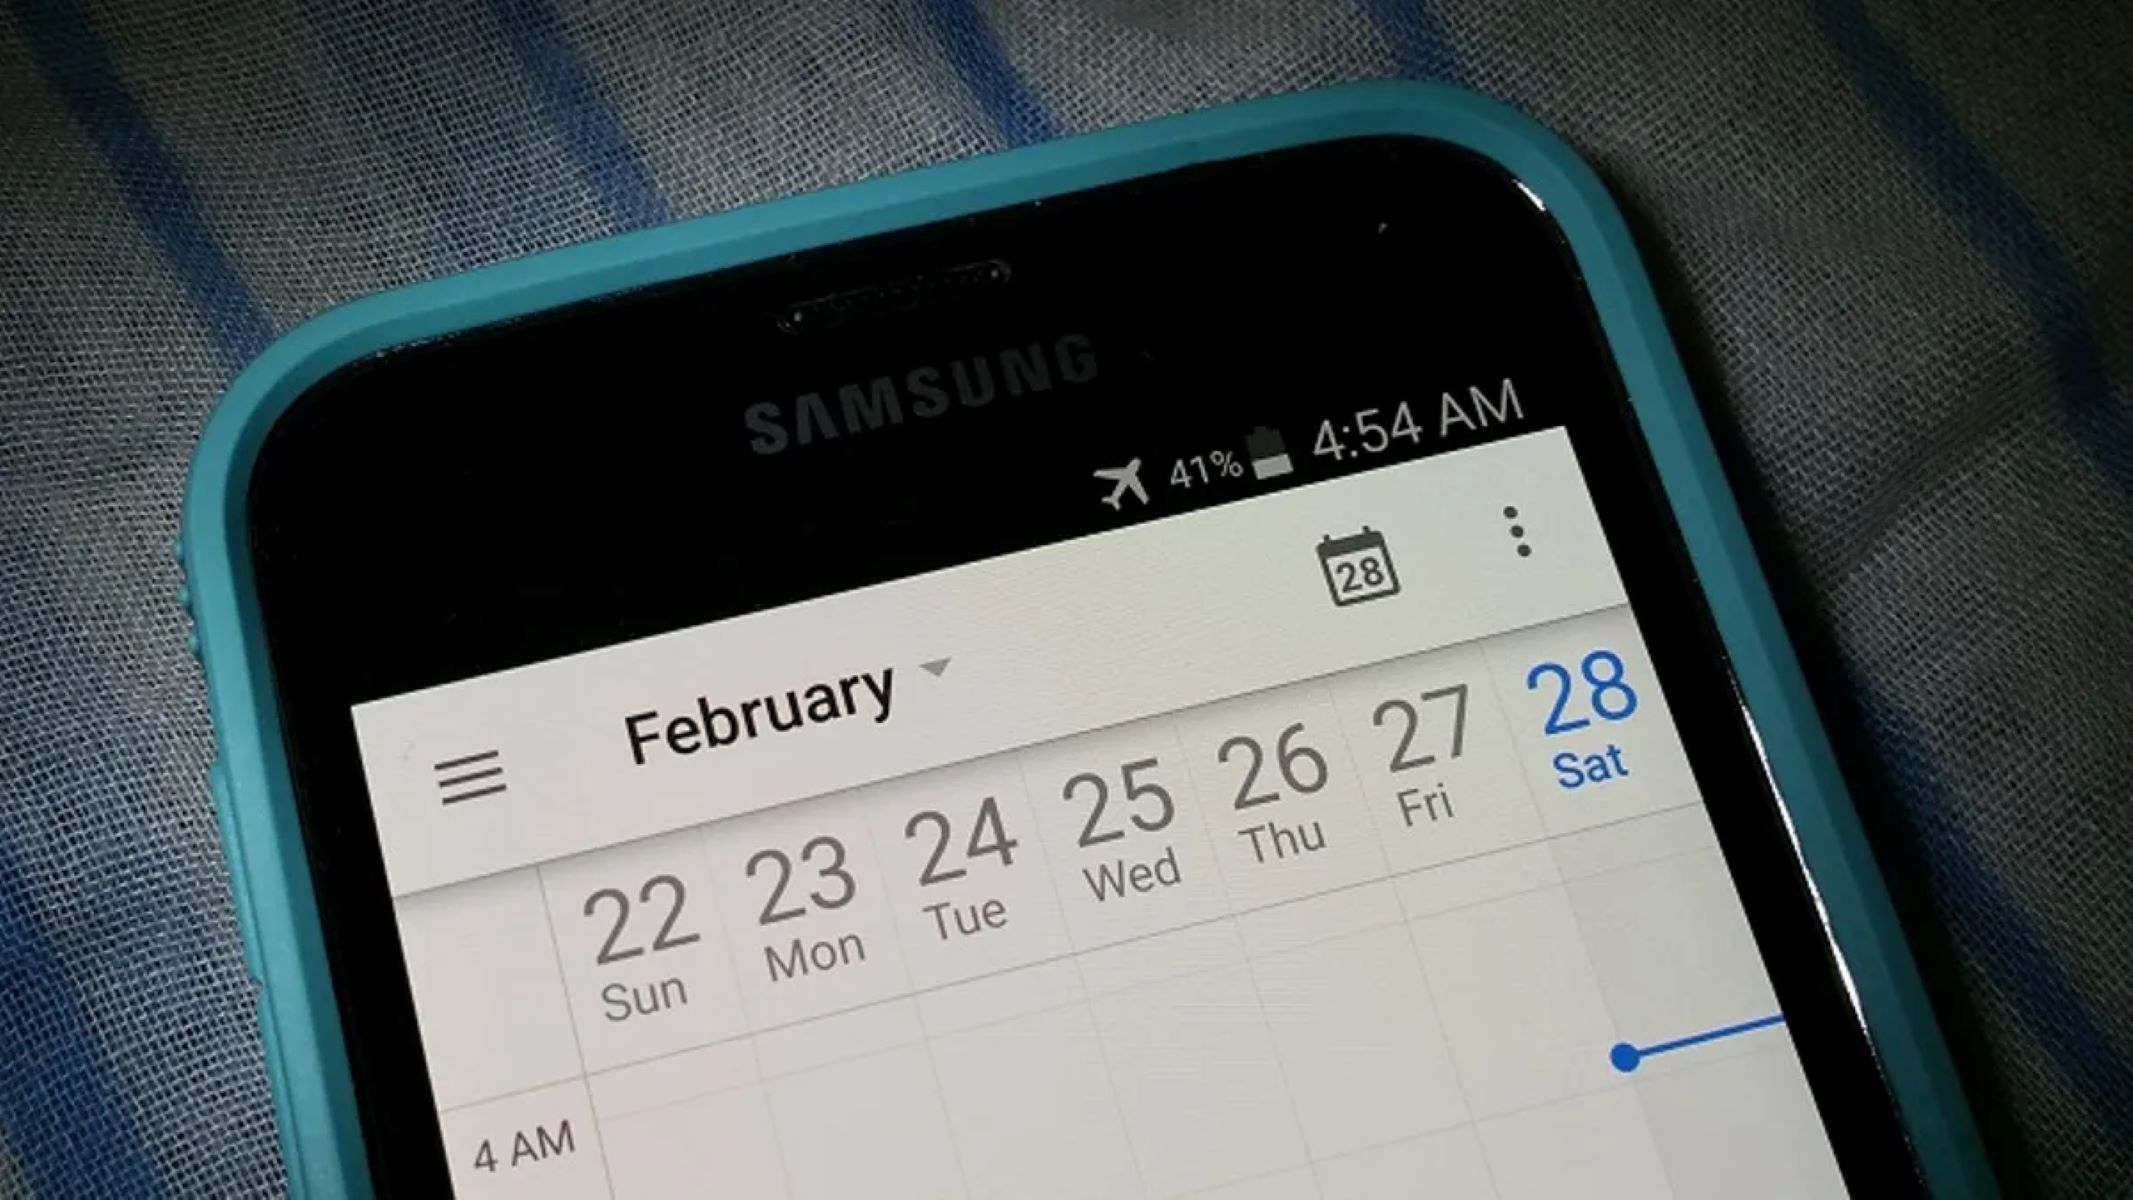
It is important to note that Google Calendar is also available as a mobile app for both Android and iOS devices. If you prefer to access and manage your calendar on the go, you can download the Google Calendar app from your device’s app store and sign in with your Google account.
Now that you have opened Google Calendar, let’s proceed to the next step: creating a new event.
Step 3: Create a new event
Now that you have opened Google Calendar, it’s time to create a new event. Whether it’s a meeting, a reminder, or a social gathering, Google Calendar makes it easy to add events and keep track of your schedule.
To create a new event in Google Calendar, follow these steps:
- Click on the “+” button located on the desired date and time in the calendar view. Alternatively, you can click on the desired date and time and choose “Create” from the pop-up menu.
- A new event window will appear, allowing you to enter the details of the event.
- Enter the title of the event in the “Event title” field. This should be a concise and descriptive title that gives a clear indication of what the event is about.
- Select the start date and time of the event by clicking on the respective fields and choosing the desired date and time from the calendar and clock options.
- If the event has a specific end time, select the end date and time by following the same steps as above. If the event is an all-day event, you can simply check the “All-day” box.
- Choose the appropriate time zone for the event. By default, Google Calendar will use your computer’s time zone, but you can change it if needed.
- In the “Add location” field, enter the location of the event. This can be a physical address or a virtual meeting link.
- Add any relevant notes or details about the event in the “Description” field. This can include an agenda, meeting notes, or any other information you want to include.
Once you have entered all the necessary details, your new event is ready to be saved. However, before saving the event, it’s important to select the specific calendar to which you want to add the event. We will cover this step in the next section.
Now that you know how to create a new event in Google Calendar, let’s move on to the next step: entering event details.
Step 4: Enter event details
After creating a new event in Google Calendar, the next step is to enter the event details. This includes adding additional information such as event duration, guest invites, reminders, and more.
Follow these steps to enter event details:
- In the event window, you will find various fields and options to customize your event details.
- Set the event duration by adjusting the start and end time or choosing an all-day event.
- Add guests to the event by clicking on the “Add guests” field. Enter the email addresses of the people you want to invite, and they will receive an invitation to the event.
- Set reminders for the event by selecting the desired time before the event. This will ensure you receive notifications and stay prepared.
- If the event is a recurring event, click on the “Does not repeat” field to set the event to repeat at specific intervals. You can choose daily, weekly, monthly, or custom recurrence options.
- In the “Guests can” field, you can choose whether guests can modify the event details or only view the event.
- Customize the event color by selecting the color palette icon. This can help you visually categorize and differentiate events on your calendar.
Additionally, Google Calendar allows you to add attachments to your event, set event privacy, and add conference call details for virtual meetings. These options can be found in the event window under the “More options” tab.
Remember to review all the entered event details to ensure accuracy before proceeding to the next step. Once you are satisfied with the information, it’s time to select the specific calendar to add the event to. We will cover this step next.
Now that you know how to enter event details in Google Calendar, let’s move on to the next step: choosing the specific calendar.
Step 5: Choose the specific calendar
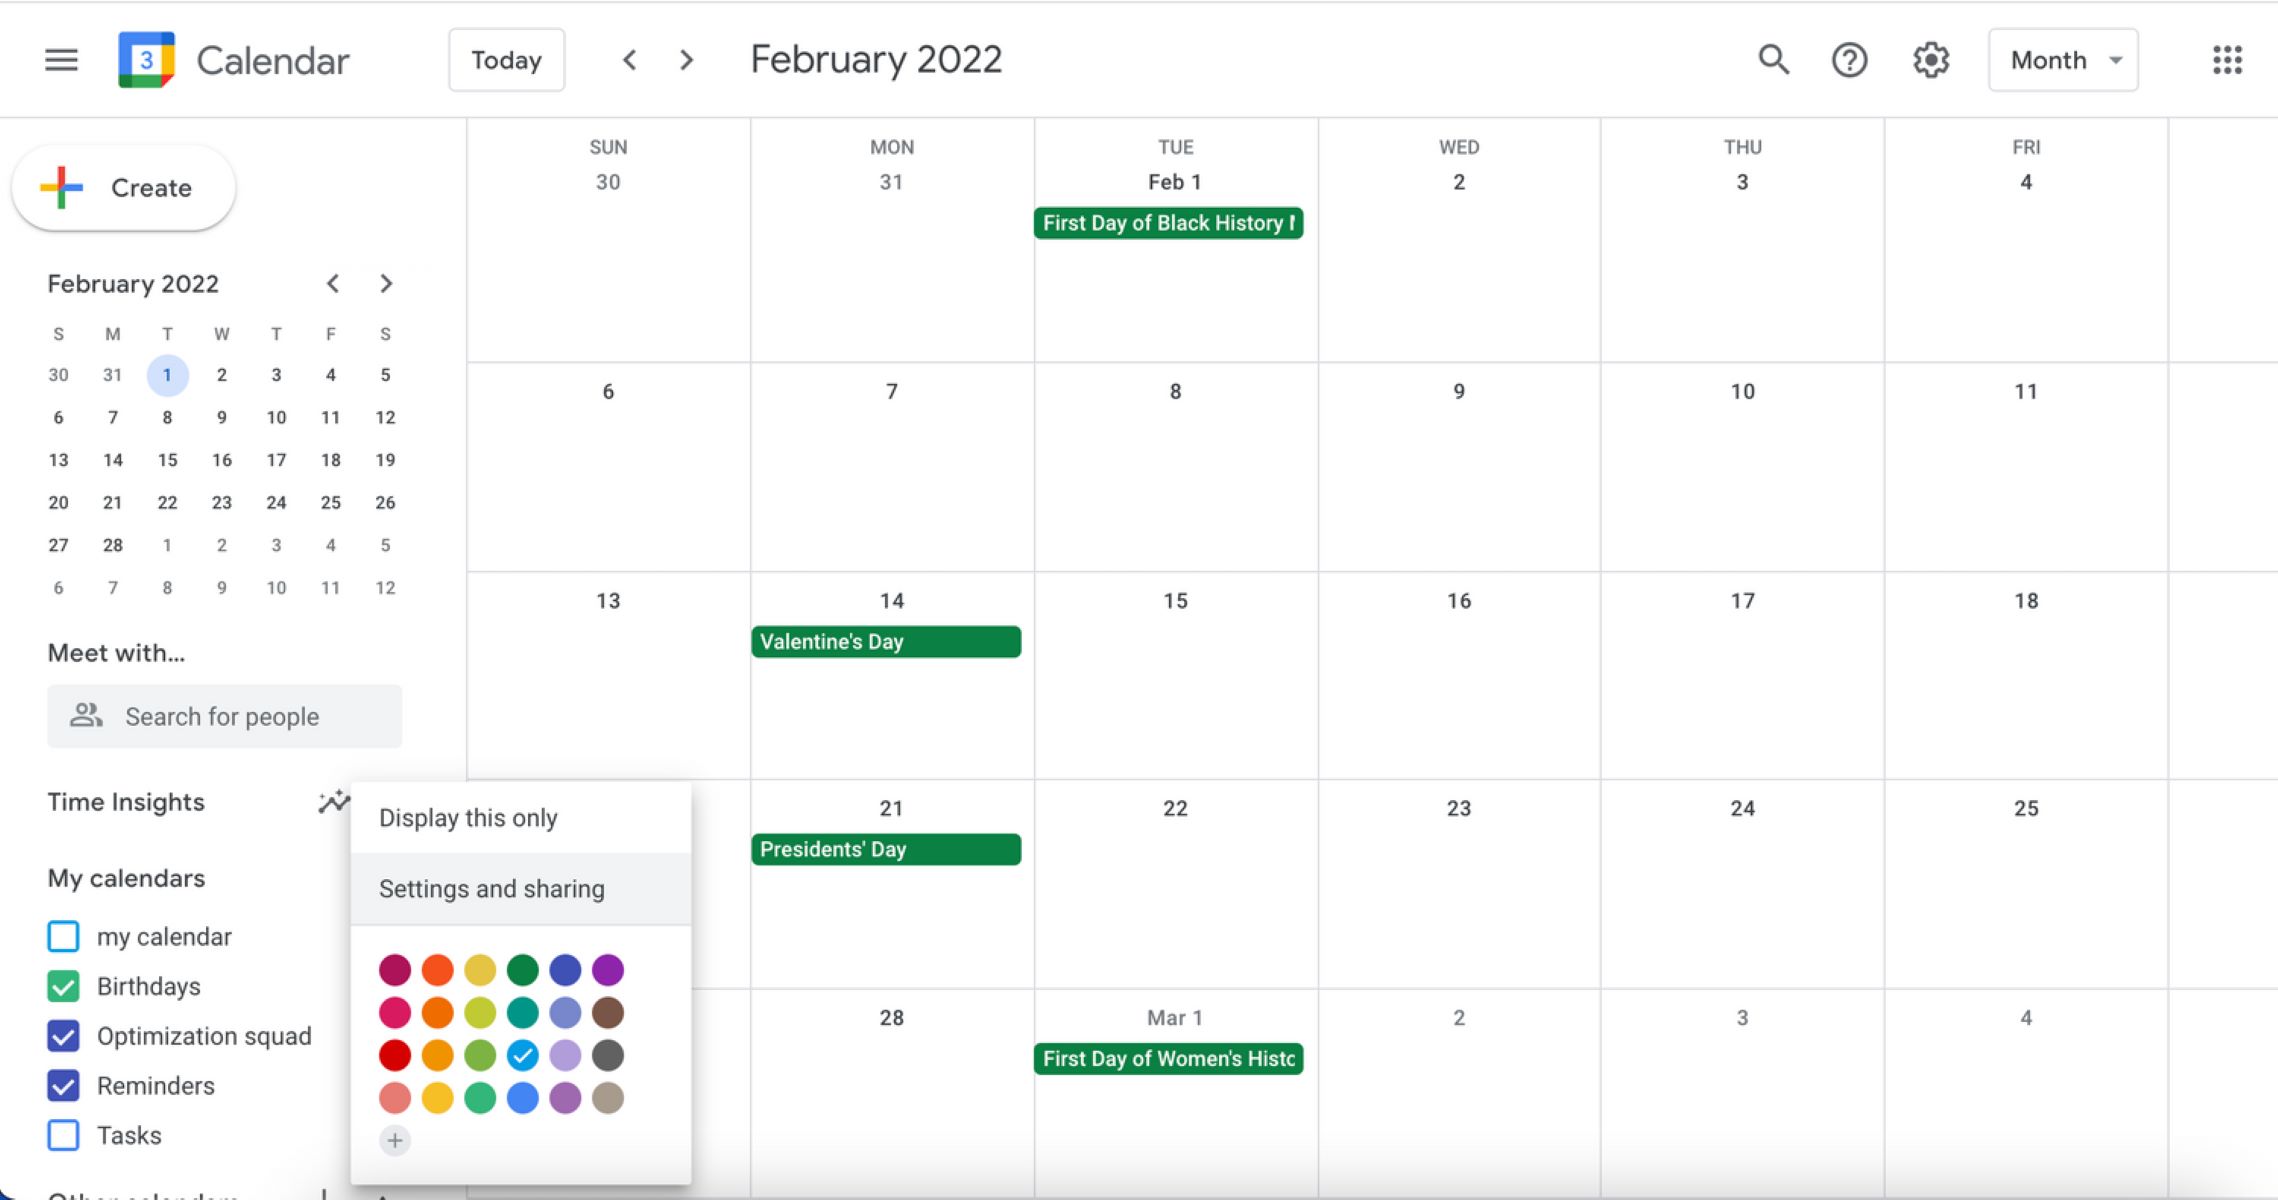
Choosing the specific calendar to which you want to add your event is an important step to keep your events organized and easily accessible. Google Calendar allows you to create multiple calendars and categorize your events accordingly.
Follow these steps to choose the specific calendar:
- In the event window, you will see a drop-down menu labeled “Calendar”. Click on this menu to view a list of your available calendars.
- Select the desired calendar from the list. The selected calendar will be highlighted, indicating that the event will be added to that specific calendar.
If you want to create a new calendar for your event, follow these additional steps:
- Click on the “Create new calendar” option at the bottom of the drop-down menu labeled “Calendar”.
- Enter the name and other details for your new calendar.
- Click on the “Create calendar” button to create the new calendar.
By assigning your event to a specific calendar, you can easily differentiate and manage events related to different areas of your life, such as work, personal, or specific projects.
It’s important to select the appropriate calendar to ensure your event is added to the correct schedule and can be viewed along with other related events.
Once you have chosen the specific calendar, you are ready to save your event. We will cover this final step in the next section.
Now that you know how to choose the specific calendar in Google Calendar, let’s move on to the last step: saving the event.
Step 6: Save the event
After you have entered all the necessary event details and chosen the specific calendar, it’s time to save your event in Google Calendar. Saving the event ensures that it is added to your chosen calendar and will be displayed in your schedule.
To save the event in Google Calendar, follow these steps:
- Review all the entered event details to ensure accuracy.
- Once you are satisfied with the information, click on the “Save” button located at the top right corner of the event window.
After clicking “Save”, Google Calendar will add the event to your chosen calendar, and you will be directed back to the calendar view. The newly created event will be displayed on the date and time you selected, along with any other already scheduled events.
It’s important to note that once the event is saved, you can easily modify or delete it at any time. Simply click on the event in the calendar view, and an options menu will appear, allowing you to edit, delete, or make further changes to the event.
In addition, Google Calendar provides various features and integrations to enhance your event management. You can set event notifications, sync your calendar with other devices, share your calendar with others, and even enable event RSVPs for more organized planning.
By following these steps, you can successfully add an event to a specific Google Calendar, ensuring that your schedule remains organized and easy to manage.
Now that you know how to save the event in Google Calendar, you are ready to make the most out of this powerful scheduling tool. Happy organizing!
Conclusion
Congratulations! You have successfully learned how to add an event to a specific Google Calendar. By following the step-by-step guide outlined in this article, you can now easily manage your schedule, keep track of important events, and stay organized.
We started by signing in to your Google account, which is essential for accessing Google Calendar. Then, we covered the process of opening Google Calendar, either through the Google homepage or directly through the calendar URL.
Next, we walked through the steps of creating a new event in Google Calendar. We explored how to enter event details such as the event title, start and end times, location, and additional notes. We also discussed how to invite guests, set reminders, and customize event recurrence and color.
Choosing the specific calendar to which you want to add your event was the next important step. We discussed the process of selecting an existing calendar or creating a new one to keep your events organized and easily distinguishable.
Finally, we concluded with saving the event in Google Calendar. After reviewing the entered event details, you learned how to save the event and ensure it is added to your chosen calendar.
Remember, Google Calendar offers additional features and integrations to further enhance your event management experience. Explore options such as setting event notifications, syncing calendars across devices, sharing calendars with others, and enabling RSVPs for better event planning and coordination.
Now that you are acquainted with the process of adding an event to a specific Google Calendar, you can effectively manage your schedule, stay organized, and never miss an important appointment or meeting.
So go ahead, start adding events to your Google Calendar and enjoy the benefits of efficient time management!