Introduction
Welcome to the world of Google Calendar! A powerful and versatile tool, Google Calendar helps you organize your schedule, manage your time, and stay on top of important events in your personal and professional life. Whether you’re a busy professional, a student with multiple classes and extracurricular activities, or simply someone who likes to stay organized, Google Calendar has got you covered!
In today’s fast-paced digital age, keeping track of appointments, meetings, and deadlines can often feel overwhelming. That’s where Google Calendar comes in. With its user-friendly interface, seamless synchronization across devices, and a wide range of features, Google Calendar has become the go-to choice for millions of users worldwide.
But don’t be fooled by its simplicity – beneath the surface, Google Calendar is a powerful productivity tool. It not only allows you to create and manage multiple calendars but also enables you to set reminders, share calendars with others, and integrate with other apps and devices, making it a perfect hub for all your scheduling needs.
In this guide, we will take you through the ins and outs of Google Calendar, from creating and setting up your account to mastering its various features. Whether you’re a newbie starting from scratch or an experienced user looking for some handy tips and tricks, this guide has something for everyone.
So, if you’re ready to take control of your schedule and maximize your productivity, let’s dive into the wonderful world of Google Calendar!
Creating and Setting Up Google Calendar
Setting up your Google Calendar is a breeze. Just follow these simple steps to get started:
- Sign in to your Google account. If you don’t have one, you can easily create a free account.
- Once you’re signed in, go to the Google Calendar homepage. You can access it by clicking on the “Apps” icon in the top right corner of most Google pages and selecting “Calendar.”
- On the Google Calendar homepage, you’ll see a clean and intuitive interface with a list of your existing calendars (if you have any) on the left sidebar.
- To create a new calendar, click on the “+” button next to “Add a friend’s calendar.”
- Give your calendar a name and optional description. You can also choose a display color for your calendar to help differentiate it from others.
- Choose the time zone that corresponds to your location to ensure accurate scheduling.
- Click on the “Create Calendar” button, and voila! Your new calendar is ready.
Now that you have your calendar set up, it’s time to customize it to suit your needs:
- Click on the gear icon in the top right corner of the Google Calendar homepage, then select “Settings” from the dropdown menu.
- Here, you can personalize various settings such as the default event duration, the week start day, and the language of your calendar.
- Explore the “Event Defaults” section to set default reminders, notifications, and event colors.
- Under the “View Options” section, you can choose how your calendar is displayed, including the time zone, working hours, and whether or not to show weekends.
- Take some time to familiarize yourself with these settings and adjust them according to your preferences.
Now you are all set up and ready to start using Google Calendar to manage your schedule effectively! In the next section, we will explore the different features and functionalities of the Google Calendar interface.
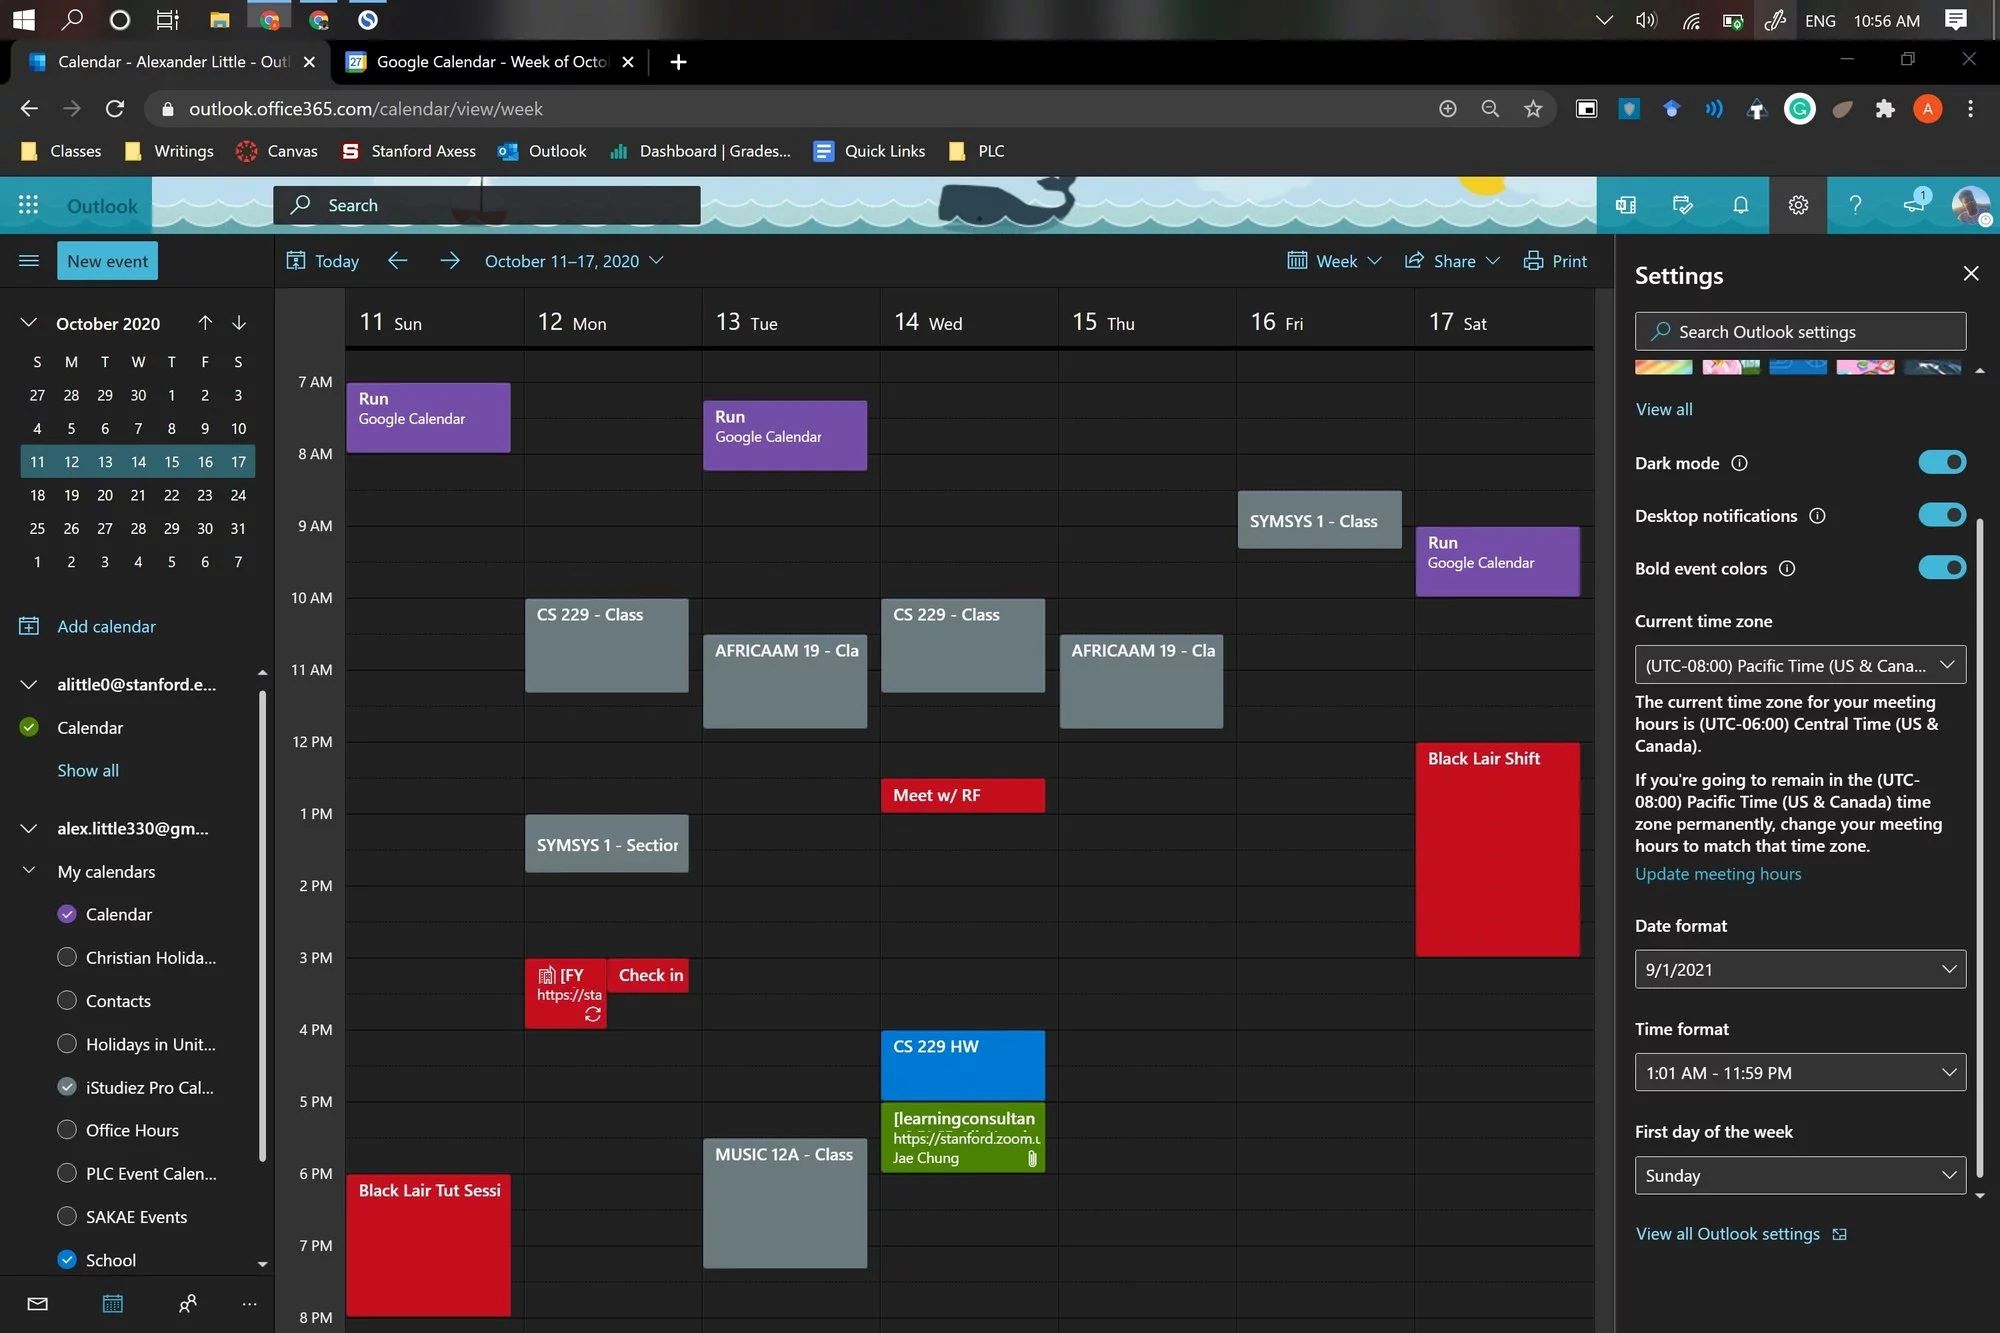
Navigating the Google Calendar Interface
Once you have set up your Google Calendar, it’s time to familiarize yourself with the interface so you can navigate and make the most of its features. Here’s a breakdown of the main components of the Google Calendar interface:
- Navigation Menu: Located on the left side of the screen, the navigation menu provides quick access to different views and options. You can switch between different calendars, view your schedule by day, week, month, or custom range, and access settings and other features.
- Main Calendar View: In the center of the screen, you’ll find the main calendar view, which displays your events and appointments. You can easily navigate between dates and scroll through your schedule using the arrows at the top left of the view.
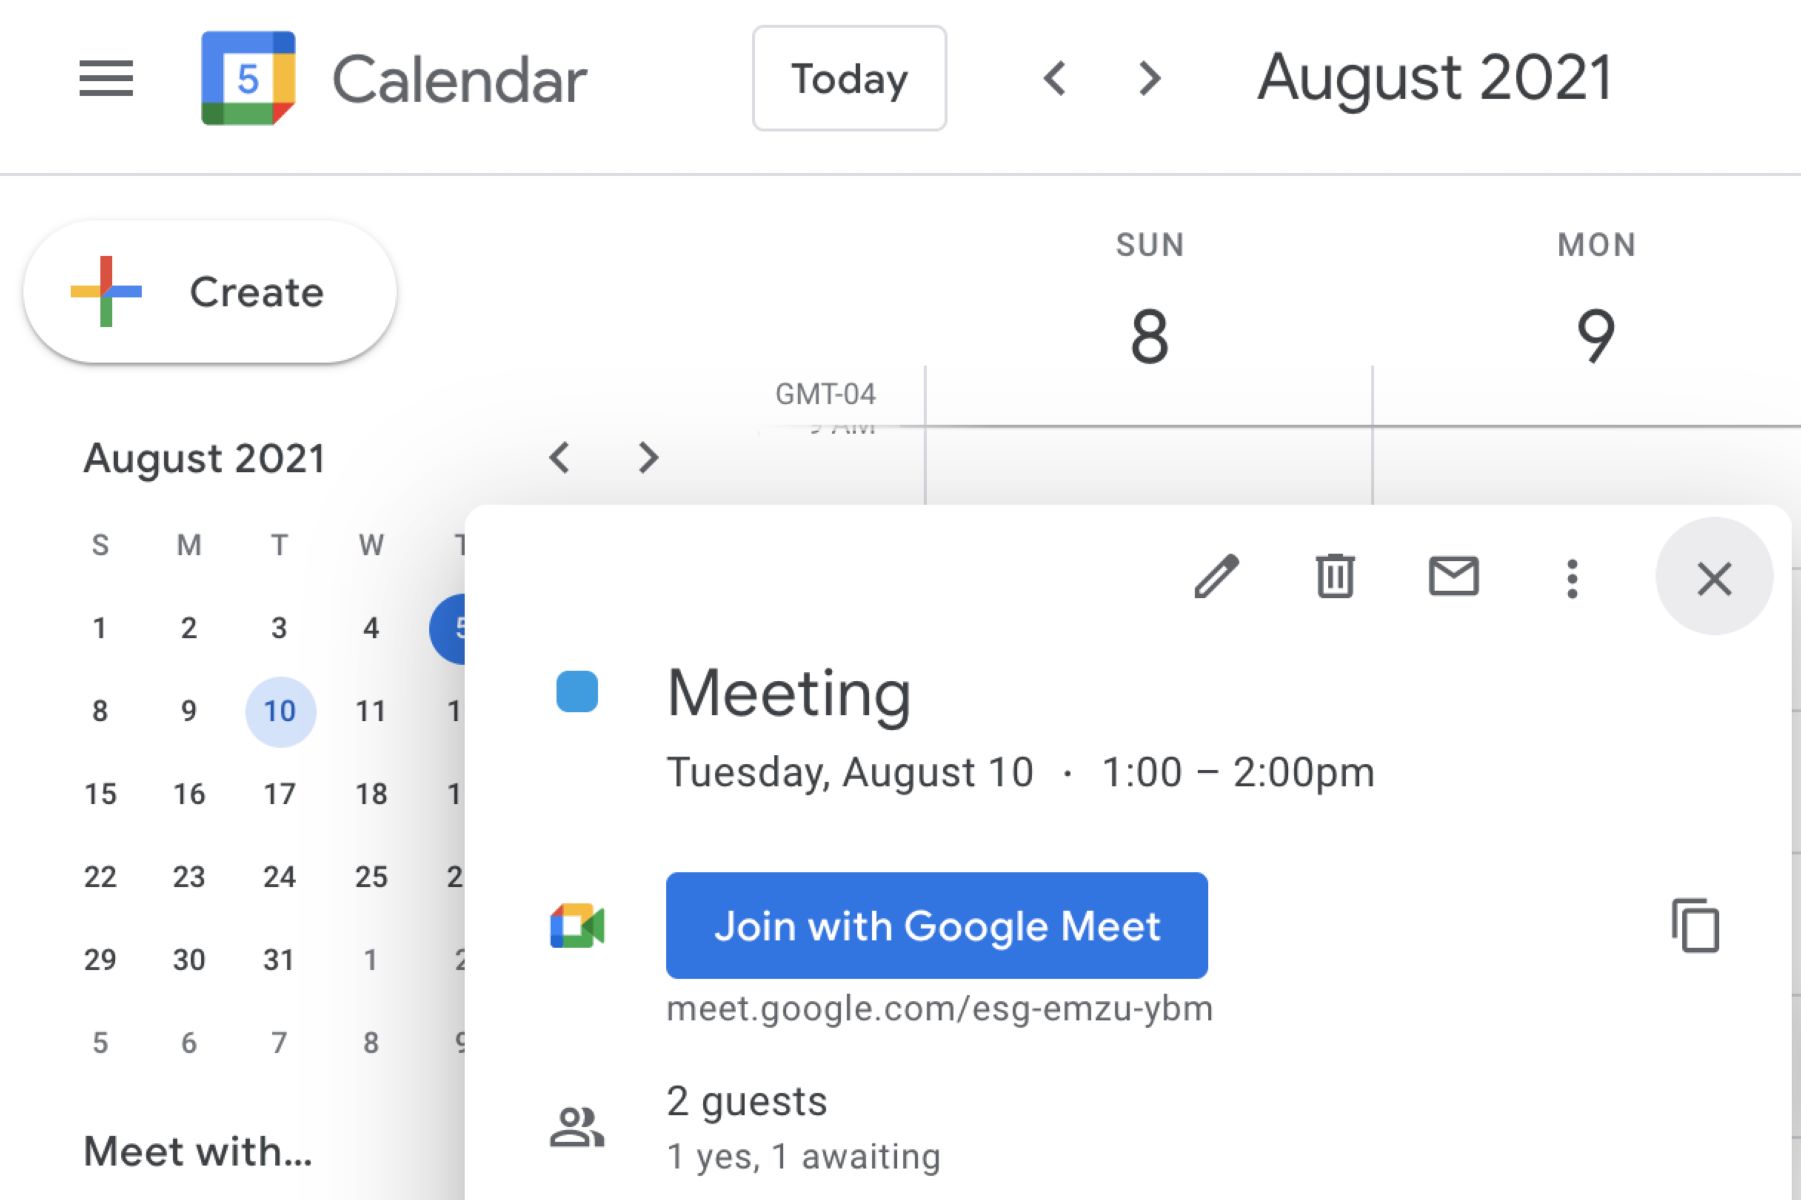
- Event Creation: To create a new event, simply click on the desired date and time on the calendar view. A pop-up window will appear, allowing you to input event details such as title, time, duration, location, and description. You can also set reminders and customize event colors.
- Upcoming Events: On the right side of the screen, you’ll find the upcoming events section, which provides a quick overview of your upcoming schedule. This section helps you stay on top of your commitments and plan your day effectively.
- Other Features: Google Calendar offers additional features such as task integration, the ability to add attachments to events, and the option to view and respond to invitations from other users.
Now that you know the basic layout of the Google Calendar interface, it’s time to start adding events and managing your schedule. In the next section, we will explore how to add events to Google Calendar and make the most of its scheduling capabilities.
Adding Events to Google Calendar
Adding events to your Google Calendar is a simple and straightforward process. Whether it’s a meeting, a doctor’s appointment, or a birthday celebration, Google Calendar allows you to keep track of all your important events in one place. Here’s how to add events to your calendar:
- Click on the desired date and time on your calendar to create a new event. Alternatively, you can click on the “+ Create” button in the top left corner of the calendar view.
- In the event creation window, enter the title, date, and time of the event. You can specify whether it is an all-day event or select a specific start and end time.
- Add additional details to your event such as location, description, and any relevant attachments or links.
- Customize the event’s appearance by selecting a color for easy categorization.
- Set reminders to ensure you never miss an important event. You can choose to receive reminders via email, pop-up notifications, or both.
- If the event is recurring, such as a weekly team meeting, select the appropriate frequency and specify the end date if necessary.
- Don’t forget to save your event by clicking the “Save” button.
Once the event is added to your calendar, it will be displayed in the main calendar view. You can easily view, edit, or delete events by clicking on them. You can also drag and resize events to adjust their duration or move them to a different time or date.
Google Calendar also offers seamless integration with other Google services. For example, you can add a Google Meet video call link to your event, allowing participants to join the meeting with a single click. You can also attach files from Google Drive or share event details with others via email.
With the ability to add unlimited events, customizable reminders, and various features to enhance event management, Google Calendar makes organizing your schedule a breeze. In the next section, we will explore how to create and manage multiple calendars to further optimize your scheduling experience.
Creating and Managing Multiple Calendars
One of the great features of Google Calendar is the ability to create and manage multiple calendars simultaneously. This feature allows you to keep your personal, work, and other aspects of your life separate while still having an organized overview of all your commitments. Here’s how you can create and manage multiple calendars:
- To create a new calendar, click on the “+” button next to “Add a friend’s calendar” on the Google Calendar homepage.
- Give your new calendar a name and additional details if desired. You can also choose a unique color for easy identification.
- Once your new calendar is created, it will appear on the left sidebar under “My Calendars.” You can now add events and appointments directly to this calendar.
- If you wish to create additional calendars, repeat the same process. Each calendar can have its own color, making it easy to distinguish between them.
- To view a specific calendar, simply click on its name in the sidebar. You can also choose to display multiple calendars at the same time by checking their respective checkboxes.
- Managing your calendars is as easy as creating them. You can rename, delete, or adjust the color of a calendar by clicking on the three-dot menu next to its name in the sidebar.
- If you want to share a specific calendar with others, you can do so by clicking on the three-dot menu and selecting “Settings and sharing.” From there, you can adjust the sharing settings and invite others to view or collaborate on the calendar.
By creating and managing multiple calendars, you have the flexibility to organize your events and appointments based on different aspects of your life. You can maintain separate calendars for work, personal life, hobbies, or any other categories that suit your needs. This makes it easier to focus on specific areas and enables you to have a clear overview of your commitments at a glance.
Now that you know how to create and manage multiple calendars, let’s discover how to set reminders and notifications to ensure you never miss an important event in the next section.
Setting Reminders and Notifications
Google Calendar offers a range of reminder and notification options to help you stay organized and ensure that you never miss an important event or appointment. By utilizing these features, you can receive timely alerts and reminders that keep you on top of your schedule. Here’s how to set up reminders and notifications in Google Calendar:
- When creating or editing an event, you can set reminders by clicking on the “Add a reminder” option. Choose the timing for the reminder, such as minutes, hours, or days before the event. You can also select multiple reminders to receive alerts at different intervals.
- Google Calendar provides various notification methods to suit your preferences. Click on the “Add notification” option to choose how you want to be notified. You can opt for pop-up notifications on your computer, email notifications, or both.
- Customize your notifications even further by selecting the specific timing of the notifications. You can choose to receive notifications a few minutes before the event, an hour before, or even a day before.
- In addition to individual event reminders, you can set default reminders and notifications for all events. Go to the calendar settings by clicking on the gear icon, select “Settings,” and navigate to the “Event Defaults” section. Here, you can set up default reminders and notifications that apply to all events you create.
- Google Calendar also provides the option to add SMS notifications by verifying your mobile number. This way, you can receive event reminders via text, ensuring that you stay on top of your schedule even when you’re away from your computer or phone.
Setting reminders and notifications in Google Calendar is a powerful tool for managing your time effectively. It ensures that you never forget important events or appointments and helps you stay organized and punctual. Whether it’s a meeting, a deadline, or a personal commitment, the reminders and notifications feature in Google Calendar has got you covered.
Now that you know how to set reminders and notifications, let’s explore how you can share your Google Calendar with others in the next section.
Sharing Your Google Calendar
Sharing your Google Calendar with others is a convenient way to collaborate, coordinate schedules, and keep everyone on the same page. Whether you want to share your calendar with colleagues, friends, or family members, Google Calendar offers a range of sharing options to fit your needs. Here’s how you can share your Google Calendar:
- To share your calendar, go to the Google Calendar homepage and click on the three-dot menu next to your calendar’s name in the sidebar. Select “Settings and sharing” from the dropdown menu.
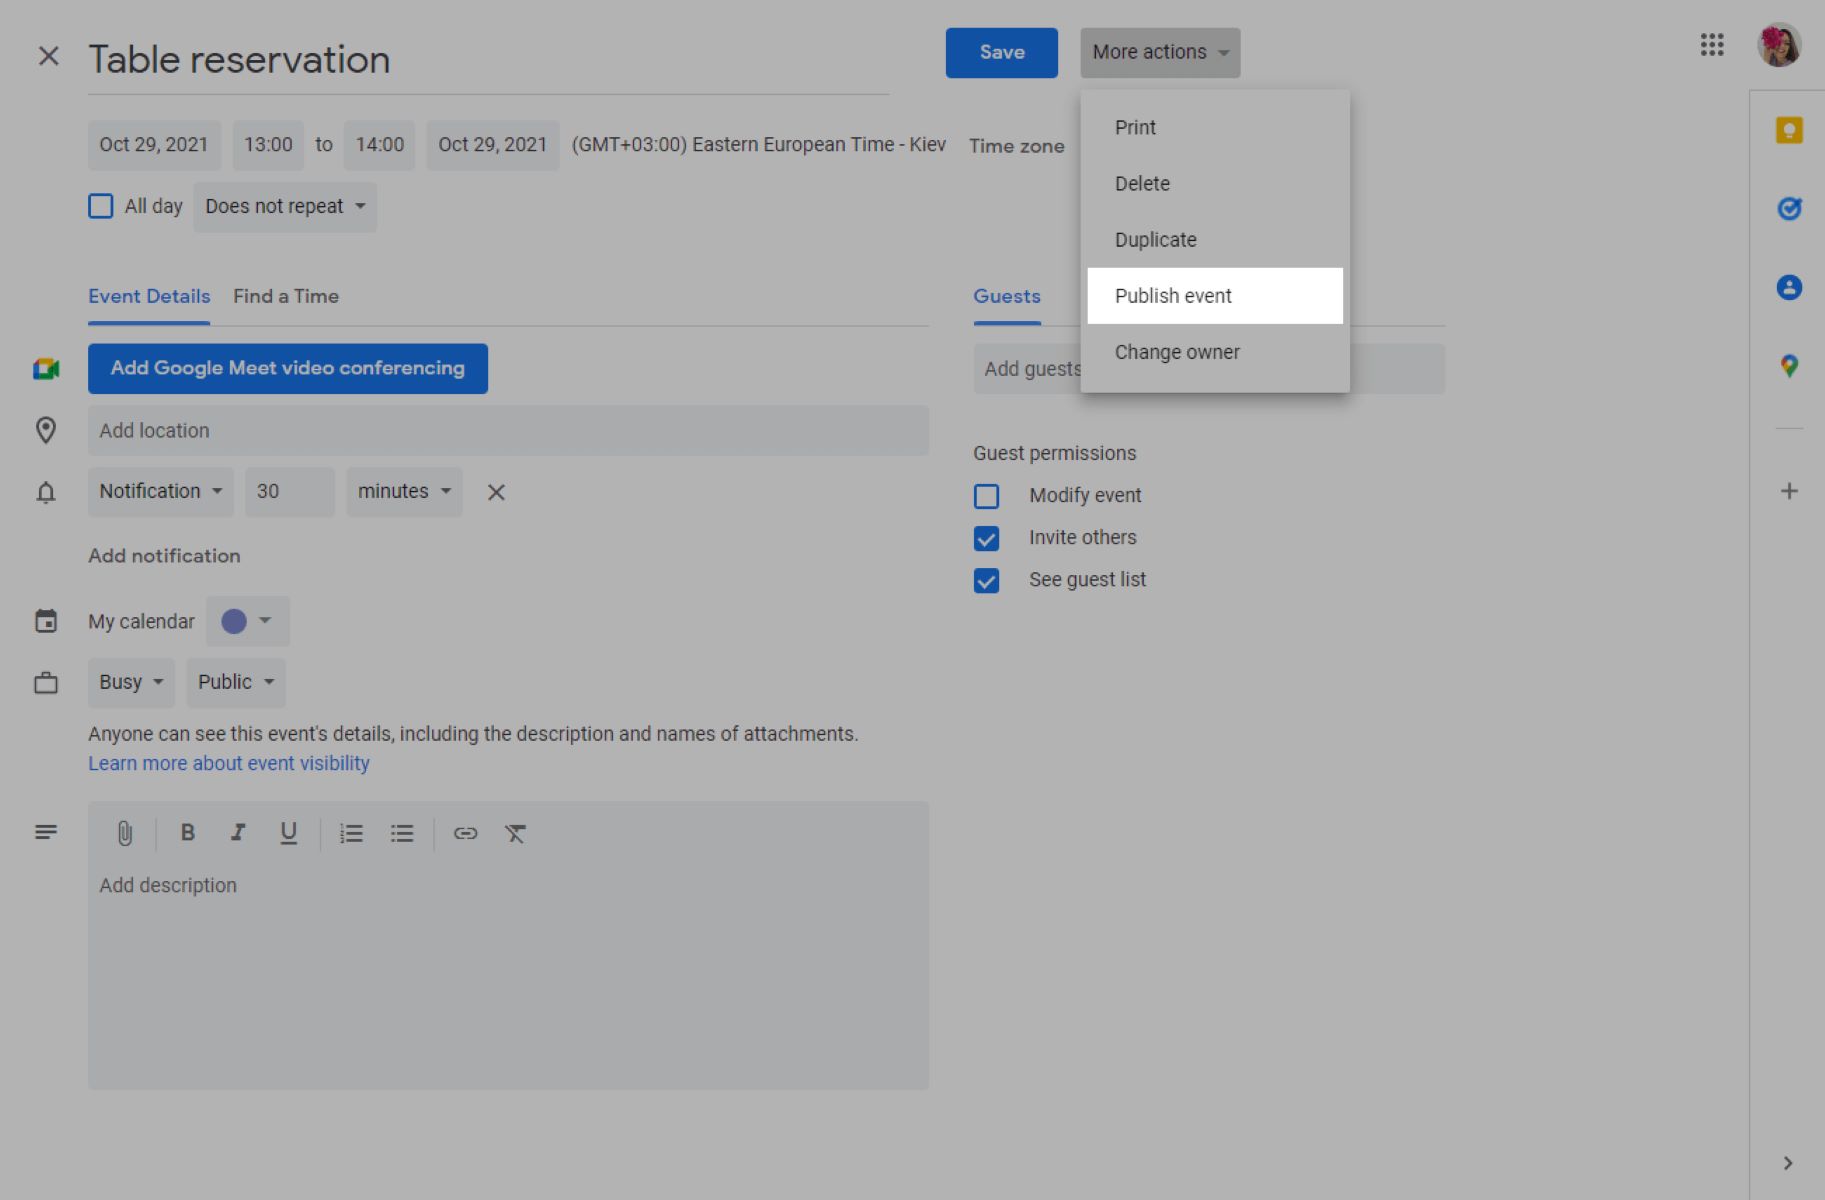
- In the “Settings and sharing” menu, you’ll find the “Access permissions” section, which allows you to control who can view, edit, or manage your calendar. You have the option to make your calendar public, share it with specific individuals, or limit access to only invited users.
- If you select the option to share your calendar with specific individuals, you can enter their email addresses in the “Share with specific people” field. You can choose to give them permission to view, edit, or manage your calendar, depending on their level of involvement.
- For more advanced sharing options, such as allowing users to see free/busy information or granting them the ability to share your calendar with others, click on the “Advanced” option in the “Settings and sharing” menu.
- In addition to sharing specific calendars, Google Calendar also allows you to create and share event-specific calendars. This is useful for coordinating events with a group of people or organizing shared activities like vacations or project timelines.
- To share an event-specific calendar, create a new calendar for the event and invite the relevant participants. You can set permissions for individual participants to determine their level of access and control over the calendar.
Sharing your Google Calendar not only allows others to see your schedule but also enables collaborative features like adding events, making changes, or sending invitations on shared calendars. This makes it easier to plan meetings, coordinate social events, and ensure everyone is on the same page.
Now that you know how to share your Google Calendar, let’s explore how you can integrate Google Calendar with other apps and devices to streamline your scheduling in the next section.
Integrating Google Calendar with other Apps and Devices
Google Calendar offers seamless integration with various apps and devices, allowing you to access and manage your schedule from different platforms. Whether you prefer using calendar apps on your smartphone or accessing your schedule through other productivity tools, Google Calendar has you covered. Here’s how you can integrate Google Calendar with other apps and devices:
- Mobile Apps: Google Calendar has dedicated apps available for both Android and iOS devices. These apps provide a streamlined mobile experience, allowing you to access, manage, and create events on the go. You can download the Google Calendar app from your device’s app store and sign in with your Google account to synchronize your calendar.
- Email Clients: If you use an email client such as Microsoft Outlook or Apple Mail, you can integrate Google Calendar with these applications. This allows you to view and manage your calendar events directly from your preferred email interface. The integration is achieved through the use of plugins or syncing options within the respective email clients.
- Productivity Tools and Project Management Apps: Many productivity tools and project management apps offer integration with Google Calendar. This enables you to sync your events with these platforms, helping you manage your time and tasks more efficiently. Examples of popular integrations include Trello, Asana, and Slack.
- Voice Assistants: Google Calendar can be linked to voice assistants such as Google Assistant, Amazon Alexa, and Apple Siri. By connecting your calendar with a voice assistant, you can create events, receive reminders, and access your schedule just by using voice commands, making it convenient and hands-free.
- Browser Extensions: There are several browser extensions available that enhance the functionality of Google Calendar. These extensions offer features like quick event creation, reminders, and calendar overlays to help you manage your schedule more effectively. Examples include Google Calendar Chrome extension and Todoist for Gmail.
- Smartwatches and Wearable Devices: If you have a smartwatch or other wearable devices, you can sync your Google Calendar to receive event notifications directly on your wrist. This keeps you informed and allows you to stay on top of your schedule without needing to reach for your phone or computer.
Integrating Google Calendar with other apps and devices allows you to access, manage, and update your schedule from different platforms, ensuring that you’re always in sync. Whether you’re on the move, working from your computer, or using third-party productivity tools, you can seamlessly incorporate Google Calendar into your workflow.
Now that you know how to integrate Google Calendar with other apps and devices, let’s explore some time-saving tips and tricks for maximizing your productivity in the next section.
Time-saving Tips and Tricks for Google Calendar
Google Calendar is packed with features and functionalities that can help you save time and boost your productivity. By utilizing these tips and tricks, you can optimize your scheduling process and make the most out of your Google Calendar experience. Here are some time-saving tips and tricks:
- Keyboard Shortcuts: Google Calendar offers a range of keyboard shortcuts to navigate and perform actions quickly. Take some time to learn and memorize these shortcuts to speed up your workflow. For example, press “C” to create a new event or “D” to switch to the day view.
- Drag and Drop: To reschedule an event, simply click and drag it to the desired date and time. This saves you from manually editing the event details and ensures a smoother scheduling experience.
- Quick Add: Use the Quick Add feature to create events without filling out all the details. Simply type the event description using natural language, and Google Calendar will intelligently interpret and schedule it accordingly.
- Color Coding: Assign different colors to your calendars and events to visually differentiate between them. This makes it easier to glance at your calendar and quickly identify the type of events you have scheduled.
- Search Functionality: If you’re looking for a specific event or need to find a particular entry, utilize the search functionality within Google Calendar. Enter keywords or event details, and Google Calendar will retrieve the relevant results.
- Event Templates: If you find yourself repeatedly creating similar events, consider using event templates. Create a template for recurring meetings, project milestones, or other frequently recurring events. This saves you time by pre-populating the event details.
- Time Zone Management: If you frequently travel or work across different time zones, enable the time zone feature in Google Calendar. This ensures that your events are accurately displayed based on the local time, avoiding any confusion or scheduling conflicts.
- Mobile Notifications: Customize your mobile notifications to receive alerts and reminders for upcoming events. This helps you stay on top of your schedule even when you’re away from your computer, ensuring that you never miss an important appointment.
- Collaboration Features: Take advantage of the collaboration features in Google Calendar, such as sharing calendars with colleagues or family members. This allows for easier coordination and avoids unnecessary back-and-forth communication.
- Integrations: Explore and integrate Google Calendar with other apps and tools that you use regularly. Look for extensions, plugins, or integrations that can enhance the functionality of your calendar and streamline your workflow.
By implementing these time-saving tips and tricks, you can optimize your use of Google Calendar and make scheduling a breeze. These shortcuts and techniques allow you to streamline your workflow, save time, and focus on what matters most.
Now that you’re armed with these time-saving tips and tricks, you’re well-equipped to maximize your productivity with Google Calendar. In the next section, we’ll wrap up our guide with a few closing thoughts.
Conclusion
Google Calendar is an essential tool for effective schedule management, helping you stay organized, on track, and in control of your time. With its user-friendly interface, seamless synchronization across devices, and a range of features, Google Calendar has become the go-to choice for millions of users worldwide.
In this guide, we explored the process of creating and setting up Google Calendar, navigating its interface, adding events, managing multiple calendars, setting reminders and notifications, sharing calendars with others, integrating with other apps and devices, and implementing time-saving tips and tricks. By following these steps and utilizing the features and functionalities of Google Calendar, you can optimize your scheduling process and boost your productivity.
Remember to utilize keyboard shortcuts, color coding, and search functionality to navigate and locate events quickly. Make use of sharing features to coordinate with colleagues, friends, and family members. Integrate Google Calendar with other apps and devices to streamline your scheduling across different platforms. Finally, take advantage of time-saving tips and tricks like drag and drop, quick add, and event templates to optimize your workflow.
Whether you’re a busy professional juggling multiple responsibilities, a student managing classes and extracurricular activities, or simply someone who wants to stay organized, Google Calendar is the perfect tool to help you streamline your schedule and maximize your productivity. So go ahead, start using Google Calendar and take control of your time!