Introduction
Welcome to the modern age of organization and efficiency. Gone are the days of handwritten planners and scattered schedules. With the advent of digital tools, managing your class schedule has never been easier. One such tool that has gained massive popularity is Google Calendar.
Google Calendar is a powerful and intuitive online calendar platform. It allows you to keep track of all your appointments, events, and important dates in one place. But did you know that you can also use it to manage your class schedule?
In this article, we will explore how to add your class schedule to Google Calendar for seamless organization and productivity. Whether you’re a student, a teacher, or simply someone trying to keep track of their educational pursuits, this guide will provide you with the necessary steps to make the most out of Google Calendar.
By incorporating your class schedule into Google Calendar, you can access it from anywhere, receive reminders and notifications, and easily manage any changes or updates. Let’s dive in and discover how this powerful tool can revolutionize the way you stay organized and on top of your academic commitments.
What is Google Calendar?
Google Calendar is a free web-based calendar service developed by Google. It allows users to create and manage events, appointments, and schedules in a visually appealing and user-friendly interface. With its seamless integration with other Google services like Gmail and Google Drive, Google Calendar has become a go-to tool for individuals and businesses alike.
Google Calendar offers a wide range of features that make it an essential tool for keeping track of important dates, deadlines, and events. Here are some key features of Google Calendar:
- Simple Interface: Google Calendar has a clean and intuitive interface, making it easy to navigate and use.
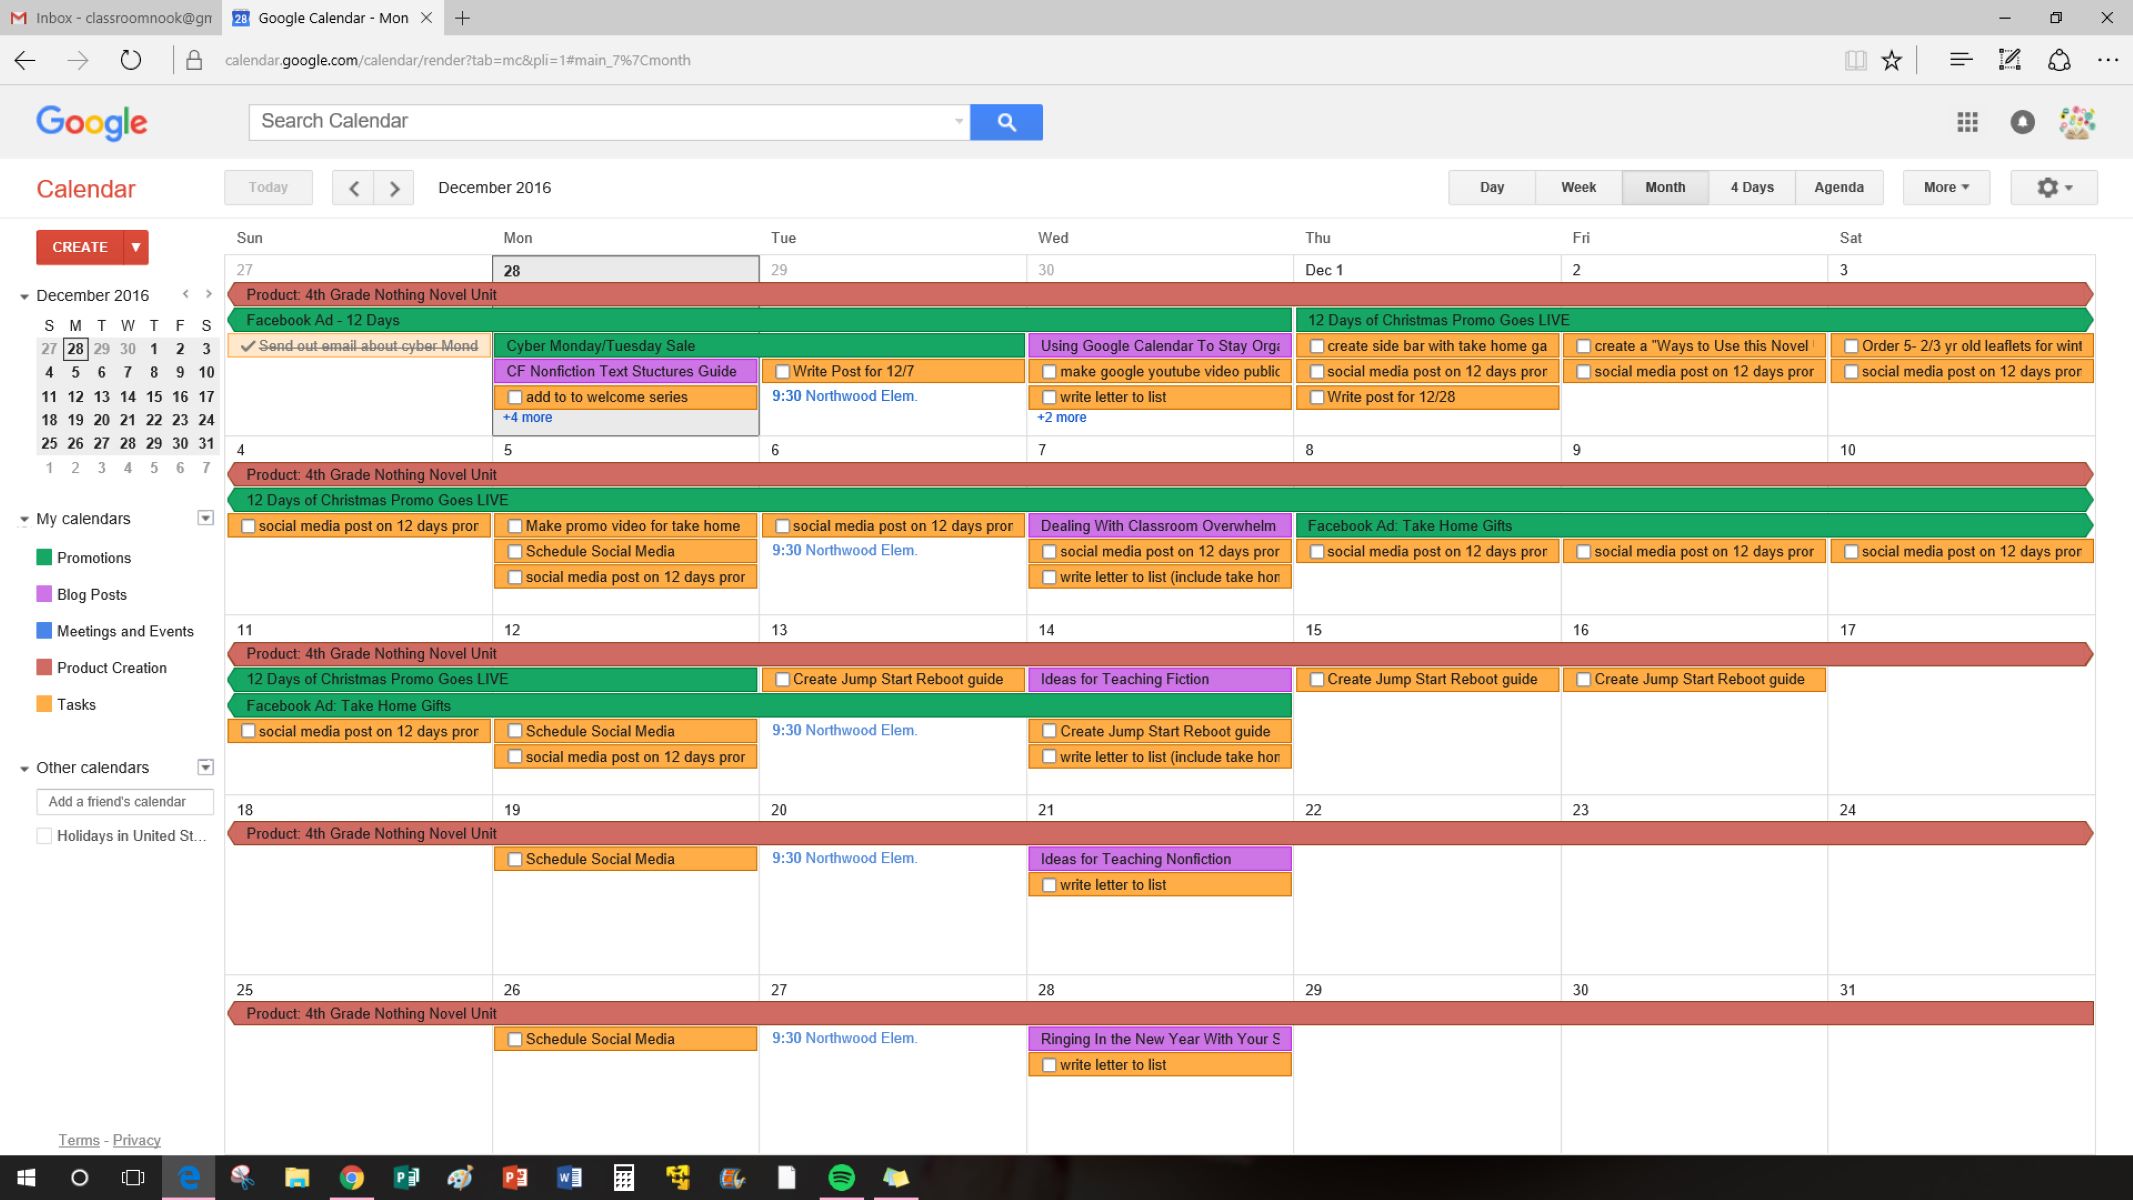
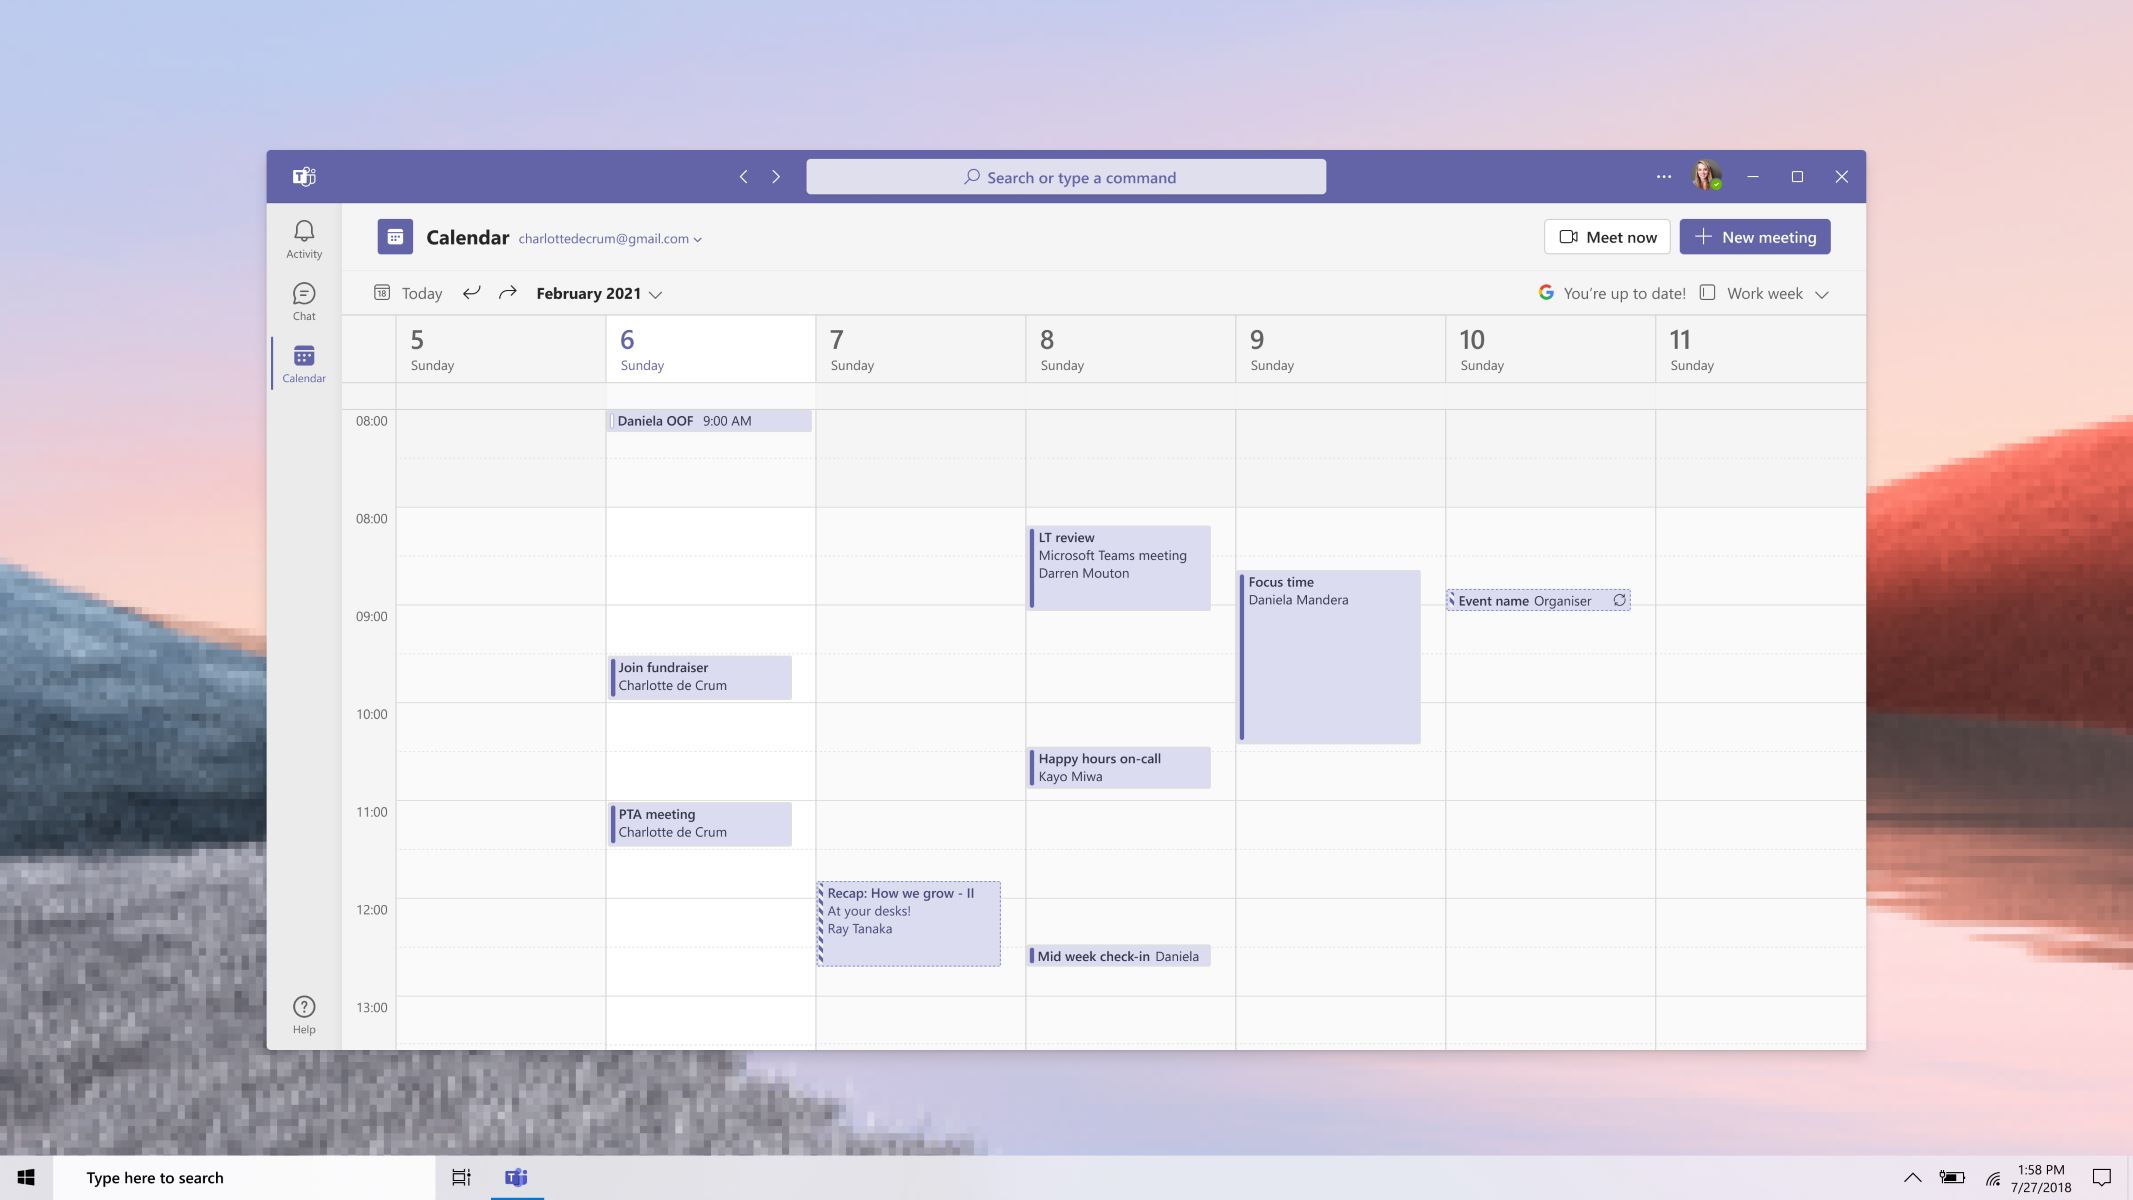
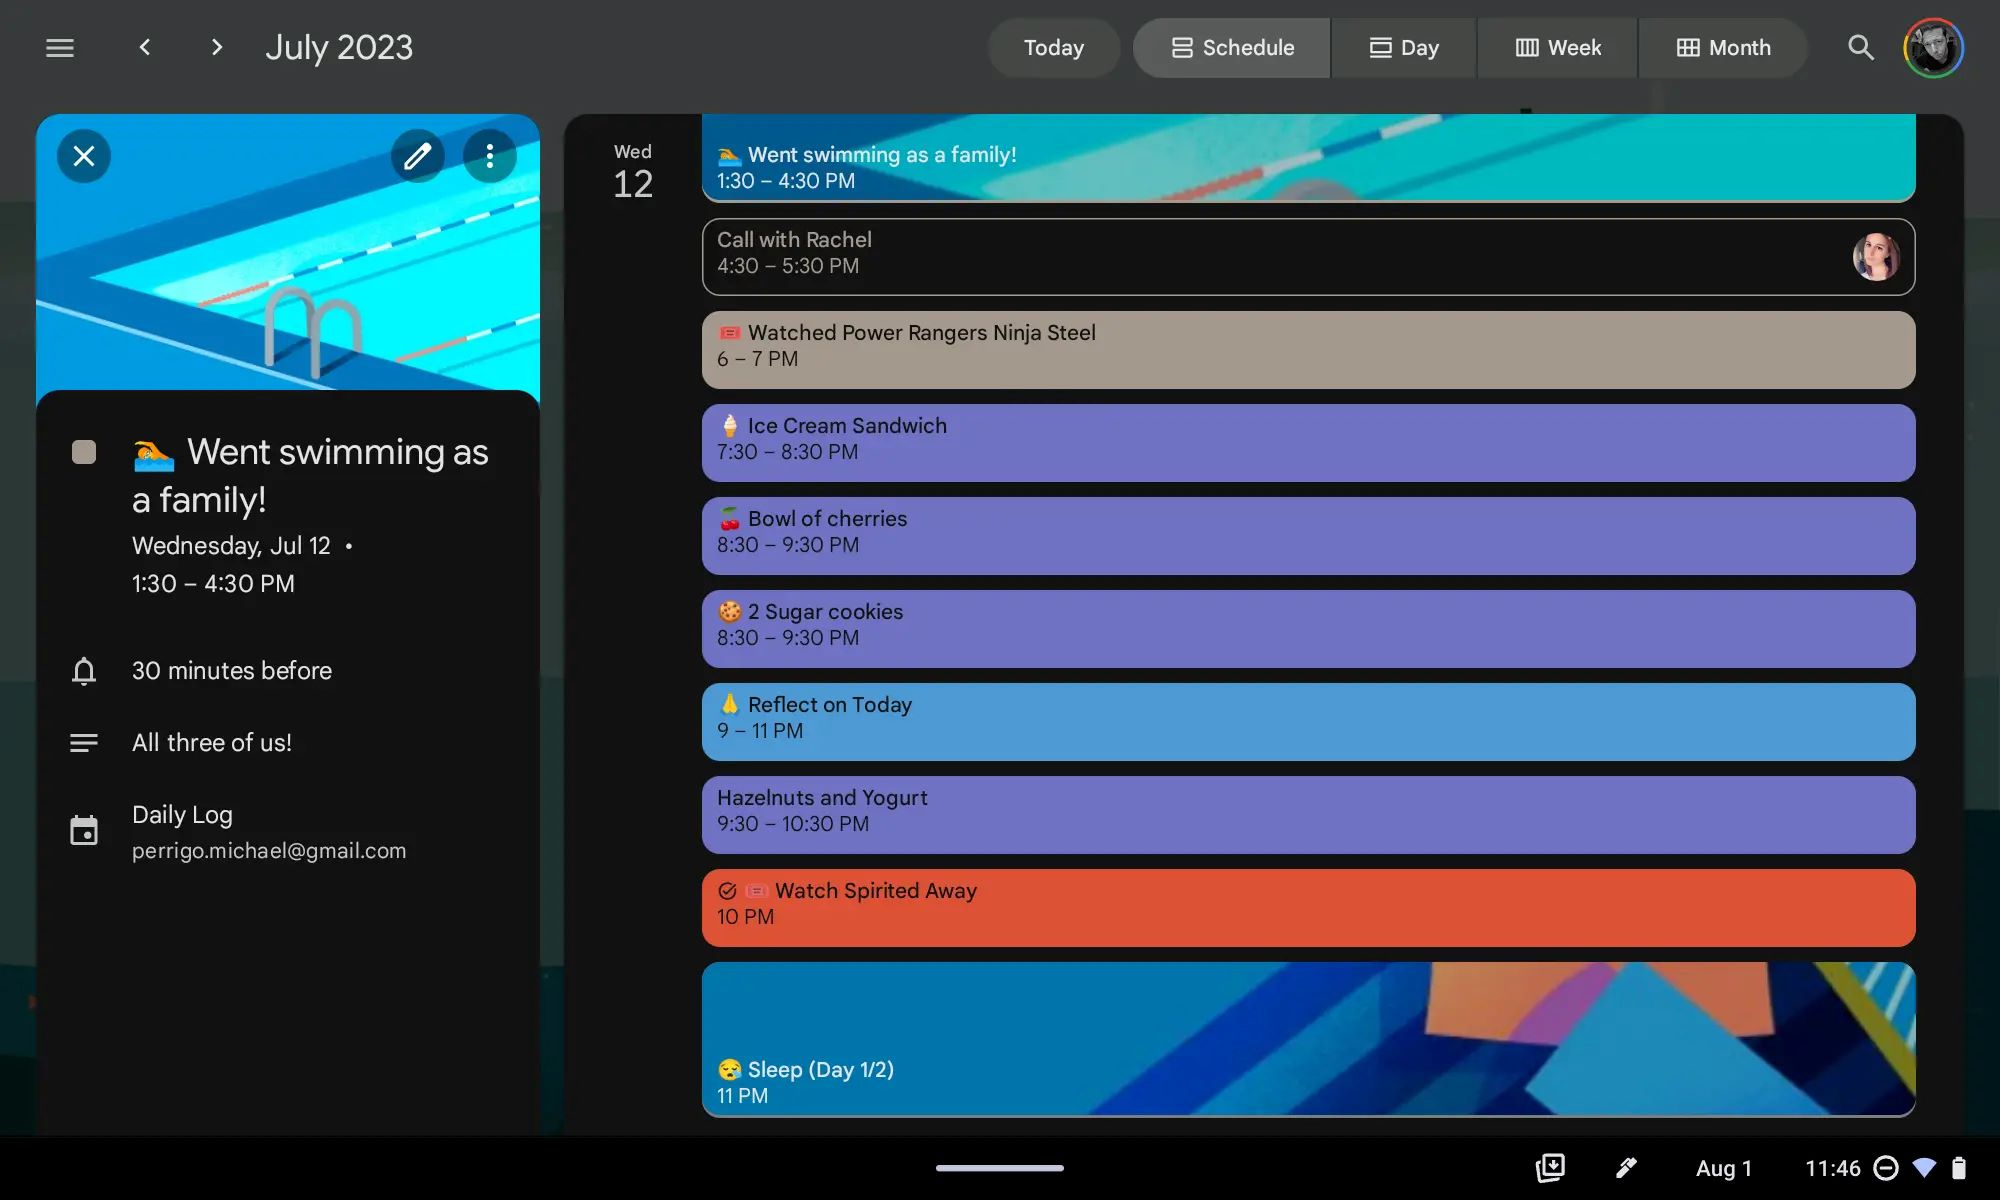
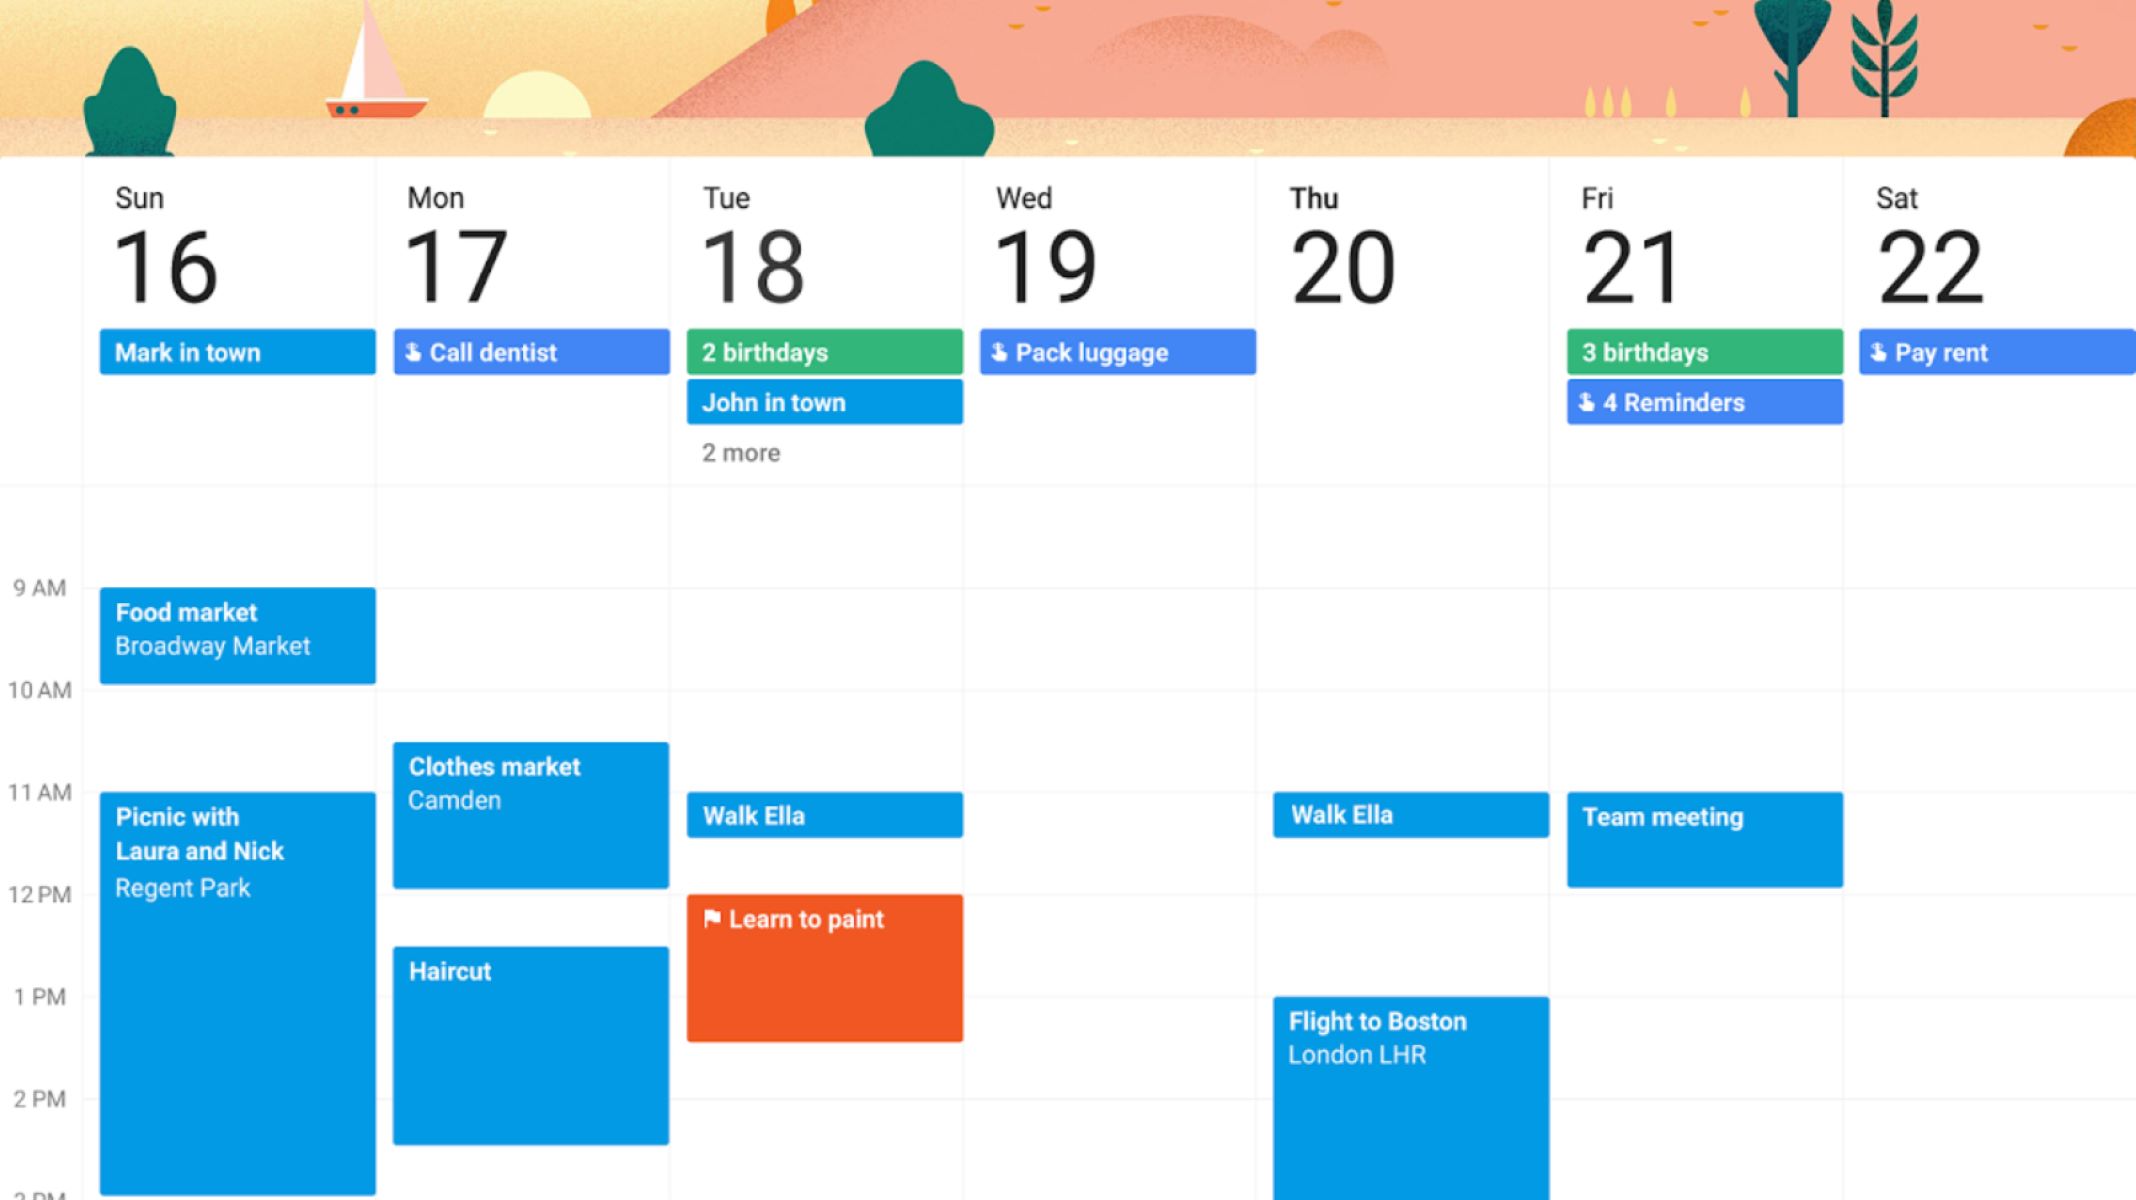
- Multiple Views: Users can view their calendar in different formats, including day, week, month, or custom views.
- Sync Across Devices: Google Calendar seamlessly syncs across devices, allowing users to access their schedules from their smartphones, tablets, or computers.
- Sharing and Collaboration: Users can share their calendars with others and collaborate on events, making it ideal for team projects, group activities, or coordinating schedules with colleagues and family members.
- Notifications and Reminders: Google Calendar provides customizable notifications and reminders, ensuring that users never miss an important event or task.
- Integration with Other Tools: Google Calendar integrates seamlessly with other Google services, such as Gmail, Google Meet, and Google Drive, making it a one-stop solution for managing appointments, meetings, and related documents.
Whether you are a student, professional, or someone with a busy schedule, Google Calendar offers a convenient and effective way to organize your time and stay on top of your commitments. It simplifies the process of scheduling and ensures that you never overlook an important event or deadline.
In the next section, we will explore the benefits of using Google Calendar specifically for managing your class schedule.
Why Use Google Calendar for Your Class Schedule?
Managing a class schedule can be a daunting task, especially when you have multiple classes, assignments, and exams to keep track of. That’s where Google Calendar comes in. Here are some compelling reasons why you should consider using Google Calendar for your class schedule:
- Easy Access: With Google Calendar, you can access your class schedule anytime, anywhere. Whether you’re on your computer, smartphone, or tablet, your schedule is just a few clicks away.
- Sync Across Devices: Google Calendar seamlessly syncs across all your devices. This means that any changes or updates you make to your schedule on one device will be reflected on all your other devices.
- Centralized Location: By adding your class schedule to Google Calendar, you can have all your important dates and deadlines in one centralized location. This helps to avoid confusion and ensures that you never miss an important class or assignment.
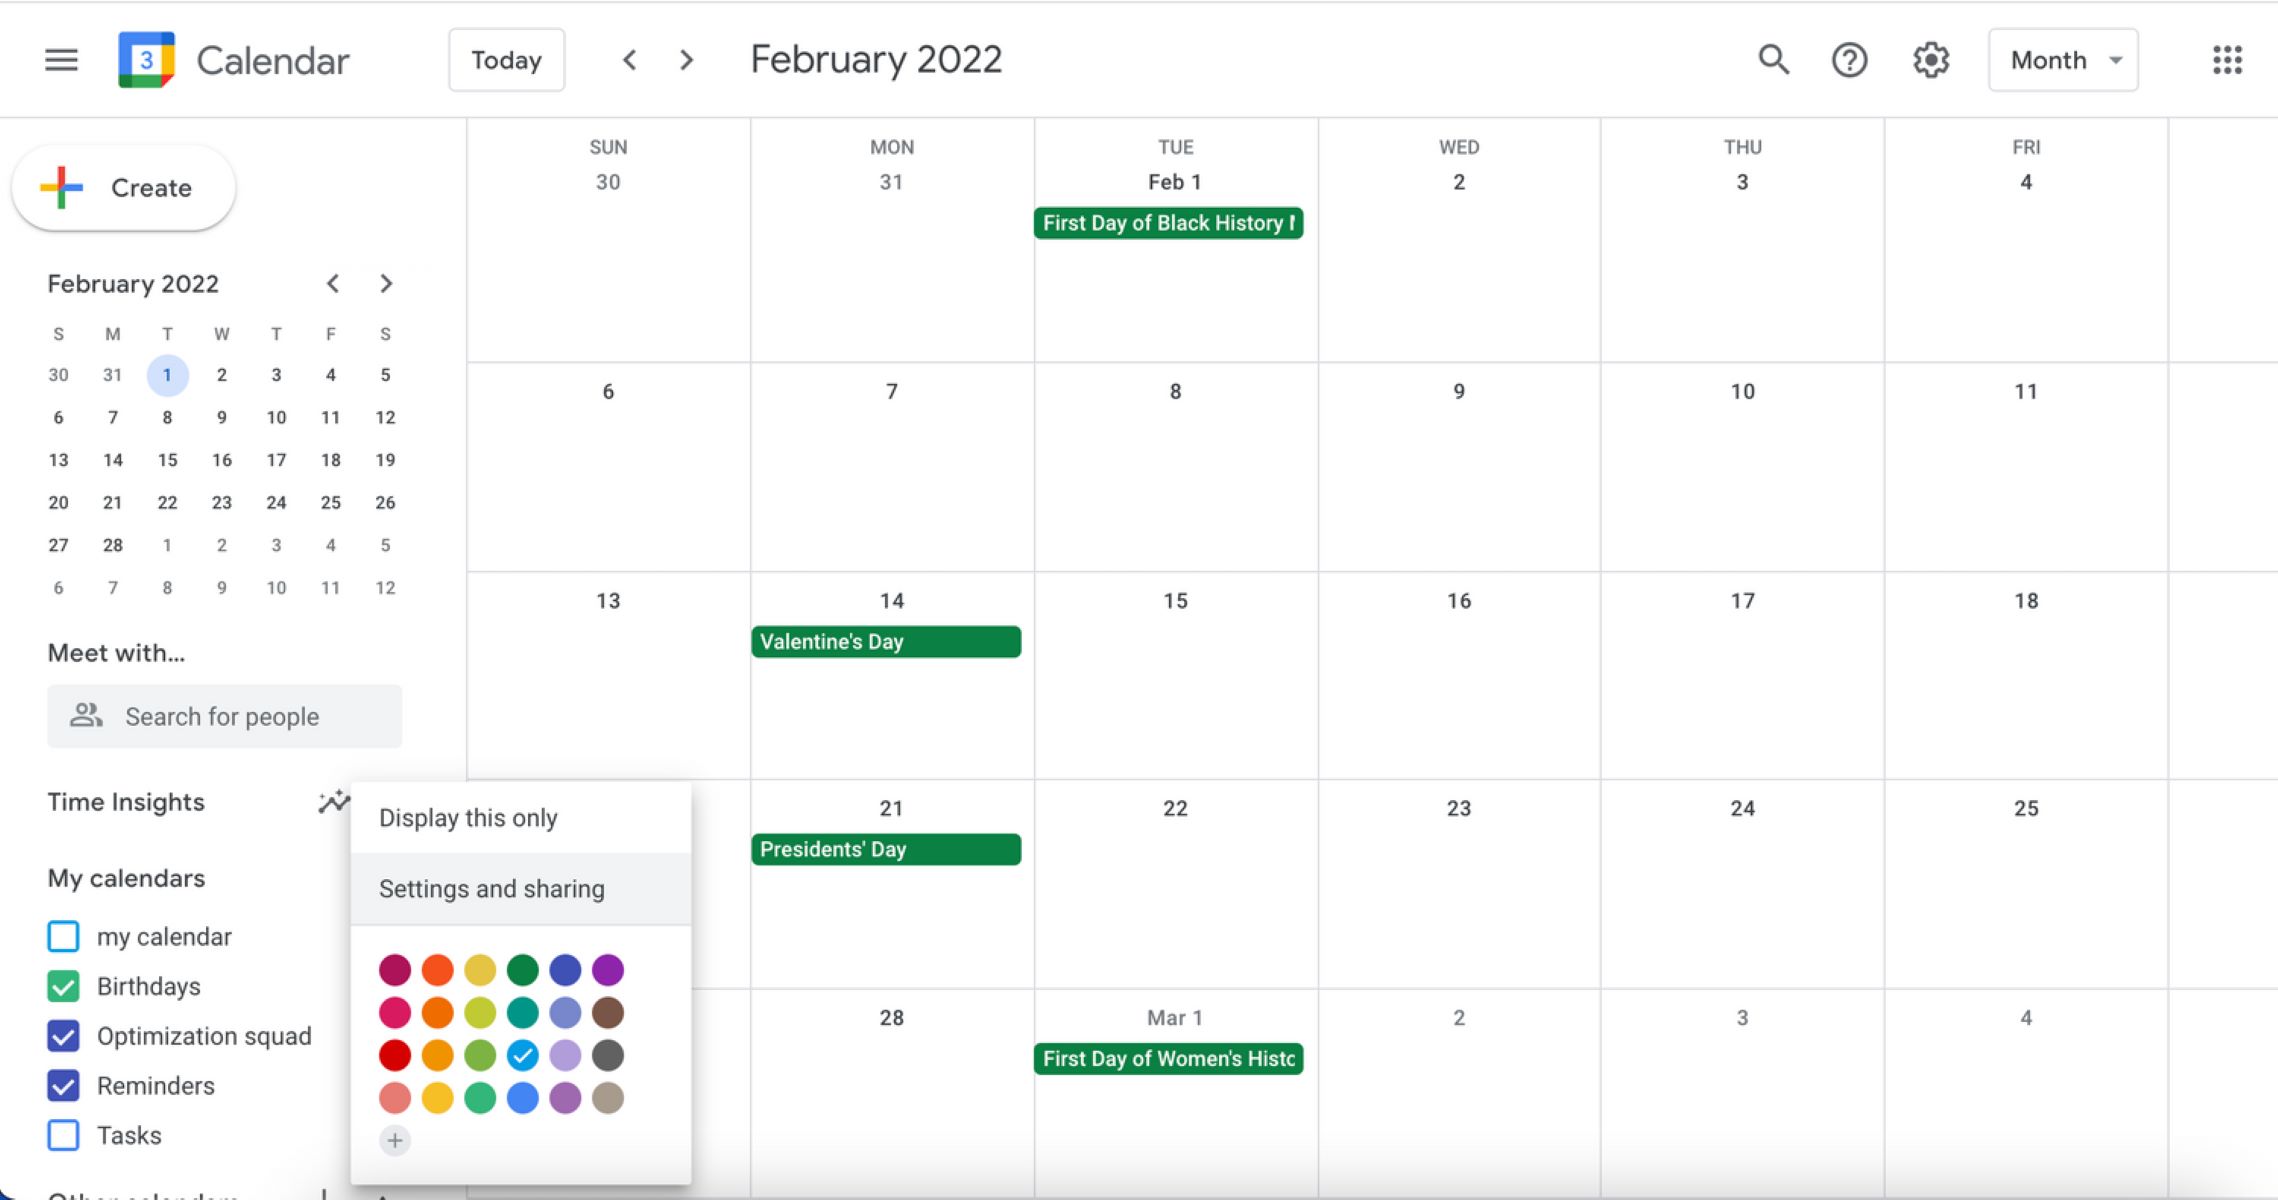
- Customization: Google Calendar offers various customization options, allowing you to color code different classes, add detailed descriptions, and set reminders for important events and tasks. This helps you stay organized and ensures that you’re aware of upcoming deadlines.
- Integration with Other Tools: Google Calendar integrates seamlessly with other Google services like Gmail and Google Drive. This means that you can easily attach relevant documents and files to your events, making it convenient to access all the necessary materials for your classes.
- Collaboration: Google Calendar supports sharing and collaboration, making it easy to share your schedule with classmates or group mates. This enhances coordination for group projects and activities, allowing everyone to stay on the same page.
- Notifications and Reminders: Google Calendar allows you to set up notifications and reminders for your classes and deadlines. You can choose to receive email reminders, pop-up notifications, or even push notifications on your mobile device. This helps you stay on top of your schedule and ensures that you never miss an important class or assignment.
Using Google Calendar for your class schedule not only helps you stay organized, but it also saves you time and reduces the chances of missing important deadlines. By having all your class-related information in one place, you can focus on your studies and have peace of mind knowing that you’re well-prepared for your classes.
Now that you understand the benefits of using Google Calendar for your class schedule, let’s explore how to create a Google Calendar and add your classes to it.
Creating Google Calendar
Before you can add your class schedule to Google Calendar, you’ll need to create a Google Calendar account. If you already have a Google account, you can skip this step and proceed to the next section.
To create a Google Calendar account, follow these simple steps:
- Go to the Google Calendar website: Open your web browser and visit https://calendar.google.com.
- Sign in with your Google account: If you have a Google account, sign in with your existing credentials. If you don’t have a Google account, click on the “Create account” button to create a new one.
- Set up your Google Calendar: Once you’re signed in, you’ll be taken to the main Google Calendar interface. Here, you can customize your calendar settings, such as your time zone, working hours, and default view. Take a moment to configure these settings based on your preferences.
That’s it! You now have a Google Calendar account ready to be populated with your class schedule. In the next section, we will explore different methods to add your class schedule to Google Calendar.
Note: If you already have an existing Google account but have never used Google Calendar before, you can simply access Google Calendar by clicking on the “Calendar” option in the Google Apps menu (usually represented by a grid of nine dots) when you’re signed in to any Google service like Gmail or Google Drive.
Adding Class Schedule
Now that you have your Google Calendar account set up, it’s time to add your class schedule. There are several methods you can use to add your classes to Google Calendar. Let’s explore three popular methods:
Method 1: Manual Entry
The simplest way to add your class schedule to Google Calendar is by manually entering each class. Here’s how:
- Open Google Calendar and make sure you’re in the correct calendar view (e.g., day, week, month).
- Click on the date and time of your first class.
- In the event creation window, enter the name of the class in the “Event title” field.
- Specify the date, time, and duration of the class using the respective fields.
- Optionally, you can add additional details such as location, description, and attachments.
- Click on the “Save” button to add the class to your calendar.
- Repeat these steps for each of your classes, entering the relevant information for each.
Method 2: Import from a Spreadsheet
If you have your class schedule in a spreadsheet or another digital format, you can import it into Google Calendar. Here’s how:
- Open Google Calendar in your web browser.
- Click on the gear icon in the top right corner and select “Settings” from the drop-down menu.
- Under the “Settings” tab, click on “Import & Export” in the left sidebar.
- Click on the “Select file from your computer” button and choose the spreadsheet file containing your class schedule.
- Follow the on-screen instructions to map the columns in your spreadsheet to the appropriate calendar fields.
- Once you’ve mapped all the necessary fields, click on the “Import” button to import your class schedule into Google Calendar.
Method 3: Syncing with your School’s Calendar
Some educational institutions offer the option to sync your class schedule with a digital calendar. If your school provides this feature, you can sync your class schedule directly to your Google Calendar. Here’s how:
- Check if your school has a calendar sync option available. This information is generally available on your school’s website or through your student portal.
- Follow the instructions provided by your school to sync your class schedule to your Google Calendar. This may involve authorizing the syncing process and granting permission for the calendar data to be accessed.
- Once the syncing is complete, your class schedule will be automatically added to your Google Calendar.
Choose the method that suits you best and add your class schedule to Google Calendar. In the next section, we will explore how to set up notifications and reminders to stay on top of your class schedule.
Method 1: Manual Entry
The simplest method to add your class schedule to Google Calendar is by manually entering each class. While it may be time-consuming, it gives you full control over the details. Here’s how you can manually enter your class schedule:
- Open Google Calendar and ensure you’re in the correct calendar view (e.g., day, week, month).
- Click on the date and time of your first class.
- In the event creation window, enter the name of the class in the “Event title” field.
- Specify the date, time, and duration of the class using the respective fields.
- Optionally, you can add additional details such as the location of the class, a description, and any attachments.
- Click on the “Save” button to add the class to your calendar.
- Repeat these steps for each of your classes, entering the relevant information for each.
This method allows you to have complete control over your class schedule. You can add specific details like the classroom number, professor’s name, or any additional notes that may be helpful. It also allows you to customize the appearance of different classes by using different colors.
To make the most of manual entry, consider color-coding your classes based on subject or importance. This will provide a visual representation of your schedule and make it easier to distinguish between different classes at a glance.
Additionally, you can set up reminders and notifications for each class to help ensure you don’t miss any important lectures or assignments. For example, you can set a reminder to receive a notification 15 minutes before the start of each class.
By manually entering your schedule into Google Calendar, you have the flexibility to make changes or add new classes in real-time. This method is especially useful if your class schedule tends to change frequently or if you’re only tracking a few classes.
Now that you know how to manually enter your class schedule, you can proceed to add your classes one by one. In the next section, we will explore an alternative method to import your class schedule from a spreadsheet.
Method 2: Import from a Spreadsheet
If you already have your class schedule organized in a spreadsheet or another digital format, you can save time by importing it directly into Google Calendar. This method eliminates the need for manual entry and ensures accuracy. Here’s how you can import your class schedule from a spreadsheet:
- Open Google Calendar in your web browser.
- Click on the gear icon in the top right corner and select “Settings” from the drop-down menu.
- Under the “Settings” tab, click on “Import & Export” in the left sidebar.
- Click on the “Select file from your computer” button and choose the spreadsheet file containing your class schedule. Make sure the file is in a compatible format, such as CSV (Comma Separated Values) or XLSX (Microsoft Excel).
- Follow the on-screen instructions to map the columns in your spreadsheet to the appropriate calendar fields. For example, you might map the column with class names to the event title field and the column with dates and times to the corresponding date and time fields in Google Calendar.
- Once you’ve mapped all the necessary fields, click on the “Import” button to import your class schedule into Google Calendar.
During the import process, Google Calendar will analyze the data from your spreadsheet and create separate events for each class. This allows you to have a complete and accurate representation of your class schedule in Google Calendar without the manual effort.
It’s important to ensure that your spreadsheet is correctly formatted before importing it into Google Calendar. Each class should be listed as a separate row, with the relevant information (such as the date, time, and location) in different columns. Take the time to review your spreadsheet and make any necessary adjustments before importing.
By using the import feature, you can save time and ensure consistency in your class schedule. If your schedule changes in the future, you can simply update your spreadsheet and repeat the import process.
Now that you know how to import your class schedule from a spreadsheet, you can choose the method that works best for you. In the next section, we will explore an alternative method to sync your class schedule directly with Google Calendar if your educational institution provides that option.
Method 3: Syncing with your School’s Calendar
If your educational institution provides a calendar syncing option, you can easily integrate your class schedule with Google Calendar. This method allows you to automatically import your class schedule and keep it up to date without manually adding or editing events. Here’s how you can sync your school’s calendar with Google Calendar:
- Check if your school offers a calendar syncing feature. Often, this information can be found on your school’s website, student portal, or by contacting the school’s IT department.
- If syncing is available, retrieve the necessary information to connect your school’s calendar to Google Calendar. This might include URL links, credentials, or specific instructions.
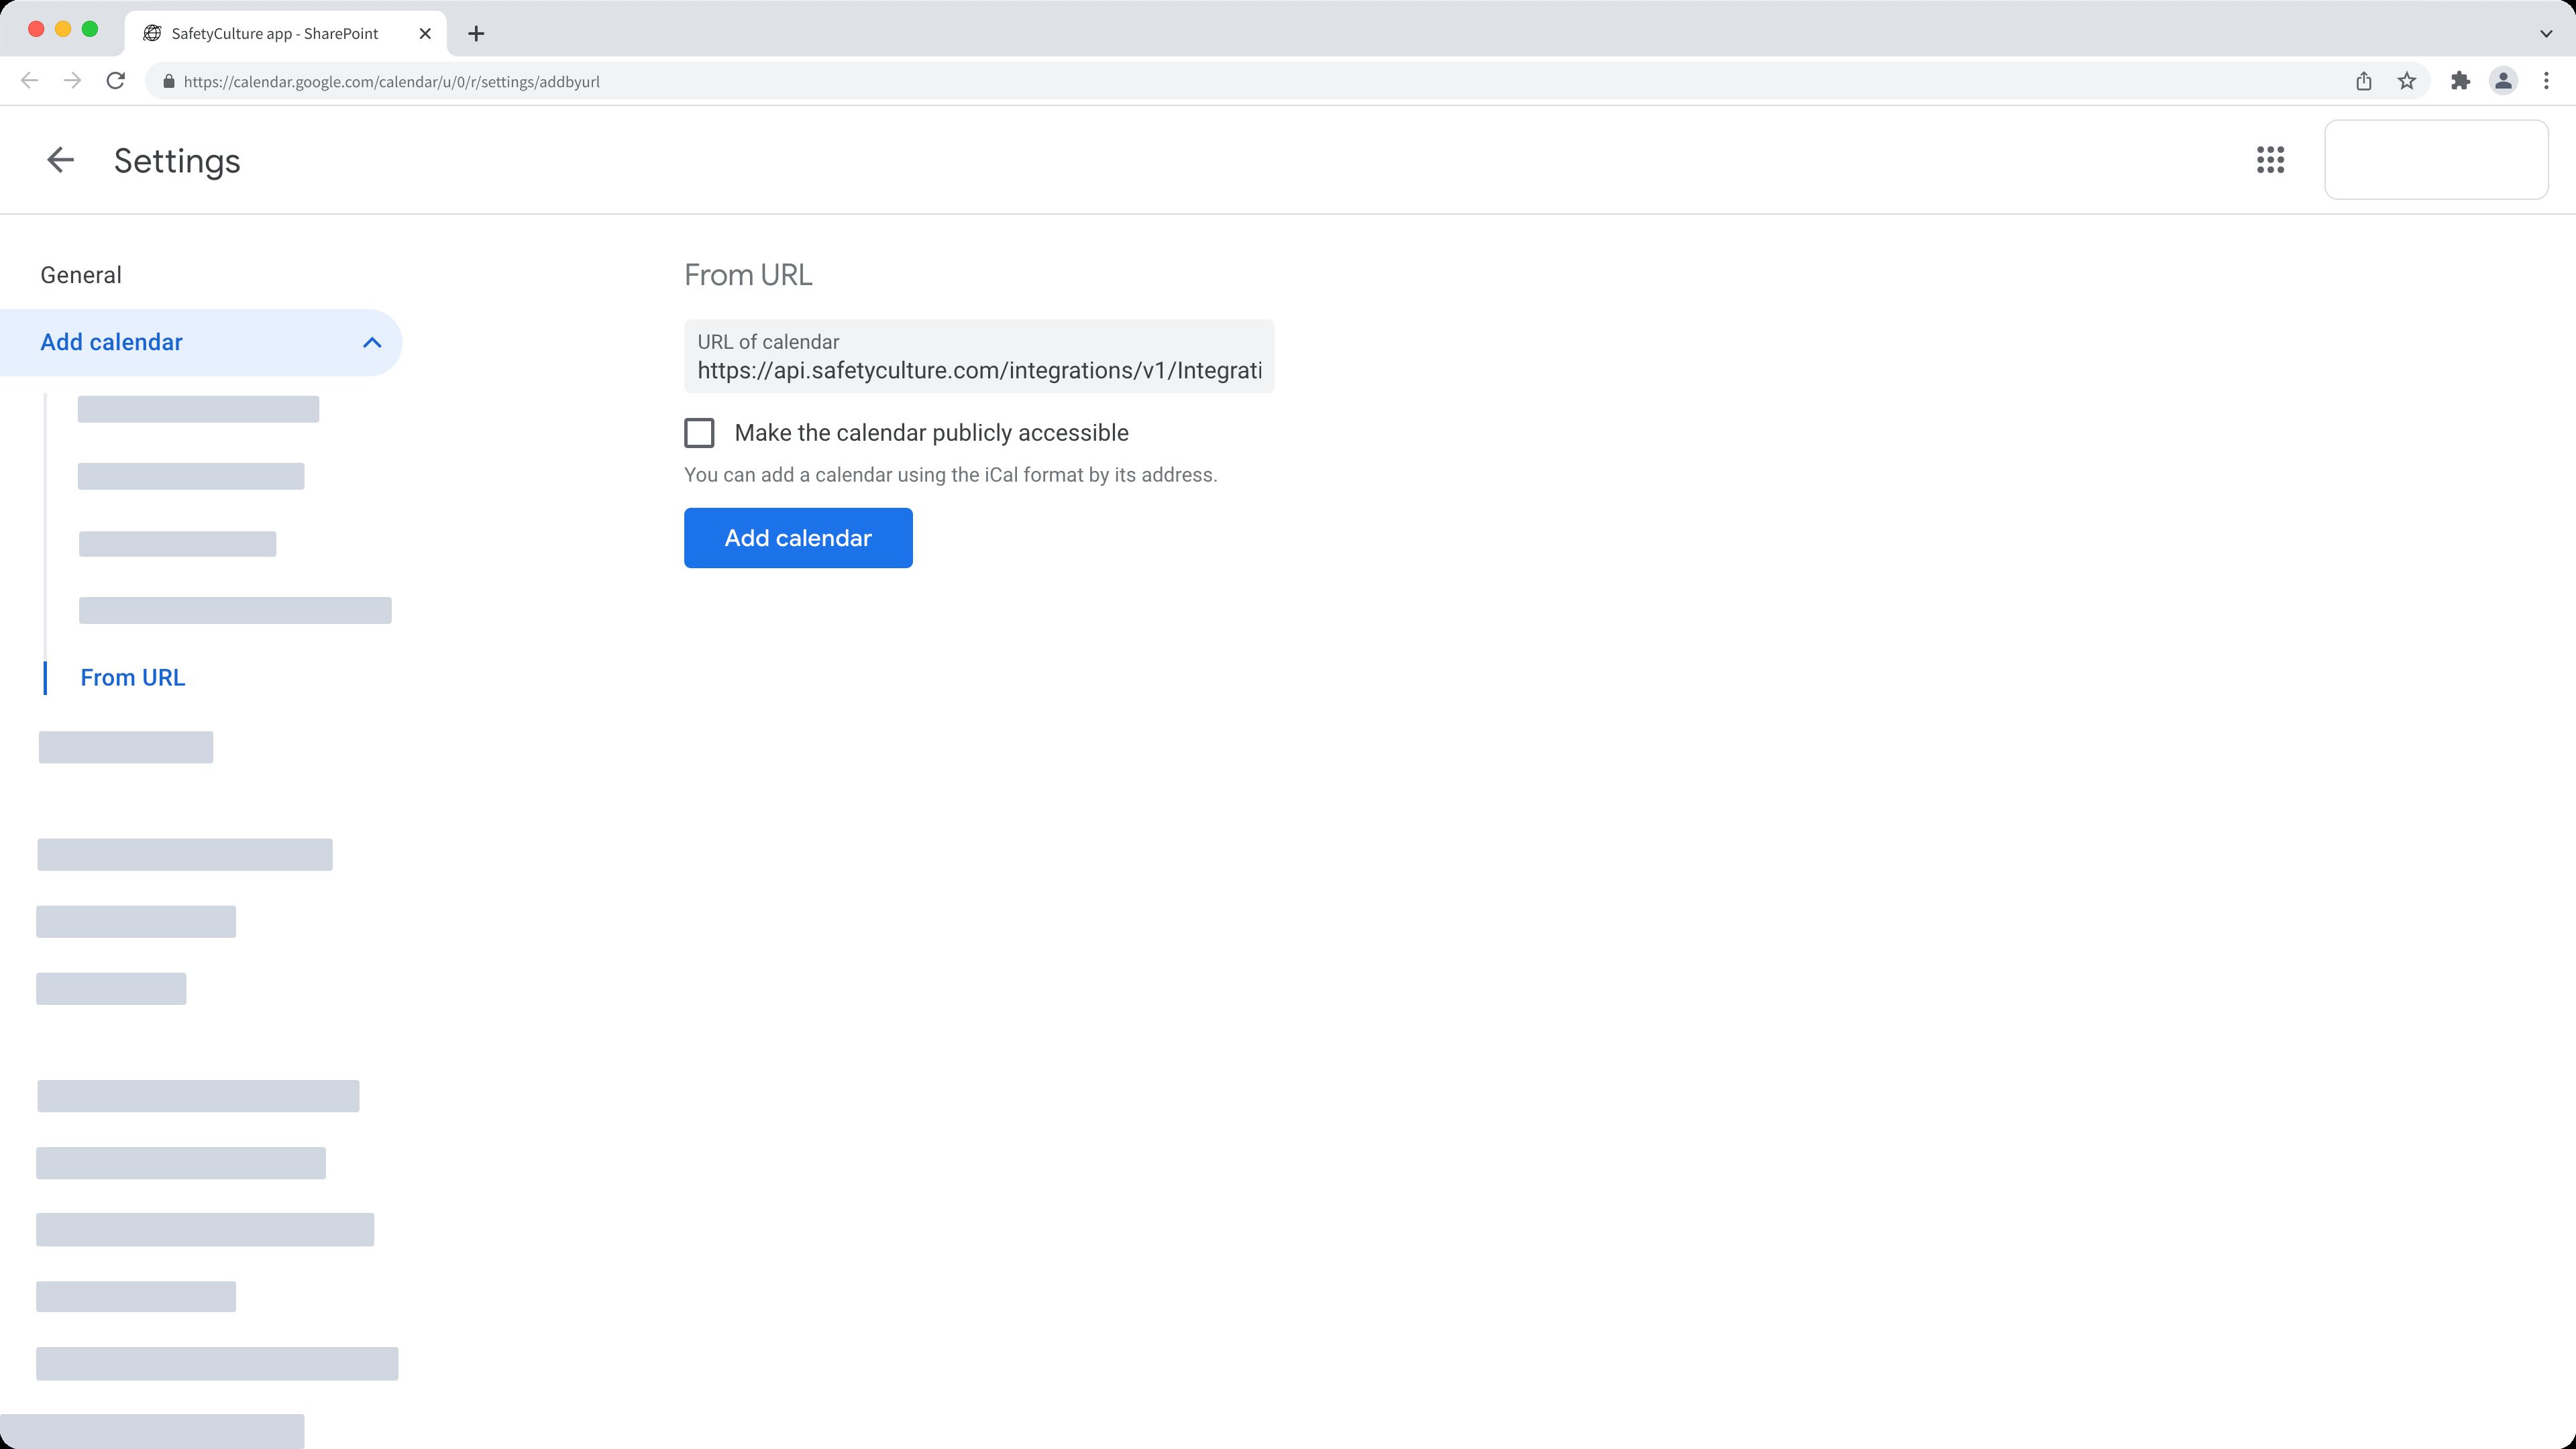
- In your Google Calendar, click on the “+” sign next to “Add calendar” in the left sidebar.
- Select the “From URL” option.
- Paste the URL link provided by your school into the field that appears.
- Click on the “Add calendar” button.
- Google Calendar will begin importing the events from your school’s calendar. The time it takes to complete the process depends on the number of events.
- Once imported, your class schedule will automatically populate in your Google Calendar.
By syncing your school’s calendar with Google Calendar, any changes or updates made to the school’s calendar will automatically reflect in your Google Calendar. This ensures that you always have the most current information regarding your class schedule.
Syncing with your school’s calendar can be particularly helpful if your school regularly updates class times, locations, or cancels/reschedules classes. Instead of manually adjusting your Google Calendar, the syncing feature takes care of it for you.
Keep in mind that calendar syncing availability may vary depending on your school and its systems. If you’re uncertain whether this option is available to you, reach out to your school’s IT department or refer to the documentation provided by your institution.
Now that you’re familiar with how to sync your school’s calendar with Google Calendar, you can choose the method that suits you best to add and manage your class schedule. In the next section, we will explore how to set up notifications and reminders to make the most of your Google Calendar class schedule.
Setting Up Notifications and Reminders
One of the great benefits of using Google Calendar for your class schedule is the ability to set up personalized notifications and reminders. These alerts can help you stay on top of your classes, assignments, and deadlines. Here’s how you can set up notifications and reminders in Google Calendar:
- In Google Calendar, locate the event for which you want to set up a notification or reminder.
- Click on the event to open the event details.
- Within the event details, click on the “Edit” button, usually represented by a pencil icon.
- In the notification section of the event editing window, click on the dropdown menu to select the desired notification option.
- Choose how you want to be notified, such as through email, a pop-up notification, or a mobile notification.
- Select the timing of the notification. This could be minutes, hours, or days before the event starts.
- Save your changes by clicking on the “Save” button.
By setting up notifications and reminders for your class schedule, you can ensure that you never miss an important class, assignment, or deadline. Here are a few tips to make the most of this feature:
- Customize your notifications: Tailor your notifications based on your preferences and needs. For example, you might want a pop-up notification 15 minutes before a class starts, or an email reminder the day before a big assignment is due.
- Set different alerts for different events: You can adjust the notifications and reminders for each event individually. For instance, you may want more frequent reminders for an exam compared to regular class sessions.
- Utilize mobile notifications: Sync your mobile device with your Google Calendar and enable mobile notifications. This way, you’ll receive important alerts even when you’re on the go.
- Stay organized with multiple notifications: If you have a busy schedule, consider setting up multiple notifications for important events. This will ensure that you’re aware of upcoming commitments and can plan accordingly.
It’s important to find the right balance when setting up notifications and reminders. Avoid overwhelming yourself with constant notifications, but also make sure you have enough alerts to keep you on track. Experiment with different settings until you find a configuration that works best for you.
By harnessing the power of notifications and reminders in Google Calendar, you can stay organized, meet deadlines, and make the most of your class schedule.
With your class schedule now successfully integrated into Google Calendar and notifications and reminders set up, you’re well-equipped to manage your classes and stay on top of your academic commitments. In the next section, we will explore some tips for effectively managing your class schedule on Google Calendar.
Managing Class Schedule on Google Calendar
Now that you have added your class schedule and set up notifications and reminders in Google Calendar, it’s time to explore some tips for effectively managing your class schedule. Here are some key strategies to help you stay organized and make the most of Google Calendar:
- Color Code Your Classes: Assign a unique color to each class to easily distinguish them on your calendar. This visual representation makes it quick and easy to identify different classes at a glance.
- Utilize Different Calendar Views: Experiment with different calendar views such as day, week, or month to find the one that suits you best. Each view provides a different level of detail, allowing you to easily manage your schedule based on your preference.
- Add Additional Information: Take advantage of the description field within each event to add relevant information such as lecture topics, reading materials, or important instructions. This additional context can be helpful when reviewing your schedule or preparing for classes.
- Be Mindful of Overlapping Events: Be cautious when scheduling overlapping events, such as meetings or extracurricular activities, with your classes. Consider the impact on your study time and ensure you can manage your commitments effectively.
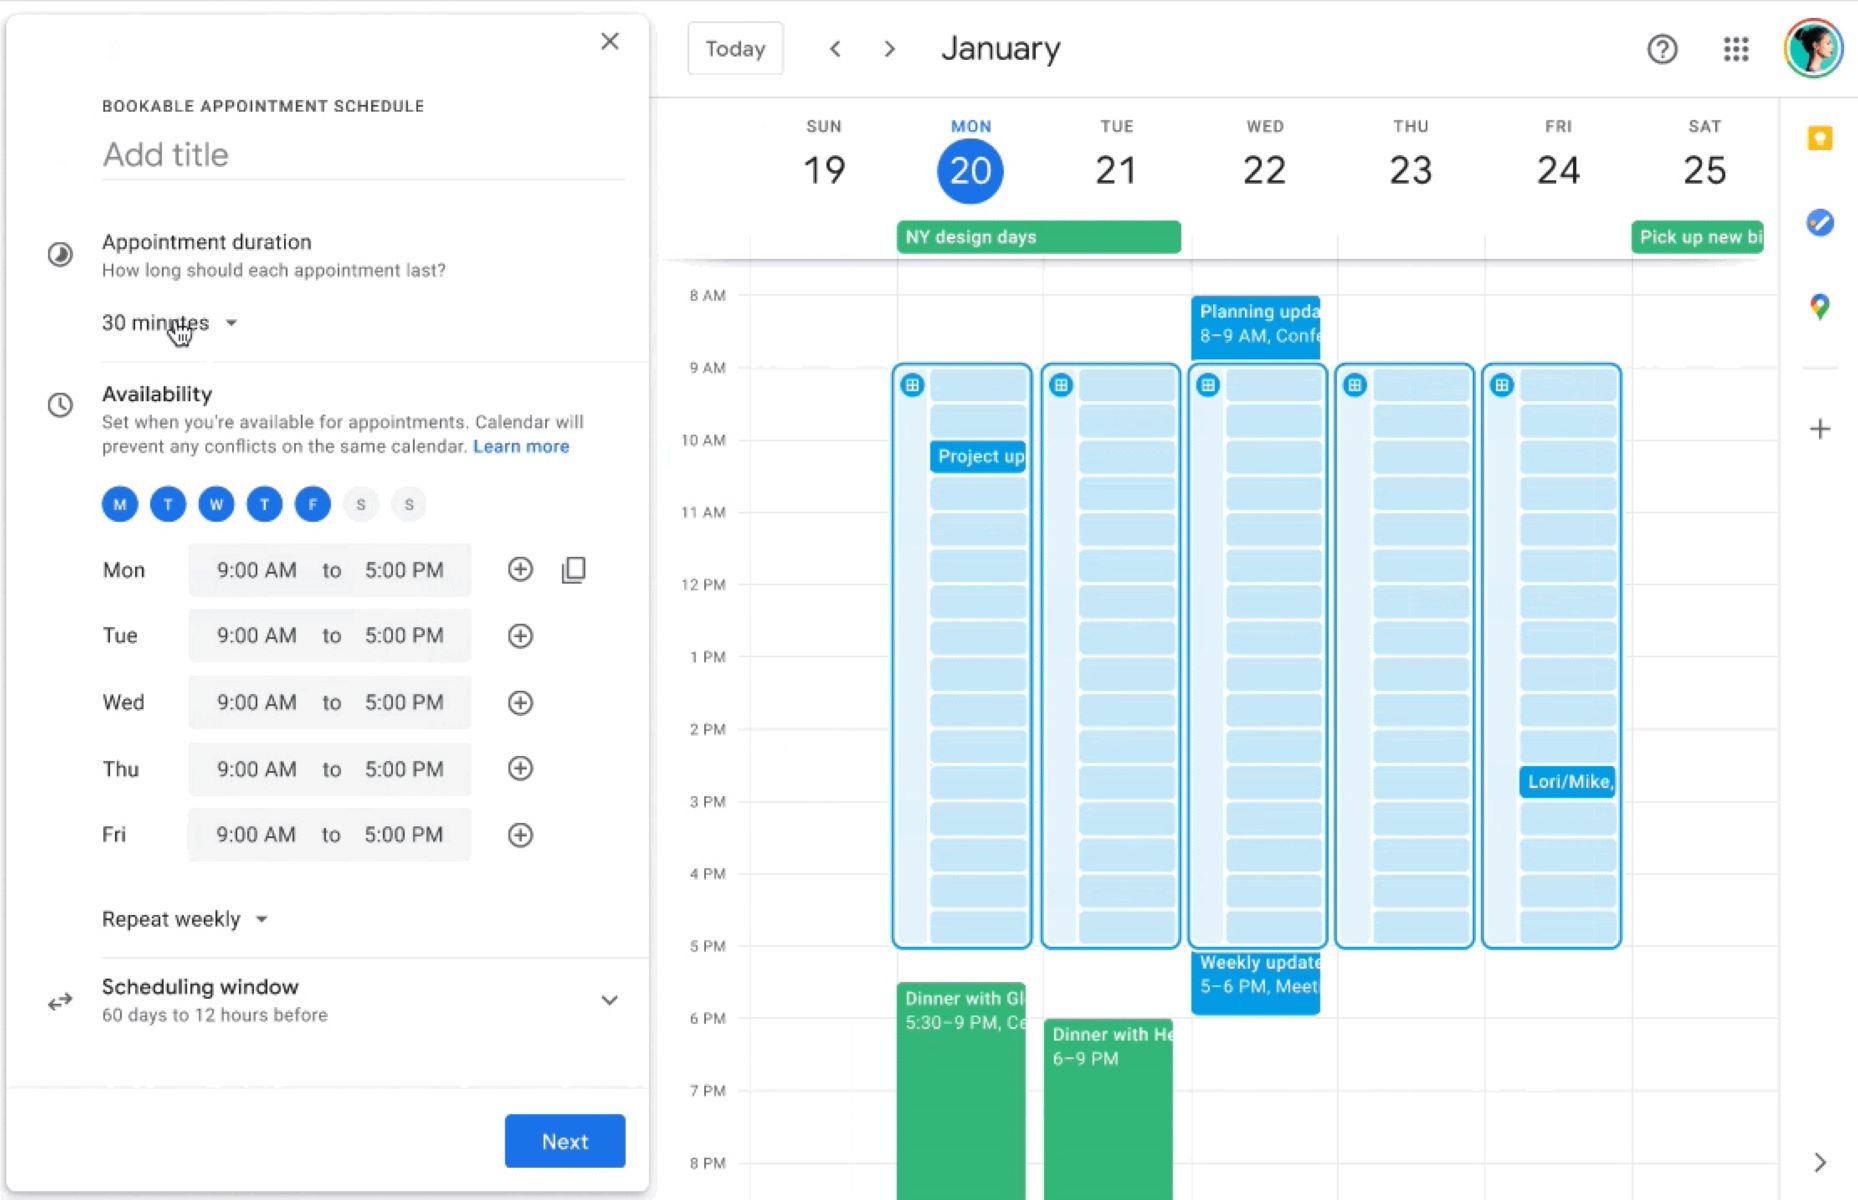
- Make Use of Recurring Events: If your class schedule follows a consistent pattern, utilize the recurring events feature in Google Calendar. This allows you to create events that repeat automatically, saving you time in manually adding each occurrence.
- React Quickly to Schedule Changes: Stay vigilant for any changes to your class schedule, such as updates in location, time, or cancellations. Make sure to update your Google Calendar promptly to ensure accurate planning and avoid any confusion.
- Sync with Other Tools: Take advantage of the integration between Google Calendar and other Google services like Gmail or Google Drive. Attach relevant documents, notes, or reminders to each event, making it easy to access all the resources you need for your classes.
- Regularly Review and Reflect: Set aside time each week to review your class schedule and upcoming assignments. Reflect on your progress and make any necessary adjustments to stay on top of your workload.
By following these tips, you can effectively manage your class schedule on Google Calendar and stay organized throughout the academic year. Google Calendar’s flexibility and powerful features make it a valuable tool for students, teachers, and anyone involved in the educational realm.
Remember, Google Calendar is not only a digital representation of your calendar but also a valuable time management tool. Regularly utilize its features, stay organized, and make the most of your class schedule to improve your productivity and achieve academic success.
Now that you have the knowledge to successfully manage your class schedule on Google Calendar, you can confidently navigate your academic journey. In the concluding section, we will recap the main points and encourage you to put this knowledge into practice.
Conclusion
Congratulations on learning how to add and manage your class schedule effectively on Google Calendar! By utilizing this powerful digital tool, you can stay organized, ensure timely attendance, and stay on top of your academic commitments.
In this article, we explored various methods to add your class schedule to Google Calendar, including manual entry, importing from a spreadsheet, and syncing with your school’s calendar. We also discussed the importance of setting up notifications and reminders to stay informed and avoid missing any important classes or deadlines.
Remember to take advantage of Google Calendar’s features such as color-coding, different calendar views, and attaching additional information to events. These strategies will help you effectively manage and navigate your class schedule with ease.
As you continue to use Google Calendar for your class schedule, be proactive in responding to schedule changes and regularly review and adjust your calendar to maintain accuracy and organization. By incorporating these practices into your routine, you can optimize your time management and ensure a smooth academic experience.
Now it’s time to put your knowledge into practice! Open up your Google Calendar, add your class schedule, set up notifications, and start managing your academic life in a more efficient and organized way.
Whether you’re a student, teacher, or working professional, Google Calendar can be a valuable tool for managing and tracking your class schedule. Embrace the convenience and flexibility it offers, and enjoy the benefits of staying organized and on top of your educational pursuits.
Here’s to a successful and well-organized academic journey with Google Calendar!