Introduction
Welcome to the world of Google Calendar, a powerful tool that can help you stay organized and keep track of your appointments, events, and tasks. Whether you’re a busy professional, a student juggling multiple classes, or simply someone who wants to have a well-structured schedule, Google Calendar is here to simplify your life.
In this article, we will guide you through the process of creating and sharing a Google Calendar, allowing you to collaborate and coordinate with others effortlessly. By sharing your calendar, you can easily keep your team, family, or friends up-to-date on your schedule, ensuring everyone is on the same page.
Imagine the convenience of having a shared calendar where you can see and manage everyone’s appointments and events, eliminating the need for countless emails, phone calls, and text messages to coordinate plans. With Google Calendar, it’s all made possible in just a few simple steps.
Whether you’re a team working on a project, a family planning activities, or a group of friends trying to find the perfect time for a get-together, a shared Google Calendar can be an invaluable asset. So, let’s dive in and explore how to create and use a shared Google Calendar to streamline your scheduling process.
Step 1: Accessing Google Calendar
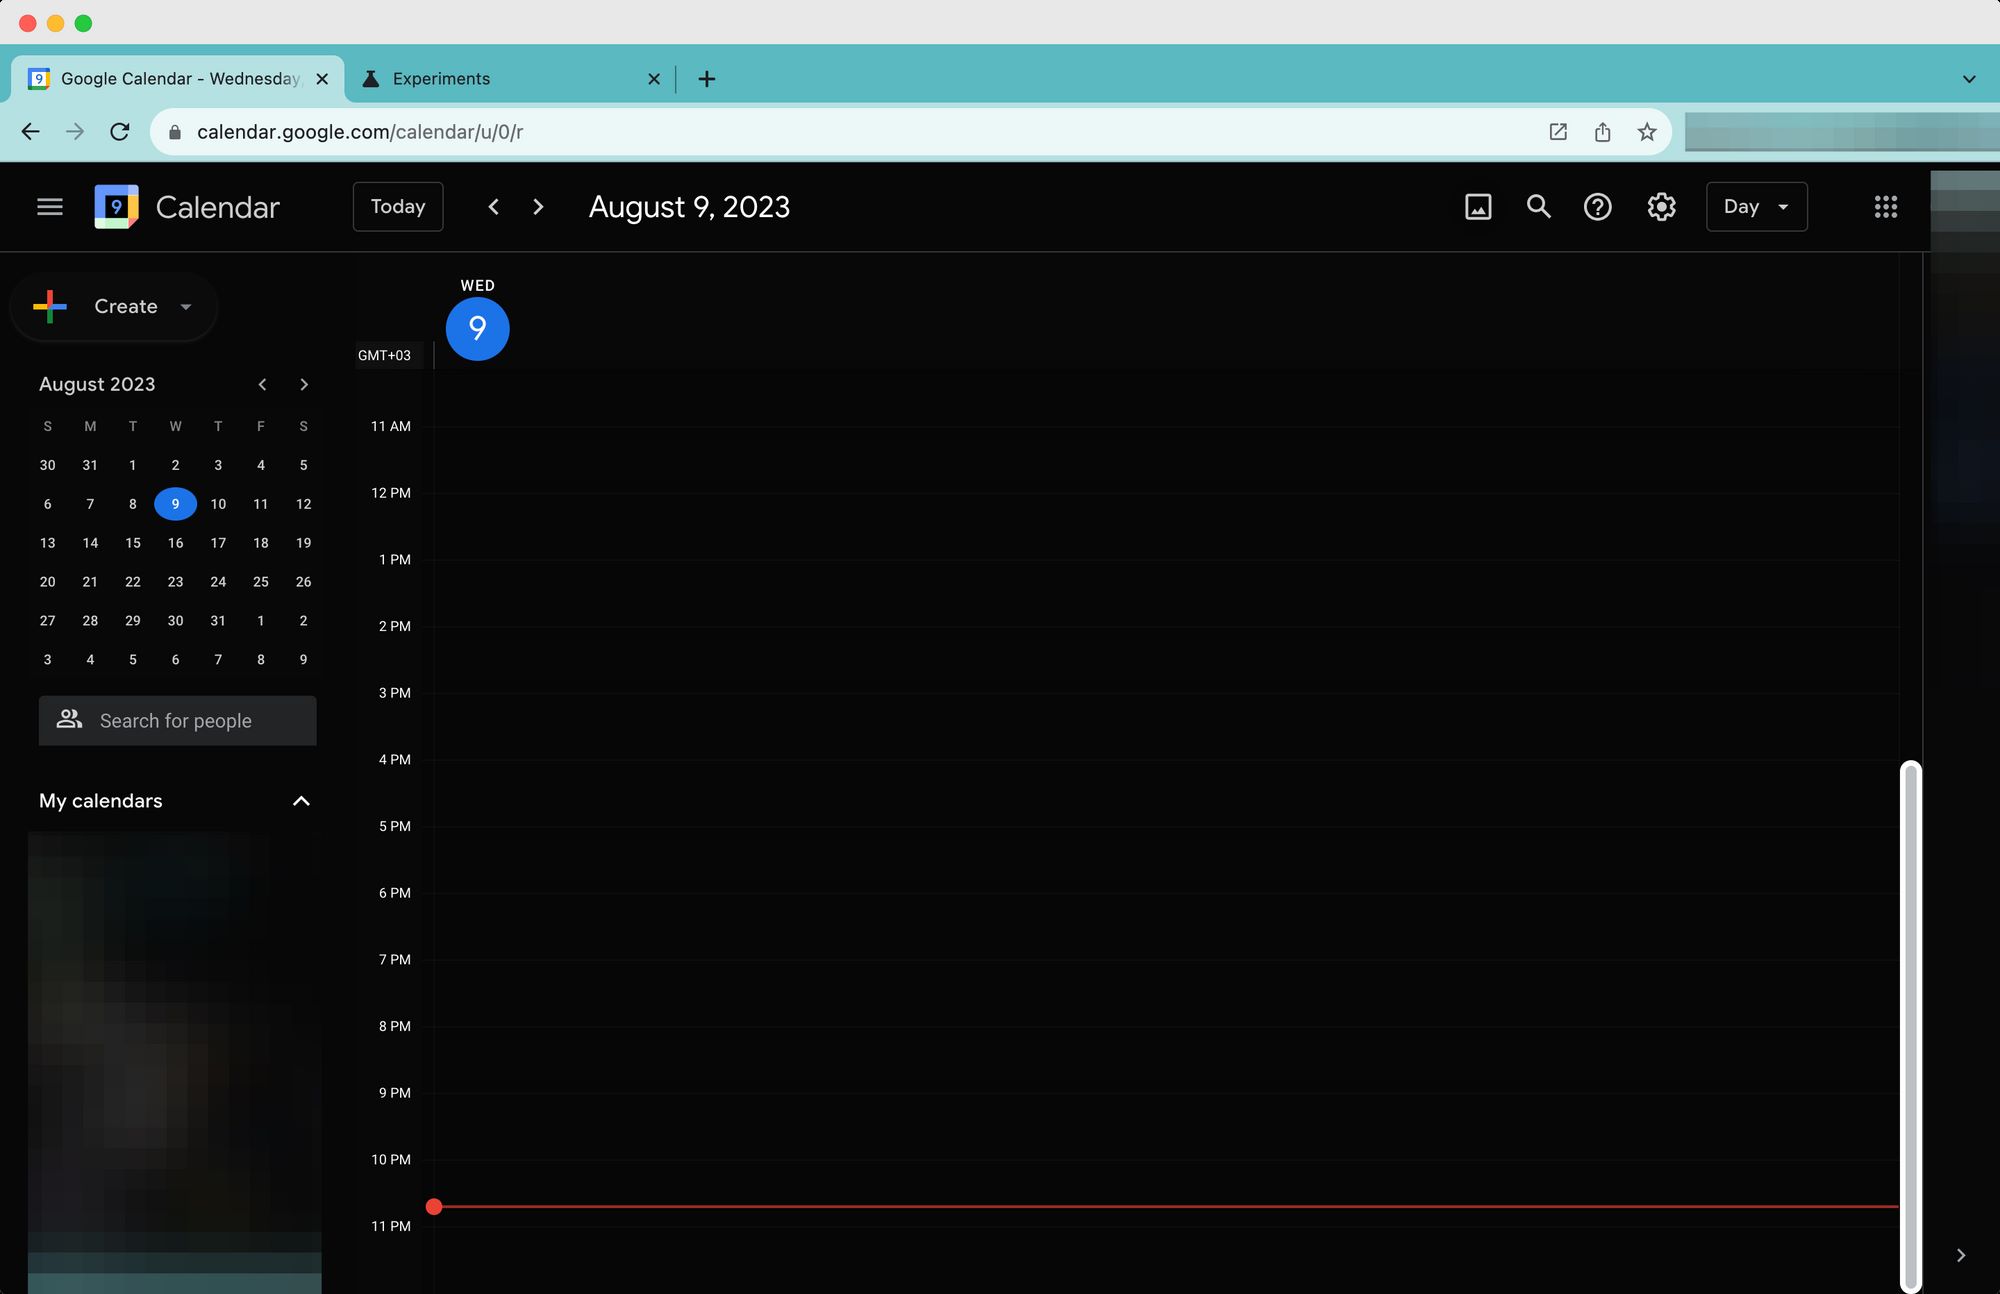
The first step towards creating and sharing a Google Calendar is accessing the app itself. Here’s how you can do it:
- Open your web browser and navigate to https://calendar.google.com/.
- If you already have a Google account, sign in with your credentials. If you don’t have an account, click on the “Create account” button and follow the prompts to create one.
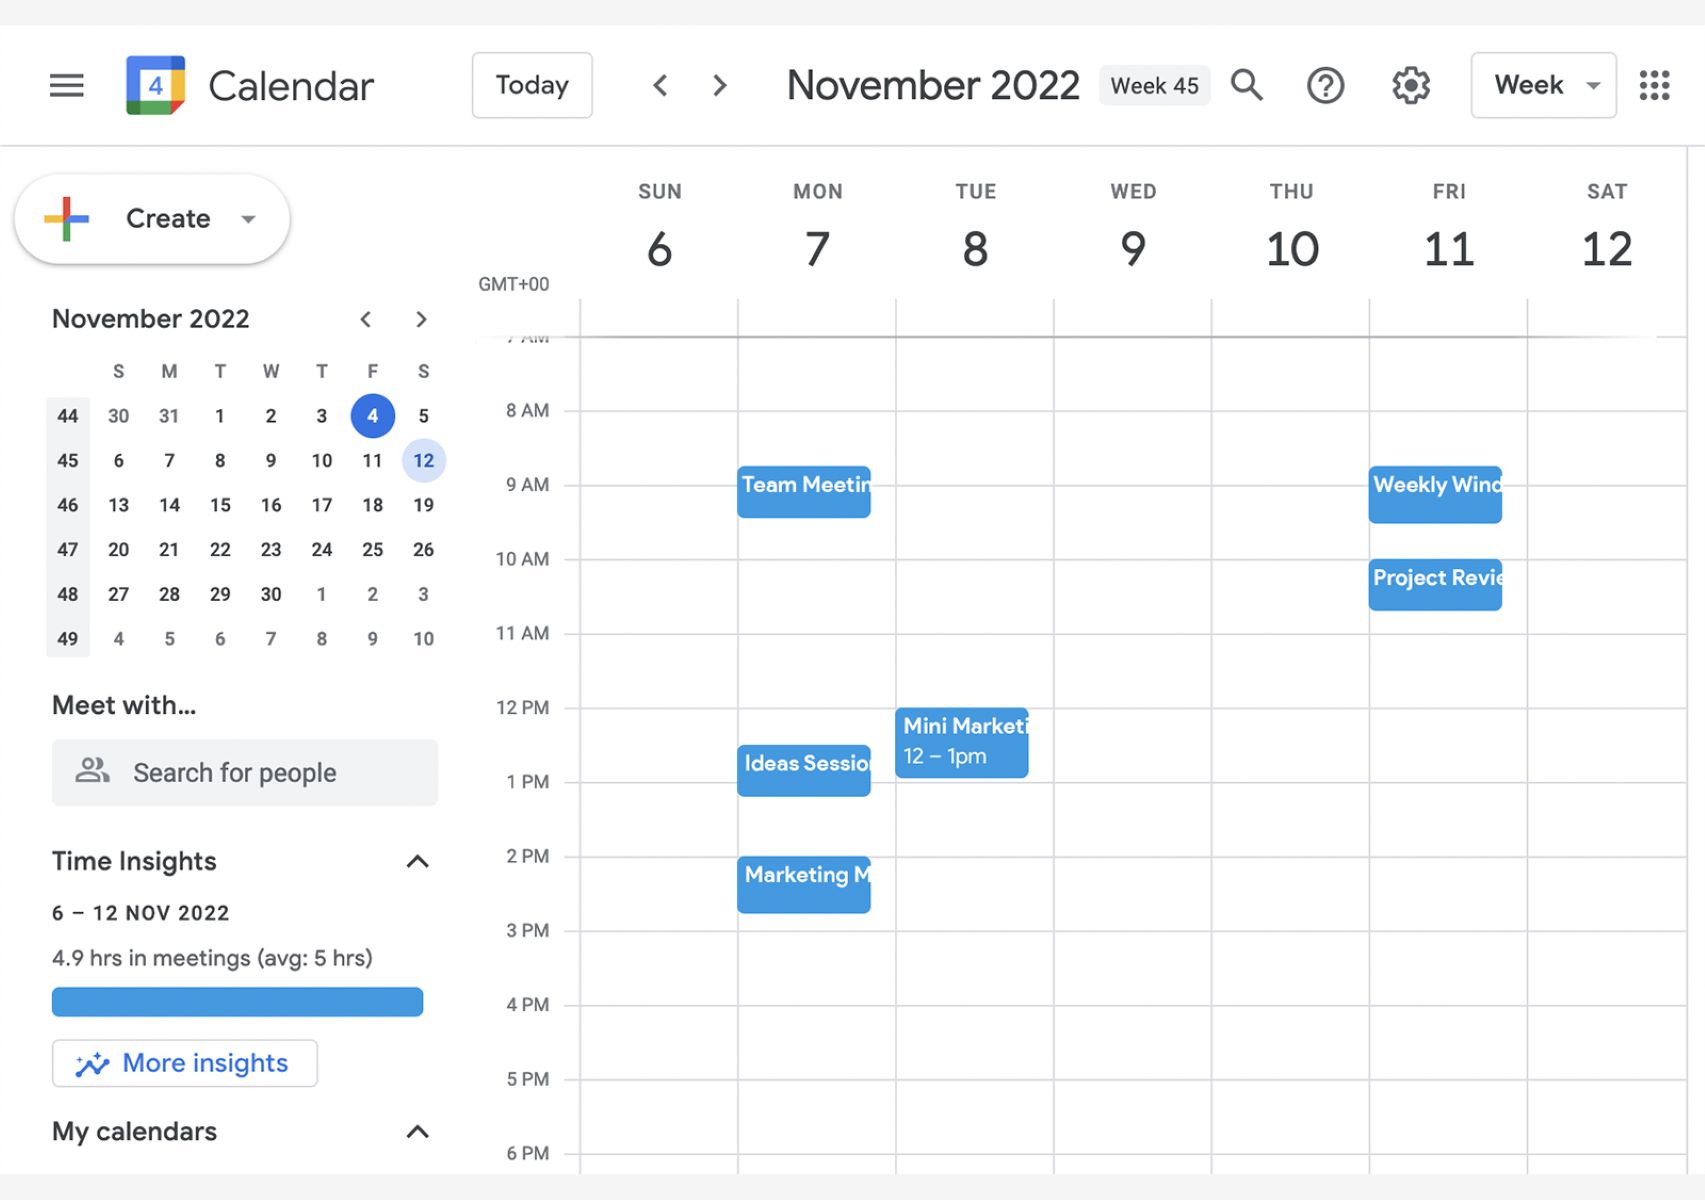
- Once you’re signed in, you’ll be taken to the Google Calendar interface. Here, you’ll find your own personal calendar, which you can use to manage your own events and appointments.
It’s important to note that Google Calendar is accessible not only through the web browser but also through the mobile app. You can download the Google Calendar app from the App Store for iOS or the Google Play Store for Android devices.
With the Google Calendar app installed on your mobile device, you can easily access your calendars on the go, receive notifications, and make changes to your schedule wherever you are.
Once you have successfully accessed Google Calendar, you’re ready to move on to the next step of creating a new calendar.
Step 2: Creating a New Calendar
Now that you have accessed Google Calendar, the next step is to create a new calendar. This will serve as the foundation for your shared calendar. Here’s how you can create a new calendar:
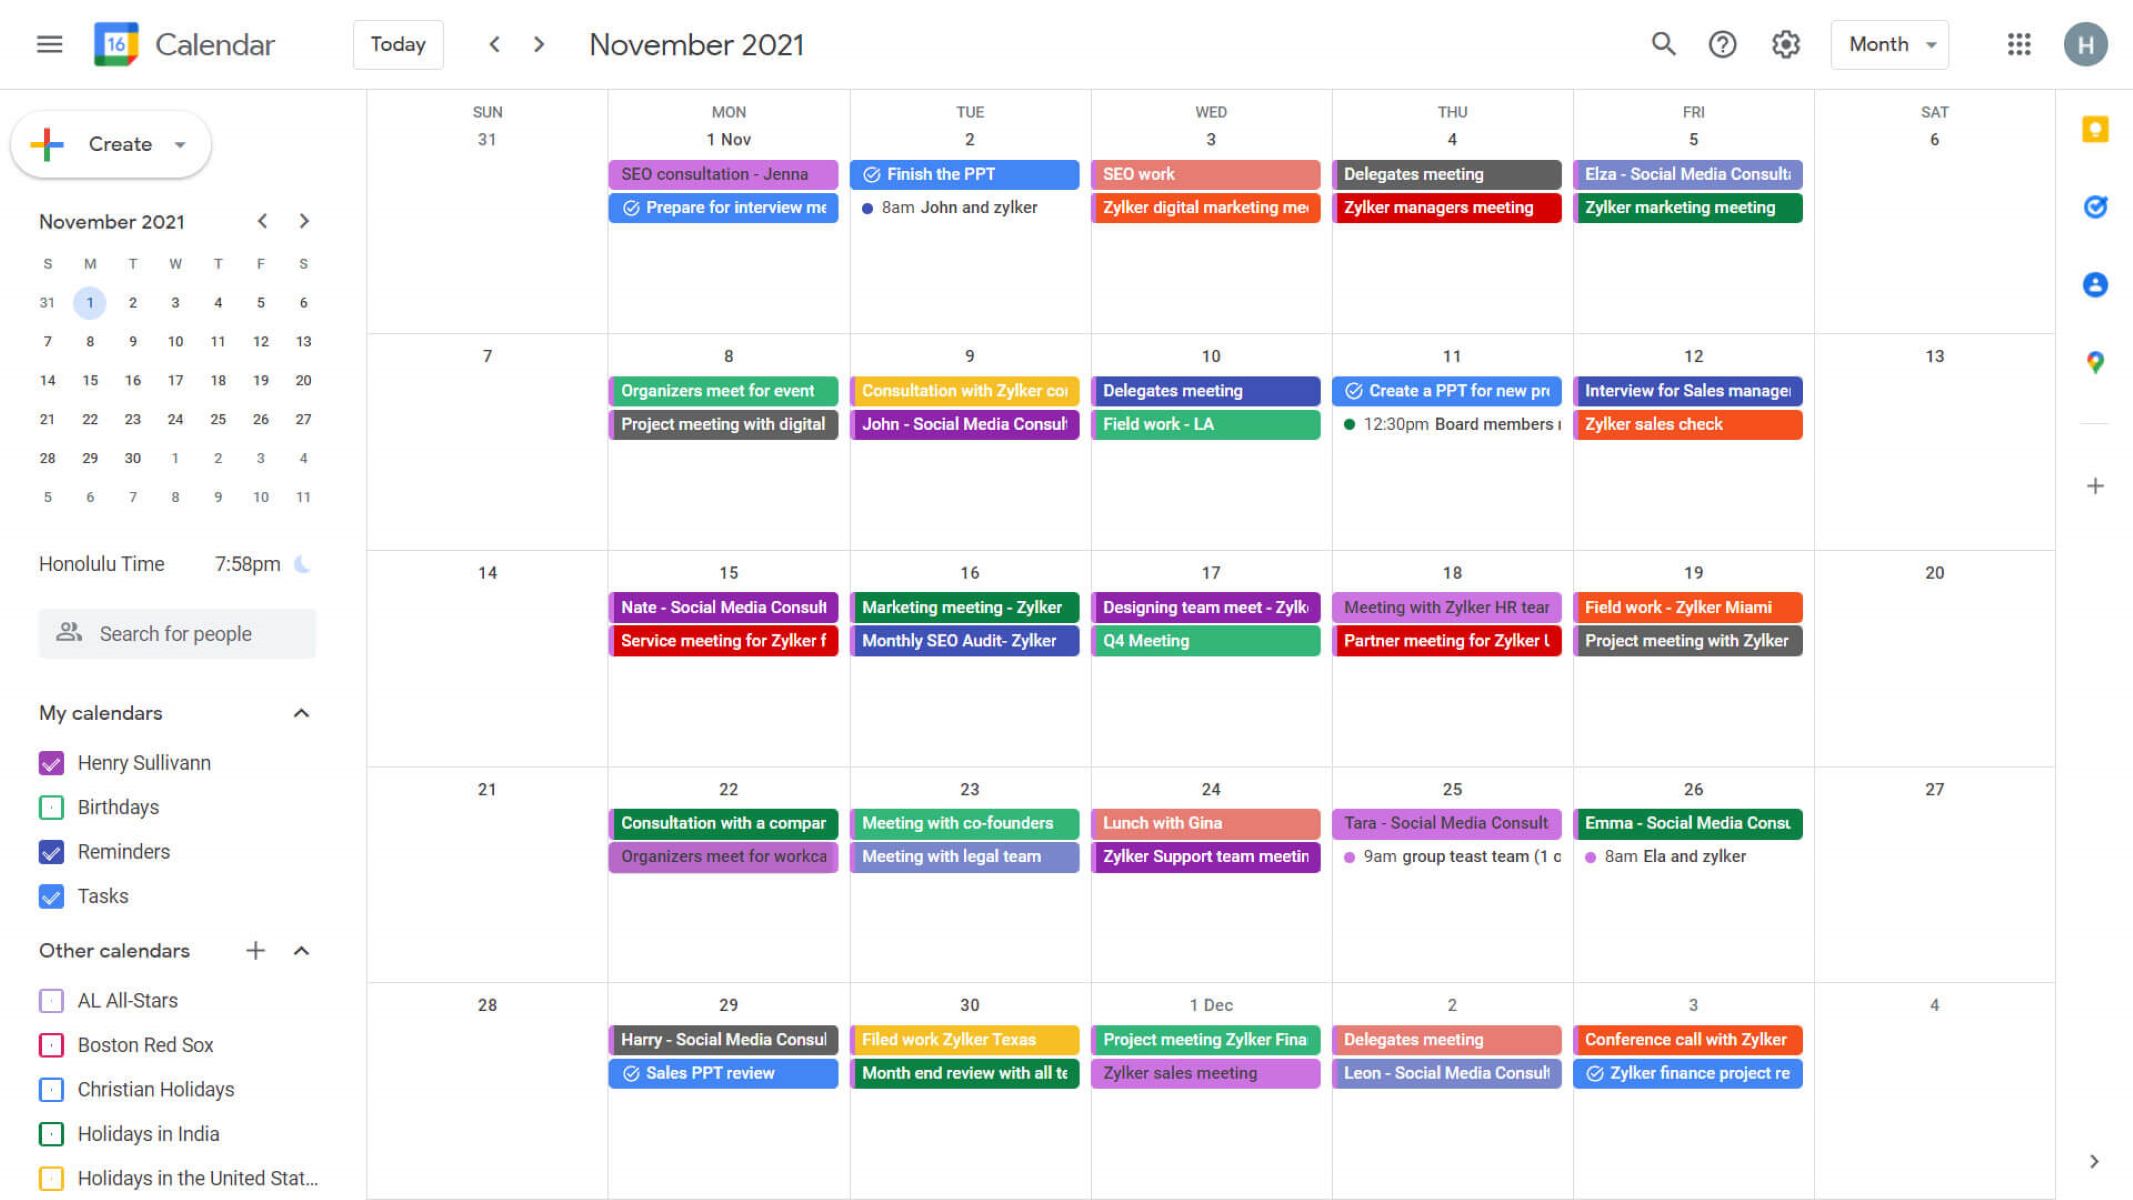
- On the left sidebar of the Google Calendar interface, find the section labeled “My calendars”.
- Click on the “+” icon next to “Add a calendar”.
- A pop-up window will appear. Select “Create new calendar”.
- In the “Calendar name” field, enter a descriptive name for your new calendar. This could be something like “Family Events”, “Project Schedule”, or any other name that represents the purpose of the calendar.
- Optional: Fill in additional details such as the timezone and a brief description of the calendar.
- Click on the “Create calendar” button to finalize the creation of your new calendar.
Congratulations! You have successfully created a new calendar. This calendar will now appear in the “My calendars” section on the left sidebar of the Google Calendar interface.
Take a moment to explore the various customization options available for your new calendar. You can change the color, visibility, and notifications settings to suit your preferences. Additionally, you can set reminders for specific events, enable email notifications, and even share your calendar with specific individuals or groups.
In the next step, we will delve into the process of sharing your newly created calendar with others, allowing them to stay updated on your schedule and contribute to the calendar as well.
Step 3: Sharing Your Calendar
Now that you have created your new calendar, it’s time to share it with others. Sharing your calendar will allow other individuals to view your schedule and events, making coordination and collaboration much easier. Follow the steps below to share your calendar:
- On the left sidebar of the Google Calendar interface, find the calendar you want to share under the “My calendars” section.
- Hover over the name of the calendar, and you will see three vertical dots appear. Click on these dots to access the calendar’s settings.
- In the settings menu, choose “Settings and sharing”.
- Scroll down to the “Share with specific people” section and click on the “+ Add people” button.
- In the pop-up window, enter the email addresses of the people you want to share the calendar with. If you want to grant them permission to make changes and manage the calendar, select the appropriate access level from the drop-down menu.
- Click on the “Send” button to share the calendar with the selected individuals.
Once you have shared your calendar, the people you invited will receive an email notification with a link to your calendar. They will now be able to view your schedule and events, depending on the access level you granted them. Additionally, your shared calendar will now appear under their “Other calendars” section in Google Calendar.
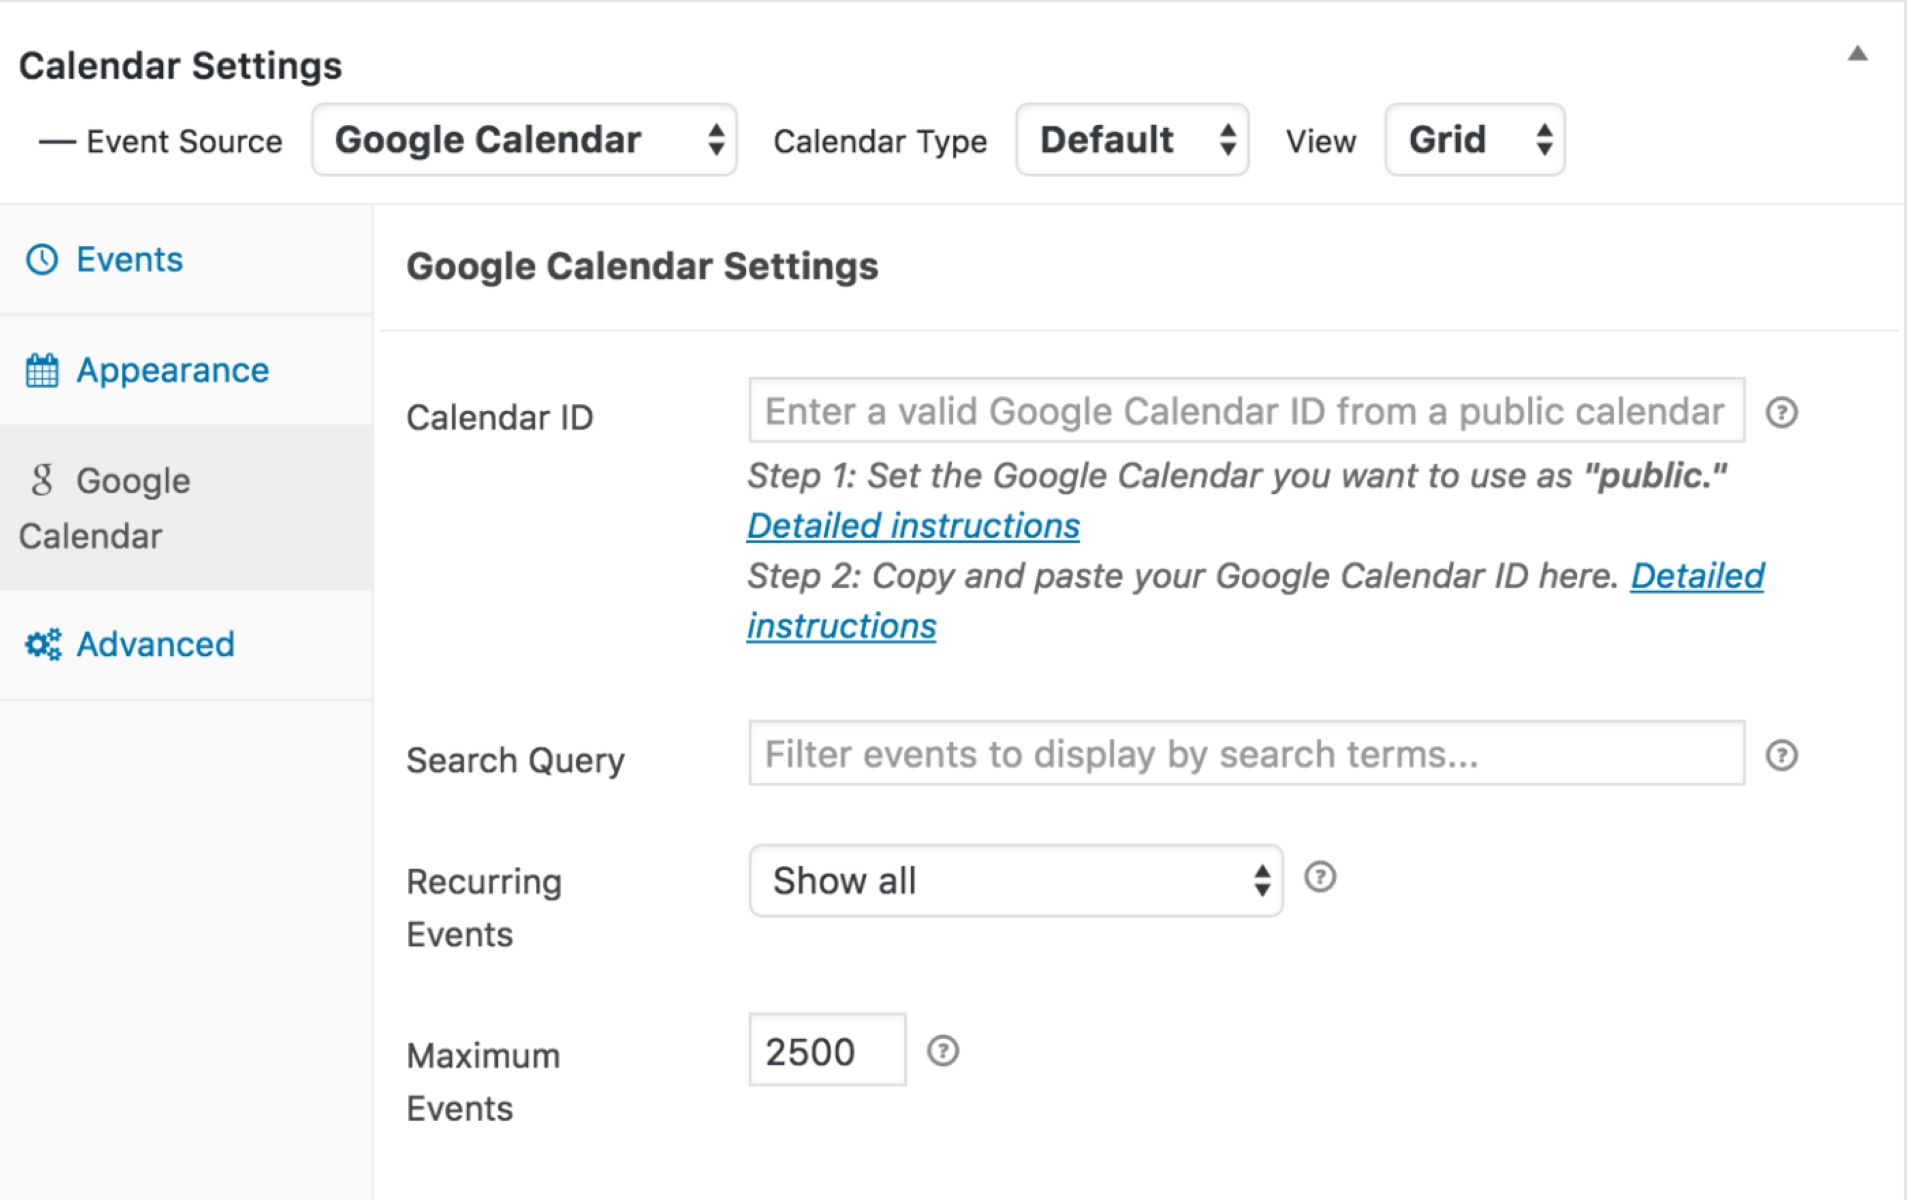
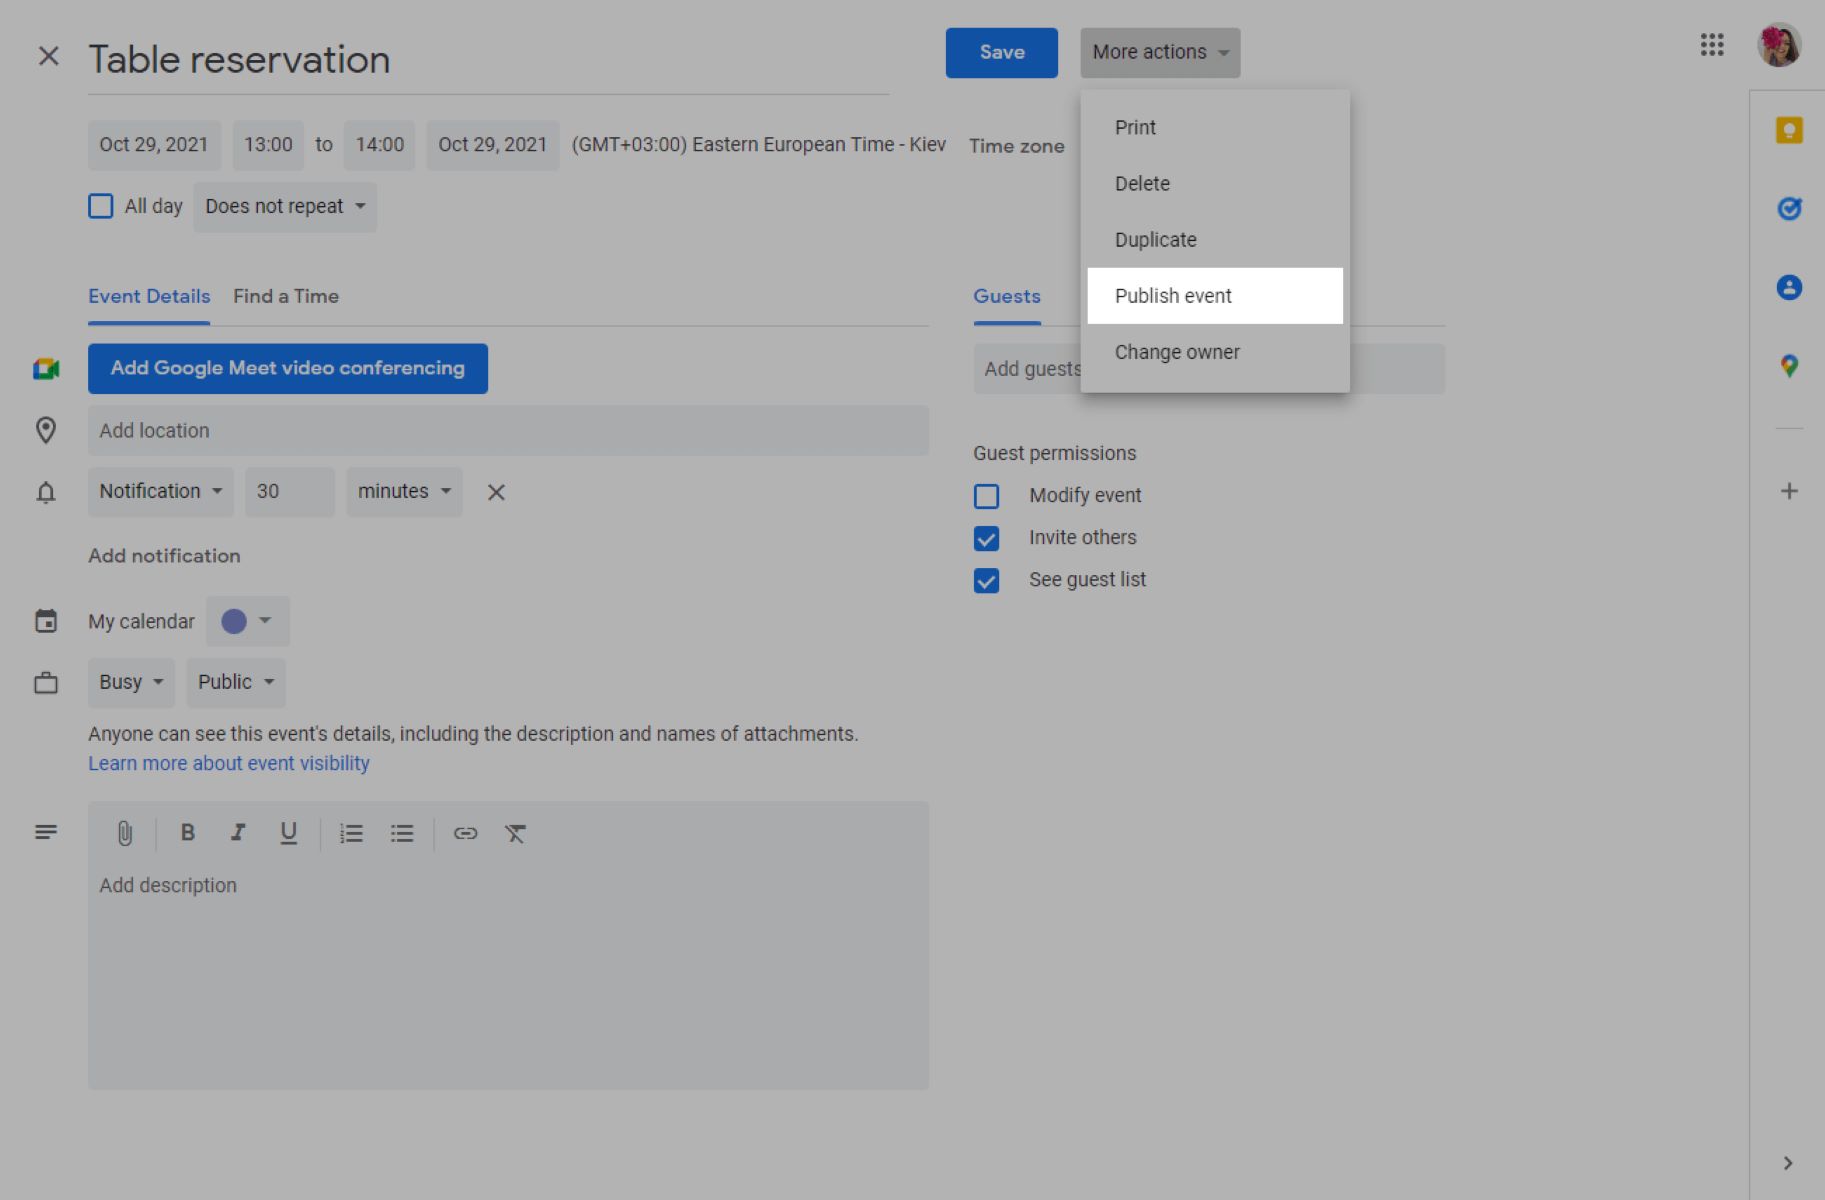
It’s worth noting that you can also share your calendar using a publicly accessible link. This allows anyone with the link to view your calendar, even if they do not have a Google account. However, they will not be able to make changes or manage the calendar. This option can be useful for sharing your schedule with a larger audience or embedding the calendar in a website.
With your calendar shared, you can now move on to the next step of adding people to the shared calendar, enabling them to contribute and collaborate on the schedule.
Step 4: Adding People to the Shared Calendar
Now that you have shared your Google Calendar, it’s time to add people to it. By adding individuals to the shared calendar, you allow them to contribute to the schedule, make changes, and collaborate with you. Here’s how you can add people to the shared calendar:
- On the left sidebar of the Google Calendar interface, find the shared calendar under the “Other calendars” section.
- Hover over the name of the shared calendar, and you will see a three-dot menu appear. Click on it to access the calendar’s options.
- In the options menu, choose “Settings and sharing”.
- Scroll down to the “Share with specific people” section. Here, you will see a list of the individuals you have already shared the calendar with.
- Click on the “+ Add people” button to add more individuals to the calendar.
- In the pop-up window, enter the email addresses of the people you want to add to the calendar. You can also choose their access level from the drop-down menu.
- Click on the “Send” button to invite the selected individuals to join the shared calendar.
Once you have added people to the shared calendar, they will receive an email invitation to join. They can accept the invitation, and the shared calendar will now be visible and accessible to them in their Google Calendar interface.
It’s important to note that you can specify different access levels for the individuals you add to the shared calendar. You can grant them full access, allowing them to make changes, manage events, and invite others. Alternatively, you can choose to give them “view-only” access, restricting them from making any modifications to the calendar’s events.
By adding people to the shared calendar, you create a collaborative environment where everyone can contribute and stay updated on the schedule. In the next step, we will explore how to accept and manage invitations to join other shared calendars.
Step 5: Accepting and Managing Invitations
Now that you have learned how to create and share your own Google Calendar, it’s time to understand how to accept and manage invitations to join other shared calendars. Being invited to join a shared calendar allows you to view, contribute, and collaborate on someone else’s schedule. Here’s how you can accept and manage invitations:
- When you receive an email invitation to join a shared calendar, open the email and click on the “Accept” or “Yes” button.
- You will be redirected to your Google Calendar interface, where the shared calendar will now appear under the “Other calendars” section on the left sidebar.
- By default, you will have “view-only” access to the shared calendar, meaning you can view the events but not make any modifications.
- If the calendar owner has given you permission to make changes and manage events, you can click on the settings icon next to the shared calendar’s name and choose “Settings and sharing”. Here, you can customize your access level and make changes to the calendar’s settings.
Once you have accepted an invitation to join a shared calendar, the events and appointments added by the calendar owner will now appear in your Google Calendar interface. You can view, edit, and interact with these events, ensuring that you stay up to date on the schedule.
If you no longer wish to be part of a shared calendar, you can simply remove it from your Google Calendar interface. To do this, hover over the shared calendar’s name on the left sidebar, click on the settings icon, and choose “Remove calendar”. This will remove the shared calendar from your view, but it will not affect the calendar or the access of other participants.
Accepting and managing invitations to join shared calendars allows for seamless collaboration and coordination with others. Whether you’re part of a team or a group of friends, this feature ensures that everyone is on the same page and aware of the schedule.
Now that you’re familiar with accepting and managing invitations, let’s move on to the final step of customizing your calendar settings to meet your specific needs.
Step 6: Customizing Calendar Settings
Customizing your Google Calendar settings allows you to tailor the calendar to your preferences and needs. From changing the display color to enabling event reminders, here’s how you can customize your calendar settings:
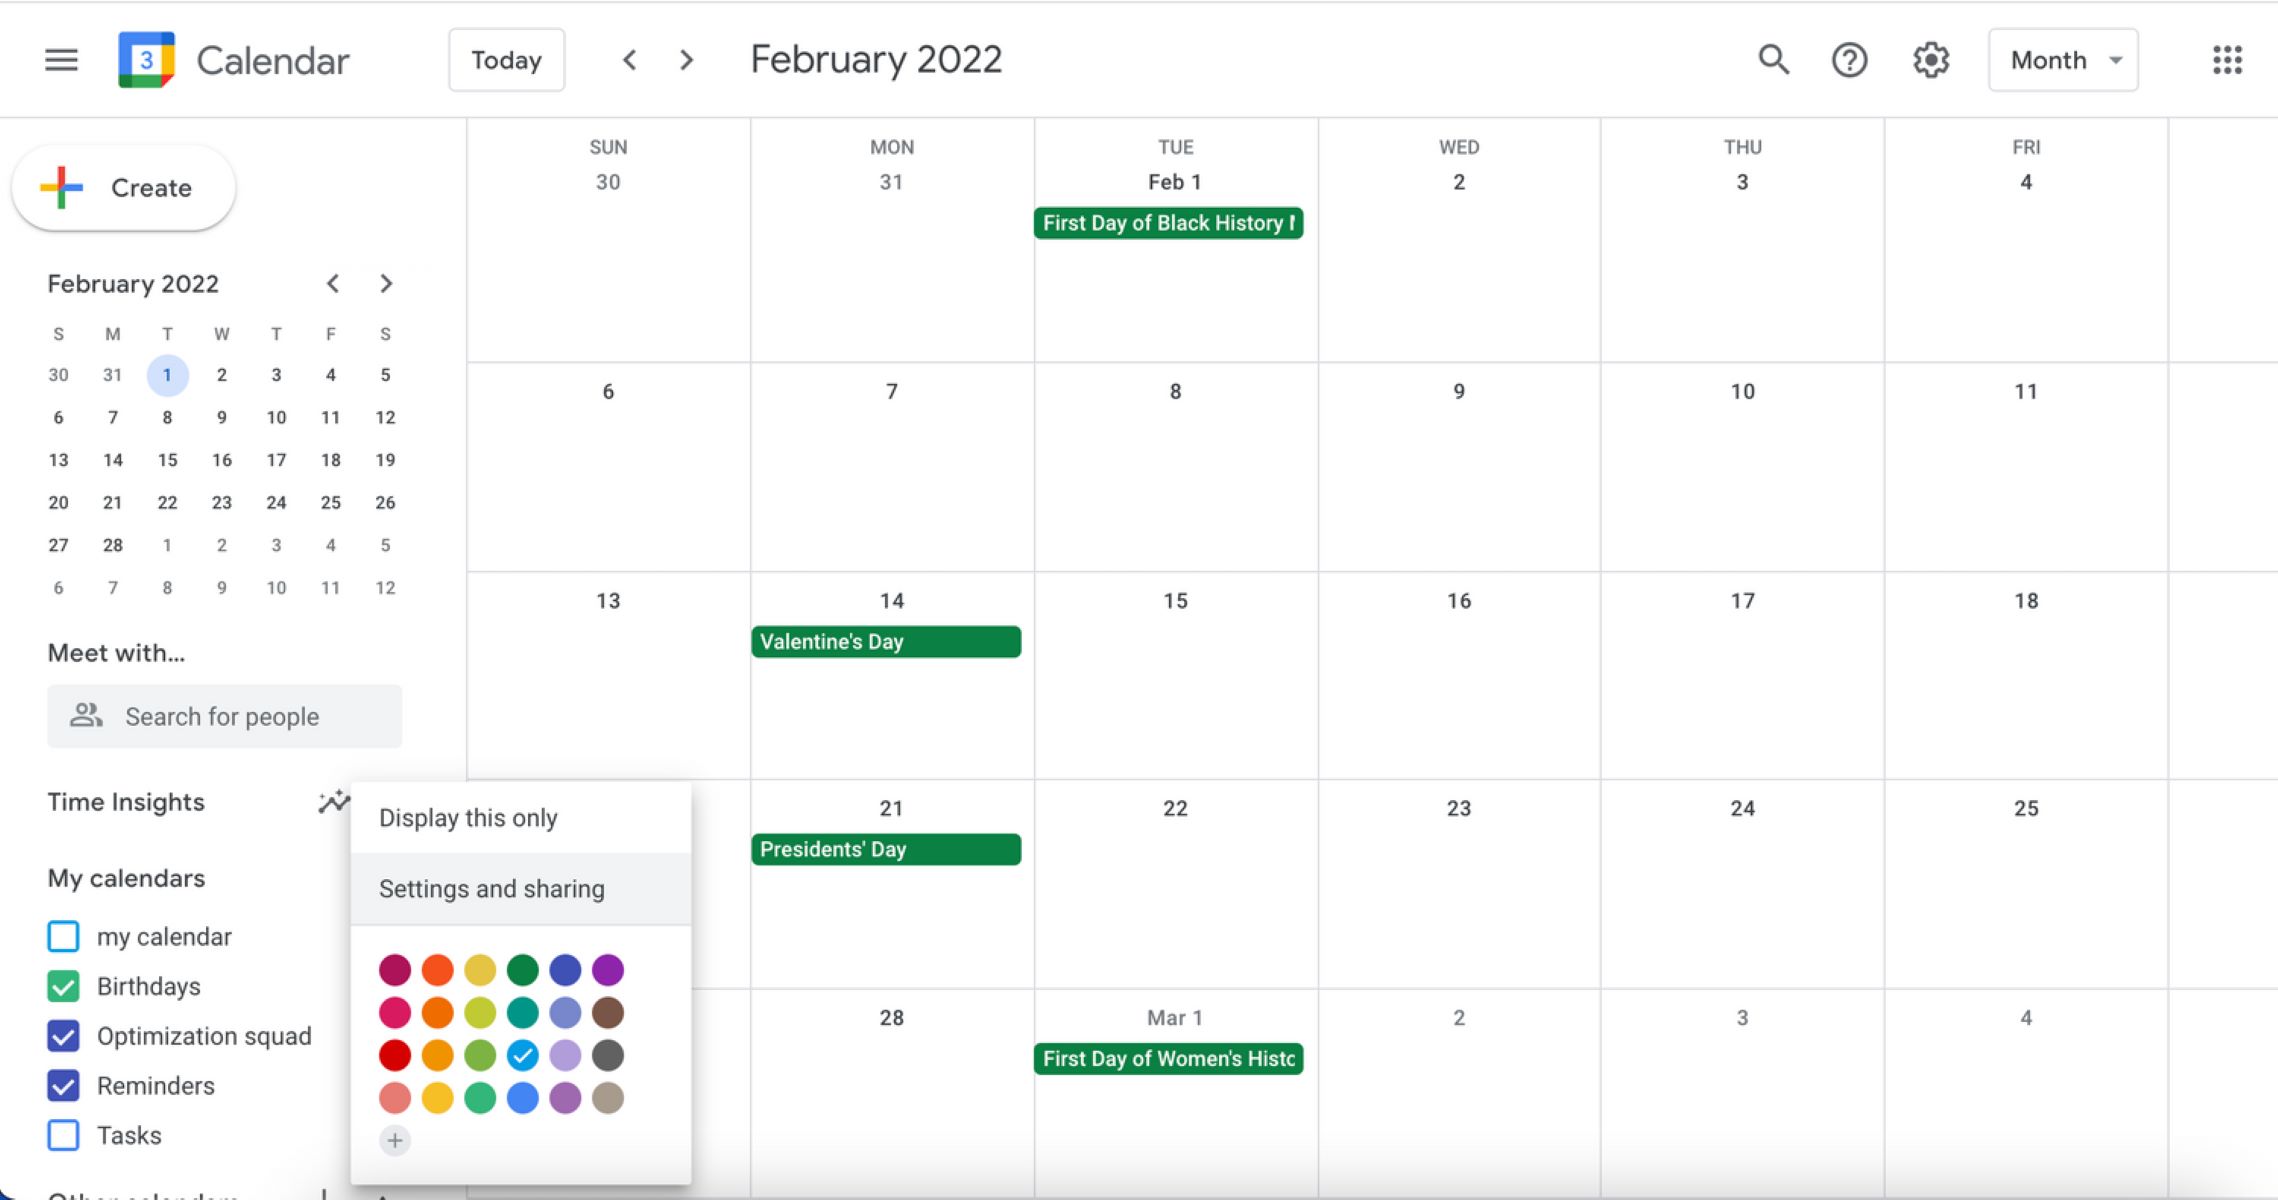
- On the left sidebar of the Google Calendar interface, locate the calendar you want to customize under the “My calendars” or “Other calendars” section.
- Hover over the name of the calendar, and you will see a settings icon appear. Click on it to access the calendar’s options.
- In the options menu, you’ll find various settings that you can customize according to your requirements.
- To change the display color of the calendar, click on the “Event color” option and select a color from the available options.
- If you want to add a description or additional details to the calendar, click on the “Calendar details” option and make the necessary changes.
- Under the “Notifications” section, you can enable or disable email notifications for upcoming events, event invitations, and daily agendas by toggling the corresponding switches.
- Consider setting event reminders by clicking on the “Event notifications” option. Here, you can choose to receive email, pop-up, or mobile notifications before an event.
- Explore other options such as time zone settings, working hours customization, and sharing settings to further personalize your calendar experience.
Customizing your calendar settings allows you to optimize your scheduling workflow and ensure that your calendar works for you. Whether you prefer visual cues with color-coded events or timely reminders, these settings can be customized to suit your unique needs.
It’s important to regularly review and update your calendar settings as your requirements and preferences may change over time. This will help you make the most of Google Calendar’s features and ensure that it continues to enhance your productivity and organization.
With your calendar settings customized to your liking, you have completed all the necessary steps to create, share, and manage a Google Calendar. Congratulations on mastering this powerful organization tool!
By harnessing the collaborative features of Google Calendar and customizing it to your workflow, you can streamline your scheduling process, improve coordination with others, and stay on top of your commitments.
So, go ahead and make the most of Google Calendar as you navigate both your personal and professional life!
Conclusion
Google Calendar is a versatile and user-friendly tool that can greatly enhance your productivity and organization. In this article, we have covered the step-by-step process of creating, sharing, and managing a Google Calendar.
We began by accessing Google Calendar and creating a new calendar, allowing you to have a dedicated space for your schedule. We then explored how to share your calendar with others, enabling seamless collaboration and coordination.
Furthermore, we discussed how to add people to the shared calendar, giving them the ability to contribute and collaborate. Accepting and managing invitations to join shared calendars was also covered, ensuring that you can stay connected to others’ schedules and events.
Finally, we delved into the customization of calendar settings to tailor it to your preferences and needs. By customizing the display color, enabling notifications, and setting event reminders, you can optimize your experience and make the most out of Google Calendar’s features.
By following these steps and utilizing the features of Google Calendar, you can effectively manage your schedule, coordinate with others, and stay organized across various aspects of your life.
Remember, constantly review and update your calendar settings to keep up with changing requirements and personal preferences. This will ensure that Google Calendar continues to serve as a valuable tool for streamlining your scheduling process.
So, embrace the power of Google Calendar and enjoy a more organized and efficient approach to managing your time and commitments. Start creating your shared calendars, inviting your team or loved ones, and watch productivity and collaboration soar.