Introduction:
Google Calendar is a powerful tool for managing your schedule and staying organized. Whether you’re a busy professional, a student juggling multiple commitments, or a parent with a hectic family life, Google Calendar can help you keep track of your appointments, events, and tasks.
However, there may come a time when you need to copy your Google Calendar to another account. This could be because you’re switching email addresses, merging calendars with a colleague, or simply want to have a backup of your calendar in case of any unexpected issues.
Copying your Google Calendar to another account may sound like a complicated task, but with the right steps, it can be done smoothly and efficiently. In this article, we will walk you through the process, ensuring that you don’t miss a single event or appointment during the transfer.
In order to copy your Google Calendar to another account, we will be using the Export and Import features provided by Google Calendar. Additionally, we will cover how to share your calendar with other accounts, allowing you to easily access and manage your calendar from different devices and accounts.
By following the steps outlined in this article, you can ensure that all of your important events, appointments, reminders, and tasks are seamlessly transferred to your new Google Calendar account. So, let’s get started and learn how to copy your Google Calendar to another account!
Step 1: Exporting Google Calendar:
The first step in copying your Google Calendar to another account is to export your calendar data from your current account. This will create a file that can be easily imported into your new account. Follow the steps below to export your Google Calendar:
- Open Google Calendar on your computer and log in to your account.
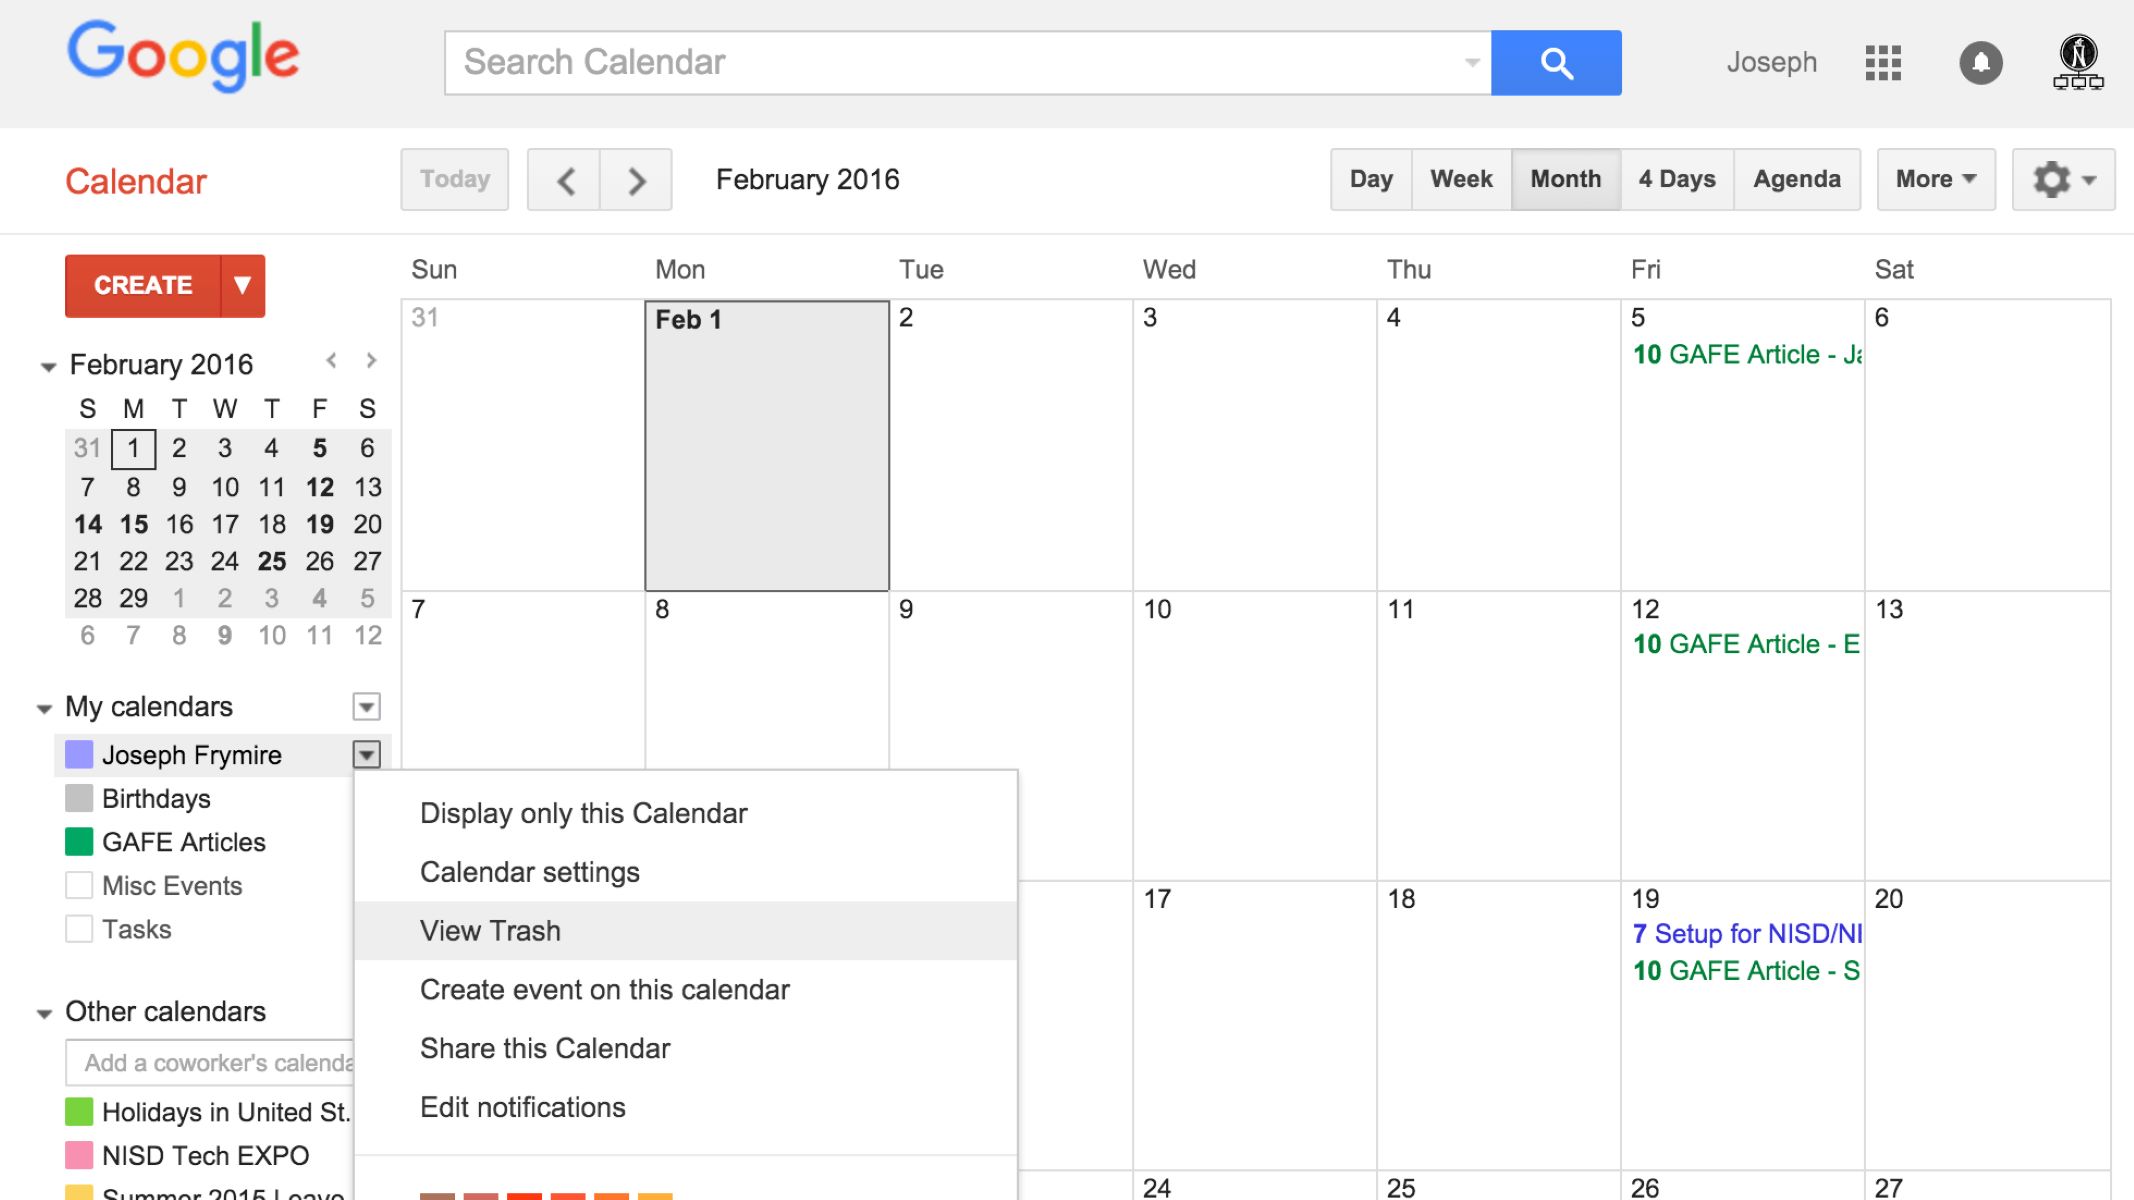
- In the left-hand sidebar, locate the “My calendars” section and click on the three vertical dots next to the calendar you want to export.
- From the drop-down menu, select “Settings and sharing.”
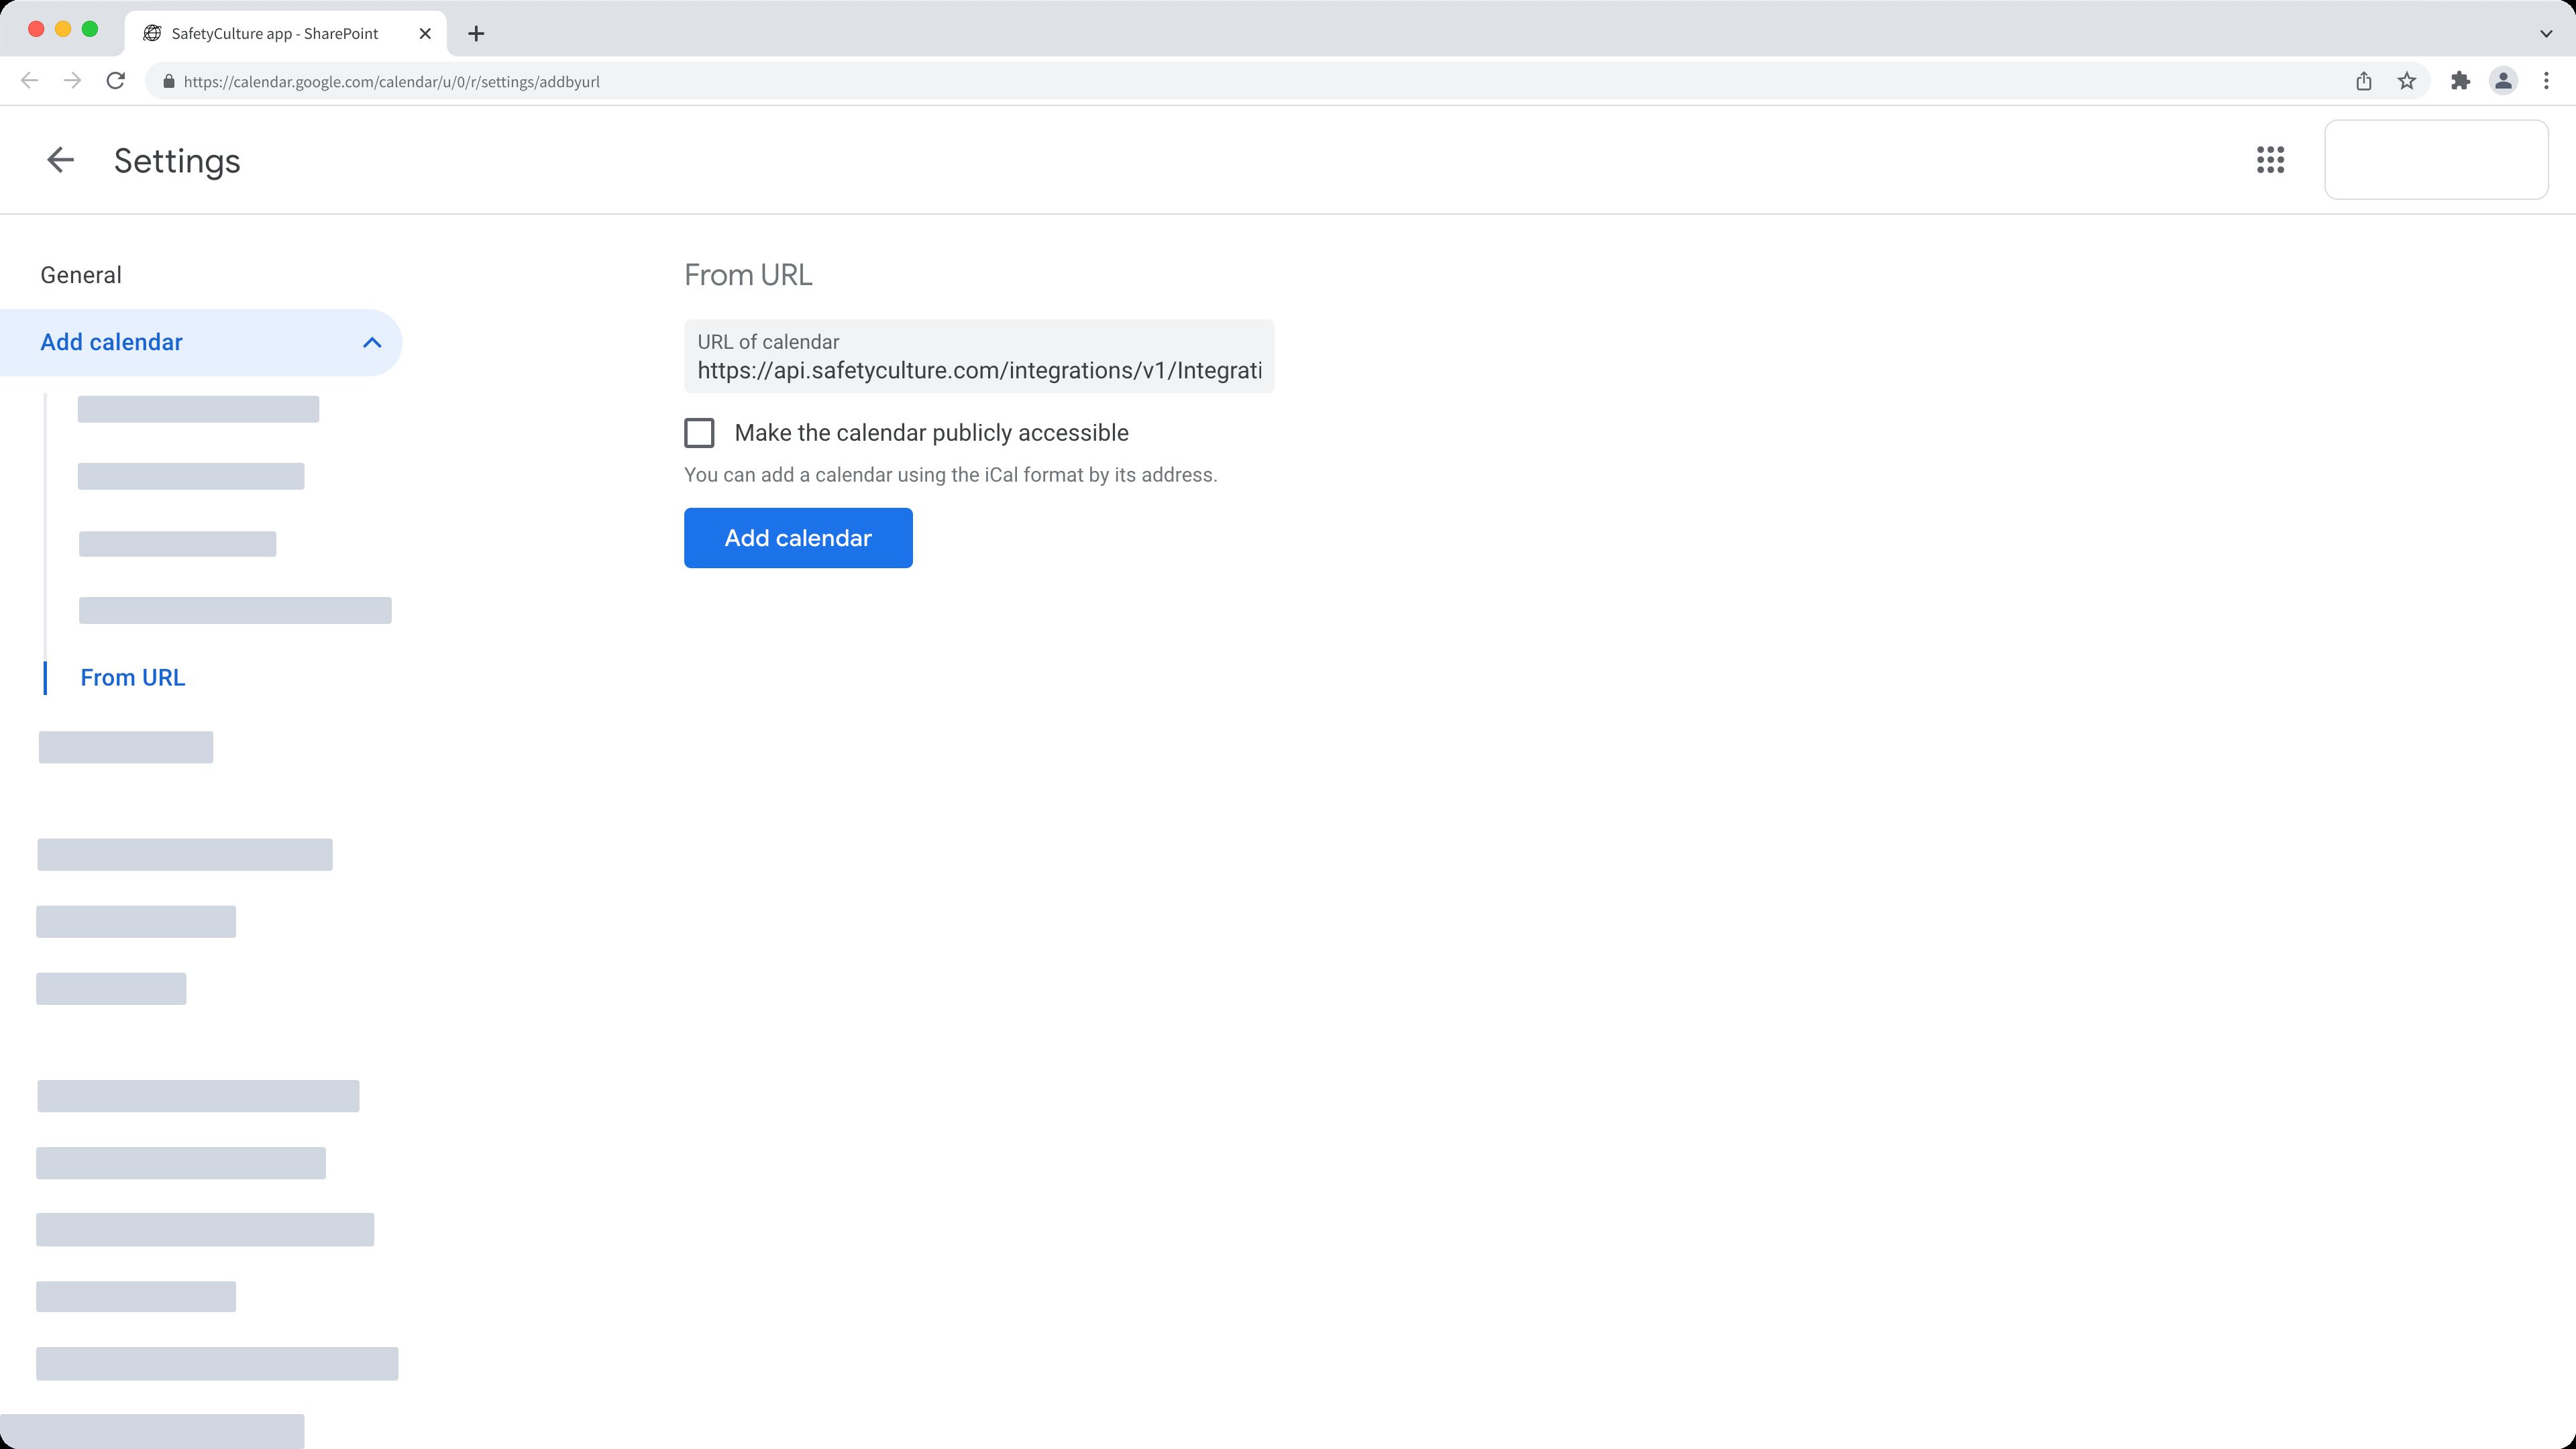
- In the settings menu, scroll down to the “Integrate calendar” section and click on the “Export” button.
- Choose the desired date range for the events you want to export. If you want to export all events, select “All time.”
- Select the desired file format for the exported calendar. Google Calendar allows you to export in several formats, including .ics (iCalendar format) and .csv (comma-separated values).
- Click on the “Export” button and choose a location on your computer to save the exported calendar file.
- Once the export is complete, you will have a file containing all the calendar data for the selected date range.
It is important to note that the exported calendar file does not include any future updates or changes made to the calendar events. It only captures the events as they were at the time of export. Therefore, it is recommended to perform this export process as close to the date of importing as possible.
Now that you have successfully exported your Google Calendar, you are ready to move on to the next step: importing the calendar into your new Google account. Let’s proceed to Step 2 to continue the process.
Step 2: Importing Google Calendar:
After exporting your Google Calendar from your current account, the next step is to import it into your new Google account. This will allow you to transfer all your calendar data to the new account, ensuring that you don’t lose any important events or appointments. Follow the steps below to import your Google Calendar:
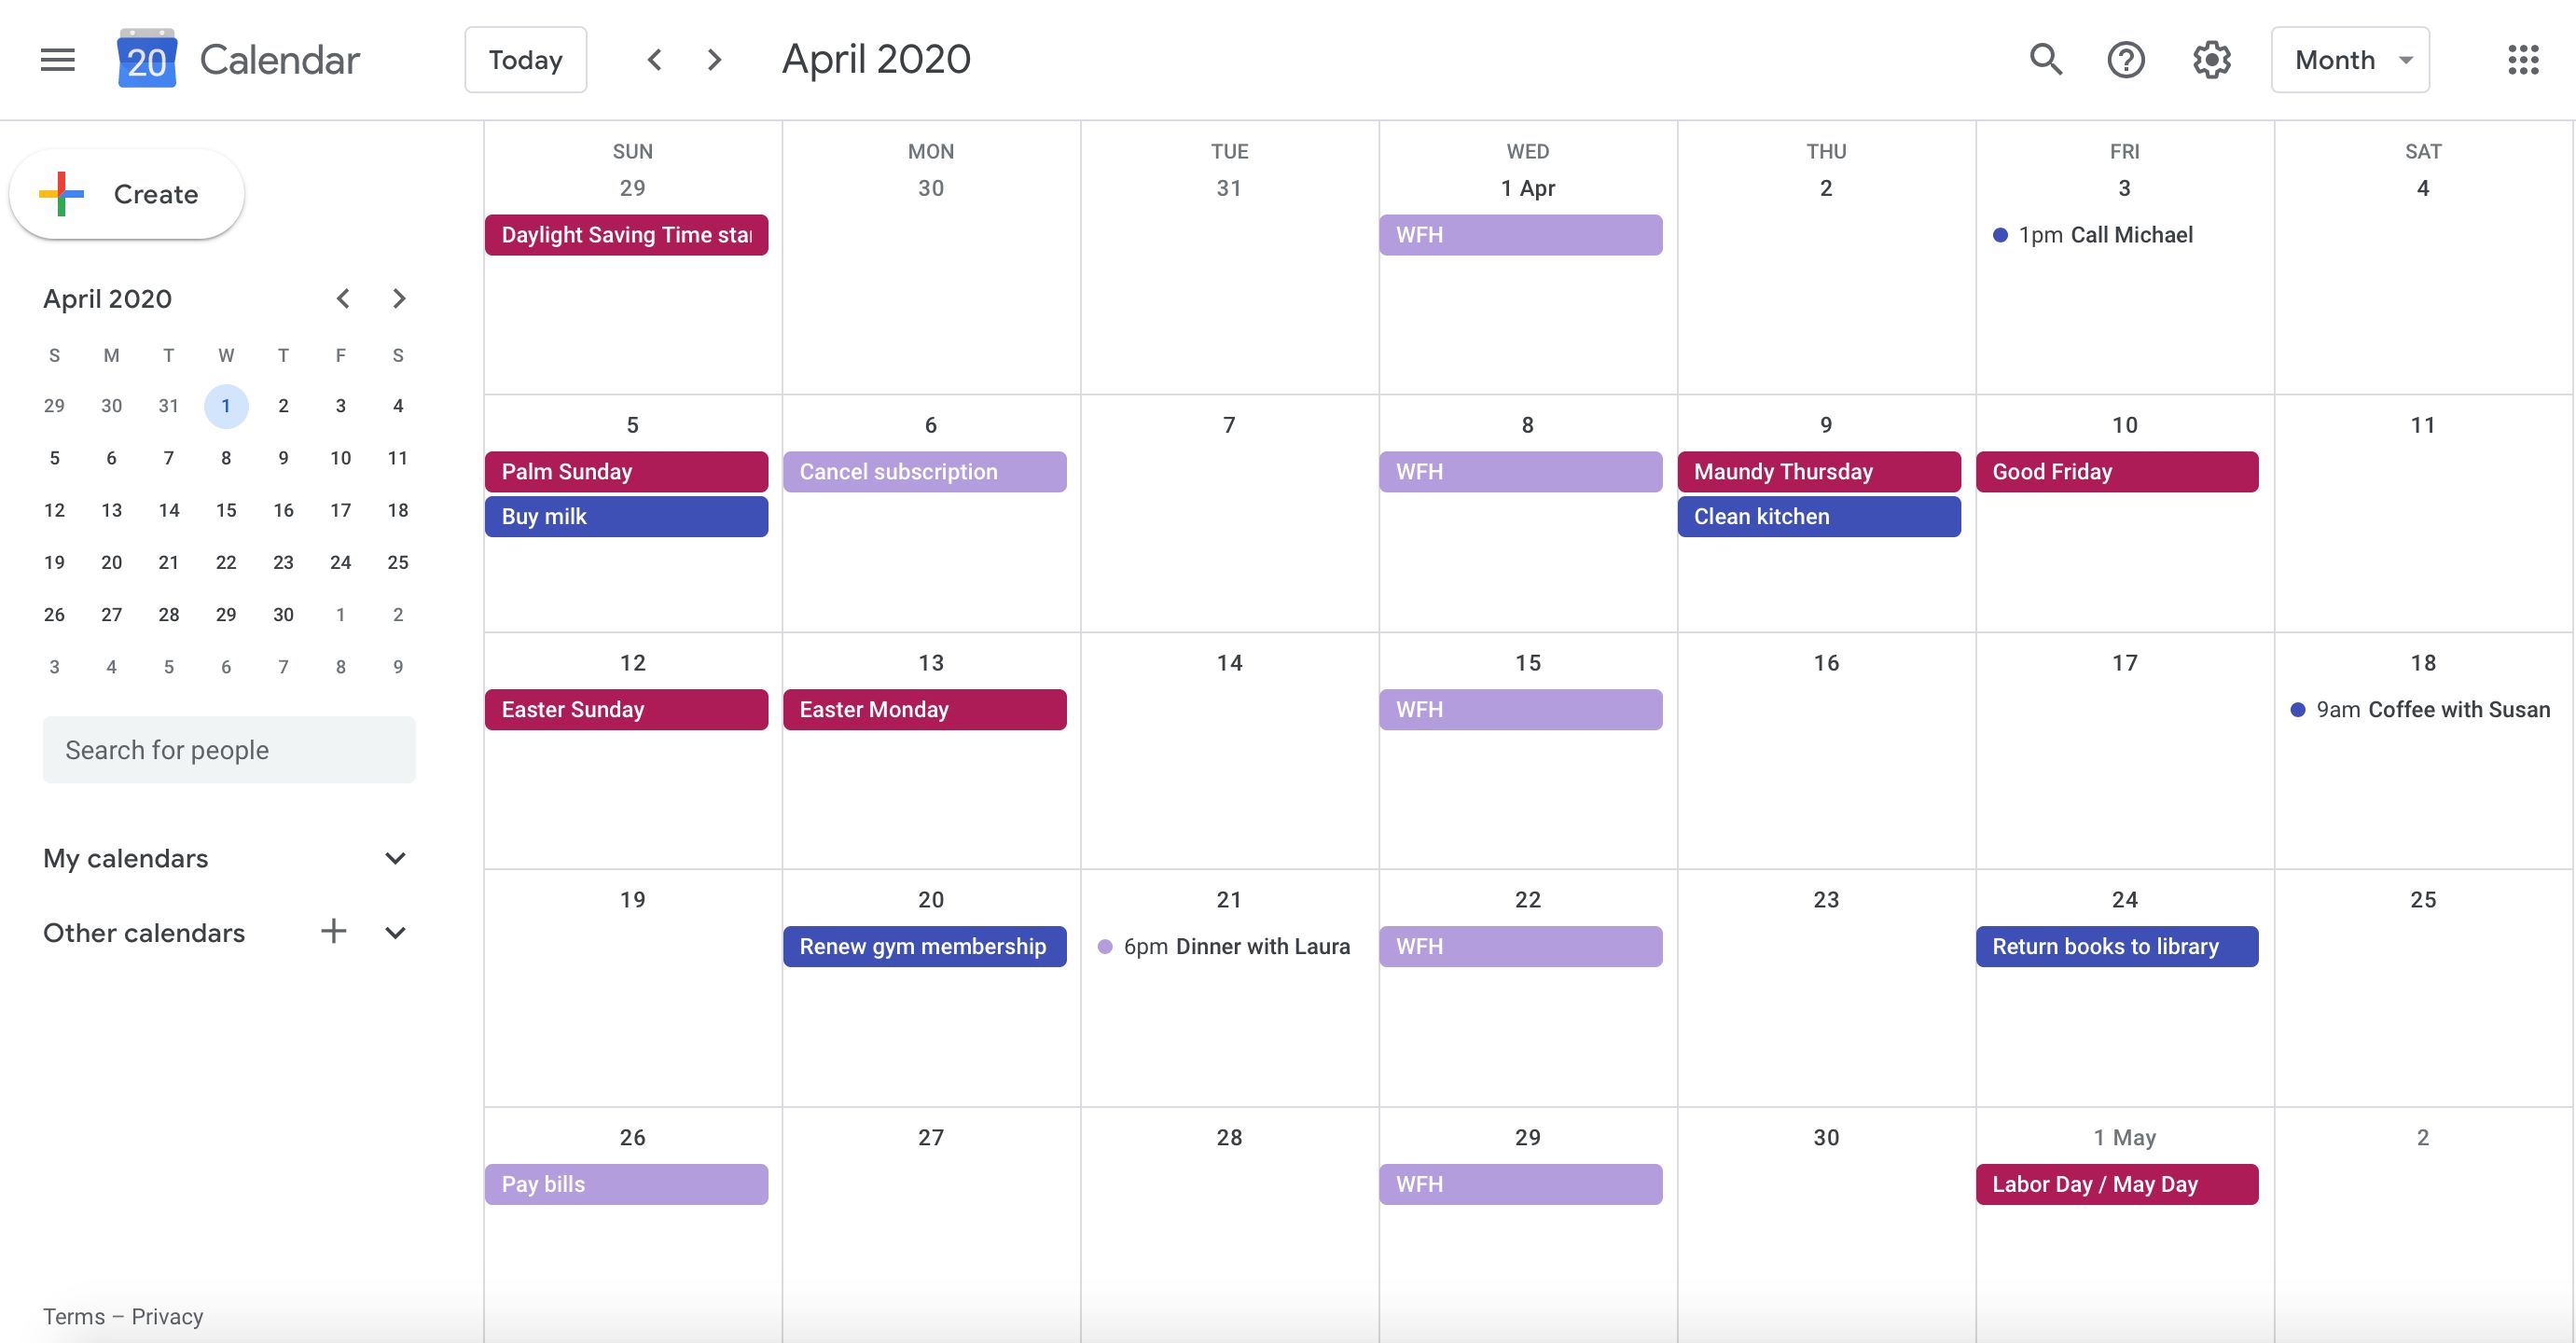
- Open Google Calendar in a web browser and sign in to your new Google account.
- In the left-hand sidebar, click on the three horizontal lines to expand the side menu.
- Scroll down and click on “Settings” in the expanded side menu.
- In the settings menu, click on the “Import & export” option.
- Click on the “Select file” button and choose the exported calendar file from your computer.
- Once the file is selected, click on the “Import” button to begin the importing process.
- Wait for Google Calendar to import the events from the file. This may take a few moments depending on the size of the file.
- After the import is complete, a confirmation message will appear, indicating that the events have been successfully imported to your new Google Calendar.
- Refresh your Google Calendar to view and access all the imported events.
It is important to note that the imported events will be added to your new Google Calendar and will not overwrite any existing events. If you already have events in your new account, they will remain intact. The imported events will simply be appended to your calendar.
With the successful import of your Google Calendar, you have successfully copied your calendar from your old account to your new account. But the process doesn’t end here. To ensure seamless access and management of your calendar from multiple accounts, it is recommended to share your calendar between the accounts. Let’s move on to Step 3 to learn how to do that.
Step 3: Sharing Google Calendar:
Now that you have imported your Google Calendar into your new account, it’s time to set up sharing between your old and new accounts. Sharing your calendar will allow you to easily access and manage your calendar from both accounts. Follow the steps below to share your Google Calendar:
- Open Google Calendar in a web browser and sign in to your new Google account.
- In the left-hand sidebar, locate the “My calendars” section and click on the three vertical dots next to the calendar you want to share.
- From the drop-down menu, select “Settings and sharing.”
- In the settings menu, scroll down to the “Access permissions” section.
- Click on the “Add people” link to start adding the email address of your old Google account.
- Enter the email address of your old account and choose the level of access you want to grant. You can give your old account “Make changes and manage sharing” access to enable full control of the calendar.
- Click on the “Send” button to send the invitation to your old account.
- Switch to your old Google account, open the email invitation in your inbox, and click on the link to accept the invitation.
- Your old account will now have access to your new calendar. You can switch between the accounts by clicking on the account name in the top-right corner of Google Calendar.
With sharing enabled, you can now view and manage your calendar from both your old and new accounts. Any changes made in one account will be reflected in the other, ensuring that you have consistent access to your events and appointments.
Keep in mind that when you share your calendar with another account, that account will only have access to the specific calendar you shared, not all calendars associated with your account. This allows you to maintain privacy and control over your other calendars.
Congratulations! You have successfully copied your Google Calendar to another account, imported the calendar data, and set up sharing between your old and new accounts. You can now enjoy seamless access and management of your calendar across multiple accounts.
Conclusion:
Copying your Google Calendar to another account may seem like a daunting task, but by following the steps outlined in this article, you can easily transfer your calendar data while ensuring that you don’t lose any important events or appointments.
In Step 1, we learned how to export your Google Calendar from your current account, creating a file that contains all the calendar data for the specified date range. In Step 2, we covered the process of importing this calendar file into your new Google account, seamlessly transferring all your events and appointments.
But we didn’t stop there! In Step 3, we went a step further and set up sharing between your old and new accounts. This allows you to access and manage your calendar from both accounts, keeping you organized and productive.
By following these steps, you can easily switch to a new Google account, merge calendars with a colleague, or simply have a backup of your calendar data. Whether you’re a busy professional, a student, or a parent, having a reliable and accessible calendar is crucial for staying on top of your schedule.
Remember, when exporting your Google Calendar, it’s important to choose the appropriate date range and file format. When importing, make sure to select the correct file and wait for the import process to complete. And don’t forget to set up sharing between your accounts for seamless access and management.
We hope this article has provided you with the guidance you need to successfully copy your Google Calendar to another account. With your calendar safely transferred, you can continue to stay organized, meet deadlines, and never miss an important event again!