Introduction
Welcome to the world of Google Calendar! Whether you’re a busy professional, a motivated student, or a bustling parent, Google Calendar is here to help you stay organized and manage your time more efficiently. This powerful online tool allows you to create, schedule, and track events, tasks, and appointments effortlessly.
In today’s fast-paced world, it’s crucial to have a reliable and easily accessible calendar at your fingertips. Google Calendar offers a user-friendly interface that seamlessly integrates with other Google services, making it a versatile tool for organizing your personal and professional life.
With Google Calendar, you can access your schedule from any device with an internet connection, be it your computer, smartphone, or tablet. Say goodbye to the hassle of carrying around a physical planner or forgetting important dates – Google Calendar ensures that all your events and reminders are just a click away.
Whether you’re using Google Calendar for work, school, or personal purposes, this platform is designed to suit your needs. From setting up recurring events and receiving reminders to color-coding and sharing your calendar with others, the versatility and customization options make it easier than ever to manage your time effectively.
In this article, we will guide you through the process of opening Google Calendar, step-by-step. We’ll show you how to navigate the interface, customize your settings, add events, and make the most out of this powerful organizational tool. By the end of this guide, you’ll be well-equipped to stay on top of your busy schedule and never miss an important appointment again.
So without further ado, let’s jump right in and discover how to open Google Calendar!
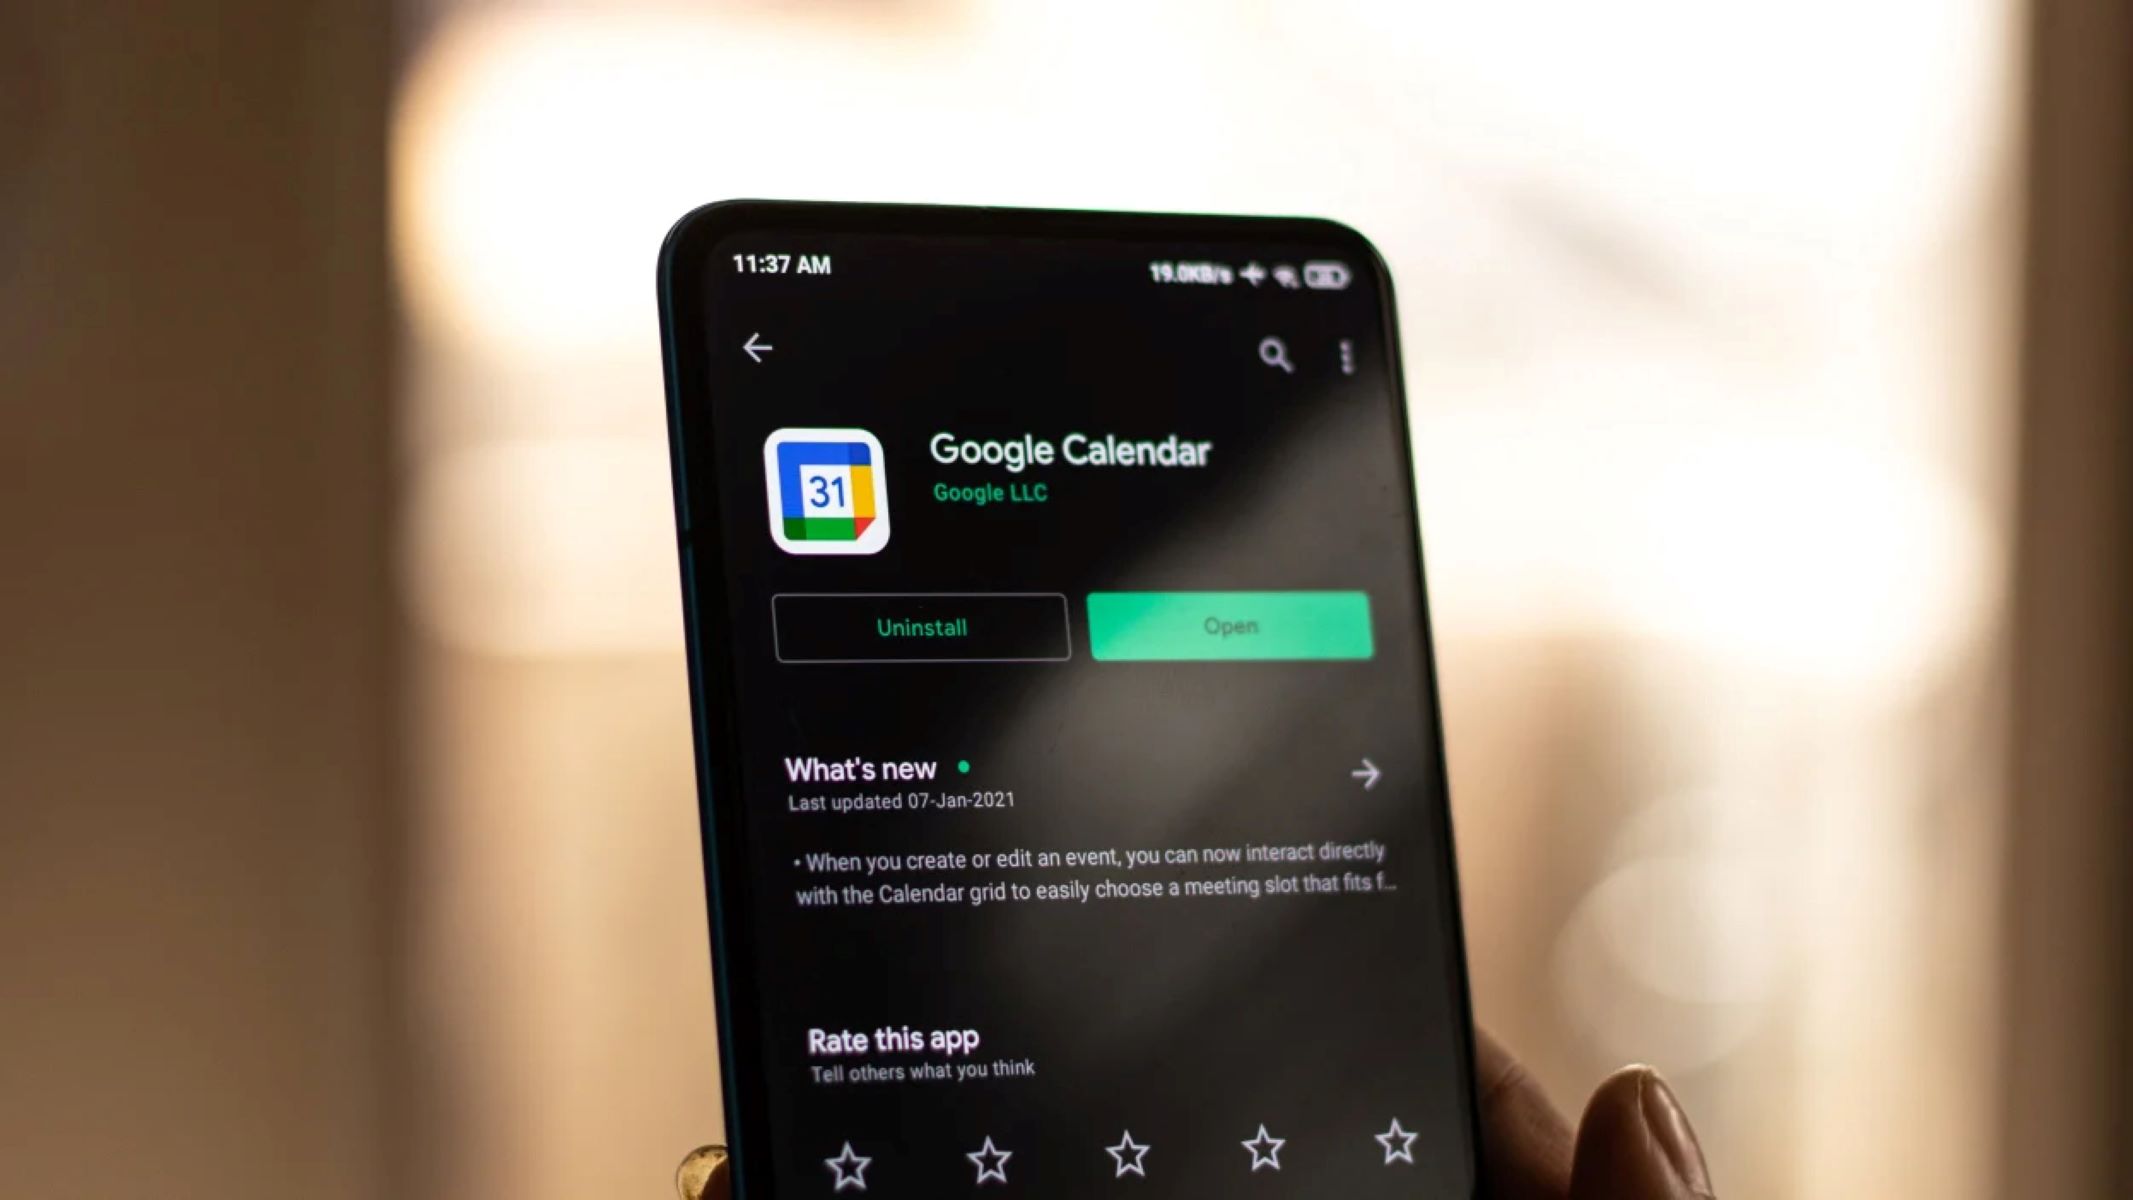
Step 1: Access Google Calendar
Starting your journey with Google Calendar is as simple as opening your preferred web browser and typing in the web address calendar.google.com. Alternatively, you can search for “Google Calendar” in your favorite search engine and click on the official Google Calendar website result.
As Google Calendar is a part of the Google suite of applications, you will need a Google Account to access and use it. If you already have a Google Account, proceed to Step 2. If not, click on the “Create account” button on the Google Calendar homepage and follow the prompts to create a new Google Account. Once you have a Google Account, you can use it to access not only Google Calendar but also other Google services like Gmail and Google Drive.
Once you have accessed the Google Calendar homepage and signed in with your Google Account credentials, you will be greeted by the main interface of Google Calendar. The user-friendly and intuitive design ensures that you can start using the calendar without any confusion. On the left side of the screen, you will see the navigation panel with various options such as Day, Week, Month, and Year, allowing you to view your calendar in different time frames.
If you’re using a smartphone or tablet, you can download the Google Calendar app from the iOS App Store or Google Play Store and sign in with your Google Account. This way, you can access your calendar on the go and receive notifications and reminders directly on your mobile device.
Now that you have successfully accessed Google Calendar, you’re ready to dive into the world of efficient time management and organization. In the next step, we will guide you through the process of signing in to your Google Account so that you can fully utilize all the features and functionalities that Google Calendar has to offer.
Step 2: Sign in to your Google Account
In order to access all the features and benefits of Google Calendar, you need to sign in to your Google Account. Here’s how you can do it:
1. On the Google Calendar homepage, locate the “Sign in” button at the top right corner and click on it.
2. You will be redirected to the Google Account sign-in page. Enter the email address associated with your Google Account in the provided field.
3. After entering your email address, click on the “Next” button.
4. On the next page, enter your Google Account password.
5. Click on the “Next” button to proceed.
If you have entered the correct email address and password, you will be successfully signed in to your Google Account, and you will be directed to the Google Calendar interface.
If you are using a trusted device and want to stay signed in to your Google Account, you can select the “Stay signed in” option before clicking the “Next” button. This will keep you signed in even if you close your browser or restart your device.
It’s important to ensure the security of your Google Account by using a strong password and enabling two-factor authentication for an added layer of protection. This will help prevent unauthorized access and keep your personal information safe.
Once you have signed in to your Google Account, you can access Google Calendar and all its features. This includes creating events, setting reminders, sharing your calendar with others, and integrating it with other apps and services to streamline your workflow.
Now that you have successfully signed in to your Google Account, let’s move on to the next step and explore the Google Calendar interface so that you can start making the most of this powerful organizational tool.
Step 3: Navigate to Google Calendar
After signing in to your Google Account, you can easily navigate to Google Calendar by following these simple steps:
1. Once you are signed in to your Google Account, you will be on the Google homepage. At the top right corner of the screen, you will see a grid icon consisting of nine small squares. Click on this icon to open the Google apps menu.
2. In the apps menu, find and click on the “Calendar” icon. It is usually represented by a small calendar thumbnail.
3. Alternatively, you can directly navigate to Google Calendar by entering the web address calendar.google.com into your browser’s address bar. Press Enter to load the page.
Regardless of the method you choose, you will be directed to the Google Calendar interface, where you can start managing your schedule and events.
On the Google Calendar interface, you will find the main view, which displays the calendar for the current day, week, or month, depending on your selected view. You can easily switch between different views by using the options available in the navigation panel on the left side of the screen.
The navigation panel also provides you with additional options to customize your calendar, such as creating new calendars, managing existing ones, and accessing different settings. You will also find a search bar that enables you to search for specific events and dates within your calendar.
Additionally, at the top left corner of the screen, you will find the Google Calendar logo. By clicking on it, you can quickly return to the main view of your calendar.
As you explore the Google Calendar interface, take some time to familiarize yourself with the different menus, buttons, and options available to you. The more you get acquainted with the layout, the easier it will be to navigate and make the most of this powerful organizing tool.
Now that you have successfully navigated to Google Calendar, let’s move on to the next step and learn how to explore and utilize the various features of the interface to customize and optimize your calendar experience.
Step 4: Explore the Google Calendar Interface
Now that you have accessed Google Calendar, it’s time to explore the interface and familiarize yourself with its various elements and features. This will help you make the most out of this powerful organizational tool. Here’s what you need to know:
1. Main View: The main view of Google Calendar displays your schedule for the selected day, week, or month. You can switch between different views using the options in the navigation panel on the left side of the screen. Feel free to experiment with different views to find the one that suits your needs best.
2. Navigation Panel: Located on the left side of the interface, the navigation panel allows you to access various features and settings. You can use it to switch between different calendars, create new calendars, manage existing ones, and view your tasks and reminders. Take some time to explore these options and customize your calendar accordingly.
3. Date Navigator: Situated at the top of the interface, the date navigator allows you to quickly jump to a specific date or navigate through different time periods. You can click on a specific date to view its schedule or use the arrows to move backward or forward in time.
4. Create Event: To add an event to your calendar, click on a specific time slot or date and a pop-up window will appear. Here, you can enter the event details, such as the title, location, duration, and any relevant notes. You can also set reminders, add guests, and customize the event settings. Once you’re done, click “Save” to add the event to your calendar.
5. Event Details: Clicking on an existing event in your calendar will open the event details window. Here, you can edit the event’s details, change the time or date, add or remove guests, and make any necessary adjustments. Take advantage of these features to keep your calendar up-to-date.
6. Notifications and Reminders: Google Calendar allows you to set reminders for your events, ensuring that you never miss an important appointment. You can choose to receive reminders via email, pop-up notifications on your computer or mobile device, or SMS messages. To set up notifications and reminders, access the settings from the navigation panel.
7. Sharing and Collaboration: Google Calendar makes it easy to share your calendar with others, allowing for seamless collaboration and coordination. You can grant various levels of access to different individuals, such as viewing or editing privileges. This feature is especially useful for group projects, team schedules, or sharing availability with friends and family.
By exploring these features and familiarizing yourself with the Google Calendar interface, you will be able to effectively manage your schedule, create and organize events, set reminders, and collaborate with others. Take your time to experiment and find the settings and options that work best for you.
Now that you have gained a basic understanding of the Google Calendar interface, it’s time to move on to the next step, where we will guide you through customizing your Google Calendar settings to suit your preferences and optimize your organization.
Step 5: Customize your Google Calendar settings
Customizing your Google Calendar settings allows you to personalize and optimize your calendar experience. Here’s how you can do it:
1. Access Settings: To begin customizing your Google Calendar, click on the gear icon located at the top right corner of the interface. A drop-down menu will appear, and you should select “Settings” from the options.
2. General Settings: In the settings menu, you will find various options to customize your calendar. The “General” tab allows you to set your preferred language, time zone, and date and time formats. Adjust these settings based on your location and personal preferences. You can also select your working hours to ensure accurate scheduling.
3. Calendar Display: The “View” tab in the settings menu allows you to customize the appearance and layout of your calendar. You can choose the default view, select the number of weeks to display, and enable or disable the display of weekends. Experiment with these options to find the setup that works best for you.
4. Notifications: The “Notifications” tab allows you to configure how and when you receive reminders for your events. You can choose to receive notifications via email, desktop pop-ups, or mobile notifications. You can also set the time before an event when you want to be notified. Adjust these settings according to your preferences and needs.
5. Event Settings: Under the “Event” tab, you can control other event-specific settings. You can choose to show or hide declined events, enable event attachments, and set the default visibility of new events. Customize these options to align with how you prefer to handle events and their related details.
6. Add-Ons & Labs: Google Calendar offers additional features through add-ons and labs. These are experimental features or third-party integrations that enhance your calendar experience. Explore the “Add-Ons” and “Labs” tabs in the settings menu to discover and enable new features that can further optimize your usage.
7. Sharing and Permissions: The “Calendars” tab in the settings menu allows you to manage your calendars and their sharing settings. You can edit the permissions for each calendar, control who can view or edit them, and decide whether you want to make them public. Review and adjust these settings to ensure your calendars are shared appropriately.
8. Calendar Import/Export: Google Calendar also provides options for importing and exporting calendars. The “Import & Export” tab in the settings menu allows you to import events from other calendar applications or export your Google Calendar to use it elsewhere. Use these features to integrate your existing schedules or backup important calendars for future use.
By customizing your Google Calendar settings, you can personalize the way your calendar looks, receive notifications and reminders based on your preferences, and manage sharing and permissions to collaborate effectively. Take advantage of these settings to optimize your organization and productivity.
Now that you have customized your Google Calendar settings, it’s time to move on to the next step and learn how to add events to your calendar, ensuring that your schedule remains well-organized and up-to-date.
Step 6: Add events to your Google Calendar
Adding events to your Google Calendar is a breeze and allows you to keep track of important dates, appointments, and activities. Here’s how you can add events to your calendar:
1. Create an Event: To add a new event, simply click on the desired date and time in your calendar. A pop-up window will appear with options to enter the event details.
2. Enter Event Details: In the event details window, fill in the required information such as the event title, date, start time, and end time. You can also add a location, description, guests, and any additional notes that are relevant to the event.
3. Set Reminders: Google Calendar allows you to set reminders so that you don’t forget upcoming events. You can choose to receive reminders via email, notifications on your phone or computer, or even SMS messages. Select the reminder option that suits you best, or customize it according to the importance of the event.
4. Add Guests: If your event involves other people, you can add them as guests to the event. This allows you to invite them and keep track of their availability. When you add guests, they will receive an email invitation with the event details and can respond with their availability.
5. Customize Event Settings: Google Calendar offers additional settings to further customize your events. You can adjust the visibility of the event, choose whether you want to show it as busy or available, and set the color of the event to help with visual organization.
6. Save the Event: Once you have entered all the necessary details, click the “Save” button to add the event to your calendar. The event will now appear in the respective date and time slot in your calendar view.
7. Edit or Delete Events: If you need to make changes to an existing event, simply click on the event in your calendar and select the “Edit” option. You can modify the event details or delete the event entirely if necessary.
By adding events to your Google Calendar, you can keep track of important dates, appointments, deadlines, and activities. This helps you stay organized and ensures you don’t miss any crucial events. Take advantage of the various features and settings available when adding events to fully maximize the functionality of Google Calendar.
Now that you know how to add events to your Google Calendar, let’s move on to the next step and explore how you can manage and organize your calendar to maintain an efficient and productive schedule.
Step 7: Manage and Organize your Google Calendar
Managing and organizing your Google Calendar effectively is crucial to staying on top of your schedule and maximizing your productivity. Here are some tips to help you manage and organize your calendar:
1. Color Coding: Assigning colors to different types of events or categories can help you visually distinguish between them. For example, you can use different colors for personal, work, or social events. To assign a color to an event, simply edit the event and select the desired color from the options available.
2. Recurring Events: Save time by setting up recurring events for regular activities or meetings. Instead of manually adding the same event multiple times, you can set it to repeat daily, weekly, monthly, or yearly. Simply edit the event, select the recurrence pattern, and set the frequency.
3. Drag and Drop: Google Calendar allows you to easily reschedule events by using the drag-and-drop feature. If you need to change the date or time of an event, simply click and hold the event in the calendar view, then move it to the desired date or time slot. This flexibility helps you adapt to changing schedules and enables efficient time management.
4. Add Descriptions and Attachments: Make your events more informative by adding descriptions or attaching relevant files. This can include meeting agendas, presentation slides, or important documents. Providing additional context and resources within the event details helps you and your guests prepare adequately.
5. Search Functionality: Google Calendar has a powerful search functionality that allows you to quickly find specific events or dates. Simply enter keywords or phrases into the search bar, and the calendar will display relevant results. Utilize this feature when you need to locate past or future events without scrolling through your entire calendar.
6. Sharing and Collaboration: Google Calendar enables easy sharing and collaboration with others. You can share your calendar with colleagues, family, or friends, allowing them to view or even edit events. This is especially useful for coordinating schedules, planning events, or working on projects together. Determine the appropriate level of access for each person to maintain privacy and organization.
7. Sync with other Apps and Devices: Google Calendar seamlessly synchronizes with other apps and devices, ensuring you have access to your schedule wherever you are. Connect your calendar to your mobile phone, tablet, or desktop calendar app to receive notifications and stay updated on the go.
By effectively managing and organizing your Google Calendar, you can maintain a well-structured and efficient schedule. Take advantage of the various features and functionalities available to customize your calendar to suit your needs and preferences.
Now that you have learned how to manage and organize your Google Calendar, you are well-equipped to stay on top of your tasks, appointments, and events. Use these tips to optimize your productivity and make the most of this powerful organizational tool.
Conclusion
Congratulations! You have successfully learned how to open, sign in to, navigate, customize, add events, and manage your Google Calendar. By incorporating this powerful organizational tool into your daily routine, you can streamline your schedule, stay on top of important events, and enhance your productivity.
Google Calendar offers a user-friendly interface, seamless integration with other Google services, and a range of customizable features. From setting reminders and color coding events to sharing your calendar with others and syncing it across multiple devices, you now have the knowledge and skills to make the most out of this versatile tool.
Remember to take advantage of the various customization options to tailor your Google Calendar to your specific needs. Whether you’re a student, professional, or busy parent, Google Calendar can help you stay organized, manage your time effectively, and prioritize your commitments.
Regularly review and update your calendar to ensure its accuracy, reschedule events when necessary, and make use of the search functionality to quickly find specific events or dates. By staying proactive in managing and organizing your calendar, you will significantly reduce the risk of missing appointments or forgetting important tasks.
Continue exploring the features and functionalities of Google Calendar, such as integrating it with other apps, utilizing advanced settings, and experimenting with add-ons and labs. These additional features can further enhance your productivity and optimize your workflow.
Make it a habit to regularly check and review your Google Calendar to stay informed about upcoming events, meetings, and tasks. By effectively utilizing this powerful tool, you can achieve better time management, improved organization, and increased productivity in both your personal and professional life.
So, go ahead and open Google Calendar, sign in to your account, and start organizing your schedule with ease and efficiency. Stay on track, meet your goals, and make the most of every precious moment.
Good luck, and happy scheduling!