Introduction
Welcome to the ultimate guide on how to clear your Google Calendar! Google Calendar is a powerful and convenient tool for organizing your schedule, but sometimes it can become cluttered with past events, recurring appointments, and shared calendars that are no longer relevant to your needs. In this article, we will walk you through the step-by-step process of clearing your Google Calendar, ensuring that it is streamlined and optimized for your current goals and commitments.
Whether you are looking to start fresh with an empty calendar, remove outdated events, or simply declutter your schedule, we’ve got you covered. By following the instructions in this guide, you will be able to efficiently clear your Google Calendar and regain control over your time management and productivity.
In the next sections, we will cover each step in detail, providing you with simple and concise instructions on how to clear your Google Calendar effectively. From deleting individual events to removing shared calendars and even clearing tasks and goals, we will leave no stone unturned in our quest for calendar clarity.
So, grab your favorite beverage, find a comfortable chair, and let’s dive into the wonderful world of Google Calendar optimization. Prepare to reclaim your time, reduce scheduling overwhelm, and create a clean slate that perfectly aligns with your current priorities. Are you ready? Let’s get started!
Step 1: Open Google Calendar
The first step towards clearing your Google Calendar is to open the application. You can access Google Calendar through your web browser on a computer, or by using the Google Calendar mobile app on your smartphone or tablet.
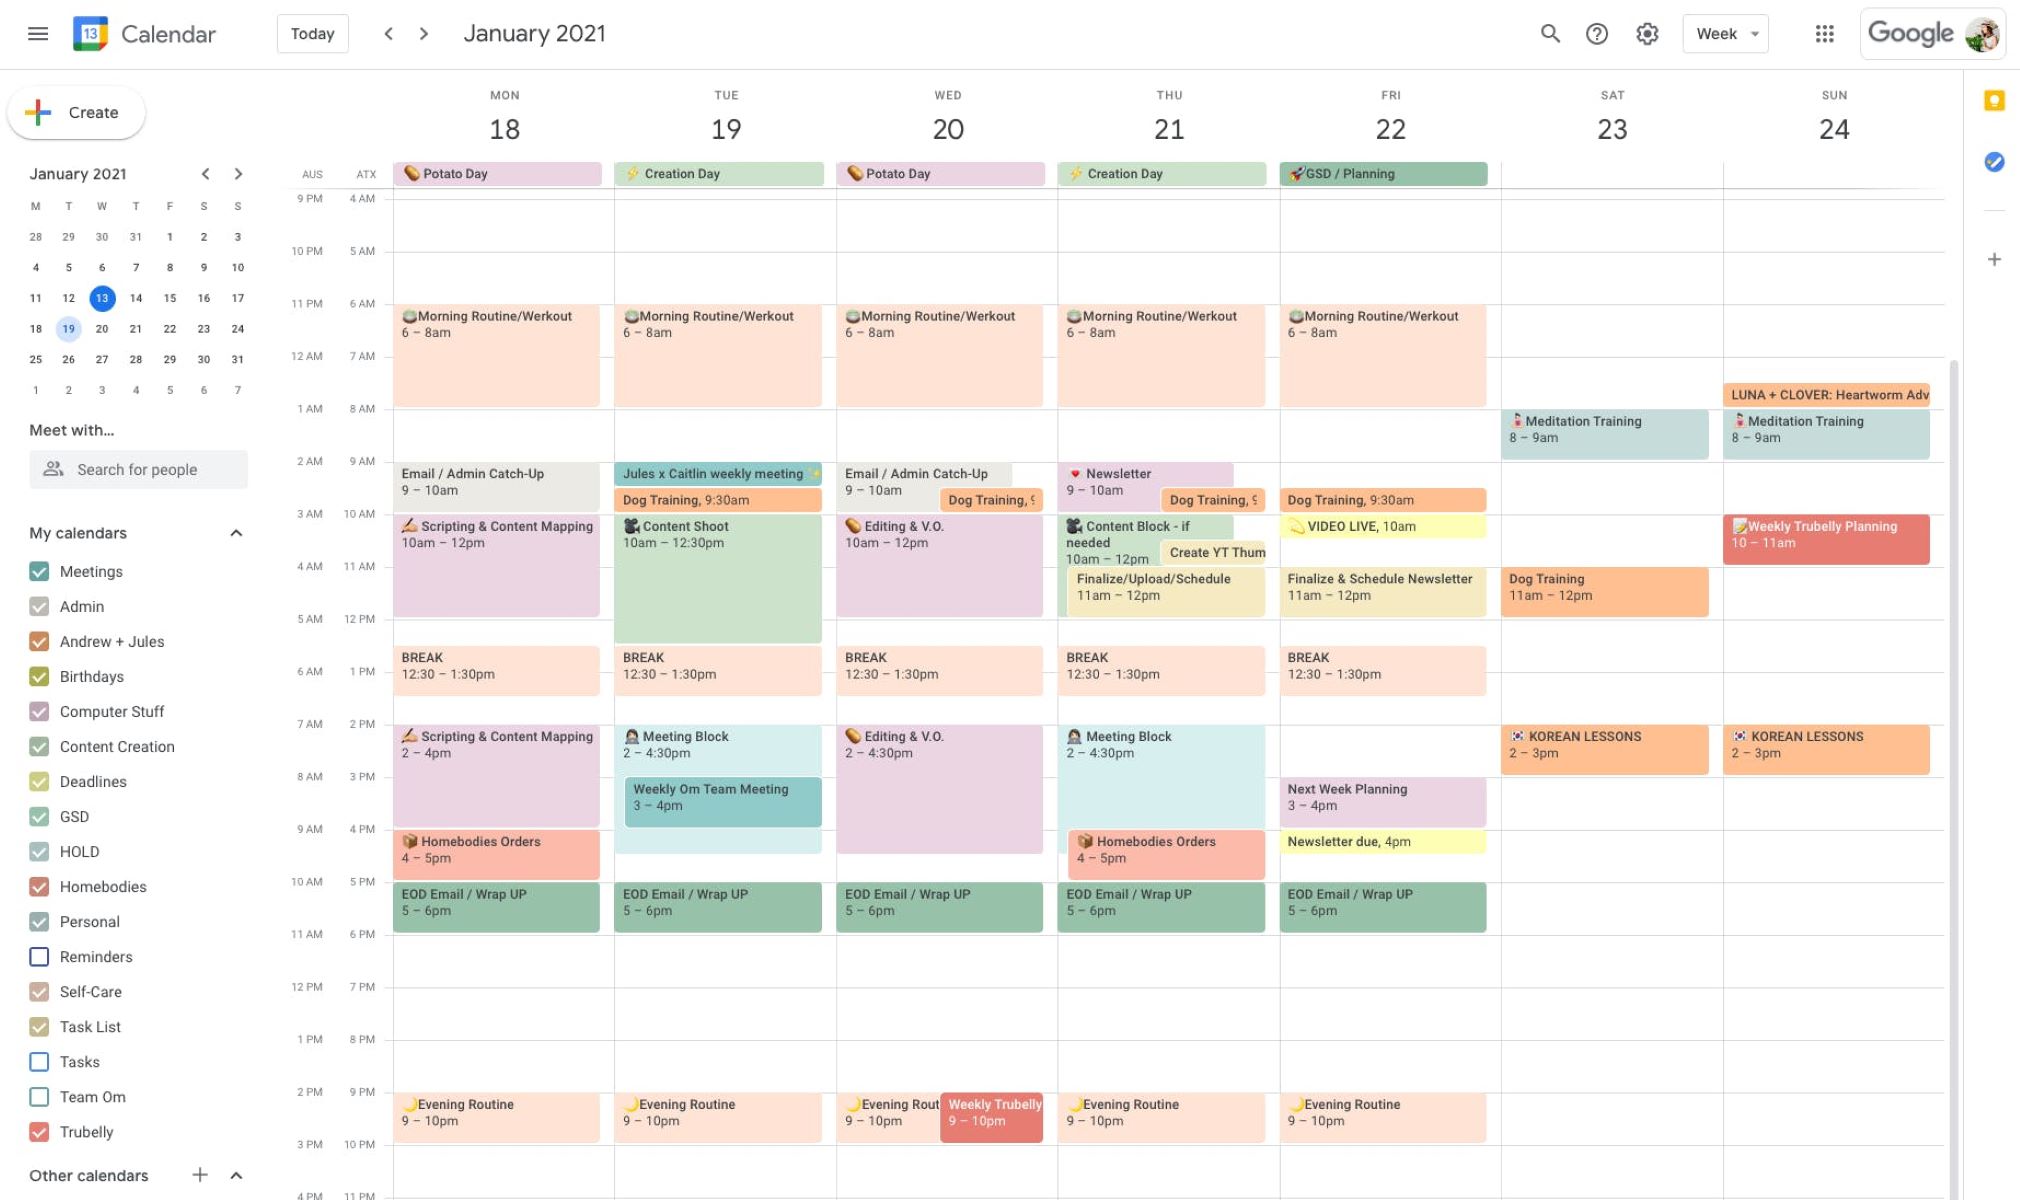
If you are using a computer, open your preferred web browser and navigate to https://calendar.google.com. Sign in to your Google account if prompted, and you will be greeted with the main Google Calendar interface.
If you prefer to use the mobile app, locate the Google Calendar app on your device and tap on the icon to open it. Sign in to your Google account if necessary, and you will be taken to the mobile version of Google Calendar.
Once you have successfully opened Google Calendar, you will be able to view your calendar with all of your events, appointments, and reminders displayed. It’s important to note that the steps we will cover in this guide are applicable to both the web and mobile versions of Google Calendar.
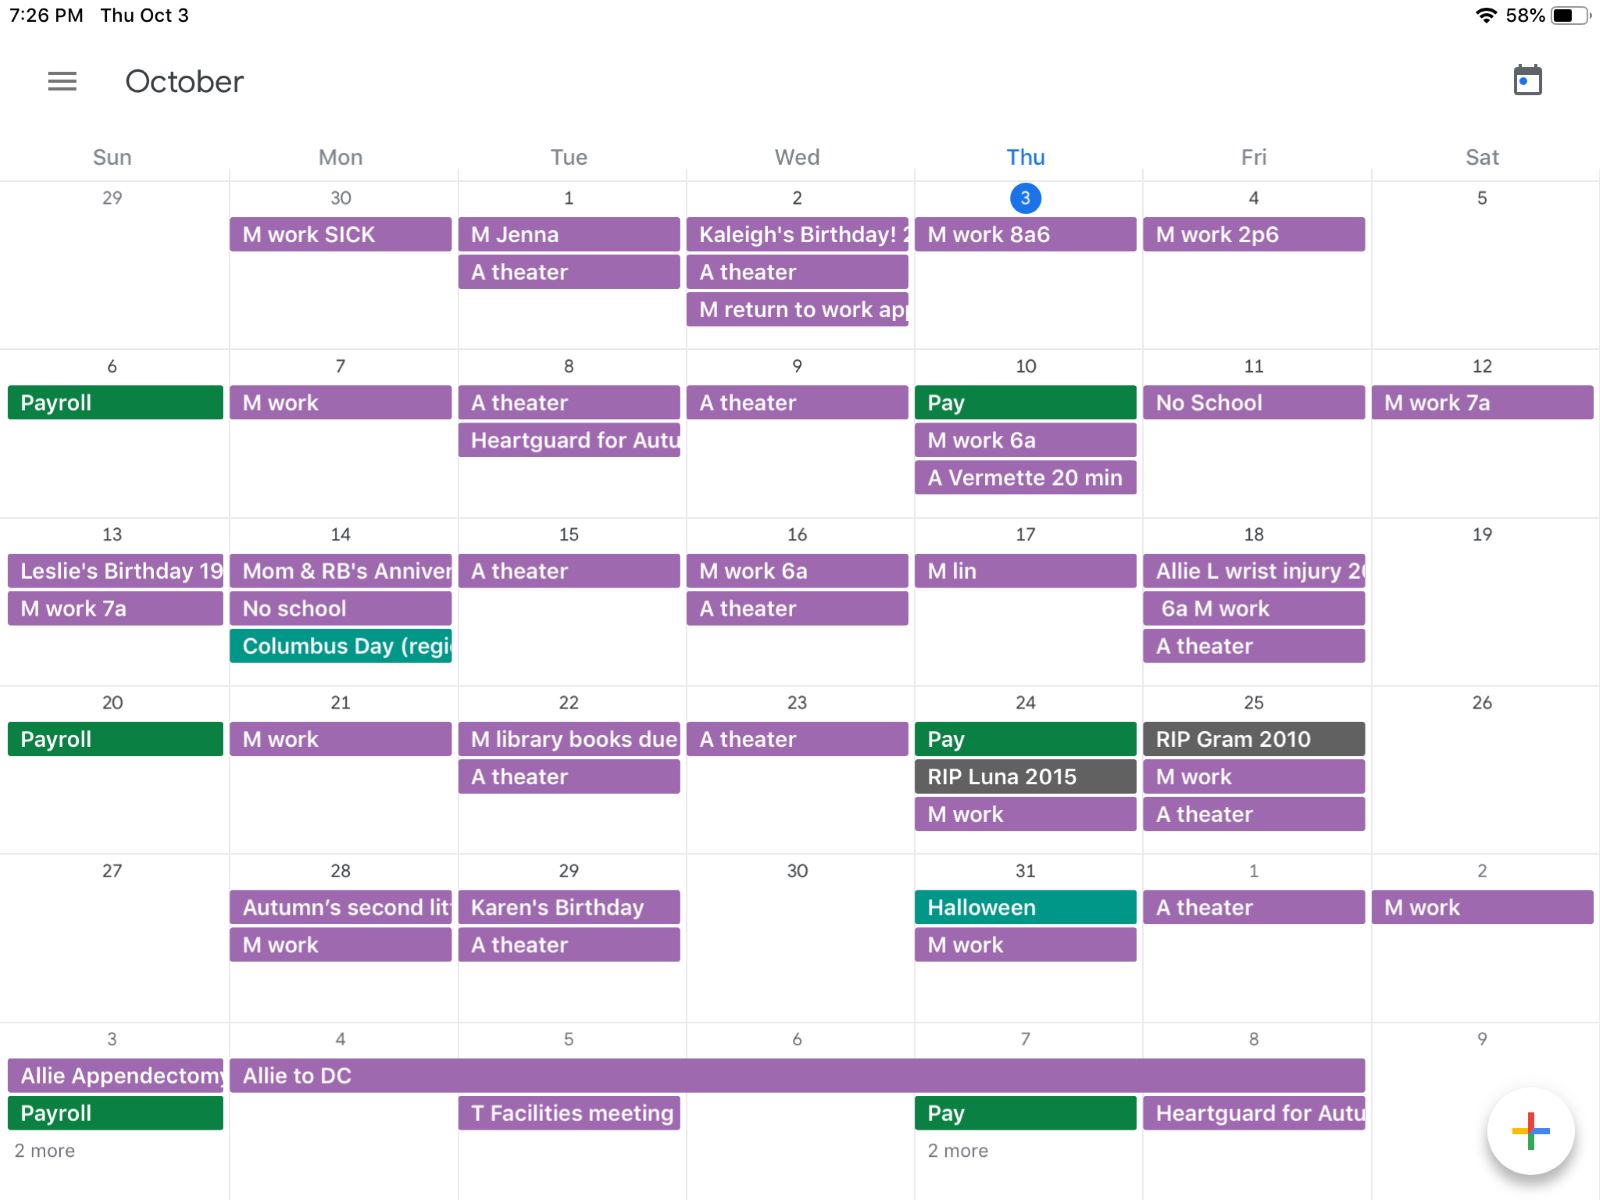
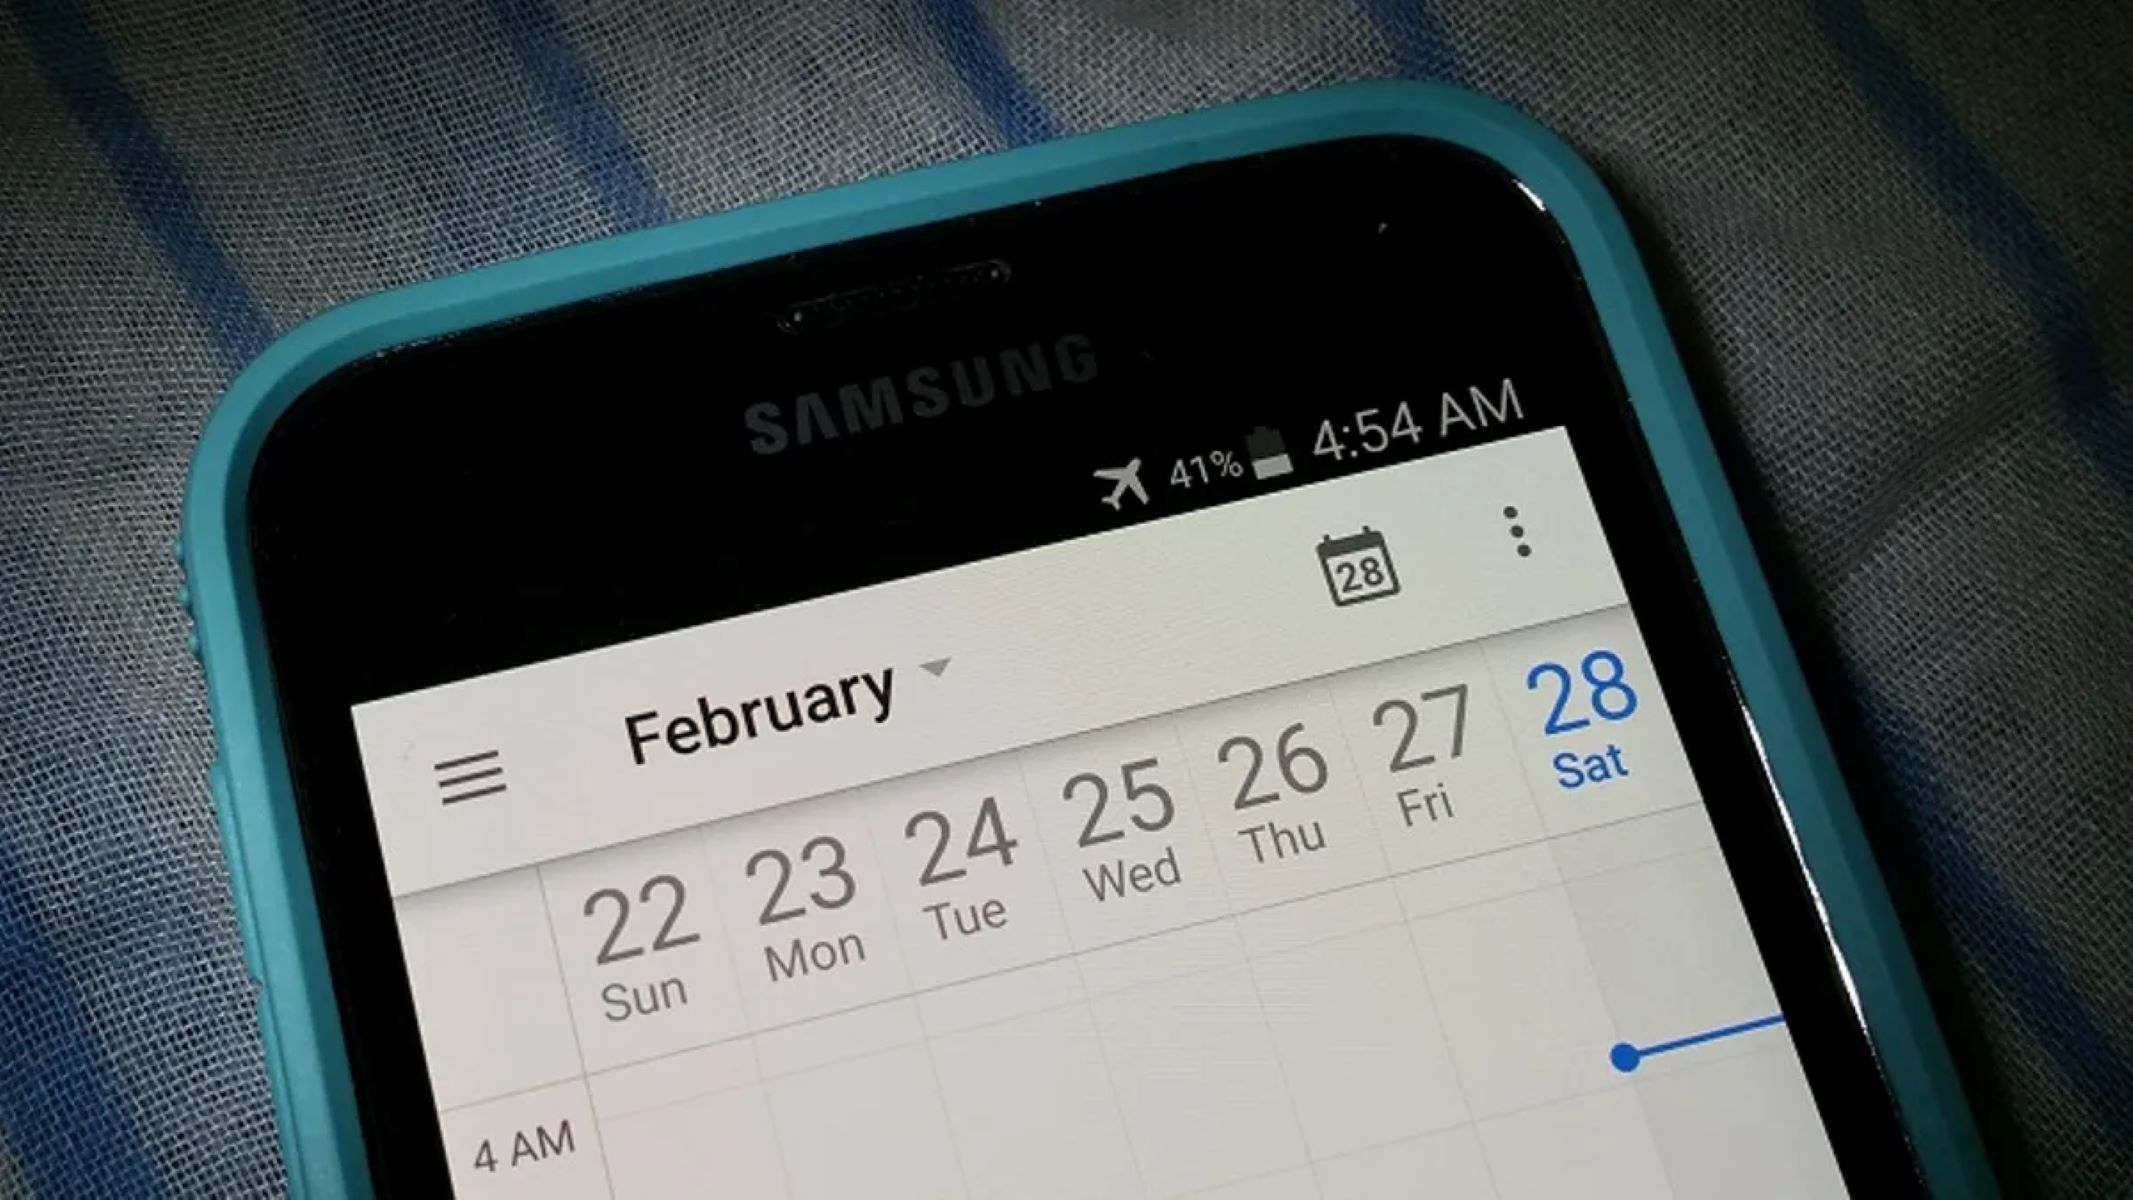
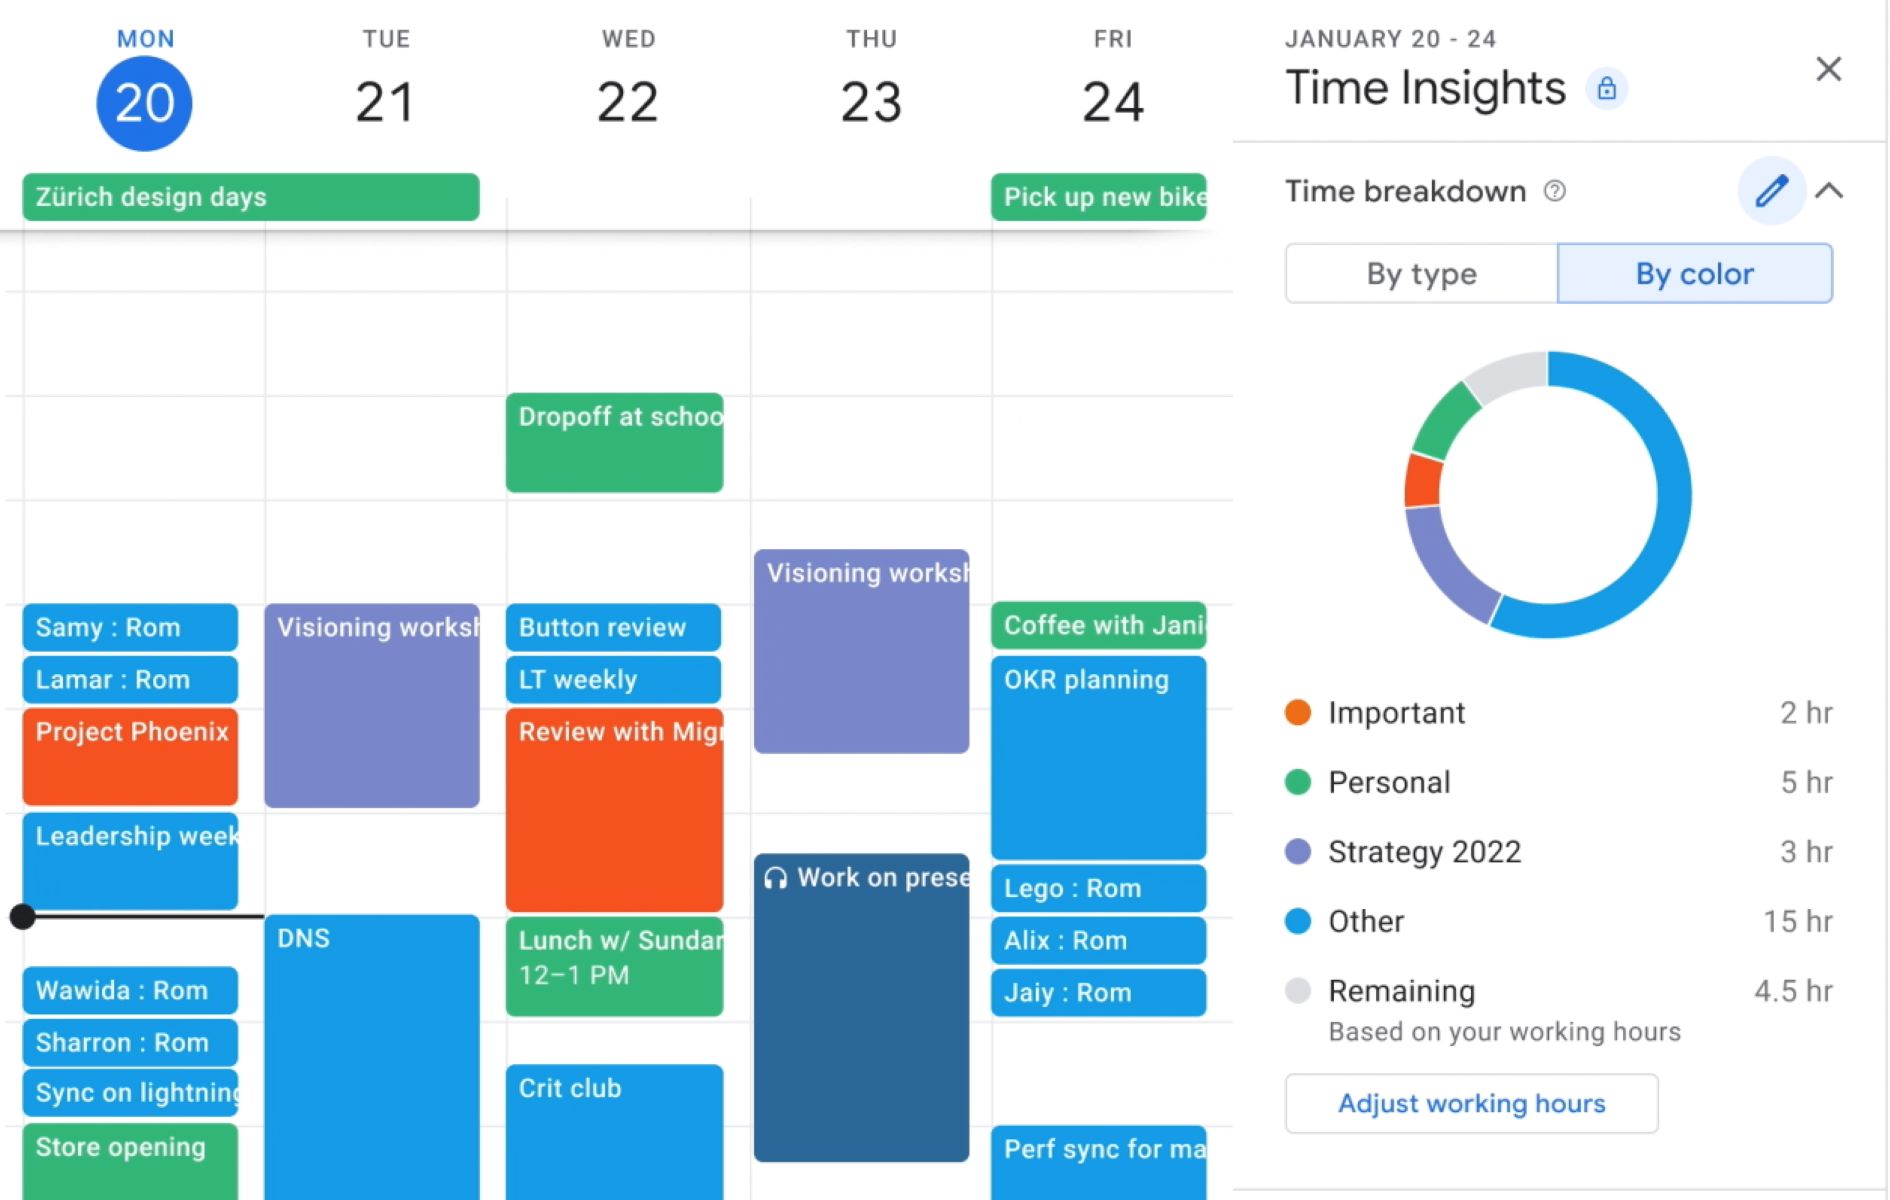
Take a moment to familiarize yourself with the calendar interface. Notice the different views available, such as day, week, month, and agenda. You can switch between these views to find the one that works best for you. Additionally, you can customize the display settings to suit your preferences and make your calendar experience more personalized.
Now that you have Google Calendar open and you understand the basic layout, you are ready to move on to the next step: navigating to the settings. Let’s continue our journey towards a clean and decluttered calendar.
Step 2: Navigate to Settings
Once you have opened Google Calendar, the next step in clearing your calendar is to navigate to the settings. The settings menu provides access to various options and features that allow you to customize and manage your calendar settings according to your preferences.
To access the settings, look for the gear icon located in the top-right corner of the Google Calendar interface. On the web version, click on the gear icon, and a dropdown menu will appear. From the menu, select “Settings” to proceed to the settings page.
In the Google Calendar mobile app, you may need to first tap on the hamburger menu icon (three horizontal lines) in the top-left corner of the screen to reveal the navigation menu. Scroll down the menu and tap on “Settings” to access the settings page.
Once you are on the settings page, you will see a variety of options and tabs that allow you to customize different aspects of your calendar. These options can vary slightly between the web and mobile versions, but the general layout and functionality remain similar.
Take a moment to explore the different tabs and options available in the settings. You will find settings related to your calendar display, notifications, event defaults, working hours, and much more. While these settings are valuable for personalizing your calendar experience, we will focus on specific settings that are relevant to clearing your calendar.
In the next step, we will discuss how to clear all events from your Google Calendar, providing you with a fresh start in organizing your schedule. Let’s move on to the next step and continue decluttering your calendar.
Step 3: Clear All Events
Clearing all events from your Google Calendar can be a great way to start fresh and eliminate any unnecessary clutter. This step will remove all past and future events, giving you a blank canvas to work with. Keep in mind that this action cannot be undone, so make sure you have a backup or create any necessary copies before proceeding.
To clear all events from your Google Calendar, go to the settings page as mentioned in the previous step. Look for the “Calendars” tab and click on it or tap it in the mobile app to access your calendar list. Here, you will see a list of all the calendars that you have set up and are currently visible in your calendar view.
Scroll down to find the calendar you want to clear, or if you have multiple calendars, repeat the steps for each one. Click on the calendar name or tap it in the mobile app to open the calendar settings. Look for the option to “Clear” or “Delete all events” and click on it or tap it to confirm.
A confirmation prompt will appear, asking if you are sure you want to delete all events from the selected calendar. Read through the prompt carefully and ensure that you understand the consequences of this action. If you are certain, proceed with confirming the deletion.
Once you have cleared all events from the calendar, you will have a clean slate to start anew. This can be particularly helpful if your calendar was cluttered with outdated or irrelevant events. However, be aware that any recurring events or events shared by others will not be affected. We will cover how to handle recurring events and shared calendars in the following steps.
Now that you have successfully cleared all events from your calendar, it’s time to move on to Step 4: deleting recurring events. Let’s continue our journey to achieve a streamlined and organized calendar.
Step 4: Delete Recurring Events
In Step 4 of clearing your Google Calendar, we will focus on deleting recurring events. Recurring events are events that repeat on a regular basis, such as weekly meetings, monthly reminders, or annual events. Removing these recurring events can help declutter your calendar and ensure that only relevant and current events are displayed.
To delete recurring events, go to the calendar view where the recurring event is located. Identify the recurring event that you want to delete and click on it or tap it to open the event details.
Depending on whether you are using the web version or mobile app, you will see different options to edit or delete the recurring event. In the web version, look for the “Edit” button or pencil icon to access the event editing options. In the mobile app, you may need to tap on the three vertical dots or the edit icon to access the event editing options.
Once you have accessed the event editing options, look for the option to delete the event series or delete all instances of the event. Select the appropriate option based on your preference. If you choose to delete the event series, all instances of the recurring event will be deleted. If you choose to delete all instances, only the occurrences of the event up to the current date will be removed.
Confirm the deletion when prompted, and the recurring event will be deleted from your calendar. Make sure to review the changes to ensure that the event has been successfully removed.
Repeat these steps for any other recurring events that you want to delete. By removing these recurring events, you can ensure that your calendar is updated with only the most relevant and current events.
Now that you have deleted recurring events from your calendar, we can move on to the next steps. In Step 5, we will focus on removing shared calendars from your Google Calendar. Let’s continue our journey to optimize and declutter your calendar.
Step 5: Remove Shared Calendars
Shared calendars are an excellent feature of Google Calendar that allows you to collaborate and stay up-to-date with friends, family, or colleagues. However, over time, you may accumulate shared calendars that are no longer relevant or useful to you. Removing these shared calendars can help simplify and declutter your Google Calendar.
To remove a shared calendar, access the settings page as mentioned in the earlier steps. Look for the “Calendars” tab, which will display a list of all the calendars you have access to, both personal and shared.
Scroll down the list of calendars until you find the shared calendar you want to remove. Click on the calendar name or tap it in the mobile app to open the calendar settings.
Within the calendar settings, you will find an option to “Remove” or “Unsubscribe” from the shared calendar. Click on this option or tap it in the mobile app to confirm the removal.
A confirmation prompt will appear, asking if you are sure you want to remove the shared calendar. Read through the prompt carefully and ensure that you want to proceed with the removal. If you are sure, confirm the removal.
Once the shared calendar is removed, it will no longer be visible in your calendar view. Any events or appointments associated with the shared calendar will also be removed from your Google Calendar. Keep in mind that removing a shared calendar does not affect others’ access to the calendar; it only removes it from your personal view.
Repeat these steps for any other shared calendars you want to remove. By removing unnecessary shared calendars, you can declutter your calendar and focus on the calendars that are most relevant to you.
Now that you have removed shared calendars, you are on your way to a cleaner and more streamlined Google Calendar. In the next step, we will explore how to unsubscribe from external calendars. Let’s continue the process of optimizing your calendar!
Step 6: Unsubscribe from External Calendars
In Step 6 of clearing your Google Calendar, we will focus on unsubscribing from external calendars. External calendars are calendars that you have subscribed to, such as public calendars, holidays calendars, or sports schedules. Removing these external calendars can help declutter your calendar and ensure that you only have the most relevant and important events displayed.
To unsubscribe from an external calendar, go to the settings page as described in the earlier steps. Look for the “Calendars” tab, which will display a list of all the calendars, including both personal and subscribed calendars.
Scroll down the list of calendars until you find the external calendar you want to unsubscribe from. Click on the calendar name or tap it in the mobile app to open the calendar settings.
Within the calendar settings, you will find an option to “Unsubscribe” from the external calendar. Click on this option or tap it in the mobile app to confirm the unsubscribe action.
A confirmation prompt will appear, asking if you are sure you want to unsubscribe from the external calendar. Read through the prompt carefully to ensure that you want to proceed with the unsubscribe action. If you are sure, confirm the unsubscribe.
Once unsubscribed, the external calendar will no longer be visible in your calendar view. Any events or appointments associated with the external calendar will also be removed from your Google Calendar. It is important to note that unsubscribing from an external calendar only affects your personal view and does not impact others’ access to the calendar.
Repeat these steps for any other external calendars you want to unsubscribe from. By removing unnecessary external calendars, you can declutter your calendar and focus on the calendars that are most important to you.
Now that you have successfully unsubscribed from external calendars, your Google Calendar is becoming cleaner and more personalized. In the next step, we will explore how to clear tasks and goals from your calendar. Let’s continue the process of optimizing your calendar!
Step 7: Clear Tasks and Goals
In Step 7 of clearing your Google Calendar, we will focus on clearing tasks and goals. While Google Calendar primarily focuses on events and appointments, it also integrates with Google Tasks and Google Goals, allowing you to manage your to-do lists and personal ambitions.
To clear tasks and goals from your Google Calendar, access the settings page as mentioned in the earlier steps. Look for the “Tasks” or “Goals” sections, depending on which feature you want to clear.
If you want to clear tasks, locate the tasks section in the settings and click on it or tap it in the mobile app. Within the tasks section, you will have options to manage and delete your tasks. Select the option to clear or delete tasks, and confirm the action when prompted.
If you want to clear goals, locate the goals section in the settings and click on it or tap it in the mobile app. Within the goals section, you will see a list of your current goals. To clear a goal, click on it or tap it to open the goal details. Look for the option to delete or clear the goal, and confirm the action when prompted.
By clearing tasks and goals from your calendar, you can ensure that your focus remains on events and appointments, without any unnecessary clutter. Clearing tasks allows you to start fresh with your to-do lists, while clearing goals helps you reassess and refine your personal ambitions.
Repeat these steps for any other tasks or goals you want to clear from your Google Calendar. Keep in mind that clearing tasks and goals does not delete them permanently; it simply removes them from your calendar view. You can always re-add tasks or goals as needed in the future.
Now that you have cleared tasks and goals from your Google Calendar, you are one step closer to achieving a clean and organized schedule. In the final step, we will double-check for any remaining events that need attention. Let’s continue the process of optimizing your calendar!
Step 8: Double Check for Remaining Events
In Step 8 of clearing your Google Calendar, it’s time to double-check for any remaining events that need attention. Sometimes, certain events may have slipped through the previous steps, or you may have added new events after clearing your calendar. Taking a final look at your calendar ensures that it is fully optimized and free from any lingering clutter.
To double-check for remaining events, navigate back to your Google Calendar view. Scan through each day, week, or month, depending on your preferred calendar view, and identify any events that should be removed or require further action.
If you come across an event that needs to be deleted, simply click on the event or tap it in the mobile app to open the event details. Look for the option to delete or remove the event, and proceed with the necessary action.
If you find events that need to be modified or updated, click on the event or tap it in the mobile app to open the event details. Make the necessary changes, such as adjusting the date, time, or any other details, and save the updated event.
By double-checking your calendar for any remaining events, you can ensure that your schedule is accurate and up-to-date. This final step completes the process of clearing and optimizing your Google Calendar.
Now that you have thoroughly checked for any remaining events, your Google Calendar should be successfully cleared and optimized. Congratulations on taking the time to organize and streamline your schedule!
Remember, maintaining a clutter-free calendar is an ongoing process. As you continue to use your calendar, be mindful of adding only essential events and regularly reviewing and removing any outdated or irrelevant entries.
Now, enjoy the benefits of a well-organized and clutter-free Google Calendar, allowing you to focus on your priorities, manage your time effectively, and stay on top of your commitments.
Conclusion
Congratulations! You have successfully cleared and optimized your Google Calendar. By following the step-by-step process outlined in this guide, you have taken control of your schedule and created a streamlined and clutter-free calendar.
Throughout this journey, you learned how to open Google Calendar, navigate to settings, clear all events, delete recurring events, remove shared calendars, unsubscribe from external calendars, clear tasks and goals, double-check for remaining events, and ultimately achieve a well-organized calendar.
A clear and optimized calendar provides numerous benefits. You can easily identify and prioritize important events, reduce scheduling conflicts, and focus on what truly matters. With your Google Calendar now tailored to your needs, you are empowered to make the most of your time.
Remember to periodically review and declutter your calendar to maintain its efficiency. Regularly assess your events, tasks, and goals to ensure they align with your current priorities.
Thank you for following this guide on how to clear your Google Calendar. We hope that you found it helpful and informative. Now, enjoy the benefits of a well-managed and clutter-free calendar, and make the most out of each day!


