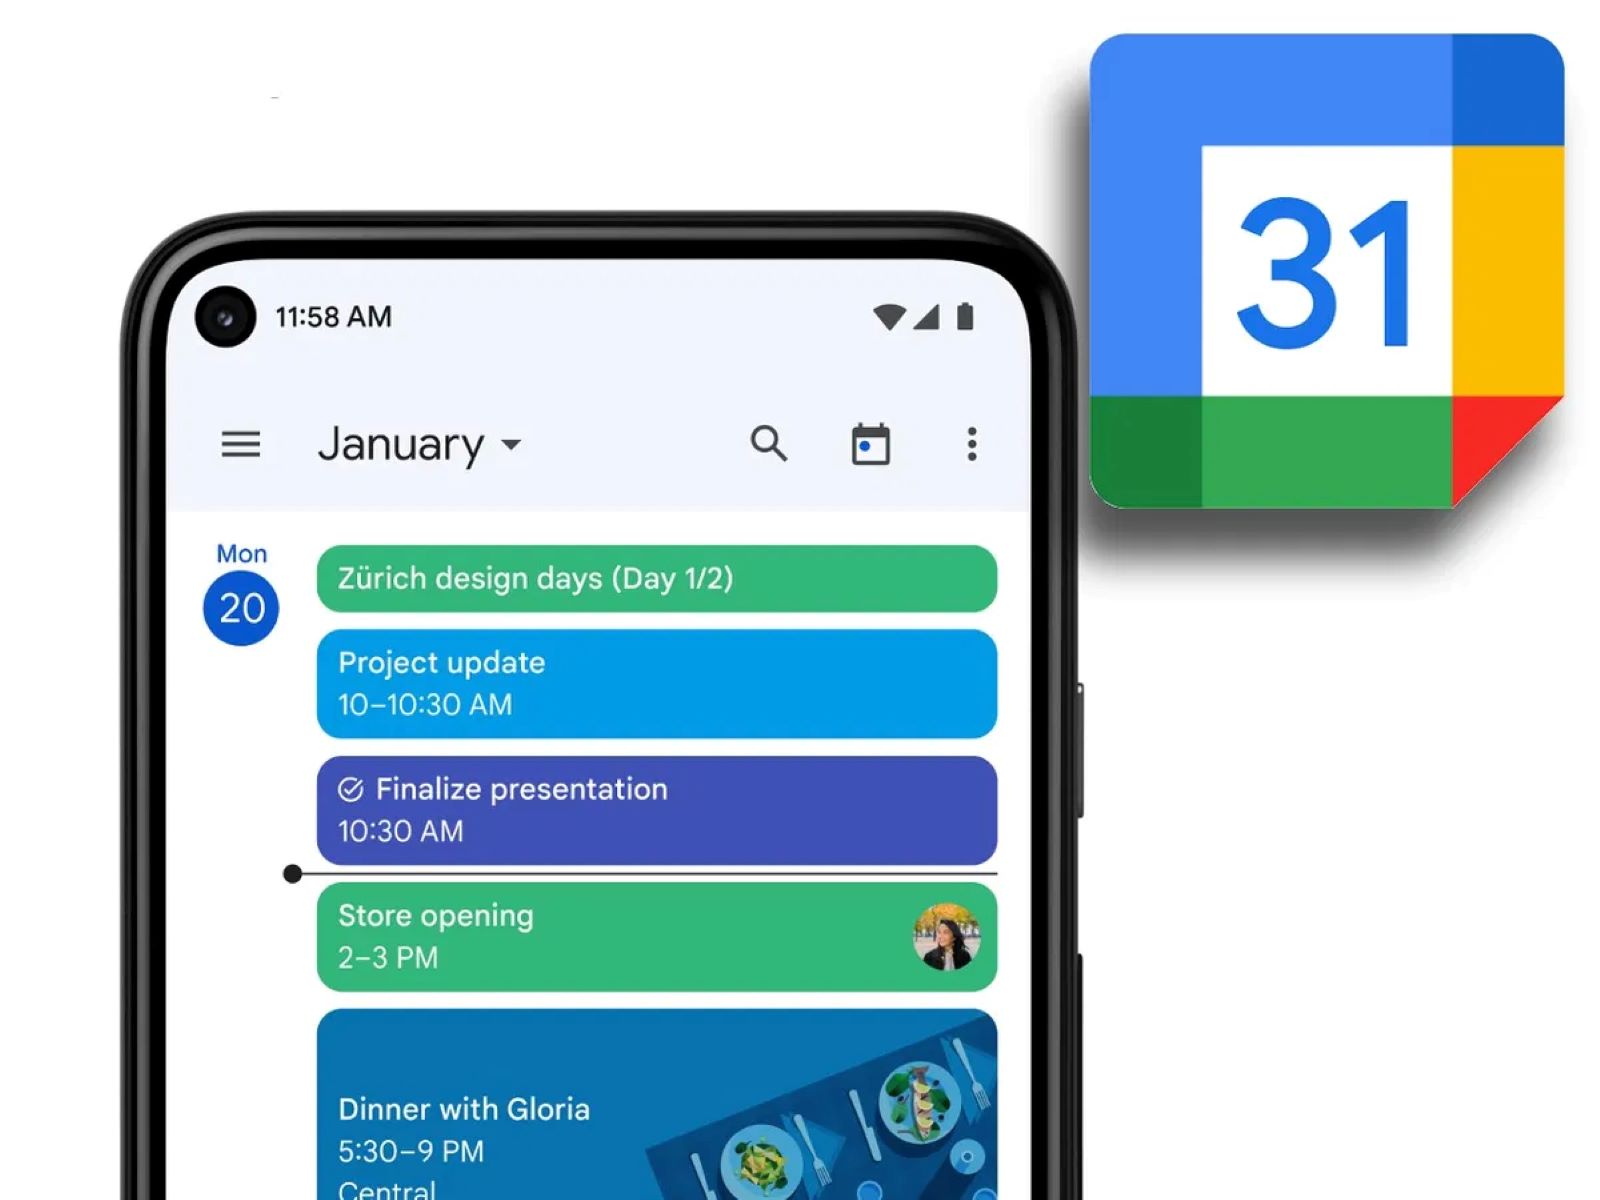
To sync multiple Google calendars, the most reliable method is to share calendars between accounts so you can view events from work, personal, or family calendars in a single interface. This approach lets you see all your commitments side by side without duplicating events or losing ongoing synchronization.
How to sync multiple Google calendars: the sharing method
Calendar sharing is the primary way to sync multiple Google calendars because it allows another account to view and potentially edit events on a shared calendar. This differs from importing calendar data, which is a one-time transfer of events and does not maintain ongoing synchronization between accounts. For a true two-way sync where events are duplicated and kept in sync across two distinct Google accounts, third-party tools like Keeper.sh are available, but sharing remains the built-in, free option for most users.
Share a calendar from your primary account
- Open Google Calendar on a computer.
- In the left sidebar under "My calendars," hover over the calendar you want to share, click the three vertical dots (More options), and select "Settings and sharing."
- Scroll to "Share with specific people" or "Share with specific people or groups" and click "Add people" or "+ Add people and groups."
- Enter the email address of the Google account you want to share with and choose a permission level from the dropdown menu.
Permission levels include "See only free/busy (hide details)", "See all event details", "Make changes to events", and "Make changes and manage sharing." Choose the level that matches how you want the recipient to interact with your events.
Accept the shared calendar in your other account
After sending the invitation, the recipient must click the link (for example, "Add this calendar") in the email to accept and add the shared calendar to their view. Once accepted, the calendar appears in their calendar list, making it easy to view a Google calendar shared with me alongside their own events. This step is essential for the shared calendar to appear in the interface.
Add multiple accounts on the Google Calendar mobile app
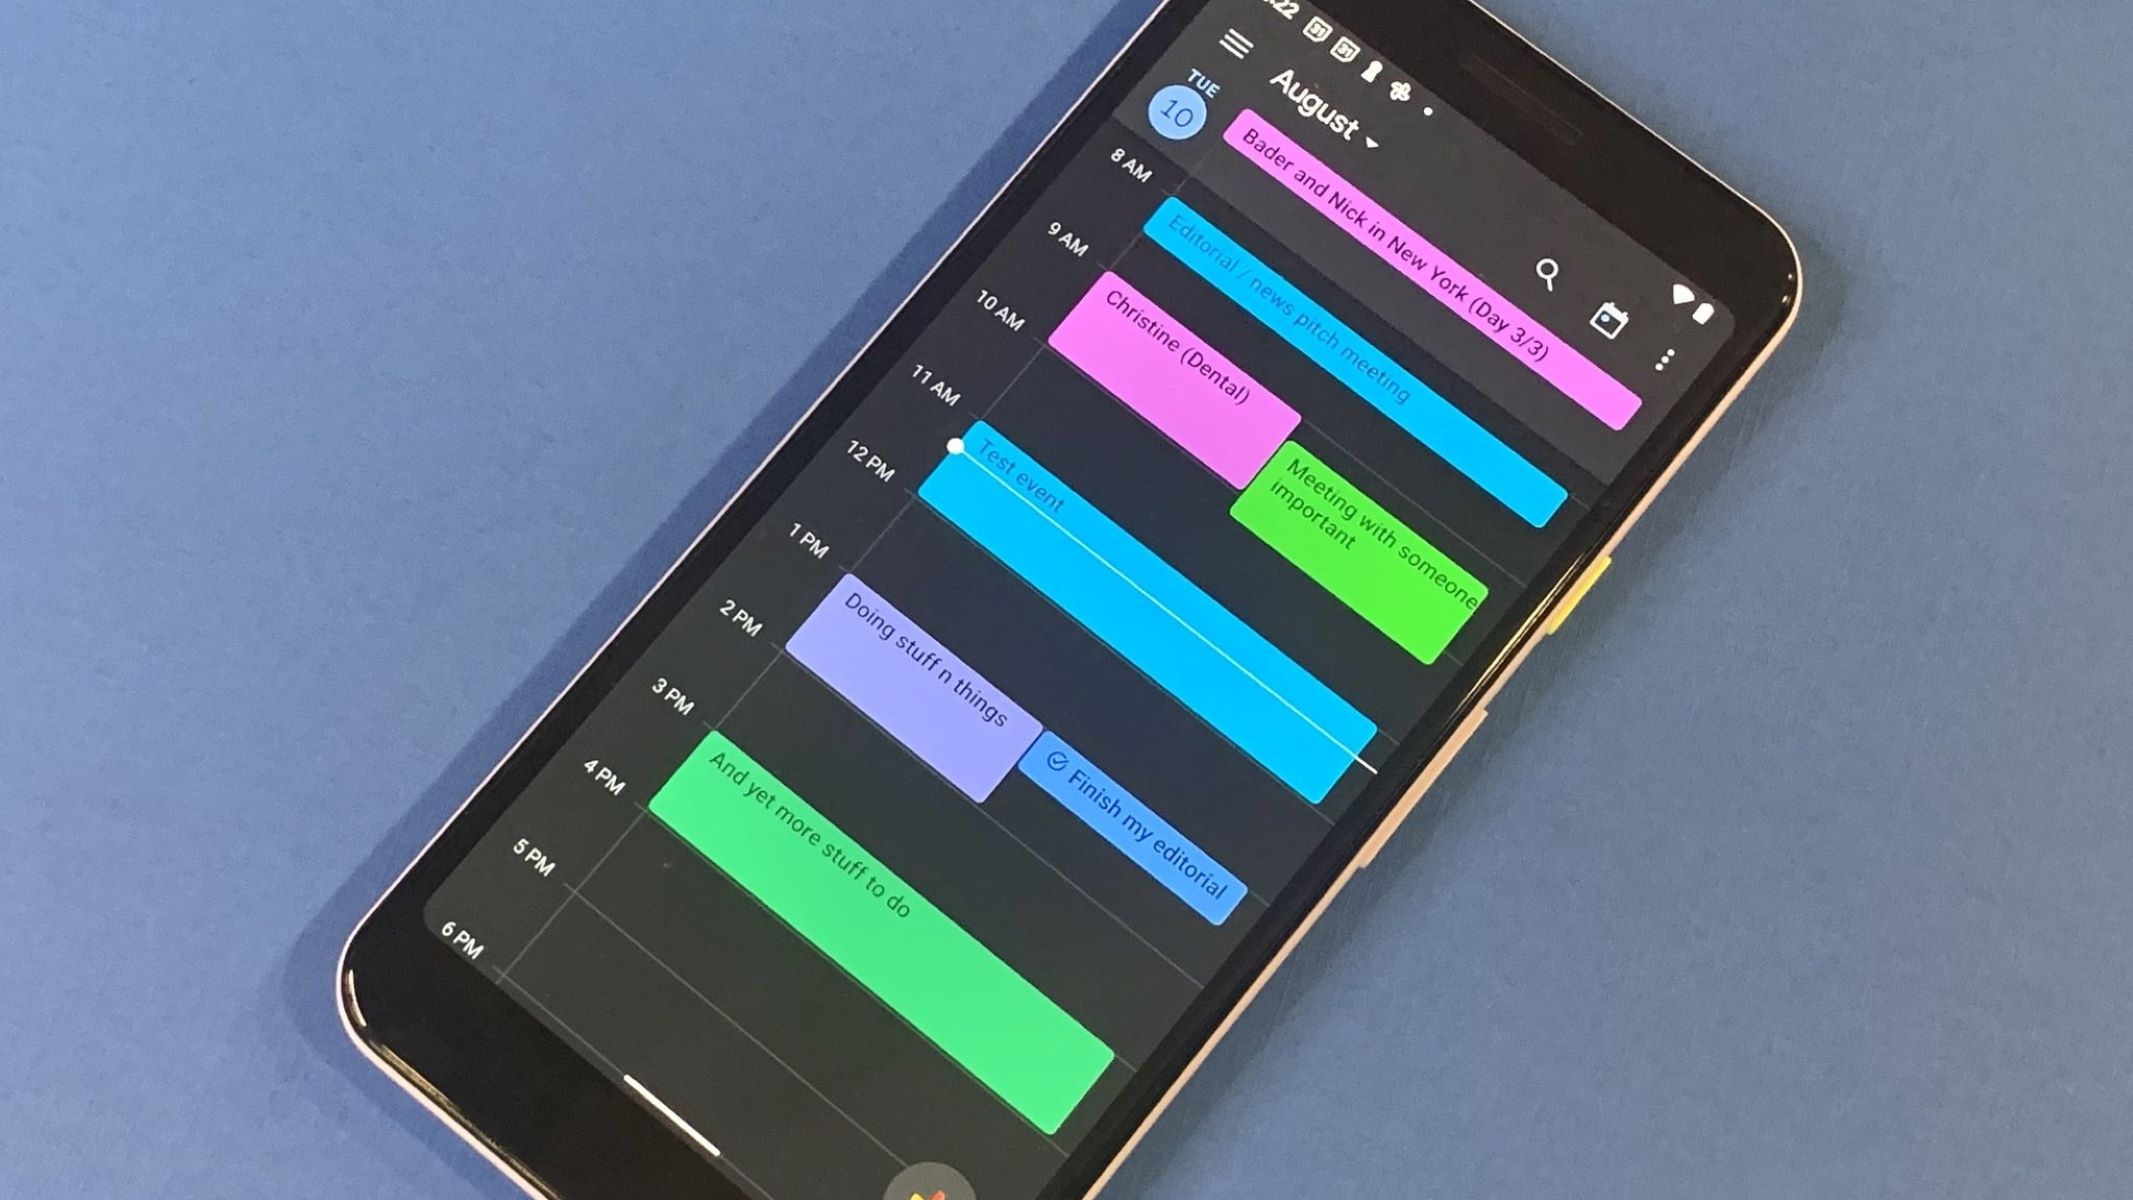
On mobile devices (Android or iPhone/iPad), you can add multiple Google accounts directly within the Google Calendar app to view all associated calendars in one interface. To add an account, open the Google Calendar app, tap your profile photo (top right), then "Add another account," and follow the on-screen instructions. This method is ideal when you want to sync Google calendar on phone and computer without relying on email invitations for each calendar.
View and manage your synced calendars
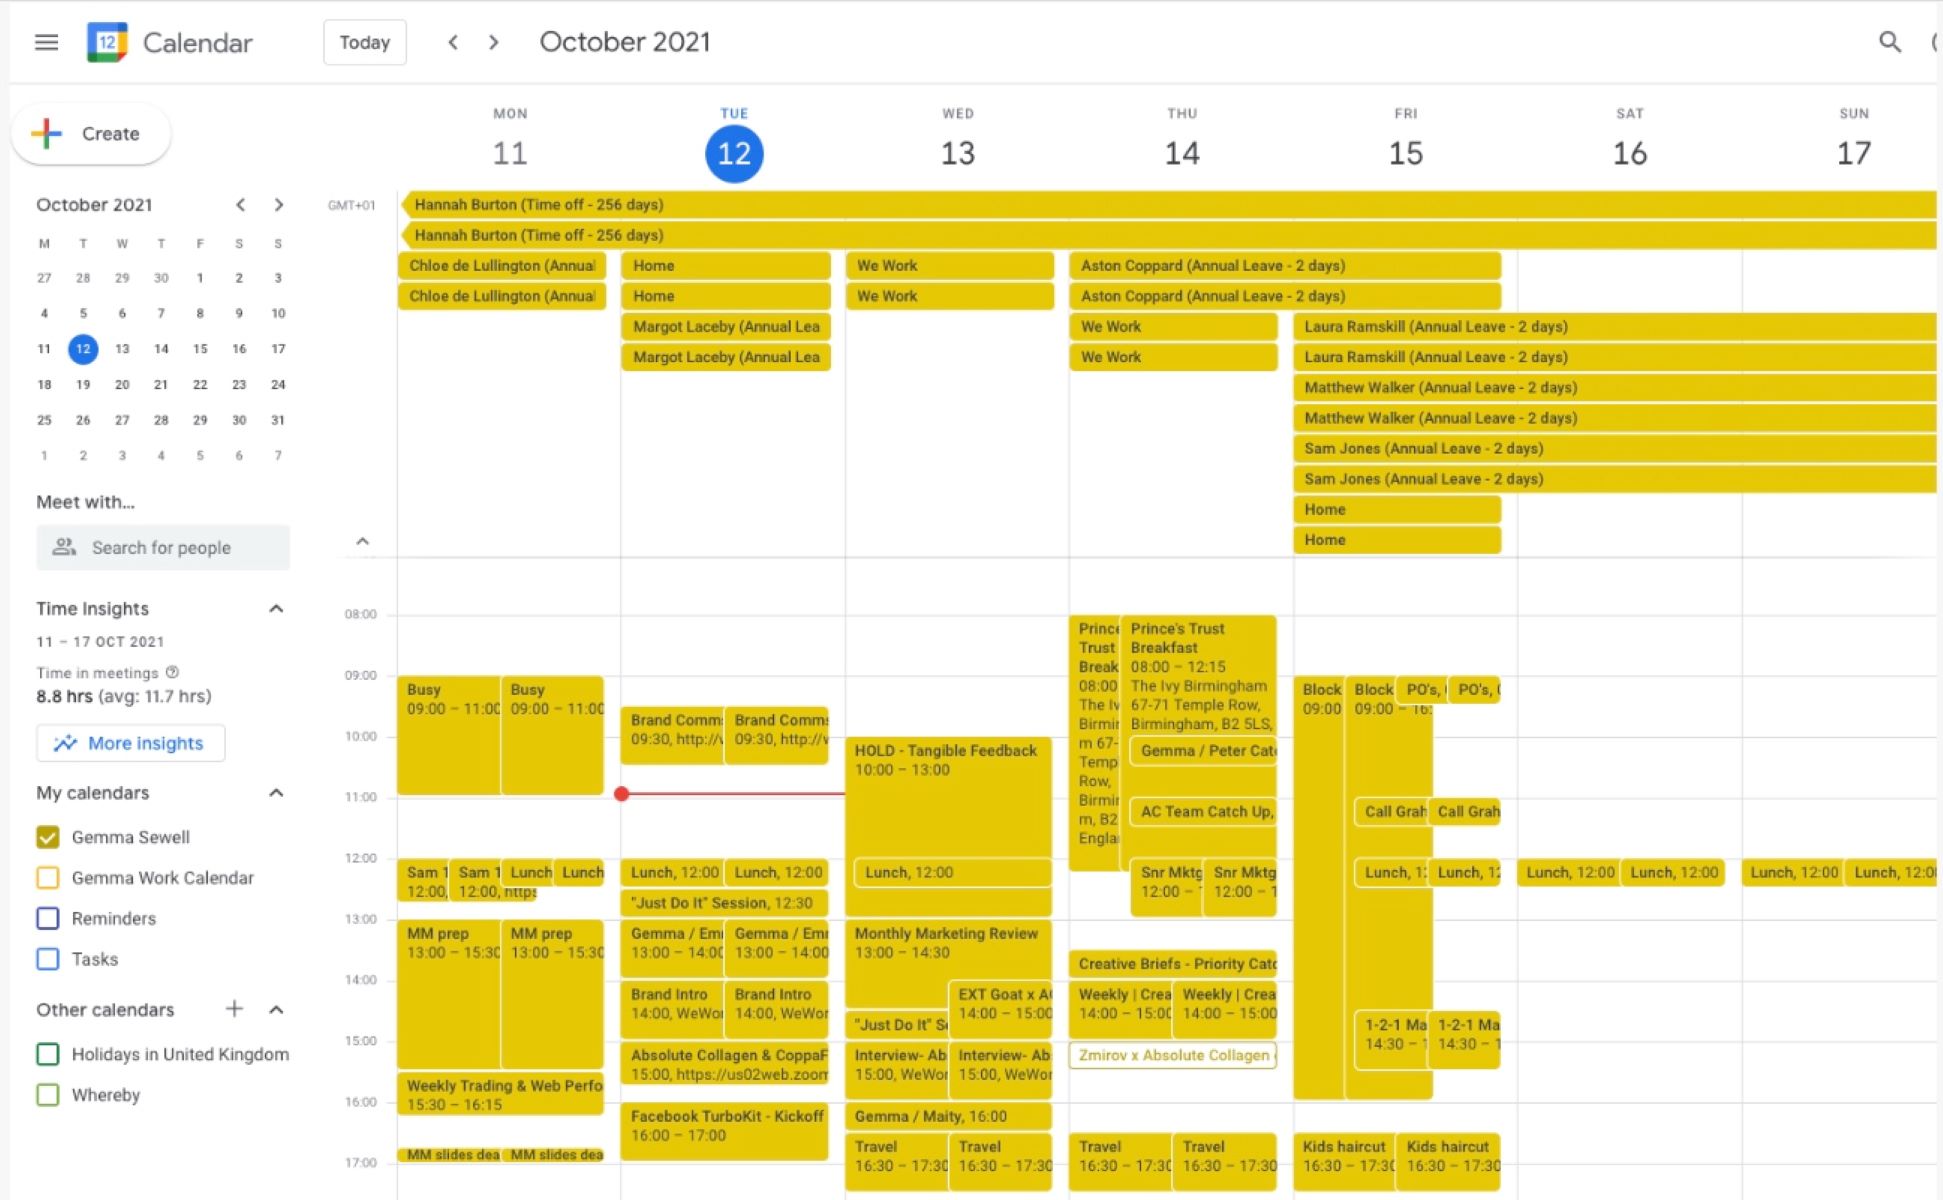
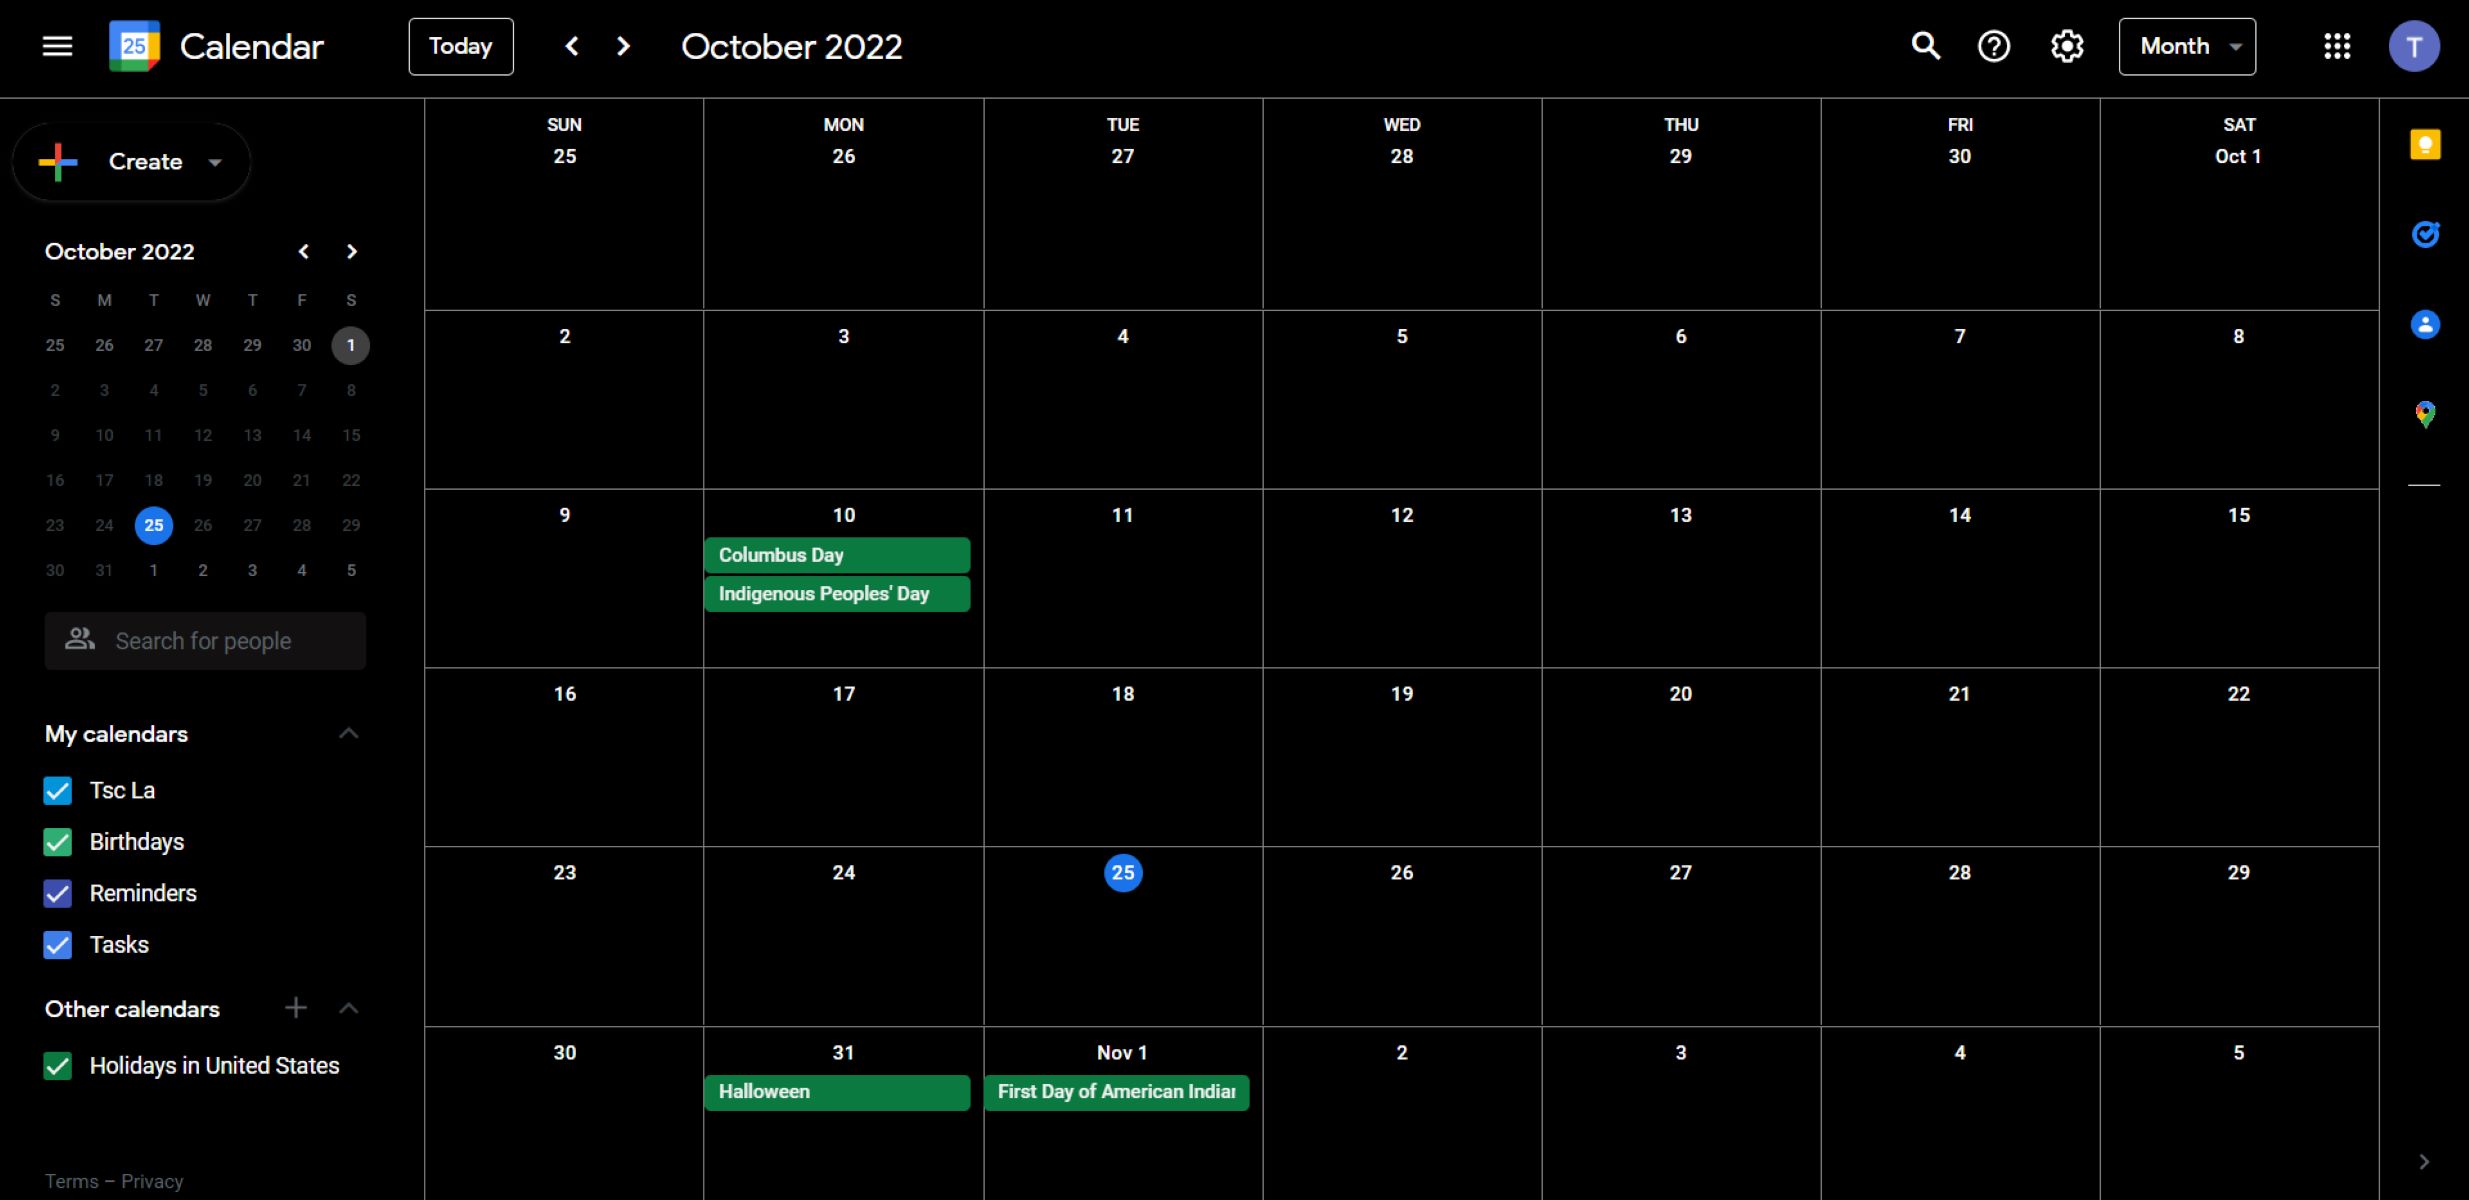
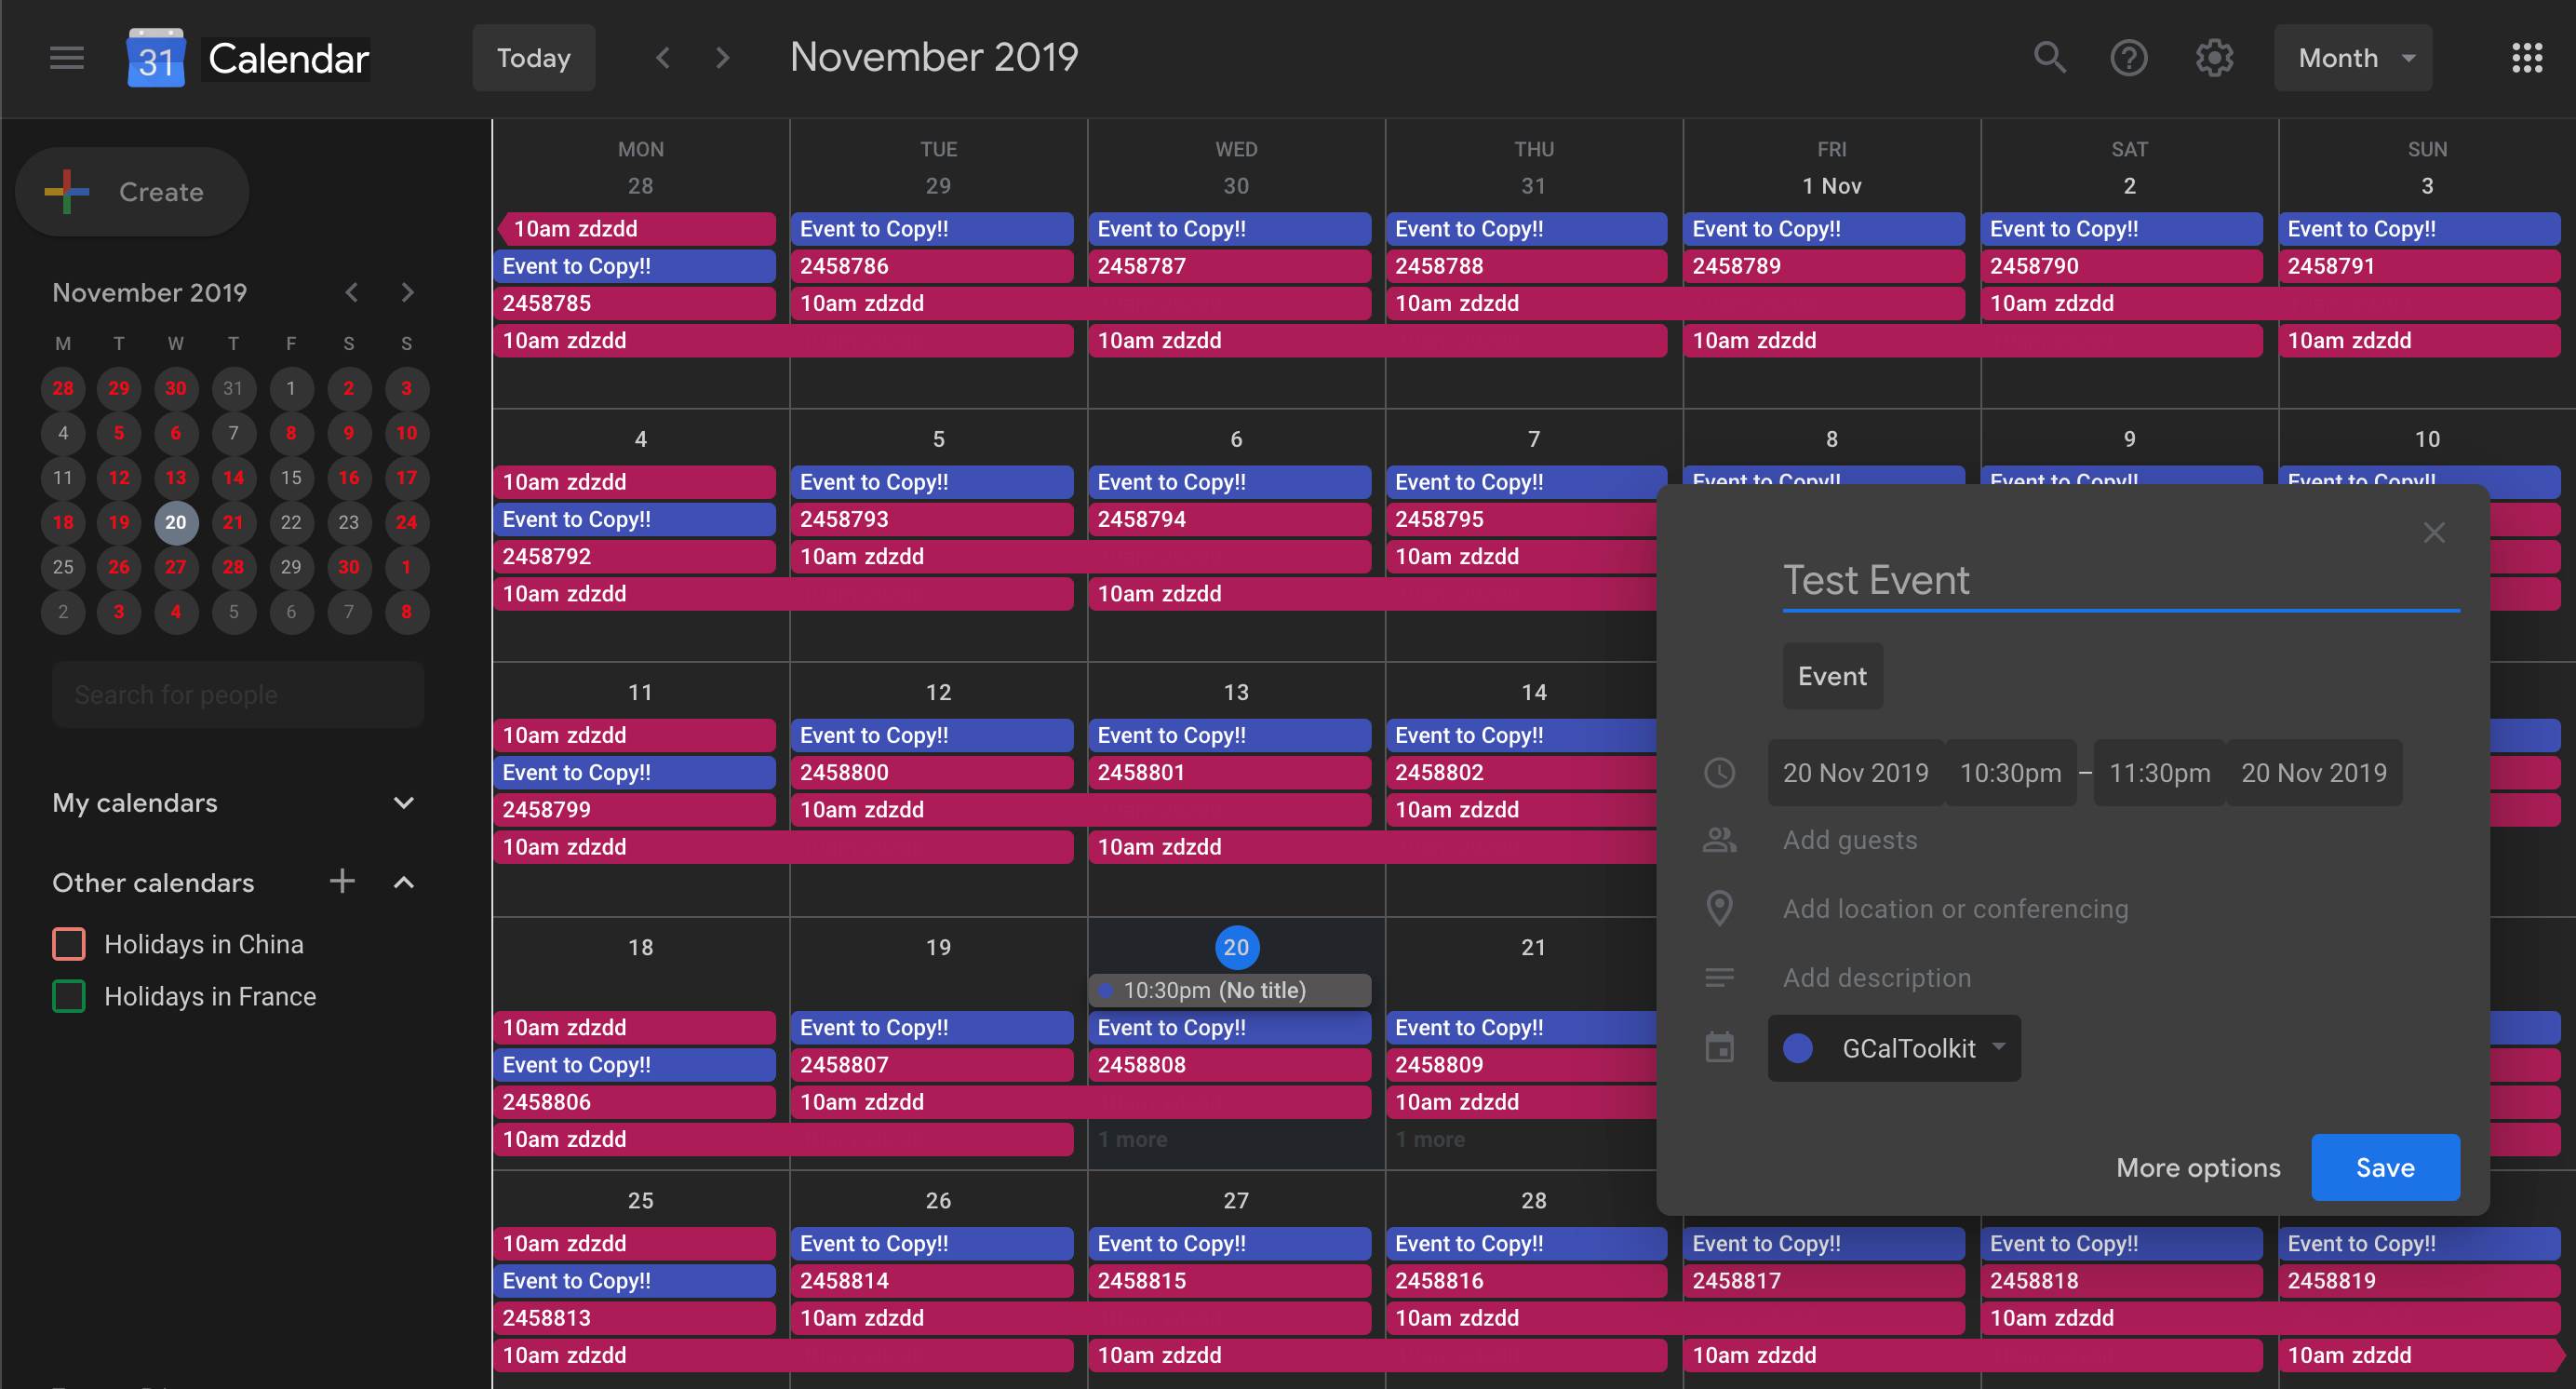
Once shared or added, calendars can be viewed together in the Google Calendar interface and distinguished by assigning different colors. Google Calendar's "Day" view offers a "View people's calendars" feature that can display multiple calendars side-by-side in separate columns, useful for comparing schedules. This setup lets you quickly see conflicts or free time across accounts, and you can toggle visibility for each calendar by checking or unchecking its box. To use multiple calendars in Google calendar effectively, assign distinct colors to each account and name them descriptively (e.g., "Work" or "Personal").
Troubleshooting common sync issues
If events are missing or delayed, first ensure the shared calendar has been accepted and is visible in your calendar list. Sync delays can occur if there is no stable internet connection; manually refreshing the calendar or restarting the app often resolves this. Incorrect time zone settings can shift event times, so check that all devices have consistent time zone settings. If you cannot share a calendar at all, a Google Workspace administrator may restrict users from sharing their calendar externally, which prevents the process entirely. For accidental changes, you can undo in Google calendar by using the undo banner that appears briefly after modifying or deleting an event, or check the trash in calendar settings to recover deleted items. If problems persist, try signing out of your Google account and signing back in, or clearing the app’s cache.