Introduction
Linking Google Sheets to Google Calendar can greatly enhance your productivity and streamline your workflow. By syncing the data from your spreadsheets to your calendar, you can keep track of important events and deadlines without the need for manual updates. Whether you’re managing a project, organizing your schedule, or coordinating a team, this integration can be a game-changer.
In this step-by-step guide, we will walk you through the process of linking Google Sheets to Google Calendar. You don’t need to be an expert programmer or have any prior experience in coding. With just a few simple clicks, you’ll have your sheets and calendar working in perfect harmony.
By the end of this guide, you’ll have the skills to:
- Create a new spreadsheet in Google Sheets
- Add and format data in your spreadsheet
- Install the Google Calendar add-on
- Set up the add-on and select the calendar to sync with
- Map the columns in your spreadsheet to the fields in your calendar
- Customize sync settings to fit your specific needs
Whether you’re a freelancer, a small business owner, or just someone looking to better manage your personal life, linking Google Sheets to Google Calendar can save you time and effort. By automating the transfer of data, you can focus on what really matters without getting bogged down by manual updates.
Now, let’s dive into the step-by-step process of linking Google Sheets to Google Calendar and unlock the full potential of these powerful productivity tools.
Step 1: Open Google Sheets
Before you can start linking Google Sheets to Google Calendar, you’ll need to open Google Sheets in your web browser. If you don’t already have a Google account, you’ll need to create one. Once you’re logged in, follow these steps:
- Go to the Google Sheets homepage at https://sheets.google.com.
- If you haven’t used Google Sheets before, you’ll see a list of available templates. You can either choose a template or select “Blank” to start with a blank spreadsheet.
- If you’re starting with a blank spreadsheet, a new tab will open with a fresh spreadsheet ready for you to work on. The interface will look similar to other spreadsheet applications you may have used in the past, with rows and columns forming a grid.
Now that you have Google Sheets open and ready, you can move on to the next step of linking it to your Google Calendar.
Remember, Google Sheets offers a wide range of features and functionalities, allowing you to organize, analyze, and visualize your data. It’s worth exploring these features and becoming familiar with them, as they can help you make the most out of your spreadsheets.
In the next step, we’ll guide you through the process of creating a new spreadsheet in Google Sheets.
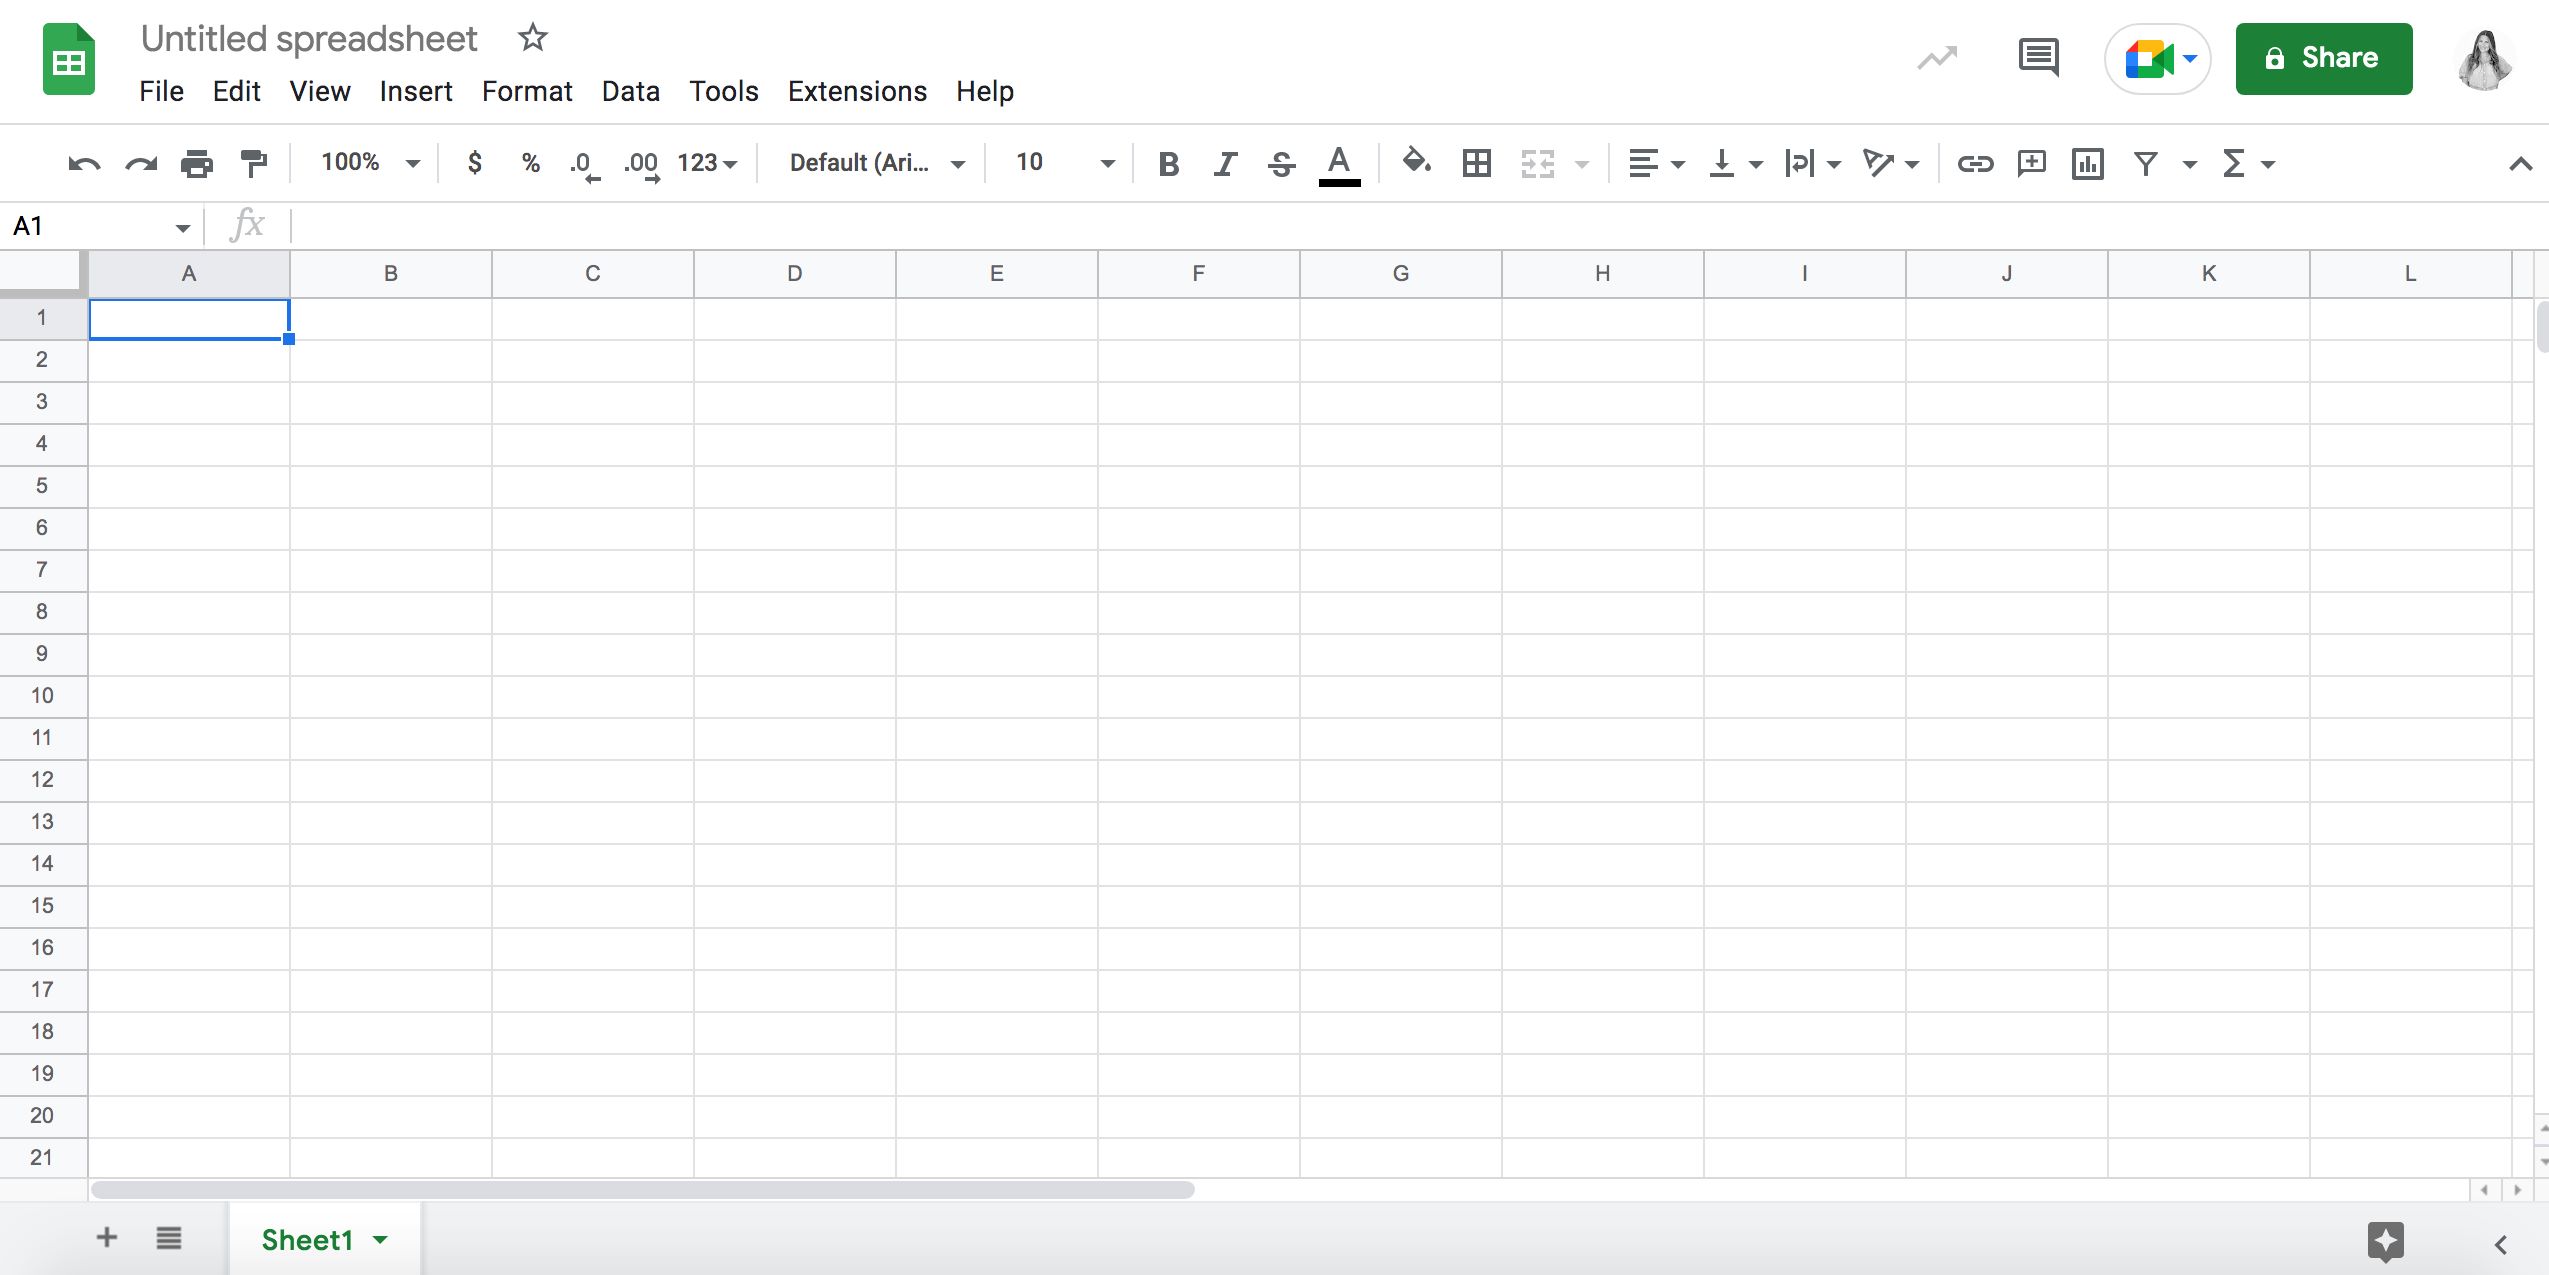
Step 2: Create a new spreadsheet
Now that you have Google Sheets open, it’s time to create a new spreadsheet where you’ll store the data you want to link with Google Calendar. Follow these simple steps to create a new spreadsheet:
- Click on the “Blank” option if you’re not using a template. A new blank spreadsheet will open up.
- Give your spreadsheet a title by clicking on the text in the upper-left corner that says “Untitled spreadsheet” and replacing it with a descriptive title.
- You can also rename your spreadsheet later by going to the “File” menu and selecting “Rename”.
- You’re now ready to start adding data to your spreadsheet. Each column represents a different field of information, while each row represents a new entry or record.
- To add data, simply click on a cell and start typing. You can format the data in various ways using the options in the toolbar above the spreadsheet.
- As you add data, Google Sheets will automatically save your changes, so you don’t have to worry about losing your work.
Remember, the structure and format of your spreadsheet will depend on the type of data you’re working with. Take some time to plan and organize your spreadsheet to make it easier for you to link it with Google Calendar later on.
In the next step, we’ll show you how to add data to your spreadsheet and prepare it for syncing with Google Calendar.
Step 3: Add data to the spreadsheet
Now that you have created a new spreadsheet in Google Sheets, it’s time to start adding data to it. The data you add will be the information that you want to sync with your Google Calendar. Follow these steps to add data to your spreadsheet:
- Identify the information you want to include in your calendar entries. This could be events, tasks, deadlines, appointments, or any other relevant data.
- In the first row of your spreadsheet, enter the headers for each column. These headers will serve as labels for the data in each column. For example, you might have columns for “Date”, “Time”, “Event Name”, “Location”, and so on.
- In the rows below the header row, start entering the data for each entry. Fill in the corresponding cells in each column with the appropriate information. For example, enter the date in the “Date” column, the time in the “Time” column, the event name in the “Event Name” column, and so on.
- As you add data, make sure to format it appropriately. For example, you can use date and time formatting for the respective columns, bold or italicize important information, or use color coding to distinguish different types of entries.
- You can also add formulas and use other advanced features in your spreadsheet to automate calculations or perform data analysis if needed.
- Continue adding data to your spreadsheet until you have entered all the relevant information you want to sync with Google Calendar.
Remember, the more organized and structured your data in the spreadsheet, the easier it will be to map it to the appropriate fields in Google Calendar during the syncing process.
In the next step, we will install the Google Calendar add-on and begin the process of linking your spreadsheet to your calendar.
Step 4: Install the Google Calendar add-on
To link Google Sheets to Google Calendar, you’ll need to install the Google Calendar add-on. This add-on will enable the syncing functionality between your spreadsheet and calendar. Follow these steps to install the Google Calendar add-on:
- In your Google Sheets spreadsheet, click on the “Add-ons” tab in the menu at the top of the screen.
- Select “Get add-ons” from the drop-down menu.
- A pop-up window will appear, showing the available add-ons for Google Sheets.
- In the search bar, type “Google Calendar” and press enter.
- From the search results, find and select the “Google Calendar” add-on.
- Click on the “Install” button next to the add-on’s name.
- A permissions window will appear asking for access to your Google account. Review the permissions and click on the “Allow” button to proceed.
- The add-on will now be installed and ready to use.
Once the Google Calendar add-on is installed, you’ll be able to access it from the “Add-ons” tab in the menu. In the next step, we’ll guide you through the process of setting up the Google Calendar add-on and configuring it to sync with your spreadsheet.
Step 5: Set up the Google Calendar add-on
Now that you have installed the Google Calendar add-on in Google Sheets, it’s time to set it up and configure it to sync with your spreadsheet. Follow these steps to set up the Google Calendar add-on:
- In your Google Sheets spreadsheet, click on the “Add-ons” tab in the menu at the top of the screen.
- Select “Google Calendar” from the drop-down menu and choose “Create new sync”.
- The Google Calendar add-on will open in a sidebar on the right-hand side of your spreadsheet.
- Follow the prompts in the sidebar to authorize the add-on to access your Google Calendar. Click on the “Authorize” button and grant the necessary permissions.
- Once authorized, you’ll see a list of available calendars associated with your Google account. Choose the calendar where you want the data from your spreadsheet to be synced.
- If you want to create a new calendar specifically for the synced data, click on the “Create new calendar” button and follow the prompts.
- You can also specify the date and time columns in your spreadsheet that you want to sync with the calendar.
- Click on the “Save and continue” button to proceed.
By setting up the Google Calendar add-on, you’re establishing the connection between your spreadsheet and your calendar. Now, the add-on knows which calendar to sync the data with and which columns in your spreadsheet correspond to the various calendar fields.
In the next step, we’ll guide you through the process of selecting the date/time columns in your spreadsheet and mapping them to the appropriate calendar fields.
Step 6: Choose the calendar to sync with
Now that you have set up the Google Calendar add-on in Google Sheets, it’s time to choose the calendar you want to sync the data with. Follow these steps to select the calendar for syncing:
- In the Google Calendar add-on sidebar on the right-hand side of your spreadsheet, you’ll see a list of available calendars associated with your Google account.
- Click on the drop-down menu and select the calendar that you want to sync the data from your spreadsheet with.
- If you want to create a new calendar specifically for the synced data, click on the “Create new calendar” button and follow the prompts to set it up.
- Make sure to choose the calendar that best aligns with the purpose and context of your spreadsheet’s data.
- Once you have selected the calendar, click on the “Save and continue” button to proceed.
Choosing the correct calendar is important to ensure that the synced data appears in the right place and doesn’t interfere with any existing events or appointments. If you choose to create a new calendar, it can help keep your synced data organized and separate from your personal or other work-related events.
In the next step, we’ll guide you through the process of selecting the date and time columns in your spreadsheet and mapping them to the appropriate calendar fields.
Step 7: Select the date/time columns in your spreadsheet
After choosing the calendar to sync with, the next step is to select the date and time columns in your spreadsheet that you want to sync with your Google Calendar. Follow these steps to select the date/time columns:
- In the Google Calendar add-on sidebar, you’ll see a list of column headers from your spreadsheet.
- Identify the columns that contain the date and time information for your events or appointments.
- Click on the drop-down menu next to each respective column header to select the correct date or time column.
- If your date or time values are not in a recognized format, you can manually select the correct column from the drop-down menu.
- Make sure to select the appropriate columns to ensure the data is synced accurately with the corresponding calendar fields.
- Once you have selected the date and time columns, click on the “Save and continue” button to proceed.
By selecting the correct date and time columns, you’re instructing the Google Calendar add-on on which data in the spreadsheet corresponds to the date and time of the events or appointments. This step is essential to ensure the accurate syncing of data between the spreadsheet and the calendar.
In the next step, we’ll guide you through the process of mapping the columns in your spreadsheet to the respective fields in the Google Calendar.
Step 8: Map the columns to the calendar fields
After selecting the date and time columns in your spreadsheet, the next step is to map those columns to the appropriate fields in Google Calendar. This mapping ensures that the data from your spreadsheet is synced correctly and appears in the right places in the calendar. Follow these steps to map the columns to the calendar fields:
- In the Google Calendar add-on sidebar, you’ll see a list of available calendar fields.
- Review the list of calendar fields and determine which fields correspond to the data in your spreadsheet.
- For each column in your spreadsheet, click on the drop-down menu next to the respective calendar field to select the corresponding mapping.
- For example, you may map the “Event Name” column in your spreadsheet to the “Title” field in Google Calendar, the “Location” column to the “Location” field, and so on.
- Make sure to map the columns accurately to ensure that the data is synced to the correct fields in the calendar.
- If you have additional columns in your spreadsheet that do not have a direct mapping in Google Calendar, you can choose to skip or map them to the “Description” field.
- Once you have mapped the columns to the calendar fields, click on the “Save and continue” button to proceed.
Mapping the columns to the respective calendar fields is crucial for ensuring that the data is correctly interpreted and displayed in the Google Calendar. It helps align the data from your spreadsheet with the specific attributes and characteristics of each calendar field.
In the next step, we’ll guide you through the process of customizing your sync settings to fit your specific needs.
Step 9: Customize your sync settings
After mapping the columns in your spreadsheet to the calendar fields, you have the option to customize your sync settings to fit your specific needs. This step allows you to fine-tune the syncing process and make adjustments based on your preferences. Follow these steps to customize your sync settings:
- In the Google Calendar add-on sidebar, you’ll find various sync settings that you can customize.
- Review each setting and determine if any modifications are necessary.
- For example, you can choose to include or exclude certain rows from the spreadsheet based on specific criteria using the “Filter rows” setting.
- You can also customize the way dates and times are formatted in your spreadsheet using the “Date format” and “Time format” settings.
- Additionally, you can choose to update existing events in the calendar or create new events for each sync using the “Update existing events” setting.
- Take the time to explore and experiment with the different sync settings to find the configuration that best suits your requirements.
- Once you have customized your sync settings, click on the “Save and continue” button to proceed.
Customizing your sync settings allows you to tailor the syncing process to match your specific preferences and requirements. It gives you control over how data is processed and displayed in the Google Calendar, ensuring a seamless integration between your spreadsheet and calendar.
In the next step, we’ll guide you through the process of starting the syncing process and transferring your data from the spreadsheet to the Google Calendar.
Step 10: Start syncing your data
Now that you have customized your sync settings, it’s time to start syncing your data from the spreadsheet to the Google Calendar. Follow these steps to begin the syncing process:
- In the Google Calendar add-on sidebar, review your sync settings one last time to ensure they are configured as desired.
- Once you’re satisfied with your settings, click on the “Start sync” button to initiate the data transfer.
- The add-on will start syncing the data from your spreadsheet to the selected calendar.
- Depending on the size of your spreadsheet and the complexity of the data, the syncing process may take some time.
- During the syncing process, the add-on will display the progress and provide any relevant status updates.
- Once the sync is complete, you can open your Google Calendar to view the synced events or appointments.
- Any changes made to the data in the spreadsheet will automatically update in the Google Calendar when you run subsequent syncs.
Starting the syncing process allows you to transfer the data from your spreadsheet to the Google Calendar, creating events or appointments based on the information in your spreadsheet. It ensures that your calendar stays up to date with the latest changes in the spreadsheet automatically.
In the next step, we’ll guide you through the process of reviewing and updating your sync settings if needed.
Step 11: Review and update your sync settings
After syncing your data from the spreadsheet to the Google Calendar, it’s important to review and update your sync settings as needed. This step allows you to make any necessary adjustments to ensure that the data continues to sync accurately and meets your requirements. Follow these steps to review and update your sync settings:
- Open the Google Calendar add-on sidebar in your Google Sheets spreadsheet.
- Take a moment to review the synced events or appointments in the Google Calendar to ensure they appear correctly.
- If you notice any discrepancies or issues, click on the “Sync settings” button in the add-on sidebar to review your current settings.
- Make any necessary changes to the sync settings based on your observations or feedback from other users.
- You can modify various settings, such as the date and time formatting, inclusion/exclusion criteria, or update behavior.
- Once you have updated your sync settings, click on the “Save and continue” button to apply the changes.
Regularly reviewing and updating your sync settings allows you to fine-tune the syncing process to ensure accurate and reliable data transfer between your spreadsheet and the Google Calendar. It gives you the flexibility to adjust the settings according to any changes in your data or evolving requirements.
Remember to periodically check your synced events or appointments in the Google Calendar to ensure that they are up to date and aligned with your spreadsheet data.
By following these steps, you can effectively link Google Sheets to Google Calendar and enjoy the convenience of automatic data syncing. Keep exploring the possibilities and features of both Google Sheets and Google Calendar to enhance your productivity and organization.
Conclusion
Linking Google Sheets to Google Calendar can revolutionize the way you manage your tasks, events, and appointments. With just a few simple steps, you can seamlessly sync data from your spreadsheet to your calendar, ensuring that you stay organized and up to date without the need for manual updates.
In this guide, we covered the step-by-step process of linking Google Sheets to Google Calendar. We started by opening Google Sheets and creating a new spreadsheet where you can store your data. Then, we installed the Google Calendar add-on and set it up to sync with your chosen calendar. We selected the date and time columns in your spreadsheet and mapped them to the appropriate calendar fields. Additionally, we customized the sync settings to fit your specific needs, and finally, we started the syncing process.
Remember, customization is key. Take the time to review and update your sync settings as needed to ensure accurate data transfer. Regularly check your synced events or appointments in the Google Calendar to ensure they align with your spreadsheet data.
By linking Google Sheets to Google Calendar, you can streamline your workflow, automate data updates, and stay on top of your schedule. Whether you’re managing personal tasks, collaborating with a team, or organizing a project, this integration can be a game-changer in boosting your productivity.
So, why wait? Start linking your Google Sheets to Google Calendar today and unlock the full potential of these powerful productivity tools.