Introduction
Welcome to our guide on how to select multiple days on Google Calendar. Google Calendar is a popular online scheduling tool used for managing appointments, tasks, and events. It offers a range of features and customization options to help you stay organized and on top of your busy schedule.
When creating events or scheduling recurring activities, there may be times when you need to select multiple days at once. This can save you a significant amount of time, especially if you have events that span several days or occur on a regular basis. In this article, we will provide step-by-step instructions on how to easily select multiple days on Google Calendar.
Whether you are organizing a week-long vacation, planning a series of meetings, or scheduling a month of daily tasks, Google Calendar has you covered. By understanding how to select multiple days, you can streamline your scheduling process and efficiently manage your time. Let’s dive in and explore the different methods available.
How to Access Google Calendar
Before we can start selecting multiple days on Google Calendar, let’s go over how to access it. Google Calendar is accessible through a web browser on your computer, or through the mobile app on your smartphone or tablet. Here are the steps to access it:
Accessing Google Calendar on a Computer:
- Open your preferred web browser.
- Type in the URL for Google Calendar: calendar.google.com.
- Press Enter or Return to load the page.
- If you are not already signed in to your Google account, enter your email address and password to sign in.
- You will be directed to the Google Calendar homepage where you can view your existing events or create new ones.
Accessing Google Calendar on a Mobile Device:
- Unlock your mobile device and go to the app store (Play Store for Android or App Store for iOS).
- Search for “Google Calendar” and tap on the official Google Calendar app.
- Tap the “Install” or “Get” button to download and install the app.
- Once installed, locate the Google Calendar app on your home screen or app drawer and tap on it to open.
- If you are not already signed in to your Google account, enter your email and password to sign in.
- You will be taken to the Google Calendar interface, where you can view and manage your events.
Now that you know how to access Google Calendar on both your computer and mobile device, we can move on to the next step: Creating a new event.
Creating a New Event
Once you have accessed Google Calendar, you can start creating a new event. Whether it’s a meeting, appointment, or reminder, follow these steps to create a new event:
- Click on the desired date and time slot on the calendar where you want to create the event. A pop-up box will appear for you to enter event details.
- In the pop-up box, enter the title or name of the event in the designated field. This could be anything from “Meeting with Team” to “Doctor’s Appointment”.
- Specify the start and end time of the event by clicking on the corresponding fields and selecting the desired times. You can also choose to make the event an all-day event by checking the “All day” box.
- Next, you can add a location for the event by clicking on the “Add location” field. This could be an address, meeting room, or any relevant location information.
- If you want to set a reminder for the event, click on the “Add a reminder” field and select the appropriate reminder option from the dropdown menu. This will help you stay on track and ensure you don’t miss the event.
- To add additional details or descriptions for the event, click on the “Add description” field and enter any relevant information you want to include.
- Once you have entered all the necessary details, click the “Save” or “Create” button to save the event to your calendar.
Now you have successfully created a new event on Google Calendar. The next step is to learn how to select multiple days for recurring or multi-day events. Let’s explore the different methods available.
Selecting Multiple Days
There are two main methods you can use to select multiple days on Google Calendar: click and drag or holding the Shift key. Let’s take a look at each method in detail:
Method 1: Click and Drag
This method allows you to select a continuous range of days by simply clicking and dragging your mouse across the calendar:
- Click on the starting day of the range you want to select.
- Hold down the left mouse button and drag your cursor across the calendar to the last day of the range.
- Release the mouse button to select all the days in the range.
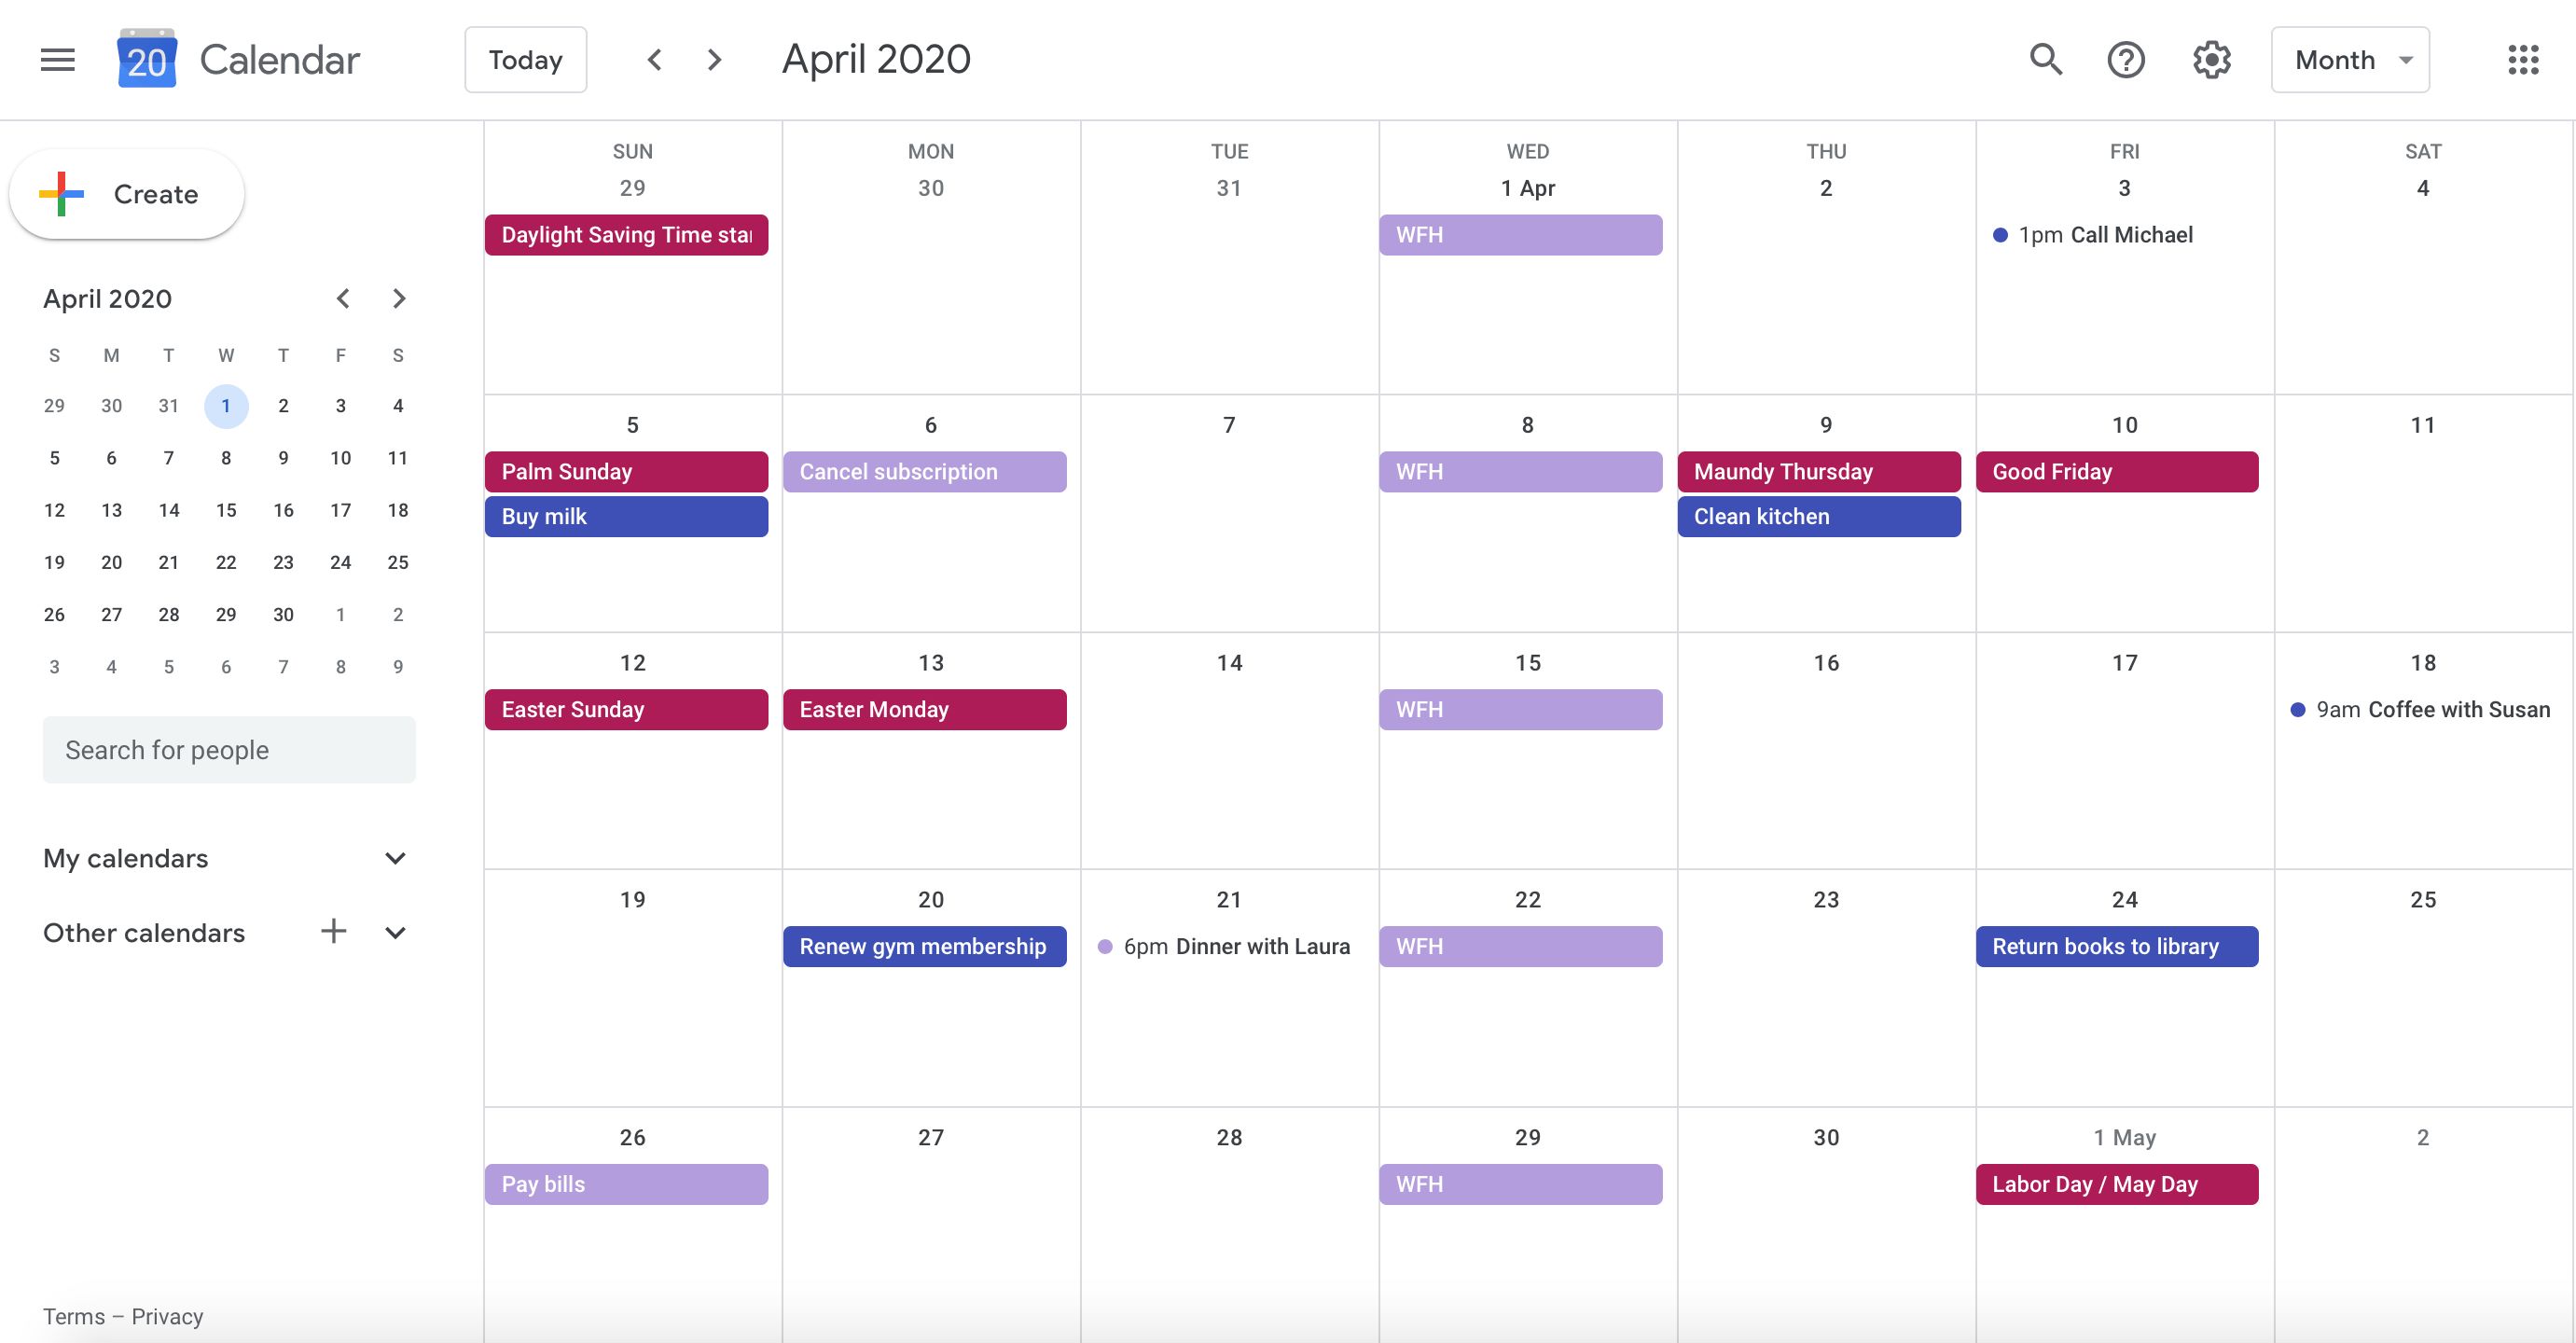
For example, if you want to select a week-long event from Monday to Sunday, click on Monday’s date, drag the cursor to Sunday’s date, and release the mouse button. The selected days will be highlighted on the calendar.
Method 2: Hold Shift Key
This method allows you to select non-consecutive days by holding down the Shift key on your keyboard:
- Click on the first day you want to select.
- Hold down the Shift key on your keyboard.
- Click on the last day you want to select.
For example, if you want to select Mondays and Fridays for a recurring event, click on the first Monday, hold down the Shift key, and click on the first Friday. The selected days will be highlighted on the calendar.
Using these methods, you can easily select multiple days on Google Calendar for any recurring or multi-day event. In the next section, we will discuss how to add additional details to your events.
Method 1: Click and Drag
One way to select multiple days on Google Calendar is by using the click and drag method. Here’s how you can do it:
- Start by clicking on the first day of the range you want to select. For example, if you want to select a week-long event from Monday to Sunday, click on Monday’s date.
- While holding down the left mouse button, drag your cursor across the calendar to the last day of the range. As you drag, you will notice that the days are highlighted or shaded to indicate the selection.
- Once you reach the last day, release the mouse button to finalize the selection. All the days within the range will now be selected.
This method is particularly useful when you have events or tasks that span multiple consecutive days, such as a week-long conference or a vacation. By clicking and dragging, you can quickly select the entire range of days without the need to click on each individual day separately.
Remember to release the mouse button only after you have reached the last day of the range to ensure that all the intended days are selected. If you make a mistake or want to change the selection, simply click on an empty area of the calendar to deselect the days and start again.
The click and drag method is an efficient way to select multiple days on Google Calendar, allowing you to easily manage events and tasks that span longer periods of time. Now that you know how to use this method, let’s move on to the next section to learn about another way to select multiple days: Method 2 – Holding the Shift key.
Method 2: Hold Shift Key
Another method to select multiple days on Google Calendar is by holding the Shift key on your keyboard. This method allows you to select non-consecutive days without the need for continuous clicking and dragging. Here’s how it works:
- Click on the first day you want to select. For example, let’s say you want to select Mondays and Fridays for a recurring event.
- Now, hold down the Shift key on your keyboard. The Shift key allows you to make selections of multiple days without deselecting the previous ones.
- While holding down the Shift key, click on the last day you want to select. In our example, this would be the first Friday.
By following these steps, you can easily select the desired range of non-consecutive days on the calendar. The selected days will be highlighted, and you can proceed to create the event or perform any desired action on those selected days.
Using the hold Shift key method is particularly useful when you have events scattered throughout the calendar that do not follow a continuous pattern. Instead of individually clicking on each day, you can simply hold down the Shift key and click on the starting and ending days to make the selection.
Remember that you can also combine the hold Shift key method with the click and drag method to make more complex selections. For example, you can start by click-dragging to select a range of days, and then hold down the Shift key to further add or remove specific non-consecutive days within that range.
With the hold Shift key method, selecting multiple days on Google Calendar becomes even more convenient, allowing you to efficiently manage events and tasks that don’t follow a continuous pattern. Now that you know both methods, you can choose the one that suits your needs the best. In the next section, we will discuss adding additional details to your events.
Adding Additional Details
When creating events on Google Calendar, you have the option to include additional details to provide more context and information. These details can help you and others involved in the event to have a clear understanding of what it entails. Here are some additional details you can add to your events:
Title
The title is the main identifier for the event and should accurately reflect its purpose. Use a descriptive and concise title that gives people an idea of what the event is about. For example, “Team Meeting” or “Project Deadline”.
Description
The description field allows you to provide more information and details about the event. You can include the agenda, meeting notes, or any other relevant information that participants may need. The description can be a great place to communicate expectations and important details regarding the event.
Location
If the event has a physical location, you can add it to the event details. This can include the address of a meeting room, a specific venue, or any other location information relevant to the event. Adding the location helps participants know where to go or join virtually.
Guests
If you need to invite others to the event, you can add their email addresses to the guest list. This will send them a notification or invitation to the event. Guests can be co-workers, clients, or anyone else who should be aware of or participate in the event.
Reminders
To ensure that you don’t miss the event, you can add reminders to your event. Google Calendar allows you to set multiple reminders at different intervals before the event starts, such as 15 minutes or one day in advance. Reminders can be in the form of pop-up notifications, email notifications, or both.
By including these additional details, you can provide more context and information about your events on Google Calendar. This helps you and others involved to stay organized and have a clear understanding of what the event entails. In the next section, we will discuss how to save and edit your events.
Saving and Editing the Event
Once you have added all the necessary details to your event on Google Calendar, it’s time to save it. Saving the event ensures that it is recorded and visible on your calendar. Here’s how to save and edit your event:
- After entering all the event details, click on the “Save” or “Create” button. This will save the event and add it to your calendar.
- The event will now be visible on the respective date and time slot in your calendar. You can view it by navigating to the specific date or searching for the event using the search bar.
- If you need to make edits to the event, click on the event on your calendar to open the event details.
- Within the event details, you can modify any aspect of the event, such as the title, time, location, description, and reminders.
- After making the necessary edits, click on the “Save” or “Update” button to save the changes to the event.
By following these steps, you can easily save and edit your events on Google Calendar. This allows you to make updates or changes to the event details as needed, ensuring that your calendar remains accurate and up-to-date.
If you need to delete an event, you can do so by opening the event details and clicking on the “Delete” or “Trash” icon. Keep in mind that deleting an event will permanently remove it from your calendar.
It’s important to regularly review and manage your events on Google Calendar to keep your schedule organized. By efficiently saving and editing your events, you can stay on top of your appointments, meetings, and tasks, ensuring that you make the most of your time.
Now that you know how to save and edit events, you’re ready to effectively manage your calendar on Google Calendar. In the next section, we will wrap up this guide with a summary of the key points.
Conclusion
Google Calendar is a powerful tool for managing your schedule, and knowing how to select multiple days is essential for efficiently planning and organizing your events. In this guide, we covered two methods for selecting multiple days on Google Calendar: click and drag, and holding the Shift key. Whether you have a week-long conference or need to schedule non-consecutive events, these methods will help you easily select the desired range of days.
We also learned about adding additional details to your events, such as titles, descriptions, locations, and reminders. These details provide more context and information, making it easier for you and others involved to understand and prepare for the event.
Furthermore, we discussed the importance of saving and editing your events. By saving your events, you ensure that they are recorded and visible on your calendar. Editing allows you to make changes or updates to the event details, keeping your calendar accurate and up-to-date.
By leveraging these features and techniques on Google Calendar, you can effectively manage your schedule and optimize your productivity. Remember to regularly review and manage your events to stay on top of your commitments and make the most of your time.
We hope this guide has provided you with valuable insights and instructions on how to select multiple days on Google Calendar. Start implementing these techniques, and you will experience the benefits of a well-organized and efficient schedule. Happy scheduling!


