Introduction
Welcome to our guide on how to set working hours in Google Calendar! As the world becomes more connected and remote work becomes increasingly prevalent, it’s important to establish clear boundaries between work and personal time. Google Calendar offers a convenient solution by allowing you to define your working hours and ensure that your schedule aligns with your professional commitments.
In this article, we will explore how to leverage the power of Google Calendar to set and manage your working hours effectively. Whether you’re a freelancer, a remote worker, or simply want to maintain a healthy work-life balance, understanding how to use this feature can greatly improve your productivity and well-being.
By setting working hours in Google Calendar, you can communicate your availability to colleagues and clients, prevent scheduling conflicts, and help maintain a healthy work-life balance. With this feature, you can ensure that meetings and events are scheduled during your preferred work hours, while also giving yourself time to unwind and engage in personal activities.
Throughout this guide, we will walk you through the step-by-step process of setting working hours in Google Calendar, address common troubleshooting issues, and provide tips for maximizing your productivity. So, let’s dive in and start taking control of your schedule!
What are Working Hours in Google Calendar?
Before we delve into the process of setting working hours in Google Calendar, let’s first understand what this feature entails. Working hours refer to the specific timeframe during which you are available for work-related activities. By defining your working hours in Google Calendar, you can establish clear boundaries and ensure that your schedule aligns with your professional commitments.
Google Calendar provides a user-friendly interface that allows you to define the start and end times of your working day. This feature assists in managing your schedule by preventing appointments and events from being scheduled outside of your designated working hours.
By utilizing working hours in Google Calendar, you can enhance your productivity and maintain better work-life balance. This feature helps you establish boundaries between work and personal time, ultimately reducing the risk of burnout and improving your overall well-being.
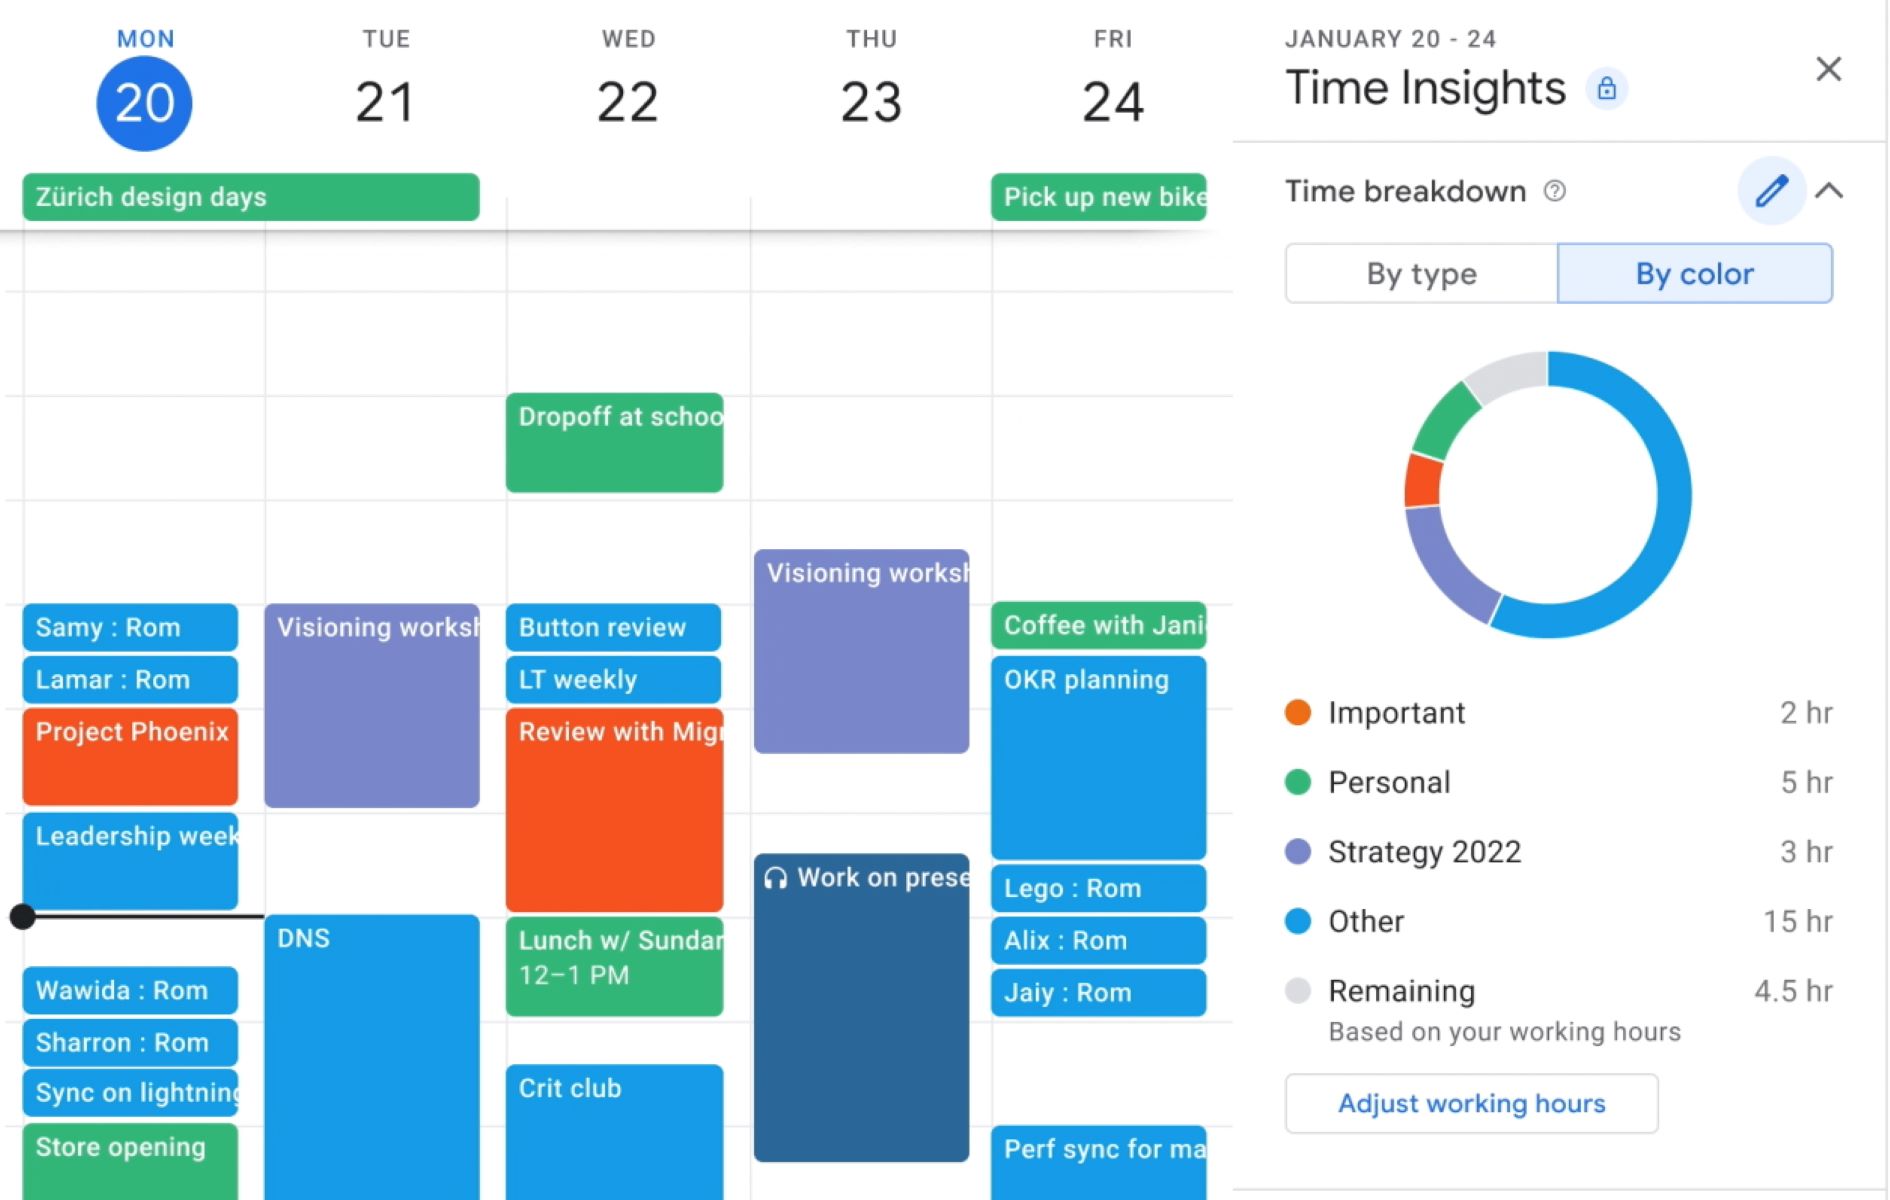
One of the great advantages of working hours in Google Calendar is that it allows you to communicate your availability to others. When you set your working hours, your colleagues, clients, and even friends and family members who have access to your calendar will be able to see when you are free and when you are not. This helps in avoiding any scheduling conflicts and allows others to plan meetings, collaborations, or social events accordingly.
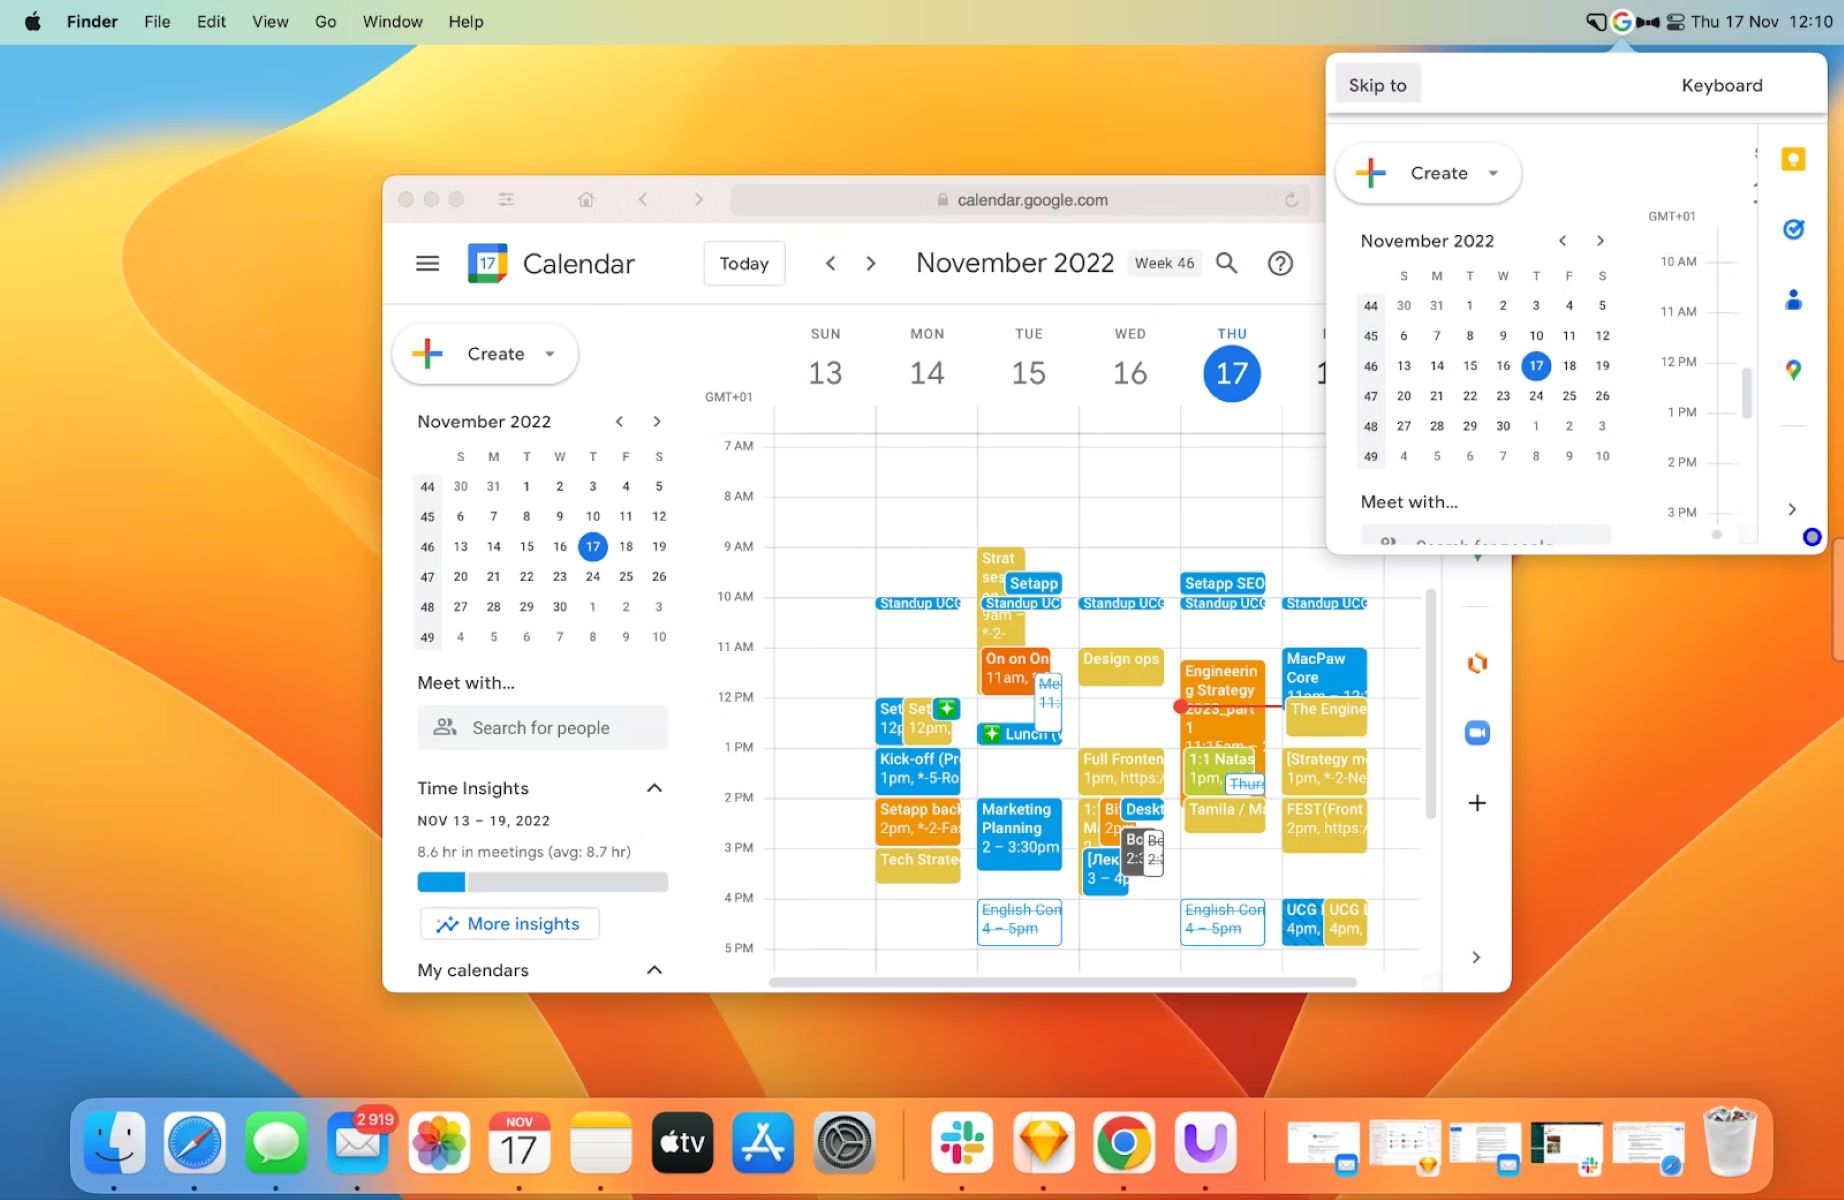
In addition, working hours in Google Calendar can be synced across different devices, including your computer, phone, and tablet. This ensures that you have access to your up-to-date schedule wherever you go, making it easier to stay organized and manage your time effectively.
Now that we have a clear understanding of what working hours in Google Calendar entail and the benefits they offer, let’s move on to the step-by-step guide of how to set them up.
The Benefits of Setting Working Hours
Setting working hours in Google Calendar provides several advantages that contribute to your productivity, work-life balance, and overall well-being. By implementing this feature, you can enjoy the following benefits:
- Clear boundaries: Establishing working hours helps you define clear boundaries between your professional and personal life. It ensures that you have dedicated time for work-related tasks and allows you to respect your personal time without interruptions.
- Improved productivity: Knowing your designated working hours enables you to allocate your time effectively. By focusing on work-related tasks during these hours, you can enhance your productivity and accomplish more within a specified timeframe.
- Enhanced work-life balance: Setting working hours fosters a healthier work-life balance by ensuring that you have dedicated time for personal activities, hobbies, and spending time with loved ones. It helps prevent work from encroaching into your personal time, reducing stress and promoting well-being.
- Effective communication: When you define your working hours in Google Calendar, it becomes easier for colleagues, clients, and others with access to your calendar to see your availability. This facilitates better communication and scheduling, minimizing conflicts and ensuring smooth collaboration.
- Flexibility and adaptability: Working hours in Google Calendar can be adjusted to accommodate your specific needs or changing circumstances. This flexibility allows you to adapt your schedule based on important meetings, personal commitments, or unexpected events, ensuring that your time is utilized efficiently.
These benefits highlight the importance of setting working hours in Google Calendar. By proactively managing your schedule, you can maintain a healthy work-life balance, improve your productivity, and foster effective communication with others. Now, let’s proceed to the step-by-step guide on how to set your working hours in Google Calendar.
Step-by-Step Guide to Set Working Hours in Google Calendar
Configuring your working hours in Google Calendar is a straightforward process. Follow these simple steps to ensure that your schedule aligns with your professional commitments:
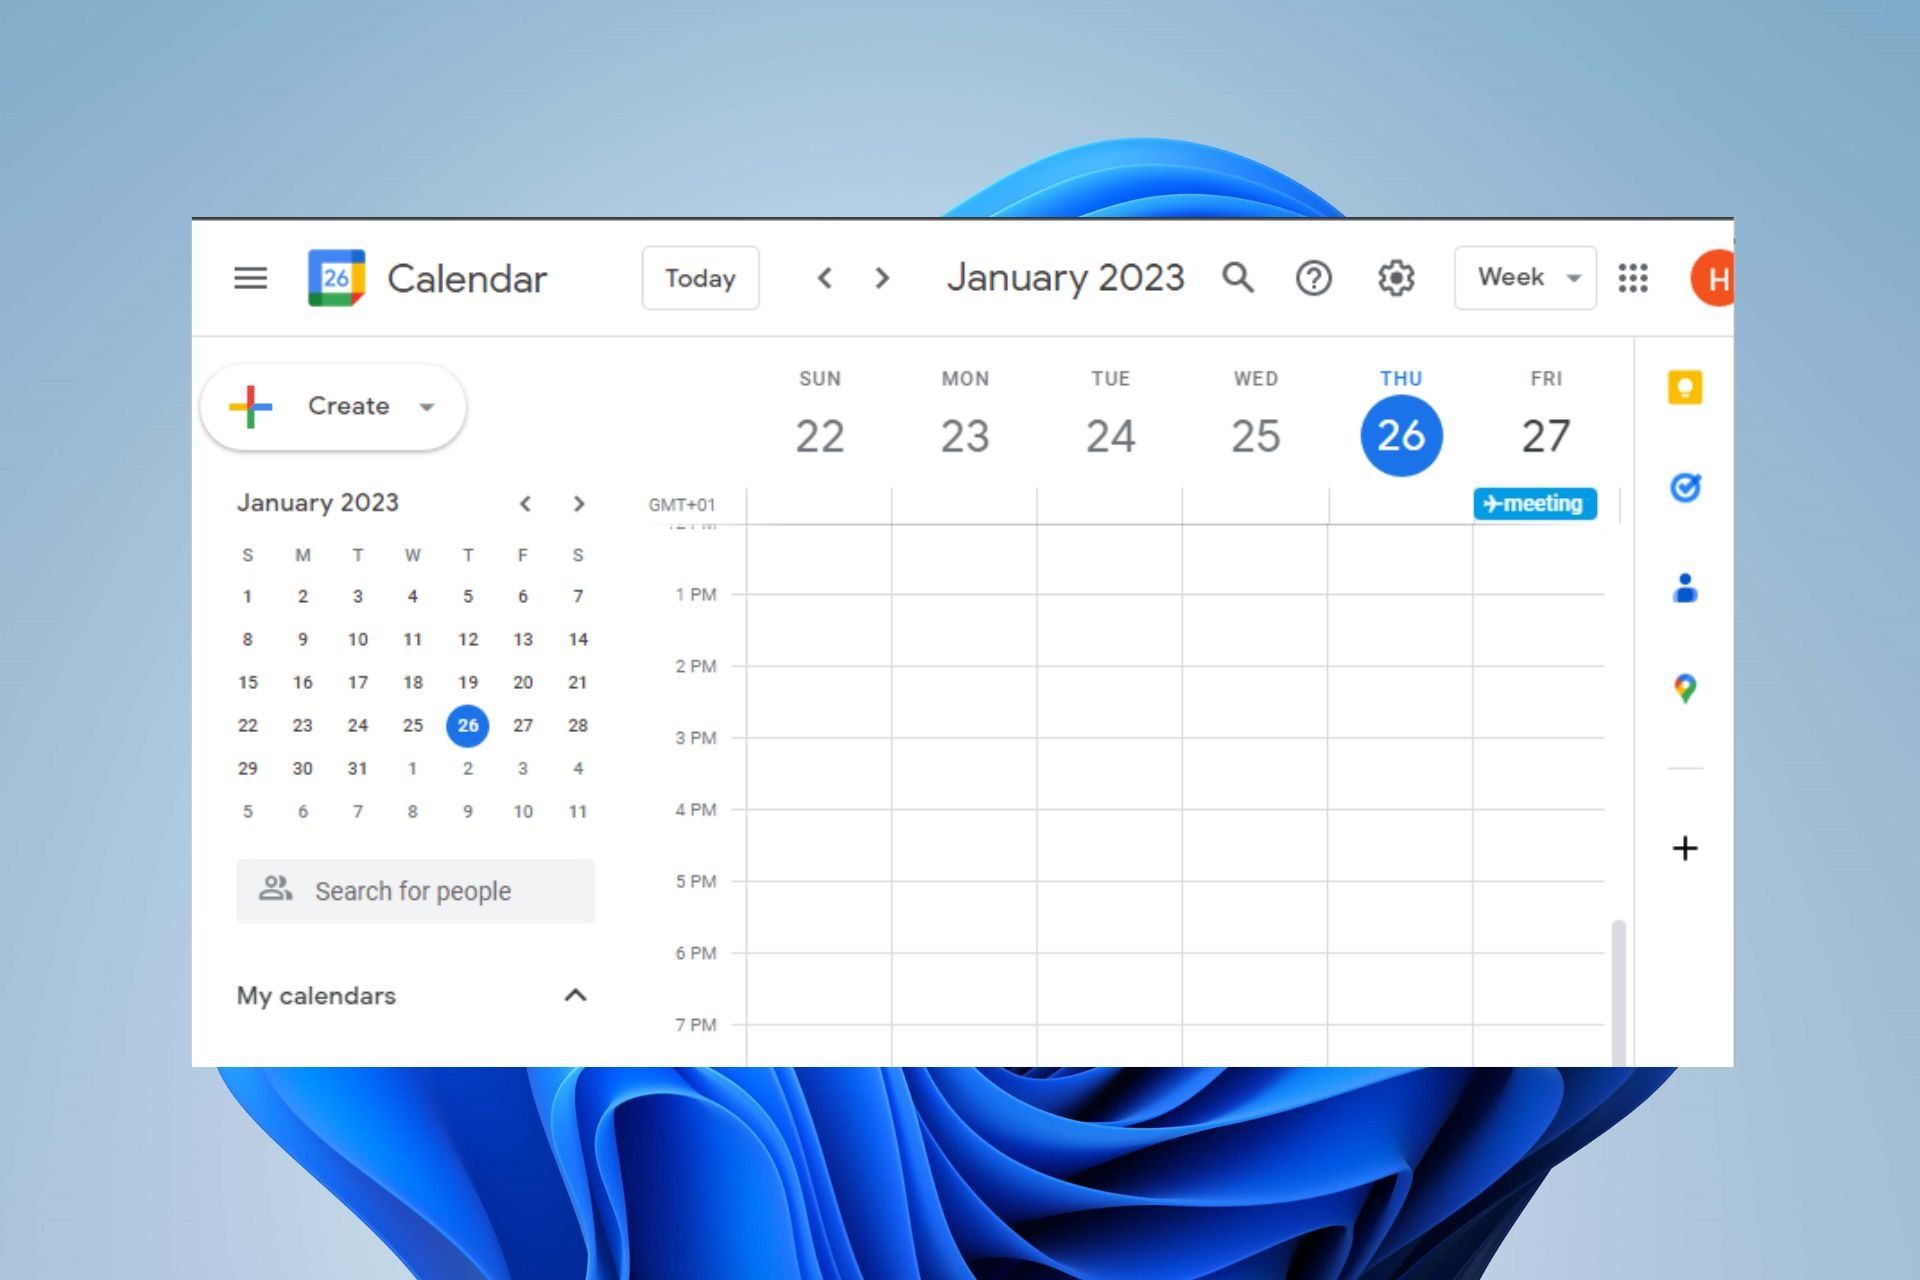
- Login to your Google account: Open Google Calendar and sign in with your Google account credentials. Ensure that you have access to the calendar you want to set the working hours for.
- Access Calendar settings: Click on the gear icon in the top-right corner of the Google Calendar interface. A drop-down menu will appear.
- Select “Settings”: From the drop-down menu, click on the “Settings” option. This will take you to the Google Calendar settings page.
- Navigate to “Working Hours”: On the left-hand side of the settings page, click on the “Working Hours” tab. This will open the working hours configuration panel.
- Set your working hours: In the working hours configuration panel, you will see the option to set your start and end times for each day of the week. Adjust the sliders or input the desired start and end times for your working hours.
- Choose days of the week: You can select which days you want to designate as working days by checking the corresponding checkboxes. By default, all days of the week are selected, but you can uncheck the boxes for non-working days.
- Save your changes: Once you have set your working hours and chosen your working days, click the “Save” button to apply the changes to your Google Calendar.
Congratulations! You have successfully set your working hours in Google Calendar. Your designated working hours will now be reflected in your calendar, and others with access to your calendar will be able to see your availability during these hours. Remember to periodically review and update your working hours as needed to accommodate any changes in your schedule.
Now that you have learned how to set your working hours in Google Calendar, let’s address some common troubleshooting issues that you may encounter while utilizing this feature.
Troubleshooting Common Issues with Working Hours
While setting working hours in Google Calendar is generally a smooth process, you may encounter some common issues along the way. Here, we address these issues and provide troubleshooting tips to help you overcome any obstacles:
- Working hours not syncing: If you’re experiencing issues with your working hours not syncing across devices, ensure that you have enabled calendar sync on all your devices. Additionally, try signing out and signing back in to your Google account to refresh the settings.
- Timezone conflicts: If you frequently travel or work across different time zones, make sure that your Google Calendar and device timezone settings are accurate. This ensures that your working hours are displayed correctly regardless of your location.
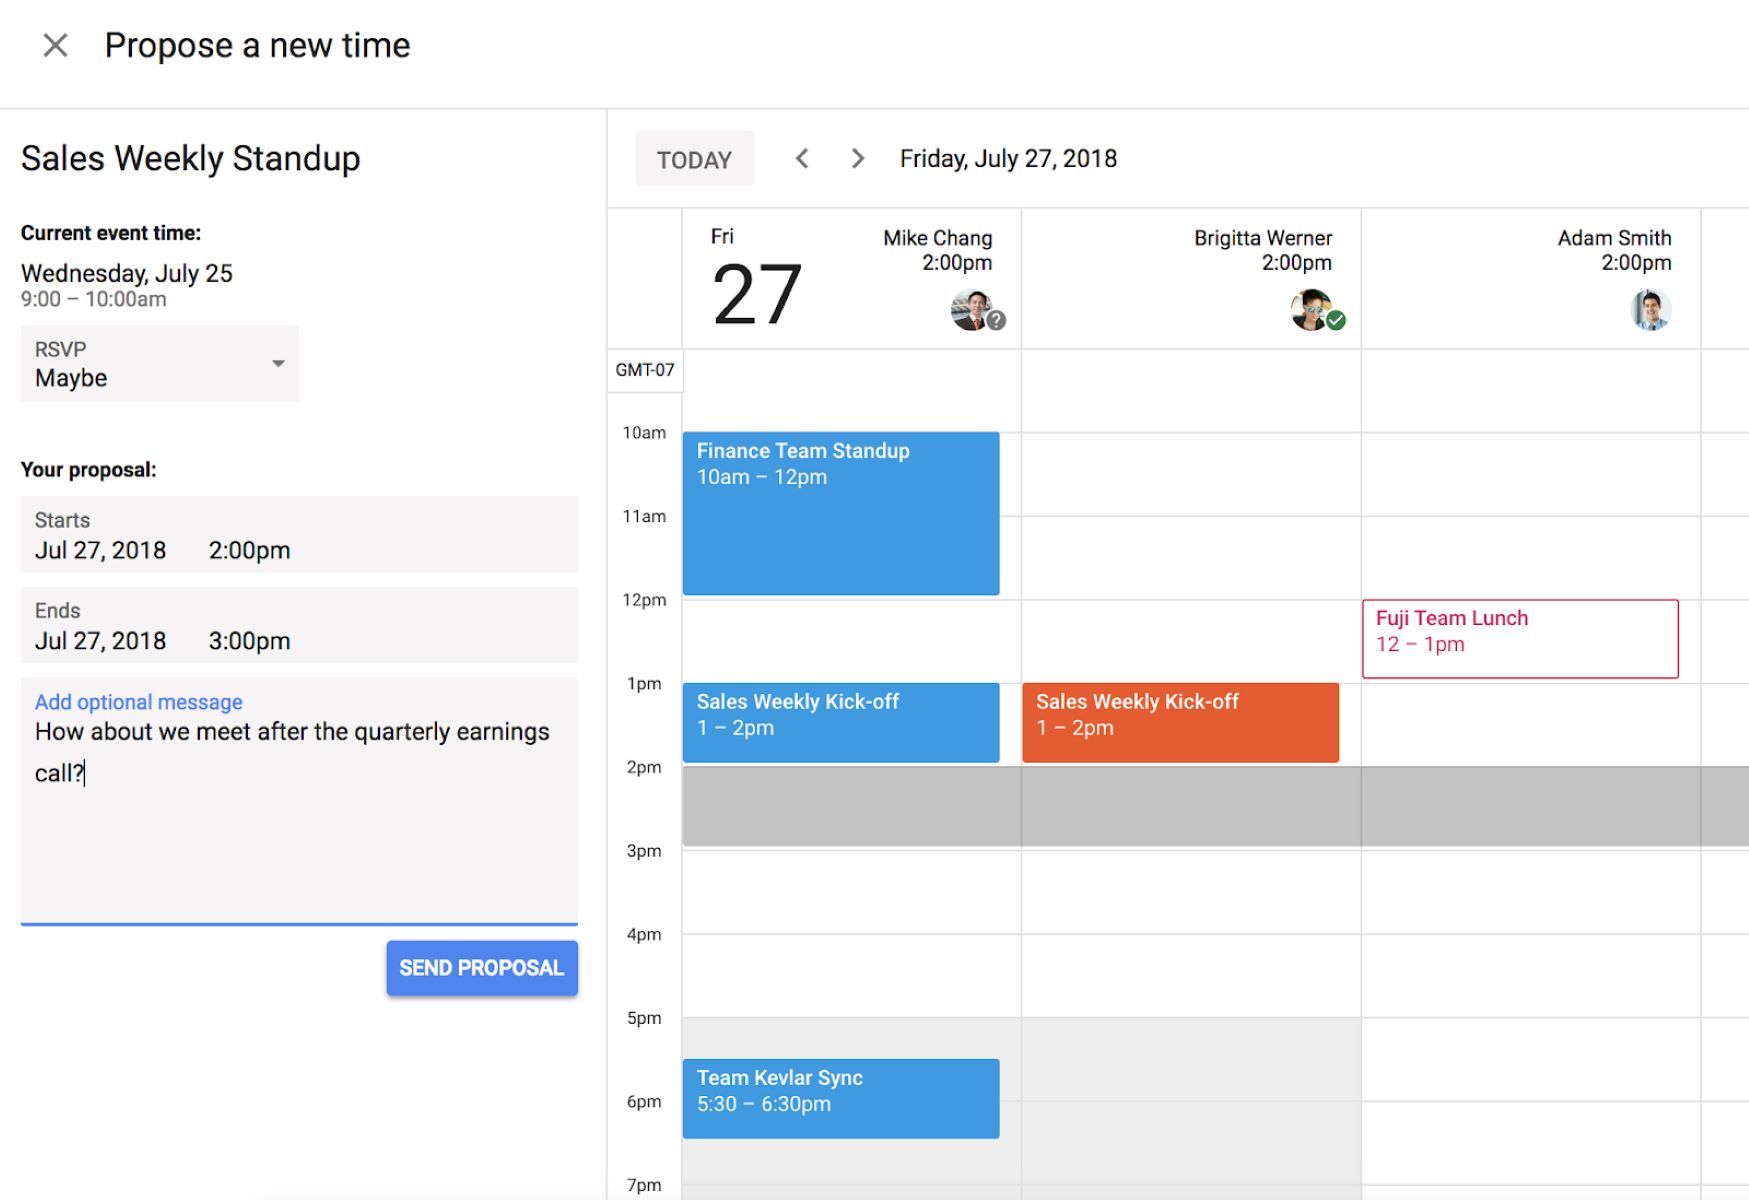
- Overlapping events: Occasionally, you may encounter overlapping events or appointments despite having set your working hours. Double-check the event details and ensure that you haven’t accidentally scheduled an event outside of your working hours.
- Changing working hours: If you need to modify your working hours, access the working hours configuration panel in Google Calendar settings and adjust the sliders or input the new desired start and end times. Remember to save your changes for the modifications to take effect.
- Confidentiality concerns: If you have specific events or appointments that you want to keep private, mark them as private or set the visibility to “busy” instead of displaying the details. This ensures that others see that you are occupied during those times without revealing sensitive information.
By following these troubleshooting tips, you can resolve the most common issues that arise when setting working hours in Google Calendar. If you encounter more complex or persistent issues, consider reaching out to Google support for further assistance.
Now that you are equipped with the knowledge to troubleshoot any issues, you can effectively manage your working hours in Google Calendar. In the next section, we’ll provide a brief summary of what we have covered in this guide.
Conclusion
In this guide, we have explored how to set working hours in Google Calendar to enhance your productivity, maintain a healthy work-life balance, and improve communication with colleagues and clients. By implementing this feature, you can establish clear boundaries between work and personal time, allocate your time effectively, and ensure a more organized and efficient schedule.
We discussed the benefits of setting working hours, including clear boundaries, improved productivity, enhanced work-life balance, effective communication, and flexibility. These advantages demonstrate the significance of taking control of your schedule and using Google Calendar to optimize your professional and personal commitments.
Using our step-by-step guide, you’ve learned how to navigate to the settings, configure your desired working hours, and designate specific days for work. By following the troubleshooting tips, you can resolve common issues such as syncing problems, timezone conflicts, and overlapping events.
Remember, setting working hours is not a one-time task. As your schedule changes, periodically review and update your working hours in Google Calendar to reflect your current availability. This ensures that others are aware of your availability and helps you maintain a healthy work-life balance.
With this newfound knowledge, you can maximize the benefits of Google Calendar’s working hours feature. Take charge of your schedule, improve your productivity, and enjoy a more balanced and fulfilling work-life experience.
Thank you for joining us on this journey to set working hours in Google Calendar. Wishing you success and harmony in managing your time and achieving your professional and personal goals!