Introduction
Google Calendar is a popular online tool that helps millions of people around the world stay organized and manage their schedules effectively. One of the great features of Google Calendar is the ability to customize the color of your events, making it easier to differentiate between different types of appointments, meetings, or personal activities.
In this article, we will guide you through the process of changing the color of your Google Calendar events. Whether you want to add a splash of color to your work-related events or create a distinct hue for your personal commitments, customizing the calendar color can help you visually prioritize and organize your schedule.
By personalizing the color scheme of your Google Calendar, you can make it more visually appealing and tailor it to your individual preferences. This can be especially useful if you have multiple calendars, such as work, personal, or shared calendars, as it allows you to quickly identify and distinguish between various events at a glance.
We will take you step by step through the process of changing the color of your Google Calendar, and we will also provide additional tips and tricks to help you make the most out of this customization feature.
Step 1: Open Google Calendar
The first step to changing the color of your Google Calendar events is to open Google Calendar itself. You can access Google Calendar through your web browser or by using the Google Calendar app on your mobile device.
If you’re using a web browser, simply open a new tab and enter “calendar.google.com” in the address bar. Make sure you’re signed in to your Google account so that you can access your calendar.
If you prefer to use the Google Calendar app, look for the app icon on your mobile device’s home screen or in your app drawer. Tap on the icon to open the app.
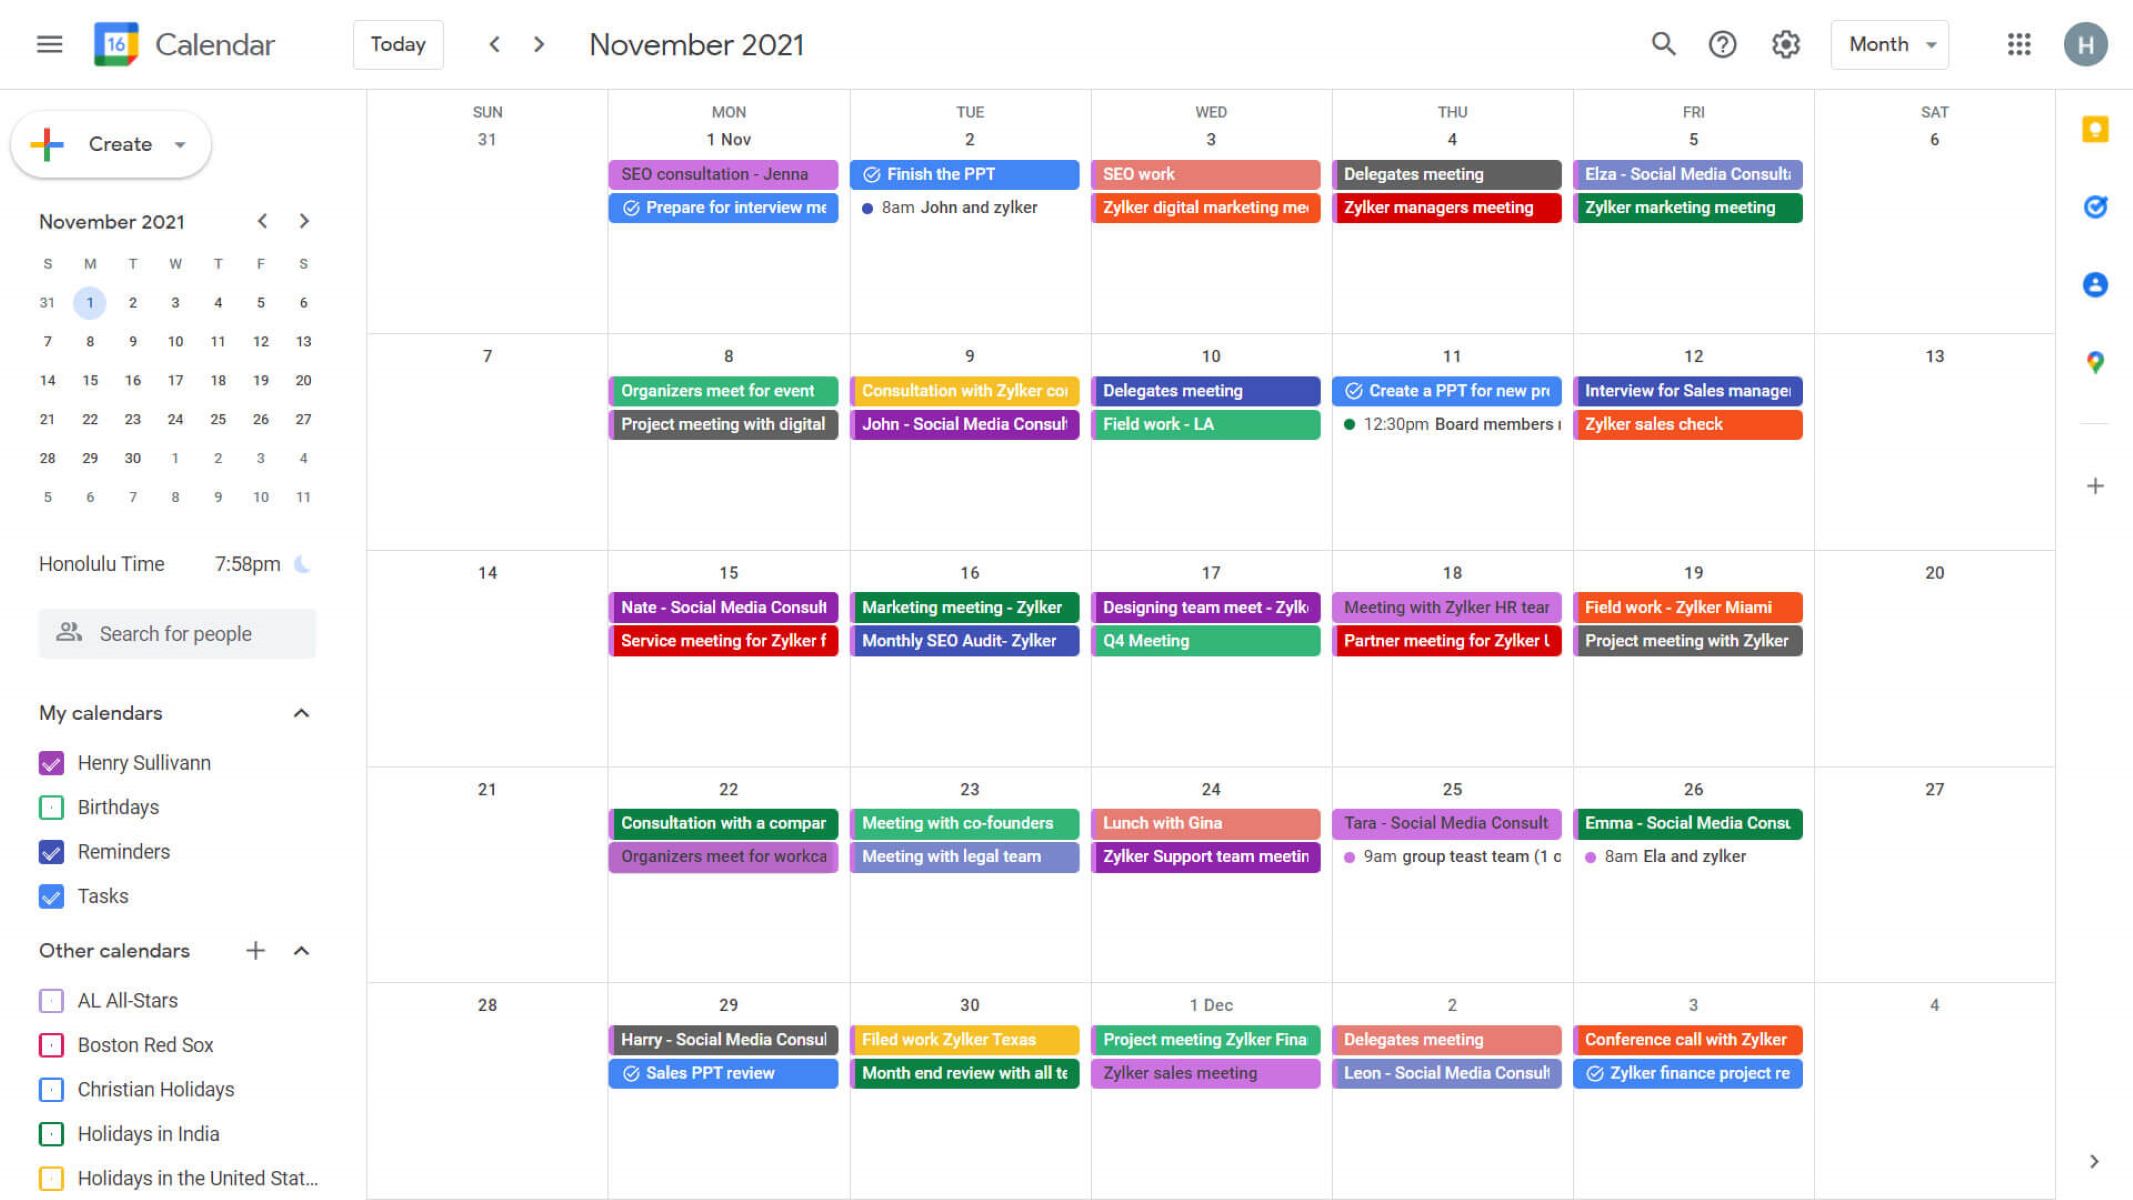
Once you have successfully opened Google Calendar, you will be greeted with your default calendar view, displaying your current day, week, or month, depending on your settings.
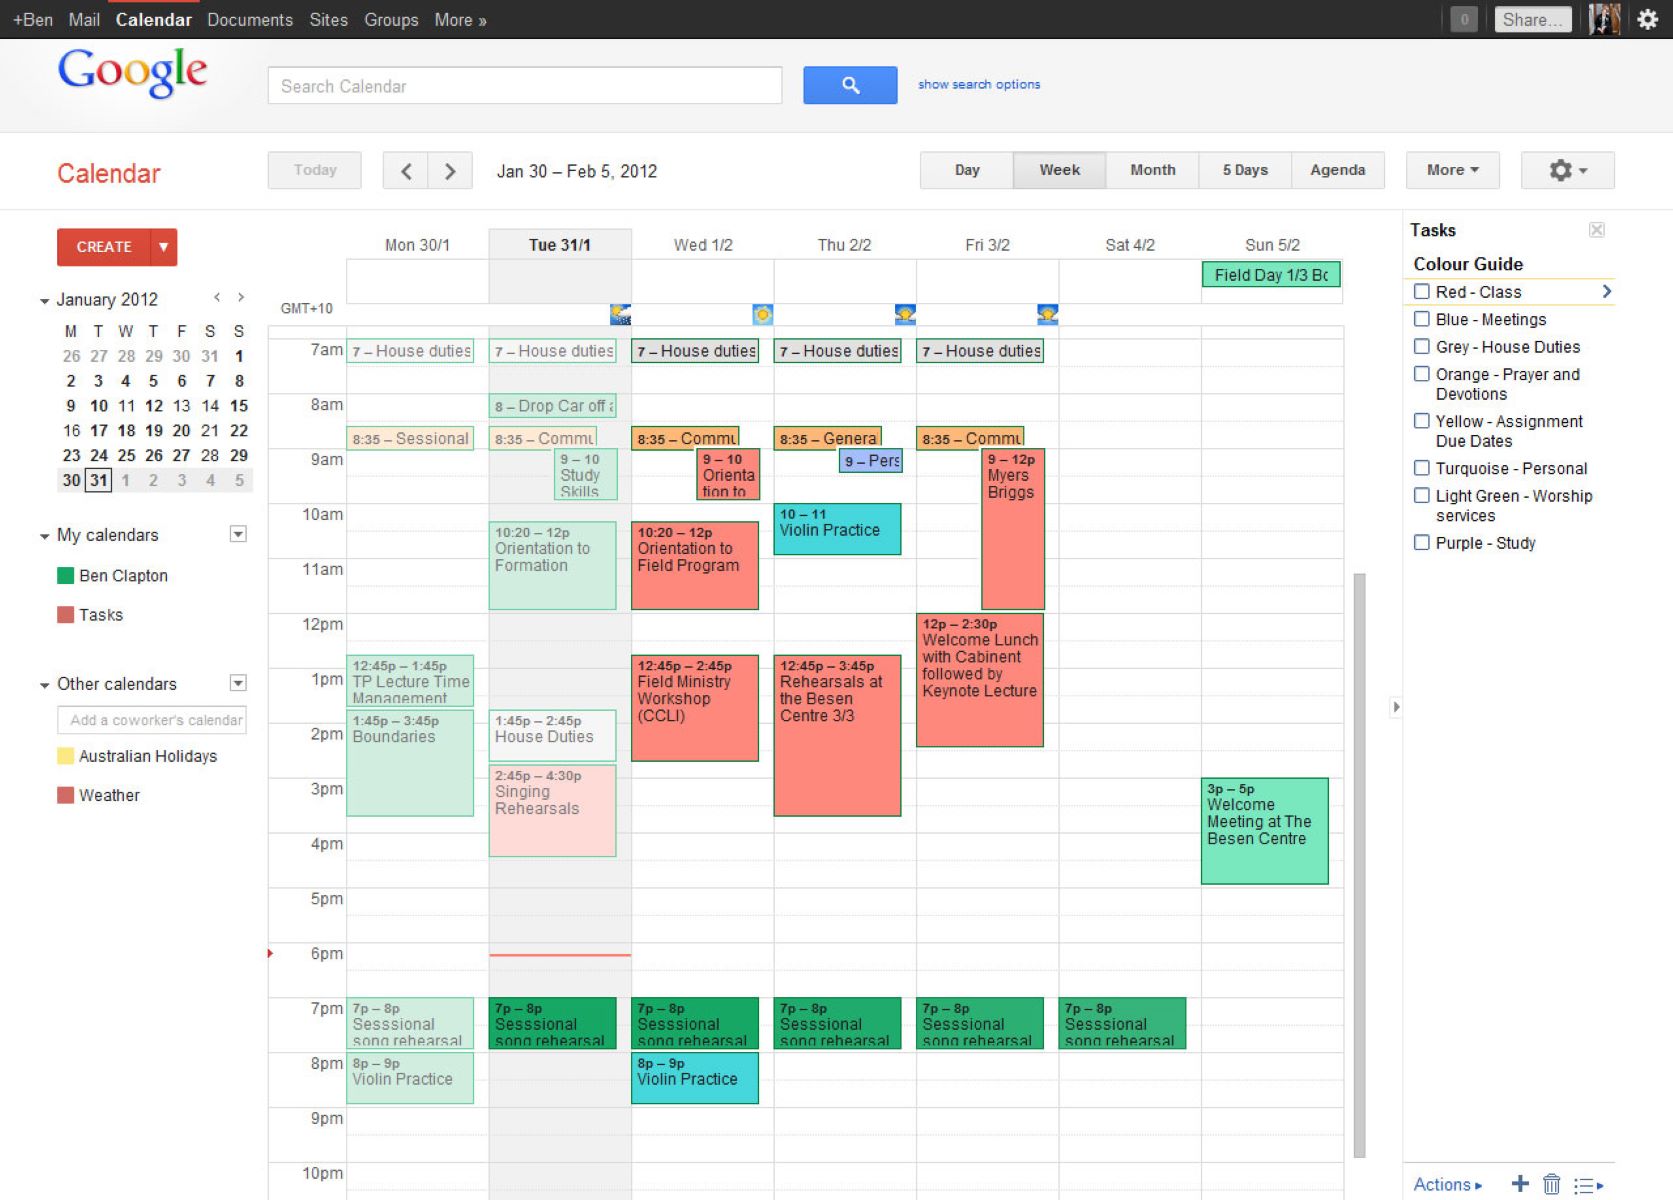
If you have multiple calendars associated with your Google account, you will see them listed in the sidebar on the left-hand side of the screen. You can toggle the visibility of each calendar by clicking on the colored checkbox next to its name.
Now that you have successfully opened Google Calendar, you’re ready to proceed to the next step and navigate to the settings menu to customize your calendar’s color scheme.
Step 2: Navigate to the Settings Menu
Once you have opened Google Calendar, the next step is to navigate to the settings menu, where you can access the options to customize your calendar’s color scheme. Follow these simple steps:
- Look for the gear icon located in the top-right corner of the screen. This gear icon represents the settings menu. Click on it to open the dropdown menu.
- In the dropdown menu, you will see various options. Look for and click on the “Settings” option. This will take you to the settings page for your Google Calendar.
Alternatively, you can also directly access the settings page by clicking the three vertical dots next to the gear icon and selecting the “Settings” option from the dropdown menu.
On the settings page, you will find a variety of options and settings that you can customize to personalize your Google Calendar experience. These options include changing the time zone, adjusting event notifications, managing event colors, and more.
From the settings page, you can also access specific calendar settings by clicking on the name of the calendar you want to customize. This will allow you to make individual color changes for each calendar if you have multiple calendars associated with your Google account.
Now that you have successfully navigated to the settings menu, you’re ready to move on to the next step and select “View options” to continue customizing the color of your Google Calendar events.
Step 3: Select “View options”
After navigating to the settings menu in Google Calendar, the next step is to select “View options” in order to access the color customization options. Here’s how you can do it:
- On the settings page, scroll down until you see the section labeled “View options”. This section is specifically designed to adjust the visual appearance of your calendar.
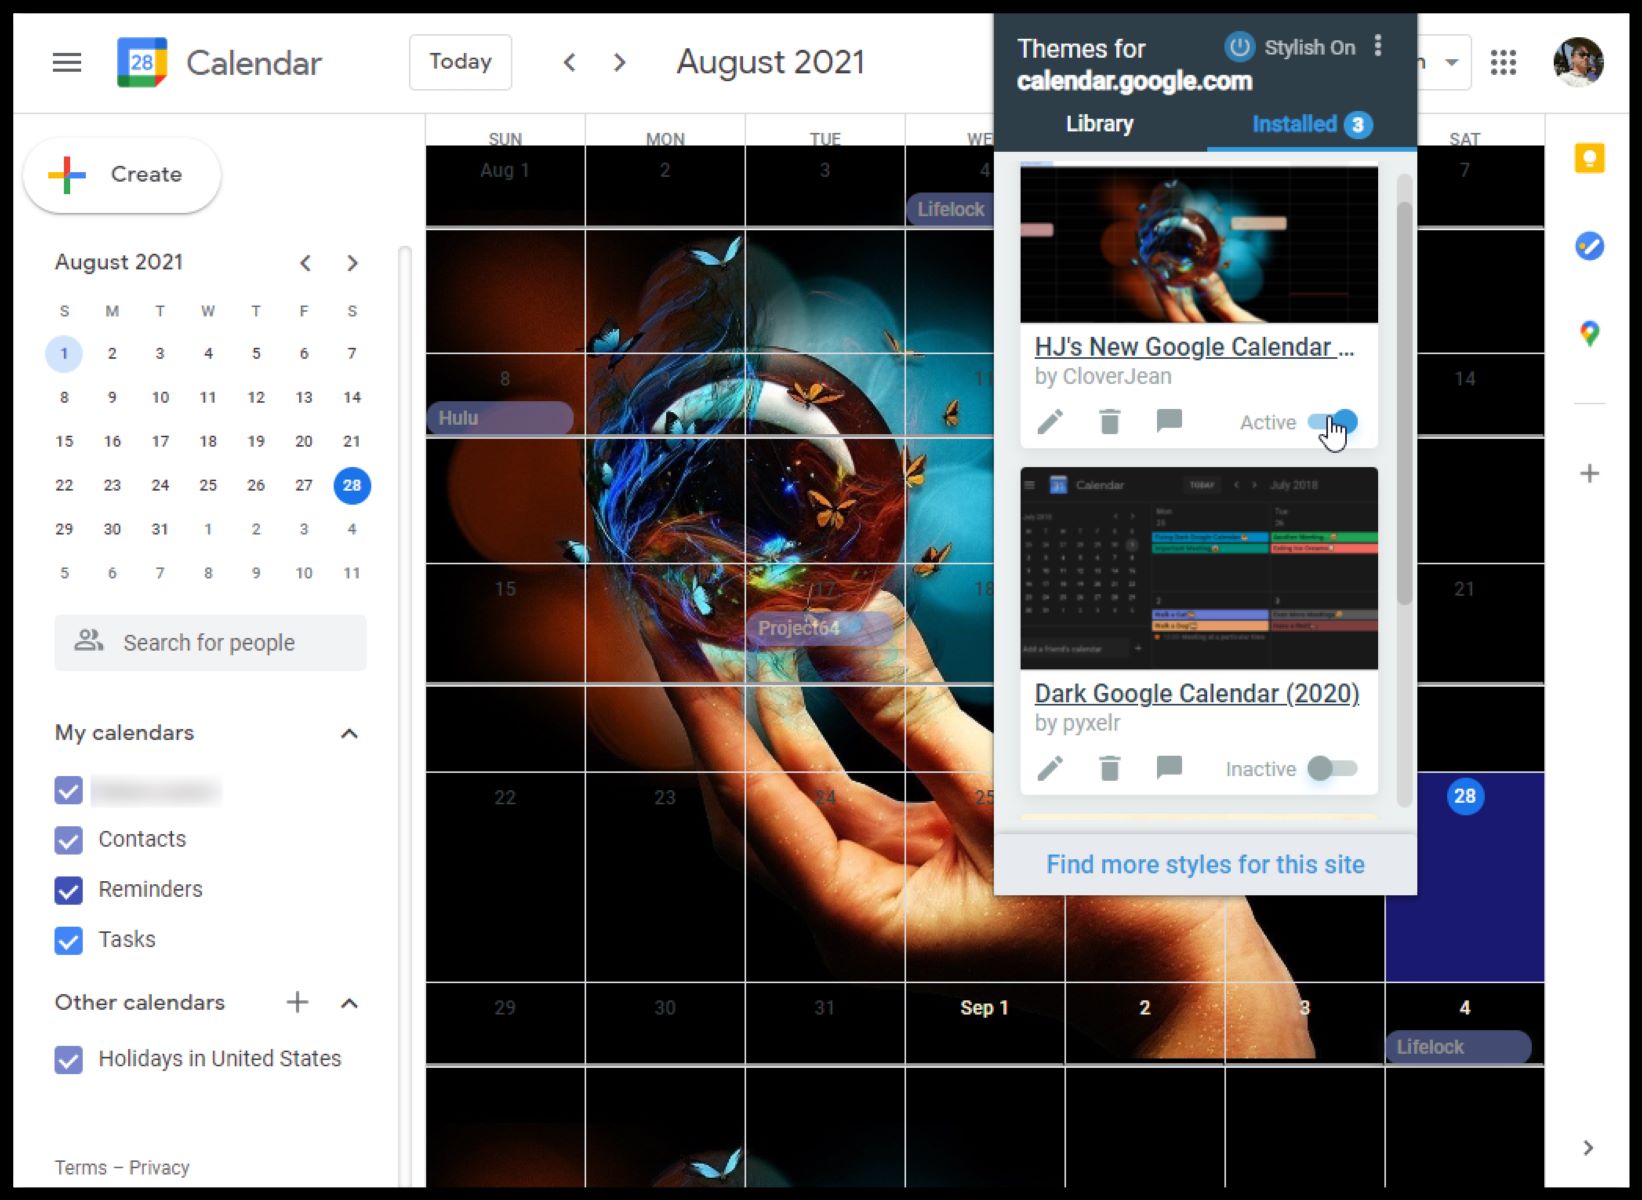
- Within the “View options” section, locate the option that says “Customize the look of your calendar” or something similar. This option is usually accompanied by a color palette icon or a “Change” button.
- Click on the “Customize the look of your calendar” option or the associated button. This will open a new window or tab with further customization settings.
Alternatively, some versions of Google Calendar may directly display the color customization options without requiring you to select “View options”. In such cases, you can proceed to the next step without having to follow the aforementioned steps.
By selecting “View options” or a similar option, you are now ready to delve into the exciting process of choosing a new color for your Google Calendar.
Next, we will guide you through the steps to choose a new color for your calendar events and apply the color change to your Google Calendar.
Step 4: Choose a New Color
Once you have accessed the color customization settings in Google Calendar, you can now choose a new color for your calendar events. Follow these steps to select your preferred color:
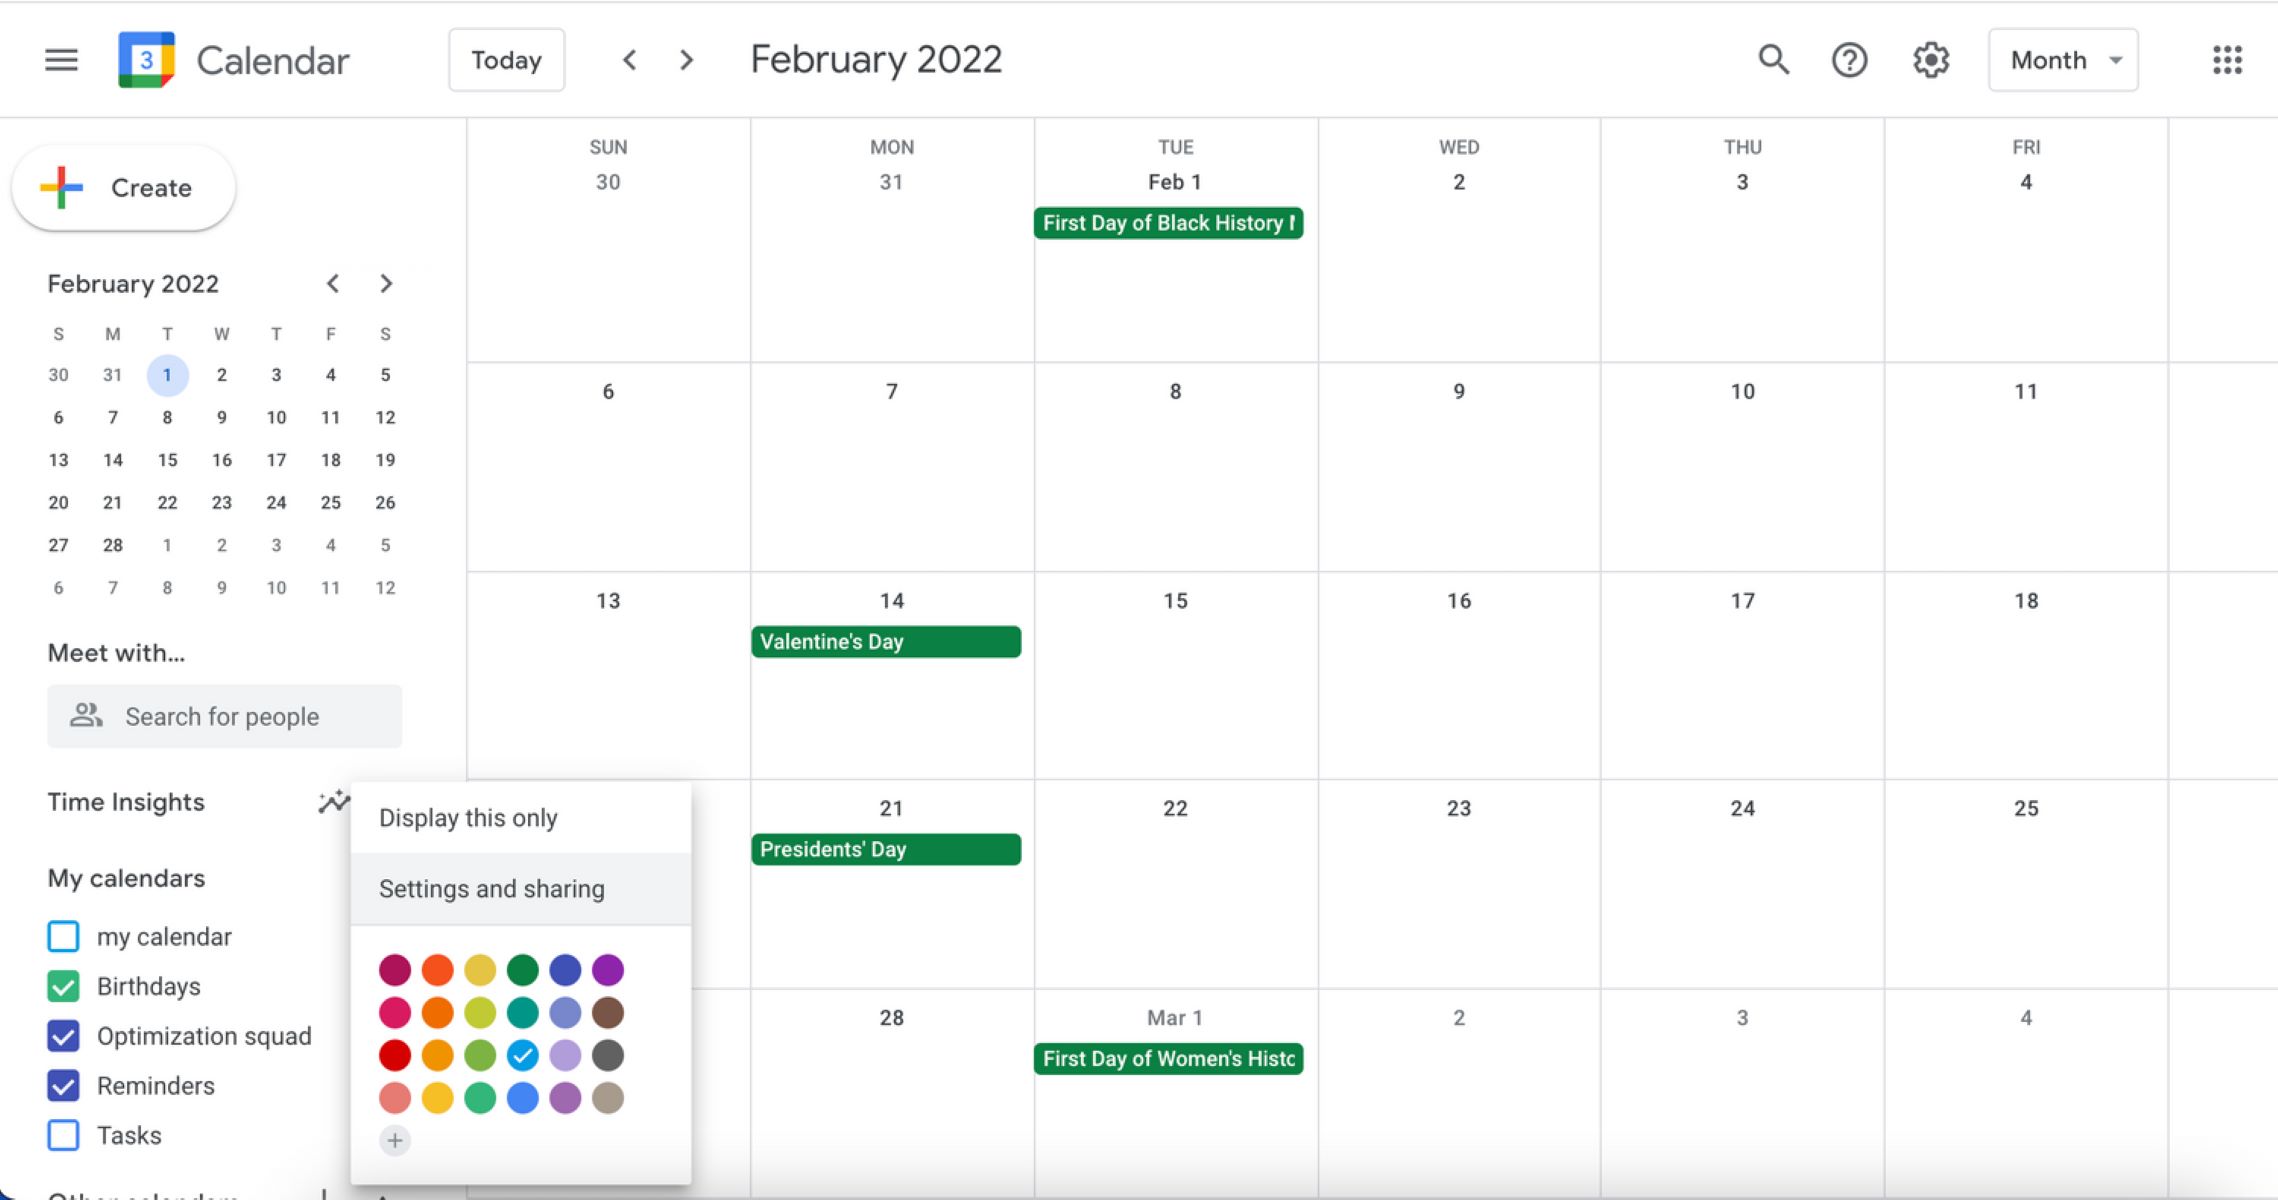
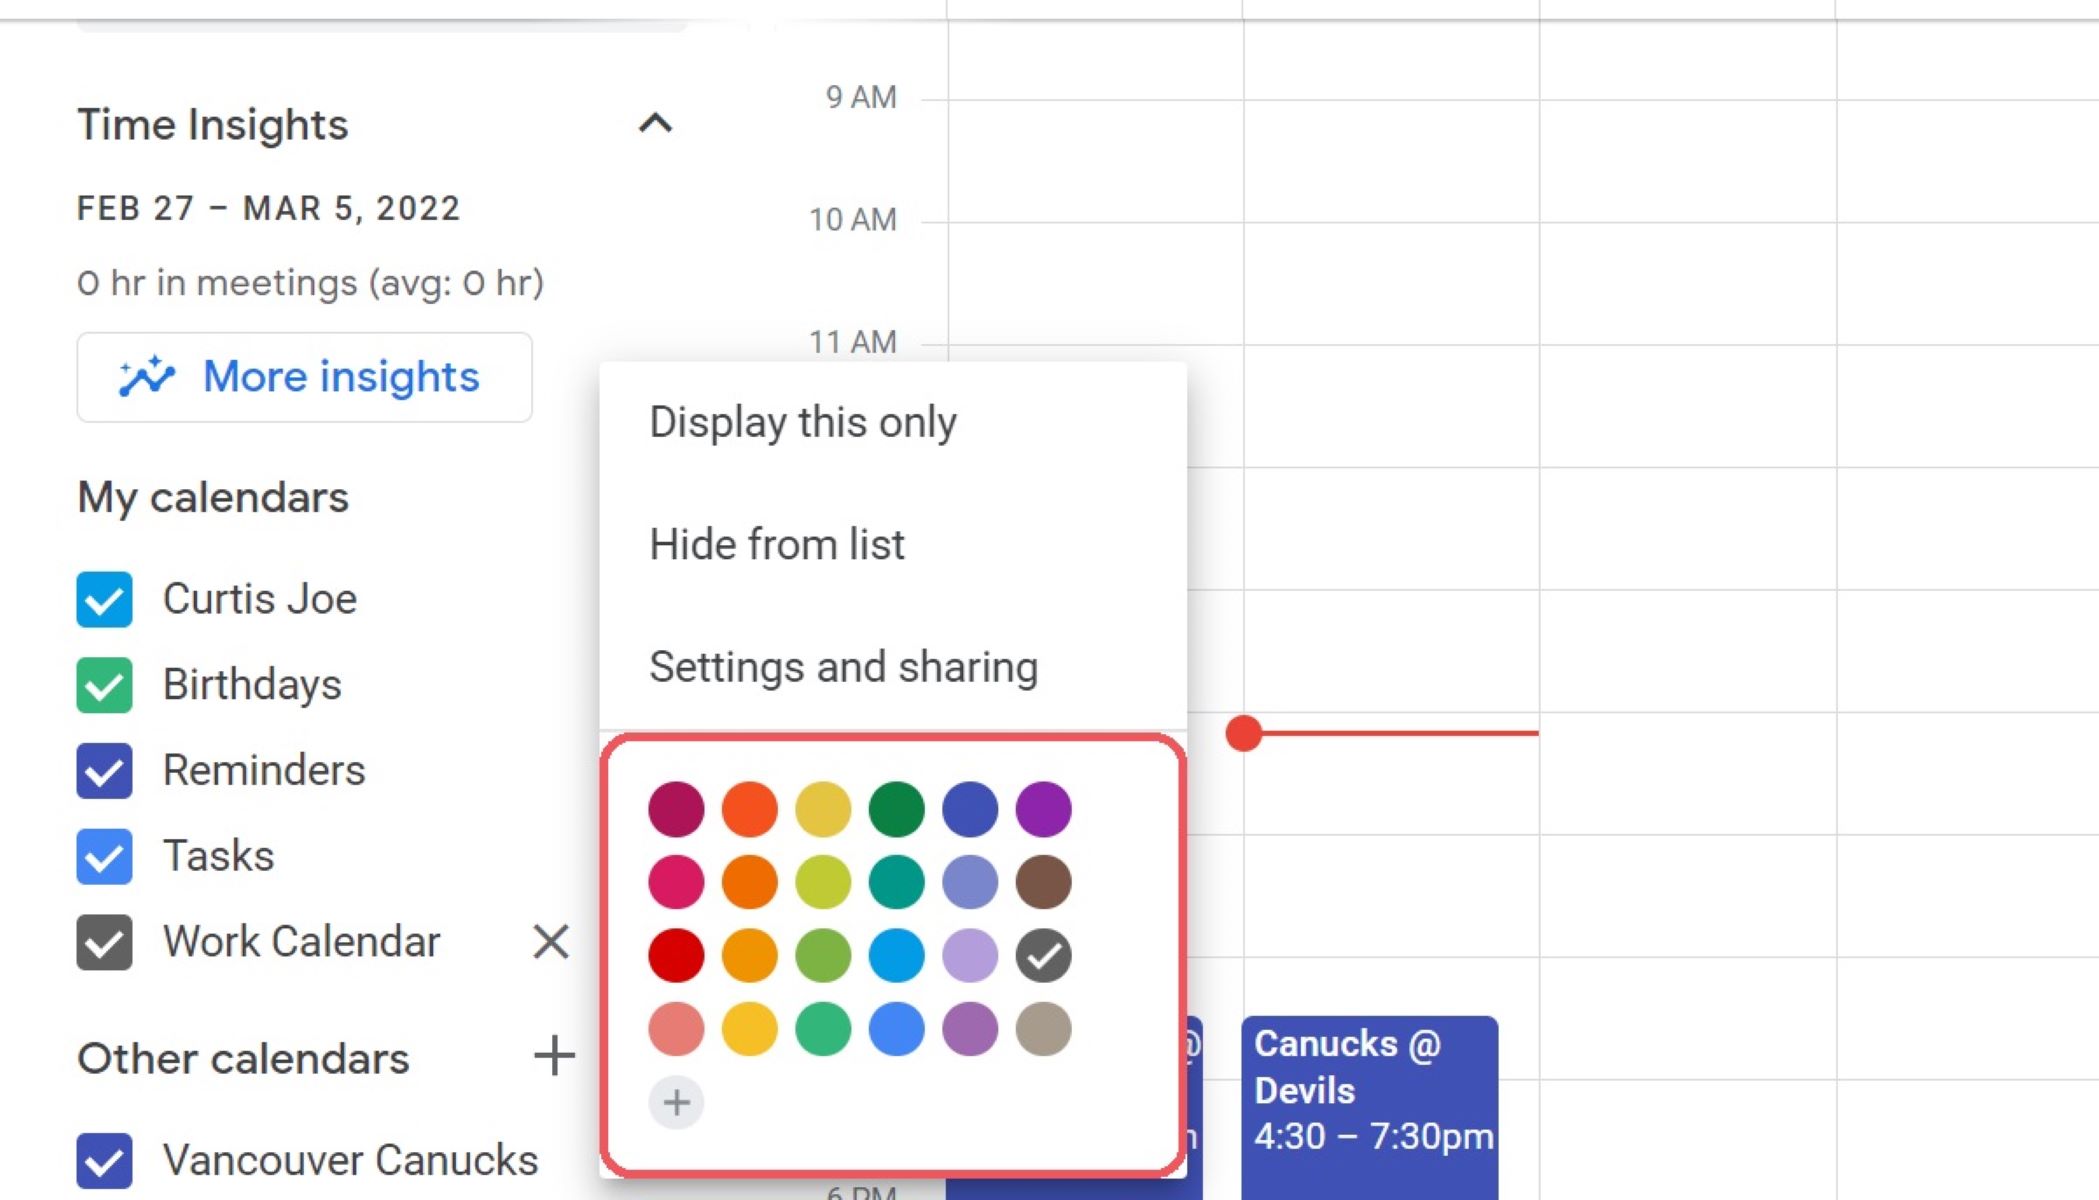
- In the color customization settings window, you will likely be presented with a range of color options to choose from. These options may be represented as a series of color swatches, a color wheel, or a dropdown menu.
- Explore the available color options and select the one that resonates with your preferences. You can choose a vibrant color to make your events stand out, or opt for a softer hue for a more calming effect.
- As you hover over each color option, you might notice that the calendar preview on the screen changes to reflect the selected color. This real-time preview allows you to visualize how the color will appear on your Google Calendar.
- Take your time to experiment with different color choices until you find the one that suits your style and helps you easily differentiate between your various calendar events.
- If none of the preset color options appeal to you, some versions of Google Calendar also offer the possibility to input custom color codes. This allows you to choose any color you desire by specifying its hexadecimal code.
Remember, the chosen color will be applied to all your calendar events, so it’s important to select a color that is visually appealing and enhances your overall calendar experience.
Once you have decided on your new color, move on to the next step to apply the color change to your Google Calendar.
Step 5: Apply the Color Change
After you have chosen a new color for your Google Calendar events, it’s time to apply the color change and see your calendar transform. Follow these simple steps to apply the color change:
- On the color customization settings window, look for a button or option that says “Apply” or “Save”. This button or option is usually located at the bottom or the side of the color customization window.
- Click on the “Apply” or “Save” button to confirm and save your color selection. The settings window will close, and you will be taken back to your main Google Calendar view.
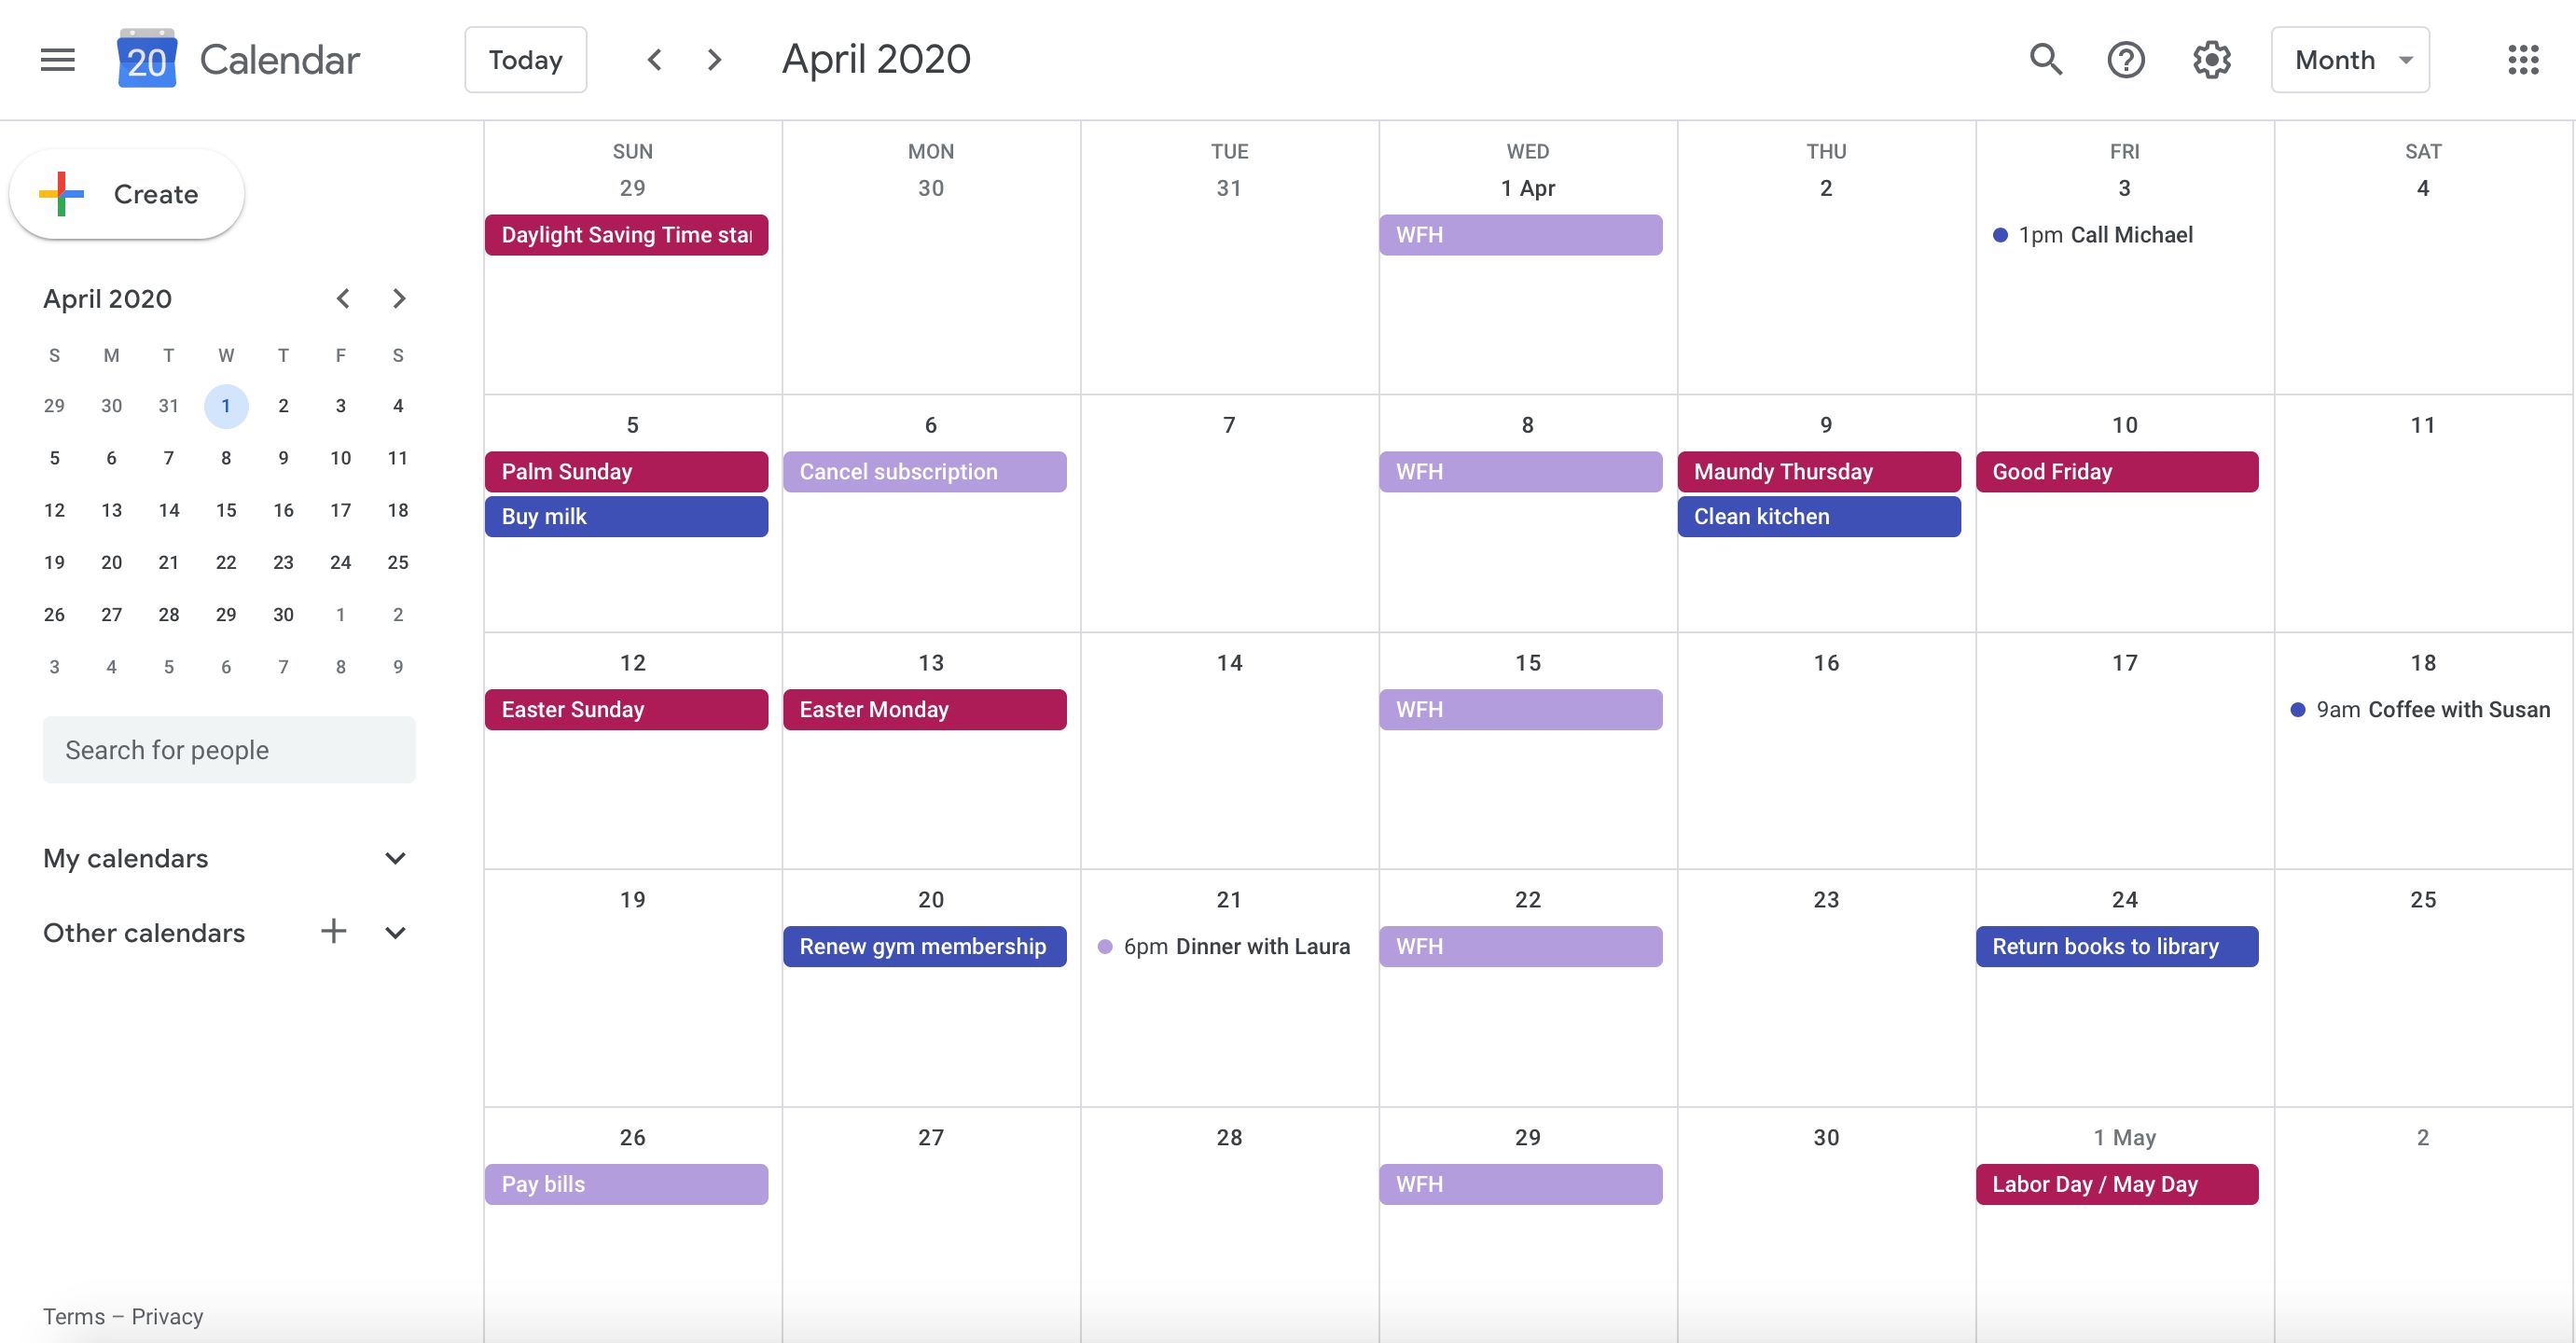
- As soon as you apply the color change, you will notice that your calendar events have been updated to reflect the new color you selected. Each event will now be displayed in the chosen color, making it easier to differentiate between different types of appointments and activities on your calendar.
- If you have multiple calendars associated with your Google account and customized the color for one specific calendar, you will see that only the events from that particular calendar have changed colors.
- Now you can enjoy the fresh look of your customized Google Calendar, tailored to your preferences and style.
Remember, you can always revisit the color customization settings in the Google Calendar settings menu to change the color again in the future. This allows you to adapt your calendar’s appearance based on your evolving preferences or specific needs.
With the color change successfully applied, let’s move on to the final step where you can further customize additional calendar settings to enhance your Google Calendar experience.
Step 6: Customize Additional Calendar Settings
Now that you have changed the color of your Google Calendar events, you may want to explore and customize additional settings to further enhance your calendar experience. Here are some additional customization options you can consider:
- Event Notifications: Access the settings menu again and navigate to the “Notifications” section. Here, you can adjust the notification settings for your events, such as the type of notification (email, push notification, or pop-up), the timing of the notification, and the sounds associated with them.
- Time Zone: If you often travel or work across different time zones, you can set your preferred time zone in the settings menu. This ensures that your events and notifications are displayed accurately according to the time zone you are currently in.
- Working Hours: Specify your working hours in the calendar settings to indicate the times when you’re available for meetings and appointments. This helps others schedule events with you more effectively and avoids conflicts during your designated non-working hours.
- Show or Hide Calendars: In the sidebar of Google Calendar, you can toggle the visibility of individual calendars by checking or unchecking the colored checkboxes next to their names. This allows you to focus on specific calendars or hide calendars that are not relevant at the moment.
- Add and Customize Calendar Colors: If you want to further categorize and differentiate events within a single calendar, you can assign different colors to specific events. This makes it easier to visually distinguish between different types of events within the same calendar.
- Sharing and Collaboration: Google Calendar allows you to share your calendars with others and collaborate on events. Explore the sharing settings to invite others to view or edit your calendar and establish permissions and access levels.
These are just a few examples of the additional calendar settings you can customize in Google Calendar. Feel free to explore the settings menu and experiment with different options to tailor your calendar to your specific needs and preferences.
By taking advantage of these customization features, you can create a more personalized and efficient calendar system that helps you stay organized and on top of your schedule.
Now that you have customized additional calendar settings, you have successfully completed the process of customizing your Google Calendar. Enjoy the enhanced productivity and organization that a personalized calendar can bring to your life!
Conclusion
Customizing the color of your Google Calendar events can greatly improve your ability to manage and organize your schedule effectively. By personalizing the visual appearance of your calendar, you can easily differentiate between different types of appointments, meetings, or personal activities at a glance.
In this article, we walked you through the step-by-step process of changing the color of your Google Calendar events. We started by opening Google Calendar and navigating to the settings menu. From there, we selected “View options” to access the color customization settings. We then chose a new color for our calendar events and applied the color change. Additionally, we explored the option to customize additional calendar settings to further enhance our Google Calendar experience.
By customizing additional settings such as event notifications, time zones, working hours, and sharing and collaboration options, you can tailor your calendar to meet your specific needs and preferences. These additional customization features allow you to create a more efficient and personalized calendar system that supports your productivity and organization.
With your color change applied and additional settings personalized, you can now enjoy a visually appealing and organized Google Calendar that matches your individual style. Keep in mind that you can revisit the settings menu at any time to make further adjustments, ensuring that your calendar remains optimized for your changing needs.
We hope this guide has been helpful in assisting you with customizing the color of your Google Calendar events and exploring additional customization options. Now, with your beautifully customized calendar, you can stay on top of your schedule with ease and efficiency.
Happy scheduling!