Introduction
Google Calendar is a powerful tool that helps millions of users manage their schedules and keep track of important events. One of the standout features of Google Calendar is its ability to customize the theme, allowing users to personalize the appearance of their calendar to suit their preferences. Changing the theme of Google Calendar not only adds a touch of individuality to your schedule but also enhances the overall user experience.
In this article, we will guide you through the process of changing the theme of your Google Calendar. Whether you want to match your calendar with your favorite colors, create a more professional-looking interface, or simply add a fresh new look, this tutorial will walk you through the steps required to customize your calendar’s appearance.
It’s important to note that the ability to change themes is available on both the web browser version of Google Calendar and the mobile app. Regardless of the platform you’re using, the process is relatively simple and can be done in just a few steps.
So, if you’re ready to give your Google Calendar a makeover and make it stand out from the crowd, let’s dive into the world of customizing themes!
Understanding Google Calendar Themes
Before diving into the process of changing the theme of your Google Calendar, it’s important to understand what themes are and how they affect the appearance of your calendar. Themes in Google Calendar refer to the preset color schemes and visual styles that can be applied to your calendar’s interface.
By default, Google Calendar uses the “Light” theme, which features a clean and minimalistic design with light colors. However, there are several other themes available that offer different color palettes and visual styles to suit your preferences and mood.
The themes in Google Calendar are designed to enhance the visual appeal of your calendar while maintaining its functionality. They allow you to add a personal touch to your schedule and make it visually engaging. Whether you prefer vibrant and bold colors or a more subtle and professional look, there’s a theme for everyone.
Themes also play a role in the accessibility of your calendar. If you have visual impairments or prefer high contrast colors, you can choose a theme that provides better visibility and readability. Additionally, themes can help you effortlessly distinguish between different calendars if you have multiple calendars set up.
It’s worth noting that changing the theme of your Google Calendar does not impact the functionality or features of the calendar. It is purely a cosmetic change that allows you to customize the interface to your liking.
Now that you have a better understanding of Google Calendar themes, let’s move on to the step-by-step process of changing a theme in Google Calendar.
Step 1: Accessing Google Calendar
The first step in changing the theme of your Google Calendar is to access the calendar itself. There are multiple ways to do this, depending on whether you are using a web browser or the mobile app.
If you are using a web browser:
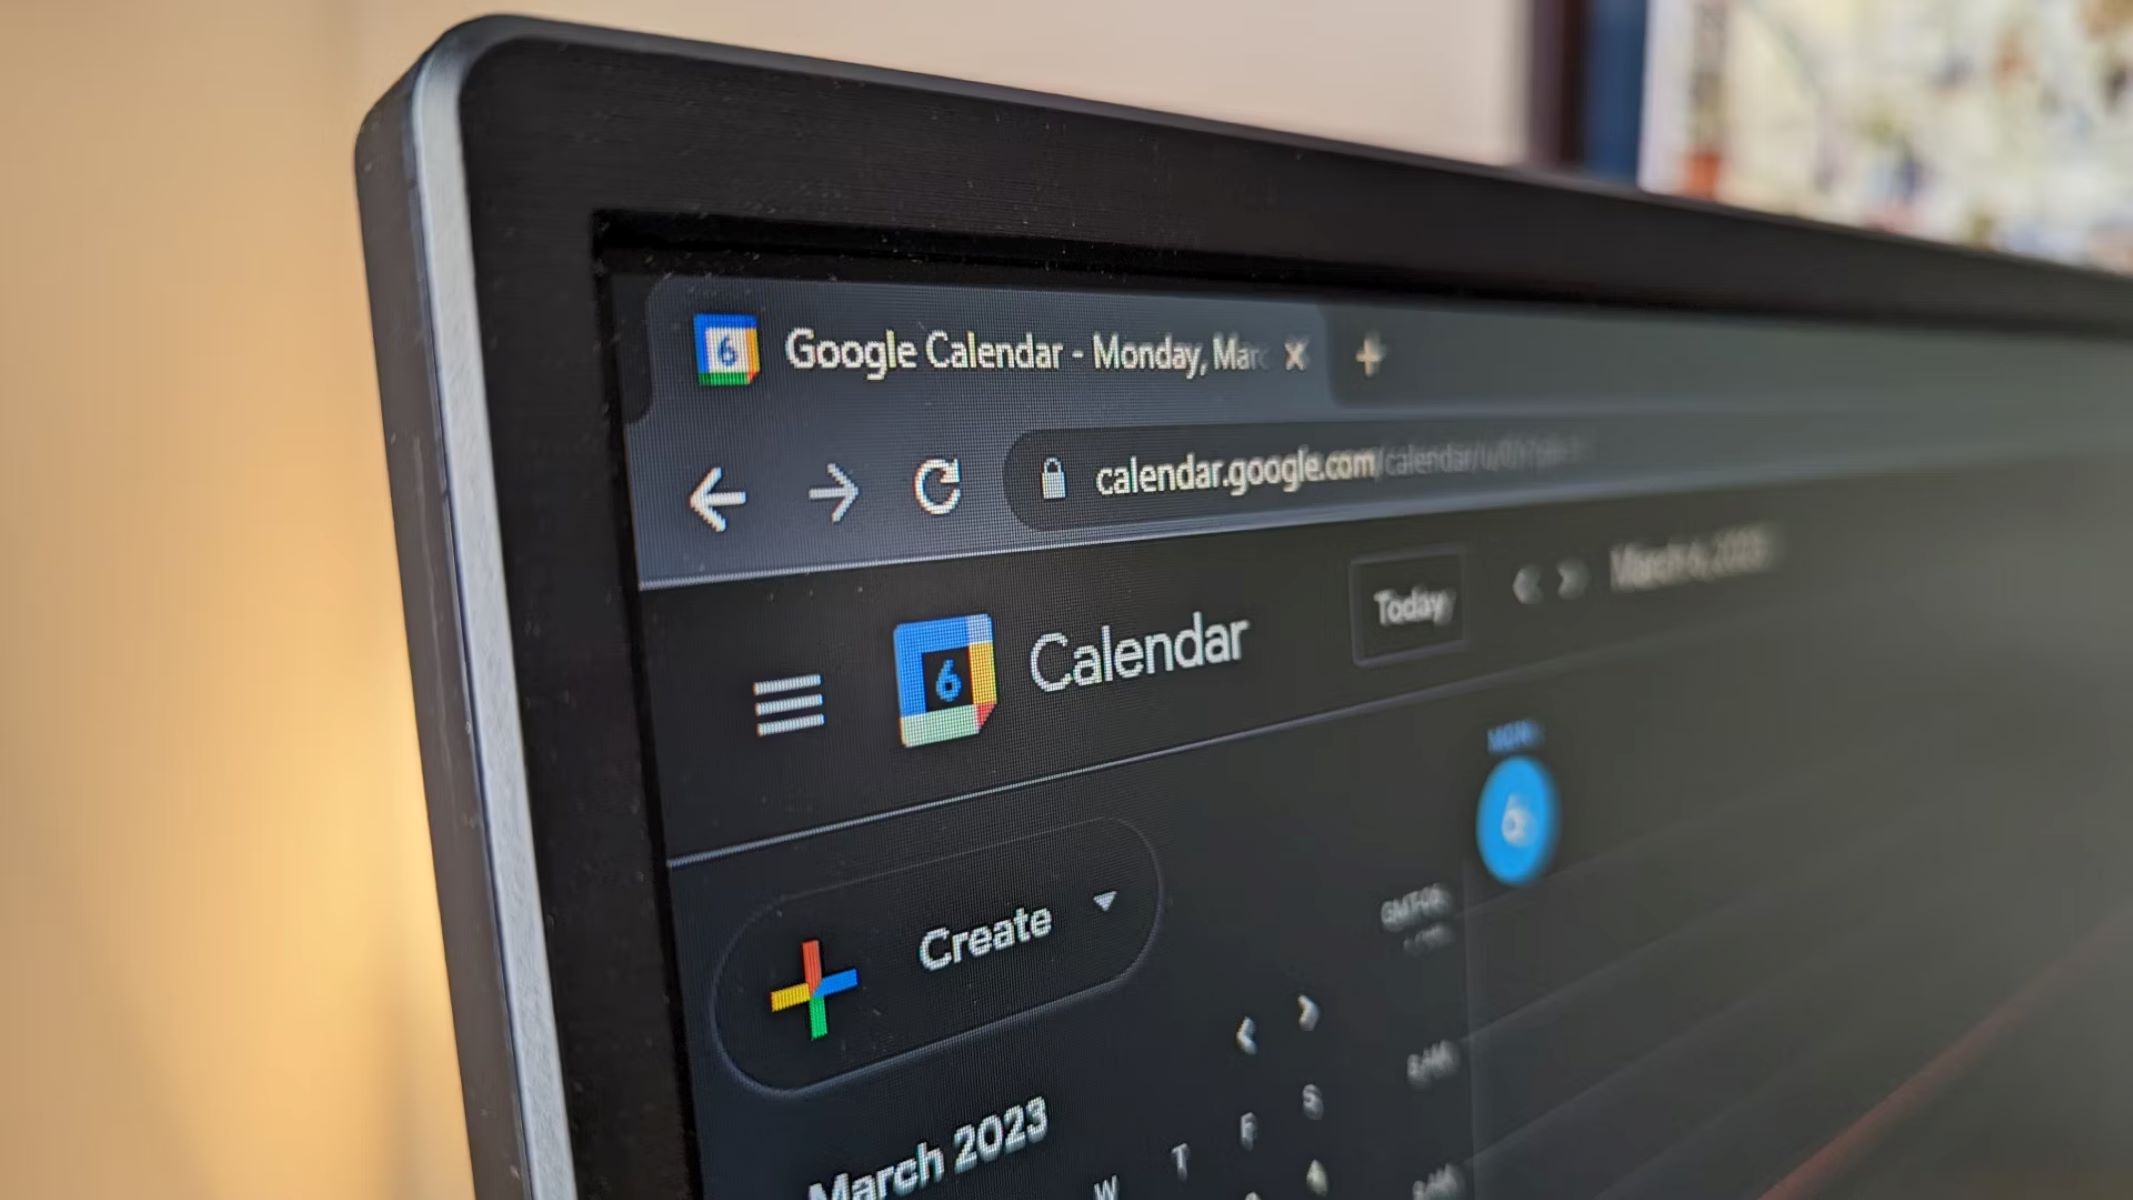
- Open your preferred web browser and navigate to https://calendar.google.com.
- Sign in to your Google account if you haven’t already.
- You will be redirected to the main Google Calendar interface.
If you are using the mobile app:
- Locate the Google Calendar app on your mobile device and tap on it to open it.
- If prompted, sign in to your Google account.
- You will be taken to the main calendar screen.
Once you have successfully accessed Google Calendar, you are ready to proceed to the next step of changing the theme.
Note: If you are not able to access Google Calendar, make sure you have a stable internet connection and that you are signed in to your Google account. If you are still having trouble, try clearing your browser cache or updating the Google Calendar app on your mobile device.
Step 2: Navigating to the Calendar Settings
Once you have accessed your Google Calendar, the next step is to navigate to the Calendar settings. This is where you can find the options to change the theme of your calendar.
To navigate to the Calendar settings, follow these steps:
- Look for the gear icon or the “Settings” option. In the web browser version, you will find the gear icon at the top right corner of the calendar interface. In the mobile app, you may need to tap on the menu icon (usually represented by three horizontal lines) to access the settings.
- Click or tap on the gear icon or “Settings” option to open the Settings menu.
- In the Settings menu, look for the option that says “Themes” or “Appearance.” The exact wording may vary slightly depending on the version of Google Calendar you are using.
- Click or tap on the “Themes” or “Appearance” option to access the theme settings.
Once you have successfully navigated to the Calendar settings and accessed the theme settings, you are ready to move on to the next step of choosing a new theme.
Note: If you are having trouble finding the Calendar settings or theme options, make sure you are using the latest version of Google Calendar and check if any recent updates have changed the menu layout.
Step 3: Choosing a New Theme
After accessing the theme settings in Google Calendar, the next step is to choose a new theme to apply to your calendar. There are several pre-designed themes available, each offering a different color scheme and visual style.
To choose a new theme, follow these steps:
- Once you are in the theme settings, you will see a list of available themes. Take a moment to browse through the options and get a feel for how each theme looks.
- Click or tap on the theme that you want to apply to your calendar. You will see a preview of the selected theme.
If you are using the web browser version of Google Calendar, you may also have the option to create a custom theme. This allows you to choose your own background color, text color, and accent color, giving you even more control over the appearance of your calendar.
If you want to create a custom theme, follow these additional steps:
- Click on the “Custom” or “Create custom theme” option.
- A new window or panel will open, allowing you to customize the background color, text color, and accent color. Select the colors of your preference.
- Once you are satisfied with your custom settings, click or tap on “Save” or “Apply” to apply the custom theme to your calendar.
After choosing a new theme or creating a custom theme, you will see the changes reflected in the preview. Take a moment to review how the new theme looks and make any necessary adjustments before proceeding to the next step.
Now that you have chosen a new theme for your Google Calendar, it’s time to move on to the next step of customizing the theme to your liking.
Step 4: Customizing the Theme
Once you have chosen a new theme for your Google Calendar, the next step is to customize the theme to your liking. This allows you to further personalize the appearance of your calendar and make it align with your preferences and style.
To customize the theme, follow these steps:
- In the theme settings, look for additional customization options such as background images, event colors, or font styles. These options may vary depending on the theme you have chosen or the version of Google Calendar you are using.
- Click or tap on the customization option that you want to modify.
- Make the desired changes to the specific customization option. For example, if you have the option to set a background image, you can upload an image from your device or choose one from the available options provided by Google.
- Continue customizing the theme by adjusting other options based on your preferences, such as the colors of events or the font style used in the calendar display.
While customizing the theme, take your time to experiment with different options and combinations to create a unique look that suits your taste.
It’s important to note that not all themes may offer extensive customization options. Some themes may have limited or no customization available. In such cases, you can explore different themes or consider creating a custom theme from scratch to have full control over the appearance of your calendar.
Once you have finished customizing the theme, take a moment to review the changes and ensure that you are satisfied with the new look. If necessary, make any additional adjustments until you achieve the desired appearance.
Now that you have customized the theme of your Google Calendar to your liking, it’s time to save and apply the new theme.
Step 5: Saving and Applying the New Theme
After customizing the theme of your Google Calendar, the final step is to save and apply the changes you have made. This ensures that your calendar reflects the new theme you have selected and customized.
To save and apply the new theme, follow these steps:
- In the theme settings, look for a button or option that allows you to save or apply the changes you have made.
- Click or tap on the save or apply button to save your customizations.
- Once the changes have been saved, you will see the new theme applied to your Google Calendar interface.
Take a moment to review your calendar and ensure that the theme is to your liking. If you are not satisfied with the changes or would like to make further adjustments, you can revisit the theme settings and modify the customization options as needed.
It’s worth noting that changing the theme of your Google Calendar is not a permanent change. You can always go back to the theme settings and choose a different theme or customize the theme again to suit your changing preferences.
Now that you have successfully saved and applied the new theme, you can enjoy using your Google Calendar with a fresh and personalized look.
Remember, themes in Google Calendar are not only visually appealing but also allow you to express your individuality and enhance your overall calendar experience. Whether you prefer a sleek and professional interface or a vibrant and creative design, the choice is yours.
With the ability to easily change and customize the theme of your Google Calendar, you can make every day a visually pleasing and organized adventure.
Conclusion
Customizing the theme of your Google Calendar is a fantastic way to add a personal touch and make your calendar reflect your unique style and preferences. By following the step-by-step guide we have provided, you can easily change the theme, customize the appearance, and create a visually appealing calendar interface.
Remember, Google Calendar offers a wide range of pre-designed themes that you can choose from, or you can take it a step further and create a custom theme to perfectly match your taste. With the option to modify background images, event colors, font styles, and more, the possibilities for customization are extensive.
Don’t be afraid to experiment and find the perfect theme that makes managing your schedule a delightful experience. Whether you prefer a clean and minimalistic look or a bold and vibrant interface, Google Calendar has options to suit every preference.
Keep in mind that changing the theme is not a permanent decision. You can always revisit the theme settings and modify or switch to a different theme whenever you want. This flexibility allows you to adapt your calendar’s appearance to different moods, seasons, or events.
So, why settle for a default calendar theme when you can personalize it to your liking? Take advantage of the customization options available in Google Calendar and make your calendar a visually pleasing and organized companion.
Now that you know how to change the theme of your Google Calendar, go ahead and give your schedule a makeover that reflects your unique style and flair. Enjoy the benefits of a personalized calendar that not only helps you stay organized but also adds a touch of aesthetic charm to your daily routine.