


Introduction
Managing your busy schedule can be quite challenging, but thanks to technology, it’s never been easier. One of the most popular calendar apps available is Google Calendar, and it offers a wide range of features to keep your life organized. If you’re a Mac user, you’ll be pleased to know that you can easily add Google Calendar to your desktop for quick access and convenience.
In this article, we will guide you through the simple steps to add Google Calendar to your Mac desktop. By doing so, you’ll have your schedule at your fingertips, enabling you to stay on top of your appointments, meetings, and events effortlessly.
With Google Calendar right on your desktop, you can easily view and manage your schedule without the need to open a browser or launch a separate app. This integration eliminates the hassle of switching between different applications, allowing you to save valuable time and stay productive throughout the day.
Whether you’re a student, a professional, or someone trying to juggle multiple responsibilities, adding Google Calendar to your Mac desktop can greatly enhance your organizational skills and help you stay on track. Say goodbye to missed deadlines, forgotten appointments, and last-minute scrambling.
So, let’s get started and learn how to add Google Calendar to your Mac desktop!
Benefits of Adding Google Calendar to Mac Desktop
Adding Google Calendar to your Mac desktop offers numerous benefits that can greatly improve your productivity and organization. Here are some key advantages:
- Easy Access: With Google Calendar on your desktop, you can quickly view and manage your schedule without the need to open a browser or navigate through multiple tabs. It provides seamless accessibility and saves you time.
- Sync Across Devices: By integrating Google Calendar with your Mac desktop, you can ensure that all your appointments, events, and reminders are synchronized across your devices. This allows you to stay updated and make changes on the go.
- Customization Options: Google Calendar offers various customization options to tailor your calendar display according to your preferences. You can choose between different views, colors, and themes, making it visually appealing and easy to navigate.
- Notifications and Reminders: Google Calendar provides customizable notifications and reminders, ensuring that you never miss an important event or appointment. You can set up email or desktop notifications to stay on top of your schedule.
- Collaboration and Sharing: Google Calendar allows you to easily share your calendar with colleagues, friends, or family members. This feature is especially beneficial for coordinating meetings, events, or group activities.
- Integration with Other Apps: Google Calendar seamlessly integrates with other popular apps, such as Gmail, Google Meet, and Google Tasks. This integration streamlines your workflow and enhances communication.
By adding Google Calendar to your Mac desktop, you can streamline your scheduling process, reduce the chances of overlapping appointments, and improve your overall time management. With all these benefits, it’s no wonder that Google Calendar is a top choice for individuals and businesses alike.
Step 1: Install Google Calendar App
The first step to adding Google Calendar to your Mac desktop is to install the Google Calendar app. Follow these simple steps:
- Open a web browser on your Mac and search for “Google Calendar app for Mac” in your preferred search engine.
- Click on the official Google Calendar app link provided in the search results.
- On the Google Calendar app page, look for the “Download” or “Install” button and click on it.
- Follow the on-screen instructions to download and install the Google Calendar app on your Mac. The app will be downloaded to your “Applications” folder.
- Once the installation is complete, locate the Google Calendar app in your Applications folder and open it.
That’s it! You have successfully installed the Google Calendar app on your Mac. Now, let’s move on to the next step to set up Google Calendar on your Mac desktop.
Step 2: Set Up Google Calendar on Mac
Now that you have installed the Google Calendar app on your Mac, it’s time to set it up and connect it to your Google account. Follow these steps:
- Open the Google Calendar app on your Mac. If it’s your first time using the app, you will be prompted to sign in to your Google account. Enter your credentials and sign in.
- After signing in, you will be greeted with the main Google Calendar interface. Take a moment to familiarize yourself with the layout and features.
- In the left sidebar, you will see a list of calendars, including your primary calendar and any other additional calendars associated with your Google account. By default, all calendars will be displayed.
- To customize the calendar display, uncheck any calendars that you don’t want to see on your Mac desktop. You can always recheck them later if needed.
- Next, click on the settings gear icon located in the top-right corner of the Google Calendar app window. This will open the settings menu.
- In the settings menu, you can further personalize your Google Calendar by adjusting preferences such as time zone, default event duration, and working hours. Take a moment to explore these options and make any desired changes.
- Once you have finished customizing your settings, close the settings menu.
Congratulations! You have now successfully set up Google Calendar on your Mac desktop. In the next step, we will explore how to customize the display of your Google Calendar to suit your preferences.
Step 3: Customize Google Calendar Display
Now that Google Calendar is set up on your Mac desktop, it’s time to customize its display to make it visually appealing and easy to navigate. Follow these steps to tailor the appearance of your Google Calendar:
- Open the Google Calendar app on your Mac.
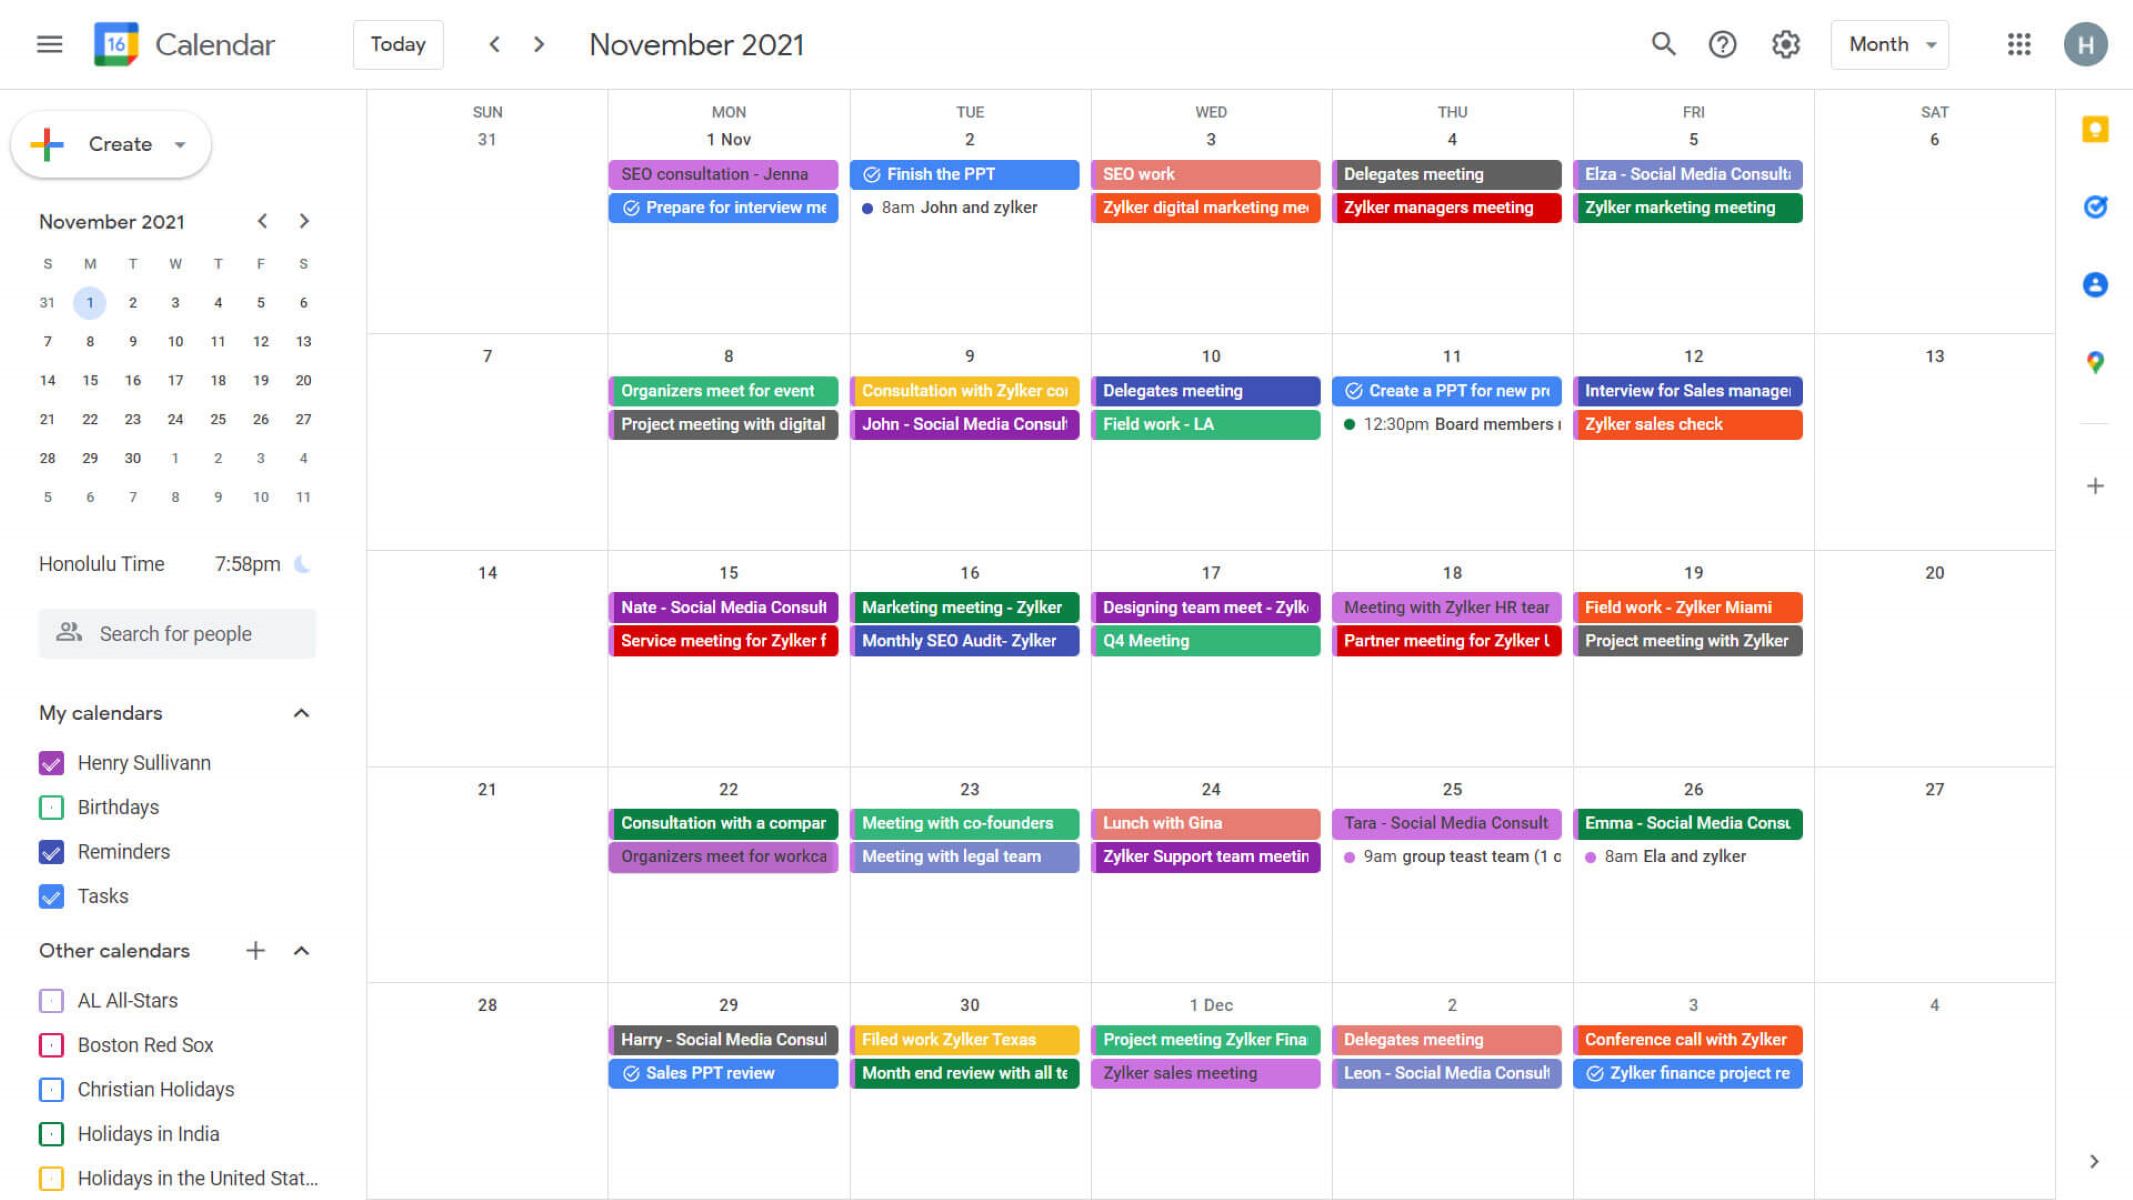
- Take a moment to familiarize yourself with the default view of your calendar. The default view is typically the month view, displaying a grid with dates and events.
- To change the view, click on the view icon located in the top-right corner of the Google Calendar app window. You can choose from different options like day, week, month, or a custom view.
- Experiment with different views and find the one that works best for you. You can always switch between views based on your needs.
- To customize the color scheme of your calendar, click on the settings gear icon located in the top-right corner of the app window and select “Settings”.
- In the settings menu, navigate to the “General” tab. Here, you can choose a different color palette for your calendar. Select the color scheme that appeals to you the most.
- Additionally, you can choose a custom theme or upload your own image as a background for your calendar.
- Once you have made the desired changes, close the settings menu to apply the new display settings.
By customizing the display of your Google Calendar, you can create a personalized and visually pleasing layout that suits your preferences. It makes it easier to navigate and enhances your overall calendar experience on your Mac desktop.
Step 4: Add and Manage Events on Google Calendar
Now that you have customized the display of your Google Calendar on your Mac desktop, it’s time to start adding and managing events. Follow these steps to create and manage events on Google Calendar:
- Open the Google Calendar app on your Mac.
- To create a new event, click on the desired date and time slot on your calendar.
- A pop-up window will appear with options to enter event details such as title, date, time, location, and description. Fill in the necessary information for your event.
- You can also set reminders for your event by clicking on the “Add a reminder” dropdown menu. Choose the type of reminder you prefer: email, desktop notification, or both.
- Once you have entered all the event information, click on the “Save” button to add the event to your calendar.
- To edit or modify an existing event, simply click on the event in your calendar. A pop-up window will appear, allowing you to make changes to the event details.
- If you want to delete an event, click on the event and select the “Delete” option.
- You can also set up recurring events by clicking on the “Repeat” dropdown menu when creating or editing an event. Choose the recurrence pattern that suits your needs, such as daily, weekly, monthly, or custom options.
- Google Calendar also allows you to invite others to your events. Simply click on the event, select the “Add guests” option, and enter the email addresses of the people you want to invite.
- To view all your upcoming events and navigate through different dates, use the navigation arrows located in the top-left corner of the app window.
By adding and managing events on Google Calendar, you can stay organized and never miss an important appointment or deadline. The flexibility and user-friendly interface of Google Calendar make it easy to create, edit, and track all your events seamlessly.
Step 5: Sync Google Calendar with Other Devices
Syncing your Google Calendar with other devices ensures that you have access to your schedule wherever you go. Follow these steps to sync your Google Calendar with other devices:
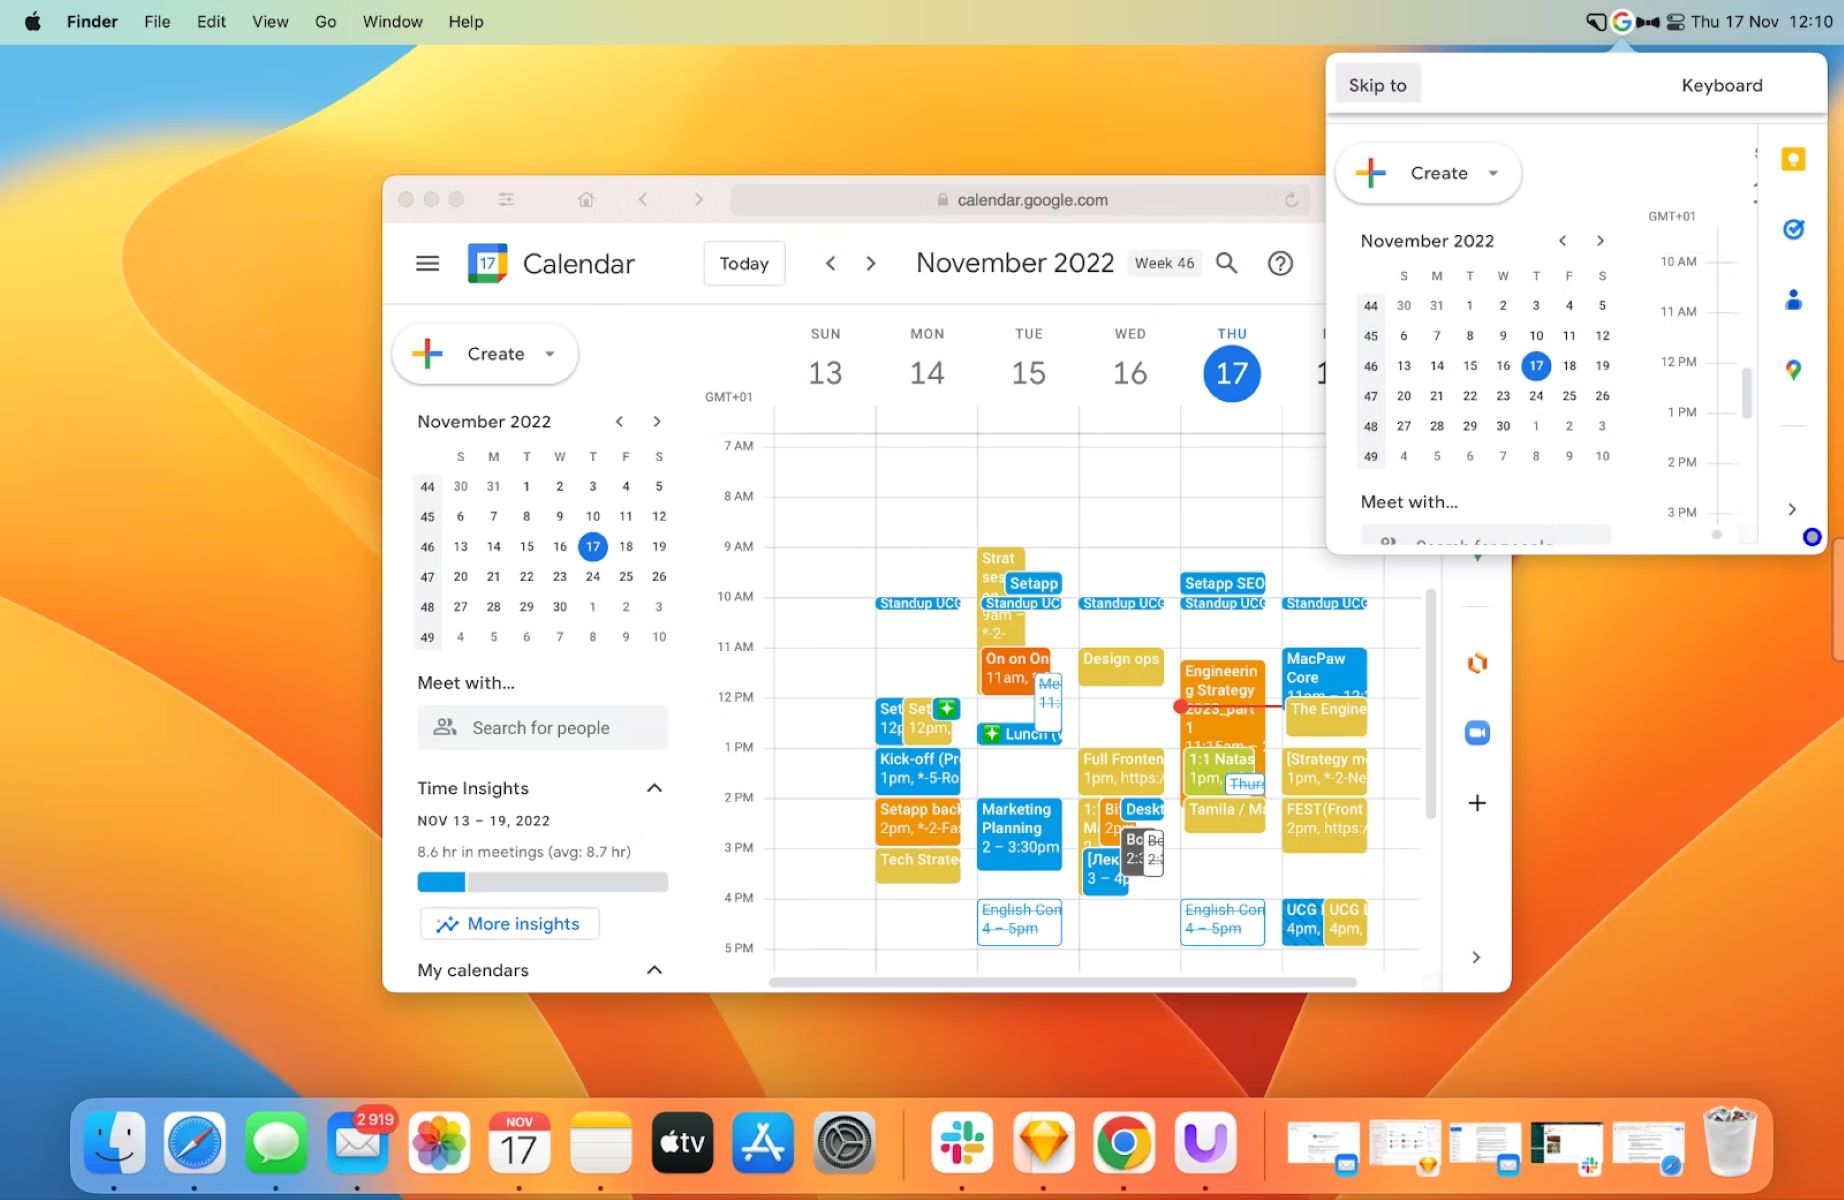
- On your Mac, open a web browser and go to https://calendar.google.com.
- Sign in to your Google account if prompted.
- In the top-right corner, click on the gear icon and select “Settings” from the dropdown menu.
- In the settings menu, navigate to the “General” tab.
- Scroll down to the “Integrate Calendar” section and locate the “Access permissions” option.
- Click on the “Generate new app password” link.
- Follow the instructions to generate a unique password for use with external devices and apps.
- Once the app password is generated, make a note of it as you will need it to sync your Google Calendar on other devices.
- Now, on your other device (such as a smartphone or tablet), open the settings or setup menu for the calendar app you are using.
- Select the option to add an account or to sync calendars.
- When prompted to enter your Google account credentials, use your email address and the app password you generated earlier instead of your usual Google account password.
- Follow the on-screen instructions to complete the setup process and sync your Google Calendar with the device.
- Repeat these steps for any other devices you want to sync with your Google Calendar.
By syncing your Google Calendar with other devices, you can access your schedule on your smartphone, tablet, or any other device. Changes made on one device will be reflected on all synced devices, ensuring that you stay up-to-date regardless of which device you are using.
Conclusion
Adding Google Calendar to your Mac desktop is a simple yet powerful way to stay organized and manage your schedule effectively. By following the steps outlined in this article, you can easily install the Google Calendar app, set it up on your Mac, customize its display, and seamlessly add and manage events.
Syncing your Google Calendar with other devices ensures that you can access your schedule wherever you go, keeping you on top of your appointments and commitments. The ability to personalize your calendar’s appearance and integrate it with other apps further enhances its functionality and usability.
With Google Calendar on your Mac desktop, you can have your entire schedule at your fingertips, eliminating the need to switch between different apps or open a browser. This convenient access allows you to save time, avoid missed appointments, and improve your overall productivity.
So, why wait? Start your journey to a more organized life by adding Google Calendar to your Mac desktop today. Embrace the power of technology to streamline your schedule and make the most out of every day.


![20 Best Productivity Apps to Get Things Done [PC & Mac]](https://robots.net/wp-content/uploads/2020/05/write-593333_1920-300x177.jpg)


