Introduction
Welcome to the world of Google Calendar, where organizing your work schedule has never been easier! Managing your work schedule efficiently is crucial for ensuring productivity and staying on top of your tasks. With Google Calendar, you can easily create, view, and edit your work schedule, enabling you to stay organized and plan your day effectively.
This comprehensive guide will walk you through the process of adding your work schedule to Google Calendar. Whether you’re a freelancer, a remote worker, or someone with a fixed office job, this step-by-step tutorial will help you streamline your work schedule and make the most of Google’s powerful tool.
By integrating your work schedule into Google Calendar, you can access it across multiple devices, receive notifications for upcoming events, and even share it with colleagues or clients. Additionally, you can customize your work schedule events to add important details, such as location, reminders, and notifications, for a seamless and efficient work experience.
Before we dive into the tutorial, it’s important to note that you’ll need a Google account to utilize Google Calendar. If you don’t have one yet, head to the Google Account creation page and sign up – it’s quick and easy!
Once you have your Google account ready, let’s get started on adding your work schedule to Google Calendar.
Prerequisites
Before you begin adding your work schedule to Google Calendar, there are a few prerequisites you need to fulfill:
- Google Account: You must have a Google account to access Google Calendar. If you don’t have one, you can easily create an account for free.
- Internet Connection: Ensure that you have a stable internet connection to access Google Calendar and make changes to your work schedule on the go.
- Device: You can access Google Calendar on multiple devices, including desktop computers, laptops, smartphones, and tablets. Choose the device that suits your preferences and ensure that it has access to the internet.
- Availability: Make sure you have sufficient time to set up your work schedule initially. Once it’s set up, managing and updating your schedule will be a breeze.
- Basic Computer Skills: While no advanced technical skills are required, having basic knowledge of operating a computer or mobile device and understanding how to navigate web applications will be helpful.
With these prerequisites in order, you’re now ready to embark on the journey of adding your work schedule to Google Calendar. Let’s move on to the next step and get started!
Step 1: Open Google Calendar
The first step in adding your work schedule to Google Calendar is to open the Google Calendar web application. Here’s how you can do it:
- Open your preferred web browser on your computer or device.
- Type in “Google Calendar” in the search bar and press Enter.
- Click on the official Google Calendar website link from the search results to access the web application.
- If prompted, sign in to your Google account using your username and password. If you’re already signed in to your Google account, you will be directed to the Google Calendar home page.
Alternatively, you can directly access Google Calendar by entering the URL “calendar.google.com” into your browser’s address bar.
Once you’re on the Google Calendar home page, you’ll be greeted with a clean and intuitive interface, ready for you to start organizing your work schedule. In the next step, we’ll guide you through creating a new calendar specifically for your work schedule.
Step 2: Create a New Calendar
Now that you’re on the Google Calendar home page, it’s time to create a new calendar specifically for your work schedule. This will allow you to keep your work events separate from your personal events and easily manage your professional commitments. Follow these steps to create a new calendar:
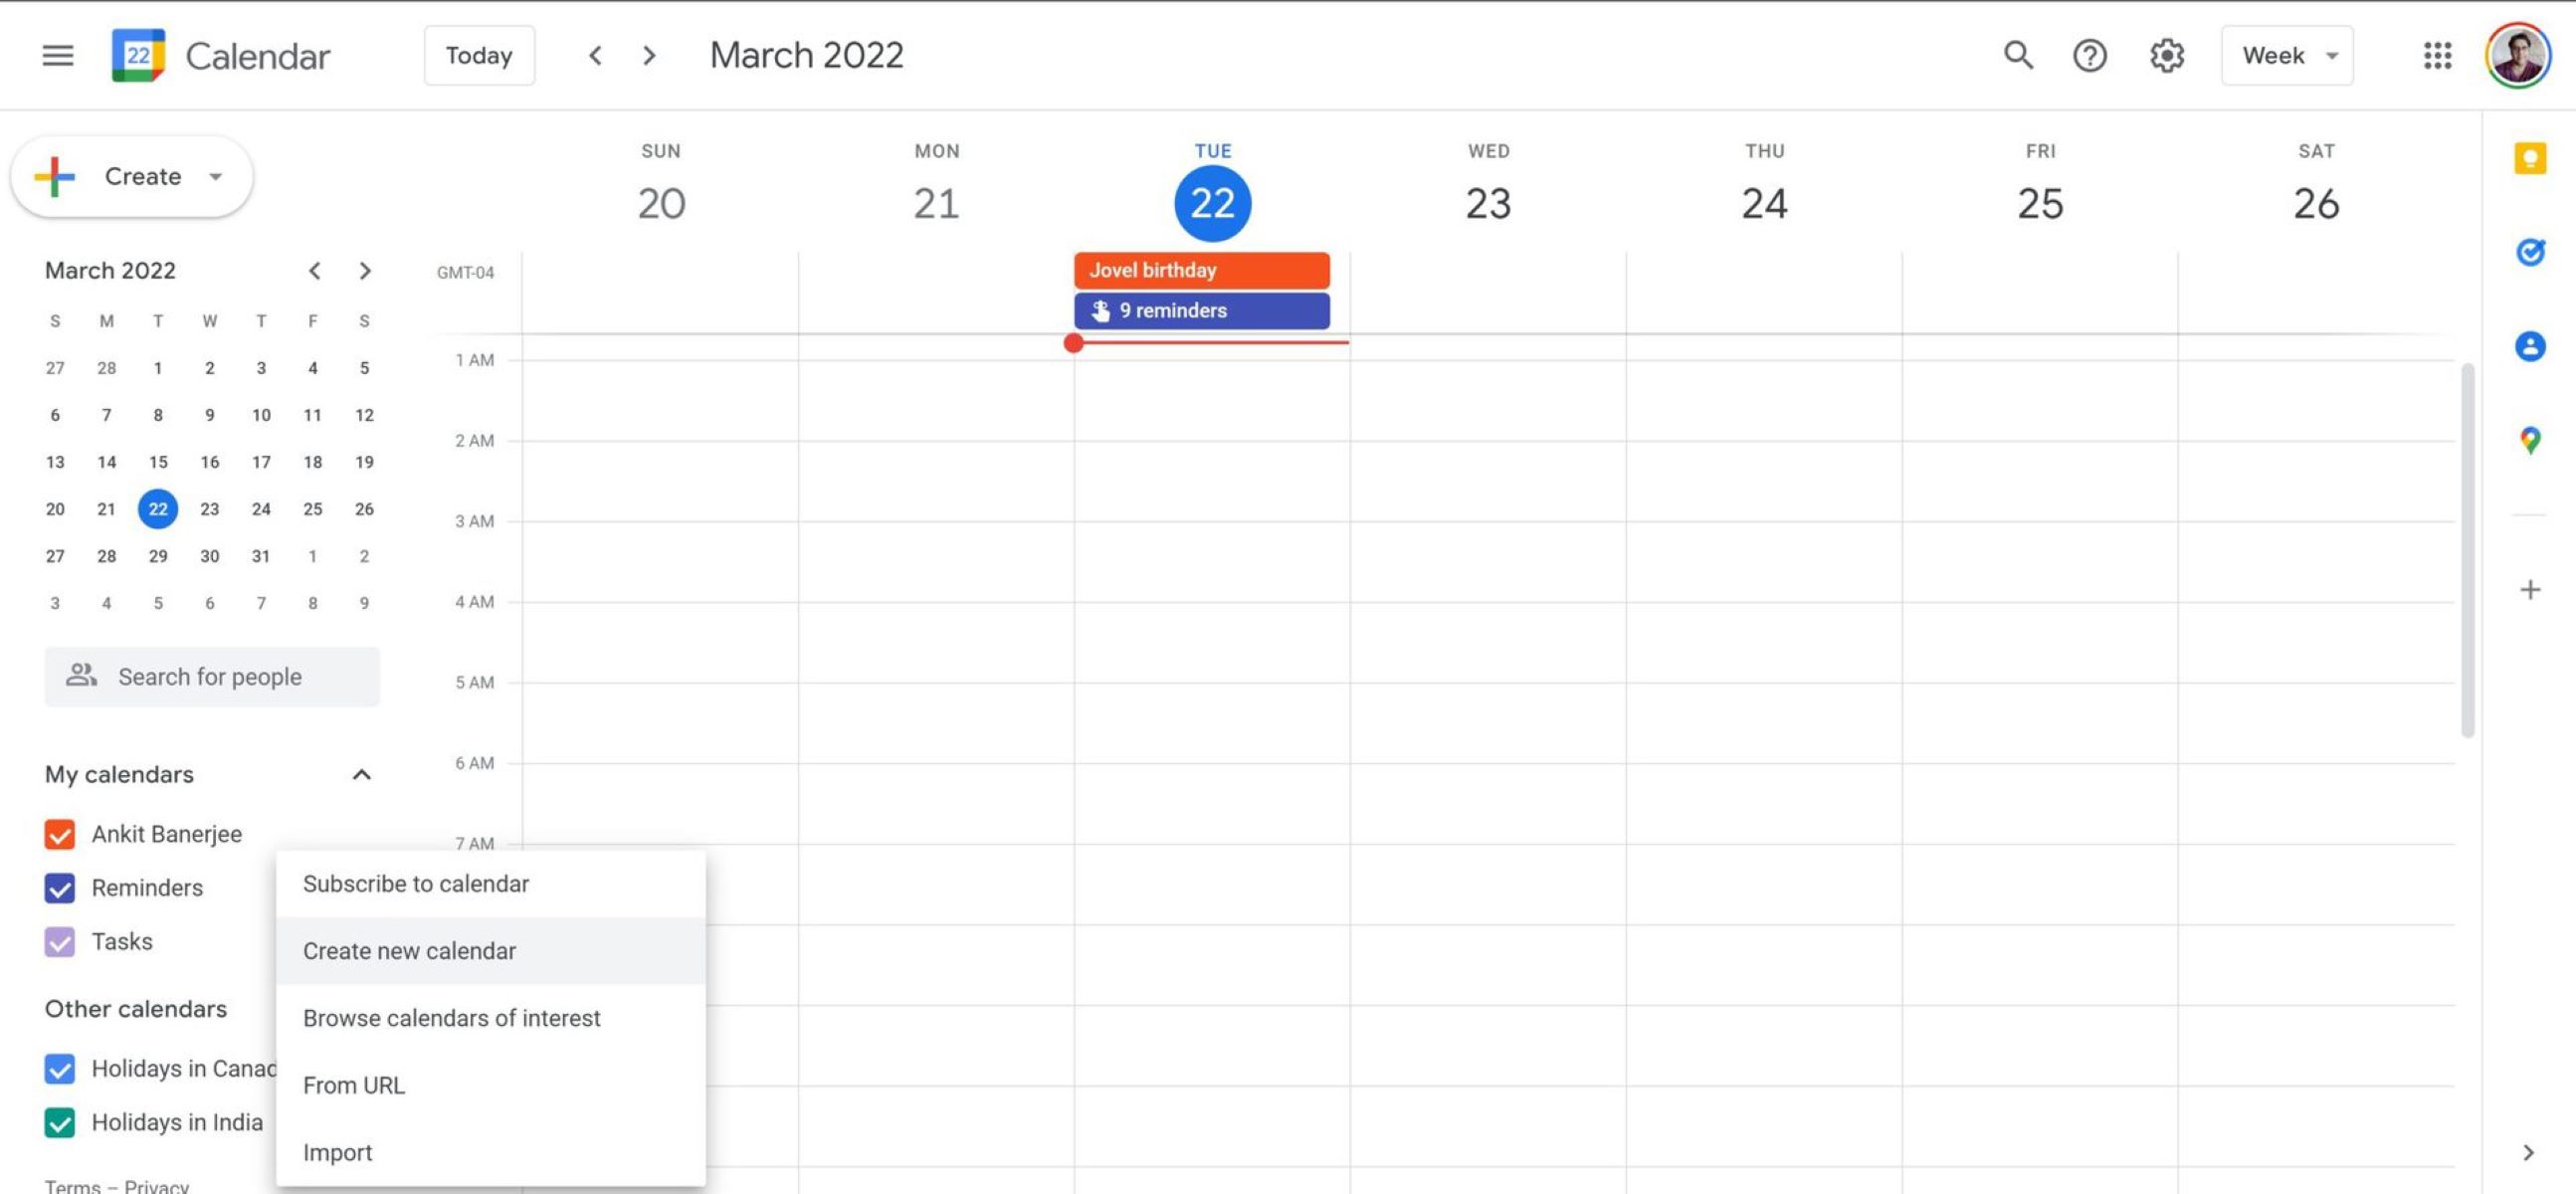
- On the left-hand side of the Google Calendar interface, you’ll see a panel with a list of existing calendars. Look for the section labeled “My calendars” and click on the “+” icon next to it. A pop-up menu will appear.
- From the pop-up menu, select “Create new calendar”.
- A “Create new calendar” form will appear. Fill in the required details for your work schedule calendar, such as the name, description, and time zone. You can also choose a color for your calendar to distinguish it visually from other calendars.
- Once you’ve entered all the necessary information, click on the “Create calendar” button to finalize the creation of your new work schedule calendar.
Congratulations! You’ve successfully created a new calendar for your work schedule in Google Calendar. This calendar will now appear in the “My calendars” section on the left side panel of the interface. In the next step, we’ll explore how to configure the preferences for your work schedule calendar.
Step 3: Set Calendar Preferences
Now that you have created your work schedule calendar in Google Calendar, it’s time to configure the preferences to customize it according to your needs. Follow these steps to set calendar preferences:
- On the left-hand side panel of the Google Calendar interface, locate your newly created work schedule calendar under the “My calendars” section.
- Hover over the calendar name, and you’ll see a small dropdown arrow icon appear. Click on the icon to access the calendar options.
- From the dropdown menu, select “Calendar settings”. This will take you to the settings page for your work schedule calendar.
- On the settings page, you’ll find various options to customize your work schedule calendar. Explore each setting and adjust them to your preference.
- Some important settings you may want to consider include:
- Notifications: Set up notifications to receive reminders for upcoming work schedule events.
- Time zone: Double-check that the time zone is correctly set to your location to ensure accurate scheduling.
- Sharing settings: Customize the sharing settings to decide who can view or edit your work schedule calendar.
- Default visibility: Determine the default visibility of events on your work schedule calendar.
- Event color: Assign specific colors to different types of events on your work schedule calendar for easy identification.
- Once you have configured the settings according to your preferences, click on the “Save” or “Apply” button to save the changes.
By setting the calendar preferences, you can tailor your work schedule calendar to align with your professional requirements. In the next step, we’ll dive into adding events to your work schedule calendar.
Step 4: Add Work Schedule Events
With your work schedule calendar preferences set in Google Calendar, it’s time to start filling it with events to represent your work commitments. Follow these steps to add work schedule events:
- On the Google Calendar interface, navigate to the date and time when your work schedule event begins.
- Click on that specific date and a popup event creation form will appear.
- Enter the event title, which should reflect the nature of your work commitment or task.
- Specify the start and end times for the event, ensuring that it accurately represents the duration of your work period.
- You can also set a reminder for the event to receive notifications before it starts. This will help you stay on top of your work schedule and manage your time effectively.
- If you have any additional details or specific instructions related to the event, you can add them in the event description section.
- Lastly, click on the “Save” button to add the work schedule event to your calendar.
- Repeat the above steps for all your work schedule events, entering the appropriate information for each one.
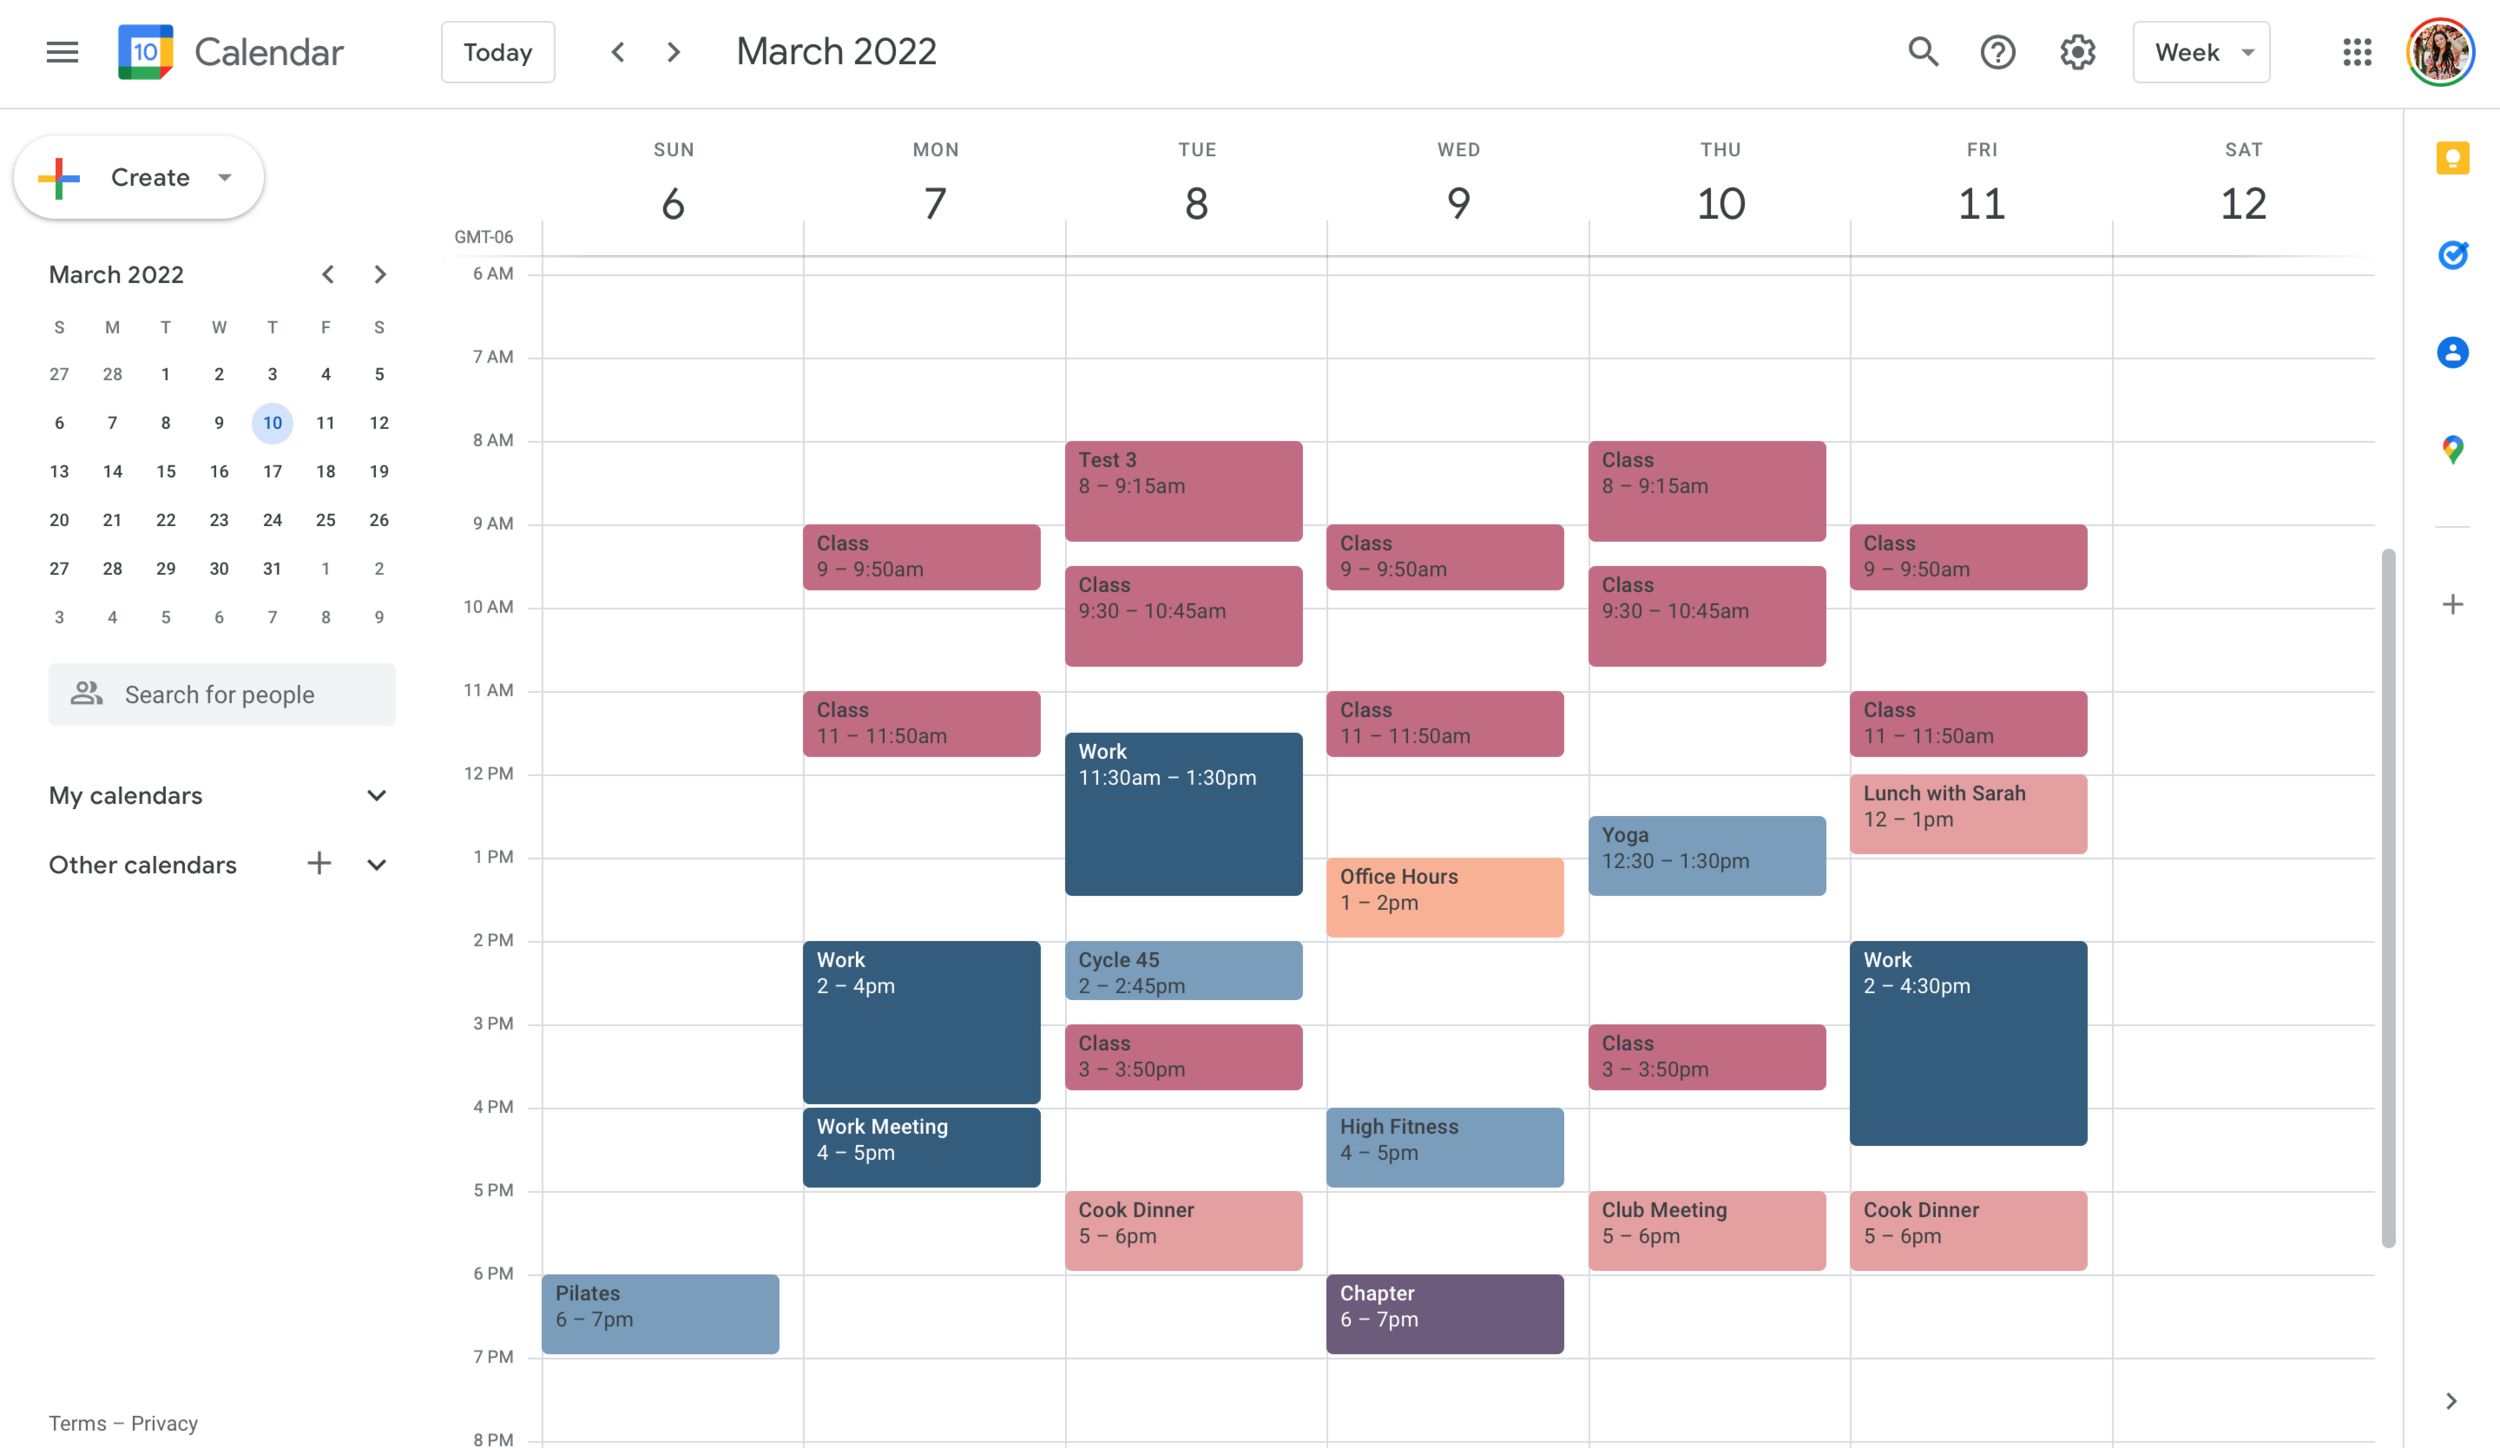
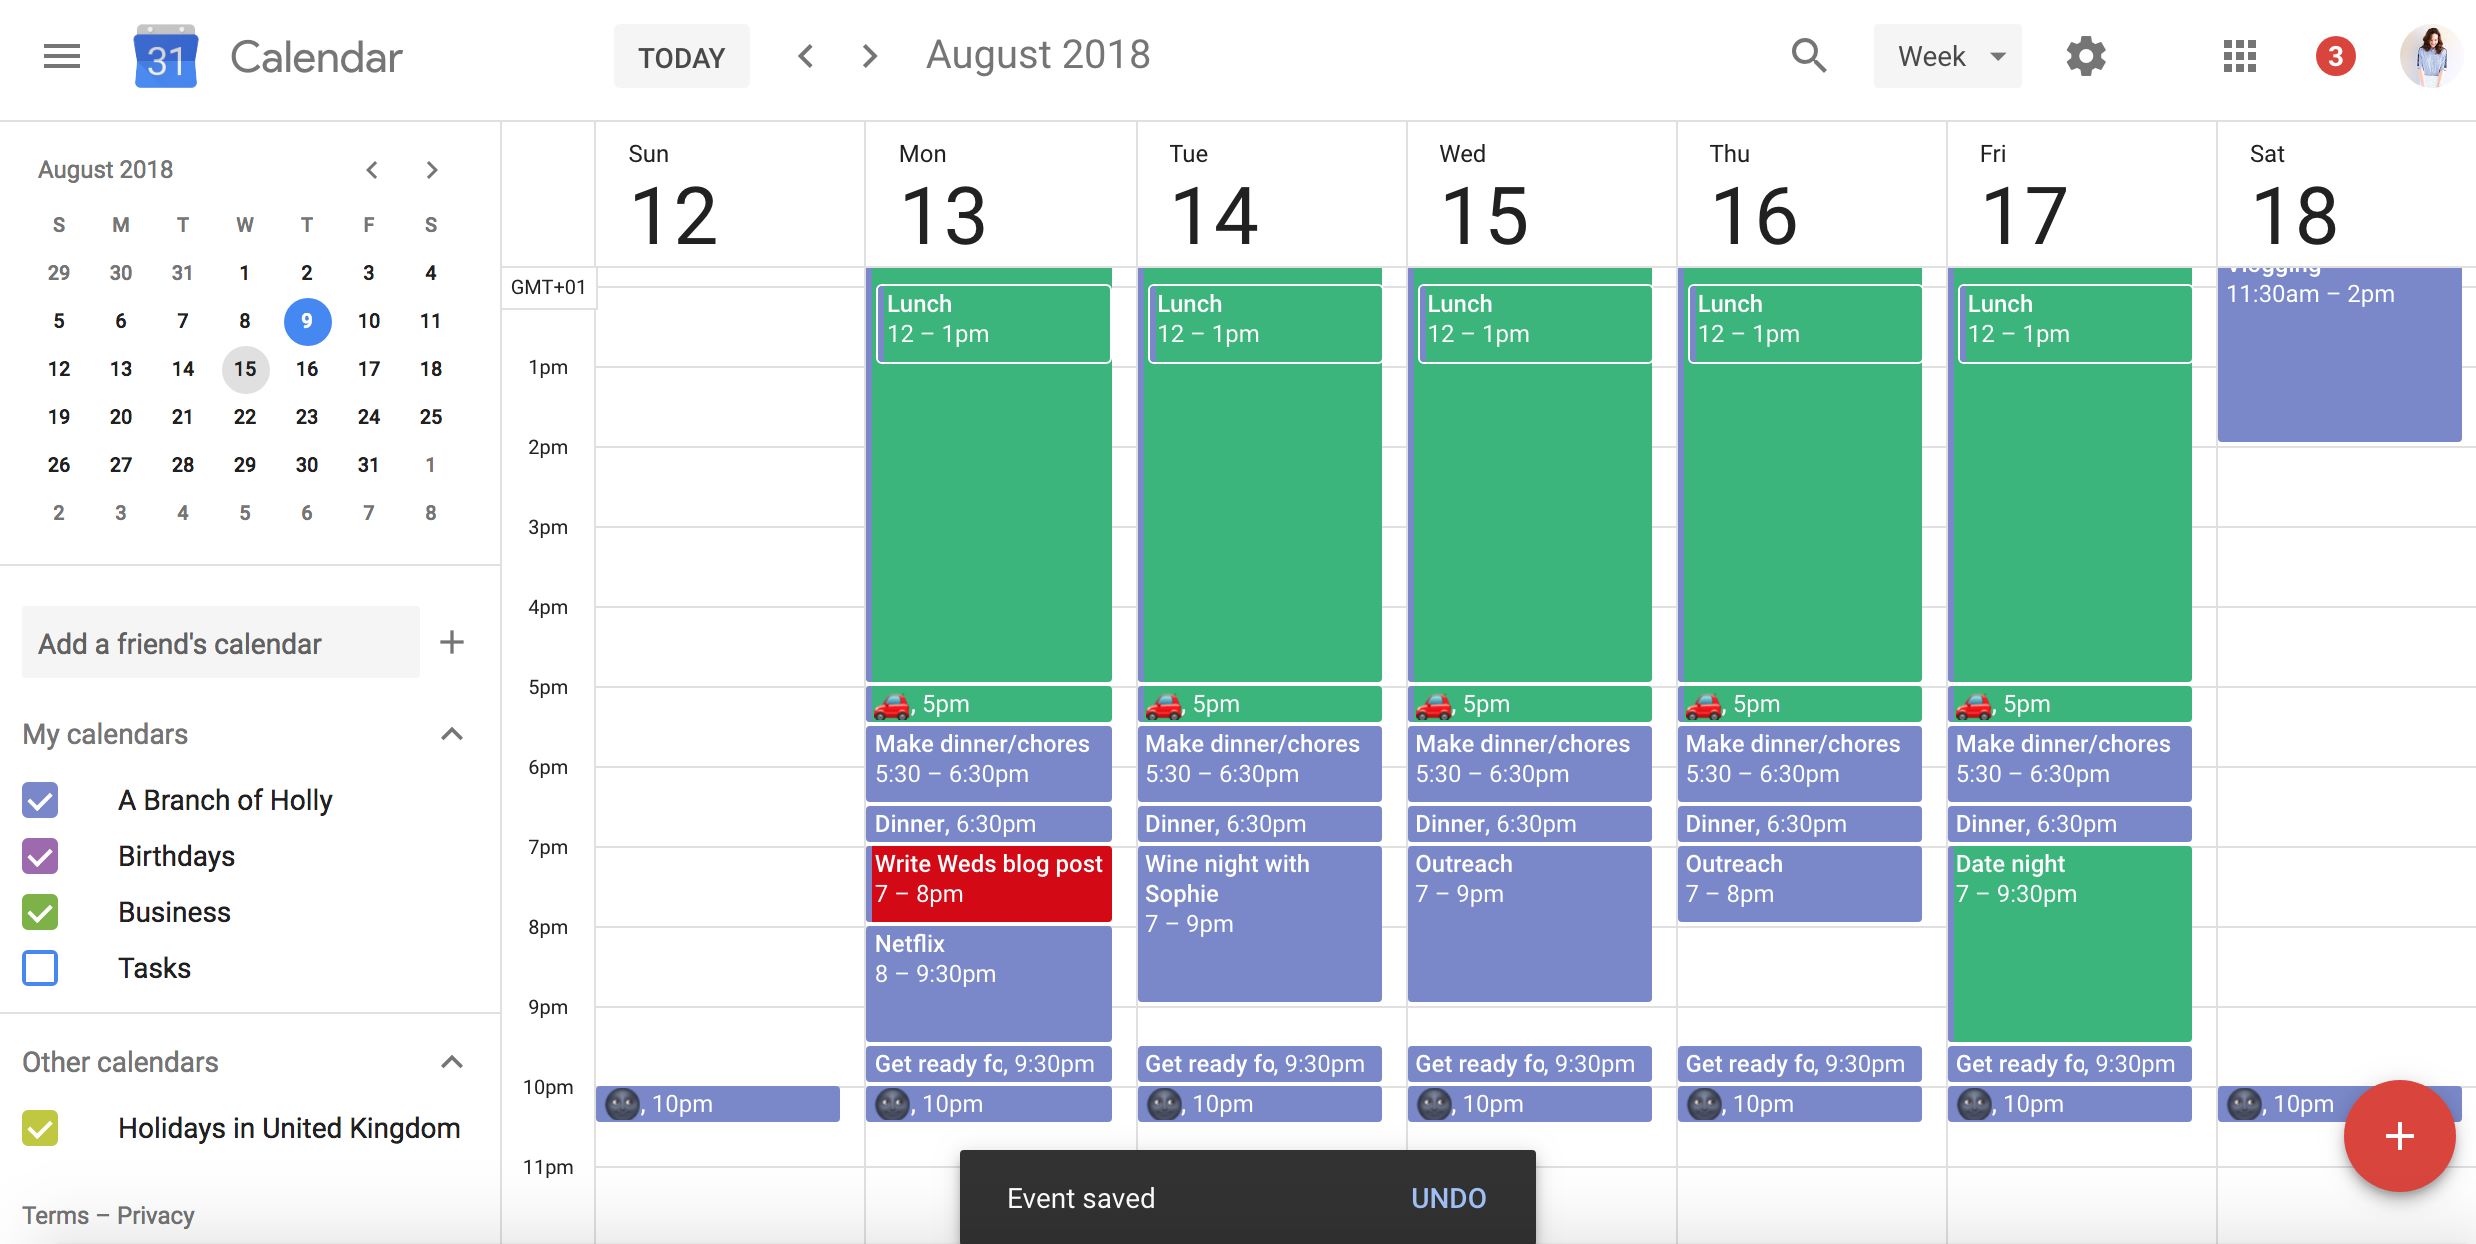
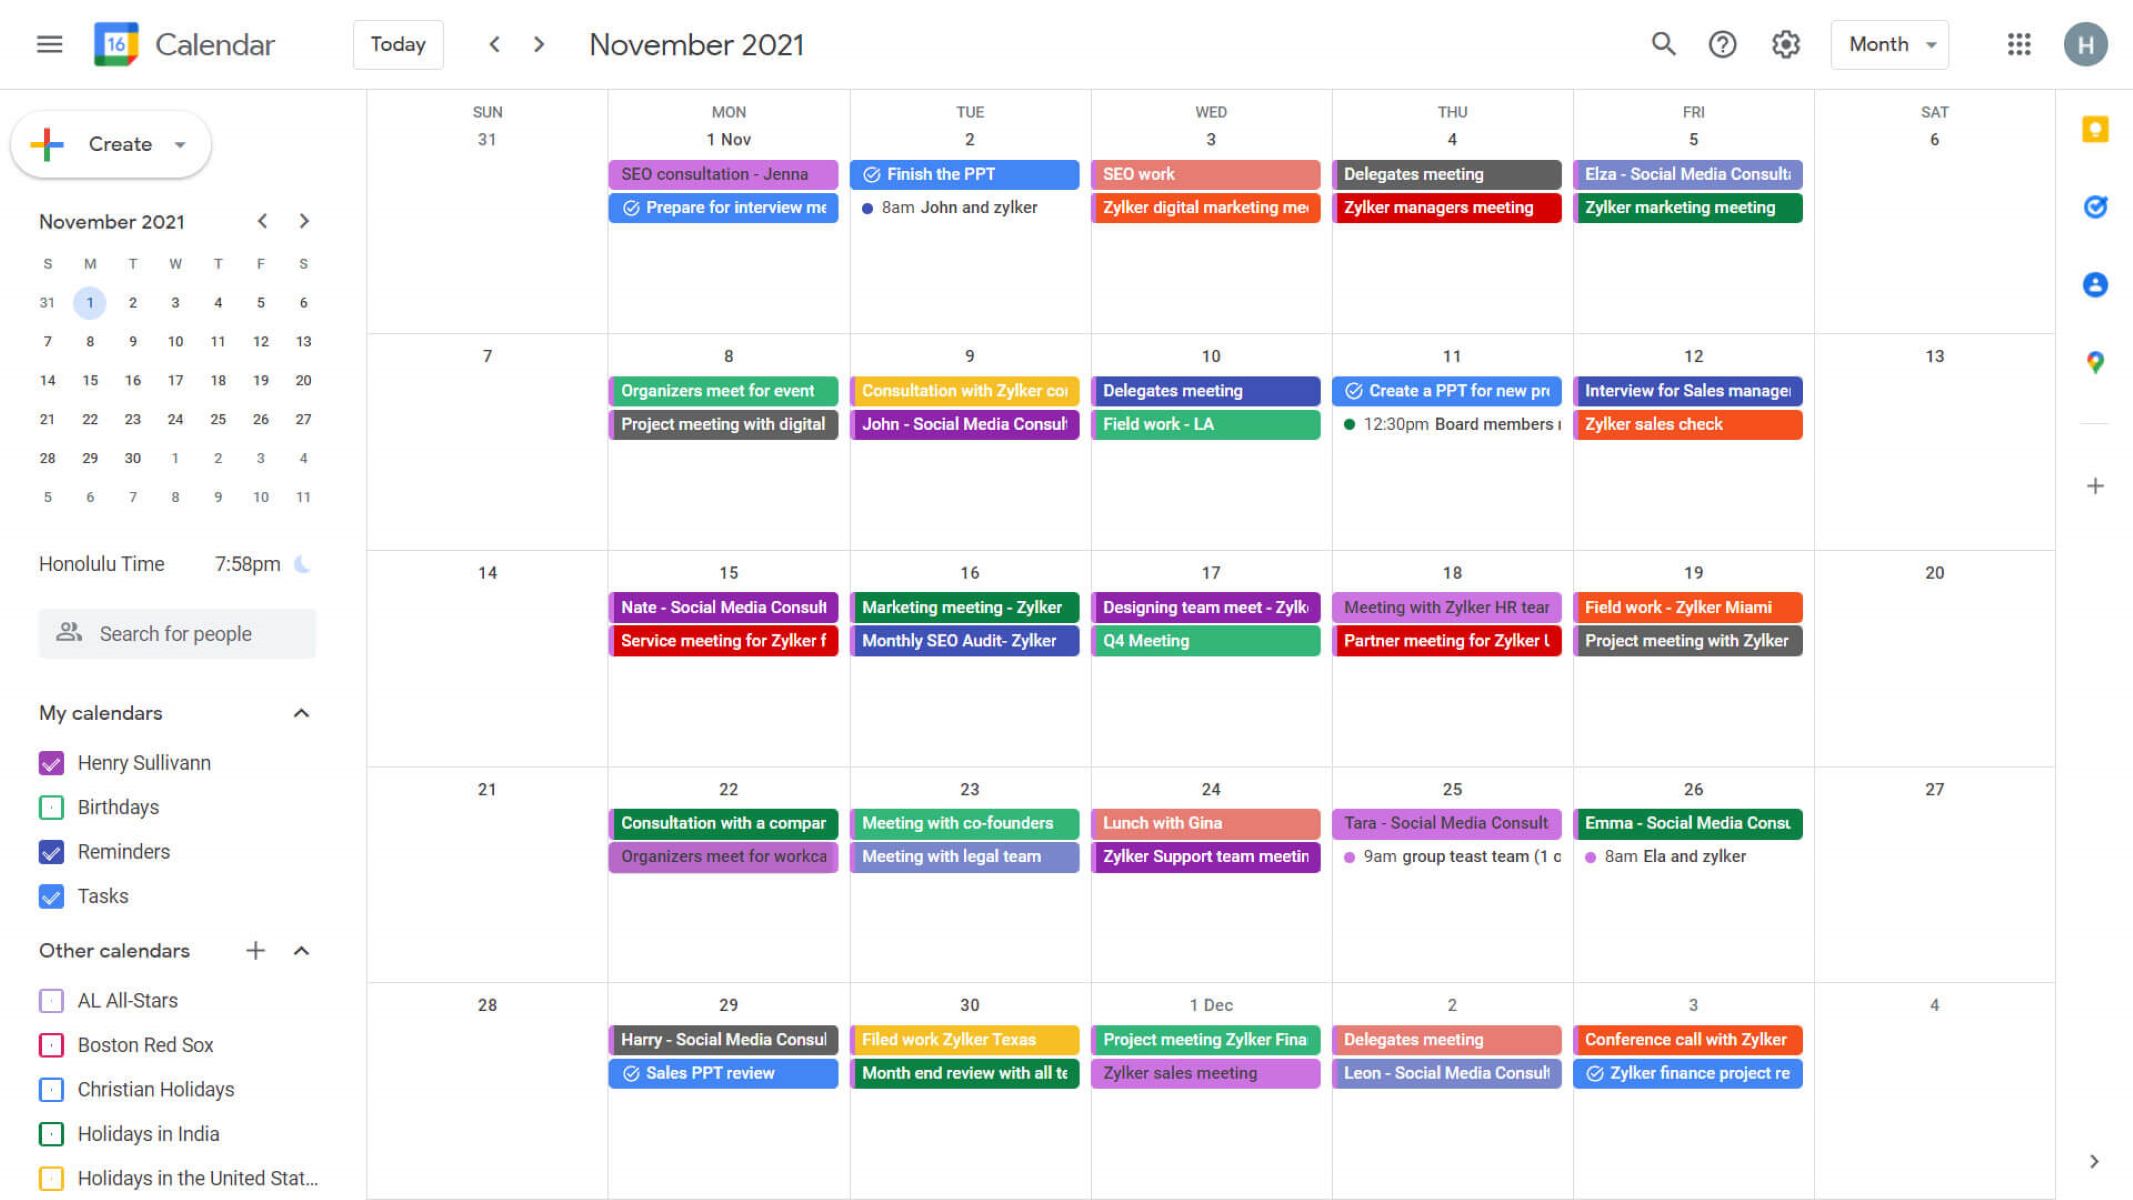
As you add work schedule events to your calendar, they will appear as blocks of time, color-coded according to your preferences. This visual representation allows for easy identification and management of your work commitments. In the next step, we’ll explore how to customize your work schedule events further.
Step 5: Customize Work Schedule Events
Customizing your work schedule events in Google Calendar can help you organize your work commitments more effectively and ensure a seamless work experience. Follow these steps to customize your work schedule events:
- On the Google Calendar interface, locate the work schedule event you want to customize.
- Click on the event to open the event details.
- In the event details window, you’ll find various options to customize the event.
- You can change the event title by editing the text in the designated field.
- If you need to modify the start and end times of the event, simply adjust the time in the respective fields.
- To add a location to the event, click on the “Add location” button and enter the address or name of the location.
- If you want to set a reminder specific to this event, click on the “Add a reminder” button and select your preferred reminder time.
- Additionally, you have the option to invite guests to the event by clicking on the “Add guests” button. Enter the email addresses of the people you want to invite.
- Other customization options include adding attachments, setting a repeat pattern for recurring events, and assigning different event colors.
- Make the necessary customizations to the event and click on the “Save” button to save your changes.
- Repeat these steps for any other work schedule events you want to customize.
By customizing your work schedule events, you can add important details, reminders, and notifications that will help you stay organized and on track. In the next step, we’ll explore how to share your work schedule calendar with others.
Step 6: Share Your Work Schedule Calendar
Sharing your work schedule calendar in Google Calendar allows you to collaborate and coordinate with colleagues, clients, or team members. Follow these steps to share your work schedule calendar:
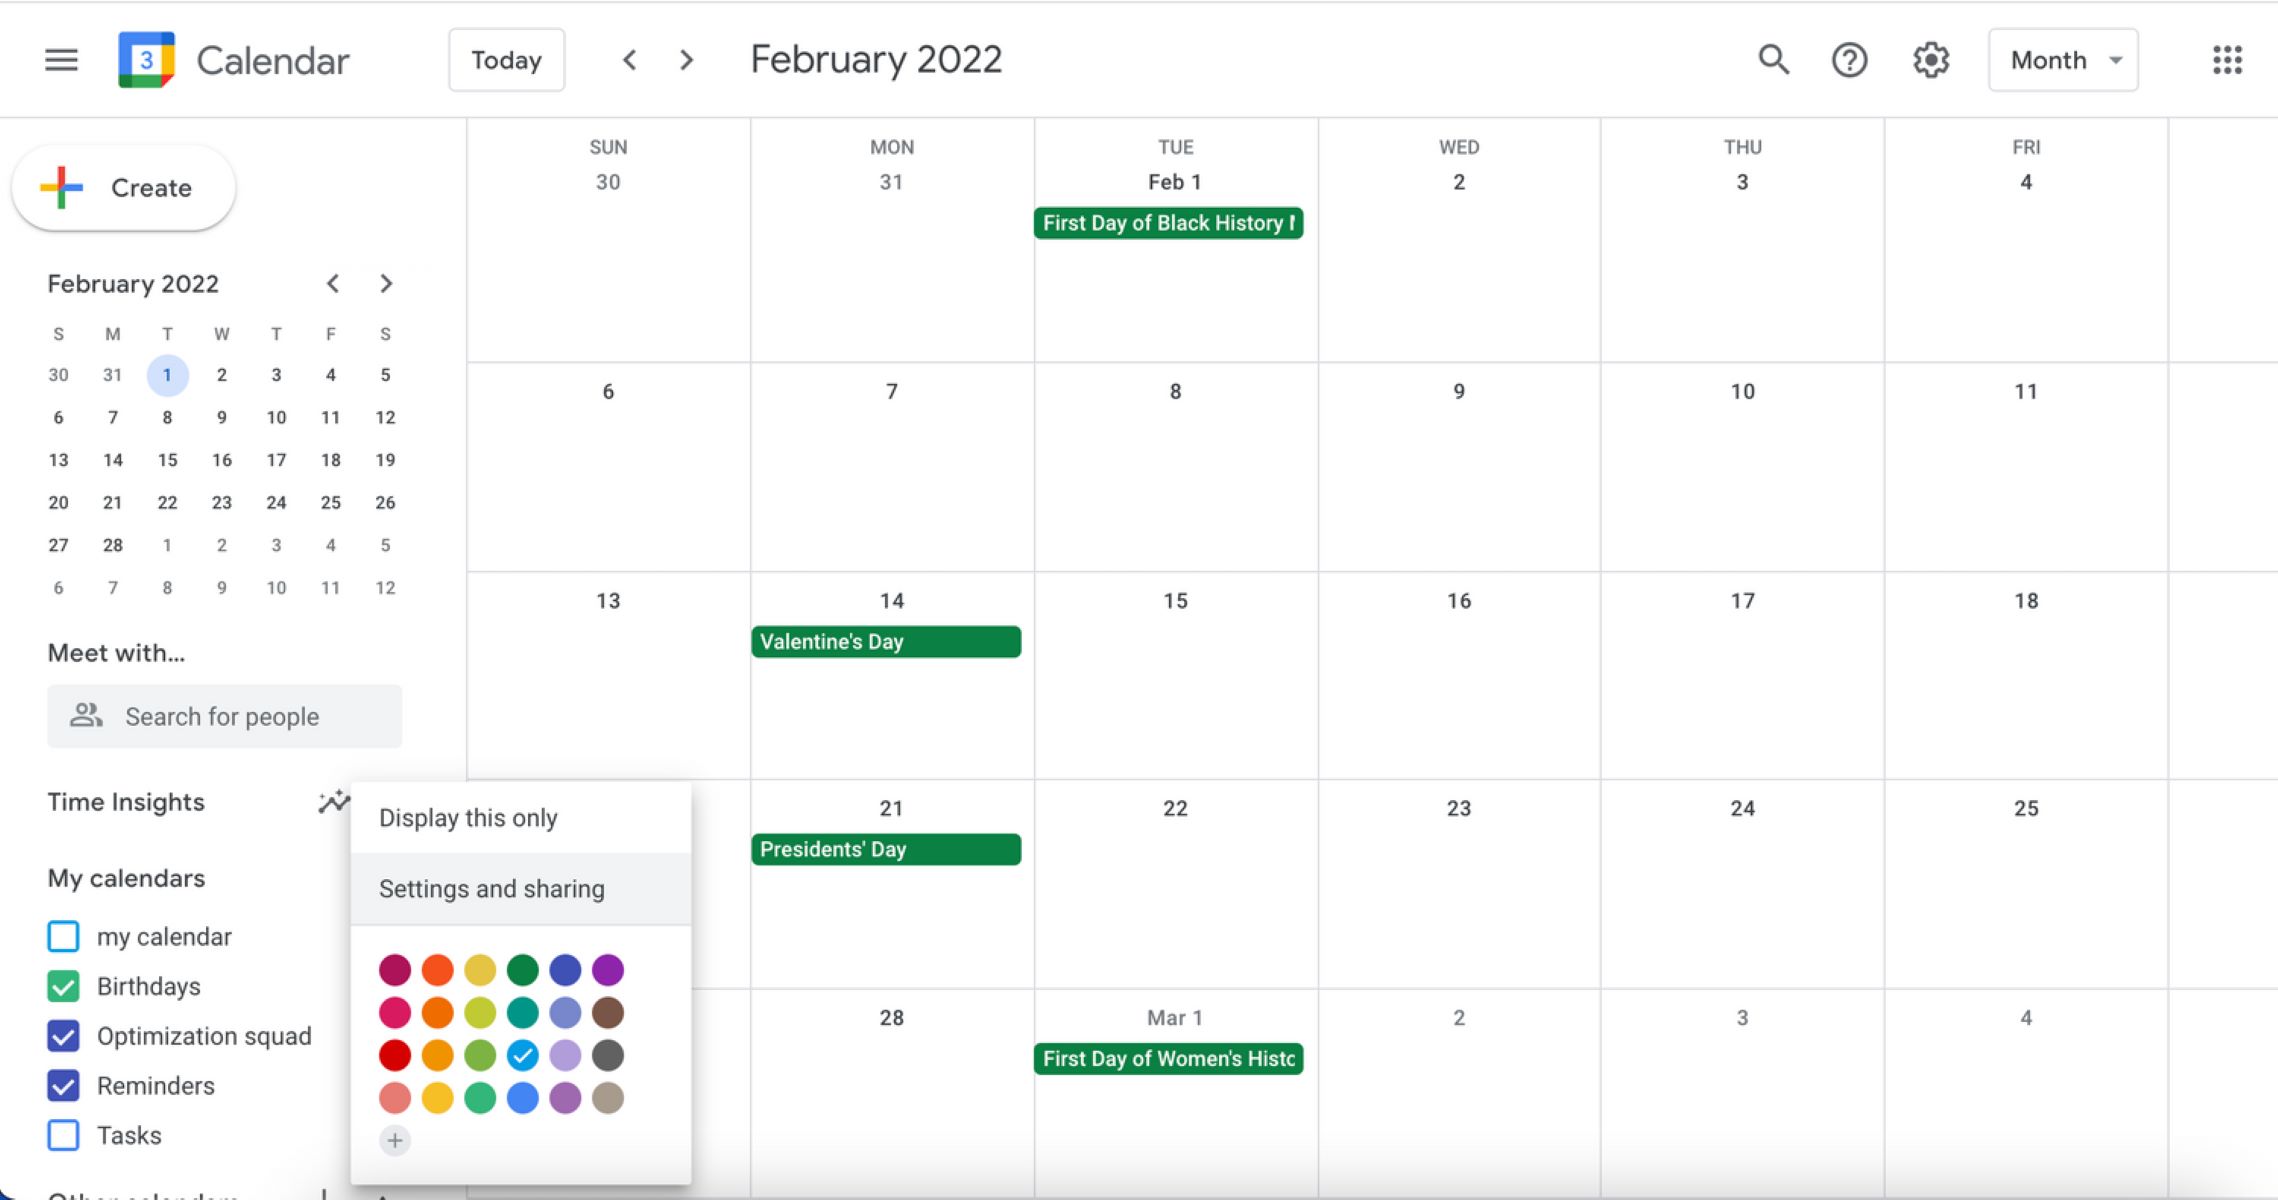
- On the left-hand side panel of the Google Calendar interface, locate your work schedule calendar under the “My calendars” section.
- Hover over the calendar name and click on the small dropdown arrow icon that appears.
- From the dropdown menu, select “Settings and sharing” to access the calendar settings.
- Scroll down to the “Access permissions” section of the settings page.
- To share your calendar publicly, click on the “Make available to the public” checkbox. This will allow anyone with the calendar’s URL to view its events.
- If you want to share your calendar with specific individuals, enter their email addresses in the “Share with specific people” field.
- Specify the level of access you want to grant to the shared individuals, such as “See only free/busy (hide details)” or “Make changes to events”.
- Click on the “Send” button to share the calendar with the chosen individuals.
- Additionally, you can generate a shareable URL that allows others to view your calendar by clicking on the “Get shareable link” button. Copy the generated link and share it with the desired recipients.
Sharing your work schedule calendar enables seamless collaboration and coordination, ensuring that others are aware of your availability and scheduled events. In the next step, we’ll explore how to sync your work schedule calendar with other devices and applications.
Step 7: Sync with Other Devices
Syncing your work schedule calendar with other devices and applications allows you to access and manage your schedule seamlessly, regardless of the device you’re using. Follow these steps to sync your work schedule calendar:
- Sync with Mobile Devices:
- If you’re using an Android device, open the Google Calendar app and sign in with your Google account. Your work schedule calendar will automatically be synced.
- If you’re using an iOS device, download and install the Google Calendar app from the App Store. Sign in with your Google account, and your work schedule calendar will be synced.
- To sync your work schedule calendar with the built-in calendar app on your device, go to the device’s settings, select “Accounts & Passwords” or “Accounts”, and add your Google account. Enable calendar syncing, and your work schedule events will appear in the device’s calendar app.
- Sync with Desktop Applications:
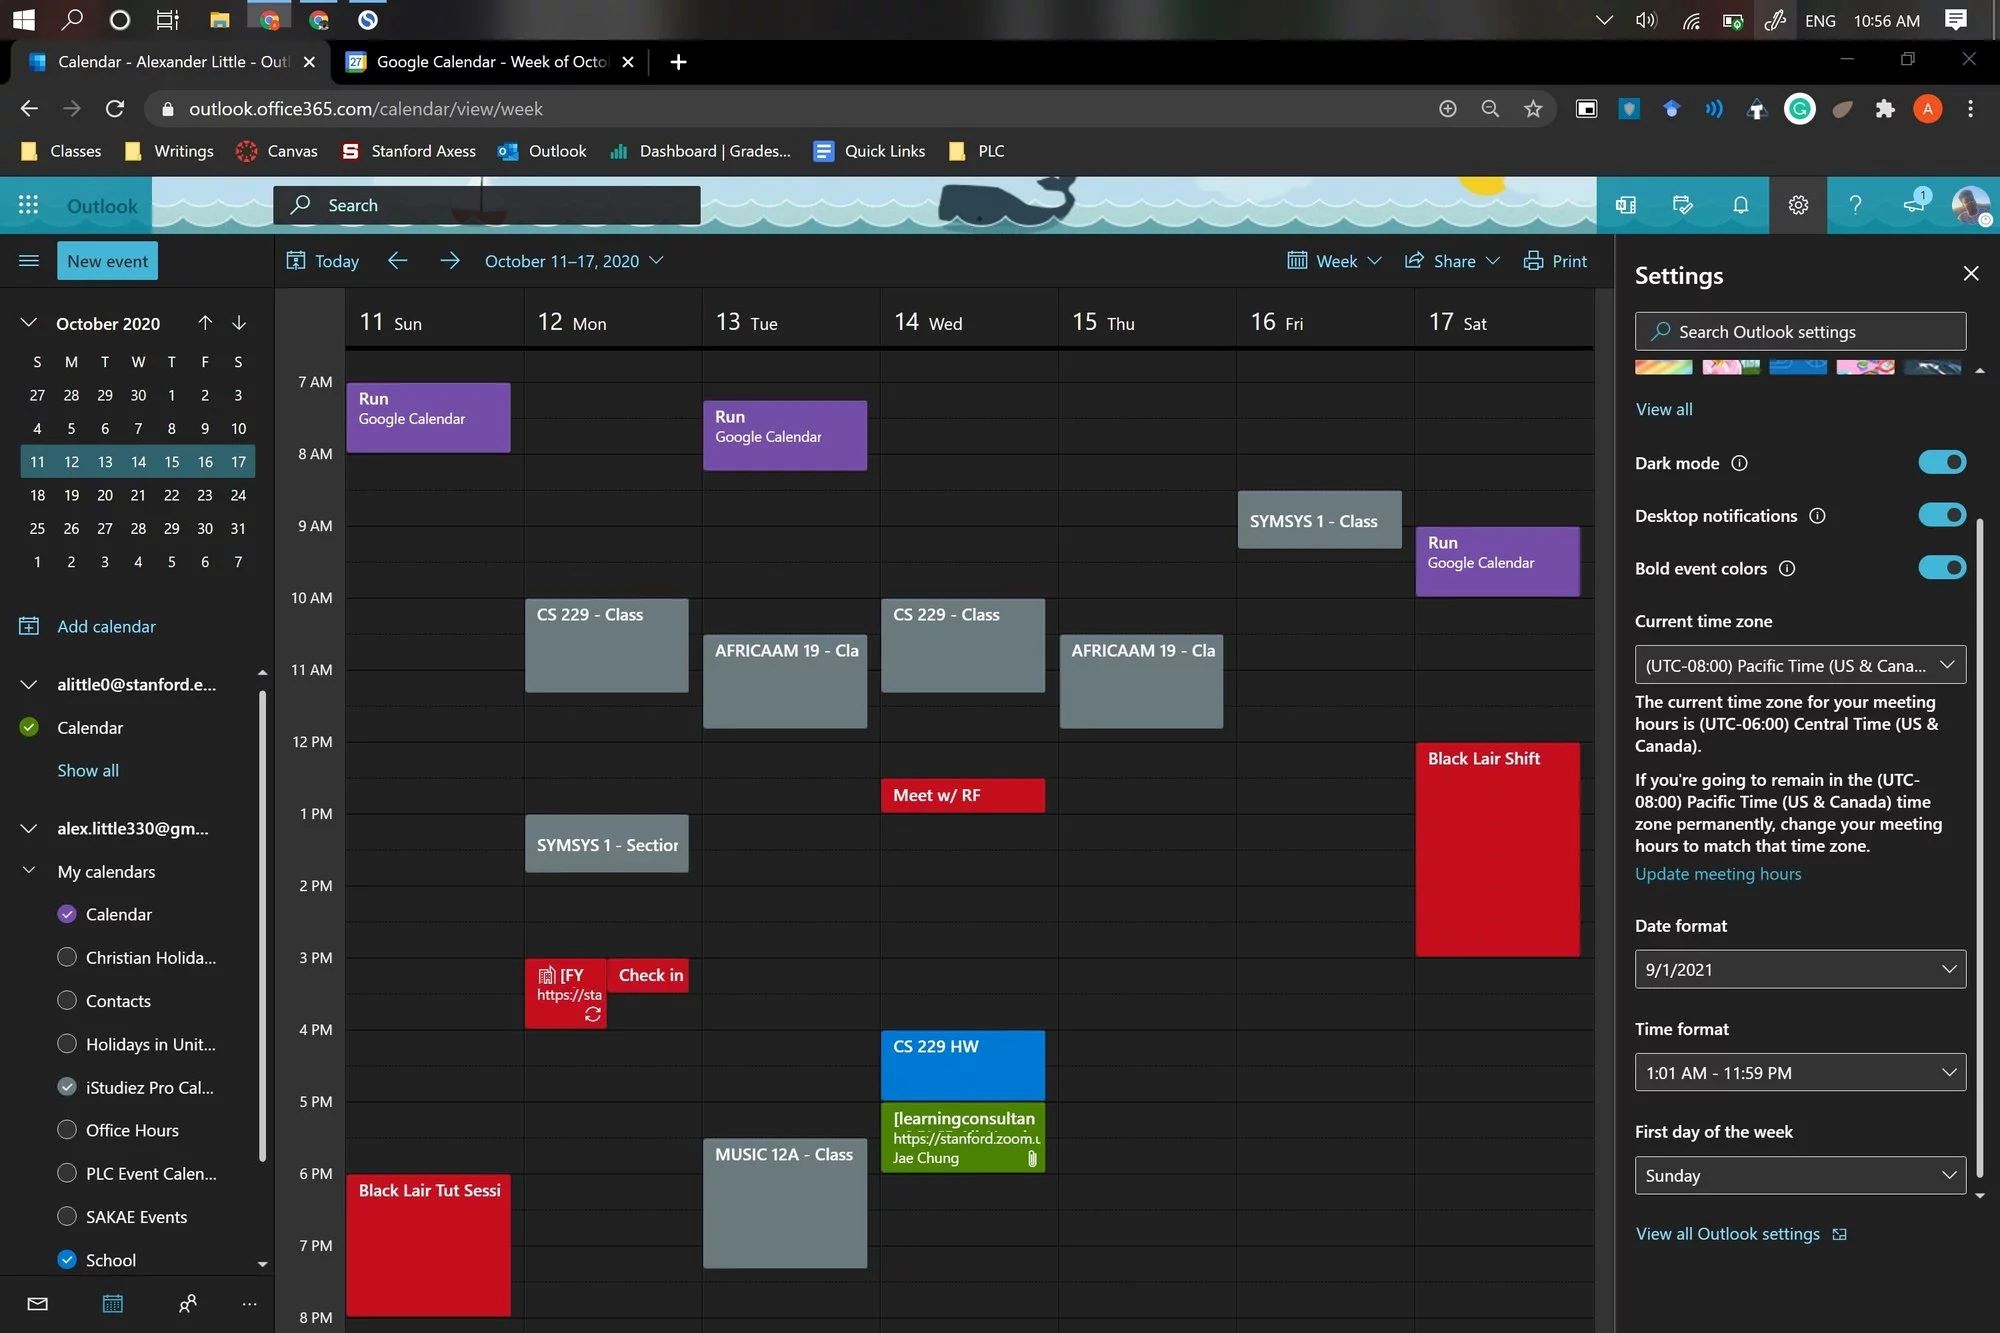
- If you’re using a desktop email client such as Microsoft Outlook, you can sync your work schedule calendar by adding your Google account as an additional calendar. This will display your work schedule events alongside your regular email and calendar functions.
- For macOS users, you can sync your work schedule calendar with the built-in Calendar app by adding your Google account. This will allow you to access and manage your work schedule alongside your other calendars.
- Sync with Other Web Applications:
- Many project management tools, productivity apps, and other web applications offer integration with Google Calendar. Check the documentation or settings of the specific application to learn how to sync your work schedule calendar with it.
- You can also subscribe to your work schedule calendar by using the “Add calendar” or “Subscribe” feature in other web applications. This will display your work schedule events within that specific application.
By syncing your work schedule calendar across devices and applications, you can stay up to date with your work commitments, even on the go. Congratulations! You have successfully added, customized, and shared your work schedule calendar in Google Calendar. You’re now equipped with a powerful tool to manage your work schedule efficiently and boost your productivity. Happy scheduling!
Conclusion
Adding your work schedule to Google Calendar is a game-changer when it comes to organizing and managing your professional commitments. With the step-by-step guide provided in this article, you can easily create a separate calendar for your work schedule, customize it to fit your preferences, and share it with others for seamless collaboration. By syncing your work schedule calendar across different devices and applications, you can stay on top of your tasks no matter where you are.
Google Calendar offers a user-friendly interface and a multitude of features to enhance your work scheduling experience. From setting up notifications and reminders to customizing individual events with relevant details, Google Calendar empowers you to stay organized and efficiently plan your day.
Remember to consider the prerequisites before getting started, such as having a Google account, a stable internet connection, and basic computer skills. By fulfilling these requirements, you’ll be ready to leverage the power of Google Calendar to streamline your work schedule and boost your productivity.
Now that you have the tools and knowledge to add your work schedule to Google Calendar, take the time to explore the various features and functionalities it offers. Experiment with different settings, customization options, and integrations to find the configuration that works best for you.
By integrating your work schedule into Google Calendar, you’re taking a proactive step towards better organization and increased productivity. So, open Google Calendar, create your work schedule calendar, and start enjoying the benefits of efficient and streamlined work scheduling. Good luck!