Introduction
Sharing your calendar with others can be a game-changer when it comes to staying organized, collaborating effectively, and managing your time efficiently. With the help of Google Calendar, you can easily share your calendar with friends, family, colleagues, or anyone else you choose. Whether you want to coordinate schedules, plan events, or simply keep your loved ones updated on your availability, sharing your calendar is a convenient and hassle-free solution.
In this article, we will walk you through the step-by-step process of sharing your Google Calendar, providing you with the necessary guidance to get started. Whether you are new to Google Calendar or simply need a refresher on how to share your calendar, we’ve got you covered.
But why should you bother sharing your calendar?
Firstly, sharing your calendar allows you to keep everyone on the same page. By granting others access to your calendar, you can ensure that they can view your schedule and avoid any potential conflicts when planning meetings or events. It eliminates the need for constant back-and-forths and helps streamline the planning process.
Secondly, sharing your calendar allows for effective collaboration. If you are part of a team or working on a project with others, sharing your calendar enables everyone to see when you’re available or busy. This makes scheduling meetings, discussions, and collaborative work sessions much simpler and more efficient.
Furthermore, sharing your calendar can be beneficial for personal reasons as well. If you have family members, close friends, or partners who need to be aware of your schedule, sharing your calendar provides them with real-time visibility. This can prevent misunderstandings, help with coordination, and ensure that everyone is on the same page.
No matter what your reason is for sharing your calendar, the process is fairly straightforward. Let’s dive into the step-by-step instructions on how to share your Google Calendar.
Why Share Your Calendar?
Sharing your calendar can have numerous benefits, both professionally and personally. Here are a few compelling reasons why you should consider sharing your Google Calendar:
1. Efficient scheduling: By sharing your calendar with others, you can streamline the scheduling process. When colleagues, friends, or family members have access to your calendar, they can easily see your availability and plan meetings or events accordingly. This prevents time conflicts and reduces the need for constant communication to determine availability.
2. Improved collaboration: Sharing your calendar is especially useful in a team or collaborative environment. It allows team members to sync their schedules, making it easier to plan group meetings, project deadlines, and collaborative tasks. With a shared calendar, everyone remains informed and aligned, promoting better teamwork and productivity.
3. Avoiding double bookings: Sharing your calendar minimizes the risk of double bookings. By allowing others to view your schedule, they can instantly see when you are unavailable and avoid scheduling conflicts. This saves time, prevents misunderstandings, and helps maintain professional relationships.
4. Remote work coordination: In today’s increasingly remote work culture, sharing calendars becomes even more crucial. When team members are spread across different time zones or locations, a shared calendar ensures everyone is aware of each other’s availability and can plan meetings or collaborations accordingly. It fosters effective communication and productivity, regardless of geographical barriers.
5. Family and personal coordination: Sharing your calendar with family members or close friends can help with personal coordination. Whether it’s planning family events, coordinating childcare responsibilities, or simply staying updated on each other’s schedules, a shared calendar ensures that everyone is on the same page. It promotes better communication, reduces conflicts, and improves overall organization.
6. Increased accountability: Sharing your calendar can foster a sense of accountability. When others have access to your schedule, it creates a level of transparency and encourages punctuality and reliability. Knowing that others can see your commitments can motivate you to stick to your schedule and meet your deadlines.
7. Flexibility and customization: Google Calendar offers various customization options when sharing your calendar. You can choose specific individuals to share with, grant different levels of access, and even set up recurring events or reminders. This flexibility allows you to tailor the sharing settings to fit your needs and preferences.
As you can see, sharing your calendar can greatly benefit your professional and personal life. It enhances communication, coordination, and efficiency while reducing conflicts and misunderstandings. Now that you understand the advantages, let’s explore how to share your Google Calendar in detail.
How to Share Your Calendar
Sharing your Google Calendar is a straightforward process that can be done in just a few steps. Here is a detailed guide on how to share your calendar:
- Step 1: Open Google Calendar
- Step 2: Find Your Calendar
- Step 3: Click on the Three Dots
- Step 4: Select “Settings and Sharing”
- Step 5: Go to the “Share with specific people” section
- Step 6: Add People to Share With
- Step 7: Choose their Level of Access
- See only free/busy (hide details): The person can see when you are available or busy but cannot view the specific details of your events.
- See all event details: The person can view all the details of your events, including the event title, location, and description.
- Make changes to events: In addition to viewing all the details, the person can also make changes and edit events on your calendar.
- Manage sharing: The person has full control over sharing your calendar with others.
- Step 8: Click on “Send”
To begin, open Google Calendar on your computer or mobile device. Sign in to your Google account if you haven’t already.
In the left sidebar, locate the calendar you want to share. You may have multiple calendars, such as personal, work, or shared calendars. Make sure you choose the correct one.
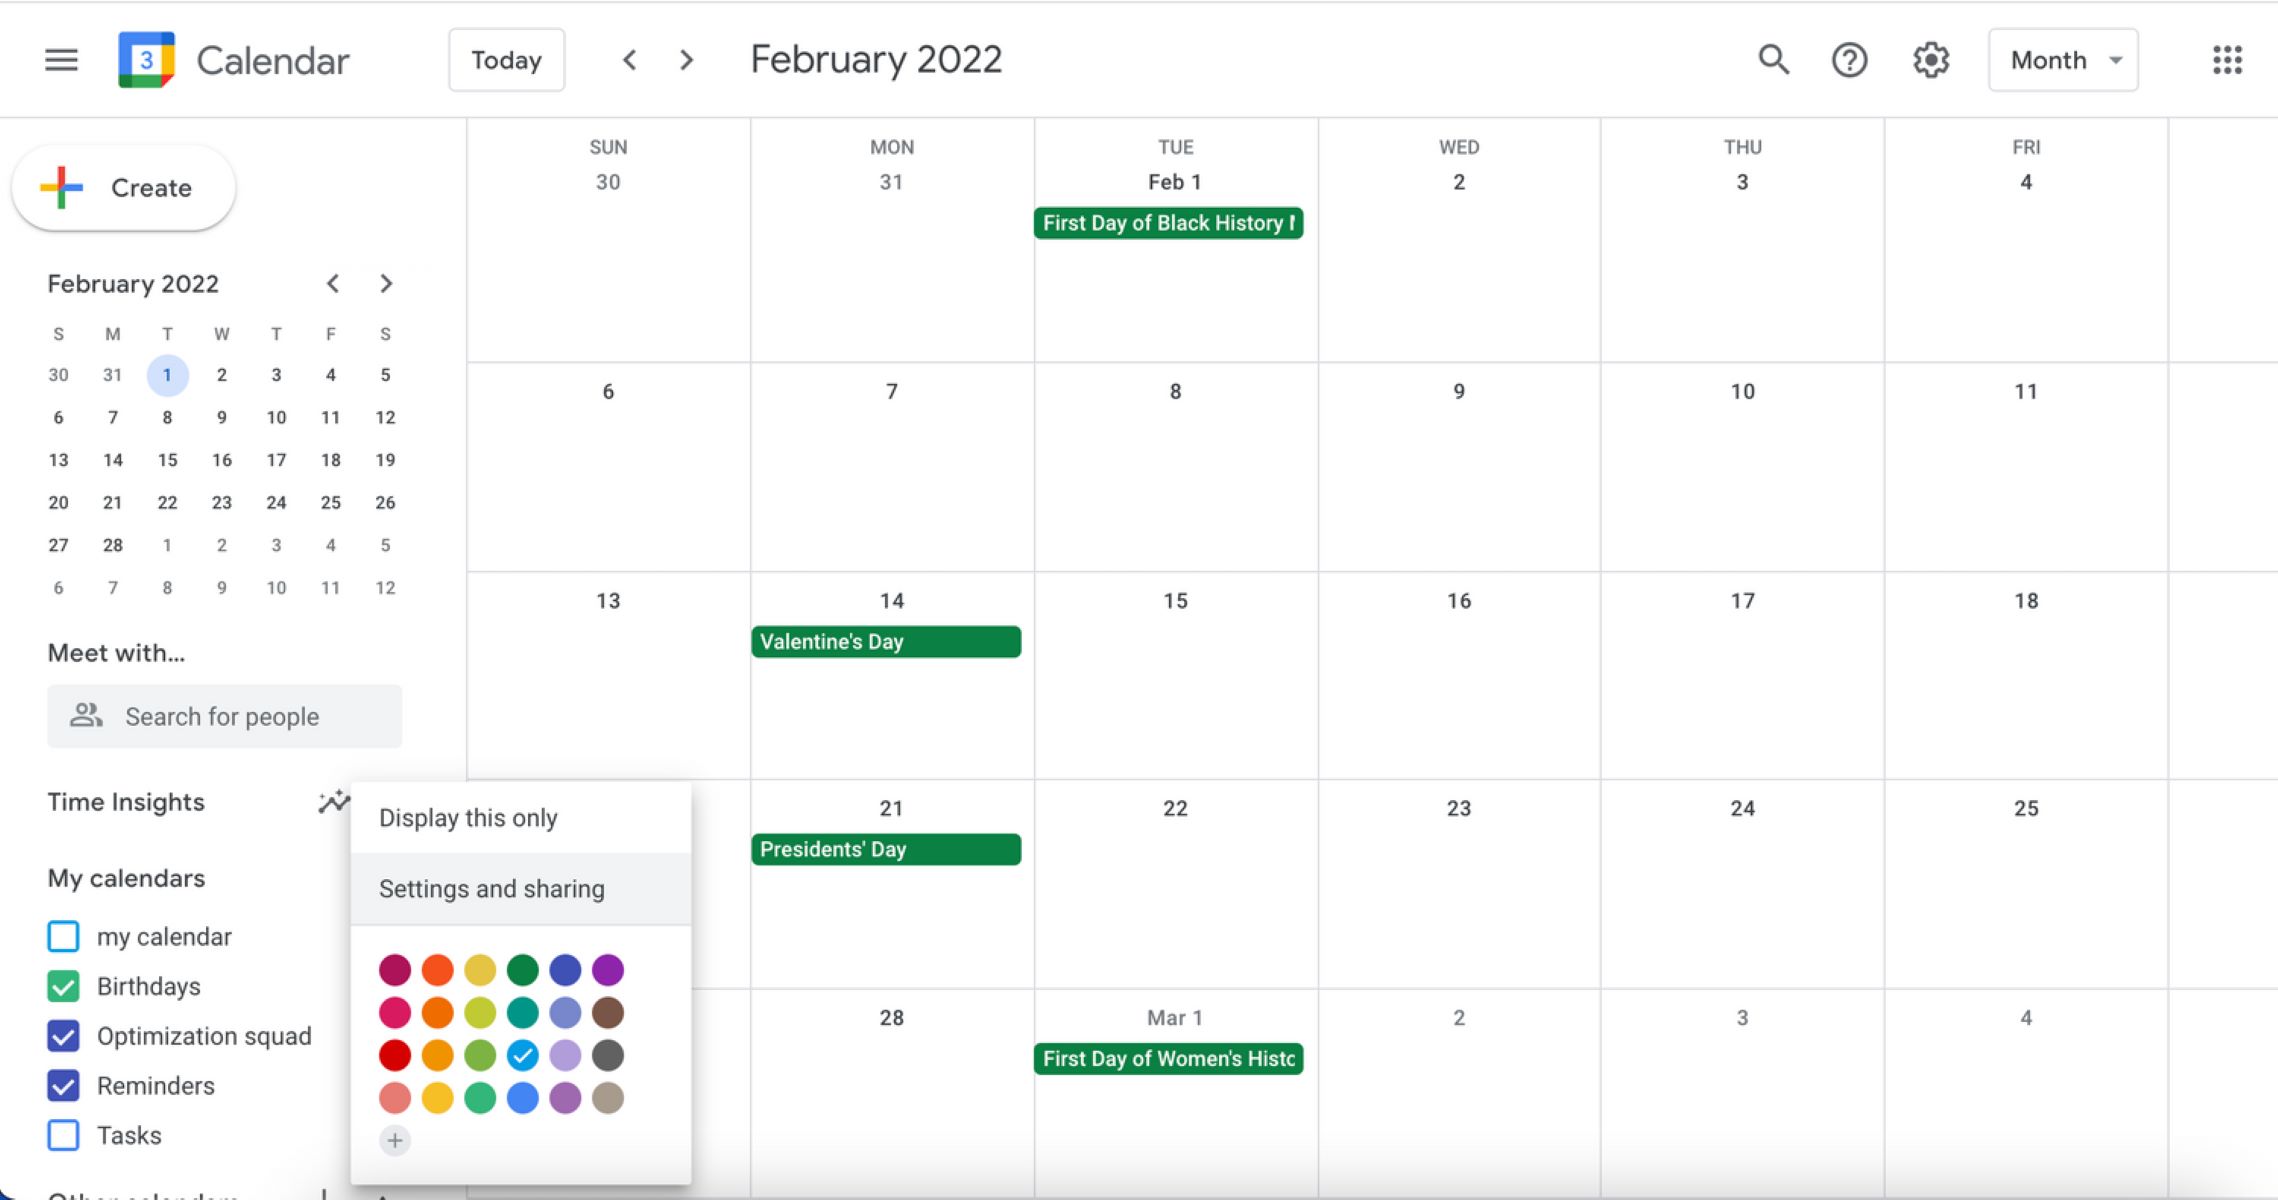
Next, hover over the calendar name and click on the three dots (…) icon that appears.
A dropdown menu will appear. Select “Settings and Sharing” from the options.
Scroll down to the “Share with specific people” section. This is where you can add individuals with whom you want to share your calendar.
Click on the “+ Add People” button and enter the email addresses or names of the people you want to share your calendar with. Google will automatically suggest email addresses from your contact list.
For each person you added, you can choose their level of access to your calendar. The available options are:
Once you have added the people and chosen their access levels, click on the “Send” button to share your calendar. Google will send an email invitation to the recipients, granting them access to your calendar based on the access level you have assigned to them.
And that’s it! You have successfully shared your Google Calendar with specific individuals. They will now have access to view your schedule and events based on the access level you granted them.
Keep in mind that you can always manage and change the sharing settings for your calendar anytime by going back to the “Settings and Sharing” section and adjusting the permissions as needed.
Now that you know how to share your calendar, let’s explore some tips for sharing it effectively.
Step 1: Open Google Calendar
The first step to sharing your Google Calendar is to open the Google Calendar application either on your computer or mobile device. To access Google Calendar on your computer, open a web browser and navigate to calendar.google.com. Make sure you are signed in to your Google account. If you prefer to use the mobile app, launch the Google Calendar app on your mobile device.
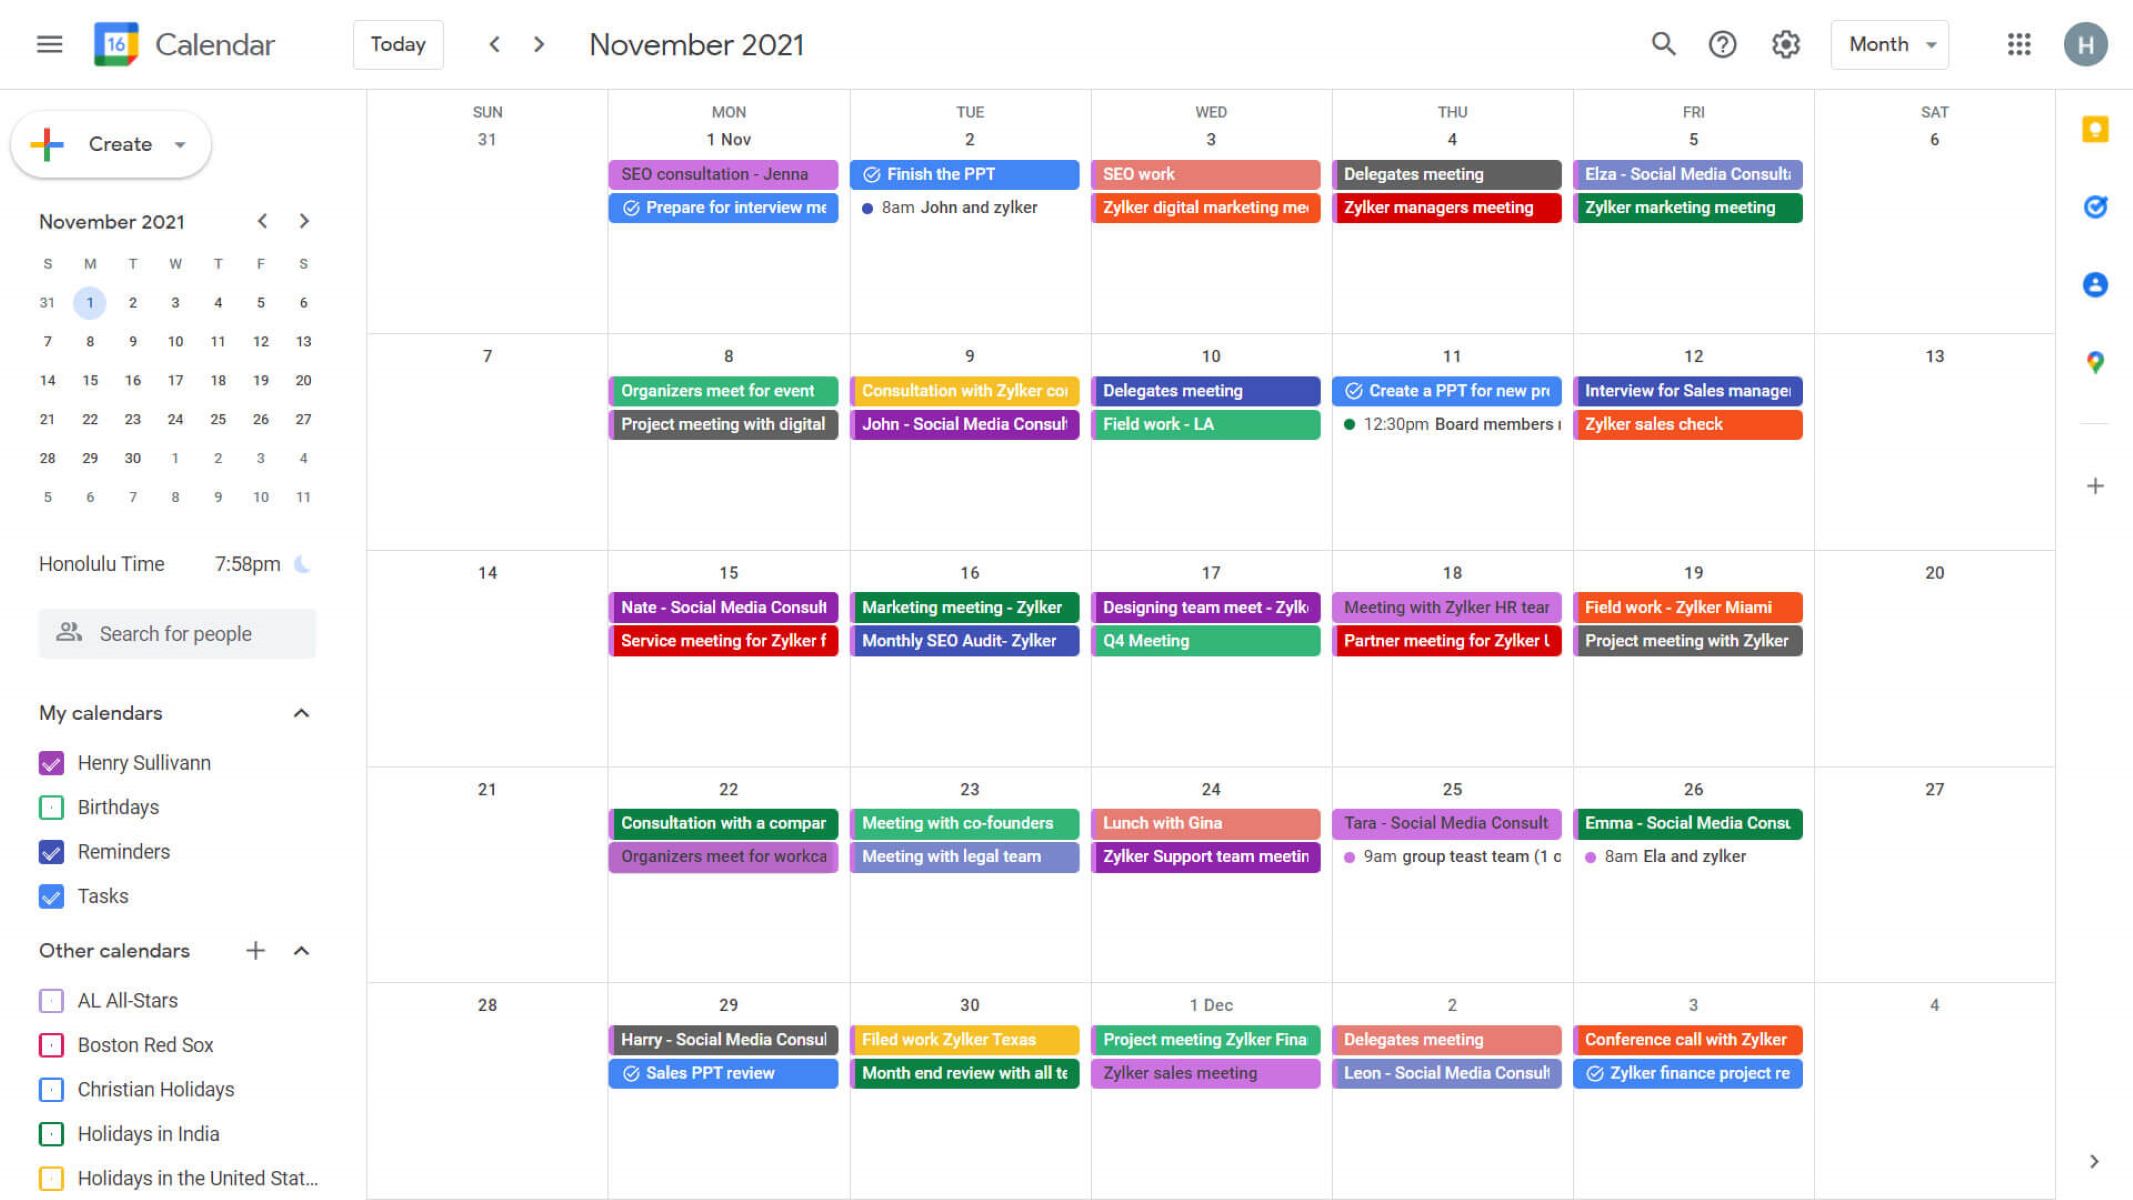
If you are using a computer, you will see the Google Calendar interface with a clean and intuitive design. The main view displays your calendar and any events or appointments you have already created. On the left sidebar, you will find a list of calendars, including your primary calendar and any additional calendars you have added. Simply click on the calendar you want to share.
If you are using the mobile app, the interface may vary slightly depending on the operating system and device you are using. Nonetheless, you will find a similar layout with your calendar and existing events. On the mobile app, you can swipe left or right to switch between different calendars.
By opening Google Calendar, you gain access to a wide range of features and settings that will allow you to manage and share your calendar effectively. It serves as the foundation for sharing your calendar and helps you stay organized and in control of your schedule.
Remember to ensure that you are signed in to Google Calendar using the correct Google account associated with the calendar you want to share. This will ensure that the sharing settings you apply are applied to the correct calendar.
Now that you have opened Google Calendar, let’s move on to the next step of the sharing process.
Step 2: Find Your Calendar
Once you have opened Google Calendar, the next step in sharing your calendar is to locate the specific calendar you want to share. Google Calendar allows you to have multiple calendars, each serving different purposes or representing different aspects of your life.
In the left sidebar of the Google Calendar interface, you will find a list of calendars. The primary calendar associated with your Google account will be displayed at the top of the list. This is the calendar that is automatically created when you set up your Google account.
If you have additional calendars, they will be listed under the primary calendar. These can be calendars you’ve created yourself or calendars that have been shared with you by others.
To find the calendar you want to share, simply scan the list of calendars in the left sidebar. The calendar names are usually self-explanatory and can include titles such as “Personal,” “Work,” “Family,” or specific project names.
If you have a long list of calendars or if you’re having trouble finding the specific calendar you want to share, you can use the search bar located at the top of the left sidebar. Simply type in keywords related to the calendar you’re looking for, and Google Calendar will filter the results accordingly.
Once you have located the calendar you want to share, click on the calendar name to select it. This will bring up the calendar’s details and events in the main view of the Google Calendar interface.
It is important to ensure that you have selected the correct calendar before proceeding to the next steps of the sharing process. Double-check the calendar name and any distinguishing details to make sure you are sharing the intended calendar.
By finding your calendar within Google Calendar, you are one step closer to sharing it with others. In the following steps, we will explore how to customize the sharing settings and add specific people to share your calendar with.
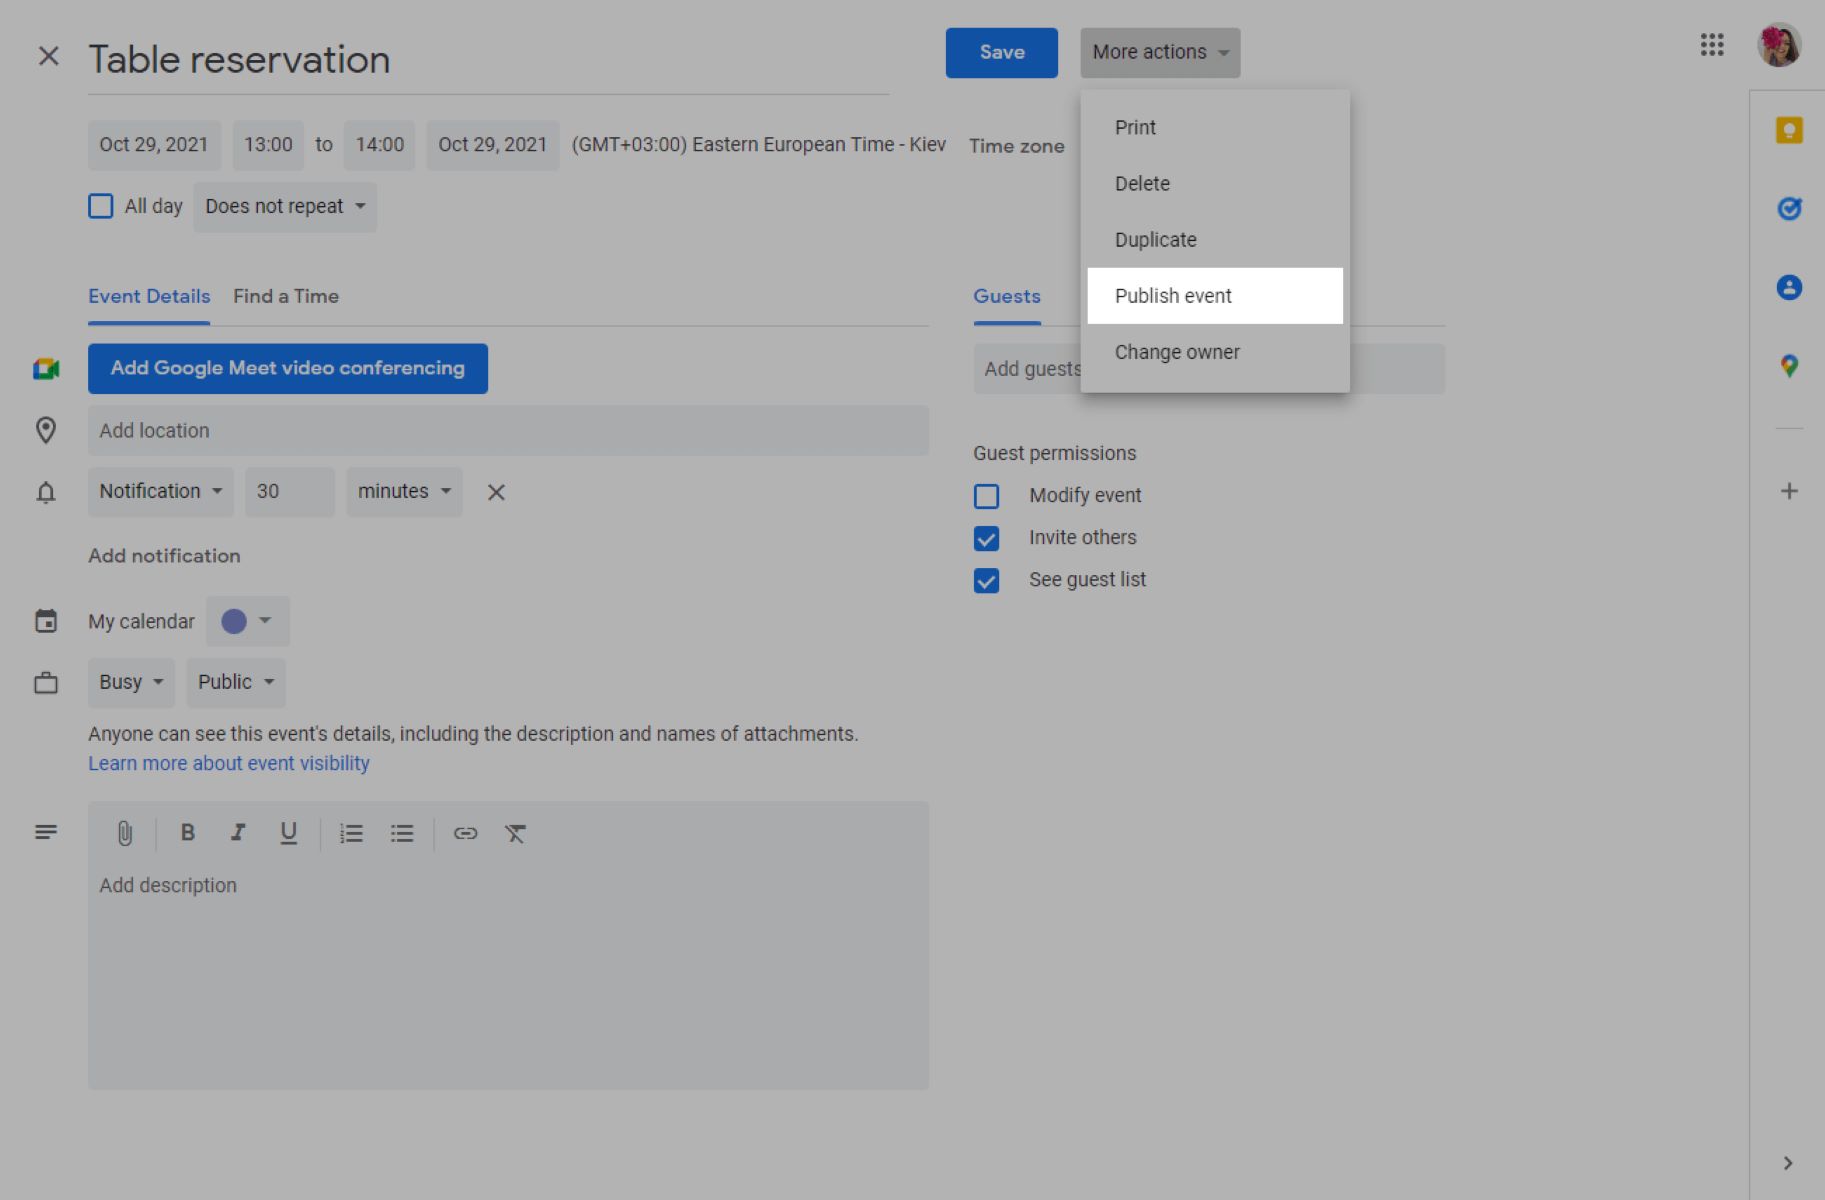
Step 3: Click on the Three Dots
In order to share your Google Calendar, you need to access the settings and sharing options for the specific calendar you want to share. To do this, you will need to locate and click on the three dots (…) icon associated with the calendar.
On the Google Calendar interface, the three dots are typically located next to the calendar name in the left sidebar. The specific placement may vary slightly depending on the version of Google Calendar you are using, but the three dots should be easily identifiable.
To click on the three dots, simply position your cursor over the calendar name and look for the symbol. It may appear as three vertical dots or as a small ellipsis icon. Once you’ve found it, click on the three dots to access the additional options for the calendar.
When you click on the three dots, a dropdown menu will appear with various settings and sharing options for the selected calendar. This menu provides access to several calendar management features, including sharing, calendar settings, and other customization options.
By clicking on the three dots, you are opening up a world of possibilities for customizing and sharing your Google Calendar. It serves as a gateway to the next steps of the sharing process, allowing you to fine-tune the sharing settings, add specific people, and control the level of access they have to your calendar.
Now that you have clicked on the three dots, it’s time to move on to the next step of the sharing process and explore the “Settings and Sharing” options for your calendar.
Step 4: Select “Settings and Sharing”
After clicking on the three dots (…) associated with your Google Calendar, a dropdown menu will appear. Among the options presented, select “Settings and Sharing”. This selection will open up the settings and sharing options for the specific calendar you have chosen.
When you select “Settings and Sharing”, you will be directed to the calendar settings page. This page provides you with a range of customizable options to manage your calendar and control how it is shared with others.
On the settings and sharing page, you will find different sections related to various aspects of your calendar. These sections include general settings, notifications, event default settings, and more. It is important to note that for sharing purposes, you will specifically focus on the sharing-related options.
Within the sharing settings section, you can fine-tune the privacy and access levels for your calendar. This includes determining who can view your calendar, who can make changes to events, and whether people can see all event details or just your availability.
Take the time to familiarize yourself with the different options and permissions available on the settings and sharing page. This will allow you to customize the sharing settings according to your preferences and specific sharing requirements.
It’s worth noting that the settings and sharing page also provides options for embedding your calendar into a website, subscribing to your calendar on other platforms, and managing other calendar-related settings. These features can be explored further if desired, but for now, focus on the sharing settings to proceed with the sharing process.
Now that you have selected “Settings and Sharing” for your calendar, the next step is to navigate to the appropriate section where you can add specific people to share your calendar with and configure their access levels.
Step 5: Go to the “Share with specific people” section
Once you have accessed the settings and sharing options for your Google Calendar, it’s time to navigate to the “Share with specific people” section. This section allows you to add individuals with whom you want to share your calendar and customize their access levels.
Scroll down the settings and sharing page until you find the “Share with specific people” section. This section is usually located below the general sharing settings and may have a separate heading or subheading to clearly indicate its purpose.
When you reach the “Share with specific people” section, you will see a list of the current individuals who have access to your calendar, if any. This list displays their names or email addresses, as well as their current access level (such as “See only free/busy” or “See all event details”).
To add new people to share your calendar with, click on the “+ Add People” button or a similar option that allows you to add individuals. This action will open a dialog box where you can enter the email addresses or names of the people you want to share your calendar with.
As you start typing the email addresses or names, Google will provide suggestions based on your contacts and previous interactions. This autocompletion feature can help you quickly find and select the correct individuals you want to share your calendar with.
Remember that you can add multiple individuals to share your calendar with. Simply continue entering their email addresses or names, separating each entry with a comma or semicolon.
Once you have added the people you want to share your calendar with, you can also configure their access levels. For each person, you can choose from different access options, such as allowing them to “See only free/busy” (which hides event details), “See all event details,” “Make changes to events,” or even granting them the ability to “Manage sharing” and control access to your calendar.
Take the time to consider the appropriate access level for each person based on their involvement and the level of information you want to share. Be mindful of privacy concerns and ensure that you are comfortable with the access each person receives.
Once you have added the desired individuals and set their access levels, you are ready to move on to the next step of the sharing process to finalize and send the calendar invitations.
Step 6: Add People to Share With
After reaching the “Share with specific people” section in the settings and sharing options of your Google Calendar, the next step is to add the individuals with whom you want to share your calendar. Adding people is a straightforward process that can be done in a few simple steps.
Begin by clicking on the “+ Add People” button or a similar option available in the “Share with specific people” section. This will open a dialog box where you can enter the email addresses or names of the people you want to share your calendar with.
As you start typing the email addresses or names, Google Calendar will provide suggestions based on your contacts or previous interactions. This autocompletion feature can help you quickly find and select the correct individuals you want to share your calendar with.
You can add multiple individuals by entering their email addresses or names, separating each entry with a comma or semicolon. This allows you to share your calendar with colleagues, friends, family members, or anyone else you choose.
If you’re unsure of the email addresses or names of the individuals you want to add, you can also click on the address book icon or a similar option to access your Google Contacts. This gives you the flexibility to select individuals from your saved contacts, making the process even simpler.
It’s important to ensure that you enter the email addresses correctly to ensure that the invitations to share your calendar are sent to the intended recipients. Double-check for any typos or errors before proceeding to the next step.
Once you have added the people you want to share your calendar with, you can proceed to the next step to configure the access levels for each individual.
Remember that you have control over the level of access each person has to your calendar. You can choose whether they can only see your availability (“See only free/busy”), view all event details, make changes to events, or have the ability to manage sharing and control access to your calendar.
Take the time to consider the appropriate access level for each person based on their involvement and the information you want to share. This allows you to maintain privacy and ensure that everyone only has access to the necessary information.
Once you have added the people you want to share your calendar with and set their access levels, you’re ready for the next step of the sharing process, which involves finalizing and sending the calendar invitations.
Step 7: Choose Their Level of Access
After adding the individuals you want to share your Google Calendar with, the next step is to choose their level of access. Google Calendar provides different access options that allow you to customize what each person can see and do with your calendar.
For each person you added to share your calendar with, you have the flexibility to assign one of several access levels:
- See only free/busy (hide details): This access level allows the person to view your availability but hides the specific details of your events. They will only see if you are free or busy during a particular time slot.
- See all event details: With this access level, the person can view all the details of your events, including the event title, location, and description. They will have a complete view of your schedule and events.
- Make changes to events: In addition to viewing all event details, this access level enables the person to make changes and edits to events in your calendar. They can add new events, modify existing ones, and manage your calendar on your behalf.
- Manage sharing: This highest level of access grants the person full control over sharing your calendar with others. They can add new people to share your calendar with, modify access levels, and manage the sharing settings.
Consider the nature of your relationship with each person and the level of information you want to share with them. It’s essential to assign the appropriate access level to maintain privacy and control over your calendar.
For example, if you are sharing your calendar with a coworker who needs to schedule meetings with you, choosing the “See only free/busy” access level can help them coordinate without revealing the details of your events. On the other hand, if you’re sharing your calendar with a family member who needs to be aware of your entire schedule, granting them the “See all event details” access level would be more appropriate.
Take the time to individually assign the access levels for each person you added. Consider their role, responsibilities, and the information they require from your calendar. This way, you can ensure that everyone has the necessary access without compromising your privacy or security.
Once you have chosen the level of access for each person, you’re ready for the final step of the sharing process: sending the calendar invitations.
Step 8: Click on “Send”
After customizing the access levels for the individuals you want to share your Google Calendar with, the final step is to click on the “Send” button. This action will send out the calendar invitations to the selected individuals, granting them access to your shared calendar.
When you click on “Send”, Google Calendar will generate an email invitation that includes a message informing the recipients that you have shared your calendar with them. The invitation will also provide instructions on how to access and view your calendar.
The email invitation will be sent to the email addresses you entered when adding people to share your calendar with. The recipients will receive the invitation in their email inbox and can follow the instructions provided to access your shared calendar.
It’s important to note that the recipients will need to have a Google account or create one in order to view and access your shared calendar. If they don’t have a Google account, they will be prompted to create one when they click on the invitation link.
After sending the invitations, it’s a good idea to notify the recipients separately to let them know that you have shared your calendar with them. This can help ensure they are aware of the invitation and can take the necessary steps to view your calendar.
Keep in mind that you can always go back and modify the sharing settings or revoke access for individuals if needed. Simply revisit the settings and sharing options for your calendar to make any necessary changes.
Congratulations! You have successfully shared your Google Calendar with specific individuals. Now they will be able to view your calendar, events, and availability based on the access level you assigned to them.
By clicking on “Send” and sharing your calendar, you have opened up new possibilities for efficient scheduling, collaboration, and coordination with the selected individuals. Enjoy the benefits of shared calendars and enhance your productivity and organization.
Tips for Sharing Your Calendar Effectively
Sharing your calendar can greatly improve collaboration, coordination, and organization. To make the most of this feature, consider implementing the following tips:
- Be selective: Share your calendar only with the individuals who truly need access. This ensures privacy and minimizes potential conflicts or confusion caused by too many people having access to your schedule.
- Choose appropriate access levels: Assign the access levels carefully, granting each individual the level of control and information they require. It’s important to strike a balance between transparency and privacy.
- Keep your calendar updated: Regularly update your calendar with new events, appointments, or changes to your schedule. This helps everyone stay informed and avoids any unnecessary conflicts or misunderstandings.
- Communicate changes: If there are any significant changes to your calendar, such as rescheduled meetings or canceled events, it’s important to inform the individuals who have access to your calendar. This helps prevent any confusion or wasted time.
- Add details to events: Include relevant information in the event details, such as location, agenda, or any materials required. This provides clarity and ensures that everyone has the necessary information for productive meetings or events.
- Color-code your calendars: If you have multiple calendars, consider color-coding them to differentiate between personal, work, or other types of events. This helps users quickly identify events and improves overall readability.
- Set clear working hours: Use the “Working Hours” feature in Google Calendar to specify your preferred working hours. This helps others respect your availability and reduces the risk of scheduling conflicts.
- Enable notifications: Ensure that your notification settings are customized to receive alerts for upcoming events or changes in your calendar. This helps you stay on top of your schedule and avoids missing important appointments.
- Regularly review sharing settings: Periodically review the sharing settings for your calendar to ensure they are up to date and aligned with your preferences. Remove access for individuals who no longer require it and add new individuals as needed.
- Communicate any scheduling constraints: If you have specific scheduling constraints, such as blocked off time for personal activities or recurring commitments, communicate these constraints to the individuals with whom you share your calendar. This helps them plan accordingly and avoids any conflicts.
By implementing these tips, you can maximize the benefits of sharing your calendar and enhance collaboration, coordination, and organization among the individuals involved.
Conclusion
Sharing your Google Calendar is a powerful tool for improving organization, collaboration, and productivity. By following the step-by-step process outlined in this article, you can easily share your calendar with specific individuals and customize their access levels. Whether you’re coordinating with colleagues, keeping your family in sync, or collaborating with teammates, sharing your calendar ensures everyone is on the same page.
In addition to the technical steps, it’s important to remember a few key points for effective calendar sharing. Be mindful of who you share your calendar with, granting access only to those who truly need it. Choose appropriate access levels to maintain privacy while providing necessary information. Regularly update and communicate changes to keep everyone informed. Take advantage of features like color-coding and working hours to improve readability and avoid scheduling conflicts.
Sharing your calendar in Google Calendar offers flexibility, customization, and seamless integration with other Google services. It’s a valuable tool for personal and professional organization, enabling efficient scheduling, collaboration, and coordination. By utilizing the tips provided and regularly reviewing your sharing settings, you can optimize the benefits of sharing your calendar and enhance productivity in your daily life.
So, go ahead and share your calendar with the people who matter. Experience the ease of coordination, foster effective collaboration, and stay organized with the power of Google Calendar.