Introduction
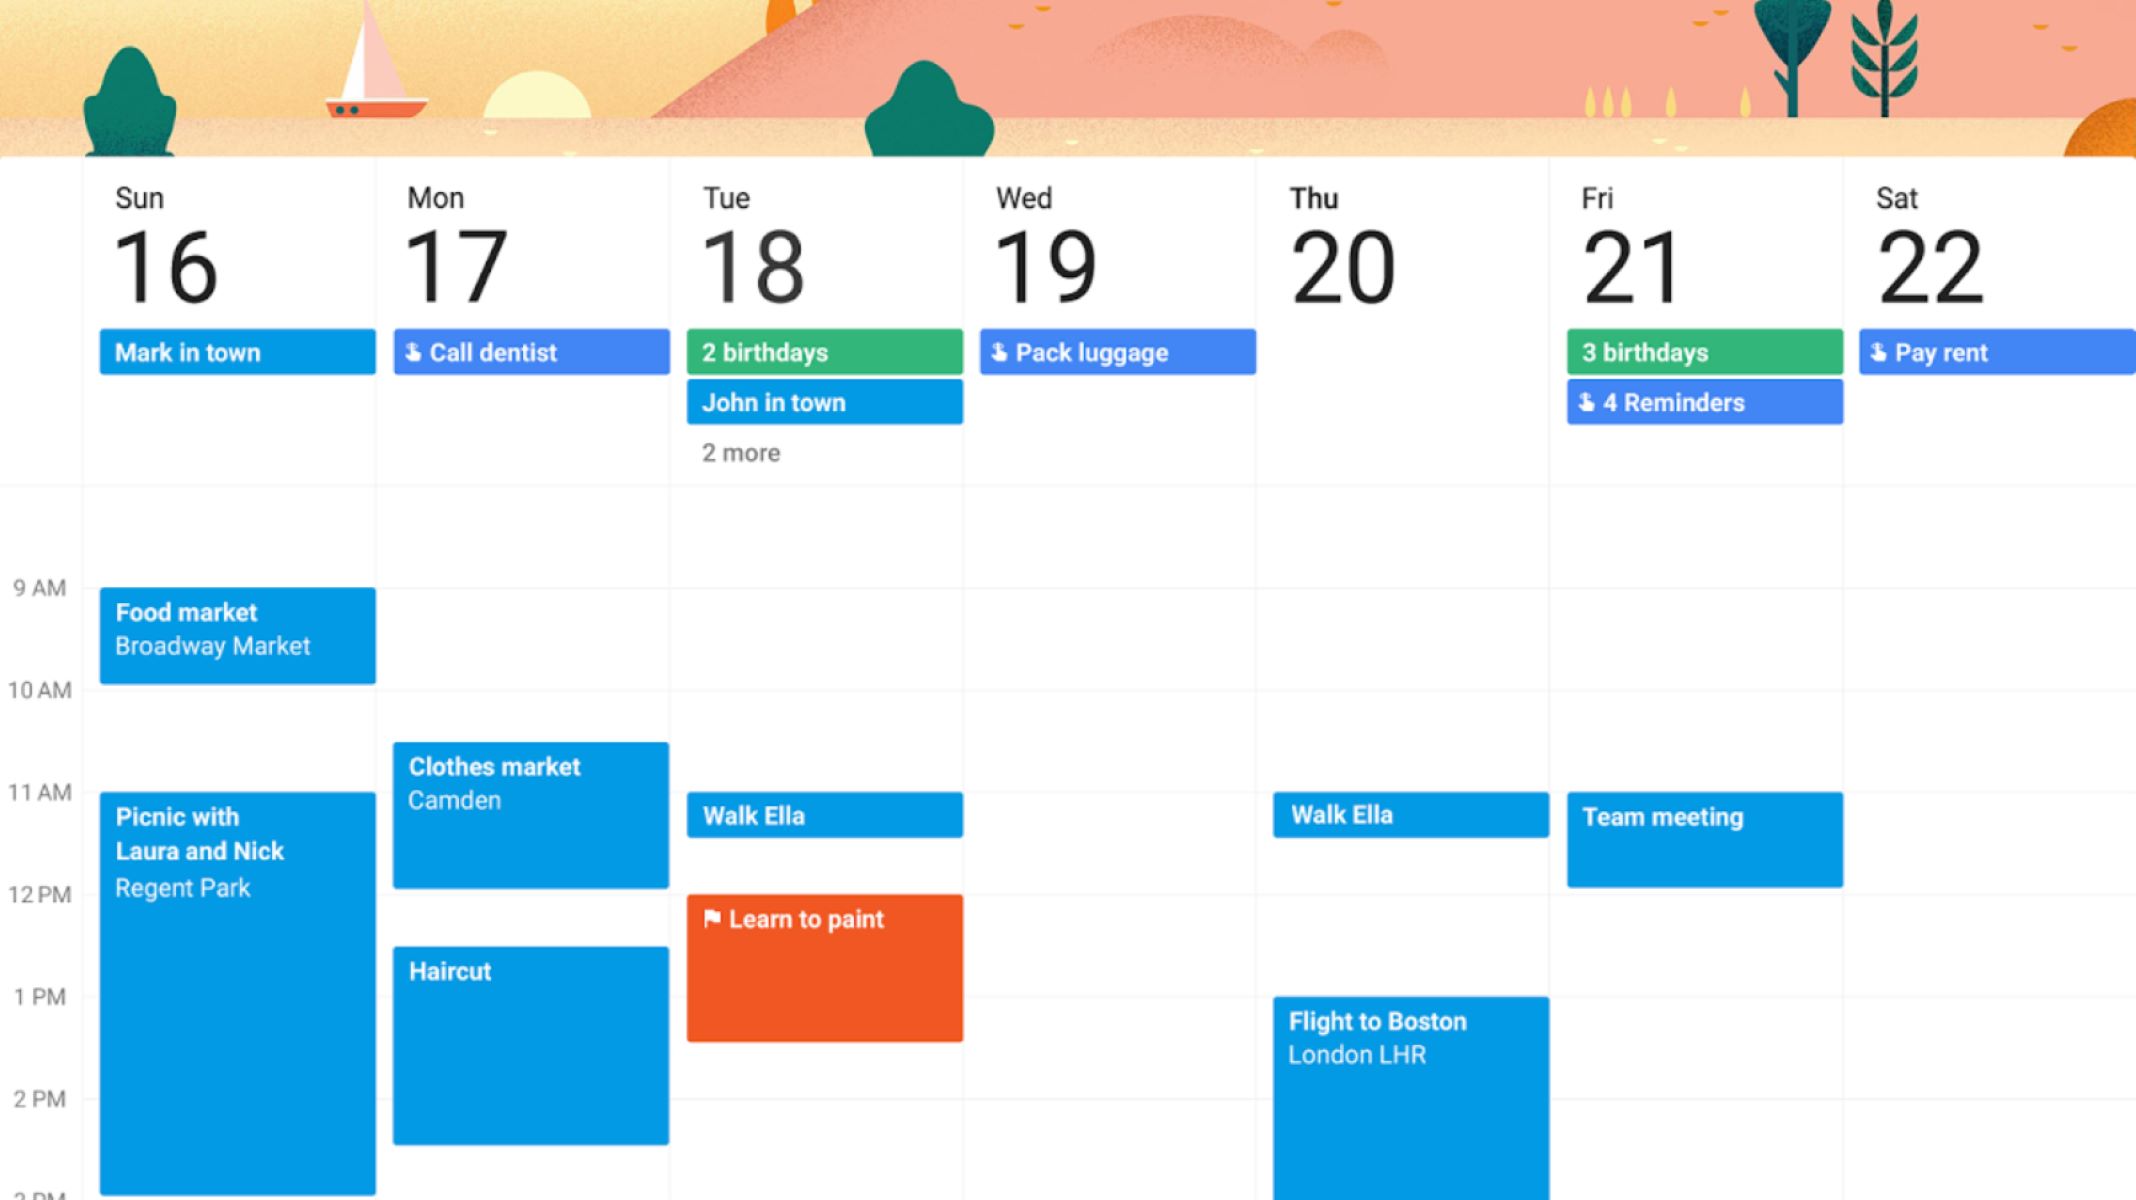
Welcome to this tutorial on how to add another account to Google Calendar. Google Calendar is a powerful tool that helps you manage your schedule, appointments, and events all in one place. Whether you need to keep track of personal appointments, work meetings, or social events, Google Calendar has got you covered.
Having multiple accounts on Google Calendar can be extremely beneficial, especially if you want to separate your personal and professional schedules or manage calendars for different projects or teams. By adding another account to Google Calendar, you can easily view and manage multiple calendars in one convenient location.
In this tutorial, we will guide you through different methods to add another account to Google Calendar. Whether you prefer using the website interface or the mobile app, we have got you covered. We will also explore how to manage and switch between multiple accounts in Google Calendar effortlessly.
Before we dive into the step-by-step instructions, it’s important to note that you will need to have a Google account to use Google Calendar. If you don’t have one yet, don’t worry! We will walk you through the process of creating a new Google account as well.
So, if you are ready to take your calendar management to the next level and learn how to add another account to Google Calendar, let’s get started!
Creating a New Google Account
If you don’t have a Google account, don’t worry. Creating one is simple and quick. Follow the steps below to create a new Google account:
- Go to the Google account creation page.
- Click on the “Create account” button.
- Fill in the required information, including your first and last name, desired email address, and password. Ensure that your password is secure and unique.
- Enter your phone number and an alternative email address for account recovery purposes.
- Complete the security verification step by entering the verification code sent to your phone number or alternative email address.
- Review and agree to Google’s Terms of Service and Privacy Policy.
- Click on the “Next” button.
- Set up your Google account preferences, such as language, country, and personalization settings.
- Click on the “Next” button.
- Choose to add a profile picture or skip this step.
That’s it! You have successfully created a new Google account. Now, let’s move on to the next section and learn how to add this account to Google Calendar.
Adding a New Account to Google Calendar
Once you have created a new Google account, it’s time to add it to Google Calendar. There are a few different methods you can use to accomplish this. Let’s explore each method in detail:
Method 1: Using the Website
To add a new account to Google Calendar using the website, follow these steps:
- Open your preferred web browser and go to https://calendar.google.com.
- Sign in to your primary Google account, the one you already have added to Google Calendar.
- Once you’re signed in, locate the left-side menu and click on the three horizontal lines (also known as the “hamburger” menu).
- In the menu that appears, scroll down and click on “Settings”.
- In the settings menu, click on the “Add account” option.
- Enter the email address and password of the new Google account you want to add.
- Complete any additional verification steps if prompted, such as entering a verification code sent to your phone number or alternative email address.
- After successfully verifying the new account, it will be added to Google Calendar, and you can access it by switching between accounts.
Method 2: Using the Mobile App
If you prefer using the Google Calendar mobile app, follow these steps to add a new account:
- Open the Google Calendar app on your mobile device.
- Tap on the menu icon (three horizontal lines) located in the top-left corner of the screen.
- Scroll down and tap on “Settings”.
- Under the “Settings” menu, tap on “Add account”.
- Enter the email address and password of the new Google account you want to add.
- Complete any additional verification steps if prompted.
- Once the new account is successfully verified, it will be added to Google Calendar, and you can switch between accounts.
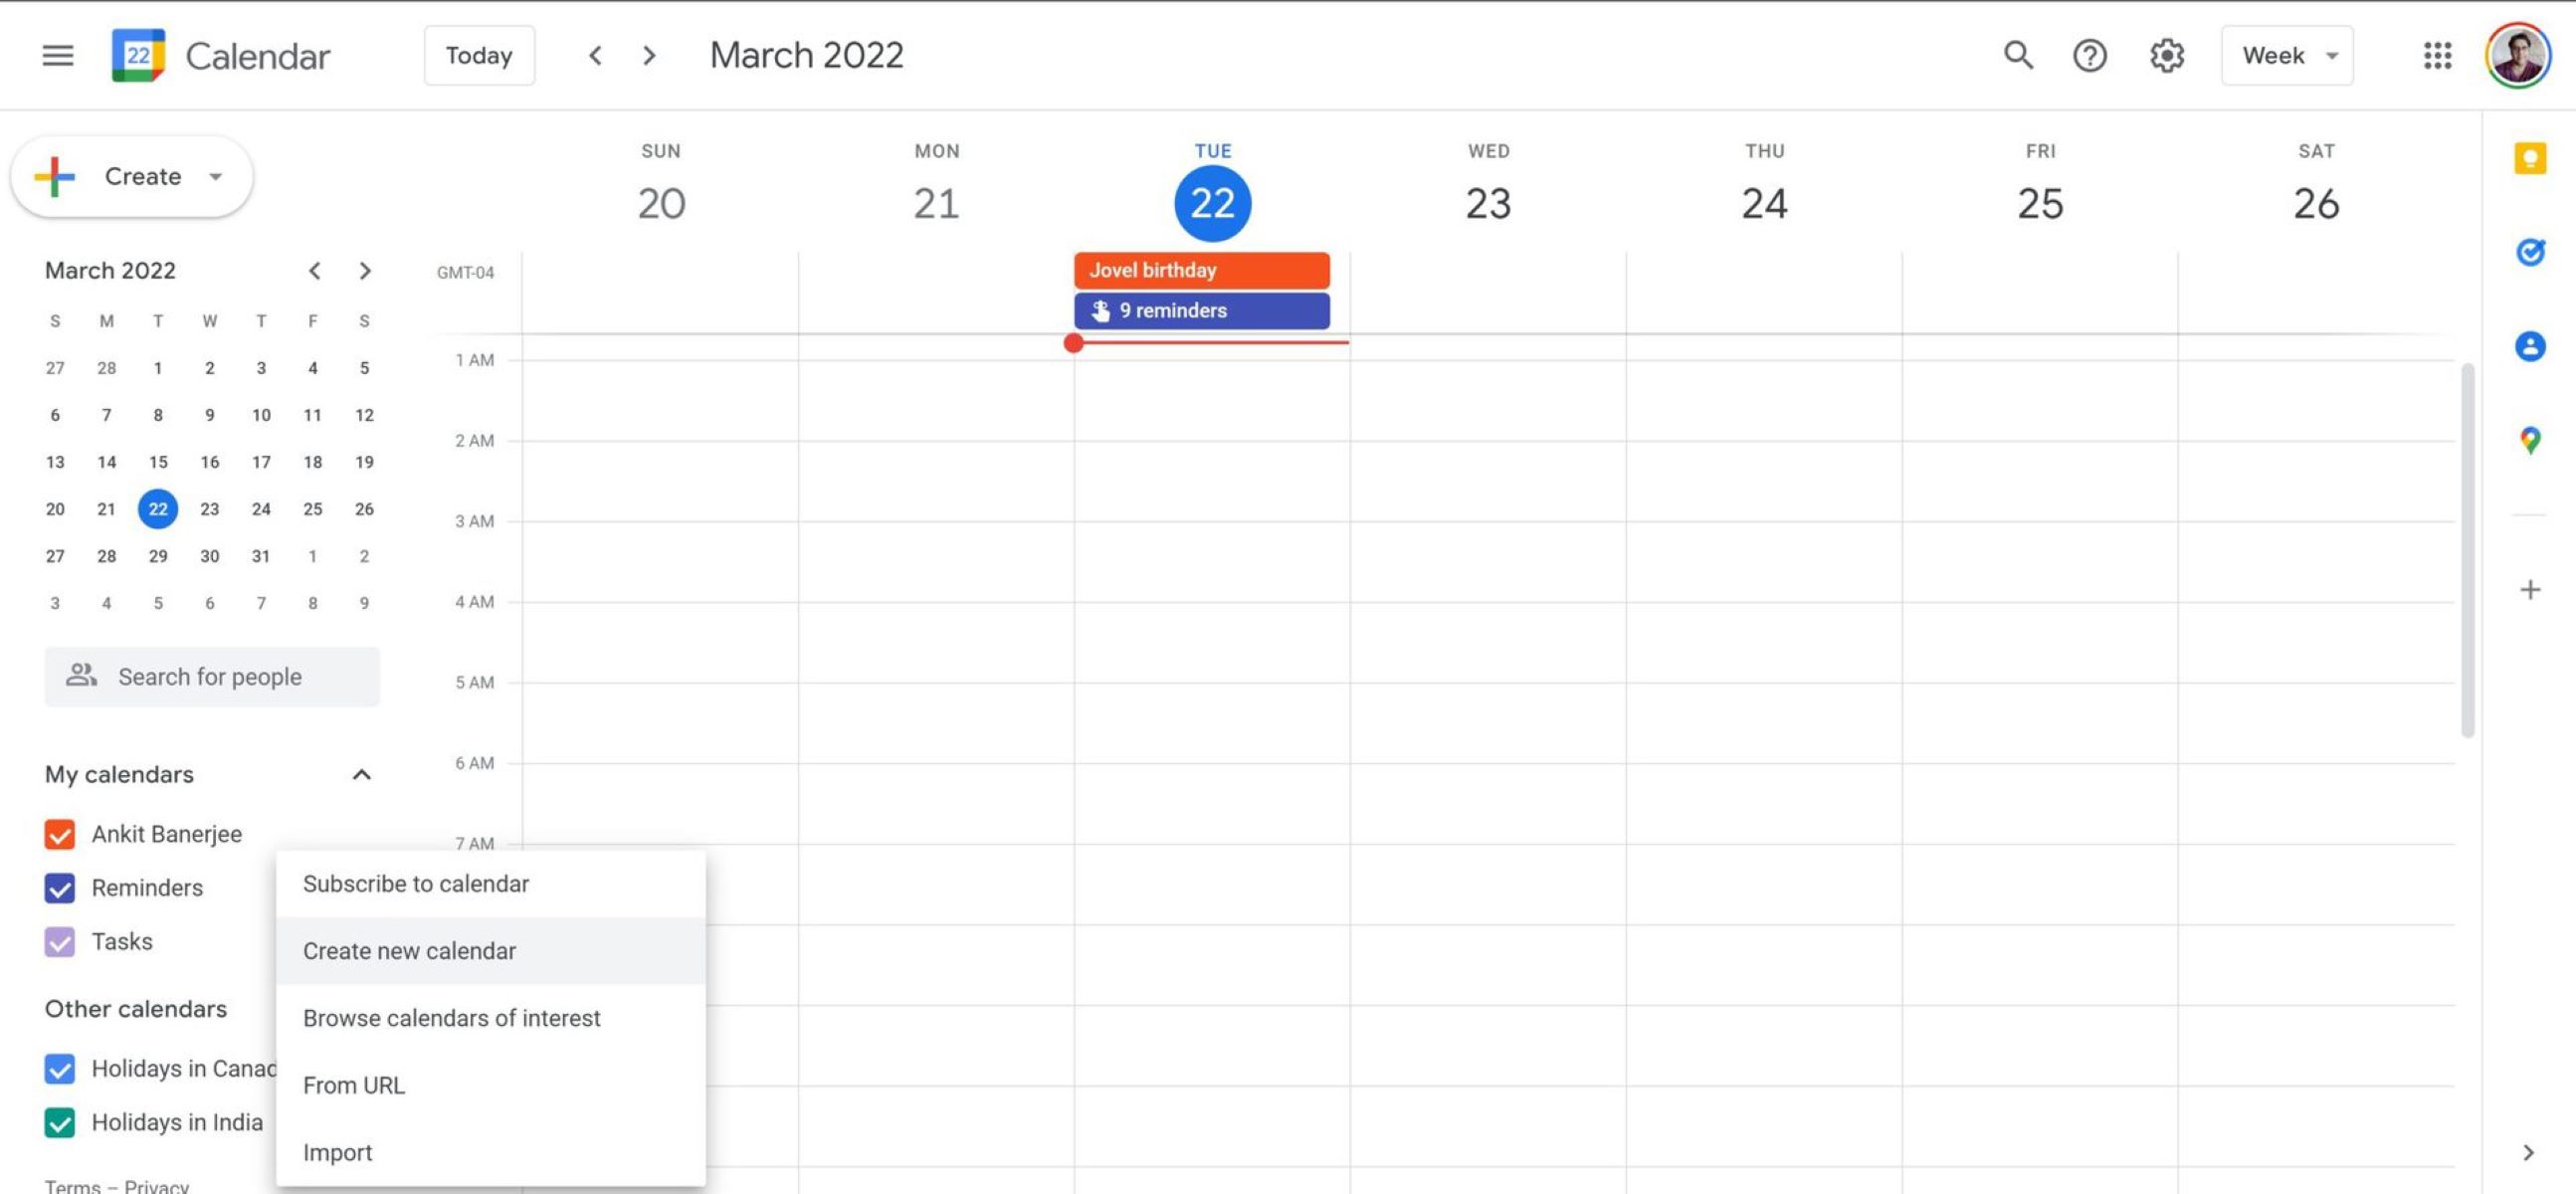
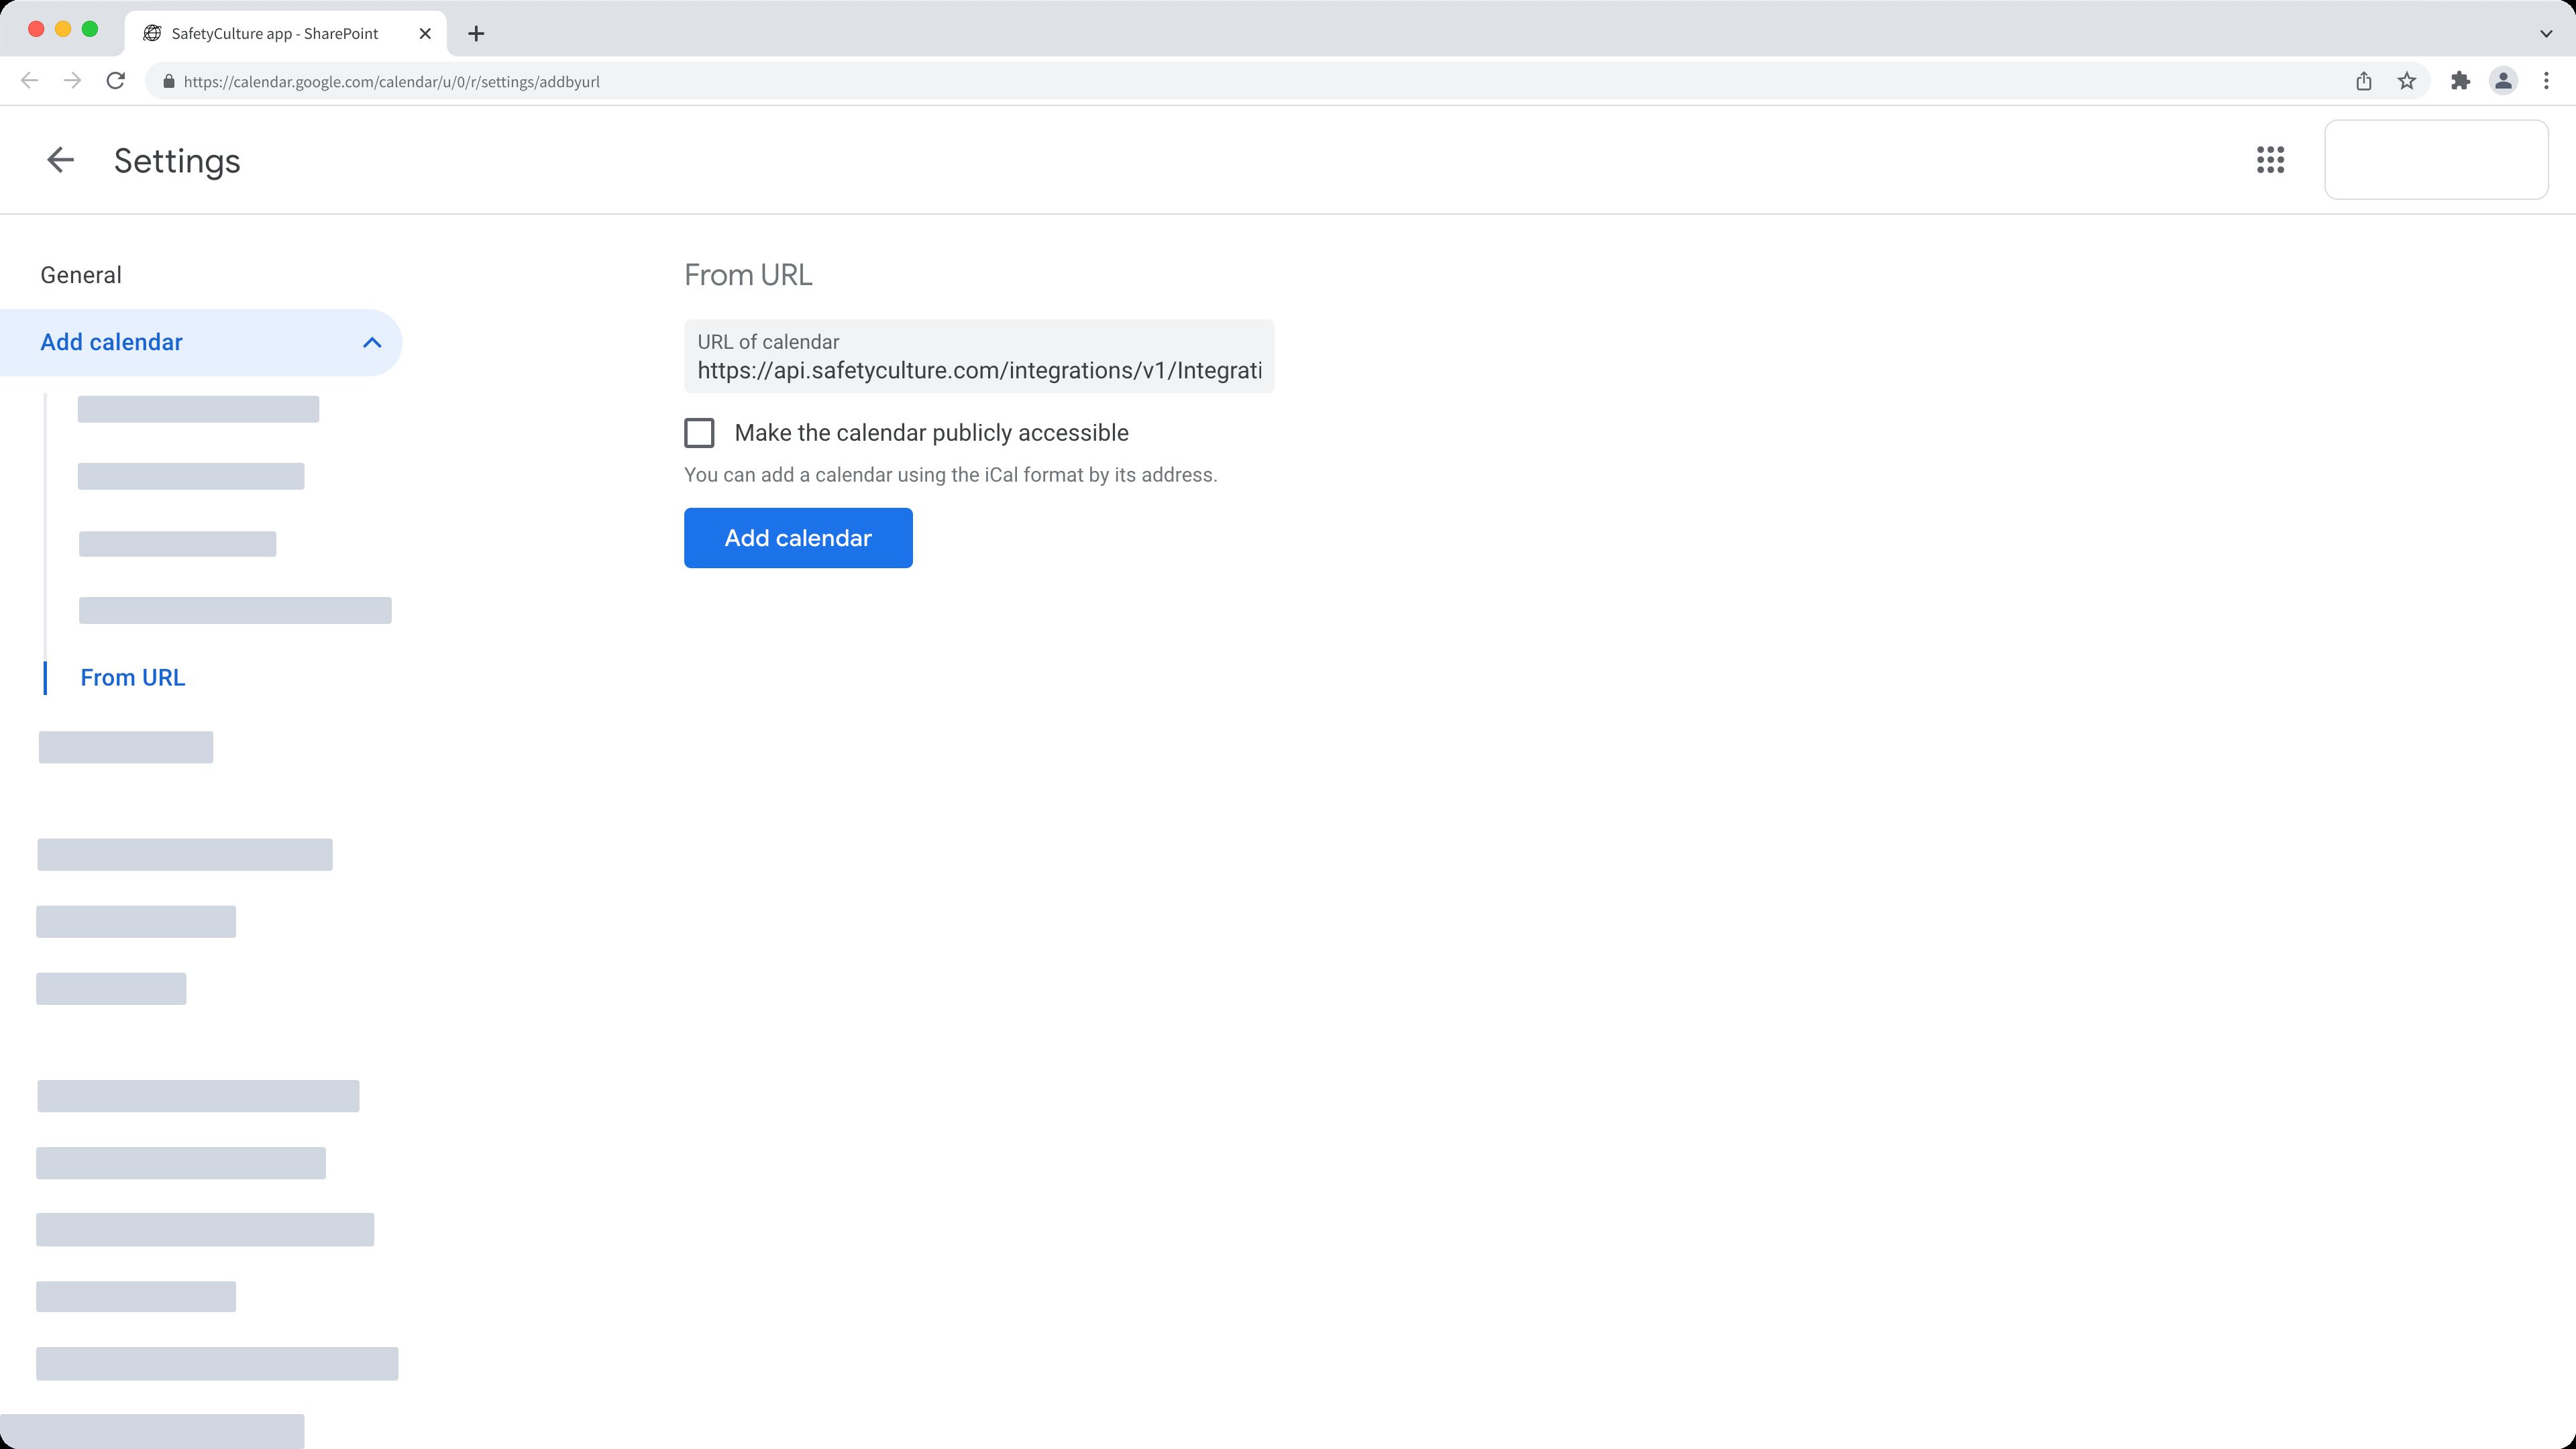
Method 3: Using a Shared Calendar Link
If someone has shared their calendar with you by providing a shared calendar link, you can add that account to Google Calendar as well. Here’s what you need to do:
- Open your web browser and sign in to your primary Google account.
- In another tab or window, open the shared calendar link provided by the person sharing their calendar.
- On the Google Calendar webpage that opens, click on the “+Google Calendar” button in the bottom-right corner.
- Confirm that you want to add the shared calendar to your primary Google account.
- The shared calendar will now be added to your Google Calendar and will be accessible from your account.
By using any of these methods, you can easily add a new account to Google Calendar and manage multiple calendars effectively.
Method 1: Using the Website
To add a new account to Google Calendar using the website, follow these steps:
- Open your preferred web browser and go to https://calendar.google.com.
- Sign in to your primary Google account, the one you already have added to Google Calendar.
- Once you’re signed in, locate the left-side menu and click on the three horizontal lines (also known as the “hamburger” menu).
- In the menu that appears, scroll down and click on “Settings”.
- In the settings menu, click on the “Add account” option.
- Enter the email address and password of the new Google account you want to add.
- Complete any additional verification steps if prompted, such as entering a verification code sent to your phone number or alternative email address.
- After successfully verifying the new account, it will be added to Google Calendar, and you can access it by switching between accounts.
Adding a new account to Google Calendar using the website is a straightforward process. By following these steps, you can easily incorporate multiple accounts into your calendar and manage them seamlessly.
Method 2: Using the Mobile App
If you prefer using the Google Calendar mobile app, follow these steps to add a new account:
- Open the Google Calendar app on your mobile device.
- Tap on the menu icon (three horizontal lines) located in the top-left corner of the screen.
- Scroll down and tap on “Settings”.
- Under the “Settings” menu, tap on “Add account”.
- Enter the email address and password of the new Google account you want to add.
- Complete any additional verification steps if prompted.
- Once the new account is successfully verified, it will be added to Google Calendar, and you can switch between accounts.
The mobile app provides a convenient and user-friendly way to add a new account to Google Calendar. By following these steps, you can easily incorporate multiple accounts into the mobile app and access them on-the-go.
Method 3: Using a Shared Calendar Link
If someone has shared their calendar with you by providing a shared calendar link, you can add that account to Google Calendar as well. Here’s what you need to do:
- Open your web browser and sign in to your primary Google account.
- In another tab or window, open the shared calendar link provided by the person sharing their calendar.
- On the Google Calendar webpage that opens, click on the “+Google Calendar” button in the bottom-right corner.
- Confirm that you want to add the shared calendar to your primary Google account.
- The shared calendar will now be added to your Google Calendar and will be accessible from your account.
Using a shared calendar link is a great way to easily access and view someone else’s calendar within your own Google Calendar account. This method is particularly useful for collaborating with colleagues, friends, or family members who may have events or appointments you need to be aware of.
Now that you know how to add another account to Google Calendar using different methods, let’s move on to the next section, where we will explore how to manage multiple accounts effectively.
Managing Multiple Accounts in Google Calendar
Once you have added multiple accounts to Google Calendar, it’s essential to know how to manage them efficiently. Here are some tips on managing multiple accounts in Google Calendar:
Switching Between Accounts
To switch between accounts in Google Calendar, follow these steps:
- Open Google Calendar in your web browser or mobile app.
- Click on your profile picture or account icon in the top-right corner.
- From the dropdown menu that appears, select the account you want to switch to.
- Your calendar view will now display the events and appointments from the selected account.
By easily switching between accounts, you can quickly view and manage multiple calendars within Google Calendar’s interface.
Viewing Multiple Calendars
Google Calendar allows you to view multiple calendars simultaneously. This feature is particularly useful when you want to see the events and appointments from different calendars side by side. Here’s how you can view multiple calendars:
- In your web browser or mobile app, navigate to Google Calendar.
- On the left-side menu, check the box next to each calendar you want to view.
- The selected calendars will now be displayed together, allowing you to see all the events and appointments in one view.
By utilizing the “View multiple calendars” feature, you can effectively manage and stay organized with multiple accounts and calendars in Google Calendar.
Sharing and Collaborating
Google Calendar also offers robust sharing and collaboration features that allow you to share your calendar with others, whether they have a Google account or not. With these features, you can easily coordinate and schedule events with colleagues, friends, or family members. Here’s how to share your calendar:
- Open Google Calendar in your web browser.
- Find the calendar you want to share in the left-side menu.
- Hover over the calendar name and click on the three vertical dots that appear.
- Select “Settings and sharing” from the dropdown menu.
- Under the “Access permissions” section, click on the “+ Add people” button.
- Enter the email address of the person you want to share the calendar with.
- Select their permission level (e.g., “Make changes and manage sharing” or “See only free/busy”).
- Click on the “Send” button to share the calendar.
By sharing your calendar and collaborating with others, you can effectively coordinate and manage events, appointments, and schedules together.
With these tips in mind, you can efficiently manage multiple accounts and calendars in Google Calendar, ensuring that you stay organized and on top of your schedule.
Switching Between Accounts
Switching between accounts in Google Calendar allows you to easily manage multiple calendars and view events and appointments from different accounts. Here’s how to switch between accounts:
- Open Google Calendar in your web browser or mobile app.
- Click on your profile picture or account icon in the top-right corner.
- From the dropdown menu that appears, select the account you want to switch to.
- Your calendar view will now display the events and appointments from the selected account.
By following these simple steps, you can seamlessly switch between accounts in Google Calendar, enabling you to access and manage multiple calendars effortlessly.
Switching between accounts is especially useful in scenarios where you have separate personal and work calendars or when you need to keep track of events and appointments for different projects or teams. With the ability to switch between accounts, you can streamline your calendar management and stay organized.
Additionally, if someone has shared their calendar with you, switching between accounts allows you to easily view and manage their shared calendar alongside your own calendars. This feature is invaluable for collaboration and staying updated on shared events and appointments.
Whether you are using Google Calendar for personal or professional purposes, the ability to switch between accounts gives you the flexibility and control to effectively manage multiple calendars without any hassle.
Now that you know how to switch between accounts, let’s move on to the next section, where we will discuss how to delete an account from Google Calendar if needed.
Deleting an Account from Google Calendar
If you no longer need to have a specific account in Google Calendar, you can easily delete it. Here’s how to delete an account from Google Calendar:
- Open Google Calendar in your web browser.
- Click on the Settings icon (a gear icon) located in the top-right corner of the screen.
- From the dropdown menu that appears, select “Settings”.
- On the left-side menu, click on “Accounts”.
- Locate the account you want to delete and click on the “Remove” button next to it.
- A confirmation window will appear asking if you want to remove the account from Google Calendar.
- Review the information and, if you are sure, click on the “Delete” or “OK” button.
- The account will now be removed from Google Calendar, and its associated events and appointments will no longer be visible.
It’s important to note that deleting an account from Google Calendar will only remove it from your calendar view. It will not delete the actual Google account itself or any data associated with it.
By deleting an account from Google Calendar, you can declutter your calendar view and focus on the calendars that are most relevant to you.
However, before deleting an account, ensure that you no longer need access to its events or appointments. If you want to maintain a record of the events from that account, it’s recommended to export the calendar data before removing the account.
With the knowledge of how to delete an account from Google Calendar, you can easily manage your calendar subscriptions and keep your calendar view organized and streamlined.
Now that you understand how to manage multiple accounts, switch between them, and delete accounts if necessary, you have the tools to make the most out of Google Calendar’s capabilities.
Conclusion
Google Calendar is a powerful tool for managing schedules, events, and appointments. By adding multiple accounts to Google Calendar, you can keep track of different calendars in one convenient location. In this tutorial, we explored various methods to add another account, including using the website, mobile app, or a shared calendar link.
We also discussed how to manage multiple accounts effectively by switching between them, viewing multiple calendars, and sharing and collaborating with others. These features in Google Calendar enable seamless organization and coordination of events and schedules across different accounts.
Additionally, we learned how to delete an account from Google Calendar when it is no longer needed. Deleting an account helps streamline your calendar view and maintain focus on the calendars that are most relevant to you.
Remember, whether you are using Google Calendar for personal use, work, or collaboration, these techniques allow you to stay organized and on top of your schedule.
Now that you have a deeper understanding of how to add, manage, and delete accounts in Google Calendar, you can make the most out of this versatile tool. Embrace the power and convenience of managing multiple accounts in one place, leading to enhanced productivity and effective time management.
So, go ahead, add your accounts, collaborate with others, and stay on track with Google Calendar!