Introduction
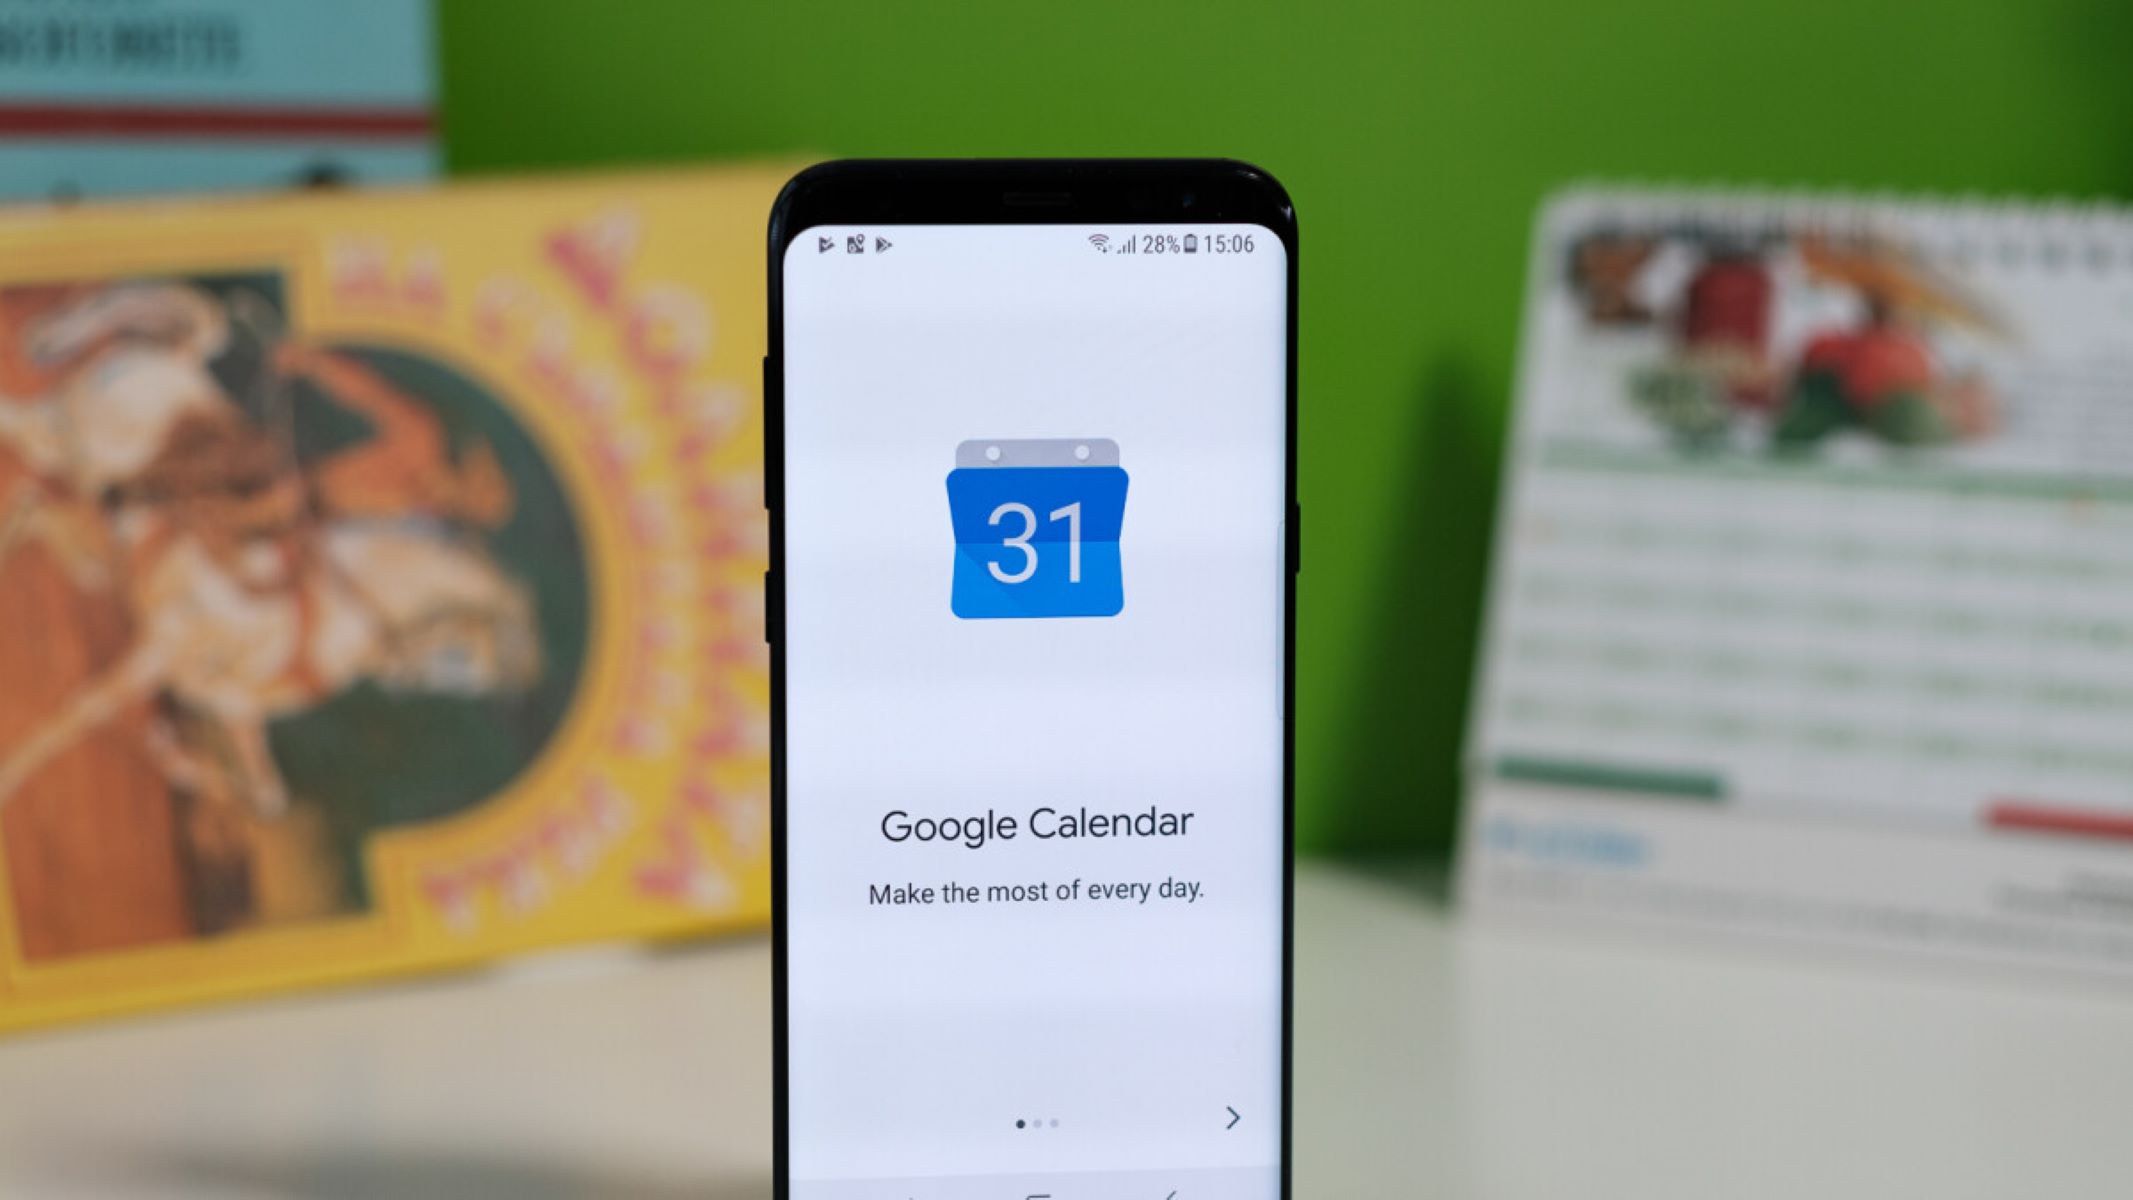
Welcome to the world of seamless productivity and organization with Google Calendar on your iPhone! By integrating Google Calendar into your iPhone device, you can stay on top of your schedule, manage events, and never miss an important appointment again.
With its user-friendly interface and powerful features, Google Calendar is a must-have tool for individuals, professionals, and businesses. Whether you use Google Calendar for personal use or collaborate with colleagues, this step-by-step guide will walk you through the process of getting Google Calendar on your iPhone.
Imagine having all your events and meetings synchronized across your devices and accessible from anywhere. Gone are the days of manual entry and the hassle of remembering important dates. With Google Calendar on your iPhone, you can fully embrace the convenience of a digital calendar and maximize your productivity.
In this comprehensive guide, we will show you how to download, set up, and customize Google Calendar on your iPhone. Additionally, we will explore how to sync your Google Calendar with the default iOS Calendar app, add events and reminders, and even share calendars with others. Let’s dive in!
Note: This guide assumes that you already have an active Google account. If you don’t, make sure to create one before proceeding. Now, let’s get started with Step 1: Download the Google Calendar App.
Step 1: Download the Google Calendar App
To begin using Google Calendar on your iPhone, the first step is to download the Google Calendar app from the App Store. Follow these simple steps to get started:
- Launch the App Store on your iPhone by tapping on the App Store icon.
- Once the App Store is open, tap on the search bar at the bottom of the screen and type “Google Calendar”.
- From the search results, tap on the Google Calendar app icon.
- On the Google Calendar app page, tap the “Get” or “Download” button to start the download process.
- Enter your Apple ID or use Touch ID/Face ID to authenticate the download.
- Wait for the app to download and install on your iPhone.
- Once the installation is complete, tap on the “Open” button to launch the Google Calendar app.
That’s it! You have successfully downloaded and installed the Google Calendar app on your iPhone. Now, it’s time to move on to the next step: signing in to your Google account.
Keep in mind that the Google Calendar app is free to download and use, and it provides seamless integration with your Google account. This means that any changes or updates you make on the app will sync across all your devices, ensuring that you can access your calendar on any platform or device with ease.
Now that you have the Google Calendar app installed, let’s move on to Step 2: Sign in to Your Google Account.
Step 2: Sign in to Your Google Account
In order to access and sync your Google Calendar on your iPhone, you will need to sign in to your Google account. This will ensure that your calendar data is securely stored and accessible from your device. Follow these simple steps to sign in to your Google account:
- Open the Google Calendar app on your iPhone. If you cannot find it on your home screen, use the search function to locate and open the app.
- On the app’s welcome screen, tap on the “Sign in” button.
- You will be redirected to the Google sign-in page where you need to enter your Google account email address or phone number.
- Tap on the “Next” button.
- Enter your Google account password and tap on the “Next” button.
- If you have enabled two-factor authentication for your Google account, you may be prompted to enter a verification code. Follow the on-screen instructions to complete the sign-in process.
- Once you have successfully signed in to your Google account, your calendar data will automatically sync with the Google Calendar app on your iPhone.
Signing in to your Google account will give you access to all the features and functionalities of Google Calendar, including the ability to create and manage events, set reminders, and customize your calendar settings.
If you have multiple Google accounts, make sure to sign in with the account that contains the calendar data you wish to access on your iPhone. You can switch between accounts within the Google Calendar app by tapping on your profile picture and selecting the desired account.
Now that you have signed in to your Google account, let’s move on to Step 3: Grant Permission to Access Your Calendar.
Step 3: Grant Permission to Access Your Calendar
After signing in to your Google account, the next step is to grant permission to the Google Calendar app to access your calendar data. This will allow the app to sync your events, reminders, and other calendar information on your iPhone. Follow these steps to grant permission:
- Open the Google Calendar app on your iPhone.
- If you haven’t already granted permission, a pop-up message will appear asking for access to your calendar. Tap on the “Allow” or “OK” button to grant permission.
- If you have already denied access or missed the initial prompt, you can manually enable calendar access in your iPhone’s settings. To do this, go to your iPhone’s Settings app.
- Scroll down and find the “Privacy” option. Tap on it.
- In the Privacy settings, tap on “Calendars” to access the calendar permissions.
- Locate the Google Calendar app in the list of installed apps and make sure the toggle switch is enabled, indicating that the app has permission to access your calendar.
- If the toggle switch is disabled, tap on it to enable calendar access for the Google Calendar app.
- Exit the Settings app and return to the Google Calendar app.
Once you have successfully granted permission to access your calendar, the Google Calendar app will be able to sync your events, appointments, and reminders from your Google account. This will ensure that you have the most up-to-date information at your fingertips whenever you need it.
If at any point you want to revoke the app’s access to your calendar, you can easily do so by going back to your iPhone’s Settings app, navigating to the Privacy settings, and disabling calendar access for the Google Calendar app.
Now that you have granted permission to access your calendar, let’s move on to Step 4: Customize Calendar Settings.
Step 4: Customize Calendar Settings
Now that you have successfully set up the Google Calendar app on your iPhone and granted permission to access your calendar, it’s time to customize the calendar settings to suit your preferences. Customizing the settings will allow you to personalize your calendar and make it work best for you. Follow these steps to customize your Google Calendar settings:
- Open the Google Calendar app on your iPhone.
- Tap on the menu icon, usually represented by three horizontal lines, located in the top left corner of the screen.
- In the side menu, scroll down and tap on “Settings”.
- Within the Settings menu, you will find various options to customize your calendar.
- Tap on “General” to access general configuration options, such as your preferred time zone, week starts on, and default event duration.
- Tap on “Notifications” to customize the notification settings for your events, including reminders, event updates, and shared calendars.
- Tap on “Event Settings” to specify default settings for new events, such as reminders, event colors, and guest permissions.
- Tap on “Appearance” to change the app’s appearance, including theme, font size, and language settings.
- Tap on “Calendar Settings” to manage and configure specific calendars, including the ability to rename, change colors, and enable/disable notifications for individual calendars.
- Explore other settings options within the app to further customize your Google Calendar experience.
By customizing the settings, you can tailor Google Calendar to match your preferences and needs. Whether it’s adjusting the notification preferences to receive timely reminders or changing the appearance of the app to suit your visual style, the settings menu provides a multitude of options for customization.
Take some time to explore the various settings and configurations available to you in the Google Calendar app. Experiment with different options until you find the settings that work best for you and enhance your productivity.
Now that you have customized your calendar settings, let’s move on to Step 5: Sync with iPhone’s Default Calendar App to ensure that all your events are seamlessly integrated.
Step 5: Sync with iPhone’s Default Calendar App
While the Google Calendar app is a powerful standalone tool, you may also want to sync it with your iPhone’s default calendar app. This way, you can have all your events and appointments available in one place and keep everything organized. Here’s how you can sync your Google Calendar with the iPhone’s default calendar app:
- Open the Settings app on your iPhone.
- Scroll down and tap on “Calendar” to access the calendar settings.
- Tap on “Accounts” and then select “Add Account”.
- Choose “Google” from the list of available account types.
- Enter your Google account credentials and tap “Next”.
- Toggle the switch next to “Calendars” to enable syncing between your Google Calendar and the iPhone’s default calendar.
- Tap “Save” to confirm the changes.
Once the sync is enabled, your Google Calendar events will automatically appear in the default calendar app on your iPhone. Any changes or updates made in either app will be reflected in both, ensuring that you have the most up-to-date schedule at all times.
Syncing with the default calendar app on your iPhone allows you to access your events from other apps that use the native calendar. This integration gives you the flexibility to manage your events seamlessly, whether it’s adding new events, editing existing ones, or receiving reminders on your iPhone’s lock screen.
Keep in mind that syncing may take a moment, especially if you have a large number of events stored in your Google Calendar. Once the initial sync is complete, any future changes or updates will be almost instantaneously reflected across both apps.
Now that you have successfully synced your Google Calendar with the iPhone’s default calendar app, you can enjoy the convenience of accessing your events from either app. Next, let’s move on to Step 6: Add Events and Reminders to make the most of your Google Calendar experience.
Step 6: Add Events and Reminders
Now that you have set up and synced your Google Calendar on your iPhone, it’s time to start adding events and reminders to stay organized and on top of your schedule. Follow these steps to add events and reminders to your Google Calendar:
- Open the Google Calendar app on your iPhone.
- Tap on the “+” button located at the bottom right corner of the screen.
- Enter the details for the event, including the title, date, time, and location.
- Customize the event further by adding event notifications, choosing a color, and assigning it to a specific calendar.
- If you want to add reminders for the event, tap on the “Add a reminder” option and select the desired time for the reminder.
- Tap “Save” to add the event to your Google Calendar.
- The event will now appear in your calendar, and you will receive notifications and reminders based on your settings.
Adding events to your Google Calendar is quick and easy. You can create events for appointments, meetings, social gatherings, or any other engagements you need to keep track of. By adding reminders, you can ensure that you never miss an important event or deadline.
In addition to creating events, you can also add reminders without a specific date or time. This is handy for general to-do lists or tasks you need to remember but don’t require a specific event on your calendar.
Remember, you can also add events and reminders to your Google Calendar using other apps or via the web interface. Any changes you make in one app or platform will automatically sync with the Google Calendar app on your iPhone and vice versa.
Now that you know how to add events and reminders, you’re ready to fully utilize the power of Google Calendar. Next, let’s explore how you can share calendars with others in Step 7.
Step 7: Share Calendars with Others
One of the great features of Google Calendar is the ability to share your calendars with others, whether it’s colleagues, friends, or family members. Sharing calendars allows you to collaborate, coordinate schedules, and ensure everyone is on the same page. Follow these steps to share your calendars with others:
- Open the Google Calendar app on your iPhone.
- Tap on the menu icon, usually represented by three horizontal lines, located in the top left corner of the screen.
- Scroll down and tap on “Settings”.
- Tap on the calendar you want to share under the “Manage calendars” section.
- Scroll down and tap on “Share with specific people”.
- Enter the email addresses of the people you want to share the calendar with, separating each email address with a comma.
- Select the level of permission you want to grant to the recipients, such as “See all event details” or “Make changes and manage sharing”.
- Tap on the “Send” button to send the invitation to the recipients.
After sending the invitation, the recipients will receive an email notification with a link to your shared calendar. Once they accept the invitation, they will be able to view and interact with the shared calendar from their own Google Calendar app or web interface.
Sharing calendars is useful for various scenarios. You can share a calendar with your team at work to coordinate meetings and deadlines, share a family calendar to keep track of everyone’s schedules and activities, or even create a shared calendar for a specific project or event.
Remember, you can also control the visibility and access level of shared calendars. If you want to revoke access or change the permission level for a specific person, simply go back to the “Manage calendars” section in the Google Calendar app and adjust the sharing settings accordingly.
By sharing calendars, you can streamline communication, avoid scheduling conflicts, and improve collaboration among individuals or groups. It’s a powerful feature that takes the productivity of Google Calendar to the next level.
Now that you know how to share calendars with others, you’re ready to maximize the potential of Google Calendar and stay organized with those around you.
Conclusion
Congratulations! You have successfully learned how to get Google Calendar on your iPhone and make the most of its powerful features. By following the steps in this guide, you have set up the Google Calendar app, signed in to your Google account, granted permission to access your calendar, customized the settings, synced with the iPhone’s default calendar app, added events and reminders, and even shared calendars with others.
With Google Calendar on your iPhone, you now have a powerful tool at your fingertips to keep track of your schedule, manage your time effectively, and never miss an important event or appointment again. The seamless integration with your Google account ensures that your calendar is accessible from any device or platform, providing you with the flexibility to stay organized wherever you go.
As you continue to use Google Calendar, don’t forget to explore its various features and settings to match your preferences and needs. Take advantage of the ability to customize notifications, colors, and event details, as well as the option to share calendars with others for better collaboration and coordination.
Remember to regularly update and maintain your calendar to ensure accuracy and reliability. Use the app’s features such as recurring events, reminders, and notifications to stay on top of your commitments and deadlines. By utilizing Google Calendar to its full potential, you can maximize your productivity, improve time management, and achieve better work-life balance.
So, go ahead and make the most of Google Calendar on your iPhone. Embrace the convenience, organization, and efficiency it offers, and experience the benefits of having your schedule at your fingertips, no matter where you are.
Now that you are equipped with the knowledge and know-how, it’s time to take charge of your schedule and make your days more productive with Google Calendar on your iPhone!