Introduction
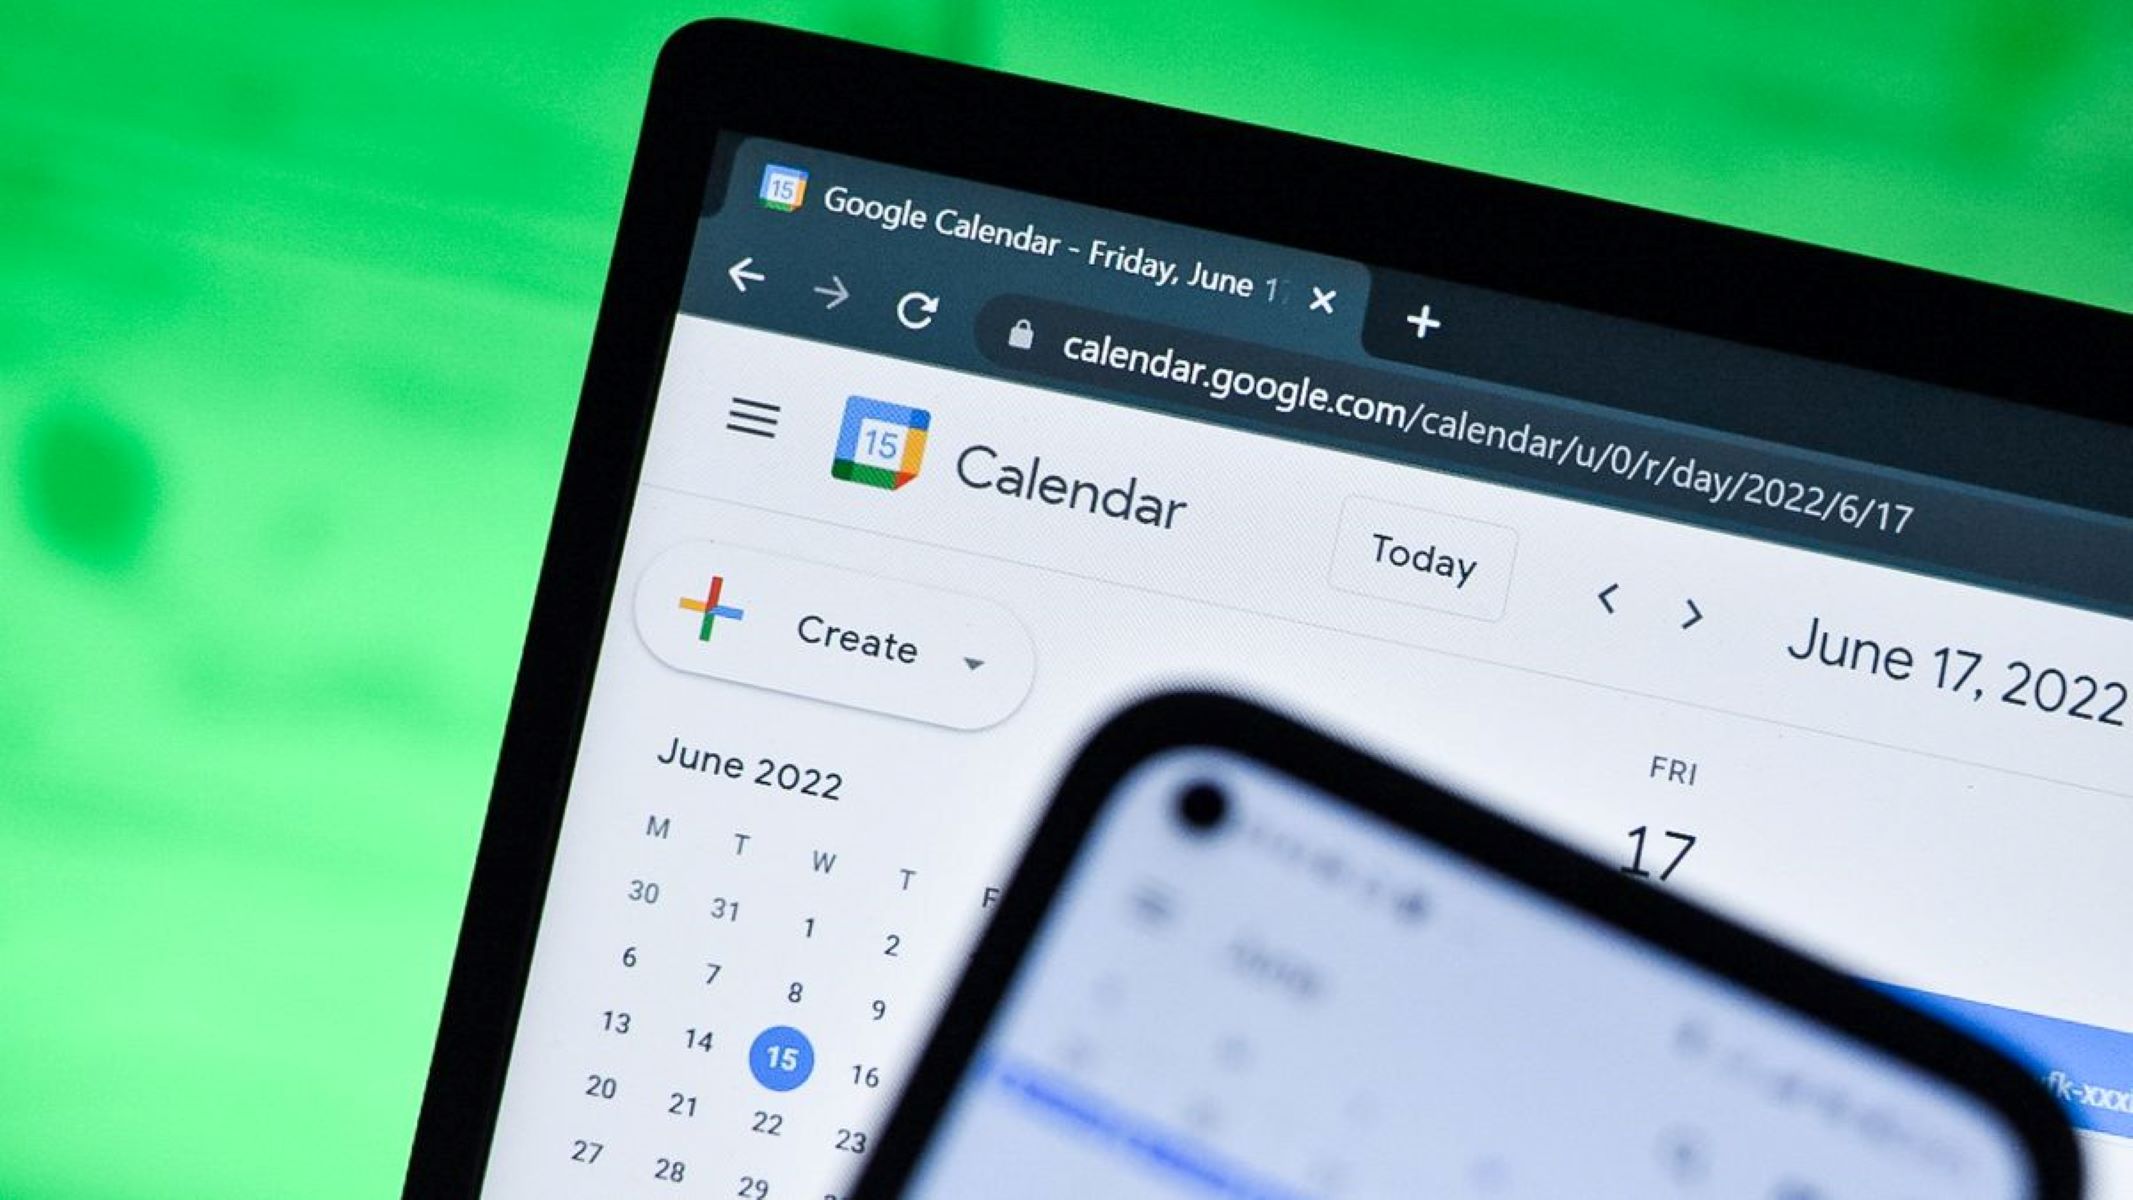
Welcome to the world of Google Calendar! As one of the most popular online calendar applications, Google Calendar has constantly evolved to meet users’ needs and provide a seamless experience. However, with every update comes changes to the user interface and features. If you find yourself missing the simplicity and familiarity of the old Google Calendar, you’re in luck!
In this article, we will guide you through the process of going back to the old version of Google Calendar. Whether it’s for personal preference or if you simply find the old version more intuitive, we’ve got you covered. Don’t worry, it’s a straightforward process that you can easily follow.
Before we get started, it’s important to note that Google is constantly updating their services to enhance user experience and security. While using the old version may provide a sense of nostalgia, it may lack certain features or improvements present in the new version. Additionally, Google may eventually discontinue support for the old version, so it’s always good to stay up-to-date with the latest developments.
Now, let’s dive into the steps to go back to the old Google Calendar version. Don’t worry, you can switch back to the new version whenever you want, giving you the flexibility to explore the interface that suits your needs best.
Step 1: Accessing the Google Calendar Settings
The first step towards going back to the old version of Google Calendar is accessing the settings menu. To do this, you need to open Google Calendar in your web browser.
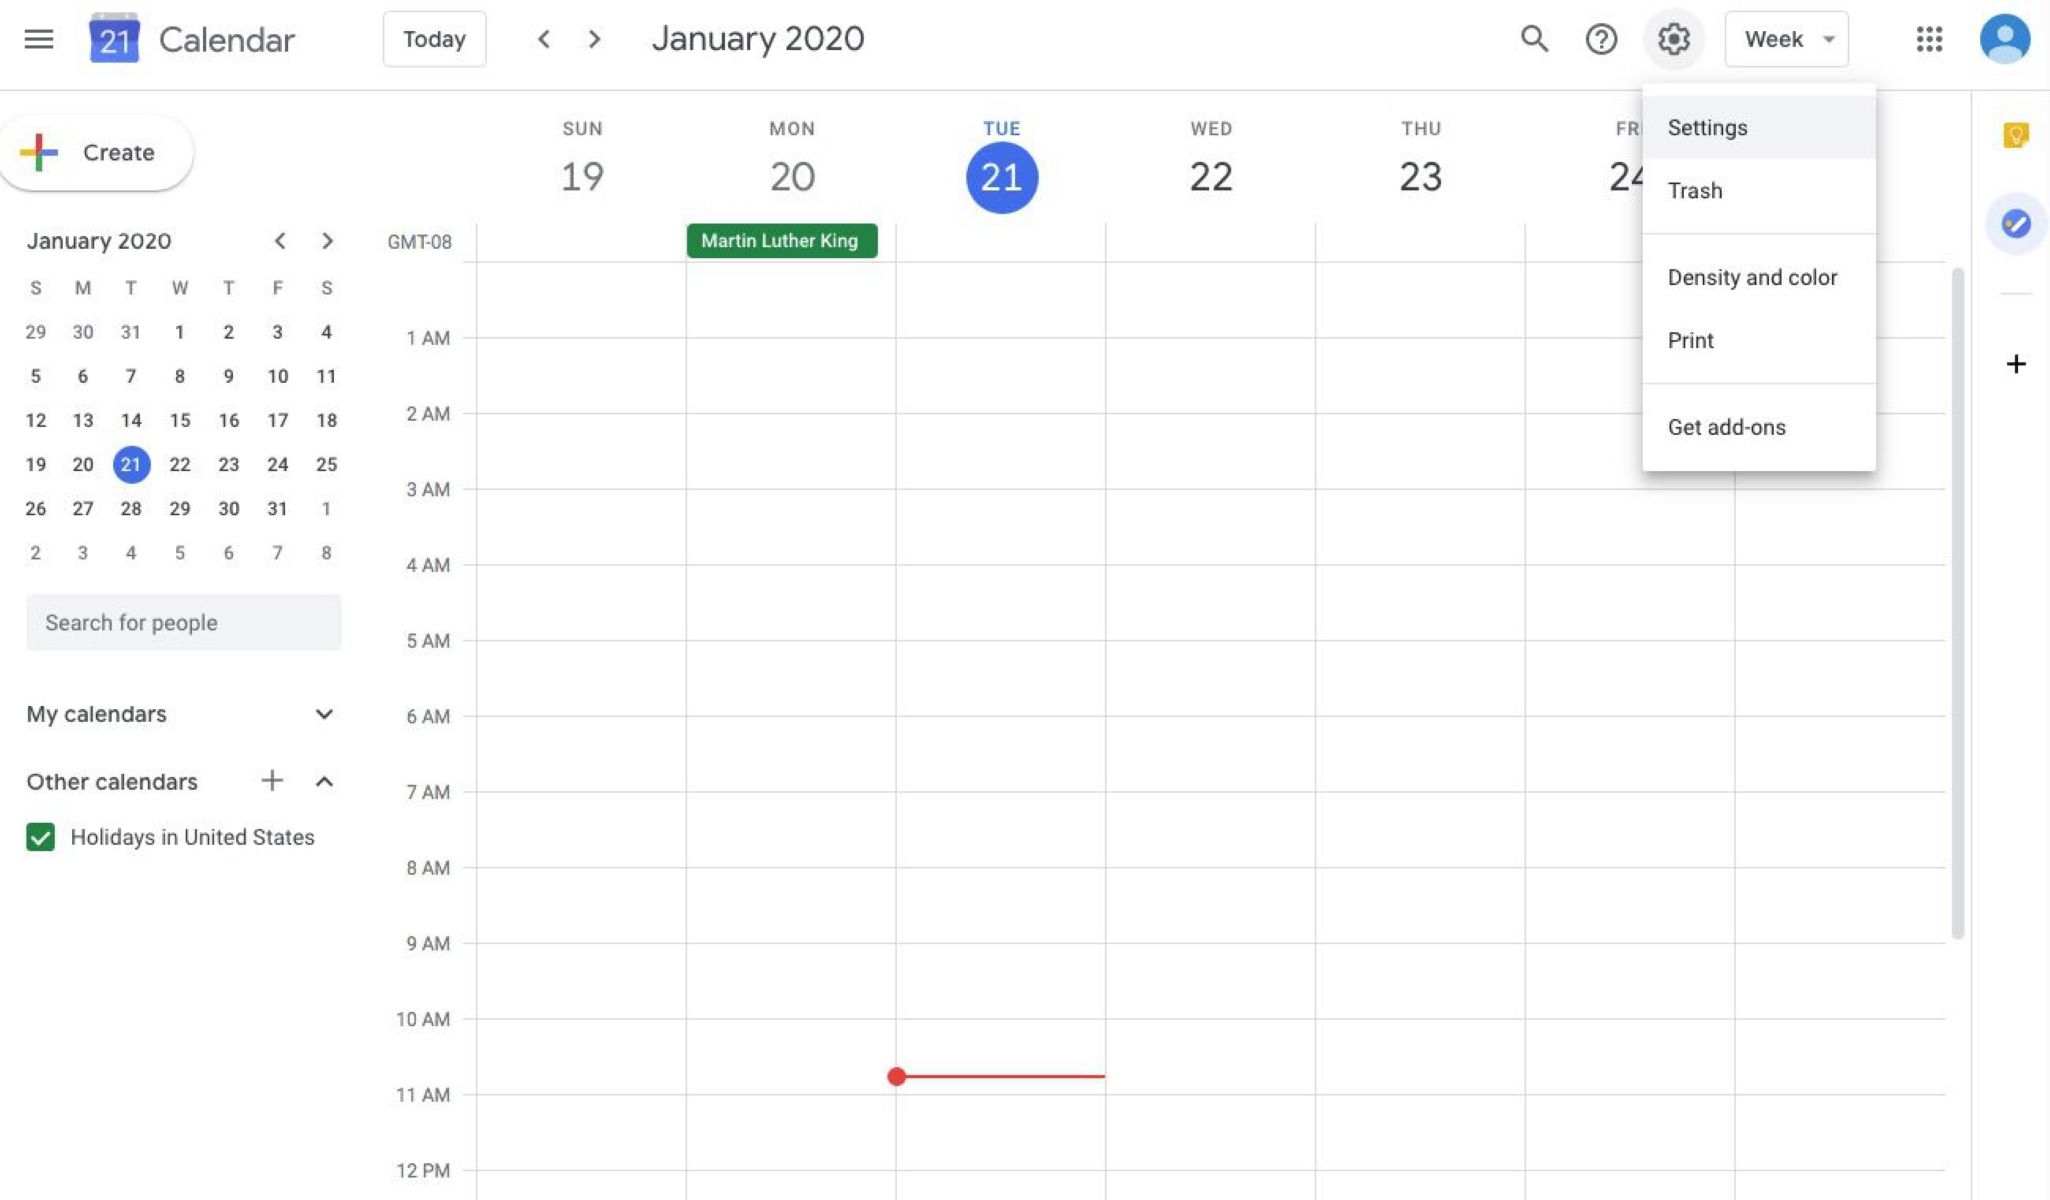
Once you have Google Calendar open, you will see a gear icon in the top right corner of the screen. Click on this gear icon to open the settings menu. A dropdown list will appear with various options.
From the dropdown menu, select the “Settings” option. This will take you to the settings page where you can customize your calendar preferences.
Alternatively, you can directly access the settings page by typing “calendar.google.com/calendar/settings” in your browser’s address bar and pressing Enter. This will also take you to the settings page.
Now that you have accessed the settings page, you are ready to move on to the next step – navigating to the old version of Google Calendar.
Step 2: Navigating to the Old Version
After accessing the Google Calendar settings, the next step is to navigate to the old version of the calendar. To do this, locate the “General” tab on the left side of the settings page.
Within the “General” tab, you will find a section titled “Default View.” Here, you can choose the default view for your Google Calendar. Click on the dropdown menu next to “Default View” to expand the options.
Among the available options, you will see “Use the classic old calendar.” Select this option to switch to the old version of Google Calendar. As soon as you select this option, the settings page will refresh, and you will be redirected to the old version of the calendar.
It’s important to note that once you switch to the old version, your calendar view will be updated across all devices and platforms associated with your Google account. This means that whether you access your calendar from a computer, smartphone, or tablet, the old version will be displayed.
Now that you have successfully navigated to the old version of Google Calendar, you can proceed to the next step to customize the display preferences according to your preferences.
Step 3: Enabling the Old Version
Once you have navigated to the old version of Google Calendar, you might notice that the layout and features have reverted to the familiar interface you were accustomed to. However, there are a few more steps you can take to further customize and optimize your experience with the old version.
To enable the old version, you can start by accessing the settings within the old Google Calendar interface. Look for the gear icon, usually located in the top right corner of the screen. Clicking on this icon will open a dropdown menu.
In the dropdown menu, you will find the “Settings” option. Click on it to open the settings page specific to the old version of Google Calendar.
On the settings page, you will see several tabs on the left-hand side. Depending on your preferences, you can explore different tabs to adjust various settings, such as notifications, event defaults, or calendar sharing.
Take your time to review and modify these settings according to your needs. You can customize the old version of Google Calendar to match your workflow and preferences, just like you did with the new version.
Once you have made any necessary changes, make sure to click on the “Save” button to apply the modifications and save your customized settings.
Now that you have enabled the old version and customized it to your liking, you can enjoy the familiar layout and features that were once a part of your daily routine.
However, it’s worth noting that Google may periodically update the old version of Google Calendar as well. While the core interface will remain the same, there may be minor changes or improvements over time.
With the old version enabled and your settings adjusted, you’re now ready to utilize the classic Google Calendar experience to manage your events and time more efficiently.
Step 4: Customizing Display Preferences
Now that you have successfully enabled the old version of Google Calendar and familiarized yourself with its interface, it’s time to personalize your display preferences. Customizing the display settings allows you to optimize your calendar view and make it more visually appealing and efficient.
To access the display preferences, click on the gear icon in the top right corner of the old Google Calendar interface. This will open the settings dropdown menu.
From the dropdown menu, select the “Settings” option. This will take you to the settings page specific to the old version of Google Calendar.
Once you’re on the settings page, you will see different tabs on the left-hand side of the screen. Look for the tab labeled “Display.” Click on it to view the various display options available.
Within the “Display” tab, you can adjust settings such as the time zone, date format, and number of events displayed. Take your time to explore these options and select the ones that suit your preferences.
For example, you can choose whether to display weekends or only show weekdays in your calendar view. You can also select the time interval for your day and week views, allowing you to see your schedule in a way that works best for you.
Additionally, you can choose the number of events to display on your calendar at a time, which can help you see a broader or more detailed overview of your schedule.
After customizing the display preferences to your liking, don’t forget to click on the “Save” button to apply your changes and ensure they are reflected in your calendar view.
By customizing the display preferences, you can make your old Google Calendar experience even more tailored to your needs and preferences. Experiment with different settings until you find the perfect balance that helps you stay organized and efficient.
Now that you have personalized your display preferences, you’re ready to fully utilize the old version of Google Calendar and make the most of its features.
Step 5: Reverting Back to the New Version
While the old version of Google Calendar may bring back a sense of nostalgia, it’s important to remember that Google is constantly updating their services to provide new features and improve user experience. If you ever feel the need to switch back to the new version, Google makes it easy to do so.
To revert back to the new version of Google Calendar, start by locating the gear icon in the top right corner of the old Google Calendar interface. Click on it to open the settings dropdown menu.
In the dropdown menu, you will find the “Settings” option. Click on it to access the settings page specific to the old version of Google Calendar.
Once you’re on the settings page, you will see different tabs on the left-hand side of the screen. Look for the tab labeled “General.” Click on it to open the general settings.
Within the “General” tab, you will find the “Default View” section. This is where you can change the default view of your Google Calendar. By default, it will be set to the old version.
To switch back to the new version, select the option that says “Use the new version of Google Calendar.” As soon as you select this option, the settings page will refresh, and you will be redirected to the new version of Google Calendar.
It’s important to note that switching back to the new version will update your calendar view across all devices and platforms associated with your Google account.
Now that you have successfully reverted back to the new version of Google Calendar, you can experience the latest features and improvements that Google has to offer. Don’t forget that you can always switch between the old and new versions whenever you want, giving you the flexibility to use the interface that suits your needs and preferences best.
Remember, Google may eventually phase out support for the old version, so it’s always good to stay updated and explore the new features and enhancements they release.
Conclusion
Going back to the old version of Google Calendar can be a refreshing change for those who prefer a more familiar and simplistic interface. By following the steps outlined in this guide, you can easily switch to the old version, customize your display preferences, and revert back to the new version if needed.
Remember that while the old version may provide a sense of nostalgia, it may not have all the latest features and improvements that Google has implemented in the new version. It’s essential to stay updated with the latest developments to ensure you are utilizing the most efficient and secure version of Google Calendar.
Whether you choose to stick with the old version or switch back to the new version, Google Calendar offers a user-friendly platform to help you manage your events, schedule, and time effectively. Customize your calendar to match your workflow, and enjoy the convenience of accessing it across multiple devices.
Regardless of the version you prefer, Google Calendar remains a powerful tool to keep track of your appointments, meetings, and important events. Maximize its potential by taking advantage of its features, syncing it with other Google services, and exploring integrations with other productivity tools.
Remember that both versions of Google Calendar have their own benefits, so feel free to experiment and find the one that best suits your needs and preferences. The most important thing is to use a calendar system that helps you stay organized, productive, and in control of your time.
So, whether you stay with the old version or venture into the new version of Google Calendar, enjoy managing your schedule with ease and make the most out of your day!