Introduction
Welcome to this guide on how to delete multiple events on Google Calendar. If you have ever found yourself with a cluttered calendar and the tedious task of individually deleting multiple events, this article is here to make your life easier. Google Calendar is a powerful tool for keeping track of your appointments, meetings, and events, but managing a large number of entries can become overwhelming. Thankfully, Google Calendar offers a simple and efficient way to delete multiple events at once.
Whether you need to clean up an old schedule, remove duplicate entries, or simply want to start fresh, deleting multiple events can save you precious time and effort. In this step-by-step guide, we will walk you through the process of deleting multiple events on Google Calendar, ensuring that you can regain control over your busy schedule.
Before we dive into the steps, it is important to note that once an event is deleted, it cannot be recovered. So, make sure to double-check your selections before confirming the deletion.
Now, without further ado, let’s get started on clearing out those unwanted events and refreshing your Google Calendar!
Step 1: Log in to your Google Calendar account
The first step in deleting multiple events on Google Calendar is to log in to your account. Open your preferred web browser and visit calendar.google.com. If you’re already signed in to your Google account, you will be directed to your Calendar dashboard. If not, enter your email and password to log in.
If you don’t have a Google account, you will need to create one before accessing Google Calendar. Simply click on the “Create account” option and follow the prompts to set up your account.
Once you’re logged in, you will have access to all your saved events and calendar settings. Take a moment to familiarize yourself with the layout and navigation of Google Calendar, as it will help you complete the following steps more efficiently.
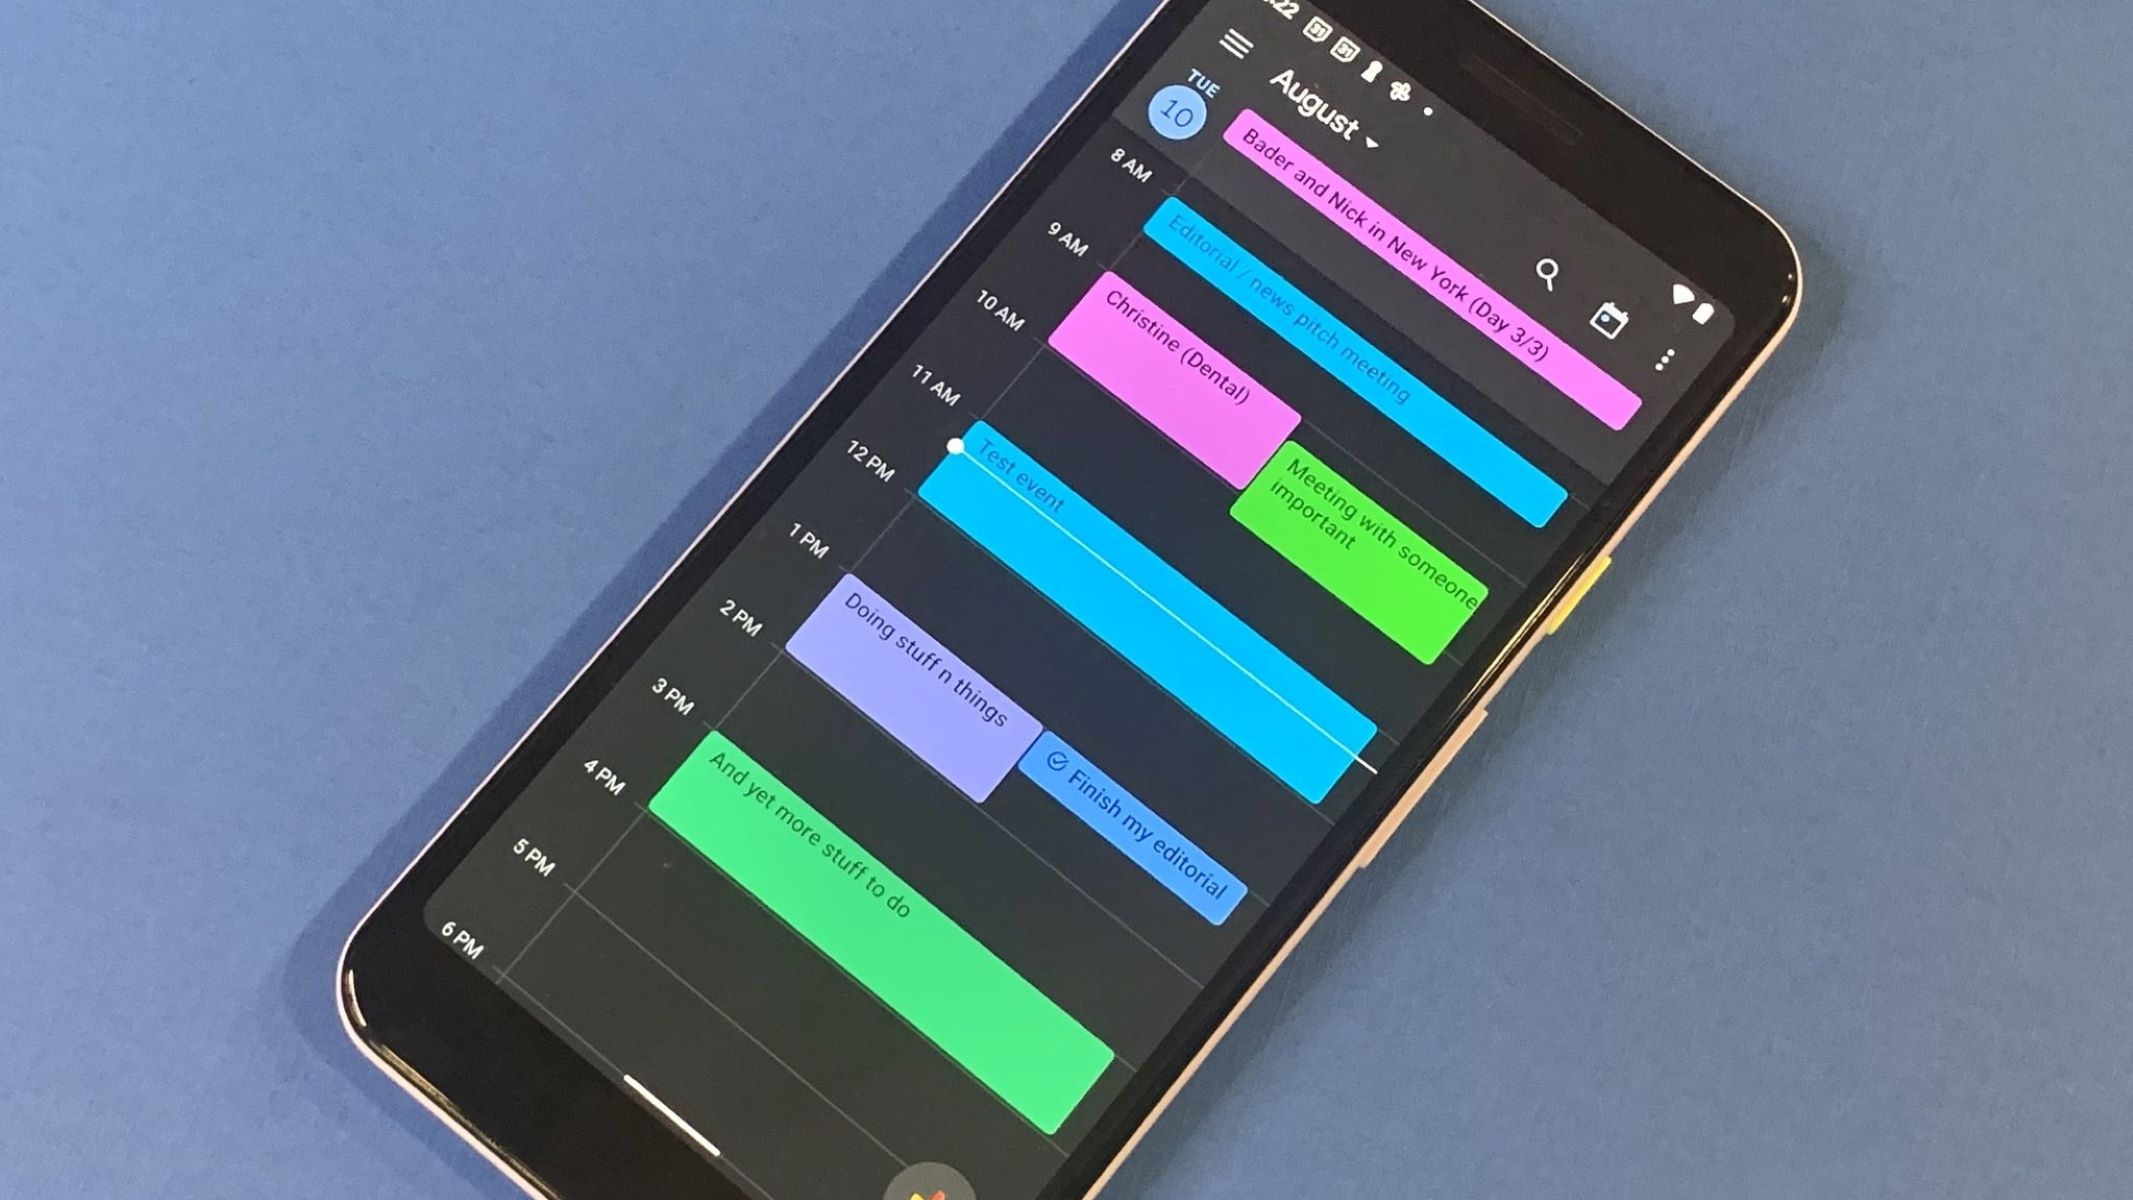
If you prefer using the Google Calendar app on your mobile device, you can download it from the App Store (for iOS users) or the Google Play Store (for Android users). Sign in to the app using your Google account credentials to sync your events across devices.
Now that you’re logged in to your Google Calendar account, you’re ready to move on to step 2: accessing the events list.
Step 2: Access the events list
Once you’re logged in to your Google Calendar account, accessing the events list is a breeze. On the main calendar view, you will see a list of your upcoming events in chronological order. However, to delete multiple events, we need to access the detailed events list.
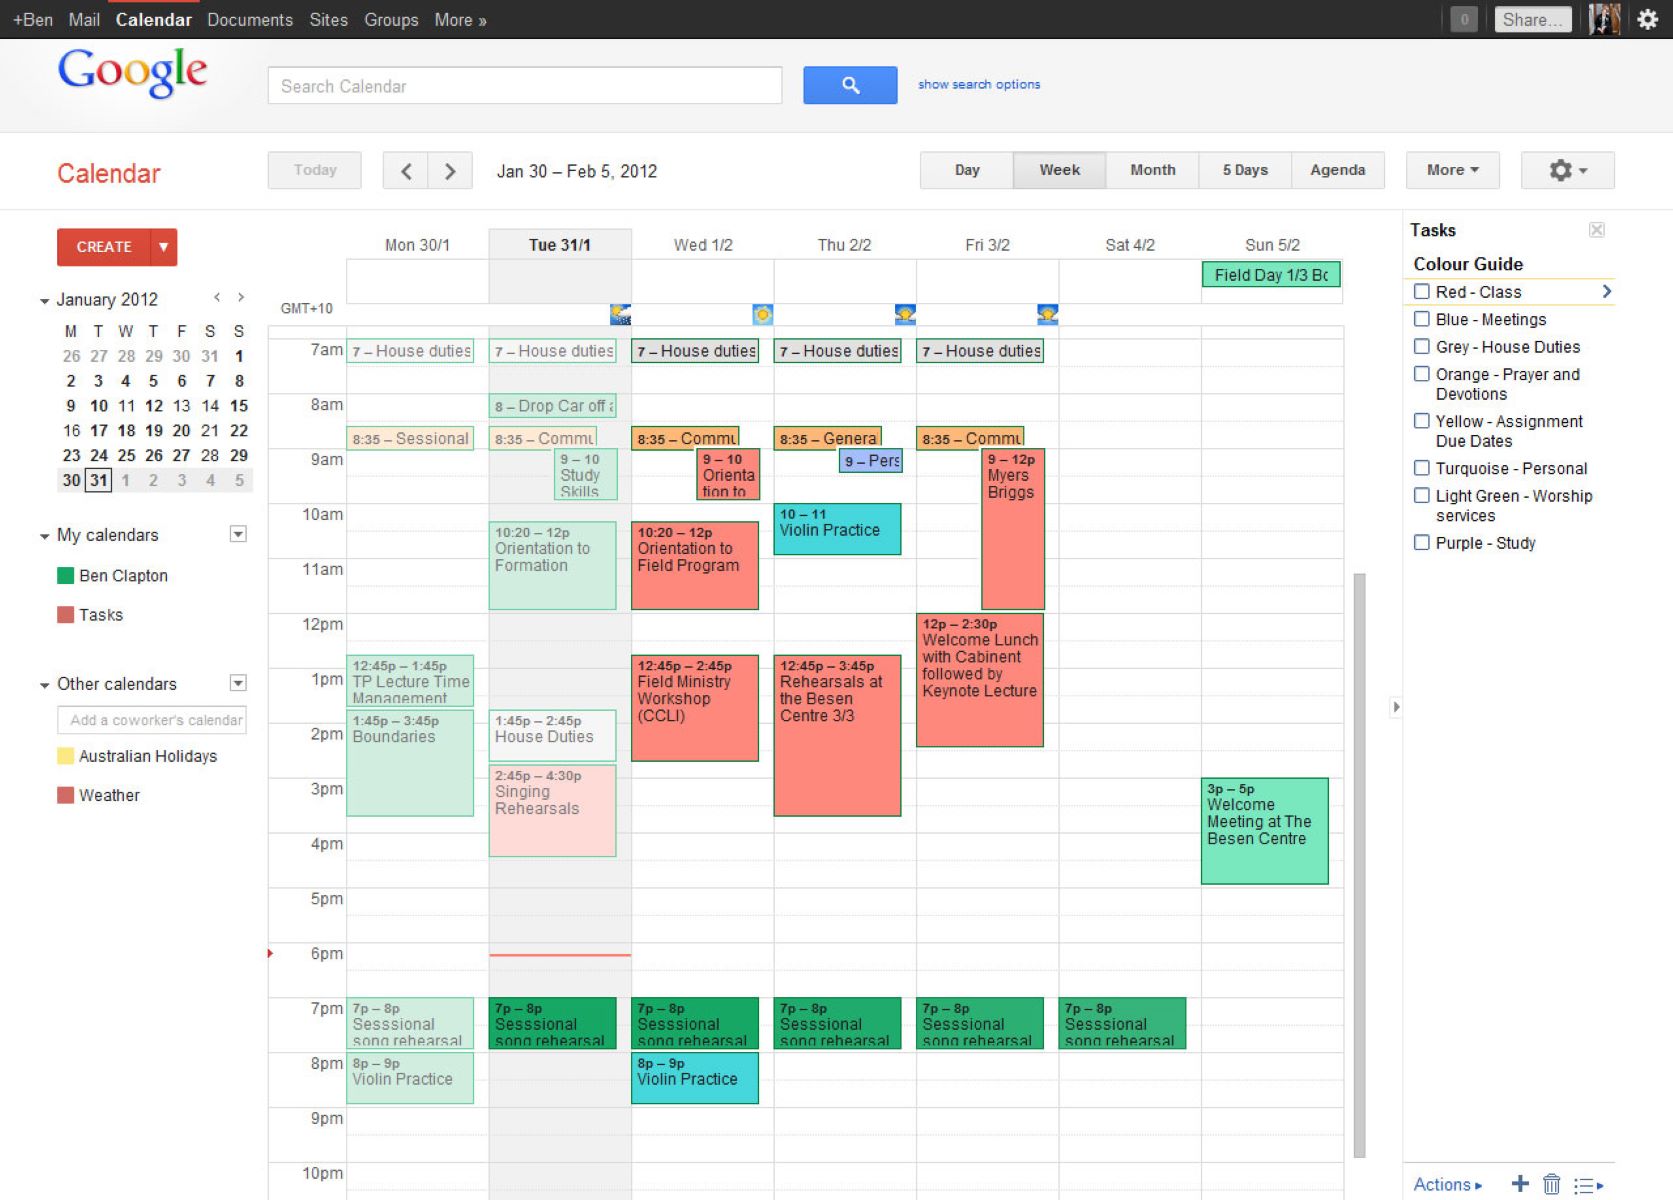
To access the events list, look for the sidebar on the left-hand side of the screen. Locate and click on the “Agenda” tab. This will bring up a list view of all your events, organized by date and time. The agenda view provides a clear overview of your events, making it easier to select and delete multiple entries.
In addition to the agenda view, you can also use the day, week, or month view to access your events list. Simply click on the respective tab in the sidebar to switch to your preferred view. However, keep in mind that the agenda view is usually the most efficient way to manage and delete multiple events.
Once you’re in the events list, you can scroll through and locate the specific events you want to delete. Take your time to review the entries and make sure you have identified all the events you wish to remove. It’s a good idea to have a clear understanding of the events you want to delete before moving on to the next step.
Now that you have accessed the events list, it’s time to move on to step 3: selecting the events you want to delete.
Step 3: Select the events you want to delete
In this step, we will guide you on how to select the events you want to delete from the Google Calendar events list. By selecting multiple events at once, you can quickly and efficiently remove them from your schedule.
To select multiple events, start by clicking on the first event you want to delete. Holding down the “Shift” key on your keyboard, click on the last event that you want to include in the selection. This action will highlight all the events between the first and last ones. Alternatively, you can hold down the “Ctrl” key (or “Command” key on a Mac) while clicking on individual events to select them one by one.
As you select the events, you will notice that they are highlighted or marked in some way, depending on the view you are using. This visual indication helps you keep track of your selection and ensures that you don’t accidentally delete the wrong events.
If you realize that you have selected an event by mistake or wish to remove it from the selection, simply click on it again while holding down the “Shift” or “Ctrl/Command” key. This will deselect the event and remove it from the deletion list.
It’s important to be cautious and double-check your selection before proceeding to the next step. Take a moment to review the highlighted events in the events list and confirm that you have selected all the events you intend to delete. Once you are satisfied with your selection, move on to step 4: deleting the selected events.
Step 4: Delete the selected events
Now that you have selected the events you want to delete from the Google Calendar events list, it’s time to remove them from your schedule. Deleting multiple events at once helps declutter your calendar and frees up space for new appointments and activities.
To delete the selected events, follow these simple steps:
- Right-click on any of the selected events. A context menu will appear with various options.
- From the context menu, select the “Delete” or “Remove” option. The wording may vary depending on your operating system or device.
- Confirm the deletion when prompted to ensure you want to remove the selected events from your calendar.
Alternatively, if you prefer using keyboard shortcuts, you can press the “Delete” or “Backspace” key after selecting the events. This action will also prompt a confirmation message to ensure you want to proceed with the deletion.
Once you confirm the deletion, the selected events will be permanently removed from your Google Calendar. It’s important to note that this action cannot be undone, so make sure to review your selection and double-check that you have chosen the correct events to delete.
After deleting the selected events, you will notice that they no longer appear in your calendar view. However, keep in mind that any reminders or notifications associated with these events may still be active. If you want to remove any remaining reminders or notifications, you will need to do so separately.
Now that you have successfully deleted the selected events, let’s move on to step 5: confirming the deletion and ensuring the events are permanently removed from your calendar.
Step 5: Confirm the deletion
After deleting the selected events from your Google Calendar, it’s important to confirm that the deletion was successful and the events have been permanently removed. This step ensures that your calendar is accurately updated and free from any unwanted or redundant entries.
Here are a few things you can do to confirm the deletion:
- Refresh your Google Calendar view: After deleting the events, refresh your calendar page or switch between different calendar views to ensure that the deleted events no longer appear. This confirms that the events have been successfully removed from your calendar.
- Check the events list: Go back to the events list and check if the deleted events are no longer visible. The events you removed should no longer be listed, confirming that they have been permanently deleted.
- Search for the deleted events: If you have a large number of events or are unsure if the deletion was successful, you can use the search function in Google Calendar to search for the events you deleted. If no results are found, it means that the events have been successfully removed.
- Review your calendar view: Take a moment to review your calendar view and make sure that the deleted events no longer appear in your daily, weekly, or monthly schedule. This visual confirmation will give you peace of mind that the unwanted events are gone.
By following these verification steps, you can be confident that the selected events have been successfully deleted from your Google Calendar. Keep in mind that the deleted events cannot be recovered, so it’s essential to review your selection and ensure that you have deleted the correct events.
Now that you have confirmed the deletion, let’s move on to step 6: repeating the process if necessary or concluding the deletion of multiple events on Google Calendar.
Step 6: Repeat the process if necessary
After completing the deletion of multiple events on Google Calendar, you may find that there are still more events you want to remove. In such cases, you can repeat the process to delete any additional events as needed. This step ensures that your calendar remains organized and free from unwanted entries.
To repeat the process and delete more events, follow these steps:
- Return to the events list: Go back to the events list in Google Calendar. You can access the list by clicking on the “Agenda,” “Day,” “Week,” or “Month” tabs in the sidebar – depending on your preferred view.
- Select the additional events: Just like in Step 3, select the events you want to delete by either using the “Shift” key to select a range of events or the “Ctrl/Command” key to select individual events.
- Delete the selected events: Right-click on any of the selected events and choose the “Delete” or “Remove” option from the context menu. Confirm the deletion when prompted. Alternatively, you can use the keyboard shortcut of pressing the “Delete” or “Backspace” key.
Continue repeating these steps until you have deleted all the desired events from your Google Calendar. Remember to double-check your selection and confirm the deletion to avoid accidentally removing the wrong events.
If you find that you need to delete a large number of events or perform regular cleanup tasks in Google Calendar, it might be easier to use Google Calendar’s bulk editing tools or consider using third-party calendar management applications that offer more advanced event deletion options.
Once you have finished deleting the necessary events, your Google Calendar will be free from the clutter and confusion of unwanted entries. Take a moment to appreciate the cleaner and more organized view of your schedule.
Now that you have successfully repeated the deletion process, you have complete control over the events in your Google Calendar.
Conclusion
Congratulations! You have successfully learned how to delete multiple events on Google Calendar. By following the step-by-step process outlined in this guide, you can efficiently remove unwanted or duplicate events, decluttering your calendar and keeping it organized.
Remember, it is essential to double-check your selection before confirming the deletion of multiple events. Once the events are deleted, they cannot be recovered, so ensure that you have selected the correct events to delete.
By logging in to your Google Calendar account, accessing the events list, selecting the events, and deleting them in bulk, you can streamline your calendar and create a clear view of your upcoming schedule.
If you need to delete more events, simply repeat the process outlined in this guide. Take advantage of the search function and refresh your calendar view to confirm that the events have been permanently removed.
With your Google Calendar now free from unwanted entries, you can better focus on your priorities and stay organized with ease. Enjoy the benefits of a decluttered and efficient calendar system!
Thank you for following this guide on how to delete multiple events on Google Calendar. We hope this information has been helpful to you. If you have any further questions or need additional assistance, feel free to consult Google’s support resources or reach out to their help center.
Happy organizing!