Introduction
Welcome to the world of Google Calendar! With its user-friendly interface and powerful features, Google Calendar has become an essential tool for organizing your schedule and staying on top of your commitments.
Whether you’re managing personal events, coordinating meetings with colleagues, or organizing events for a group, Google Calendar provides a seamless and efficient workflow. In this guide, we’ll explore the various functionalities of Google Calendar and learn how to edit events to better meet your needs.
From adding new events to modifying existing ones, Google Calendar allows you to make changes on the go, ensuring that your schedule remains accurate and up to date. With just a few simple steps, you’ll be able to customize event details, adjust time and date, set reminders, invite guests, and efficiently manage multiple calendars.
So, let’s dive into the world of editing Google Calendar events and unlock the full potential of this powerful scheduling tool!
Accessing Google Calendar
To edit your Google Calendar events, you first need to access your calendar. Luckily, Google Calendar is accessible through various platforms, including web browsers, mobile apps, and desktop clients. Here are three common ways to access Google Calendar:
- Web Browser: Open your preferred web browser and navigate to calendar.google.com. Sign in with your Google account credentials, and you’ll be directed to your Google Calendar interface.
- Mobile App: If you’re on the go and want to edit your events from your smartphone or tablet, you can download the Google Calendar app from your device’s app store. Once installed, sign in with your Google account, and you’ll have access to your calendar at your fingertips.
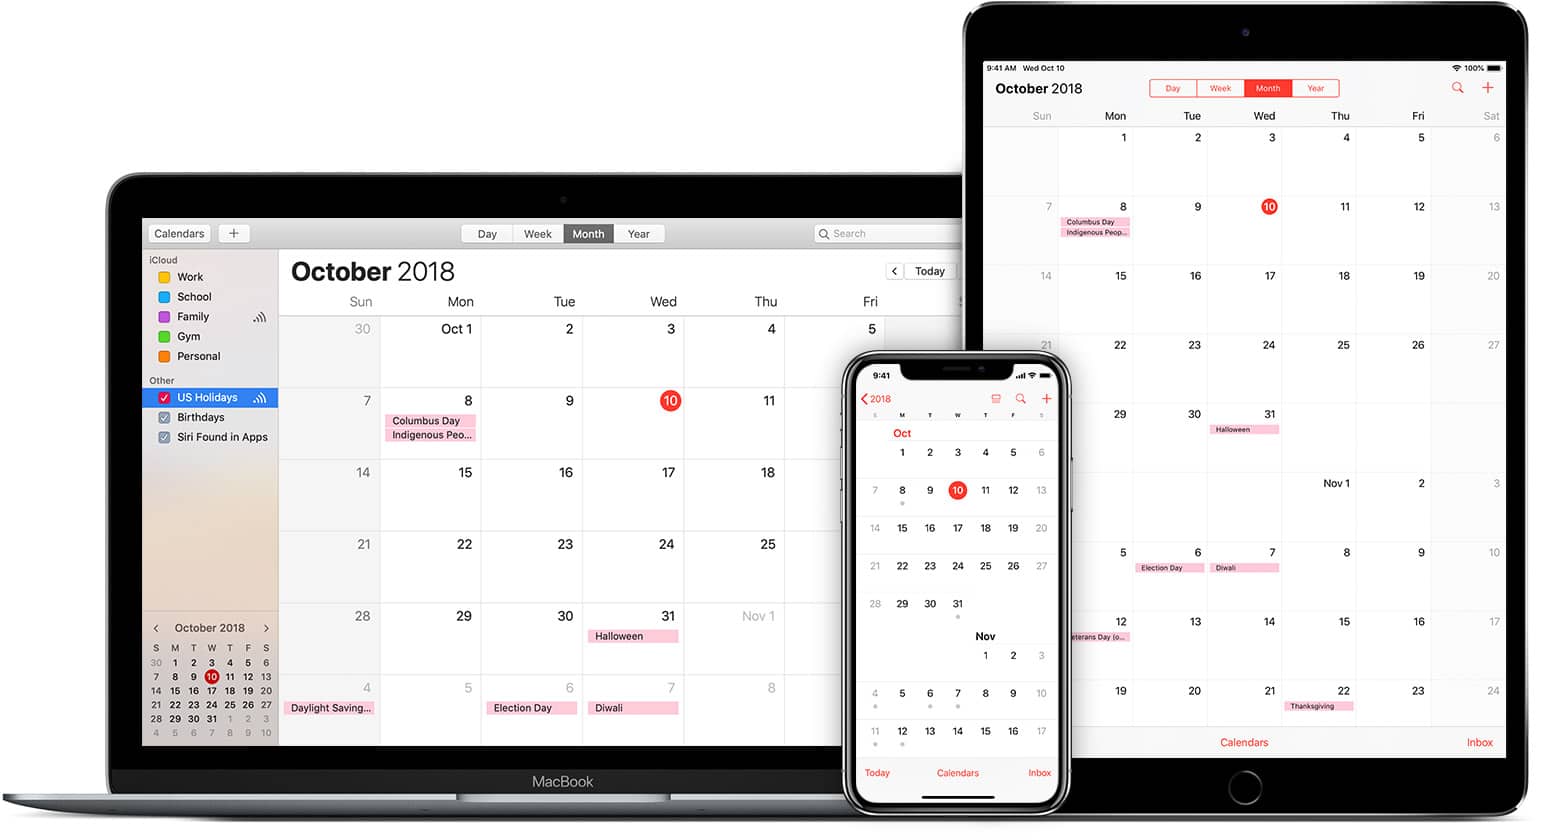
- Desktop Client: Google Calendar can also be accessed through various desktop clients, such as Microsoft Outlook or Apple Calendar. These applications allow you to sync your Google Calendar events with your desktop, enabling you to manage and edit your schedule alongside other productivity tools.
Once you have accessed your Google Calendar, you are ready to start editing your events. The interface is intuitive and user-friendly, making it easy to navigate and locate the event you wish to modify.
Remember, Google Calendar automatically saves any changes you make, so you don’t have to worry about manually saving your edits. Your updated event details will be reflected across all your synced devices, ensuring that you have the most accurate and up-to-date information.
Now that you know how to access Google Calendar, let’s move on to the next section and explore the various ways to create and edit your events.
Creating Events
Now that you’ve accessed Google Calendar, it’s time to start creating your events. Creating events in Google Calendar is a straightforward process that allows you to input essential details and customize your event with additional information. Here’s how you can create a new event:
- Click on an empty space: In your calendar view, click on an empty time slot on the desired date. This will open a pop-up where you can enter the details of your event.
- Fill in event details: In the pop-up window, enter the title of your event in the designated field. This should be a concise and descriptive title that clearly indicates the purpose or nature of the event.
- Select the date and time: Choose the date of the event from the calendar view. You can also select the start and end times for your event or make it an all-day event by checking the corresponding box.
- Add location: If your event has a specific location, click on the “Add location” field and enter the address or place name. Google Calendar will try to automatically generate a map for easy navigation.
- Add description: Use the description field to provide additional details or instructions for your event. This can include meeting agendas, important notes, or any other relevant information.
- Set event visibility: By default, your event is set to “Busy” and will be visible to others if you’ve shared your calendar. However, you can change the visibility of the event to “Available” or mark it as “Private” to keep it hidden from others.
- Save the event: Once you’ve filled in the required information, click on the “Save” button to create the event. The event will now be added to your calendar.
After creating an event, you can always go back and edit its details if needed. Simply click on the event in your calendar, and the pop-up window will appear, allowing you to modify the event as necessary.
Creating events in Google Calendar is quick and easy, allowing you to efficiently manage your schedule and keep track of important commitments. In the next section, we’ll explore how you can edit the details of your existing events to ensure accuracy and provide any necessary updates.
Editing Event Details
Google Calendar offers a range of options for editing event details, allowing you to modify specific information related to your events. Whether it’s adjusting the event title, updating the description, or changing the location, Google Calendar makes it easy to keep your events up to date. Here’s how you can edit event details:
- Select the event: From your calendar view, click on the event you wish to edit. This will open the event details pop-up window.
- Modify the event title: To change the event title, simply click on the existing title in the pop-up window and enter the new title.
- Edit the event description: If you need to update or add more information to the event description, click on the description field in the pop-up window. You can then make the necessary changes or additions.
- Change the event location: To modify the event location, click on the existing location field in the pop-up window. Enter the new address or place name, and Google Calendar will attempt to generate a map for easy navigation.
- Adjust event visibility: If you want to change the visibility of your event, click on the visibility setting in the pop-up window. You can select “Busy,” “Available,” or “Private” depending on your preference.
- Modify other event details: Depending on your needs, you can customize other event details such as the event color, the calendar to which the event belongs, and any attachments or links associated with the event.
- Save the changes: Once you have made the desired edits, click on the “Save” button to save the changes. The updated event details will now be reflected in your calendar.
By editing the event details, you ensure that the information associated with your events remains accurate and relevant. Whether it’s a change in the event title, additional instructions in the description, or an updated location, Google Calendar makes it quick and simple to make these modifications.
In the next section, we’ll explore how you can change the time and date of your events for better scheduling and organization.
Changing Event Time and Date
Flexibility is key when it comes to managing your schedule, and Google Calendar makes it easy to change the time and date of your events. Whether you need to reschedule a meeting, adjust the duration of an event, or move an appointment to a different day, Google Calendar offers various options for modifying event timing. Let’s explore how you can change the time and date of your events:
- Select the event: From your calendar view, click on the event that you want to change. This will open the event details pop-up window.
- Modify the start and end times: To adjust the time of your event, click on the start and end times in the pop-up window. You can manually enter the new time or use the drop-down menus to select the appropriate time.
- Change the event duration: If you need to change the duration of your event, you can do so by either dragging the bottom edge of the event box in the calendar view or adjusting the end time in the event details pop-up window.
- Move the event to a different day: To change the date of your event, click and drag the event to the desired day in the calendar view. Once you release the mouse, the event will be moved to the new date.
- Use the “Change” button: Google Calendar also provides a convenient “Change” button in the event details pop-up window. By clicking on this button, you can quickly select a new date and time for your event.
- Save the changes: After making the necessary adjustments to the event time and date, click on the “Save” button to save the changes. Your event will now reflect the updated timing in your calendar.
With the ability to change event time and date, Google Calendar empowers you to adapt your schedule to meet your evolving needs. Whether it’s a last-minute rescheduling or a long-term plan modification, you can easily adjust your events to stay organized and on track.
In the next section, we’ll explore how you can add notifications to your events, ensuring that you stay informed and prepared for upcoming commitments.
Adding Notifications
Adding notifications to your events in Google Calendar helps you stay informed and reminded of your upcoming commitments. Notifications can be customized to suit your preferences, ensuring that you never miss an important meeting, deadline, or appointment. Here’s how you can add notifications to your events:
- Select the event: From your calendar view, click on the event for which you want to set a notification. This will open the event details pop-up window.
- Click on “Add notification”: Within the event details pop-up window, locate the “Add notification” option. It is usually represented by a bell icon. Click on it to access the notification settings.
- Choose the notification time: Google Calendar offers various options for setting the notification time. You can select predefined options such as “At time of event,” “5 minutes before,” “1 hour before,” or set a custom reminder by choosing “Custom.” If you choose the custom option, enter the desired time for the notification.
- Set the delivery method: Google Calendar allows you to determine how you receive notifications. You can choose to receive notifications via email, a pop-up message in your browser, or a notification on your mobile device, depending on your preference.
- Add multiple notifications: If you need additional notifications for the same event, you can click on the “Add notification” option again and set another notification time and delivery method.
- Save the changes: After setting the desired notifications, click on the “Save” button to save the changes. The notifications will be associated with the event, ensuring that you receive timely reminders.
By adding notifications to your events, you can stay organized and prepared, even in the midst of a busy schedule. Whether it’s a reminder to review a presentation, an alert for a deadline, or a heads-up for an upcoming meeting, notifications keep you on track and help you manage your time effectively.
In the next section, we’ll explore how you can invite guests to your events, allowing for collaboration and seamless coordination.
Inviting Guests to Events
Google Calendar allows you to invite guests to your events, making it easy to coordinate and collaborate with others. Whether you’re organizing a team meeting, scheduling a conference call, or planning a social gathering, inviting guests ensures that everyone is on the same page. Here’s how you can invite guests to your events:
- Select the event: From your calendar view, click on the event for which you want to invite guests. This will open the event details pop-up window.
- Locate the “Add guests” field: In the event details pop-up window, you’ll find an “Add guests” field. This is where you can enter the email addresses of the guests you want to invite. You can invite people from your contact list or manually enter their email addresses.
- Enter guest email addresses: Start typing the email addresses of the guests, and Google Calendar will suggest matching contacts from your saved contacts or Google Contacts. Select the appropriate email addresses or continue typing to manually enter the email addresses.
- Add a personal message: If you want to include a personal message along with the invitation, you can do so in the invitation message box. This message will be sent along with the invitation email to the invited guests.
- Set guest permissions: Google Calendar allows you to specify the level of access your guests have to the event. You can choose between “See only free/busy” or “See all event details.” While the former allows guests to only see if you are available during the event time, the latter provides full details of the event.
- Send the invitations: After entering the guest email addresses and setting the desired permissions, click on the “Send” or “Invite” button to send the invitations to your guests. The email invitations will be sent, and your guests will receive the event details along with any personalized message you added.
By inviting guests to your events, you can ensure that everyone involved is aware of the event details and can participate actively. Invited guests will receive email notifications about the event, and they can indicate their acceptance or decline the invitation.
In the next section, we’ll explore how you can delete events from your Google Calendar when they are no longer needed.
Deleting Events
There may be occasions when you need to remove an event from your Google Calendar, whether it’s due to a change in plans, a cancellation, or simply an event that is no longer relevant. Google Calendar makes it easy to delete events and ensure that your calendar remains up to date. Here’s how you can delete events:
- Select the event: From your calendar view, click on the event that you want to delete. This will open the event details pop-up window.
- Click on the delete option: Look for the delete option within the event details pop-up window. This can typically be found as a trash bin or a “Delete” button. Click on it to delete the event.
- Confirm the deletion: Google Calendar will prompt you to confirm the deletion of the event to prevent accidental deletions. Review the details of the event once more, and if you’re sure you want to delete it, click on the confirmation prompt to proceed.
Once you have deleted an event, it will be removed from your calendar view and no longer be visible. If you accidentally delete an event, don’t worry – Google Calendar provides an “Undo” option immediately after deletion, allowing you to restore the event if needed.
Deleting events that are no longer necessary helps keep your calendar organized and ensures that you have an accurate view of your upcoming commitments. It also serves as a convenient way to remove clutter and maintain a clear and focused calendar.
In the next section, we’ll explore how you can efficiently manage multiple calendars within Google Calendar.
Managing Multiple Calendars
If you deal with multiple calendars, Google Calendar offers a powerful feature that allows you to manage and organize them seamlessly. Whether you have personal, work, or shared calendars, Google Calendar gives you the flexibility to view and edit multiple calendars in one place. Here’s how you can manage multiple calendars:
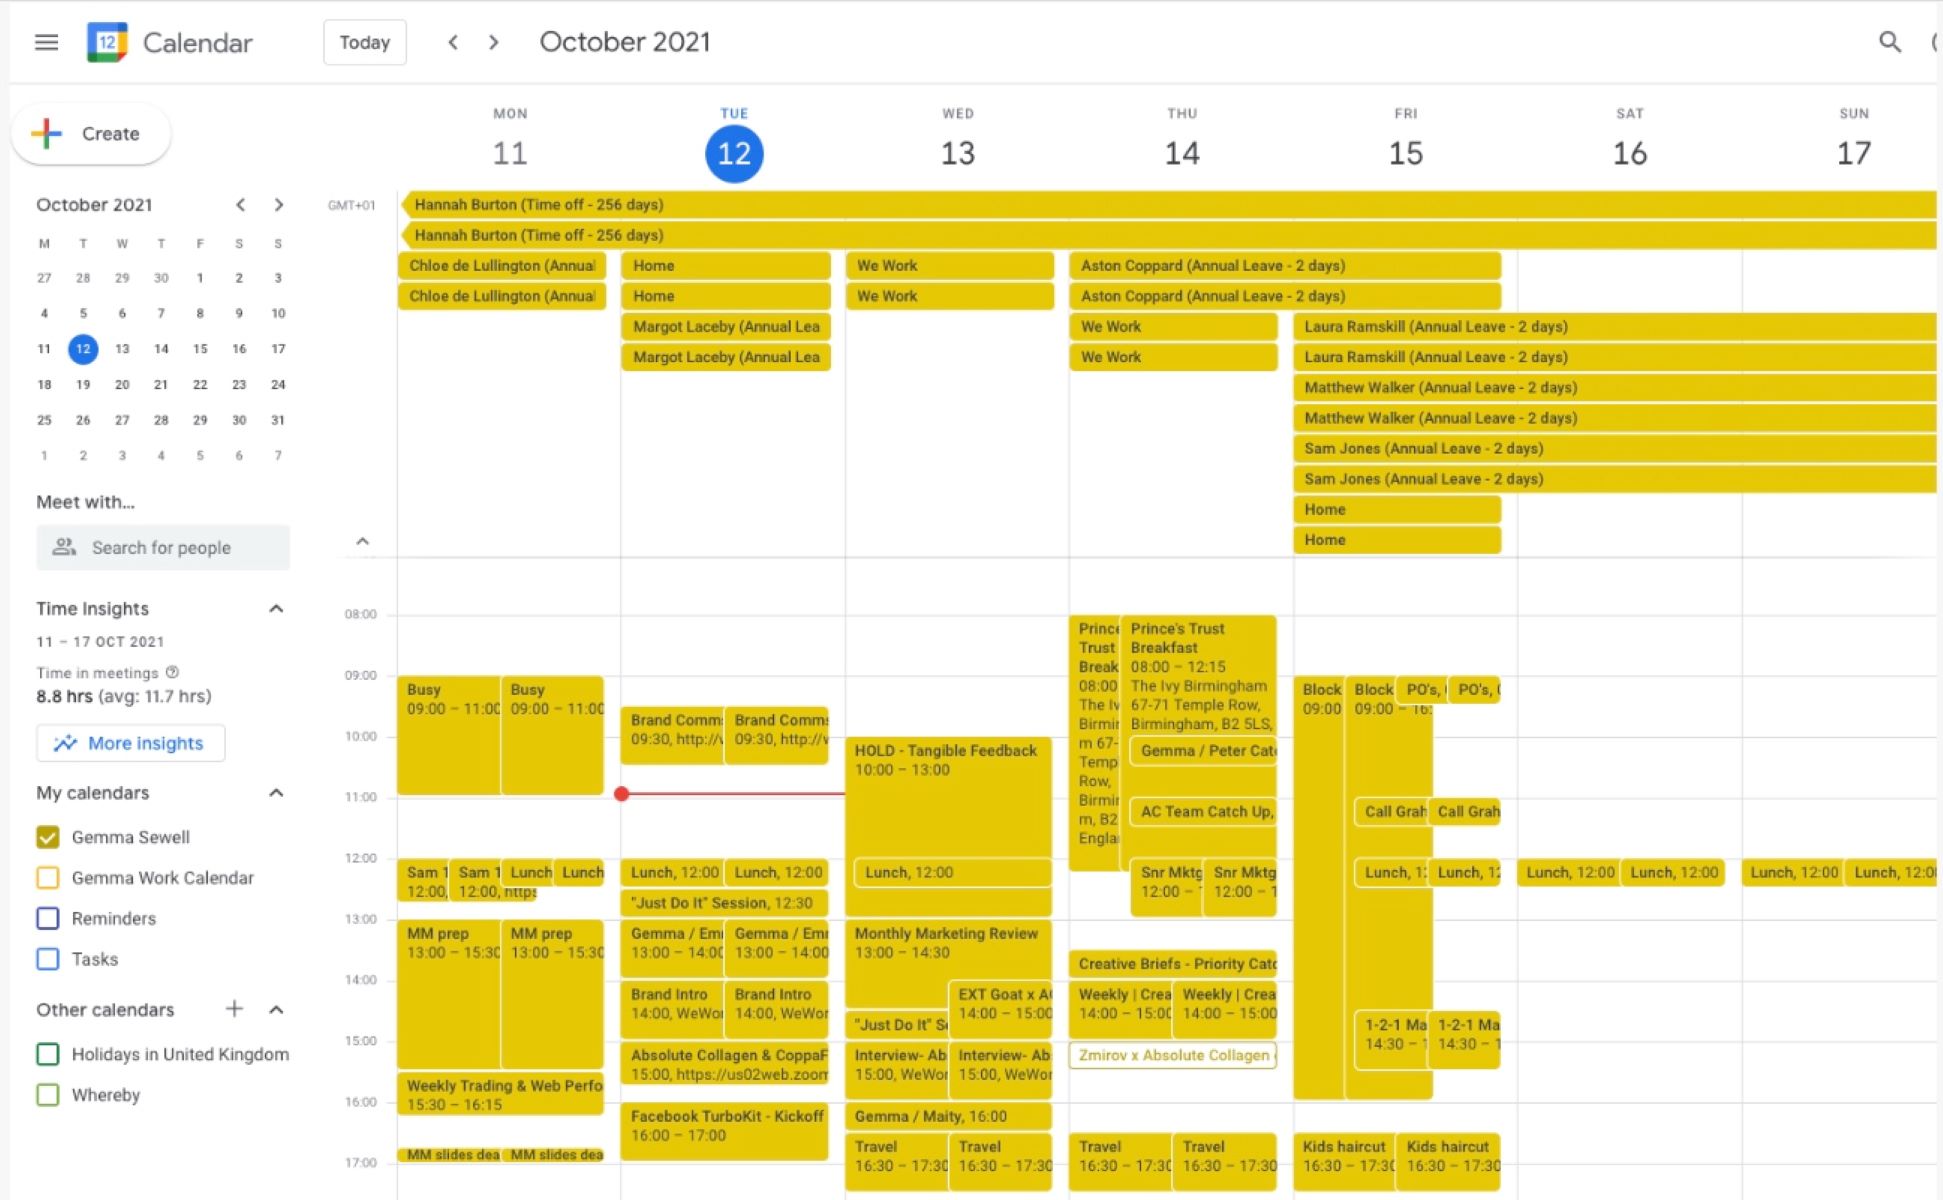
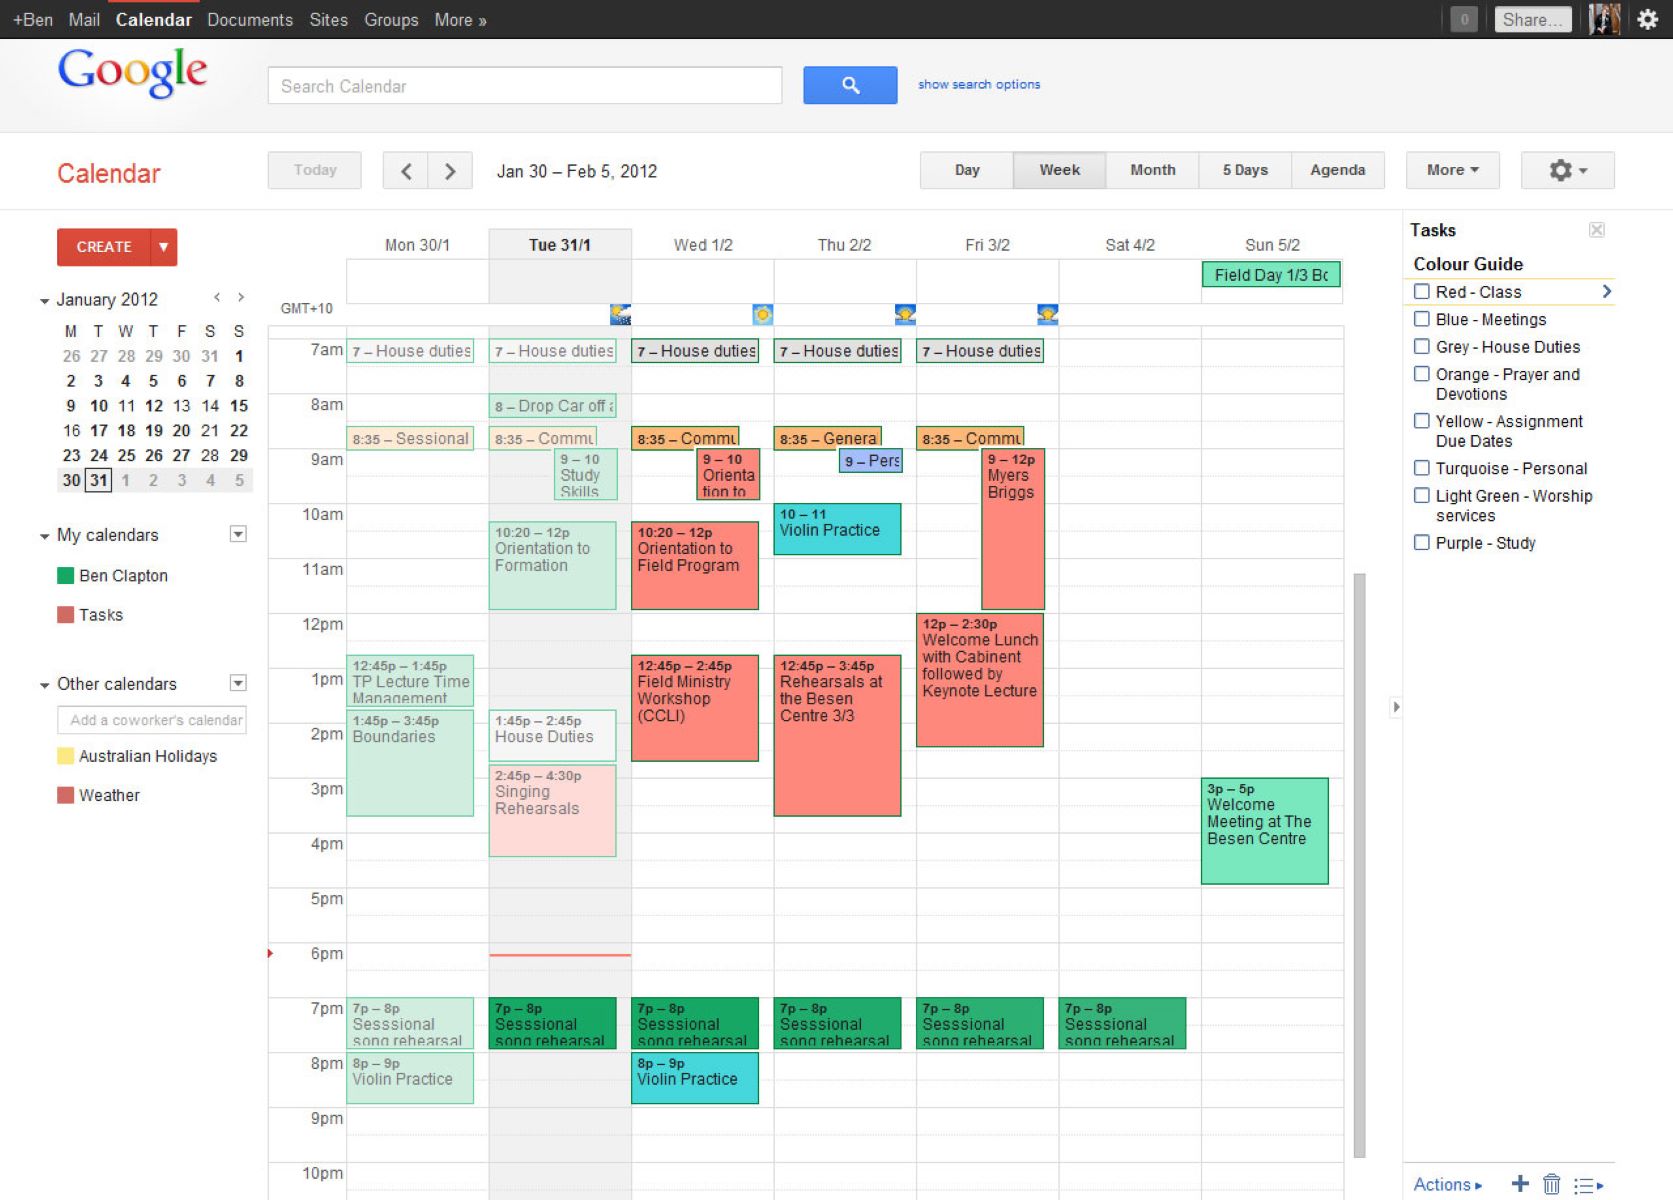
- Viewing multiple calendars: Google Calendar allows you to overlay multiple calendars to view their events simultaneously. To enable this feature, locate the “My calendars” section on the left side of the calendar view. Check the boxes next to the calendars you want to view, and their events will be displayed together in the calendar view.
- Creating new calendars: If you need to create additional calendars for different purposes, you can do so by clicking on the “My calendars” section. Scroll to the bottom and click on the “+” sign to create a new calendar. Give it a name, customize its settings, and you’ll have a new calendar to manage.
- Color-coding calendars: To easily differentiate between multiple calendars, you can assign different colors to each calendar. Click on the three dots next to the calendar name, select “Settings and sharing,” and then choose a color to represent that specific calendar. This color will be reflected in the calendar view for quick identification.
- Editing events across calendars: Google Calendar allows you to edit events across different calendars. If you have the necessary permissions, you can click on an event in one calendar and easily move it to another calendar or make changes to its details, ensuring that the event is accurately reflected across all calendars.
- Sharing calendars: Google Calendar enables you to share specific calendars with others. You can grant individuals or groups permission to view, edit, or manage your calendars. Click on the three dots next to the calendar name, select “Settings and sharing,” and then choose the sharing settings that best suit your needs.
- Managing notifications per calendar: Google Calendar allows you to set notification preferences for individual calendars. You can customize the notification settings for each calendar so that you receive reminders for specific events or calendars, ensuring that you stay updated on the events that matter most to you.
By efficiently managing multiple calendars in Google Calendar, you can stay organized and streamline your scheduling process. Whether it’s separating personal and professional events, coordinating with team members, or collaborating with others, the ability to manage multiple calendars offers enhanced productivity and efficiency.
Now that you know how to manage multiple calendars, you can make the most out of Google Calendar’s powerful features and effectively organize your time and commitments.
Conclusion
Congratulations! You have learned how to edit Google Calendar events like a pro. With the ability to access, create, edit, and delete events, as well as manage multiple calendars, you now have the tools to keep your schedule organized and up to date. By utilizing features such as adding notifications and inviting guests, you can ensure that you stay on top of your commitments and collaborate effectively with others.
Google Calendar’s user-friendly interface and powerful functionalities make it an indispensable tool for managing your time and staying organized. Whether you’re a busy professional, a student, or simply someone who wants to keep track of their schedule, Google Calendar provides the flexibility and customization options needed to tailor your calendar to your specific needs.
Remember, the key to effectively using Google Calendar is to regularly update and review your events, make necessary adjustments, and take advantage of features like notifications and collaboration. By doing so, you can optimize your productivity, minimize scheduling conflicts, and ensure that you never miss an important event or deadline.
So go ahead and start putting your newfound knowledge into practice. Access your Google Calendar, create and edit events, invite guests to collaborate, and make the most out of this powerful scheduling tool. Stay organized, stay productive, and make every moment count with Google Calendar!


