Introduction
Google Calendar is a widely used tool for managing meetings and events, making it easier to stay organized and keep track of important appointments. One useful feature of Google Calendar is the ability to set up recurring meetings, which can save time and ensure that everyone knows when to meet on a regular basis.
However, there may be instances where you need to cancel only one occurrence of a recurring meeting, while keeping the rest of the series intact. This can be a bit confusing if you’re not familiar with the process, but fear not! In this article, we will guide you through the steps of canceling a single instance of a recurring meeting in Google Calendar.
By following this tutorial, you’ll be able to quickly and easily cancel a specific occurrence of a recurring meeting without affecting the entire series. This can be particularly helpful if there’s a scheduling conflict or if only certain participants need to be notified of the cancellation.
So, let’s dive in and learn how to cancel one instance of a recurring meeting in Google Calendar!
Step 1: Open Google Calendar
The first step to canceling one instance of a recurring meeting in Google Calendar is to open the Google Calendar application or website. You can access Google Calendar through your web browser or by using the Google Calendar app on your mobile device.
If you’re using a web browser, simply navigate to https://calendar.google.com and sign in to your Google account. Once signed in, you’ll be able to view your calendar and access all the necessary features for managing your meetings and events.
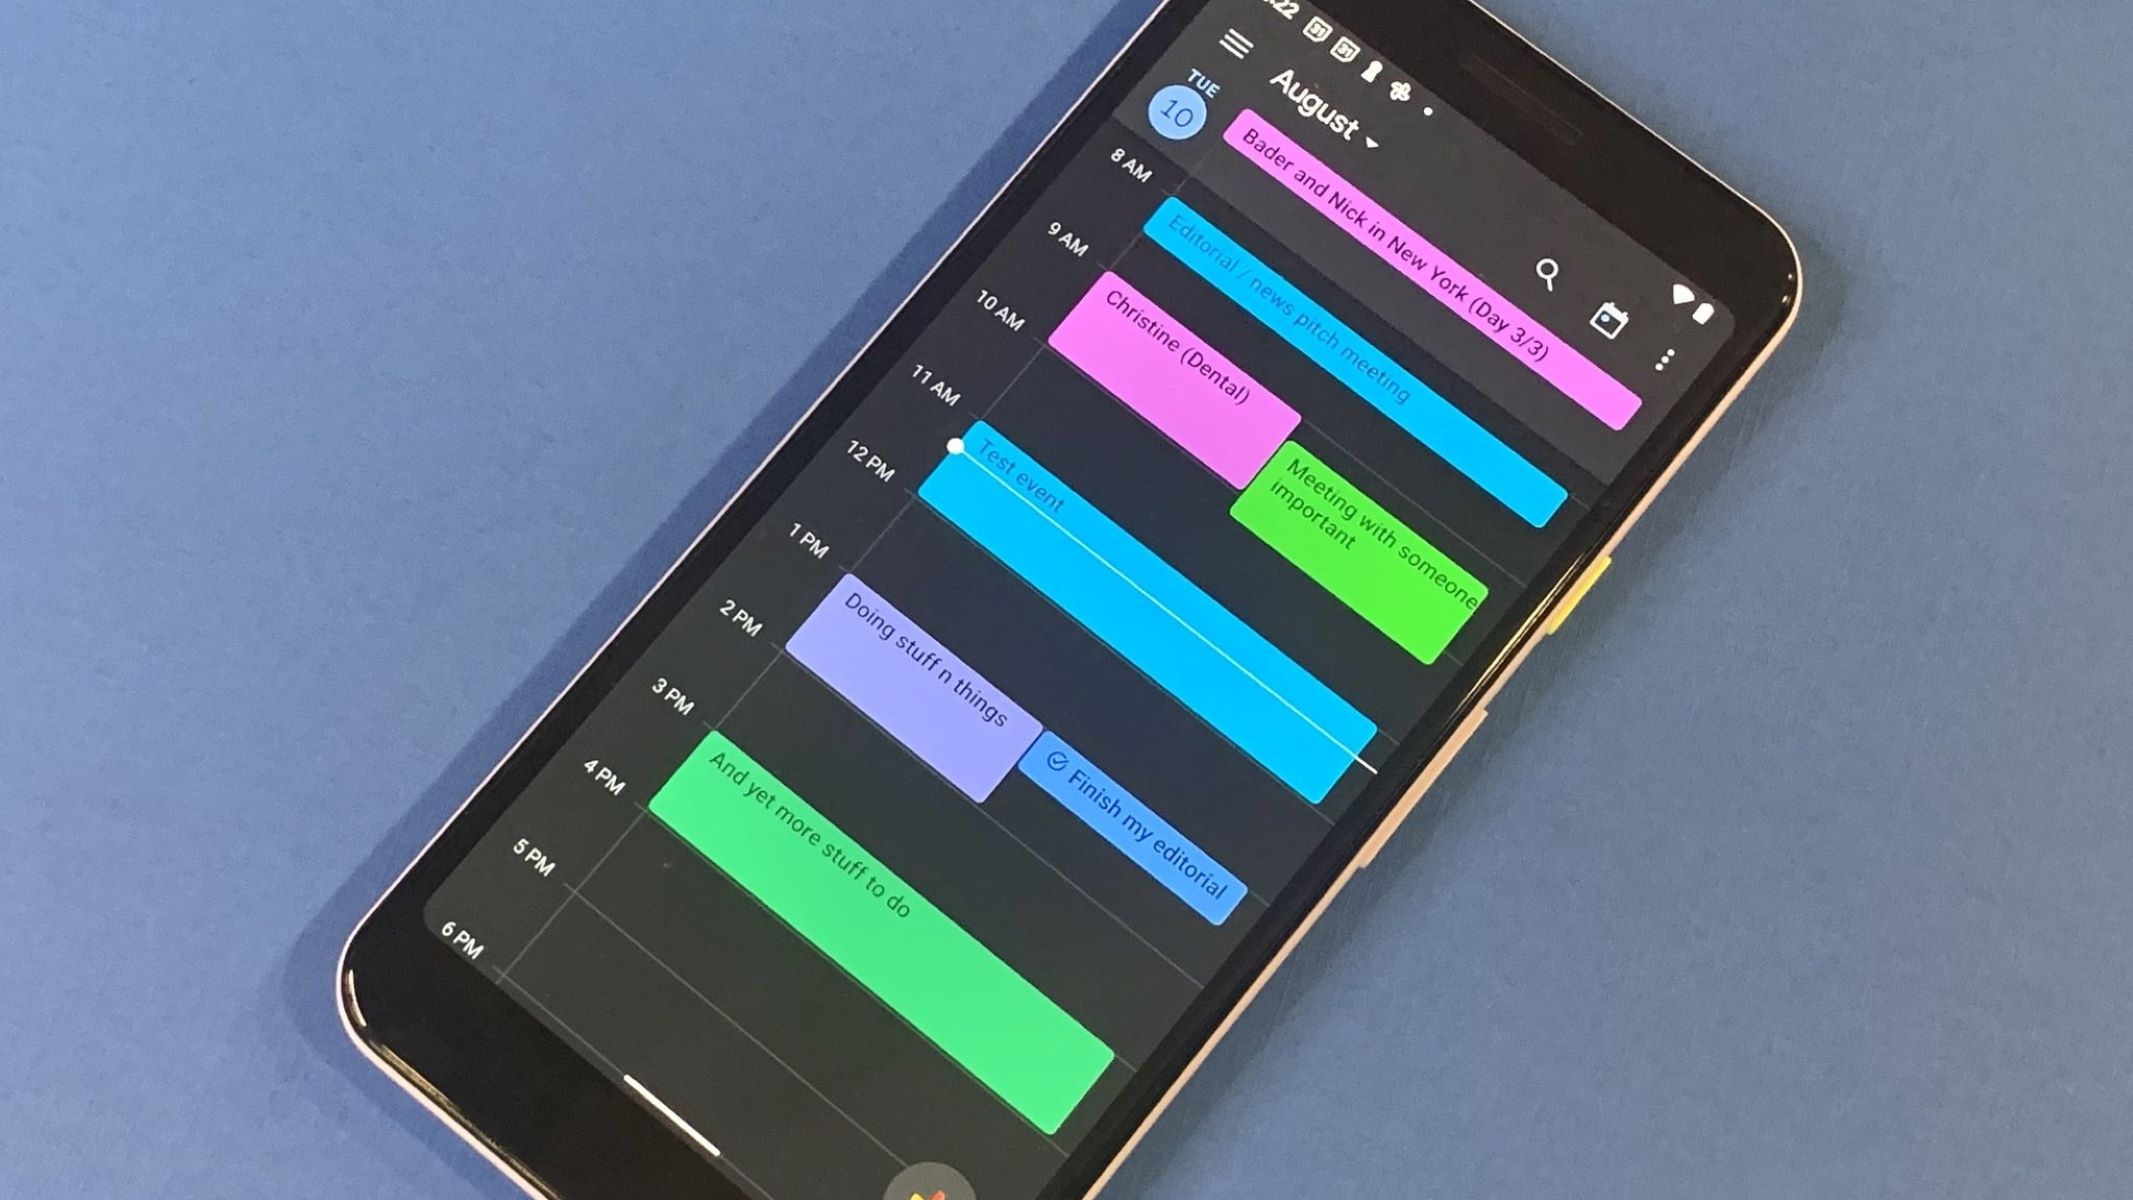
If you prefer to use the mobile app, open the Google Calendar app on your device. Make sure you’ve logged in to your Google account before proceeding. Once the app is open, you’ll be greeted with your calendar view and can proceed to the next step.
It’s worth noting that the steps to cancel one instance of a recurring meeting will be the same regardless of whether you’re using the web browser or the mobile app. The interface may look slightly different, but the functionality remains the same.
Now that you have Google Calendar open, let’s move on to the next step.
Step 2: Find the recurring meeting
Once you have Google Calendar open, the next step is to locate the recurring meeting that you want to cancel a specific instance of.
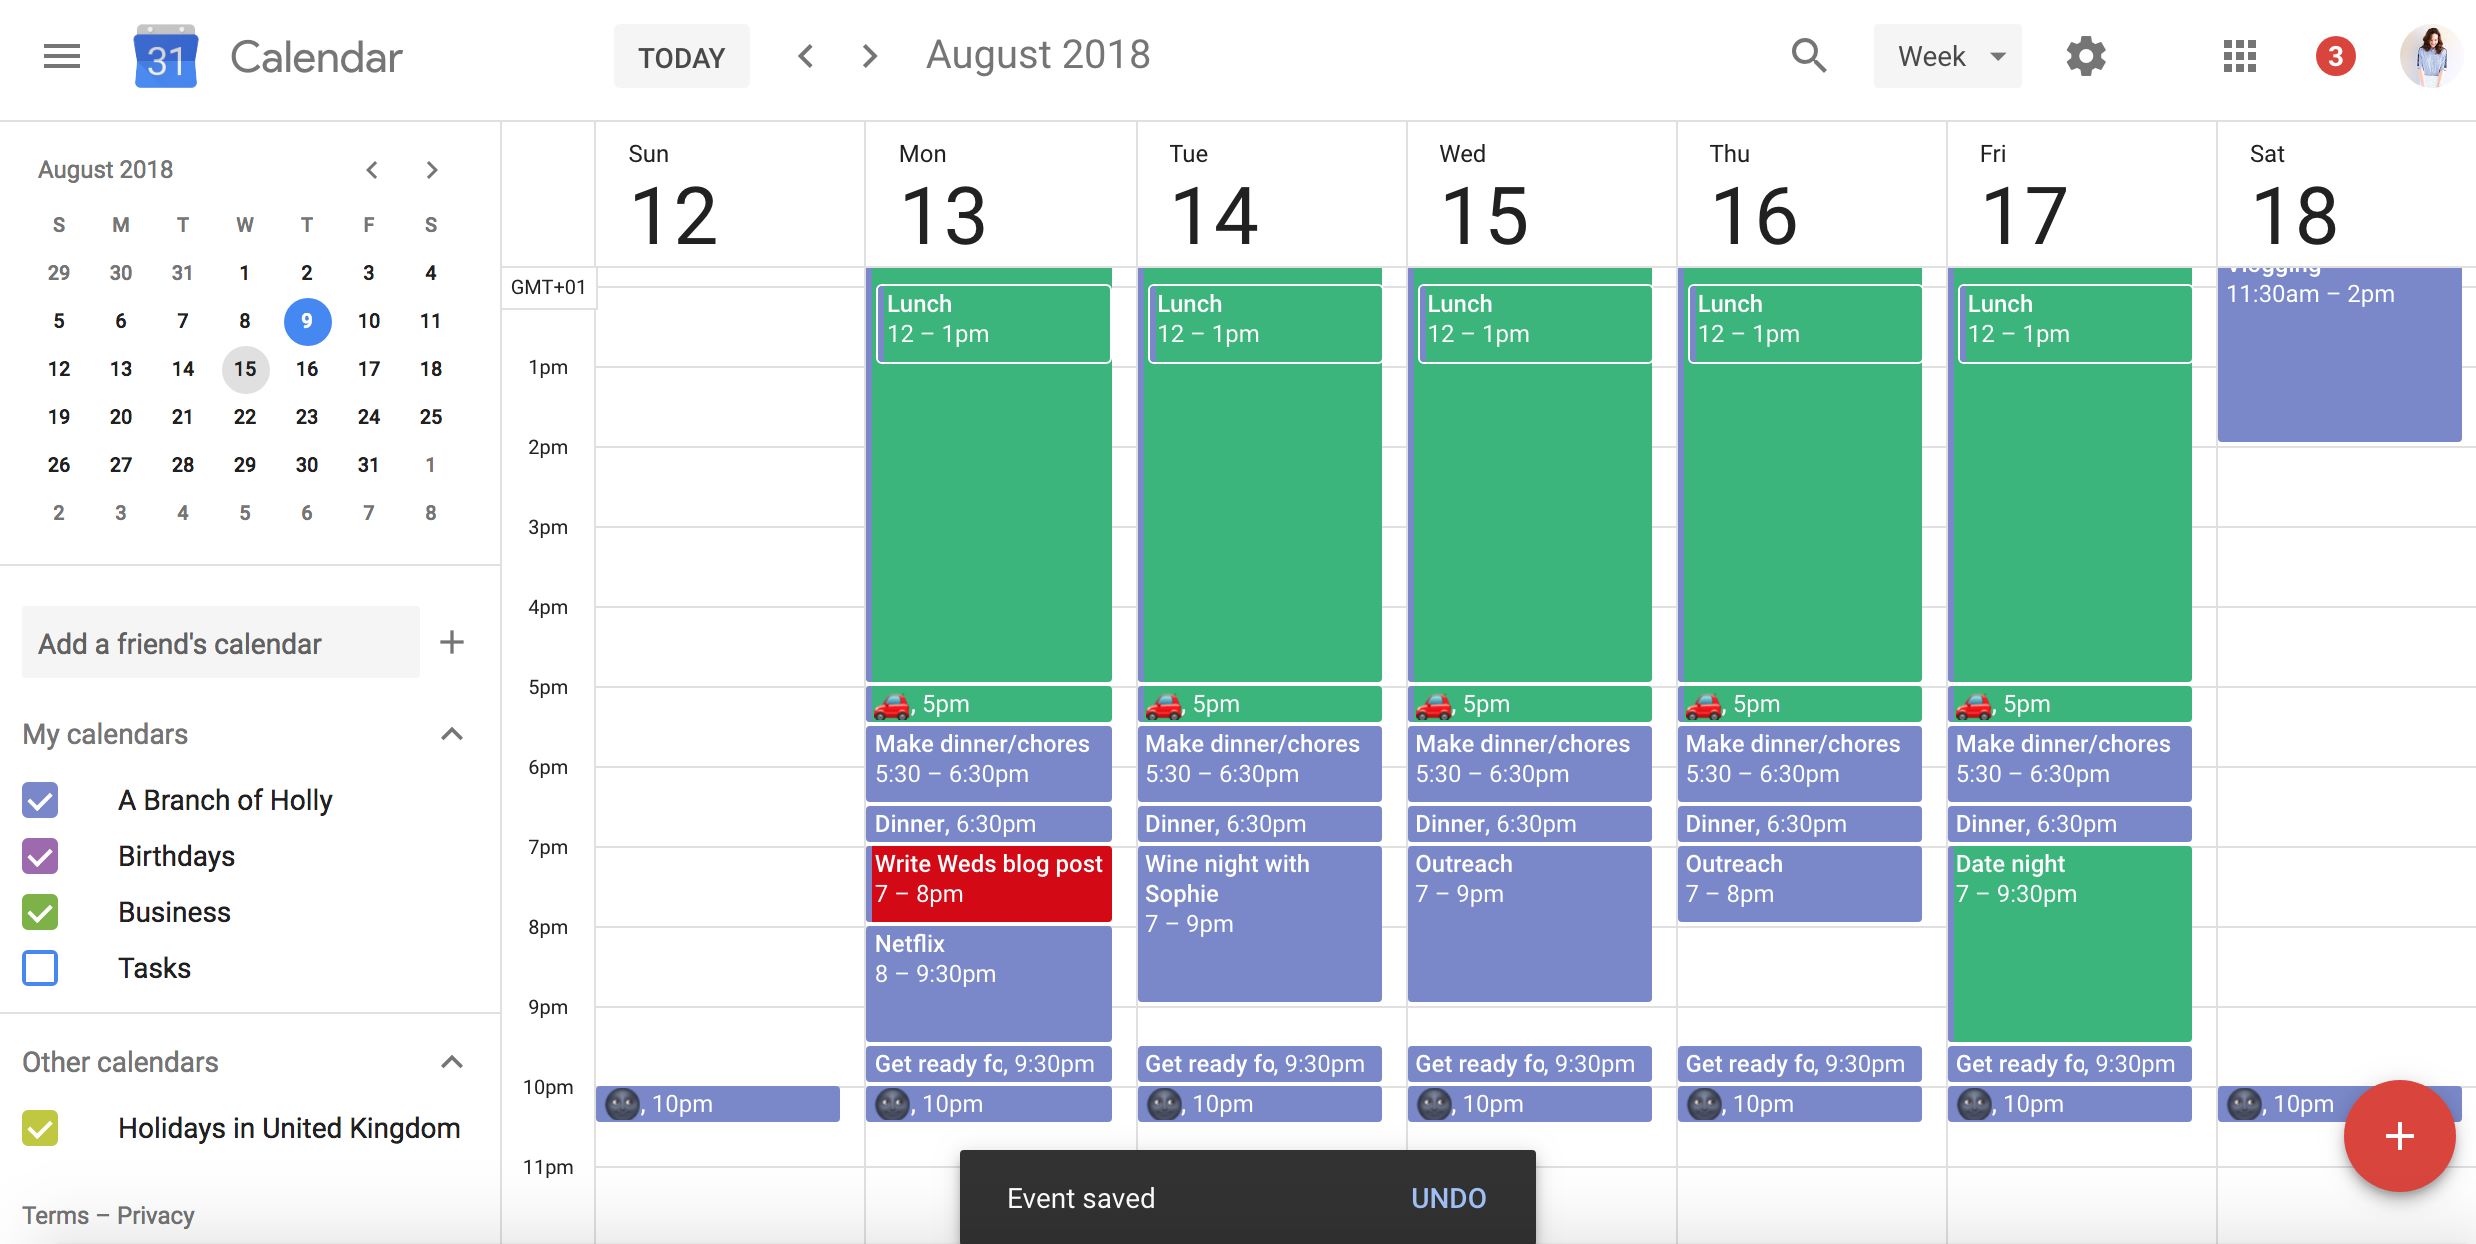
In the calendar view, scan through the dates and find the day on which the recurring meeting is scheduled. Look for the meeting title or any other identifiable information that will help you identify the correct event.
If your calendar view is crowded with multiple events, you can switch to the week or day view to get a clearer picture of the schedule. You can also use the search function within Google Calendar to quickly find the meeting by typing in the meeting title or keyword associated with it.
Once you find the recurring meeting, click or tap on it to view the event details. This will bring up a window or pane that displays all the information about the meeting, including the time, location, attendees, and other relevant details.
If you’re using the mobile app and prefer a list view instead of the calendar view, navigate to the appropriate date and scroll through your events to find the recurring meeting. Tap on it to view the event details.
If you’re having trouble locating the meeting, double-check that you’re looking at the correct calendar and that you’re not filtering the events in any way that might hide the recurring meeting. Also, ensure that you’re signed in to the correct Google account if you have multiple accounts.
Once you have successfully located the recurring meeting, proceed to the next step to edit the event and cancel the specific occurrence.
Step 3: Edit the event
After locating the recurring meeting in Google Calendar, the next step is to edit the event in order to cancel the specific occurrence you want to remove.
First, click or tap on the recurring meeting to open the event details window or pane. Within this window, you’ll find various options and buttons to modify the meeting.
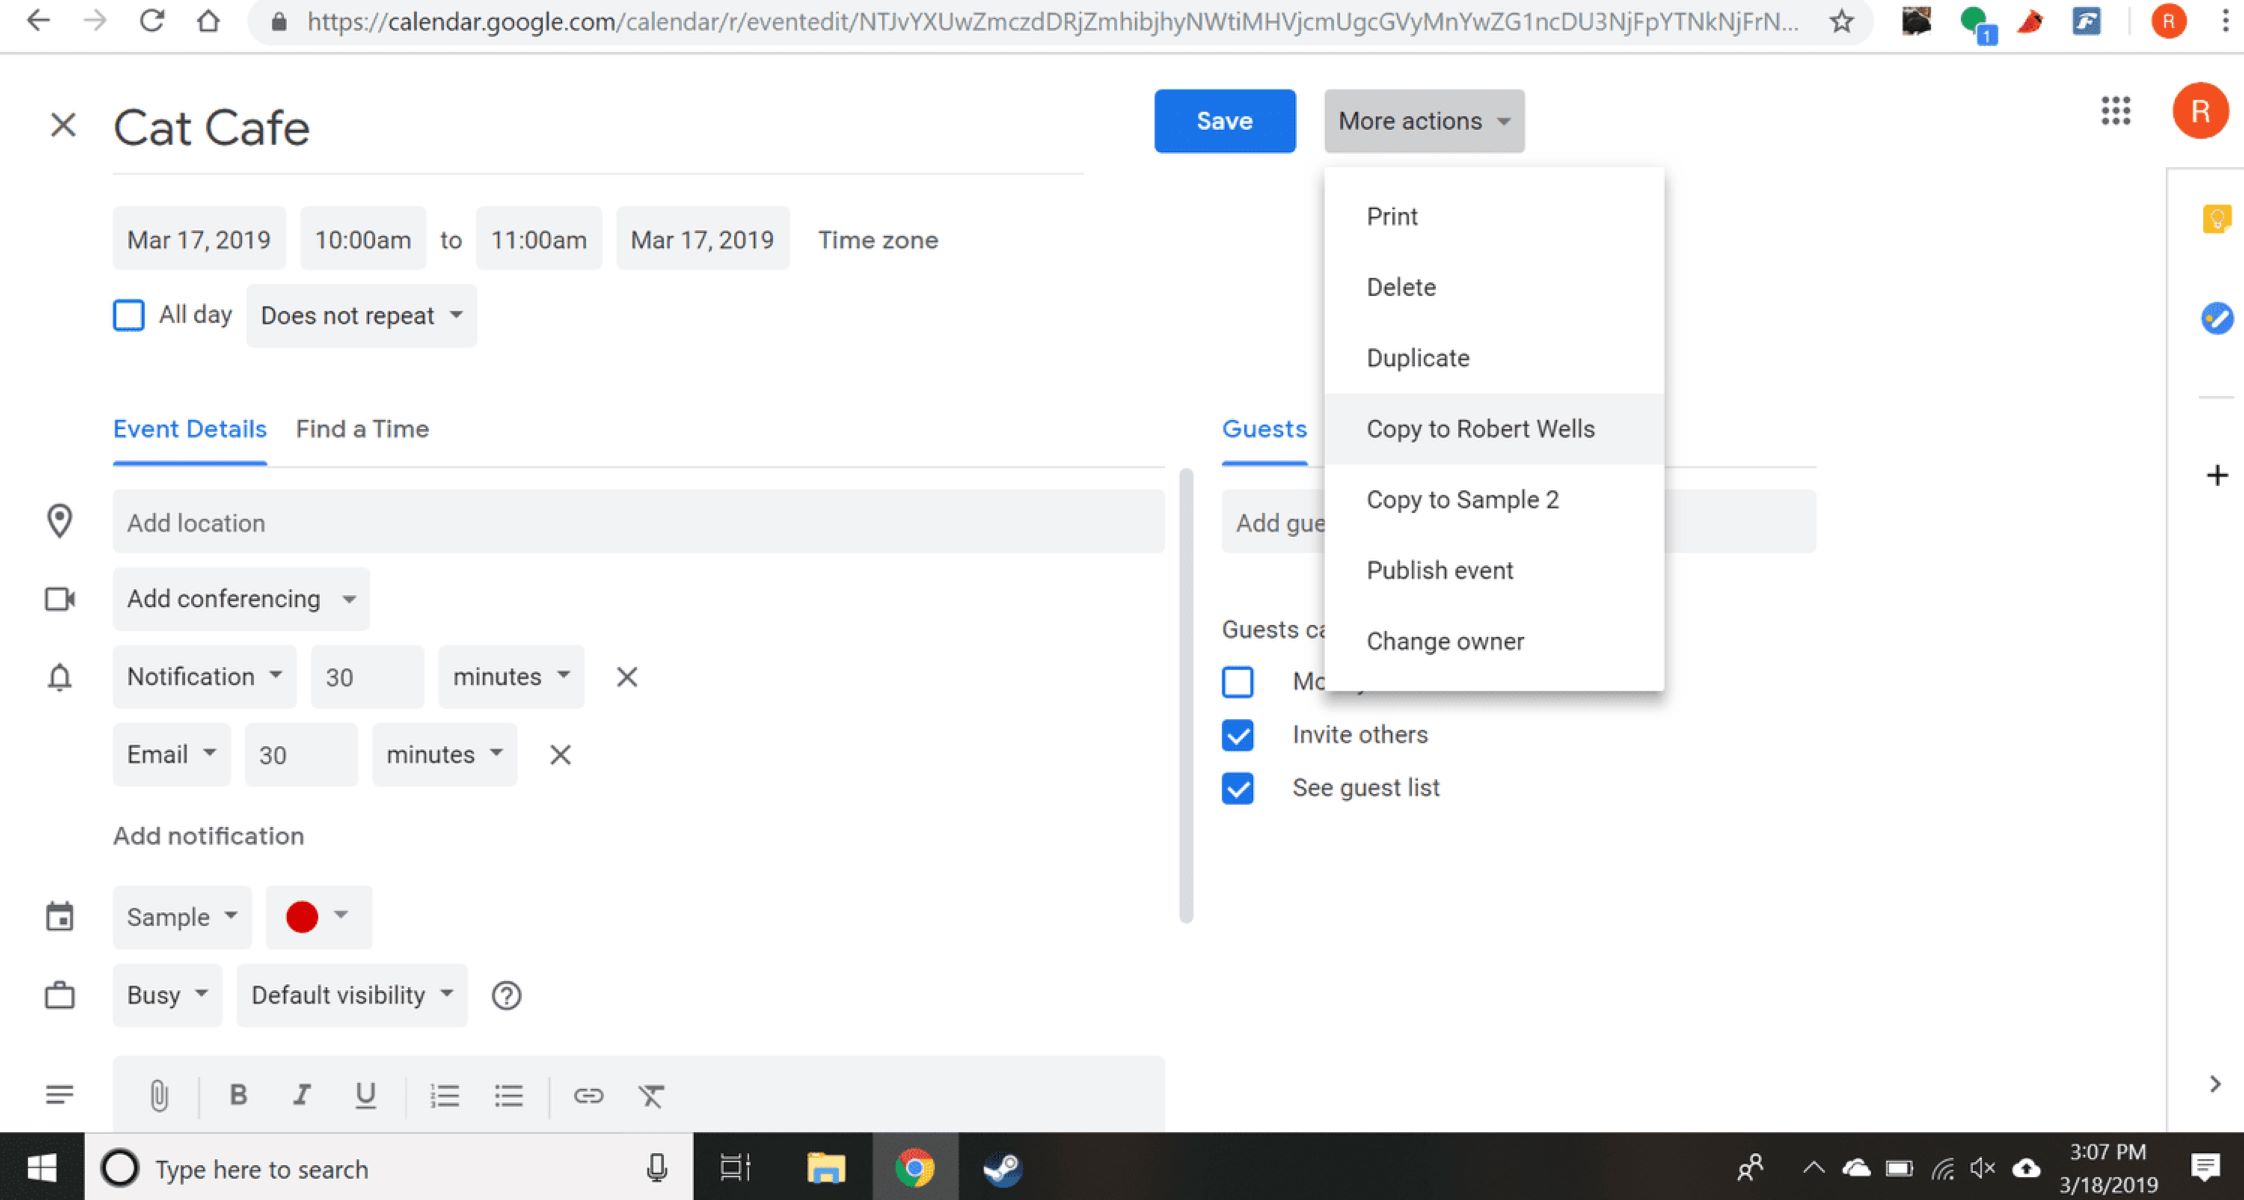
In the event details, look for the option to edit the event or make changes. This is usually represented by an icon or text that says “Edit” or “Edit Event”. Click or tap on this option to proceed.
Once you enter the event editing mode, you’ll have the ability to make changes to the meeting details. In addition to canceling a specific instance, you can also modify the time, duration, location, or any other aspect of the recurring meeting if needed.
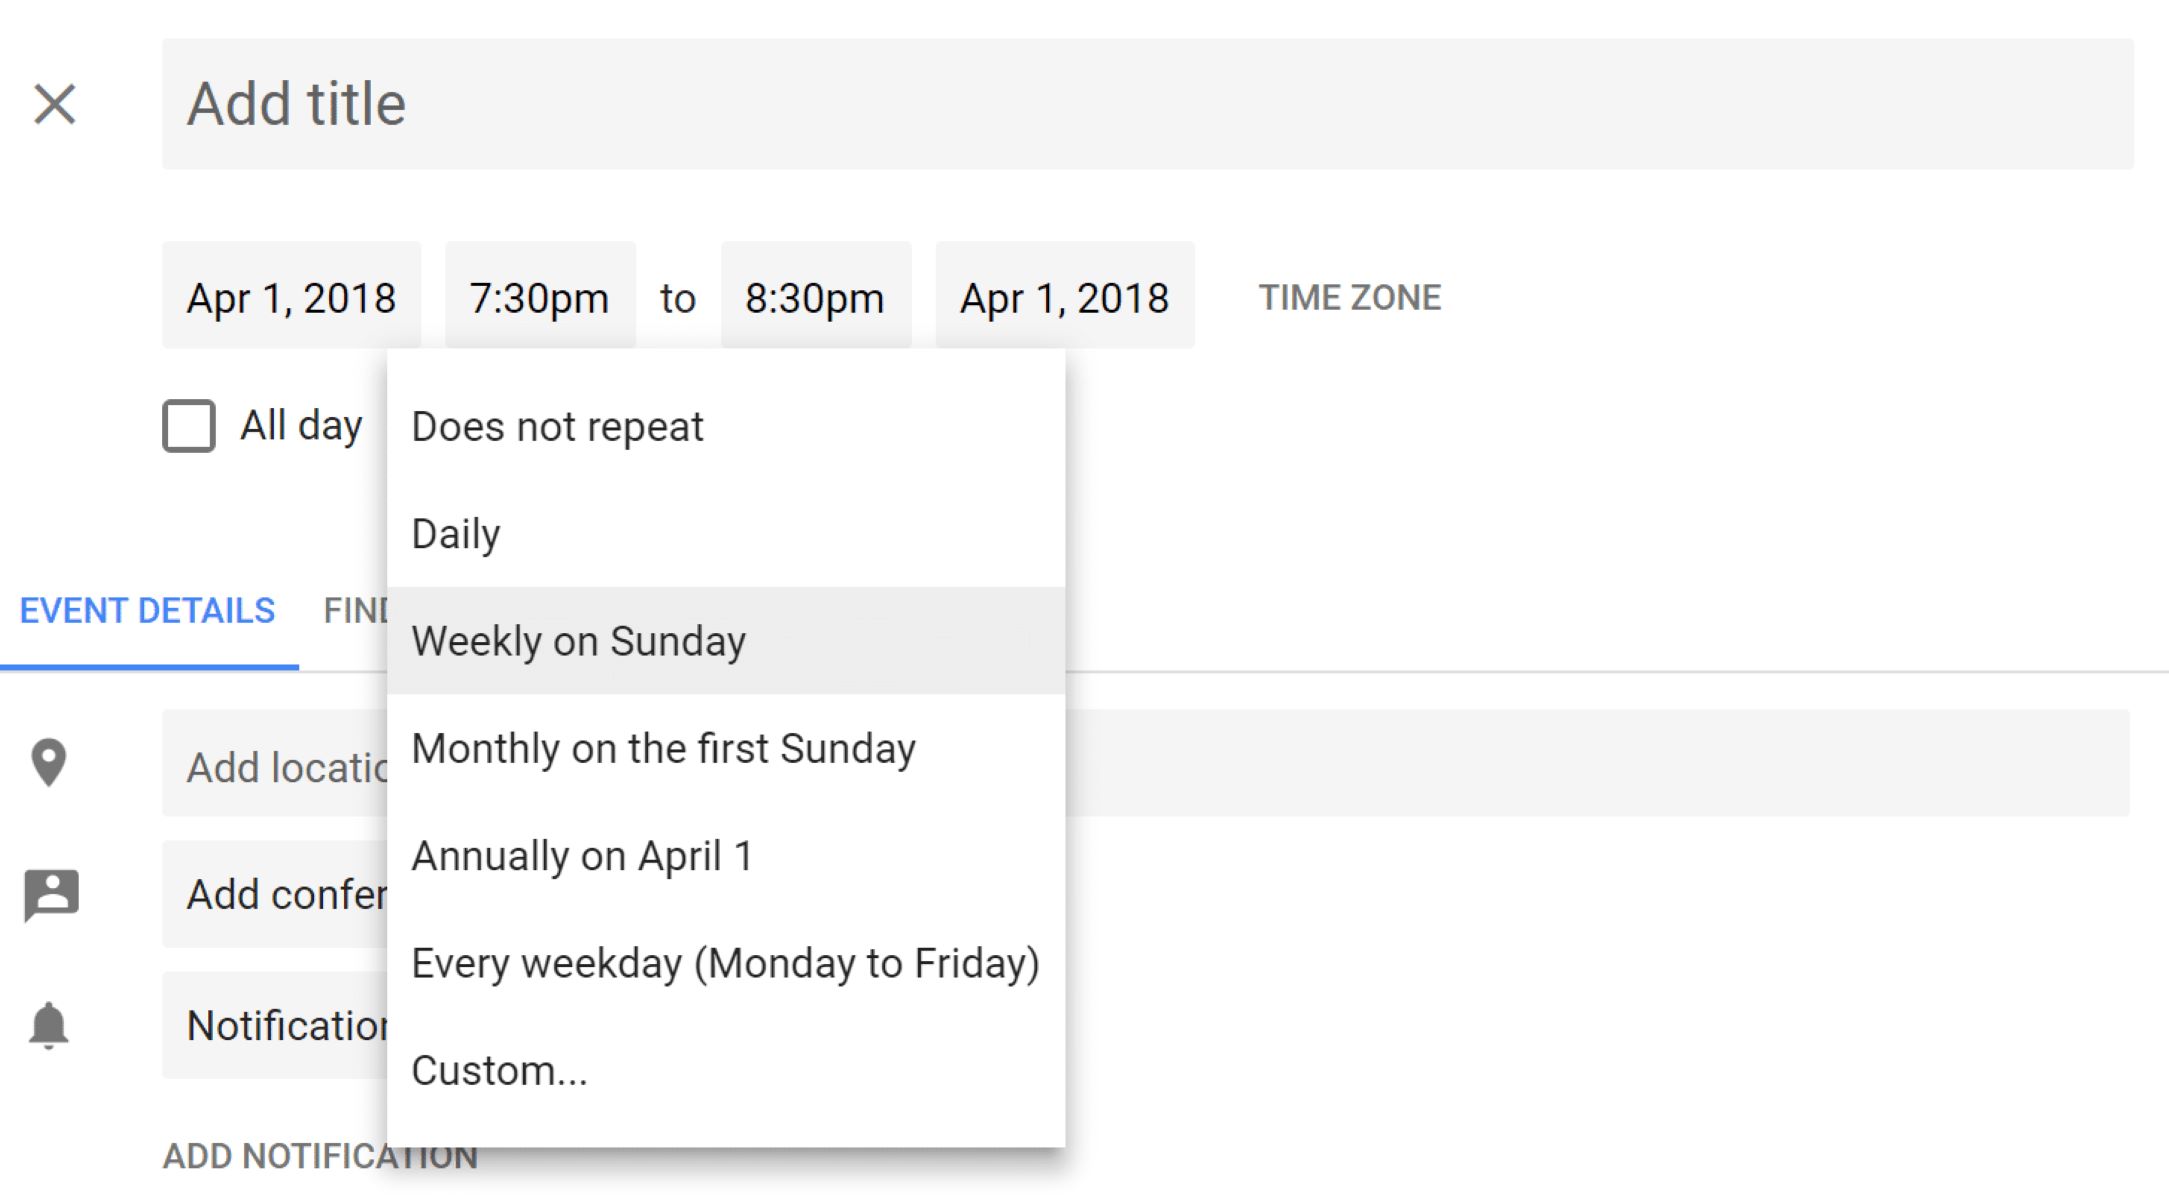
Scroll down or navigate to the section in the event details that displays the recurrence settings for the meeting. Here, you’ll find options to modify the recurring pattern, such as changing the frequency, end date, or number of occurrences.
Now, it’s time to proceed to the next step to cancel the specific instance of the recurring meeting.
Step 4: Cancel one instance of the recurring meeting
Now that you have entered the event editing mode in Google Calendar, you can proceed to cancel the specific instance of the recurring meeting that you no longer want.
Within the event editing window, navigate to the section that displays the individual occurrences of the recurring meeting. This section will show you a list of all the instances of the meeting, along with their dates and times.
Locate the instance that you want to cancel and select it by clicking or tapping on it. It will typically be highlighted or have a checkbox next to it to indicate that it has been selected.
Once you have selected the specific instance, look for an option or button that allows you to remove or delete it from the recurring series. This option might be labeled as “Remove Instance”, “Delete Instance”, or something similar.
Clicking or tapping on this option will prompt a confirmation message asking if you’re sure you want to cancel only this occurrence. Confirm your choice to proceed with the cancellation.
It’s important to note that by canceling one instance of the recurring meeting, you are not affecting the other instances in the series. They will remain intact and continue to appear in your calendar as scheduled.
Now that you have successfully canceled one instance of the recurring meeting, it’s time to move on to the final step.
Step 5: Save the changes
After canceling the specific instance of the recurring meeting, the final step is to save the changes you’ve made in Google Calendar.
Before saving, review the event details and ensure that the correct instance has been canceled. Double-check the date, time, and any other relevant information to avoid any confusion or misunderstandings.
Once you’re satisfied with the changes, locate the save button within the event editing window. This button is typically labeled as “Save”, “Save Changes”, or something similar. Click or tap on this button to confirm and apply the modifications.
After saving the changes, you’ll be redirected back to your main calendar view. Here, you’ll see that the specific instance of the recurring meeting you canceled is no longer displayed or marked as canceled.
It’s important to note that the other instances of the recurring meeting will remain unaffected by this change. They will continue to appear in your calendar as scheduled unless you make further modifications.
Now, you have successfully canceled one instance of a recurring meeting in Google Calendar while preserving the rest of the series.
Remember, if you need to make any further changes or cancel additional instances of the meeting, you can follow these steps again for each specific occurrence.
By leveraging the flexibility of Google Calendar, you can effectively manage your meetings and make adjustments as needed, ensuring that you stay organized and on top of your schedule.
Conclusion
Canceling one instance of a recurring meeting in Google Calendar is a simple and efficient process that can save you time and effort. By following the steps outlined in this article, you can easily remove a specific occurrence of a recurring meeting while keeping the rest of the series intact.
Remember to start by opening Google Calendar and locating the recurring meeting you want to modify. Then, proceed to edit the event to access the recurrence settings. From there, you can cancel the specific instance by selecting it and choosing the appropriate option to remove or delete it.
Once you have made the necessary changes, be sure to save the modifications to apply them to your calendar. It’s important to review the event details before saving to ensure that the correct instance has been canceled.
By leveraging the power of Google Calendar, you can effectively manage your meetings and events, ensuring that your schedule remains organized and up-to-date. Whether you need to cancel one instance of a recurring meeting or make other modifications, Google Calendar provides the necessary features to help you stay in control of your time.
Now that you have mastered the art of canceling one instance of a recurring meeting in Google Calendar, you can confidently manage your schedule with ease. Stay organized, stay efficient, and make use of the powerful tools available to you.
So, go ahead and tackle your calendar with confidence. Cancel that specific occurrence, reschedule as needed, and enjoy the benefits of a seamlessly managed calendar.