Introduction
Google Calendar is a powerful tool that helps you stay organized and manage your schedule effectively. Whether you have regular meetings, classes, or any recurring events, Google Calendar makes it easy to set them up and save time. In this article, we will guide you through the process of creating recurring events on Google Calendar.
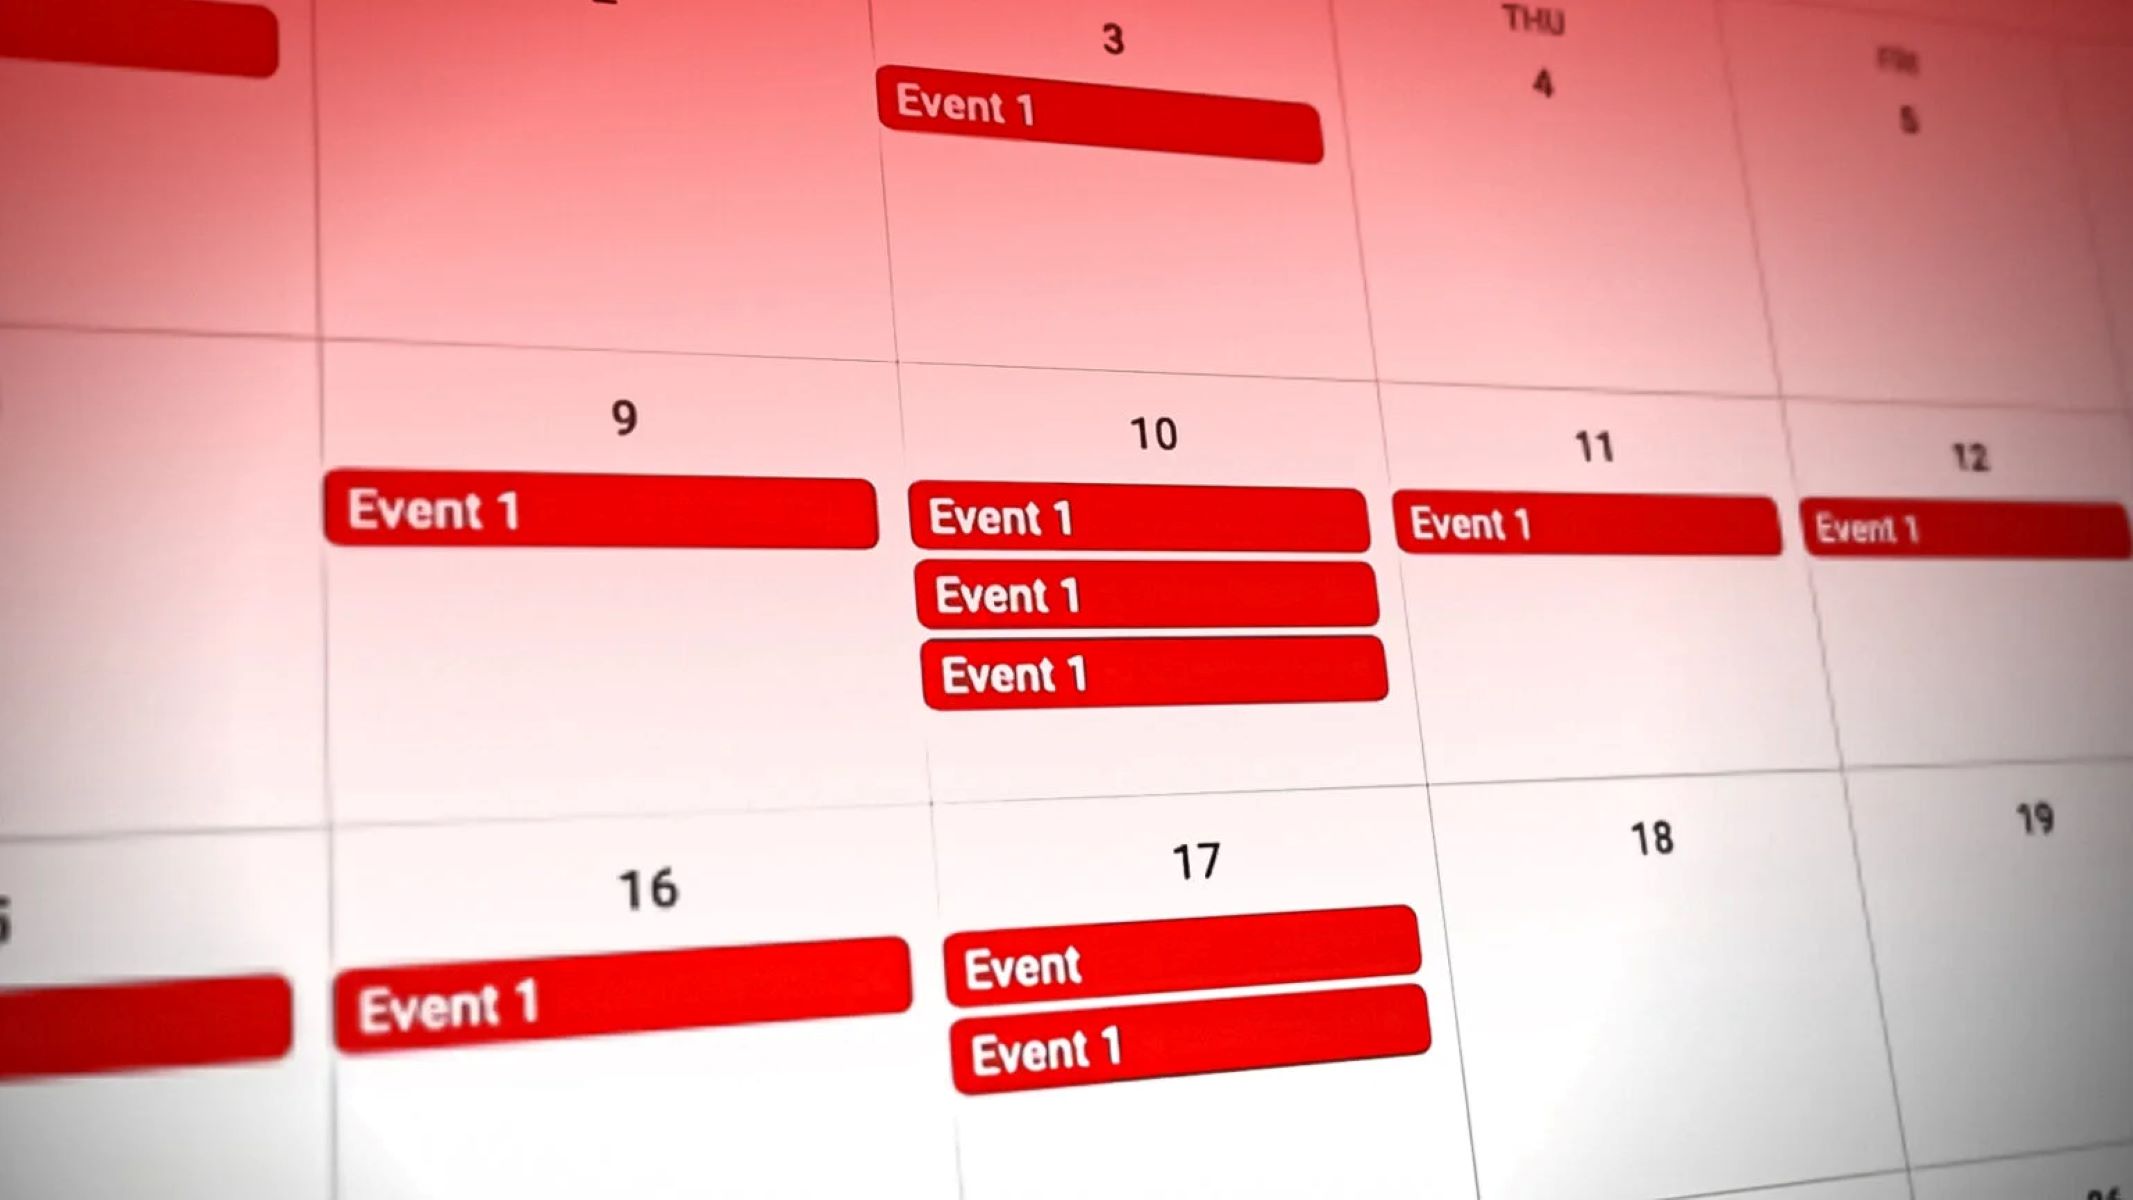
Recurring events are events that happen on a regular basis, such as weekly team meetings, monthly project reviews, or annual celebrations. Instead of manually creating each event individually, you can create a recurring event and let Google Calendar handle the repetition for you. This feature is incredibly useful for saving time and avoiding the hassle of manually inputting the same event multiple times.
Setting up recurring events on Google Calendar is a straightforward process. You have the flexibility to choose the frequency, interval, start date, end date, and customize the recurrence pattern to fit your needs. Additionally, you can add exceptions to the recurring events, modify or delete them as needed. With these options and features, you have complete control over managing your recurring events.
In the following sections, we will walk you through the step-by-step process of creating recurring events, customizing the recurrence pattern, adding exceptions, and managing them effectively on Google Calendar. By the end of this article, you will have a clear understanding of how to make the most out of this powerful functionality and streamline your scheduling process.
Creating a Recurring Event on Google Calendar
Setting up a recurring event on Google Calendar is quick and easy. Follow these simple steps to get started:
- Open Google Calendar on your computer or mobile device.
- Click on the “+” button to create a new event.
- Enter the event details such as the event title, location, and any additional notes.
- Click on the “More options” link to access advanced settings for the event.
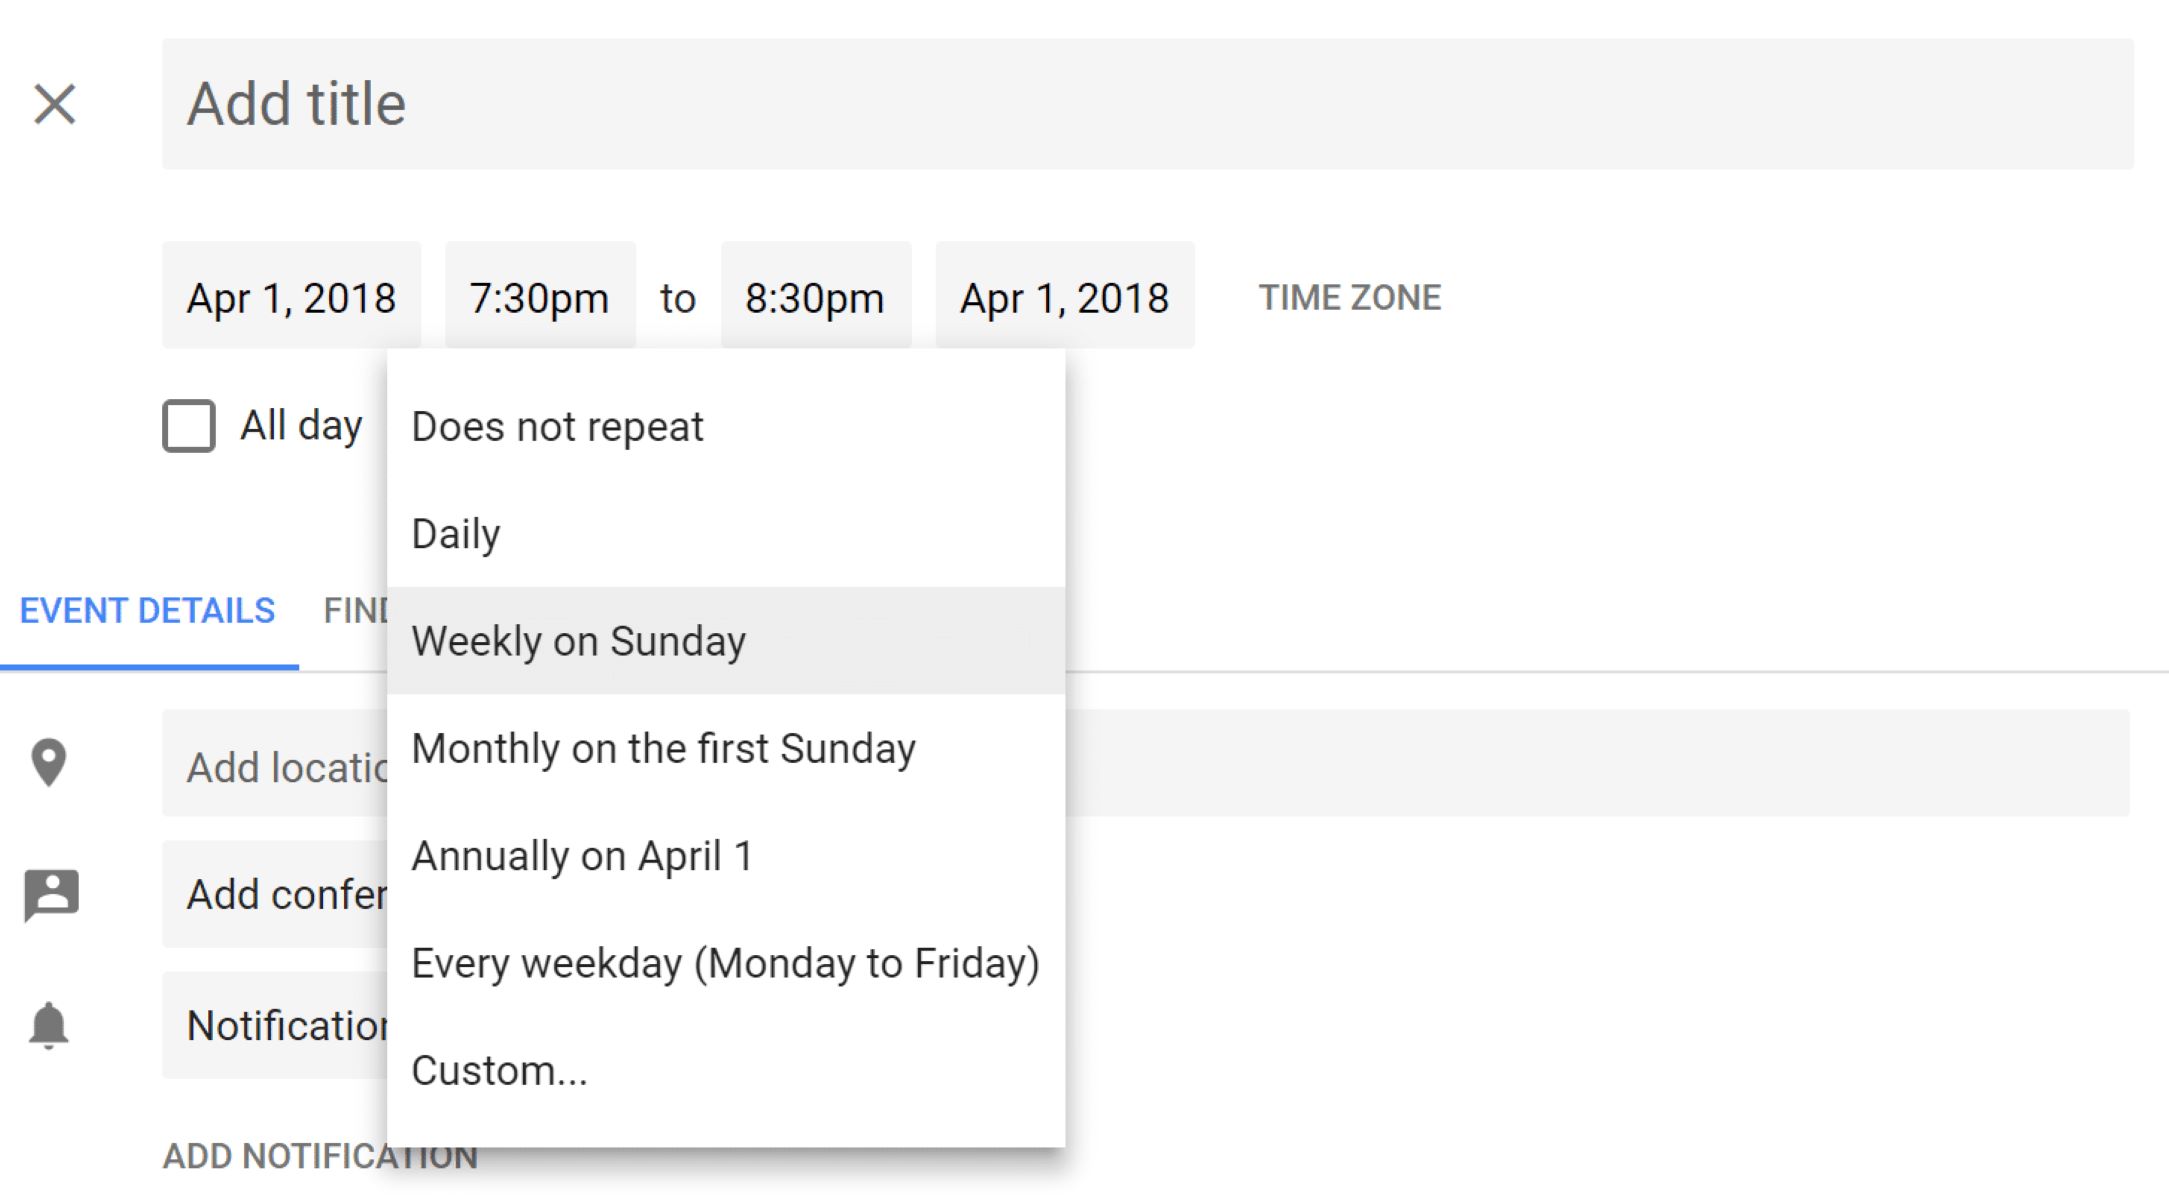
- Under the “Does not repeat” option, click on the dropdown menu to choose the desired frequency for your recurring event. The available options include daily, weekly, monthly, and yearly.
- Select the appropriate frequency for your event.
- Choose the interval at which the event will repeat. For example, if you selected weekly, you can specify whether the event repeats every week or every two weeks.
- Specify the start date and time for your recurring event.
- Choose the end date for the event. You can either set a specific end date or select an option to make it an ongoing recurring event.
- Review the event details and click on the “Save” button to create the recurring event.
That’s it! You have successfully created a recurring event on Google Calendar. The event will now appear on your calendar based on the specified frequency and interval.
It’s important to note that once you have created a recurring event, you can further customize it by adding exceptions and modifying the recurrence pattern. We will delve into these advanced features in the subsequent sections.
Now that you know how to create a recurring event on Google Calendar, let’s explore the different options for selecting the frequency and interval for your events.
Selecting the Frequency and Interval
When creating a recurring event on Google Calendar, you have the flexibility to choose the frequency and interval at which the event will repeat. This allows you to customize the recurrence pattern based on your needs and preferences.
Here’s how you can select the frequency and interval for your recurring events:
- After entering the event details, click on the dropdown menu under the “Does not repeat” option.
- Choose the frequency that best suits your event. The available options include daily, weekly, monthly, and yearly.
- Once you have selected the frequency, you can further specify the interval at which the event will repeat. For example, if you chose weekly, you can decide whether the event repeats every week or every two weeks.
By selecting the appropriate frequency and interval, you can ensure that the recurring event aligns with the desired schedule.
Here are some examples to illustrate how to choose the frequency and interval:
- If you have a team meeting every Monday and Wednesday, you would select a frequency of “Weekly” and an interval of “1 week”.
- For a monthly project review meeting, you would choose a frequency of “Monthly” and an interval of “1 month”.
- If you have an annual conference or event, you would opt for a frequency of “Yearly” and an interval of “1 year”.
Keep in mind that the selected frequency and interval will determine how often the event repeats on your Google Calendar. Once you have chosen the appropriate settings, you can proceed to set the start and end date for your recurring event, which we will cover in the next section.
Now that you understand how to select the frequency and interval for your recurring events, let’s move on to setting the start and end dates.
Setting the Start and End Date for the Recurring Event
After choosing the frequency and interval for your recurring event on Google Calendar, the next step is to set the start and end dates. This allows you to determine the duration of the event and specify when it will begin and end.
Follow these steps to set the start and end date for your recurring event:
- Once you have selected the frequency and interval, navigate to the section where you can specify the event’s start and end dates.
- Choose a specific start date and time for the first occurrence of the event.
- Select an end date for the recurring event. You have two options: setting a specific end date or making it an ongoing recurring event without an end date.
- If you choose to set a specific end date, enter the desired date when the recurring event will conclude.
- If you prefer to make the event ongoing without an end date, select the corresponding option.
By setting the start and end dates, you define the time frame for which the recurring event will occur on your calendar. This ensures that the event is scheduled and displayed accurately.
It’s important to note that even if you set an end date for the recurring event, you can always modify or extend the duration in the future if needed. Google Calendar allows you the flexibility to adjust the start and end dates of the event as your schedule changes.
With the start and end dates specified, you can now proceed to customize the recurrence pattern according to your preferences. This will be covered in the next section.
Now that you know how to set the start and end dates for the recurring event, let’s explore the options for customizing the recurrence pattern.
Customizing the Recurrence Pattern
When creating a recurring event on Google Calendar, you have the option to further customize the recurrence pattern. This allows you to tailor the repeated occurrences of the event to fit specific requirements and schedules.
Here’s how you can customize the recurrence pattern for your recurring events:
- After setting the start and end dates, look for the section where you can customize the recurrence pattern.
- Google Calendar offers a range of options to customize the pattern based on your needs. You can choose to repeat the event on specific days of the week, specific days of the month, or a combination of both.
- Select the desired days of the week or month that the event should repeat on.
- If you want the recurring event to skip certain occurrences, you can set exceptions. For example, if you have a bi-weekly event but want to skip every third occurrence, you can add the appropriate exception.
- Google Calendar also provides the option to add advanced customization, such as choosing specific dates for the event to repeat on.
By customizing the recurrence pattern, you can fine-tune the repeated occurrences of your event to best align with your schedule. This level of flexibility ensures that Google Calendar can accommodate a wide range of recurring events.
Here are a few examples to illustrate how you can customize the recurrence pattern:
- If you want your event to occur every Monday and Thursday, select those specific weekdays in the recurrence pattern settings.
- For monthly events, you can choose to repeat on a specific day, like the first Friday of each month.
- If you have an event that repeats every third Wednesday, you can set the appropriate recurrence pattern to reflect this schedule.
Remember that you can always modify the recurrence pattern later if your event’s schedule changes. Google Calendar allows you to edit and adapt the pattern as needed, ensuring that your recurring event remains accurately reflected in your calendar.
Now that you’ve learned how to customize the recurrence pattern for your recurring events, let’s explore how to add exceptions when necessary.
Adding Exceptions to the Recurring Event
While setting up a recurring event on Google Calendar provides the convenience of automatically repeating events, there may be instances where you need to add exceptions to the recurring pattern. Exceptions allow you to modify or skip specific occurrences of the event without affecting the entire series.
Here’s how you can add exceptions to your recurring events:
- After customizing the recurrence pattern, navigate to the section where you can add exceptions.
- Identify the specific occurrence that you want to modify or skip.
- Choose the date or dates for which you want to add an exception.
- Select the appropriate action for the exception. You can choose to modify the time, location, or other details of that particular occurrence, or you can simply skip it.
With the ability to add exceptions, you can accommodate changes or unique circumstances for specific occurrences while maintaining the regular pattern for the majority of the recurring event.
Here are a few use cases where adding exceptions can be beneficial:
- Scheduling conflicts: If a recurring event clashes with other commitments or conflicting meetings, you can add an exception to reschedule or skip that particular occurrence.
- One-time changes: There may be instances where a recurring event needs to take place at a different time, location, or with different specifics for a particular occurrence. In such cases, adding exceptions allows you to modify that occurrence without affecting the others.
- Holidays and vacations: If a recurring event falls on a holiday or during a planned vacation, you can add an exception to skip that occurrence, ensuring accurate scheduling around such events.
By utilizing exceptions, you maintain control over each occurrence of the recurring event and can adapt your schedule to fit specific circumstances.
Now that you understand how to add exceptions to your recurring events, let’s explore how to make changes or delete the entire series if necessary.
Editing or Deleting a Recurring Event
After creating a recurring event on Google Calendar, there may be instances where you need to make changes to a specific occurrence or delete the entire series. Google Calendar provides the flexibility to edit or delete recurring events as needed.
Here’s how you can edit or delete a recurring event:
- Open Google Calendar and locate the recurring event that you want to edit or delete.
- If you want to make changes to a specific occurrence within the series, click on that occurrence to open its details.
- Make the necessary modifications to the event details, such as the time, location, or notes. These changes will only apply to the selected occurrence.
- If you need to delete a specific occurrence without affecting the rest of the series, click on the “Delete” option for that particular occurrence.
- If you want to edit or delete the entire series, click on the main event and select the “Edit” or “Delete” options.
- If you choose to edit the entire series, you can make changes that will apply to all occurrences going forward.
By being able to edit or delete recurring events, you have control over the schedule and can accommodate changes or remove events that are no longer needed.
Here are a few scenarios where editing or deleting a recurring event can be useful:
- Change in meeting time: If the regular meeting time for a recurring event needs to be updated, you can make the necessary adjustments to reflect the new schedule.
- Cancellation of a series: In some cases, a recurring event may no longer be necessary. Deleting the entire series ensures that the event is removed from your calendar without any future occurrences.
- Permanent change to event details: If there are permanent changes to the event’s location, duration, or other specifics, editing the entire series allows you to update these details for all occurrences.
With the ability to edit or delete recurring events, Google Calendar gives you the flexibility to manage your schedule and make adjustments when needed.
Now that you know how to edit or delete recurring events, let’s explore some tips and tricks for effectively managing them.
Tips and Tricks for Managing Recurring Events
Managing recurring events on Google Calendar can be made even more efficient and organized with the help of these tips and tricks:
- Use descriptive titles: When creating recurring events, use clear and descriptive titles that provide a quick overview of the event’s purpose. This makes it easier to identify and differentiate between different recurring events on your calendar.
- Add relevant details: Include any relevant details, such as meeting agendas, necessary materials, or specific instructions, in the event description or notes section. This ensures that all essential information is readily available for each occurrence of the event.
- Set reminders: To ensure you don’t forget about recurring events, set reminders for each occurrence. Choose a suitable notification time that gives you enough advance notice to prepare or join the event.
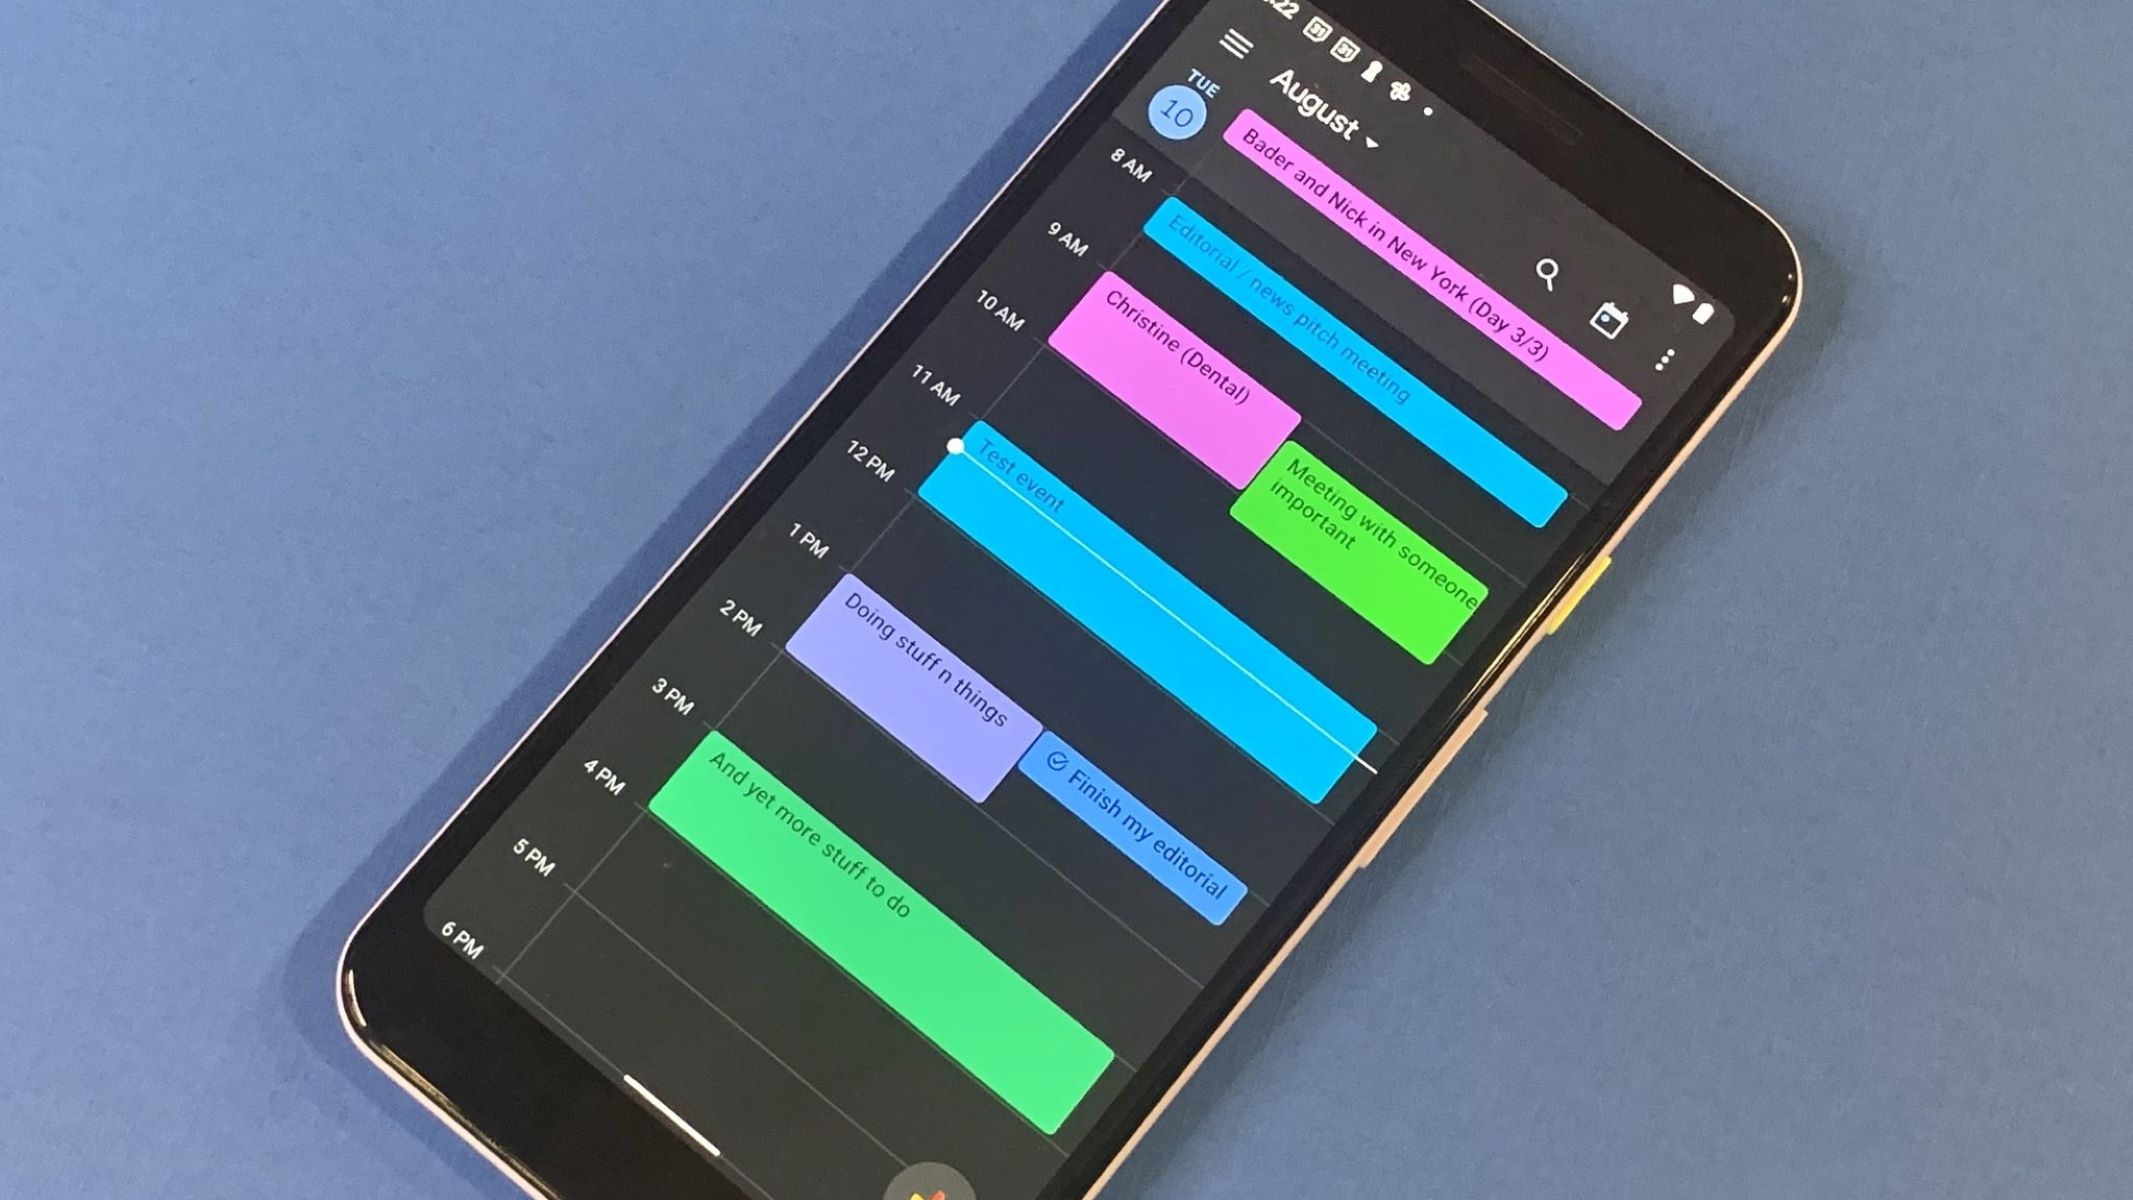
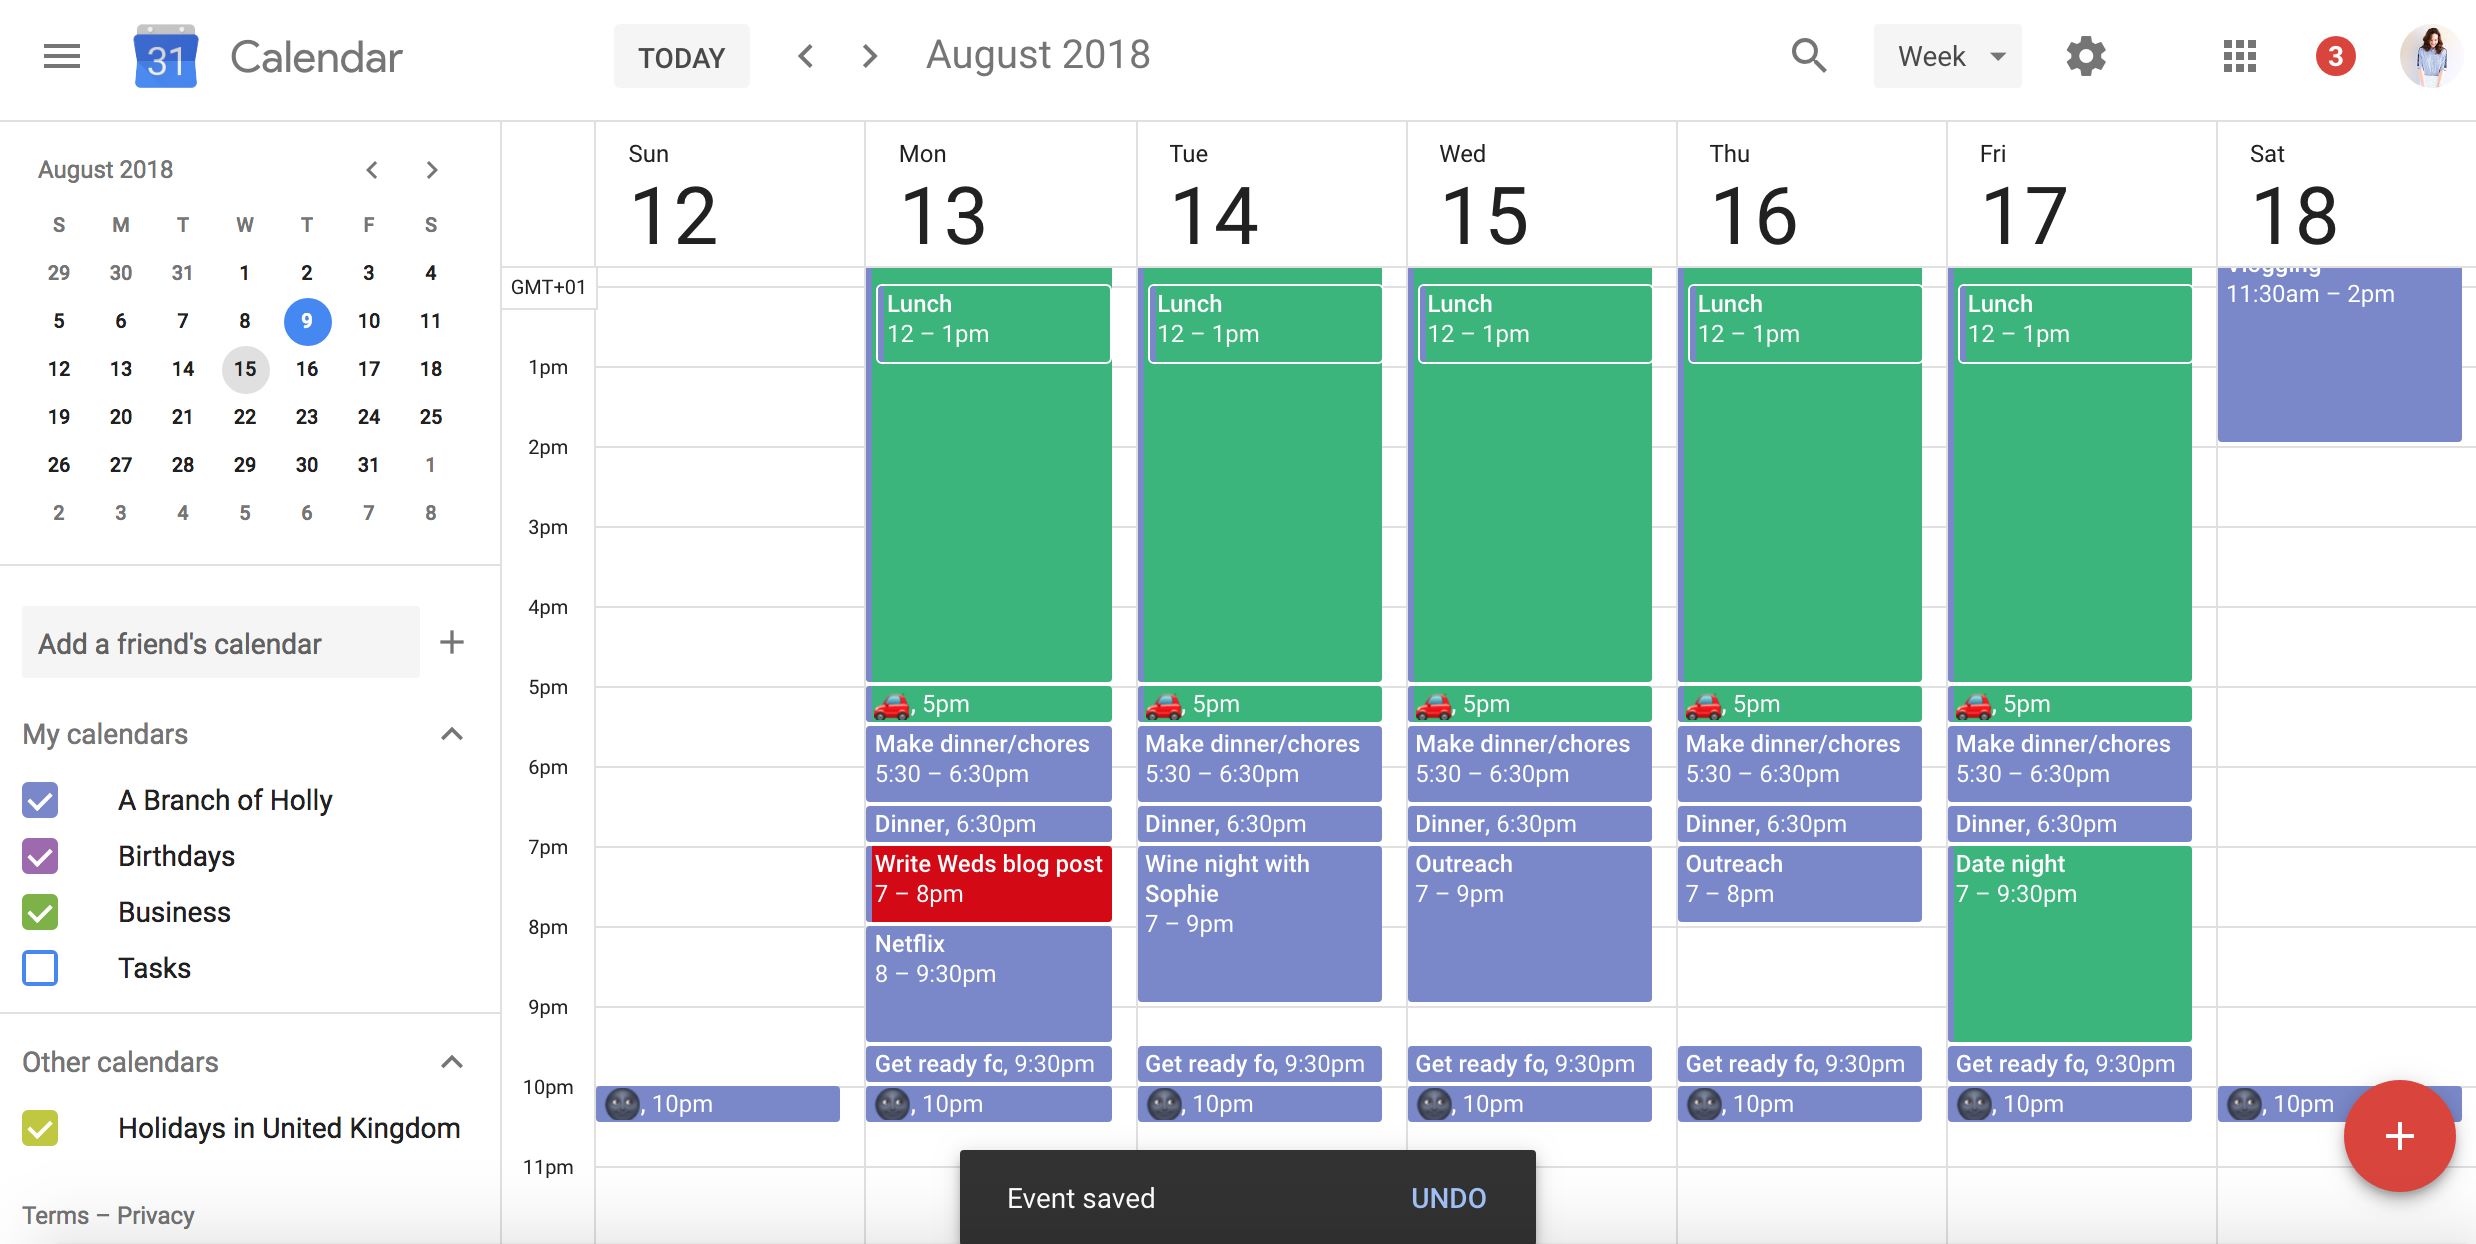
- Color-code your calendar: Assign different colors to different types of recurring events to visually distinguish between them. For example, you could use one color for team meetings and another for personal appointments. This helps you quickly identify and comprehend your schedule at a glance.
- Share calendars with others: If you have recurring events that involve multiple team members or collaborators, consider sharing your calendar with them. This allows everyone to stay updated on the schedule and reduces the chances of conflicts or miscommunication.
- Use calendar integrations: Take advantage of integrations with other productivity tools or platforms. For example, you can sync your Google Calendar with project management software or communication tools to streamline collaboration and ensure that everyone is on the same page regarding recurring events.
- Review and adjust regularly: Periodically review your recurring events to ensure they still align with your current needs and schedule. Adjust the frequency, interval, or other details as necessary to accommodate any changes in your routine or priorities.
By implementing these tips and tricks, you can effectively manage your recurring events and make the most out of Google Calendar’s features and functionalities.
Now that you have learned these valuable tips for managing recurring events, you are ready to take full advantage of Google Calendar’s capabilities and optimize your scheduling process.
Conclusion
Google Calendar offers a seamless and efficient way to manage recurring events and streamline your schedule. By utilizing the features and functionalities of Google Calendar, you can save time and stay organized with ease.
In this article, we explored the process of creating recurring events on Google Calendar, including selecting the frequency and interval, setting the start and end dates, customizing the recurrence pattern, adding exceptions, and managing recurring events effectively.
We learned how to easily create recurring events and tailor them to our specific needs, whether it’s a daily team meeting, a monthly project review, or an annual event. The flexibility to add exceptions, modify specific occurrences, or delete the entire series allows us to adapt to changes and maintain an accurate schedule.
We also discussed valuable tips and tricks for managing recurring events, such as using descriptive titles, adding relevant details, setting reminders, color-coding calendars, sharing calendars with others, and regularly reviewing and adjusting our recurring events.
With the knowledge gained from this article, you are now equipped with the necessary tools to effectively manage your recurring events on Google Calendar. By implementing these strategies, you can optimize your scheduling process and ensure that your events are organized, accessible, and up-to-date.
So go ahead and make the most out of Google Calendar’s features to streamline your schedule, stay organized, and make your recurring events a breeze to manage. Happy scheduling!