Introduction
Time management is a crucial aspect of our daily lives, ensuring productivity, efficiency, and a healthy work-life balance. With the countless tasks and commitments we juggle each day, it can be challenging to stay organized and prioritize our time effectively. Fortunately, technology has provided us with powerful tools to assist in this endeavor.
In the realm of digital productivity, Google Calendar has emerged as one of the most popular and trusted platforms. It offers a range of features that enable users to streamline their schedules, set reminders, and collaborate with others seamlessly. One key function that Google Calendar provides is the ability to block time, allowing you to reserve specific periods for focused work, important meetings, personal activities, or even some much-needed downtime.
In this article, we will explore why blocking time on Google Calendar is important and how you can effectively utilize this feature to maximize your productivity and maintain a healthy work-life balance. Whether you are a student with multiple assignments and deadlines, a professional with a packed schedule, or simply someone seeking more control over their time, this guide will provide you with the necessary steps to master the art of time blocking on Google Calendar.
Why Blocking Time is Important
Blocking time on your Google Calendar might seem like an additional step in your already busy schedule, but it can have significant benefits for your productivity and overall well-being. Here are a few reasons why blocking time is important:
1. Increased Focus: By dedicating specific blocks of time for tasks, projects, or meetings, you create a focused environment where distractions are minimized. This allows you to concentrate fully on the task at hand and produce higher-quality work.
2. Improved Time Management: Time blocking helps you allocate your time effectively, ensuring that essential tasks are given priority and completed on time. It allows you to visualize your schedule and identify any gaps or overlaps that need to be addressed.
3. Reduced Stress: When you block time for important activities, you gain a sense of control over your schedule, reducing the pressure of constantly trying to juggle multiple tasks simultaneously. This leads to reduced stress levels and a better work-life balance.
4. Enhanced Productivity: By designating specific time blocks for different types of activities, you can optimize your workflow and work at your peak levels during each block. This leads to increased productivity and better utilization of your available time.
5. Improved Accountability: When you block time for tasks or projects, you set clear deadlines and expectations for yourself. This increases your sense of accountability, making it more likely that you will complete your work within the allocated time frame.
6. Effective Prioritization: Time blocking allows you to identify your most important and urgent tasks and prioritize them accordingly. By dedicating specific time slots to these tasks, you ensure that they receive the attention they deserve and are not overshadowed by less critical activities.
7. Flexible Adaptation: Time blocking provides a flexible framework that can be adjusted and adapted as needed. If unexpected tasks or events arise, you can easily reschedule or rearrange your time blocks to accommodate them, ensuring that your schedule remains organized and efficient.
In essence, blocking time on your Google Calendar is a proactive approach to managing your time and increasing your productivity. It empowers you to take control of your schedule, prioritize your tasks, and create a work environment that maximizes your focus and efficiency. By incorporating this practice into your routine, you can transform the way you manage your time and achieve a better work-life balance.
How to Block Time on Google Calendar
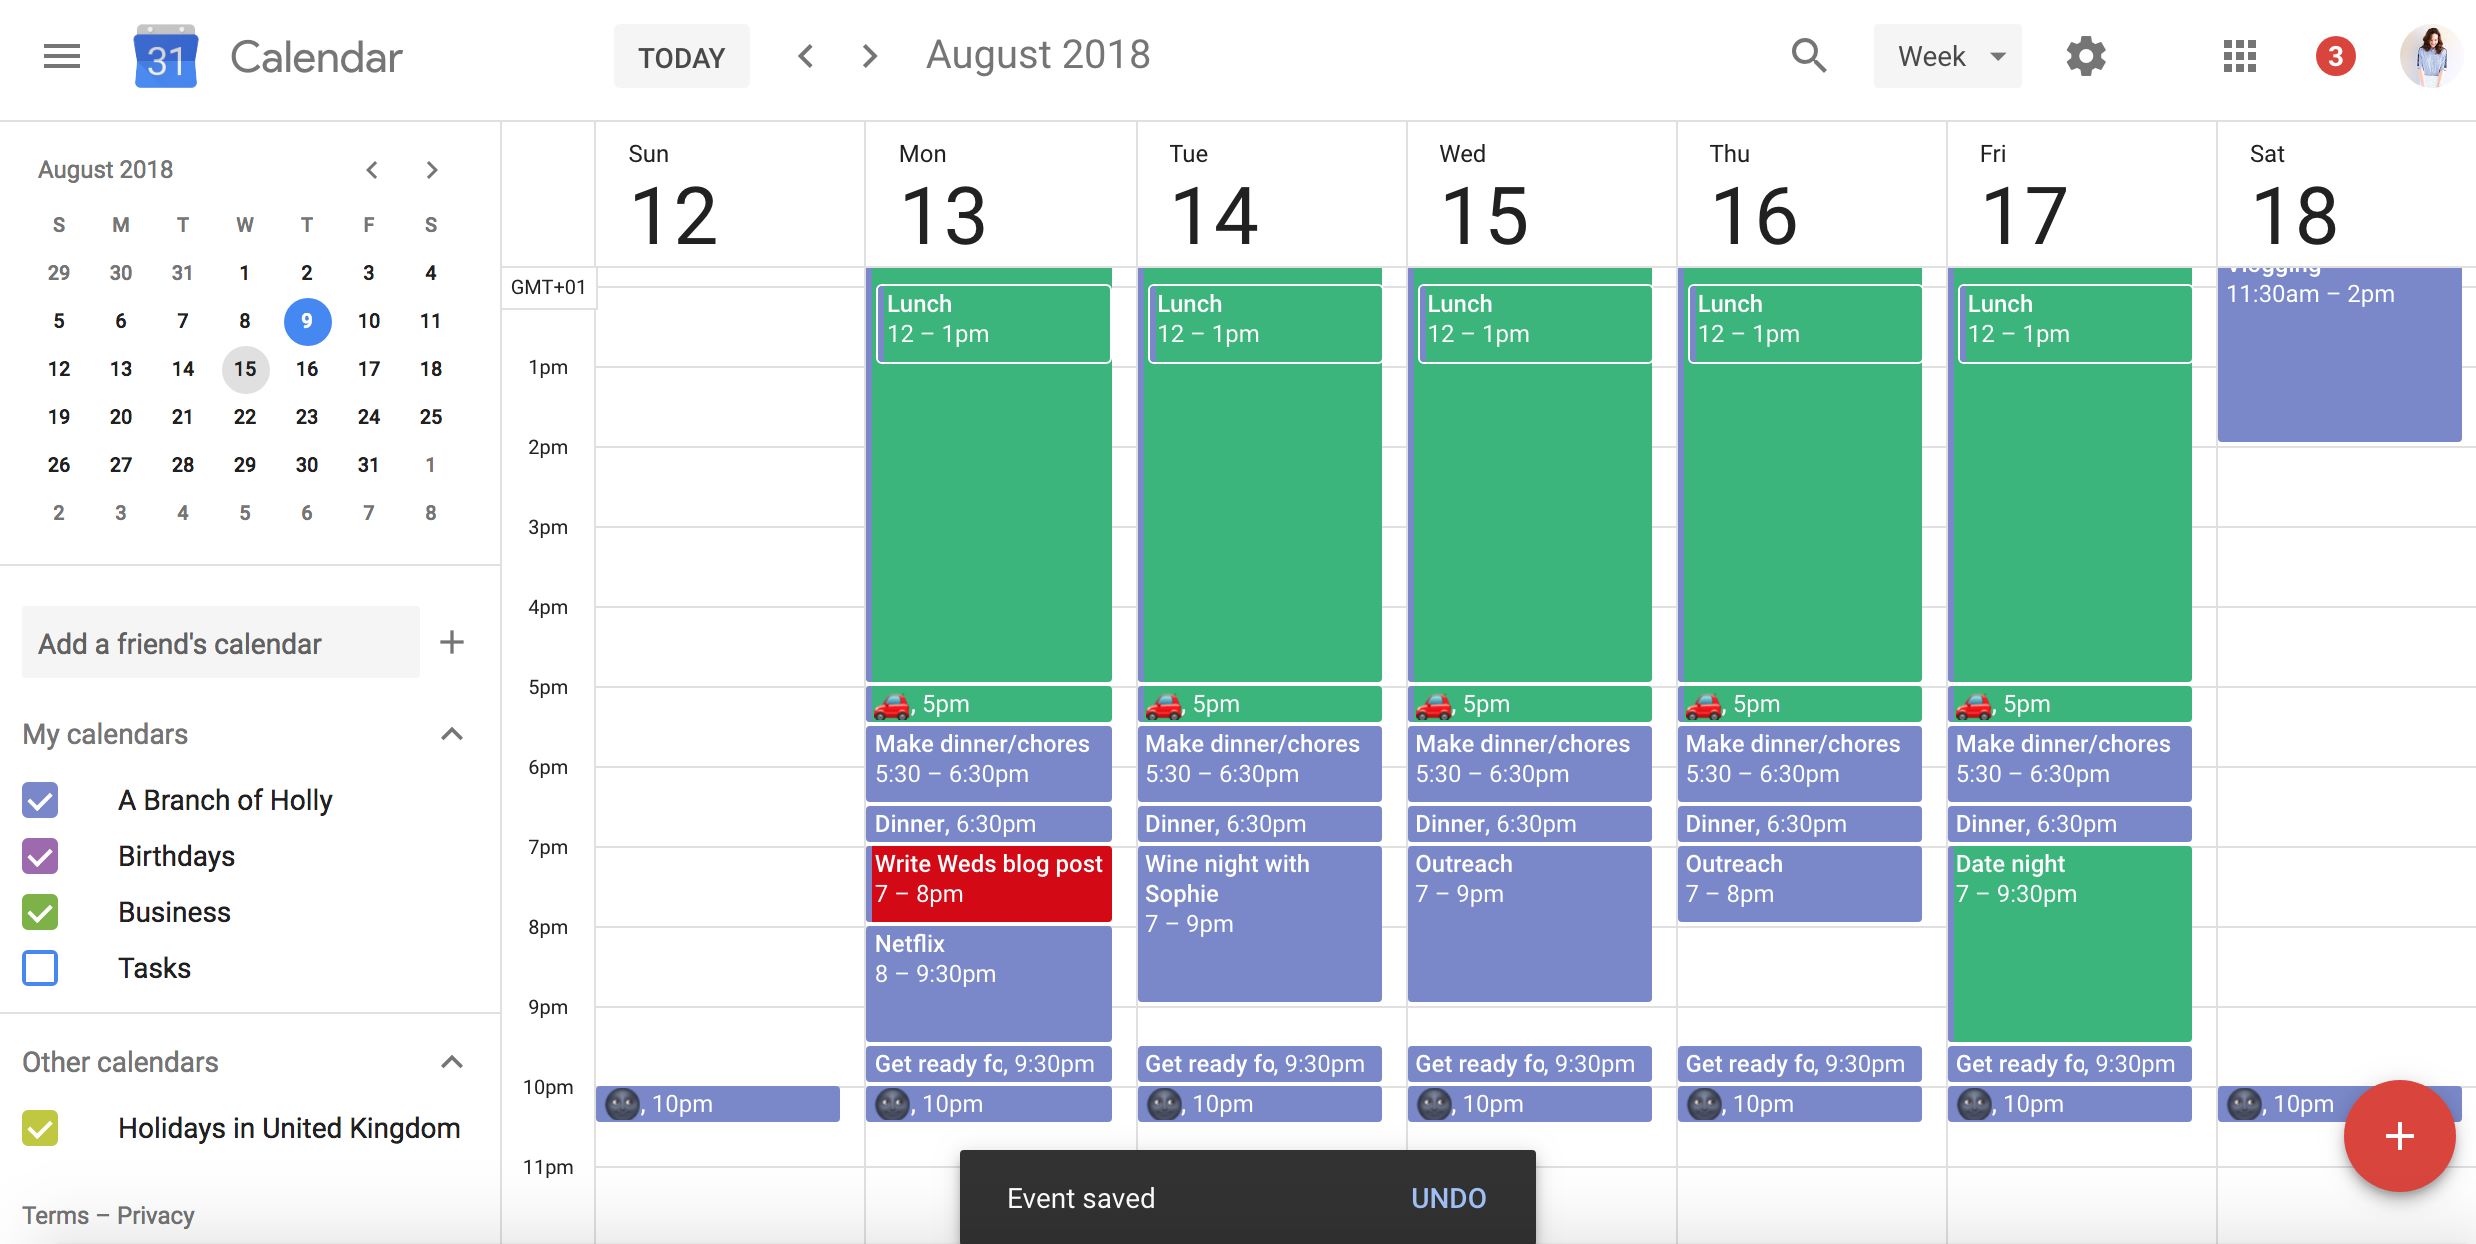
Blocking time on Google Calendar is a simple and efficient way to manage your schedule and ensure that you allocate dedicated periods for your tasks, meetings, and personal activities. Follow these steps to effectively block time on your Google Calendar:
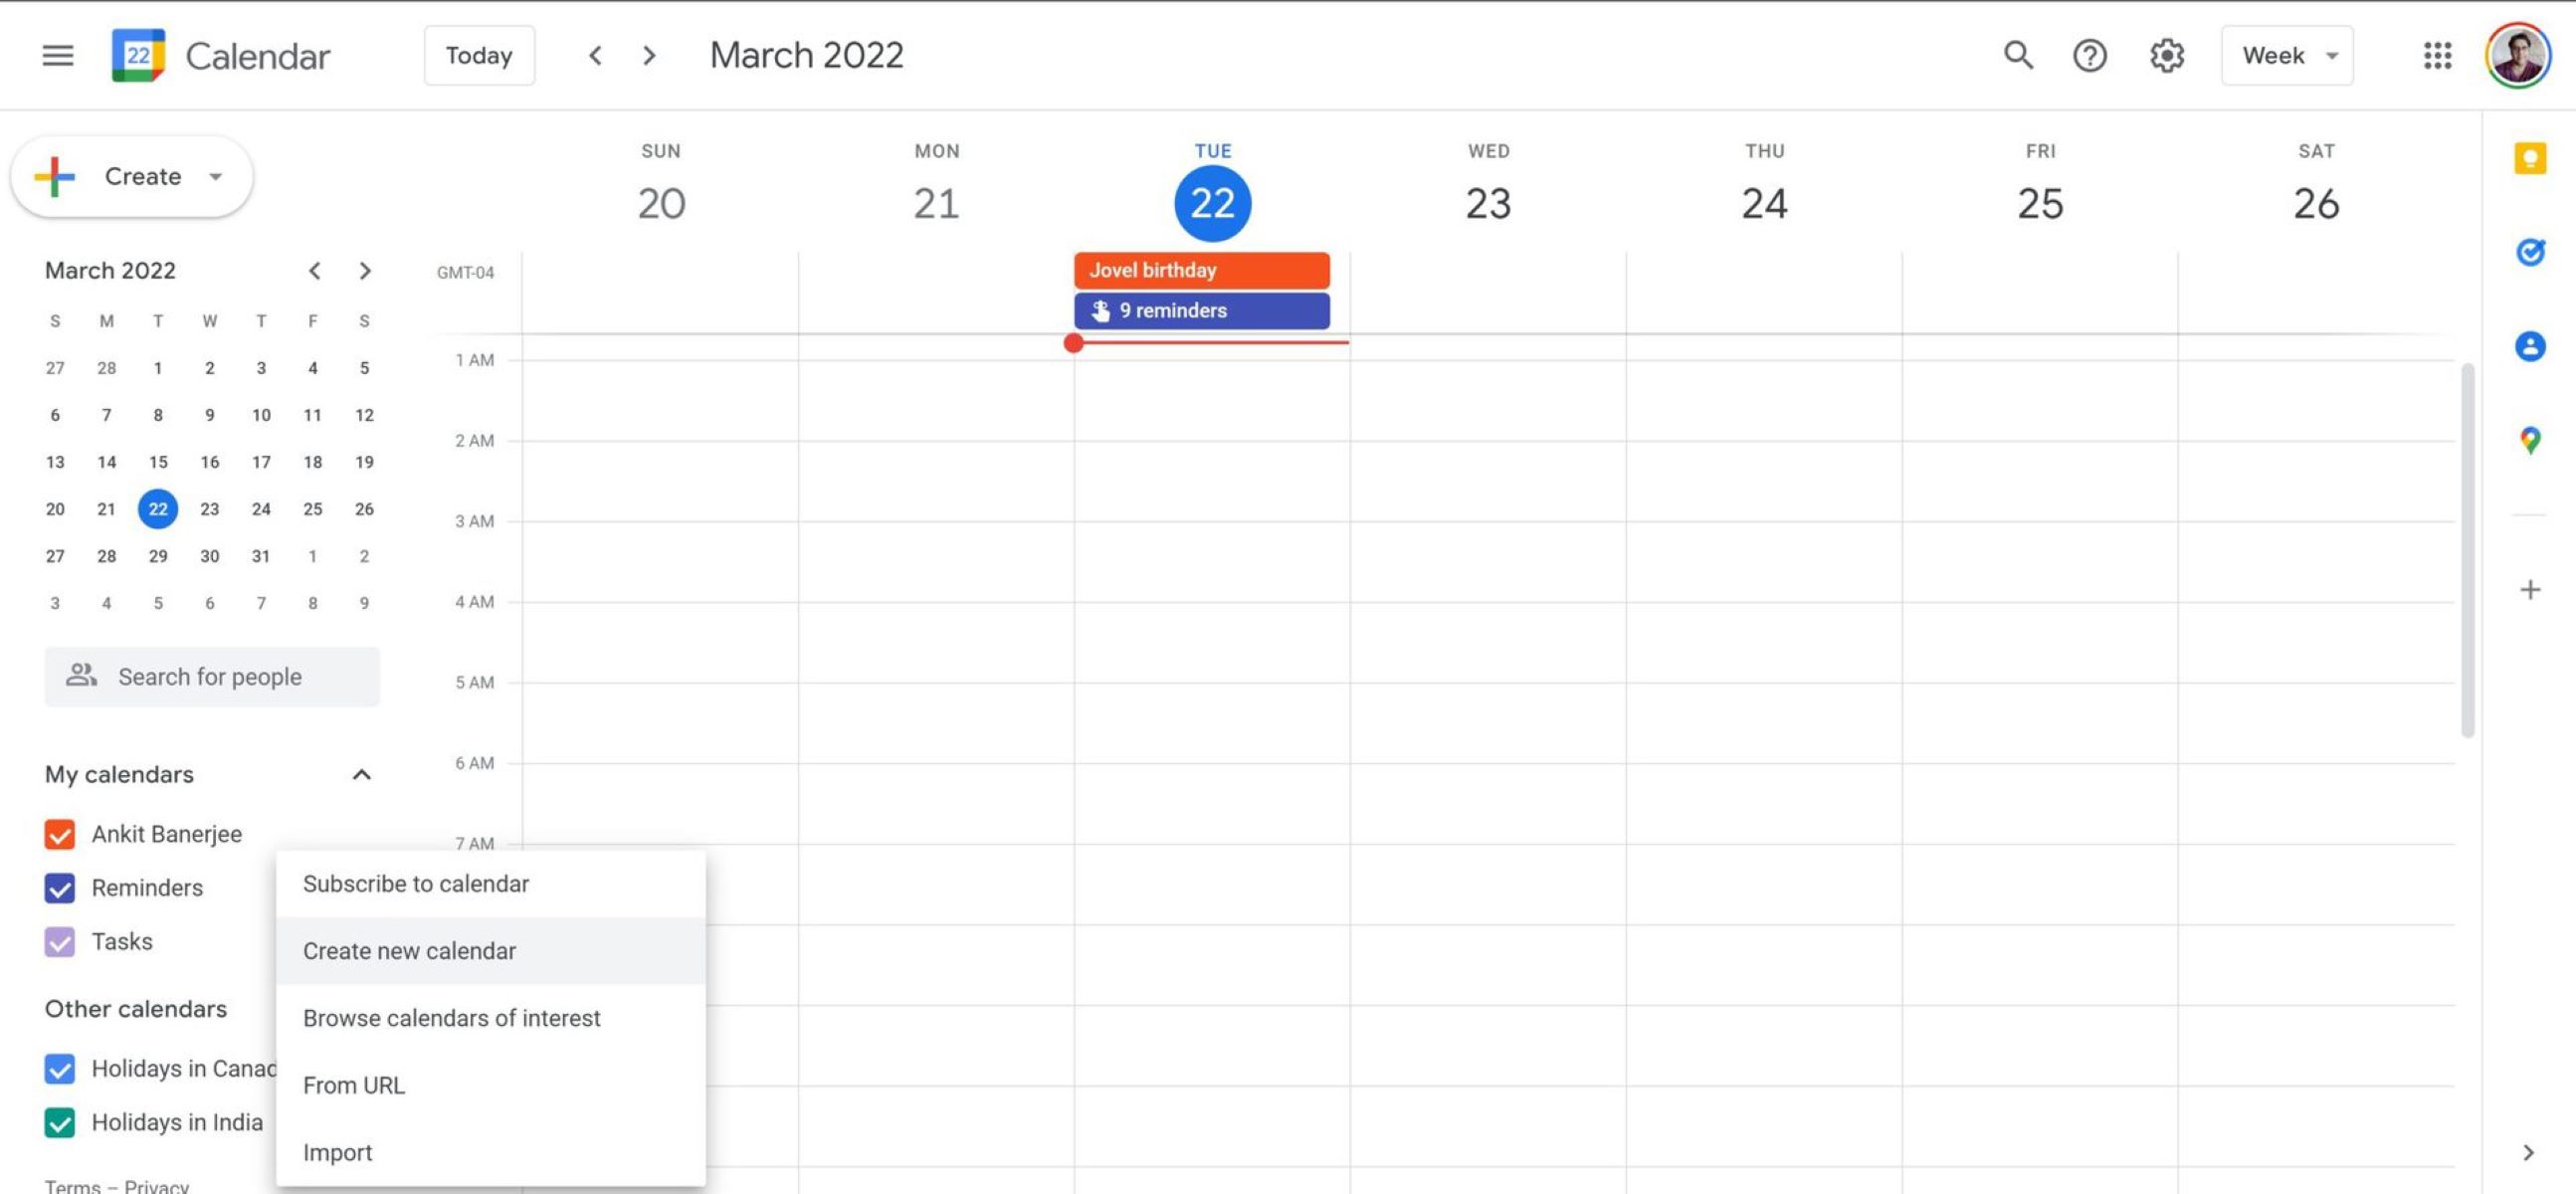
Step 1: Access your Google Calendar
Open your Google Calendar by visiting the website or launching the app on your device. Sign in to your Google account if prompted.
Step 2: Create a New Event
Click on the date and time slot where you want to block time. This will open a form to create a new event.
Step 3: Add Event Details
Enter a title for the event, such as “Work Block,” “Meeting,” or any appropriate description. Add any relevant notes or details in the description field.
Step 4: Customize Event Settings
Customize the event settings according to your preferences. You can choose the duration of the block by adjusting the start and end times. Additionally, you can choose to set the event as a recurring block, if applicable.
Step 5: Block Time on Your Calendar
In the event form, you will see a “Calendar” drop-down menu. Select the calendar where you want to block the time. If you have multiple calendars, choose the one that fits best for the specific activity or event you are blocking.
Step 6: Save and Apply the Event
Once you have added all the necessary details, click the “Save” or “Create” button to save the event and apply it to your calendar. The time block will now appear in the chosen date and time slot.
Step 7: Repeat as Needed
Repeat the above steps for each additional time block you want to create. You can create multiple blocks in a day or spread them out across different days as per your requirements.
By following these steps, you can easily block time on your Google Calendar and efficiently manage your schedule. Remember to regularly review and update your blocked time as needed to optimize your productivity and ensure your calendar reflects your current commitments and priorities.
Step 1: Access your Google Calendar
To begin blocking time on your Google Calendar, you first need to access the calendar itself. Here’s how you can do it:
1. Website: Open your preferred web browser and visit https://calendar.google.com.
2. Mobile App: Launch the Google Calendar app on your mobile device. If you haven’t already, download and install the app from the Google Play Store for Android or the App Store for iOS.
Once you’ve reached the Google Calendar interface, sign in to your Google account if prompted. If you’re using the app, make sure you’re signed in with the correct Google account.
Google Calendar allows you to access your schedule from any device with an internet connection, making it convenient to manage your time whether you’re on your computer, smartphone, or tablet.
By accessing your Google Calendar, you can begin the process of blocking time and organizing your schedule to suit your needs. With the ability to view, edit, and manage your events and time blocks from anywhere, you have the flexibility to stay on top of your commitments and make the most of your available time.
Step 2: Create a New Event
Once you have accessed your Google Calendar, the next step in blocking time is to create a new event. Creating an event allows you to designate a specific time period for a particular activity or task. Follow these steps to create a new event:
1. Website:
– Click on the desired date and time slot on your calendar. This will open a pop-up form to create a new event.
– Mobile App:
– Tap on the “+” button located at the bottom center of the screen. This will open a new event creation page.
2. Title: Give a suitable title to your event that clearly describes the activity or task you want to block time for. For example, you can use titles like “Work Block,” “Meeting,” or “Personal Time.”
3. Date and Time: Specify the start and end time for your event. You can either click directly on the time slots on the calendar or use the designated fields in the event creation form.
4. Location: If your event has a specific location, you can add it in the location field. This can be a physical address, a meeting room, or a virtual meeting link.
5. Description: Optionally, you can provide additional details or instructions about the event in the description field. This can include meeting agenda, task details, or any other relevant notes.
6. Reminder: Set a reminder for your event to receive notifications before it starts. You can choose to be reminded minutes, hours, or even days in advance.
7. Guests: If the event involves other people, you can add them as guests by entering their email addresses. They will receive an invitation and can RSVP accordingly.
8. Color: Customize the color of the event to visually distinguish it from others on your calendar. This can help you quickly identify the nature of the time block.
9. Attachments: If needed, you can attach files or documents relevant to the event. This can be helpful for meetings or projects requiring shared resources.
Once you have filled in all the necessary event details, click the “Save” or “Create” button to finalize the event creation process. The event block will now appear on your Google Calendar, specified by the selected date, time, and title.
By creating new events, you can effectively block time on your Google Calendar and ensure that you have dedicated periods for your various activities and tasks. This helps in better organizing your schedule, enhancing productivity, and maintaining a balanced work-life routine.
Step 3: Add Event Details
After creating a new event on your Google Calendar, the next step is to add specific details to the event. This will provide important information about the activity or task you’re blocking time for. Follow these guidelines to effectively add event details:
1. Title: Make sure the title of the event accurately reflects the nature of the activity or task. Use a descriptive and concise title that clearly conveys what the time block is for. For example, if it’s a client meeting, you can simply use the client’s name or project name as the title.
2. Description: If necessary, add a detailed description of the event. This can include specific instructions, agenda items, discussion points, or any other relevant information that will help you or other participants prepare for the event. Use clear and concise language to make it easy to understand.
3. Location: If the event has a physical location or requires participants to meet at a specific place, add the location details. This can include the address, room number, or any other relevant information that will help everyone to find the location easily. Alternatively, if it’s a virtual event or conference call, you can provide the link or dial-in details in this field.
4. Attendees: If the event involves other people, such as colleagues, clients, or team members, add their email addresses in the attendee field. This will send them an invitation to the event and allow them to view and manage the event on their calendars. You can also specify their roles or indicate if they are required or optional attendees.
5. Timezone: Ensure that the event’s time zone is correctly set, especially if it involves participants from different regions. This will prevent any confusion or scheduling conflicts due to time zone differences. Google Calendar automatically detects your time zone based on your device settings, but you can adjust it manually if needed.
6. Notifications: Set up notifications to remind you and other attendees of the event. You can choose to receive notifications via email or push notifications on your mobile device. Determine how much advance notice you require to adequately prepare for the event and select an appropriate reminder time.
7. Attachments: If there are any relevant files, documents, or presentations associated with the event, you can attach them to the event. This allows attendees to access and review the materials before the event, leading to more productive and focused discussions.
8. Color: Consider assigning a specific color to the event to visually differentiate it from other events on your calendar. This can make it easier to identify and organize your time blocks based on different categories, such as work-related activities, personal commitments, or recurring meetings.
By adding appropriate event details, you ensure that you and other participants have all the necessary information to effectively prepare for and engage in the event. It facilitates better communication, proper planning, and seamless collaboration, resulting in increased productivity and successful time management.
Step 4: Customize Event Settings
After adding event details to your Google Calendar event, you have the option to customize various settings to tailor the event to your specific needs. These settings allow you to further refine and personalize the time block on your calendar. Follow these steps to customize event settings:
1. Modify Start and End Time: Adjust the start and end times of the event to reflect the exact duration of the time block. You can do this by dragging the event’s edges in the calendar or by manually entering the desired times in the event details.
2. Recurring Event: If the time block is recurring, such as a weekly team meeting or a daily workout routine, you can set it to repeat at specific intervals. Click on the “Does not repeat” option and select the appropriate frequency, such as daily, weekly, monthly, or custom.
3. Availability: Specify your availability during the time block by toggling the “Show me as” option. You can choose to appear as “Busy” if you don’t want others to schedule overlapping events, or you can select “Available” to indicate that you are open for other appointments or activities during that time.
4. Privacy: Determine the privacy level of the event. You can make it visible to everyone, only to specific individuals, or keep it private so that the event details are visible to you alone. This setting is particularly useful for confidential or personal time blocks.
5. Notification Settings: Customize the notifications you receive for the event. In addition to the default reminder, you can enable or disable additional notifications, such as email or pop-up reminders. Adjust these settings according to your preference and the importance of the event.
6. Event Color: Assign a color to the event that aligns with its category or significance. This makes it easier to visually distinguish the time block from other events on your calendar and quickly identify its purpose or nature.
7. Guest Permissions: If the event involves other participants, you have the option to allow them to modify the event details or invite additional guests. Toggle the “Guest permissions” options to grant or restrict their access and control over the event.
8. Enable Add-ons: Google Calendar offers various add-ons that enhance its functionality. Explore and enable any relevant add-ons that help with tasks like scheduling, time tracking, or conferencing. These add-ons can streamline your workflow and make event management even more efficient.
By customizing the event settings, you can fine-tune the time block on your Google Calendar to best suit your preferences and requirements. These settings provide flexibility and control over your schedule, allowing you to optimize your calendar for improved productivity and effective time management.
Step 5: Block Time on Your Calendar
After customizing the event settings, the next step is to block time on your Google Calendar. Blocking time ensures that the specific period is reserved for the activity or task you are scheduling. Here’s how you can block time on your calendar:
1. Choose the Time Slot: Click or tap on the desired date and time slot on your Google Calendar. This is where you want to block time for your activity or task.
2. Create the Event: A pop-up window or event creation form will appear. Enter the relevant details for the time block, including the event title, start and end times, and any necessary information.
3. Select the Appropriate Calendar: If you have multiple calendars linked to your Google account, choose the one that is most appropriate for the time block. It could be your primary calendar, a work-specific calendar, or a personal calendar.
4. Adjust the Time Block: If needed, adjust the duration of the time block by dragging the edges of the event or modifying the start and end times in the event detail form.
5. Drag and Drop: If you need to move the time block to a different date or time, you can simply drag and drop the event to the desired location on your calendar.
6. Resize the Time Block: To extend or shorten the time block, click and drag the edges of the event to adjust its duration accordingly.
7. Add Multiple Time Blocks: Repeat the above steps to block additional time slots on your calendar for different activities or tasks. This allows you to create a comprehensive and organized schedule.
By following these steps, you can easily block time on your Google Calendar. Whether it’s a meeting, a work session, a personal activity, or any other commitment, reserving specific periods on your calendar helps ensure that you dedicate focused time to each task. This prevents scheduling conflicts, increases productivity, and allows for efficient planning and time management. Remember to regularly review and update your time blocks to reflect any changes or new obligations that arise.
Step 6: Save and Apply the Event
Once you have entered all the necessary information and customized the settings for your event on Google Calendar, the next step is to save the event and apply it to your calendar. Here’s how you can save and apply the event:
1. Review Event Details: Double-check all the event details and settings to ensure accuracy. Make sure the event title, date, time, description, location, and other relevant information are correct.
2. Save the Event: Click or tap the “Save” or “Create” button, depending on the interface you are using, to save the event. This action will store the event on your calendar.
3. Event Appearance: Once saved, the event will appear as a time block on the respective date and time slot on your calendar. The event block will show the event title and any associated information you provided.
4. Visibility: The visibility of the event depends on the privacy settings you selected during the event creation. It can be visible to everyone, limited to specific individuals, or set as private so that only you can see the event details.
5. Sharing the Event: If the event involves other participants and you set the visibility to “Guests can modify event,” they will receive an invitation email and can view and manage the event on their calendars. Any changes made by participants will be reflected in your calendar as well.
6. Notification: Depending on the notification settings you configured for the event, you and any invited guests will receive reminders and notifications as configured. This ensures that everyone stays informed and prepared for the event.
7. Rescheduling or Editing: If you need to make any changes to the event, such as rescheduling or updating the event details, simply click or tap on the event block on your calendar, make the necessary edits, and save the changes. This ensures that your calendar stays accurate and up to date.
By saving and applying the event, you finalize the process of blocking time on your Google Calendar. It is essential to ensure that the event details are correct and the settings align with your preferences. This helps you stay organized, prioritize your tasks and commitments, and successfully manage your schedule. Remember to regularly review your calendar to stay aware of any changes or updates and make the necessary adjustments as needed.
Step 7: Repeat as Needed
Blocking time on your Google Calendar is not a one-time task—rather, it is an ongoing process that requires regular attention and adjustments. Step 7 involves repeating the previous steps as needed to effectively manage your schedule and ensure that all your commitments are properly blocked on your calendar.
Here’s how you can repeat the process of blocking time on Google Calendar:
1. Create New Time Blocks: As new tasks, events, or activities arise, create additional time blocks on your calendar to allocate dedicated periods for each. Follow the same steps outlined in the previous sections to create new events, add details, and customize settings.
2. Update Existing Time Blocks: Sometimes, existing time blocks may need to be modified or rescheduled. Perhaps a meeting time needs to be changed, or the duration of a task needs to be adjusted. Review your calendar regularly and update any necessary changes to ensure accuracy and avoid conflicts.
3. Recurring Events: For activities that repeat on a regular schedule, such as weekly meetings or monthly deadlines, set them as recurring events. This allows the time block to automatically repeat on the specified intervals, saving you time and effort in creating them manually each time.
4. Remove or Cancel Time Blocks: If a scheduled activity or task is no longer relevant or necessary, remove the time block from your calendar. This eliminates any confusion and keeps your schedule clutter-free. For events that require cancellation, notify any involved participants and adjust the visibility of the event accordingly.
5. Stay Flexible: As your schedule evolves, remember to remain flexible with your time blocks. Unexpected changes or additions may arise, requiring you to rearrange or modify your time blocks to accommodate new priorities or obligations. Be adaptable and responsive to maintain an updated and effective schedule.
6. Consistent Review: Regularly review your calendar to ensure that all time blocks accurately reflect your current commitments, tasks, and activities. This helps you stay organized, make informed decisions, and manage your time effectively.
By repeating the process of blocking time on Google Calendar as needed, you maintain an organized and structured schedule. It allows you to effectively allocate your time, prioritize your tasks, and balance your personal and professional commitments. Stay proactive and engaged with your calendar to achieve optimal productivity and maintain control over your time.
Tips for Effectively Blocking Time on Google Calendar
Blocking time on Google Calendar is a valuable tool for managing and optimizing your schedule. To enhance the effectiveness of time blocking, consider the following tips:
1. Establish a Routine: Set aside specific time blocks for recurring tasks or activities that are part of your regular routine. This helps create consistency and ensures that important activities are consistently accounted for.
2. Allocate Buffer Time: Incorporate buffer time between time blocks to allow for transitions and unexpected delays. This can help prevent back-to-back scheduling and provide flexibility in case tasks take longer than anticipated.
3. Use Color-Coding: Assign different colors to specific types of time blocks to visually differentiate between work-related, personal, and other categories. This makes it easier to quickly identify and prioritize different aspects of your schedule.
4. Set Realistic Timeframes: Estimate the amount of time needed for each task or activity and allocate an appropriate time block. Be realistic to avoid overcommitting yourself and feeling overwhelmed.
5. Prioritize Important Tasks: Place high-priority tasks during your most productive and focused periods of the day. This allows you to tackle crucial work when you are at your best and can maximize your productivity.
6. Avoid Overbooking: Be mindful of not filling your entire calendar with time blocks. Allow for breathing room and flexibility so that you have time for unexpected tasks, breaks, and personal activities.
7. Review and Adjust: Regularly review your time blocks to ensure they align with your changing priorities and commitments. Make necessary adjustments to accommodate new tasks or rearrange existing time blocks as needed.
8. Share Calendars: If you work collaboratively with others, consider sharing your calendar to coordinate schedules and avoid scheduling conflicts. This allows for better coordination and planning, particularly for team meetings or joint projects.
9. Use Reminders: Enable reminders for your time blocks to ensure you are notified in advance. This helps you stay on track, avoid last-minute surprises, and prepare adequately for each activity.
10. Integrate Other Tools: Explore and integrate other productivity tools or apps with your Google Calendar, such as task management software or note-taking applications. This allows for better organization and synchronization of tasks across different platforms.
By implementing these tips, you can effectively utilize time blocking on Google Calendar to optimize your schedule, increase productivity, and maintain a healthy work-life balance. Remember, these tips are flexible, and you can adapt them to suit your specific needs and preferences. Regularly evaluate your time blocking strategy and make improvements as you discover what works best for you.
Conclusion
Effective time management is vital for productivity and achieving a balanced lifestyle. Google Calendar provides a powerful platform for organizing and managing your schedule through the practice of blocking time. By following the steps outlined in this guide, you can successfully block time on Google Calendar and optimize your productivity.
Blocking time allows you to prioritize tasks, allocate dedicated periods for specific activities, and maintain a clear overview of your commitments. It enhances focus, reduces stress, improves time management, and fosters a sense of control over your schedule. With the ability to customize event details, recurring patterns, and notifications, Google Calendar offers the flexibility necessary to adapt to your evolving needs.
To maximize the effectiveness of time blocking, consider implementing additional strategies. Set realistic goals, establish routines, and prioritize tasks based on importance and energy levels. Continuously review and adjust your time blocks to reflect changing priorities and optimize your schedule.
Remember, Google Calendar is a versatile tool that can be accessed across various devices, ensuring you can manage your time wherever you are. By utilizing its features, integrating other productivity tools, and being consistent with your time-blocking practice, you can experience increased productivity, improved focus, and a better work-life balance.
So, start blocking time on your Google Calendar today and take control of your schedule. With diligent practice and the implementation of effective time management strategies, you can achieve greater productivity, reduce stress, and make the most out of each day. Embrace the power of time blocking, and unlock your full potential.