Introduction
Welcome to our guide on how to auto decline meetings in Google Calendar. In today’s fast-paced world, managing our time effectively is crucial. With numerous meetings and appointments filling up our schedules, it can be challenging to find time for important tasks and priorities. That’s where the auto decline feature in Google Calendar comes in handy.
Auto declining meetings allows you to automatically reject or decline meeting invitations based on certain criteria. This feature saves you valuable time by automatically filtering out unnecessary or conflicting meetings from your calendar, giving you more control over your schedule.
In this article, we will explore the benefits of using the auto decline meetings feature in Google Calendar and provide a step-by-step guide on how to set it up. Whether you’re a busy professional, a student with a packed timetable, or someone who wants to optimize their time, this guide will help you streamline your calendar and ensure that you are prioritizing the right events.
By leveraging technology and adapting our calendars to our unique needs, we can optimize our time and achieve a better work-life balance. So, let’s delve into the world of auto declining meetings and discover how it can revolutionize your scheduling experience.
What is Auto Decline Meetings in Google Calendar?
Auto decline meetings is a feature offered by Google Calendar that allows users to automatically reject or decline meeting invitations based on specific criteria. It provides a convenient way to filter out unnecessary or conflicting meetings and helps users maintain control over their schedule.
When enabled, the auto decline feature will analyze incoming meeting invitations and automatically decline those that meet the specified criteria. This can include parameters such as date and time conflicts, meeting duration, specific keywords in the event title or description, or even the organizer of the meeting.
By utilizing auto decline, users can save valuable time by avoiding meetings that do not align with their priorities or commitments. It helps to eliminate scheduling conflicts and allows individuals to focus on important tasks without interruptions. Whether you want to block out time for personal projects, concentrate on deep work, or minimize unnecessary disruptions, auto declining meetings can be a powerful tool.
Auto decline meetings can be especially useful for individuals who receive a high volume of meeting invitations and struggle to manage their time effectively. It provides a proactive approach to calendar management, allowing users to customize their availability and ensure that their schedule is aligned with their goals.
In addition to time management benefits, auto decline meetings also improve communication and collaboration. By only accepting meetings that are relevant and necessary, participants can ensure that their contributions will be valuable and meaningful. This results in more productive meetings and enhances overall teamwork and collaboration.
It’s important to note that while auto declining meetings can be a useful tool, it should be used judiciously. It’s essential to consider the potential impact on colleagues and clients, and to communicate clearly if you choose to implement this feature. Setting clear expectations and explaining the reasons behind auto declining can help maintain positive working relationships.
Now that we understand what auto decline meetings are and their potential benefits, let’s explore how to set up this feature in Google Calendar.
Why use Auto Decline Meetings in Google Calendar?
Auto declining meetings in Google Calendar offers several compelling benefits that can greatly enhance productivity and time management. Let’s explore why you should consider using this feature:
- Time savings: With the auto decline feature, you can save significant time that would otherwise be spent manually reviewing and declining meeting invitations. By automatically filtering out irrelevant or conflicting meetings, you can focus on more important tasks and priorities.
- Efficient schedule management: Auto declining meetings helps you maintain better control over your schedule. By setting specific criteria for declined meetings, such as avoiding overlapping events or prioritizing only essential meetings, you can create a well-organized and balanced calendar.
- Minimize disruptions: Unnecessary or low-priority meetings can disrupt your workflow and hinder productivity. By auto declining these meetings, you can minimize interruptions and create uninterrupted blocks of time for deep work or focused tasks.
- Prioritize important commitments: Auto declining enables you to prioritize important commitments such as personal projects, deadlines, or tasks that require dedicated focus. By declining less critical meetings, you can allocate more time to crucial activities that align with your goals.
- Better collaboration: By selectively accepting meetings, you can ensure that your participation in each meeting is meaningful and valuable. This enhances collaboration and allows you to contribute effectively, ultimately leading to more productive and efficient meetings.
- Reduce decision fatigue: Constantly evaluating every meeting invitation can lead to decision fatigue. Auto declining meetings automates this process, relieving you from the burden of individually assessing the relevance and importance of each meeting.
- Streamlined communication: By clearly communicating your auto decline settings and reasons behind the feature, you can manage expectations with colleagues and clients. This ensures transparency and fosters effective communication within your professional network.
Ultimately, using auto decline meetings in Google Calendar allows you to optimize your time, prioritize important tasks, and maintain a well-structured and efficient schedule. It empowers you to focus on what truly matters, without compromising your commitments or the quality of your work.
Now that we understand the benefits of auto declining meetings, let’s dive into the step-by-step process of setting up this feature in Google Calendar.
How to set up Auto Decline Meetings in Google Calendar
Setting up auto decline meetings in Google Calendar is a straightforward process that can be done in just a few simple steps. Follow these instructions to configure the feature according to your preferences:
Step 1: Accessing Google Calendar settings
Open Google Calendar on your computer and click on the gear icon in the top right corner to access the settings menu. From the dropdown, click on “Settings”.
Step 2: Creating a new event auto-decline rule
In the settings menu, navigate to the “General” tab and scroll down until you find the “Event settings” section. Look for the “Automatically decline events” option and click on the “Add Rule” button to create a new rule.
Step 3: Configuring the auto-decline rule settings
In the rule creation dialog box, you can customize the settings for the auto-decline feature. Select the appropriate criteria for declining events, such as date and time conflicts, specific keywords, meeting duration, or the organizer’s email address. You can add multiple conditions by clicking on the “Add condition” button.
Step 4: Adding exceptions to the auto-decline rule
If there are specific events or meetings that you don’t want to auto decline, you can add exceptions to the rule. Simply click on the “Add Exception” button and specify the criteria for the exception. This allows you to selectively decline meetings based on your preferences.
Step 5: Enabling the auto-decline rule
Once you have configured the auto-decline rule and any exceptions, click on the “Save” button to activate the feature. Google Calendar will now automatically decline meeting invitations that meet the specified criteria, except for those covered by exceptions.
That’s it! You have successfully set up auto decline meetings in Google Calendar. The feature will now take care of filtering out unnecessary or conflicting events, allowing you to have better control over your schedule.
It’s essential to periodically review and adjust your auto-decline settings to ensure that they align with your changing priorities and commitments. By regularly refining the rules and exceptions, you can fine-tune the feature to meet your evolving needs.
Now that you know how to set up auto decline meetings, let’s explore some tips for using this feature effectively.
Step 1: Accessing Google Calendar settings
The first step to setting up auto decline meetings in Google Calendar is accessing the settings menu. Follow these instructions to get started:
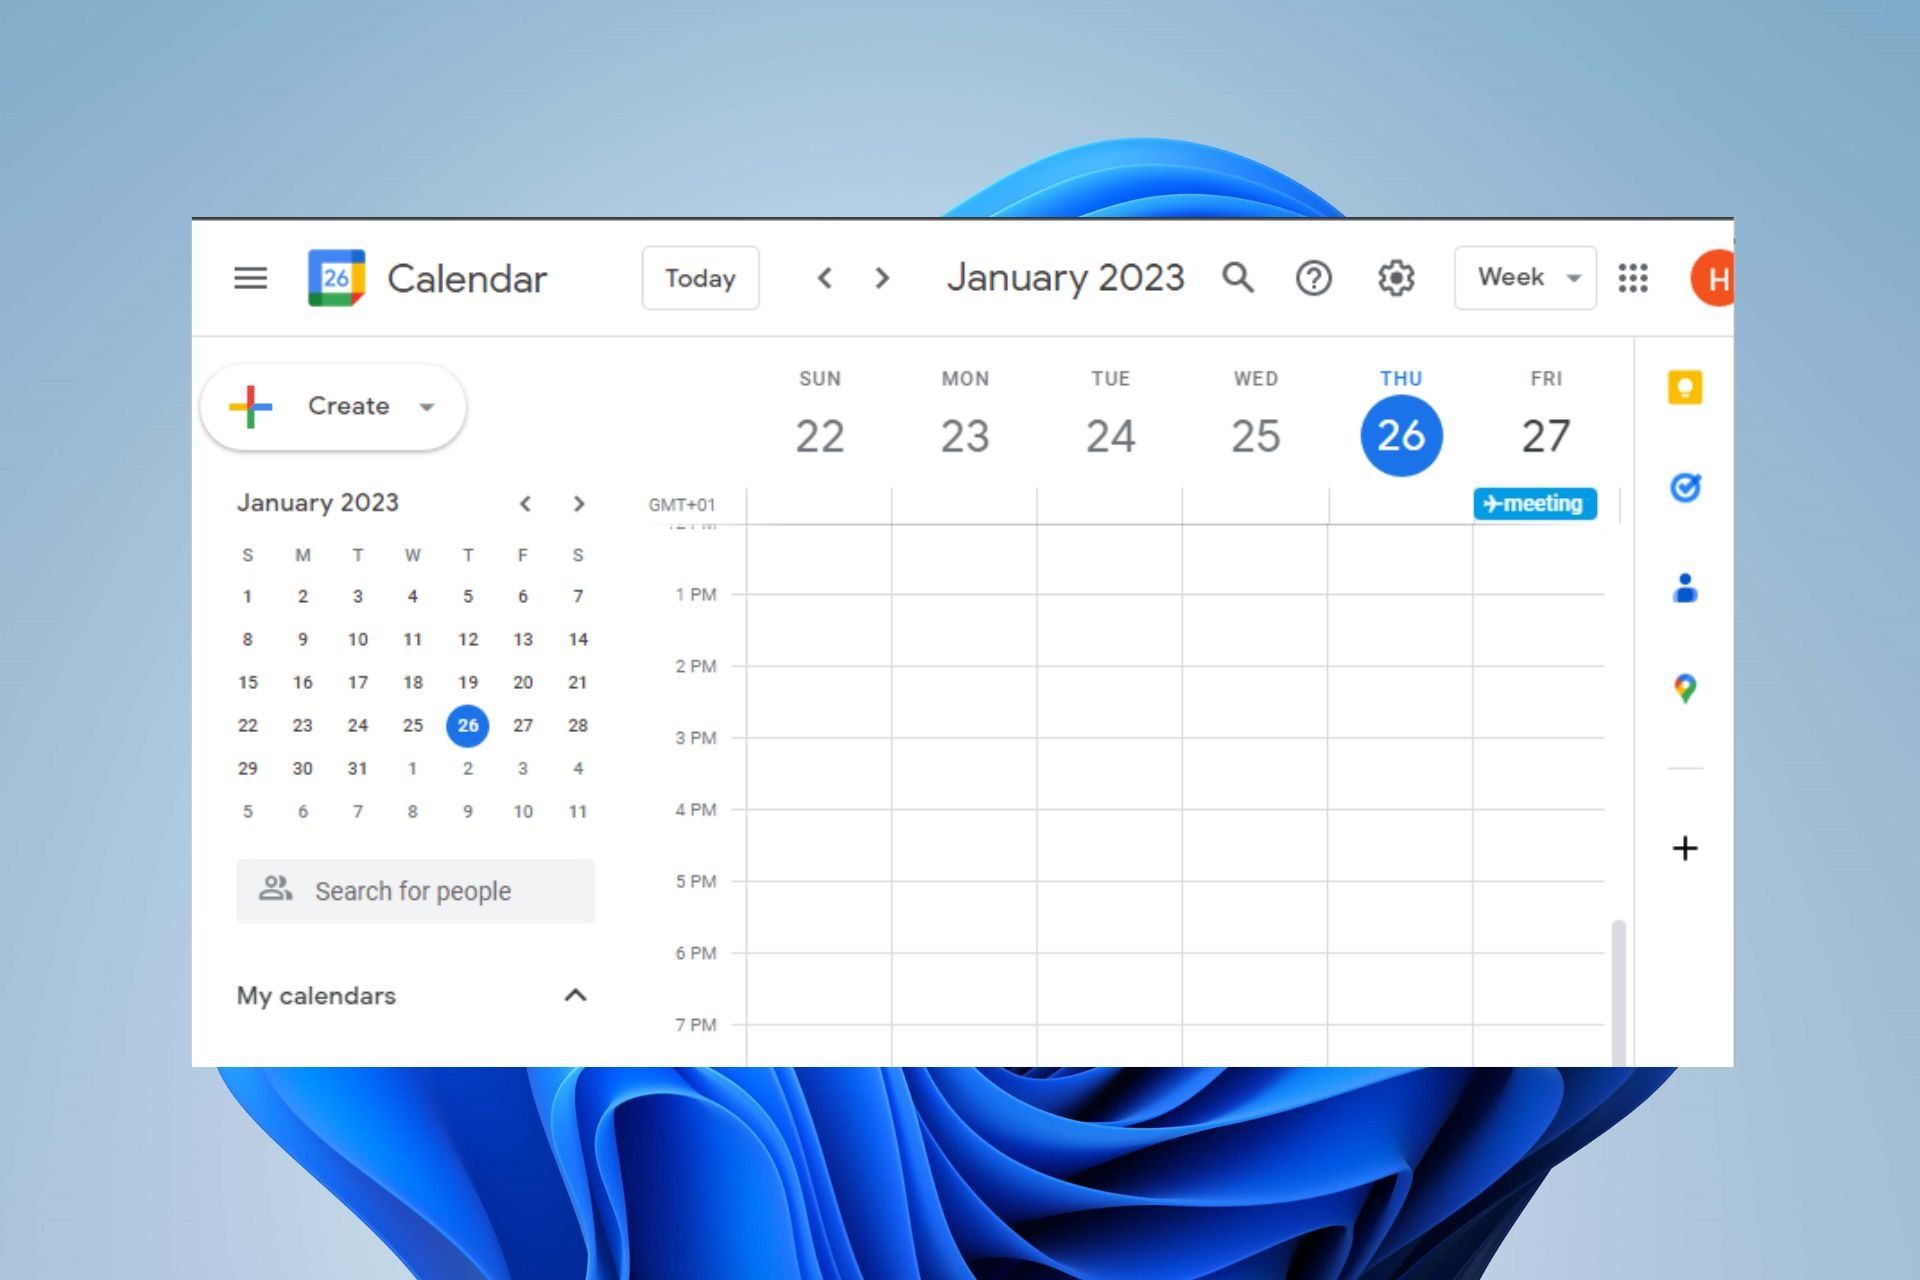
- Open Google Calendar on your computer by navigating to the Google Calendar website or opening the app on your desktop.
- Once you’re on the Google Calendar page, look for the gear icon located in the top right corner of the screen. Click on the gear icon to open the settings menu.
- From the dropdown menu, select the “Settings” option. This will open the Settings page where you can customize various features and preferences within Google Calendar.
By accessing the Google Calendar settings, you gain control over various aspects of your calendar’s functionality, allowing you to make adjustments and personalized configurations based on your preferences.
It’s important to note that the steps may vary slightly depending on the version of Google Calendar you are using. The steps mentioned above are based on the latest version of Google Calendar at the time of writing this article.
Now that you have accessed the settings menu, you are ready to move on to the next step of configuring the auto-decline rule for meetings in Google Calendar. Continue reading to learn more about creating a new event auto-decline rule.
Step 2: Creating a new event auto-decline rule
After accessing the Google Calendar settings, the next step is to create a new event auto-decline rule. Follow these instructions to set up the rule:
- In the Settings page, find the “General” tab. Scroll down until you locate the “Event settings” section.
- Within the “Event settings” section, you should see an option called “Automatically decline events.” This option allows you to configure the auto-decline feature in Google Calendar. Click on the “Add Rule” button to create a new rule.
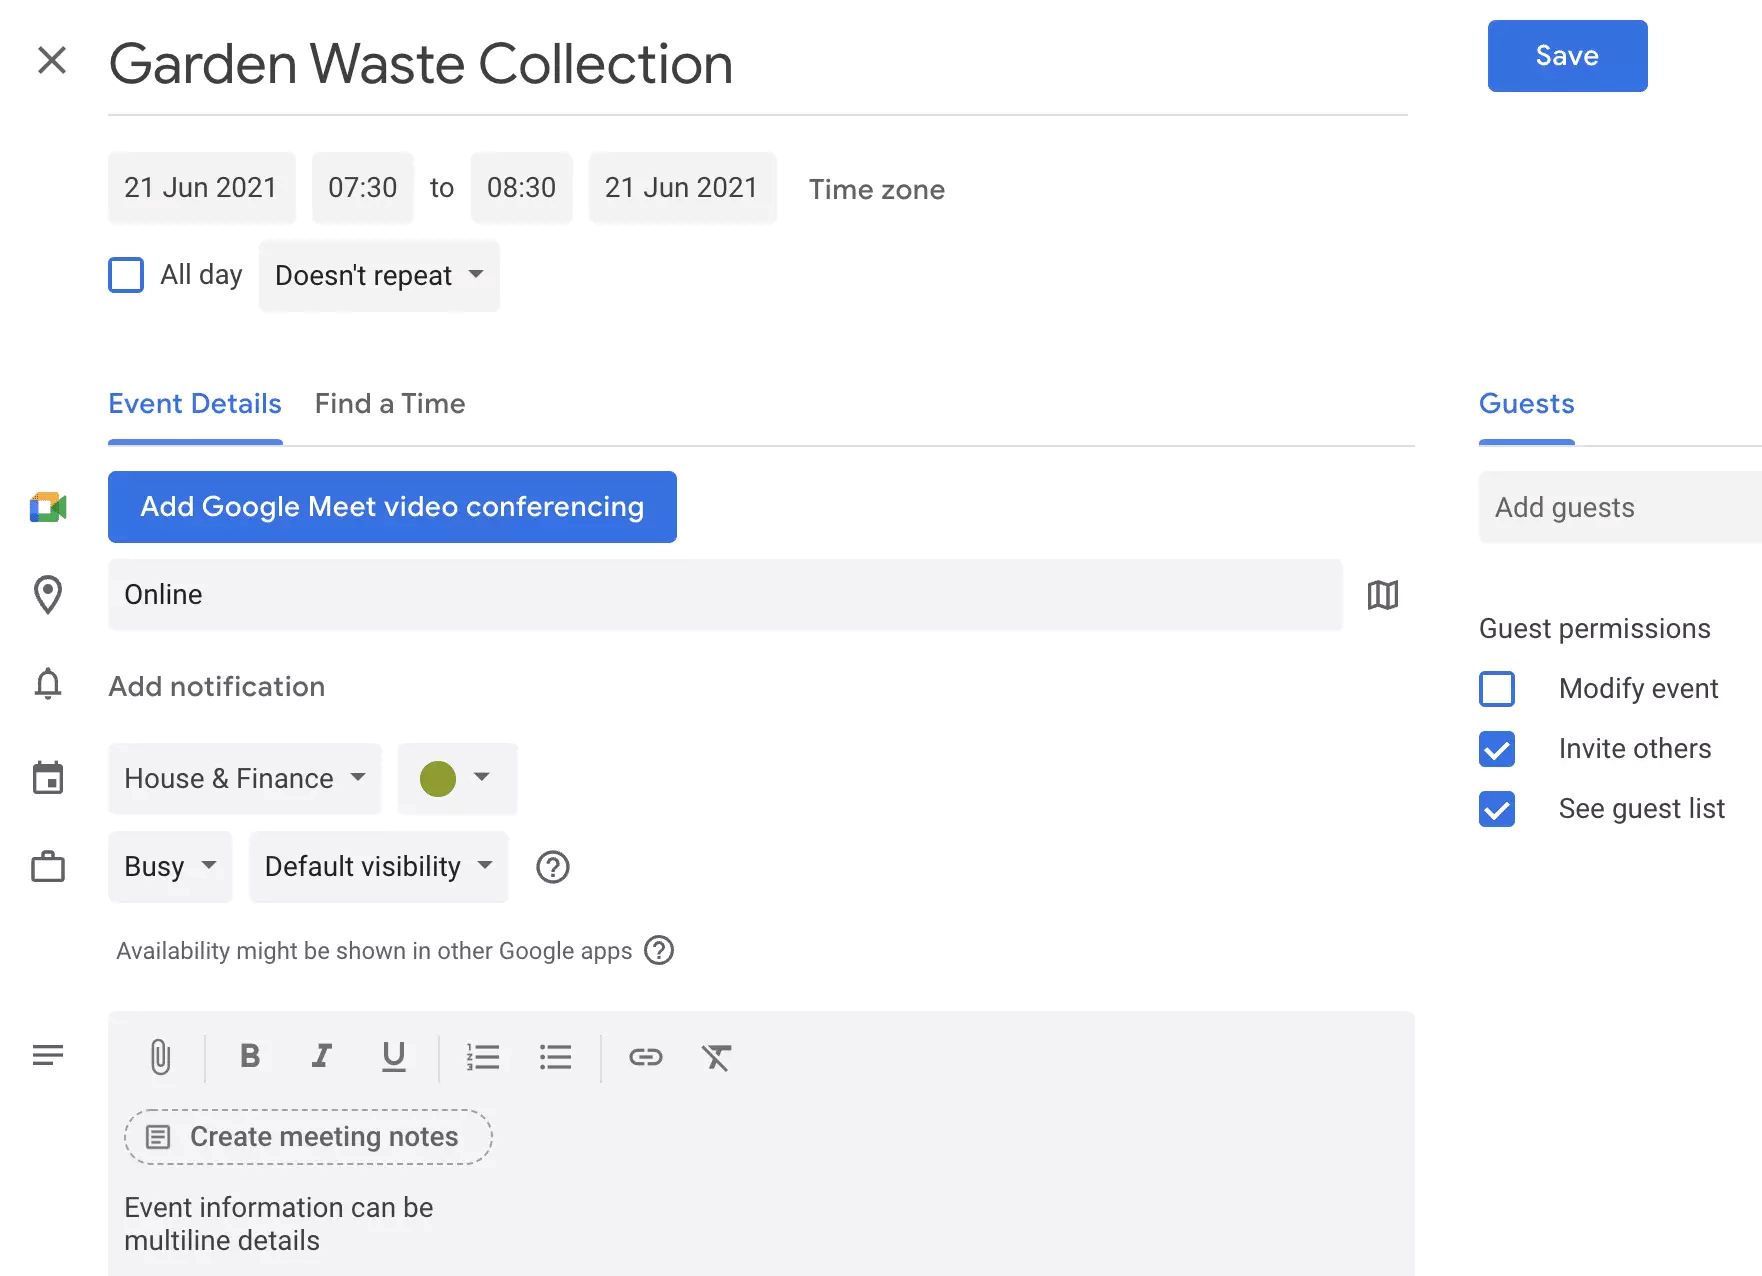
- A dialog box will appear, asking you to specify the conditions for the auto-decline rule. Here, you can customize the criteria based on which meetings will be automatically declined. For example, you can set conditions such as date and time conflicts, specific keywords in the event title or description, meeting duration, or even the organizer’s email address.
- You can add multiple conditions to the rule by clicking on the “Add condition” button. This allows you to create a more comprehensive and customized rule based on your specific needs.
- Once you have specified the conditions for the auto-decline rule, click on the “Done” or “Save” button to save your changes. Google Calendar will now automatically decline meeting invitations that meet the specified criteria.
Creating a new event auto-decline rule empowers you to filter out unnecessary or conflicting meetings, enabling you to maintain better control over your schedule.
It’s important to note that the steps and options for creating auto-decline rules may vary slightly depending on the version of Google Calendar you are using. The instructions provided above are based on the latest version of Google Calendar at the time of writing this article.
Now that you have set up the auto-decline rule, you can proceed to the next step of configuring the rule’s settings, where you can customize the specific criteria for declining events. Continue reading to learn more about configuring the auto-decline rule settings in Google Calendar.
Step 3: Configuring the auto-decline rule settings
Once you have created a new event auto-decline rule in Google Calendar, the next step is to configure the settings for the rule. Follow these instructions to customize the auto-decline rule settings:
- After creating the auto-decline rule, you should see a dialog box where you can configure the rule settings. Look for the options and fields that allow you to set the criteria for declining events.
- Specify the conditions for the auto-decline rule based on your preferences. For example, you can choose to decline events that have date and time conflicts with existing events in your calendar or those that contain specific keywords in the event title or description.
- You can add multiple conditions to the rule by clicking on the “Add condition” button. This allows you to create a more intricate rule that aligns with your specific requirements.
- As you configure the rule settings, pay attention to the options available to you. Google Calendar may offer additional features or customization options, such as specifying meeting duration, selecting the organizer’s email address, or setting priority levels for events.
- Take the time to review and double-check your rule settings to ensure they accurately reflect your preferences. Consider the criteria you have set and ensure they align with your objectives, productivity goals, and scheduling needs.
- Once you are satisfied with the auto-decline rule settings, click on the “Done” or “Save” button to save your changes. Google Calendar will now automatically decline meeting invitations that meet the specified criteria.
Configuring the auto-decline rule settings allows you to customize the criteria based on which events will be automatically declined. This feature gives you greater control over your calendar and ensures that only relevant and necessary meetings are accepted.
Remember that the steps and options for configuring the auto-decline rule settings may vary slightly depending on the version of Google Calendar you are using. The instructions provided above are based on the latest version of Google Calendar at the time of writing this article.
With the auto-decline rule settings configured, you can proceed to the next step of adding exceptions to the rule. This allows you to selectively decline specific meetings that may be exempt from the general auto-decline criteria. Continue reading to learn more about adding exceptions to the auto-decline rule in Google Calendar.
Step 4: Adding exceptions to the auto-decline rule
After configuring the auto-decline rule settings in Google Calendar, you may want to add exceptions for specific events that should not be automatically declined. Follow these instructions to add exceptions to the auto-decline rule:
- Once you have set up the auto-decline rule, look for the option to add exceptions. This can usually be found within the same dialog box or settings page where you configured the rule.
- Click on the “Add Exception” button to specify the criteria for the exception.
- In the exception settings, you can define the conditions for events that should not be auto declined. For example, you can exempt events organized by certain individuals or those that contain specific keywords in the event details.
- Consider the different scenarios where you want the auto-decline rule to be bypassed. Maybe there are important meetings with specific clients, team gatherings, or company-wide events that you want to ensure your attendance at.
- Continue adding exceptions based on your needs by clicking on the “Add Exception” button and specifying different sets of criteria.
- After adding exceptions, take a moment to review and verify your exceptions to ensure they align with your intentions. Consider double-checking the criteria you have set for each exception and make any necessary adjustments.
- Once you are satisfied with the exception settings, save your changes by clicking on the “Done” or “Save” button. Google Calendar will now automatically decline most meetings according to the rule criteria, except for those covered by the exceptions you have added.
Adding exceptions to the auto-decline rule allows you to selectively decline specific meetings based on your preferences. This feature ensures that important events or meetings that require your attendance are not automatically declined, even if they meet the general criteria for auto-declining.
Remember that the steps for adding exceptions may vary depending on the version of Google Calendar you are using. The instructions provided above are based on the latest version of Google Calendar at the time of writing this article.
With exceptions in place, you now have a personalized auto-decline rule that can efficiently manage your calendar. In the next step, we will explore how to enable the auto-decline rule in Google Calendar. Continue reading to learn more.
Step 5: Enabling the auto-decline rule
After setting up the auto-decline rule and adding exceptions in Google Calendar, the final step is to enable the rule. Follow these instructions to activate the auto-decline rule:
- With your auto-decline rule and exceptions configured, navigate to the settings page in Google Calendar where you created the rule.
- Review the auto-decline rule and exceptions to ensure they accurately reflect your preferences and scheduling needs.
- Look for a “Save” or “Done” button within the settings page. Click on this button to save your changes and enable the auto-decline rule. Upon enabling the rule, Google Calendar will automatically decline meeting invitations that meet the specified criteria, except for those covered by the exceptions you have added.
- After enabling the auto-decline rule, make sure to periodically review and adjust its settings as needed. Over time, your scheduling requirements and priorities may change, and it’s important to ensure that the auto-decline rule remains aligned with your preferences.
- If you ever need to disable the auto-decline rule, revisit the settings page where you initially configured the rule and look for an option to turn it off.
Enabling the auto-decline rule in Google Calendar is the final step to implement this feature and effectively manage your meetings and events. Once enabled, the auto-decline rule will work automatically in the background, saving you time, minimizing disruptions, and allowing you to focus on critical tasks and priorities.
Remember that the steps for enabling the rule may vary depending on the version of Google Calendar you are using. The instructions provided above are based on the latest version of Google Calendar at the time of writing this article.
Now that you have successfully enabled the auto-decline rule, you are ready to utilize this powerful feature for efficient and effective calendar management. In the next section, we will provide some tips for using auto-decline meetings effectively. Continue reading to learn more!
Tips for Using Auto Decline Meetings Effectively
Now that you have set up and enabled the auto-decline meetings feature in Google Calendar, here are some tips to help you make the most out of this powerful tool:
- Regularly review and refine your criteria: As your priorities and commitments change, it’s important to periodically review and adjust the criteria for your auto-decline rule. By updating the rule settings, you can ensure that it continues to align with your evolving needs.
- Communicate with your colleagues: To maintain positive working relationships, communicate your auto-decline settings with colleagues and explain the reasons behind your decision. This helps manage expectations and avoids any misunderstandings regarding your availability.
- Add exceptions strategically: Use the exceptions feature wisely. Consider carefully which meetings or events should be exempt from the auto-decline rule. Reserve exceptions for critical meetings or those that require your presence.
- Be flexible and adapt when necessary: While auto-decline meetings can be a useful tool, it’s important to remain flexible when circumstances require it. You may need to manually accept or decline certain meetings that do not adhere to the rule’s criteria.
- Balance efficiency and collaboration: Use auto-decline meetings to optimize your time and increase productivity, but also remember the importance of collaboration. Evaluate each meeting invitation to assess the value you can bring and the potential benefits of attending.
- Regularly assess the impact: Take time to evaluate the impact of auto-decline meetings on your schedule and productivity. If you find that the rule needs adjustment or is causing unintended consequences, be willing to make changes to better suit your needs.
- Use calendar blocking techniques: Combine the power of auto-decline meetings with calendar blocking techniques to create dedicated time slots for specific tasks. This approach enables you to manage your time efficiently and protect important windows for focused work.
- Consider alternative methods of communication: In some cases, a meeting may not be necessary at all. Explore alternative ways to communicate and collaborate, such as email, phone calls, or virtual collaboration tools. This can help reduce the number of meetings that take up space in your calendar.
- Stay organized and update your calendar promptly: To maximize the effectiveness of the auto-decline meetings feature, ensure that your calendar is organized and up to date. Promptly update and maintain your calendar to reflect changes in your availability and commitments.
By following these tips, you can harness the power of auto-decline meetings effectively. Remember that the goal is to optimize your schedule, increase productivity, and maintain a healthy work-life balance.
Now that you have the tools and knowledge to make the most out of auto-decline meetings, start implementing these strategies and enjoy a more streamlined and productive approach to managing your calendar.
Conclusion
Auto decline meetings in Google Calendar is a valuable feature that can significantly improve your time management and productivity. By automatically declining unnecessary or conflicting meeting invitations, you can focus on important tasks, prioritize commitments, and maintain a well-structured schedule.
In this guide, we explored the benefits of using auto decline meetings and provided a step-by-step process for setting up the feature in Google Calendar. From accessing the settings menu to configuring the auto-decline rule and adding exceptions, we covered each stage to help you implement this time-saving tool effectively.
Remember to regularly review and refine your auto-decline criteria, communicate with your colleagues about your preferences, and use exceptions strategically to ensure that critical meetings are not missed. Stay flexible and adaptable, and evaluate the impact of the auto-decline rule on your schedule to make necessary adjustments for optimal productivity.
By combining auto decline meetings with calendar blocking techniques, alternative communication methods, and diligent calendar maintenance, you can streamline your workflow, minimize interruptions, and achieve a better work-life balance.
Embrace the power of auto decline meetings in Google Calendar to take control of your schedule, optimize your time, and focus on what truly matters. Start implementing these strategies today and experience the benefits of efficient and effective calendar management.
Remember, your time is valuable, and by utilizing tools like auto decline meetings, you can make the most of it. So, go ahead, set up your auto decline meetings in Google Calendar, and reclaim control over your schedule!