Introduction
Accepting Google Calendar invites is a simple and convenient way to stay organized and ensure that you don’t miss any important events. Whether you receive an invitation for a business meeting, a social gathering, or a personal appointment, accepting it allows you to add the event to your calendar and receive timely reminders.
In this article, we will guide you through the step-by-step process of accepting a Google Calendar invite. We will walk you through the necessary actions to ensure a smooth experience, whether you’re accessing your invite from your email or a web browser.
By accepting a Google Calendar invite, you can not only keep track of your own schedule but also collaborate and coordinate with others more efficiently. This feature is especially useful when multiple individuals need to sync their calendars to plan meetings, events, or even family gatherings.
From accepting the invitation to adding the event to your calendar and responding to the organizer, we will cover all the essential steps to help you make the most of Google Calendar invites. So, let’s dive in and explore how to accept Google Calendar invites with ease and efficiency.
Step 1: Receive Google Calendar Invite
Before you can accept a Google Calendar invite, you need to receive it. Typically, you will receive a notification via email with the invitation and relevant event details.
Once you receive the email invite, make sure to open it promptly to avoid any confusion or missed opportunities. You can access your email from your desktop or mobile device, depending on what is most convenient for you.
If you use a mobile device, make sure you have a reliable email app installed, such as Gmail for Android or Apple Mail for iOS. These apps are user-friendly and provide a seamless experience for managing your emails and calendar invites.
On the other hand, if you prefer to access your email from a desktop browser, open your preferred browser (such as Chrome, Firefox, or Safari) and enter the email provider’s website (e.g., mail.google.com for Gmail). Sign in to your email account using your credentials, and navigate to the inbox to locate the Google Calendar invite.
Remember, it’s important to keep an eye on your inbox regularly to ensure you don’t miss any invites. You can also set up notifications on your mobile device or desktop to receive alerts whenever you receive a new email invite. This way, you can promptly respond and keep your calendar up to date.
Once you’ve accessed your email and located the Google Calendar invite, you’re ready to move on to the next step: opening the email invitation and viewing the event details.
Step 2: Open the Email Invitation
After receiving a Google Calendar invite in your email, the next step is to open the invitation to view its details. Opening the email allows you to see important information, such as the event date, time, location, and any additional notes or instructions provided by the organizer.
To open the email invitation, simply click on the email in your inbox to expand it. The email subject line will typically mention the event title or include a recognizable sender name, making it easy for you to identify the invitation.
Once you’ve opened the email, you will find the Google Calendar invite displayed within the email content. Some email clients may show the invitation as an embedded event, while others may provide a separate link to “Add to Calendar” or “RSVP to Event.”
If the email displays the invitation as an embedded event, you will be able to see the event details directly within the email. This includes information such as the event title, date, time, location, and any additional notes or attachments.
On the other hand, if the email provides a separate link to “Add to Calendar” or “RSVP to Event,” clicking on this link will redirect you to your Google Calendar or a web page where you can respond to the invitation.
Make sure to carefully review the invitation details before proceeding to the next step. Take note of the event date and time to ensure it fits into your schedule. If you have any questions or need more information about the event, reach out to the organizer using the contact information provided in the email invite.
Now that you’ve opened the email invitation and familiarized yourself with the event details, it’s time to move on to the next step: clicking on the “Accept” button.
Step 3: Click on the “Accept” Button
Once you’ve opened the email invitation and reviewed the event details, the next step is to click on the “Accept” button. This button is typically provided within the email or on the web page that displays the invitation.
Locate the “Accept” button, which is usually labeled clearly and prominently. Depending on the email client or web page design, the button may be labeled as “Accept,” “RSVP,” “Join,” or a similar variation.
Clicking on the “Accept” button indicates your response to the invitation, letting the organizer know that you will be attending the event. It also confirms your availability and ensures that the event will be added to your Google Calendar.
By accepting the invitation, you are signaling your commitment to attend the event and allowing the organizer to manage the guest list effectively. This helps them plan and make necessary arrangements accordingly.
After you click on the “Accept” button, you may see a brief loading animation or a confirmation message indicating that your response has been recorded. In some cases, you may also be redirected to a confirmation page or back to your email inbox.
Keep in mind that some invitations may require additional actions, such as selecting a specific response option or providing additional information. If prompted, make sure to follow the instructions and complete any required fields or forms to confirm your attendance.
Now that you’ve successfully clicked on the “Accept” button and confirmed your response, it’s time to move on to the next step: selecting the appropriate response for the event.
Step 4: Select Your Response
Once you have clicked on the “Accept” button, you will typically be prompted to select your response to the Google Calendar invitation. This step allows you to specify your attendance status and provide any additional details regarding your participation.
Common response options include:
- Yes: This indicates that you are able and willing to attend the event as scheduled.
- No: This indicates that you are unable to attend the event for valid reasons. You may be prompted to provide a brief explanation for your absence.
- Maybe: This indicates that you are unsure about your availability and need more time to confirm. You can change your response to a definite “Yes” or “No” later once you have made a decision.
To select your response, simply click on the appropriate option provided. Some invitations may display these options directly within the email or on the web page, while others may require you to click a link to access a response form or dropdown menu.
Take a moment to consider your availability and any other factors that may influence your response. If you are unsure about your schedule, it is advisable to select “Maybe” instead of committing to a definite response.
Additionally, if the invitation provides an option to add a comment or provide additional details, you can take this opportunity to communicate any specific requirements, preferences, or questions to the organizer. This allows them to better accommodate your needs and provide relevant information as necessary.
Once you have selected your response and any additional details, click on the corresponding button or submit the form to save your response. You may receive a confirmation message or be redirected to a confirmation page, indicating that your response has been recorded successfully.
Now that you have selected your response and provided any necessary details, it’s time to move on to the next step: choosing the appropriate action for the event.
Step 5: Choose the Appropriate Action
After selecting your response to the Google Calendar invitation, the next step is to choose the appropriate action for the event. This step allows you to determine how the event will be added to your calendar and how you will be notified about it.
Common actions you can choose from include:
- Add to Calendar: This action automatically adds the event to your Google Calendar with the specified date, time, and location. Depending on your calendar settings, you may also receive notifications or reminders before the event.
- Send RSVP: This action sends your response and RSVP status to the organizer without adding the event to your calendar. This option is useful if you don’t want to clutter your calendar but still want to communicate your availability or unavailability.
- Schedule a Follow-up: This action allows you to schedule a follow-up meeting or event related to the initial invitation. You can choose a specific date, time, and location for the follow-up event.
- Decline with Explanation: This action lets you decline the invitation while providing a brief explanation or reason for your absence. It is a courteous way to decline an invitation and inform the organizer of your unavailability.
To choose the appropriate action, carefully consider your preferences and the nature of the event. If you plan to attend the event and want to keep track of it on your calendar, selecting “Add to Calendar” is the recommended action.
If you don’t want to add the event to your calendar but still want to let the organizer know about your response, “Send RSVP” is a suitable option. This action communicates your availability or unavailability without cluttering your calendar.
If the initial invitation requires a follow-up meeting or event, such as a planning session or a post-event discussion, selecting “Schedule a Follow-up” allows you to set the details for the subsequent event.
On the other hand, if you are unable to attend the initial event and want to provide a reason for your absence, selecting “Decline with Explanation” is a considerate option. This allows you to decline the invitation while notifying the organizer of your unavailability.
After choosing the appropriate action, click on the corresponding button or submit the form to proceed. You may receive a confirmation message or be redirected to a confirmation page, indicating that your chosen action has been recorded successfully.
Now that you have chosen the appropriate action for the event, it’s time to move on to the next step: adding the event to your calendar.
Step 6: Add Event to Your Calendar
Once you have selected the appropriate action for the Google Calendar invitation, the next step is to add the event to your calendar. This step ensures that the event is scheduled and visible in your calendar, allowing you to manage your time and stay organized.
If you have chosen the “Add to Calendar” action, adding the event is typically done automatically for you. The event details, including the date, time, location, and any additional information provided in the invitation, are populated in your Google Calendar.
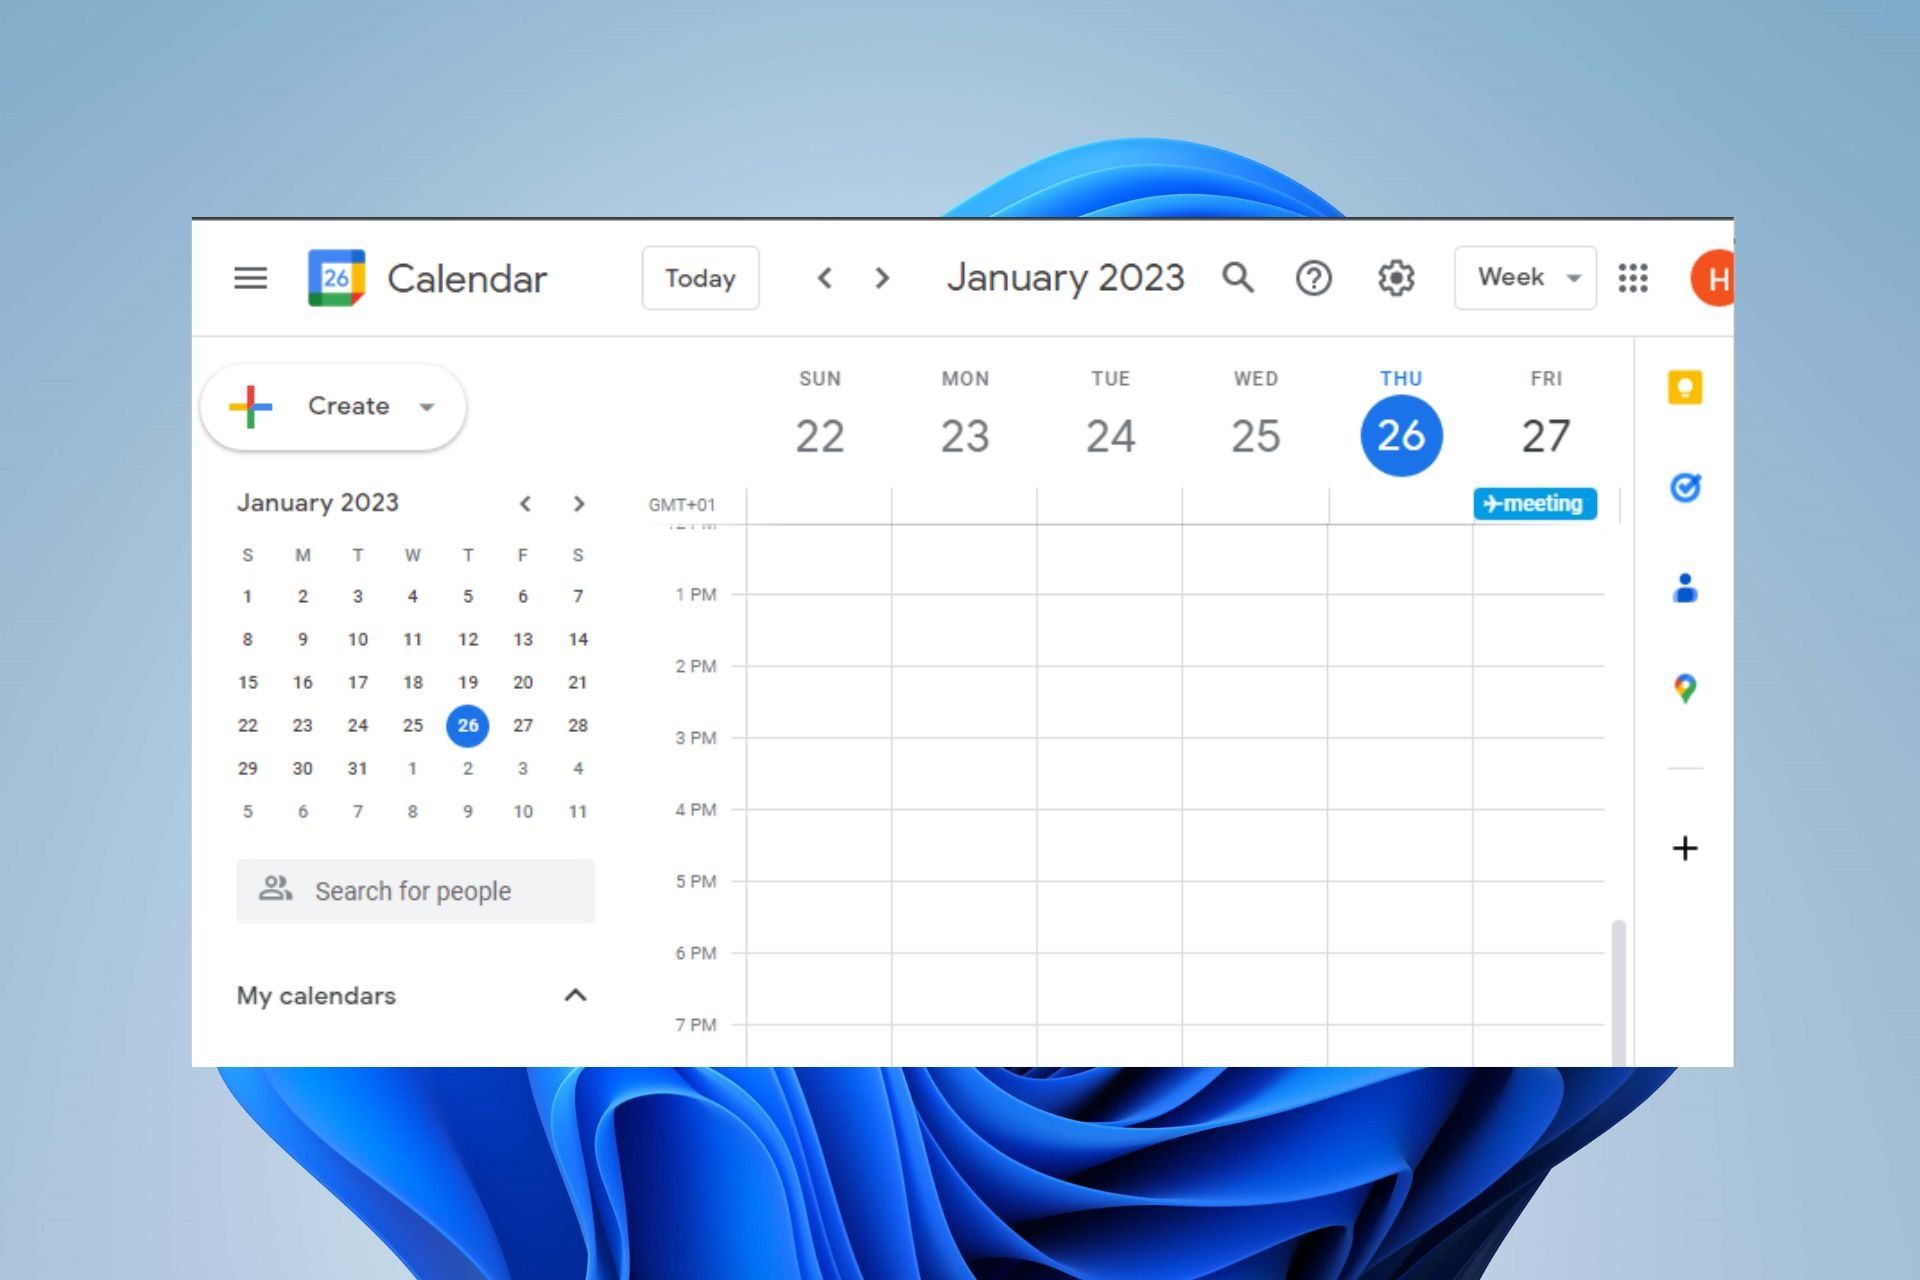
To access your Google Calendar, you can use the Google Calendar web application on your desktop or the mobile app on your smartphone or tablet. Open the app or browser and sign in to your Google account if you haven’t done so already.
Navigate to the date of the event or the day before, depending on how you prefer to view and manage your calendar. You should see the event listed with its title and relevant details. You may also see any notifications or reminders associated with the event, depending on your calendar settings.
If you would like to make any modifications to the event details, such as adding notes, setting a reminder, or inviting additional guests, click on the event in your calendar. This will open the event details where you can make any necessary adjustments.
Keep in mind that any changes you make in your calendar will not affect the original invitation sent by the organizer. It only modifies the event details in your personal calendar view.
If you have selected an action other than “Add to Calendar,” such as “Send RSVP” or “Decline with Explanation,” the event will not be added to your calendar automatically. However, your response and RSVP status will still be communicated to the organizer as appropriate.
Now that you have successfully added the event to your calendar, it’s time to move on to the next step: viewing the event details.
Step 7: View Event Details
After adding the Google Calendar invite to your calendar, the next step is to view the event details. This step allows you to familiarize yourself with the specifics of the event, including any additional information provided by the organizer.
To view the event details, navigate to the date of the event in your Google Calendar. Locate the event on the calendar grid or in the event list, and click on it to open the event details.
Within the event details, you will find important information such as the event title, date, time, and location. Take note of these details to ensure that you are well-prepared and know what to expect for the event.
In addition to the basic event information, you may also find any notes, descriptions, or attachments included by the organizer. These details can provide important context or instructions for the event.
For example, if the event is a business meeting, the event details may include an agenda or a link to relevant documents. If it is a social gathering, the details may mention any specific dress code or items to bring.
As you review the event details, take note of any additional actions that may be required of you, such as preparation beforehand or any follow-up tasks afterward. Pay attention to any specified deadlines or timelines mentioned in the event description.
If you need to make any changes to your attendance or modify any event details, such as the time or location, you can do so from within the event details. Look for options to edit or modify the event, and make the necessary adjustments according to your needs.
By viewing the event details, you can ensure that you have all the relevant information you need to successfully participate in or prepare for the event. It allows you to stay organized and be aware of any specific requirements or expectations.
Now that you have viewed the event details, it’s time to move on to the next step: responding to the organizer (optional).
Step 8: Respond to the Organizer (Optional)
Once you have viewed the event details and familiarized yourself with the specifics of the Google Calendar invite, the final step is to respond to the organizer. This step is optional but can be helpful to provide any necessary updates or communicate additional information.
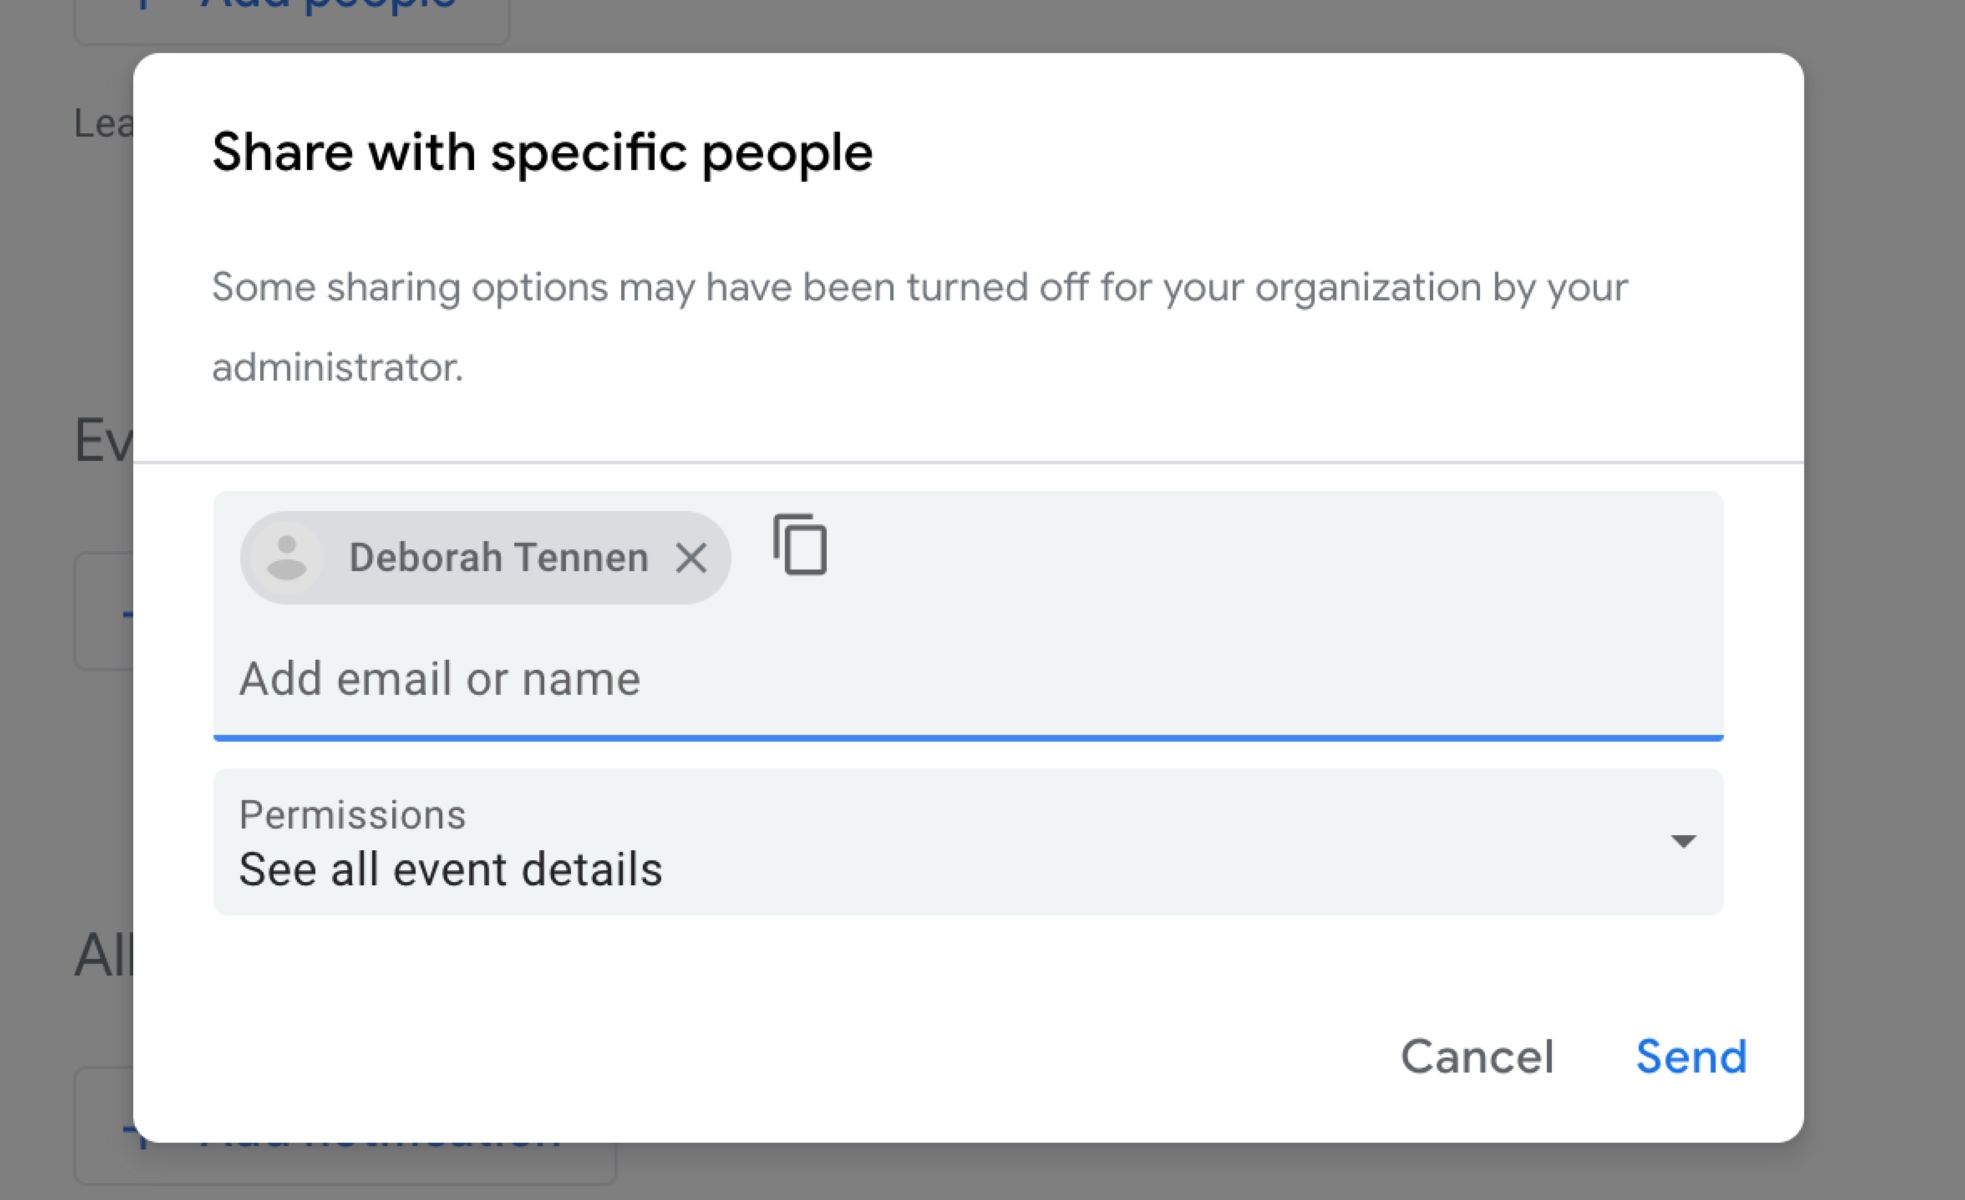
If you need to respond to the organizer, you can do so directly from within the event details in your Google Calendar. Look for options such as “Reply,” “Send Message,” or “Contact Organizer.”
Clicking on these options will typically open a communication window where you can compose and send a response to the organizer. Use this opportunity to communicate any specific requests, additional details, or questions you may have regarding the event.
If you have any changes regarding your attendance, such as a change in availability or unexpected circumstances preventing you from attending, it is considerate to inform the organizer as soon as possible. This allows them to make the necessary adjustments and stay updated on the guest list.
When composing your response, be clear and concise. Use a polite and professional tone, especially if the event is business-related. If there are multiple organizers or individuals involved, make sure to address your message appropriately.
After composing your response, review it to ensure that the content is accurate and conveys your message effectively. Double-check any attachments or documents you may have included, if applicable.
Once you are satisfied with your response, click on the “Send” or “Reply” button to send your message to the organizer. Depending on their settings, they will receive your response via email or within their calendar interface.
Remember that responding to the organizer is optional, but it can help facilitate clear communication and ensure that any necessary updates or questions are addressed. It is a thoughtful way to maintain open lines of communication and show your professionalism.
Congratulations! You have now successfully responded to the organizer, completed all necessary steps, and effectively managed your Google Calendar invite.
Note: It is important to note that the steps outlined in this article may vary slightly depending on the specific email client, browser, or device you are using to access your Google Calendar invites. However, the general process should remain consistent across different platforms.
Conclusion
Accepting Google Calendar invites is a straightforward process that allows you to stay organized, manage your schedule effectively, and collaborate with others seamlessly. By following the steps outlined in this article, you can easily accept invitations, add events to your calendar, and respond to organizers if necessary.
Receiving and opening the email invitation is the first step in the process. Make sure to promptly check your inbox and familiarize yourself with the event details provided by the organizer.
Clicking on the “Accept” button confirms your attendance and allows you to select the appropriate response. Make sure to choose the option that accurately reflects your availability and preferences.
After selecting your response, choose the appropriate action for the event. This can include adding the event to your calendar, sending an RSVP, scheduling a follow-up, or declining with an explanation.
Add the event to your calendar to ensure that it is scheduled and visible, allowing you to manage your time efficiently. Take note of any additional details provided in the event description.
Once you have viewed the event details, you can respond to the organizer if necessary. This step is optional but can be useful for providing updates, asking questions, or communicating any specific requirements.
By following these steps, you can effectively accept and manage Google Calendar invites, ensuring that you never miss important events or appointments. Keep in mind that the process may vary slightly depending on the email client or platform you use, but the core steps should remain consistent.
So, embrace the convenience of Google Calendar invites and streamline your scheduling process. Stay organized, collaborate efficiently, and make the most of your time by accepting and managing your calendar events with ease.