Introduction
Google Calendar is a powerful tool that helps you stay organized and keep track of your appointments, events, and tasks. While accessing it through your web browser is convenient, having notifications on your desktop can be even more helpful. With desktop notifications, you can receive alerts for upcoming events, reminders, and changes to your schedule without having to constantly check your calendar tab.
In this article, we will explore different methods to enable Google Calendar notifications on your desktop. Whether you are using the Google Calendar desktop app, Google Chrome browser, Windows 10, or macOS, we have got you covered. Additionally, we will also discuss the option of using third-party calendar apps to enhance your notification experience.
By receiving desktop notifications, you can ensure that you never miss an important event or forget a deadline. This can be a game-changer for professionals, students, and anyone looking to stay on top of their schedule efficiently.
With that said, let’s dive into the various methods that will allow you to receive Google Calendar notifications directly on your desktop, no matter which operating system or browser you are using.
Method 1: Using the Google Calendar Desktop App
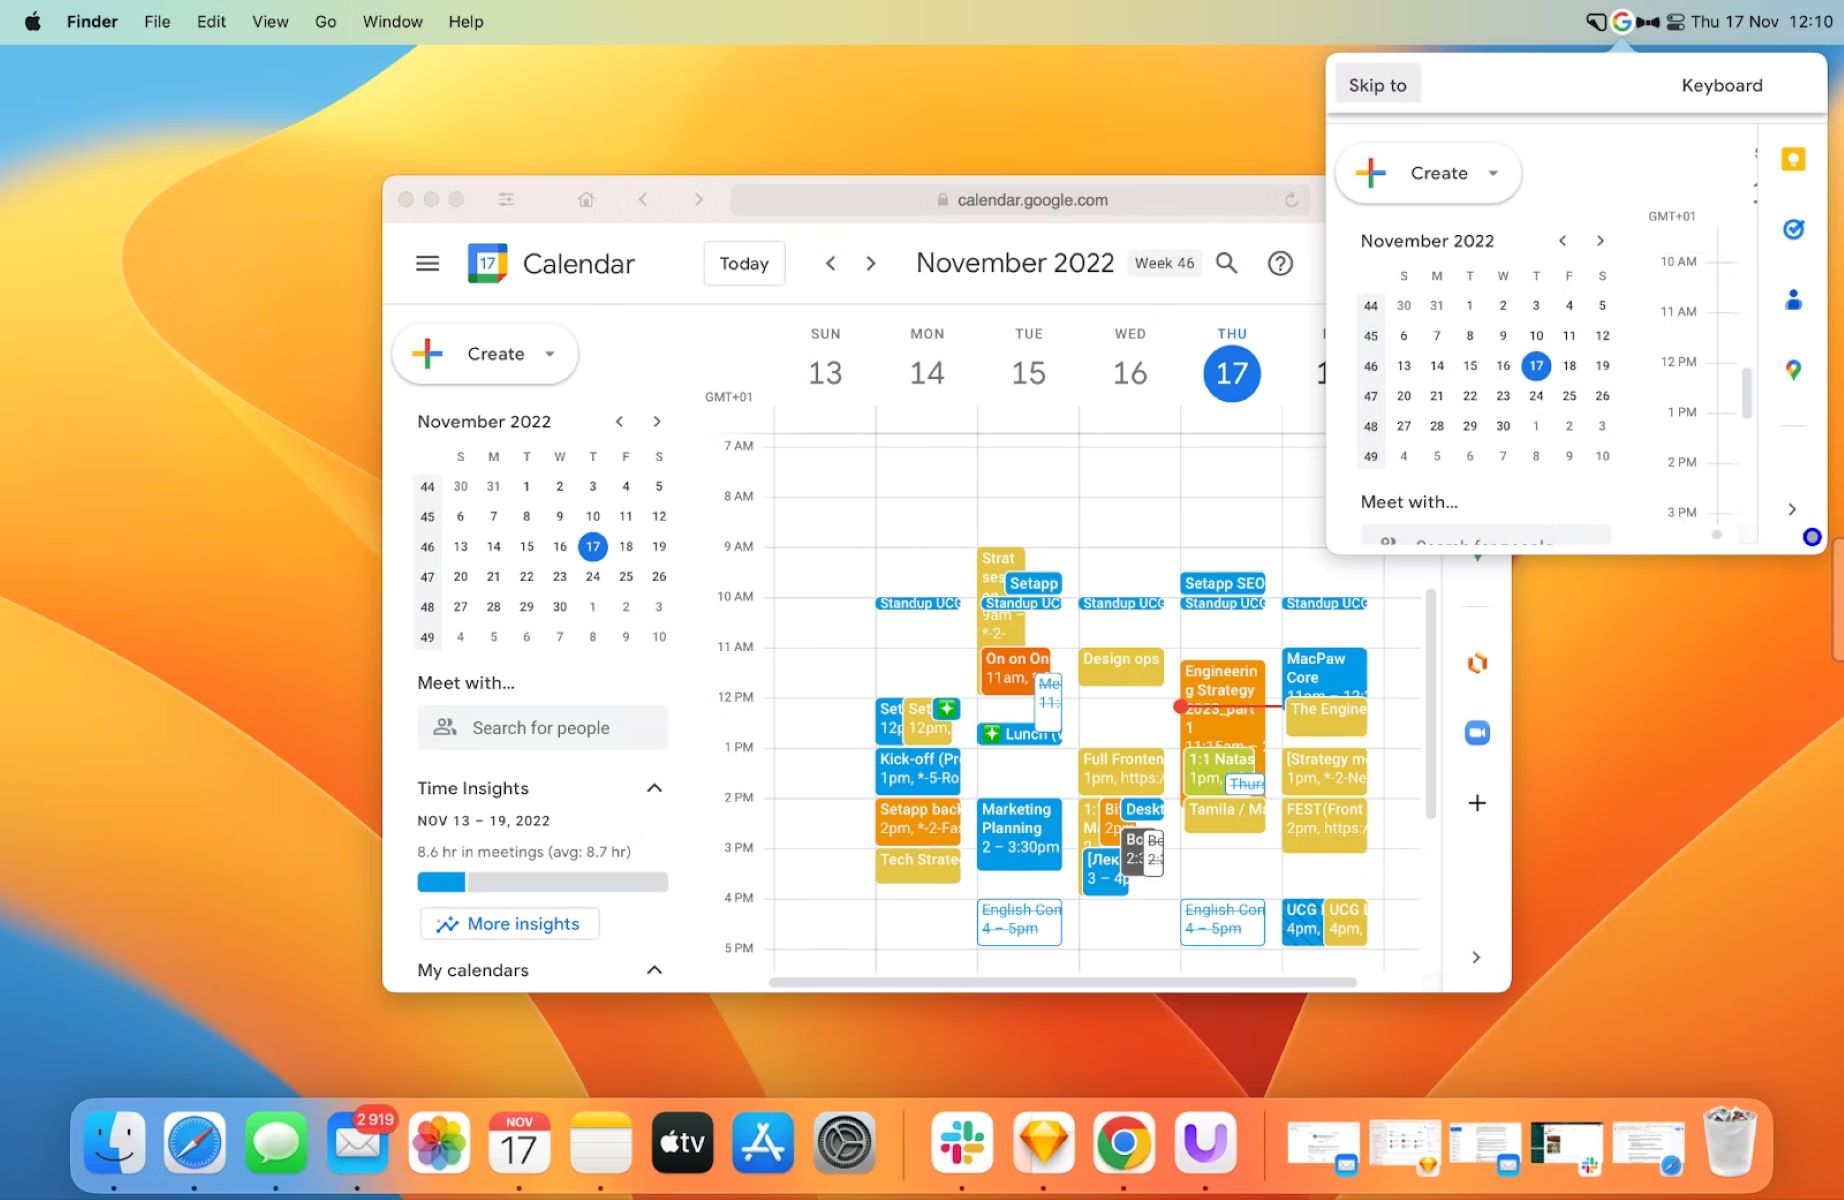
If you prefer a dedicated application for accessing Google Calendar on your desktop, the Google Calendar desktop app is the perfect solution for you. It provides a seamless user experience and allows you to receive notifications directly on your desktop.
To get started with this method, you need to download and install the Google Calendar desktop app on your computer. Here’s how:
- Open your web browser and go to the Google Calendar website.
- Click on the settings menu (the gear icon) in the top-right corner of the screen and select the “Get Google Calendar for your computer” option.
- Choose the operating system you are using (Windows or macOS) and click on the “Download” button.
- Once the application is downloaded, open the installer and follow the on-screen instructions to complete the installation process.
- After the installation is complete, launch the Google Calendar desktop app.
- Sign in to your Google account and allow the app to access your calendar.
- You will now have access to all your Google Calendar events and receive notifications directly on your desktop.
Once you have set up the Google Calendar desktop app, you can customize the notification settings according to your preferences. To do this, follow these steps:
- Click on the settings menu within the Google Calendar desktop app (usually represented by three dots) located at the top-right corner of the window.
- Select the “Settings” option from the drop-down menu.
- In the settings menu, navigate to the “Notifications” section.
- Here, you can choose the type of notifications you want to receive, such as event reminders, changes to events, and daily agenda notifications.
- You can also specify the display duration of the notifications and whether you want them to play a sound or not.
- Once you have made your desired changes, click on the “Save” button to apply the updated notification settings.
Using the Google Calendar desktop app offers a convenient way to receive notifications on your desktop, ensuring that you never miss an important event or appointment again.
Method 2: Using Google Chrome Browser Notifications
If you prefer to access Google Calendar through your web browser, Google Chrome offers a built-in notification feature that allows you to receive alerts directly on your desktop. Setting up Google Chrome browser notifications for Google Calendar is quick and easy. Here’s how:
- Open your Google Chrome browser.
- Visit the Google Calendar website and sign in to your Google account.
- Once you are signed in, click on the lock icon located to the left of the web address in the address bar.
- In the menu that appears, click on the “Site settings” option.
- Scroll down to the “Permissions” section and locate the “Notifications” option.
- Click on the dropdown menu next to “Notifications” and select the option “Allow.”
- Refresh the Google Calendar page to apply the changes.
After enabling Google Chrome browser notifications, you will start receiving alerts for your Google Calendar events directly on your desktop. Depending on your notification settings, these alerts may include reminders, event updates, or agenda reminders.
To customize the notification settings for Google Calendar in Google Chrome, follow these steps:
- Click on the settings menu (the three dots) located at the top-right corner of the browser window.
- From the dropdown menu, select “Settings.”
- Scroll down to the bottom of the page and click on the “Advanced” option.
- In the “Privacy and security” section, click on “Content settings.”
- Scroll down and click on “Notifications.”
- Under the “Allow” section, you will find a list of websites that have permission to send notifications.
- Locate “calendar.google.com” in the list and customize the notification settings according to your preference.
- You can choose to block or allow notifications from the Google Calendar website, set the priority level, and manage sound settings.
- After making your desired changes, close the settings tab.
By using Google Chrome browser notifications, you can stay informed about your Google Calendar events without having to constantly check the website. This method provides a seamless and convenient way to receive alerts on your desktop.
Method 3: Using the Windows 10 Calendar App
If you are a Windows 10 user, you can take advantage of the built-in Calendar app to receive Google Calendar notifications on your desktop. The Windows 10 Calendar app allows you to sync your Google Calendar account and receive alerts for your events directly on your computer.
To set up Google Calendar notifications using the Windows 10 Calendar app, follow these steps:
- Open the Windows 10 Calendar app on your computer. You can access it by clicking on the Start menu and typing “Calendar.”
- In the Calendar app, click on the gear icon located in the bottom-left corner to open the settings menu.
- From the settings menu, click on the “Accounts” option.
- Click on the “Add account” button and select “Google” from the list of options.
- Follow the on-screen instructions to sign in to your Google account and grant permissions for the app to access your Google Calendar.
- Once your Google account is added, the Calendar app will sync with your Google Calendar, and you will start receiving notifications for your events.
With the Windows 10 Calendar app, you have the flexibility to customize the notification settings according to your preferences. To do this, follow these steps:
- Open the Calendar app and click on the gear icon to access the settings menu.
- In the settings menu, click on the “Notifications” option.
- Here, you can enable or disable notifications for events, reminders, and invitations.
- You can also adjust the sound settings and choose whether to display a banner, play a sound, or show a notification in the action center.
- Once you have made your desired changes, close the settings menu.
The Windows 10 Calendar app provides a seamless integration with your Google Calendar, allowing you to receive desktop notifications and stay organized without the need for a web browser. It is a convenient option for Windows 10 users who prefer a dedicated application for managing their calendar events.
Method 4: Using the macOS Calendar App
If you are using a macOS device, you can utilize the built-in Calendar app to receive Google Calendar notifications on your desktop. The Calendar app on macOS offers seamless integration with Google Calendar, allowing you to stay updated with your events and receive notifications right on your Mac.
Follow these steps to set up Google Calendar notifications using the macOS Calendar app:
- Open the Calendar app on your macOS device. You can find it in the Applications folder or by using Spotlight search.
- In the Calendar app, click on “Calendar” from the menu bar and select “Preferences.”
- In the Preferences window, click on the “Accounts” tab.
- Click on the “+” button at the bottom left corner to add a new account.
- Select “Google” from the account types listed.
- Enter your Google account credentials and click on the “Next” button.
- Allow the Calendar app to access your Google account and sync your calendars.
- Once the account is added, make sure the “Enable this account” option is checked.
- Close the Preferences window.
After setting up your Google account in the macOS Calendar app, you will start receiving notifications for your Google Calendar events. The Calendar app will sync with your Google Calendar, ensuring that you stay informed about your upcoming events, appointments, and reminders.
To customize the notification settings in the macOS Calendar app, follow these steps:
- Open the Calendar app and click on “Calendar” in the menu bar.
- Select “Preferences” from the drop-down menu.
- Go to the “Alerts” tab.
- Here, you can choose whether to display a notification or play a sound for different types of alerts such as events, invitations, and shared calendar changes.
- You can also set the time interval before an event to receive a reminder notification.
- Make the desired changes to the notification settings according to your preference.
- Close the Preferences window once you are done.
By utilizing the macOS Calendar app’s powerful features, you can receive Google Calendar notifications directly on your desktop, ensuring that you never miss an important event or appointment.
Method 5: Using Third-Party Calendar Apps
Aside from the native calendar apps provided by your operating system, you also have the option to use third-party calendar apps that offer advanced features and customization options for Google Calendar notifications on your desktop.
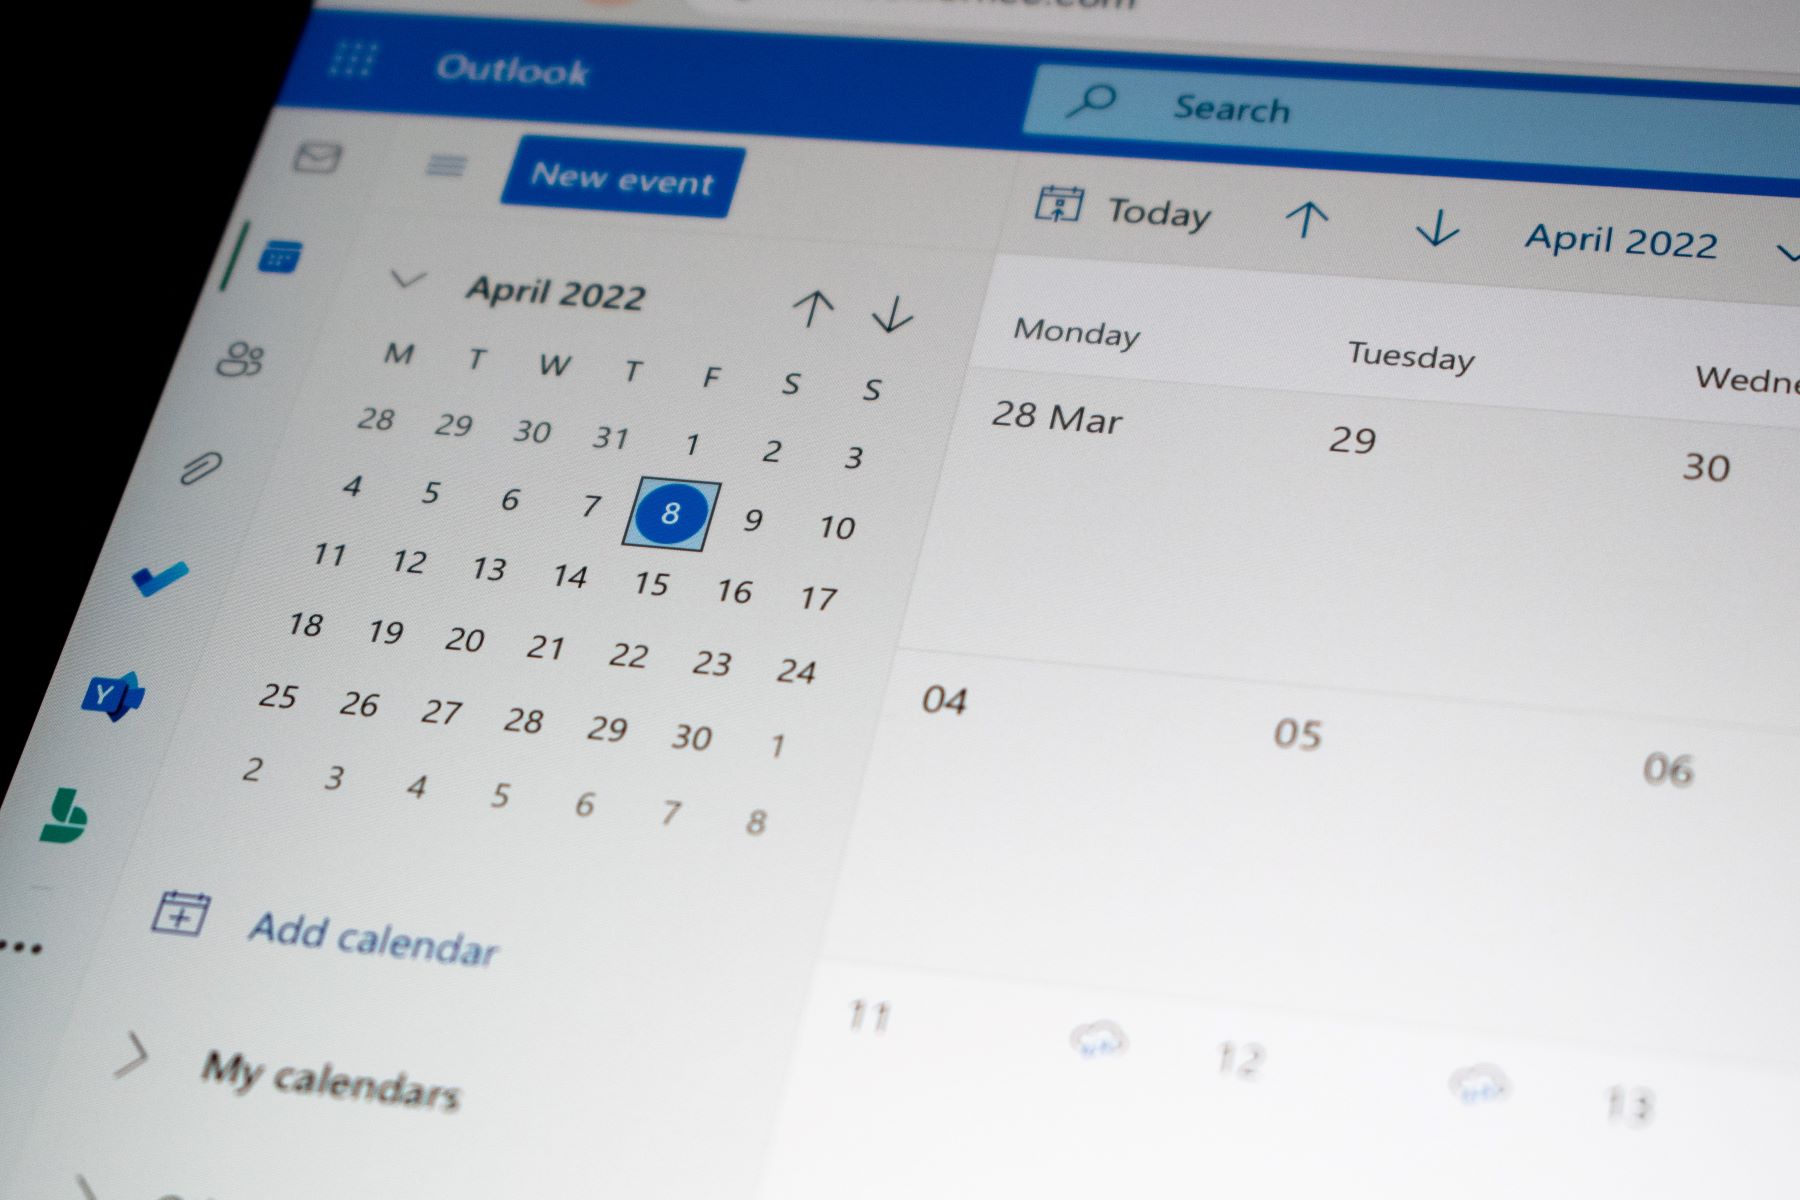
There are a variety of third-party calendar apps available for different platforms, such as Windows, macOS, iOS, and Android. Some popular choices include Microsoft Outlook, Fantastical, Any.do, and Calendars 5. These apps often provide a more intuitive and user-friendly interface, along with additional functionalities.
Setting up Google Calendar notifications within a third-party calendar app may vary depending on the app you choose. However, the general process is as follows:
- Download and install the third-party calendar app from the respective app store or website.
- Launch the app and sign in to your Google account.
- Grant the necessary permissions for the app to access your Google Calendar.
- Once you have synced your Google Calendar, you can customize the notification settings within the app according to your preferences.
- Each app will provide options to enable/disable notifications for events, set reminder intervals, choose notification sounds, and more.
- Explore the features and settings available in the third-party calendar app to make the most out of your Google Calendar notifications.
It’s important to choose a reliable and reputable third-party calendar app that suits your needs and preferences. Read reviews, compare features, and consider any additional functionalities offered by these apps to enhance your Google Calendar experience.
Using a third-party calendar app can provide you with more flexibility and customization options for Google Calendar notifications, ensuring that you receive alerts in a way that aligns with your workflow and preferences.
Remember to regularly update the third-party calendar app to ensure you have the latest features and bug fixes, and adjust the notification settings as needed to optimize your desktop notification experience.
Conclusion
Having Google Calendar notifications on your desktop can greatly improve your productivity and help you stay on top of your schedule. In this article, we explored various methods to enable Google Calendar notifications on different platforms.
We started with Method 1, which involved using the Google Calendar desktop app. This dedicated application provides a seamless user experience and allows you to receive notifications directly on your desktop. We then moved on to Method 2, which explained how to enable Google Chrome browser notifications for Google Calendar. This method is perfect for users who prefer accessing Google Calendar through their web browser.
For Windows 10 users, Method 3 focused on using the built-in Calendar app to receive Google Calendar notifications. Similarly, Method 4 explained how macOS users can leverage the native Calendar app for desktop notifications. Both of these methods provide a convenient way to sync and receive alerts for your Google Calendar events.
Lastly, we discussed Method 5, which involved exploring third-party calendar apps. These apps offer advanced features and customization options that can enhance your Google Calendar notification experience.
By following the methods outlined in this article, you can ensure that you never miss an important event, appointment, or deadline. Choose the method that best suits your needs and preferences, and customize the notification settings according to your workflow.
Remember to regularly review and update your notification settings to align with any changes to your schedule or preferences over time. By staying organized and receiving timely notifications, you can maximize your productivity and stay on top of your agenda effortlessly.
So go ahead and enable Google Calendar notifications on your desktop using the method that works best for you. Embrace the convenience and productivity that these notifications bring, and enjoy a more organized and efficient schedule management experience.