Introduction
Welcome to this guide on how to stop Google Calendar email notifications. Google Calendar is a powerful tool that helps us stay organized and keep track of our important events and appointments. While email notifications can be useful reminders, they can also be overwhelming and distracting, especially when our calendars are filled with numerous events.
Fortunately, Google Calendar provides the flexibility to customize and manage these notifications according to our preferences. In this article, we will walk you through the steps to disable email notifications and regain control of your calendar.
By turning off email notifications, you can minimize the clutter in your inbox and focus on what truly matters. Whether you’re tired of receiving email reminders for mundane events or simply prefer to manage your schedule without constant interruptions, this guide will show you how to make the necessary adjustments to your Google Calendar settings.
Whether you’re using Google Calendar for personal or professional purposes, learning how to control your notifications can greatly enhance your productivity and peace of mind. Let’s dive into the step-by-step process of disabling email notifications in Google Calendar.
Step 1: Sign in to Google Calendar
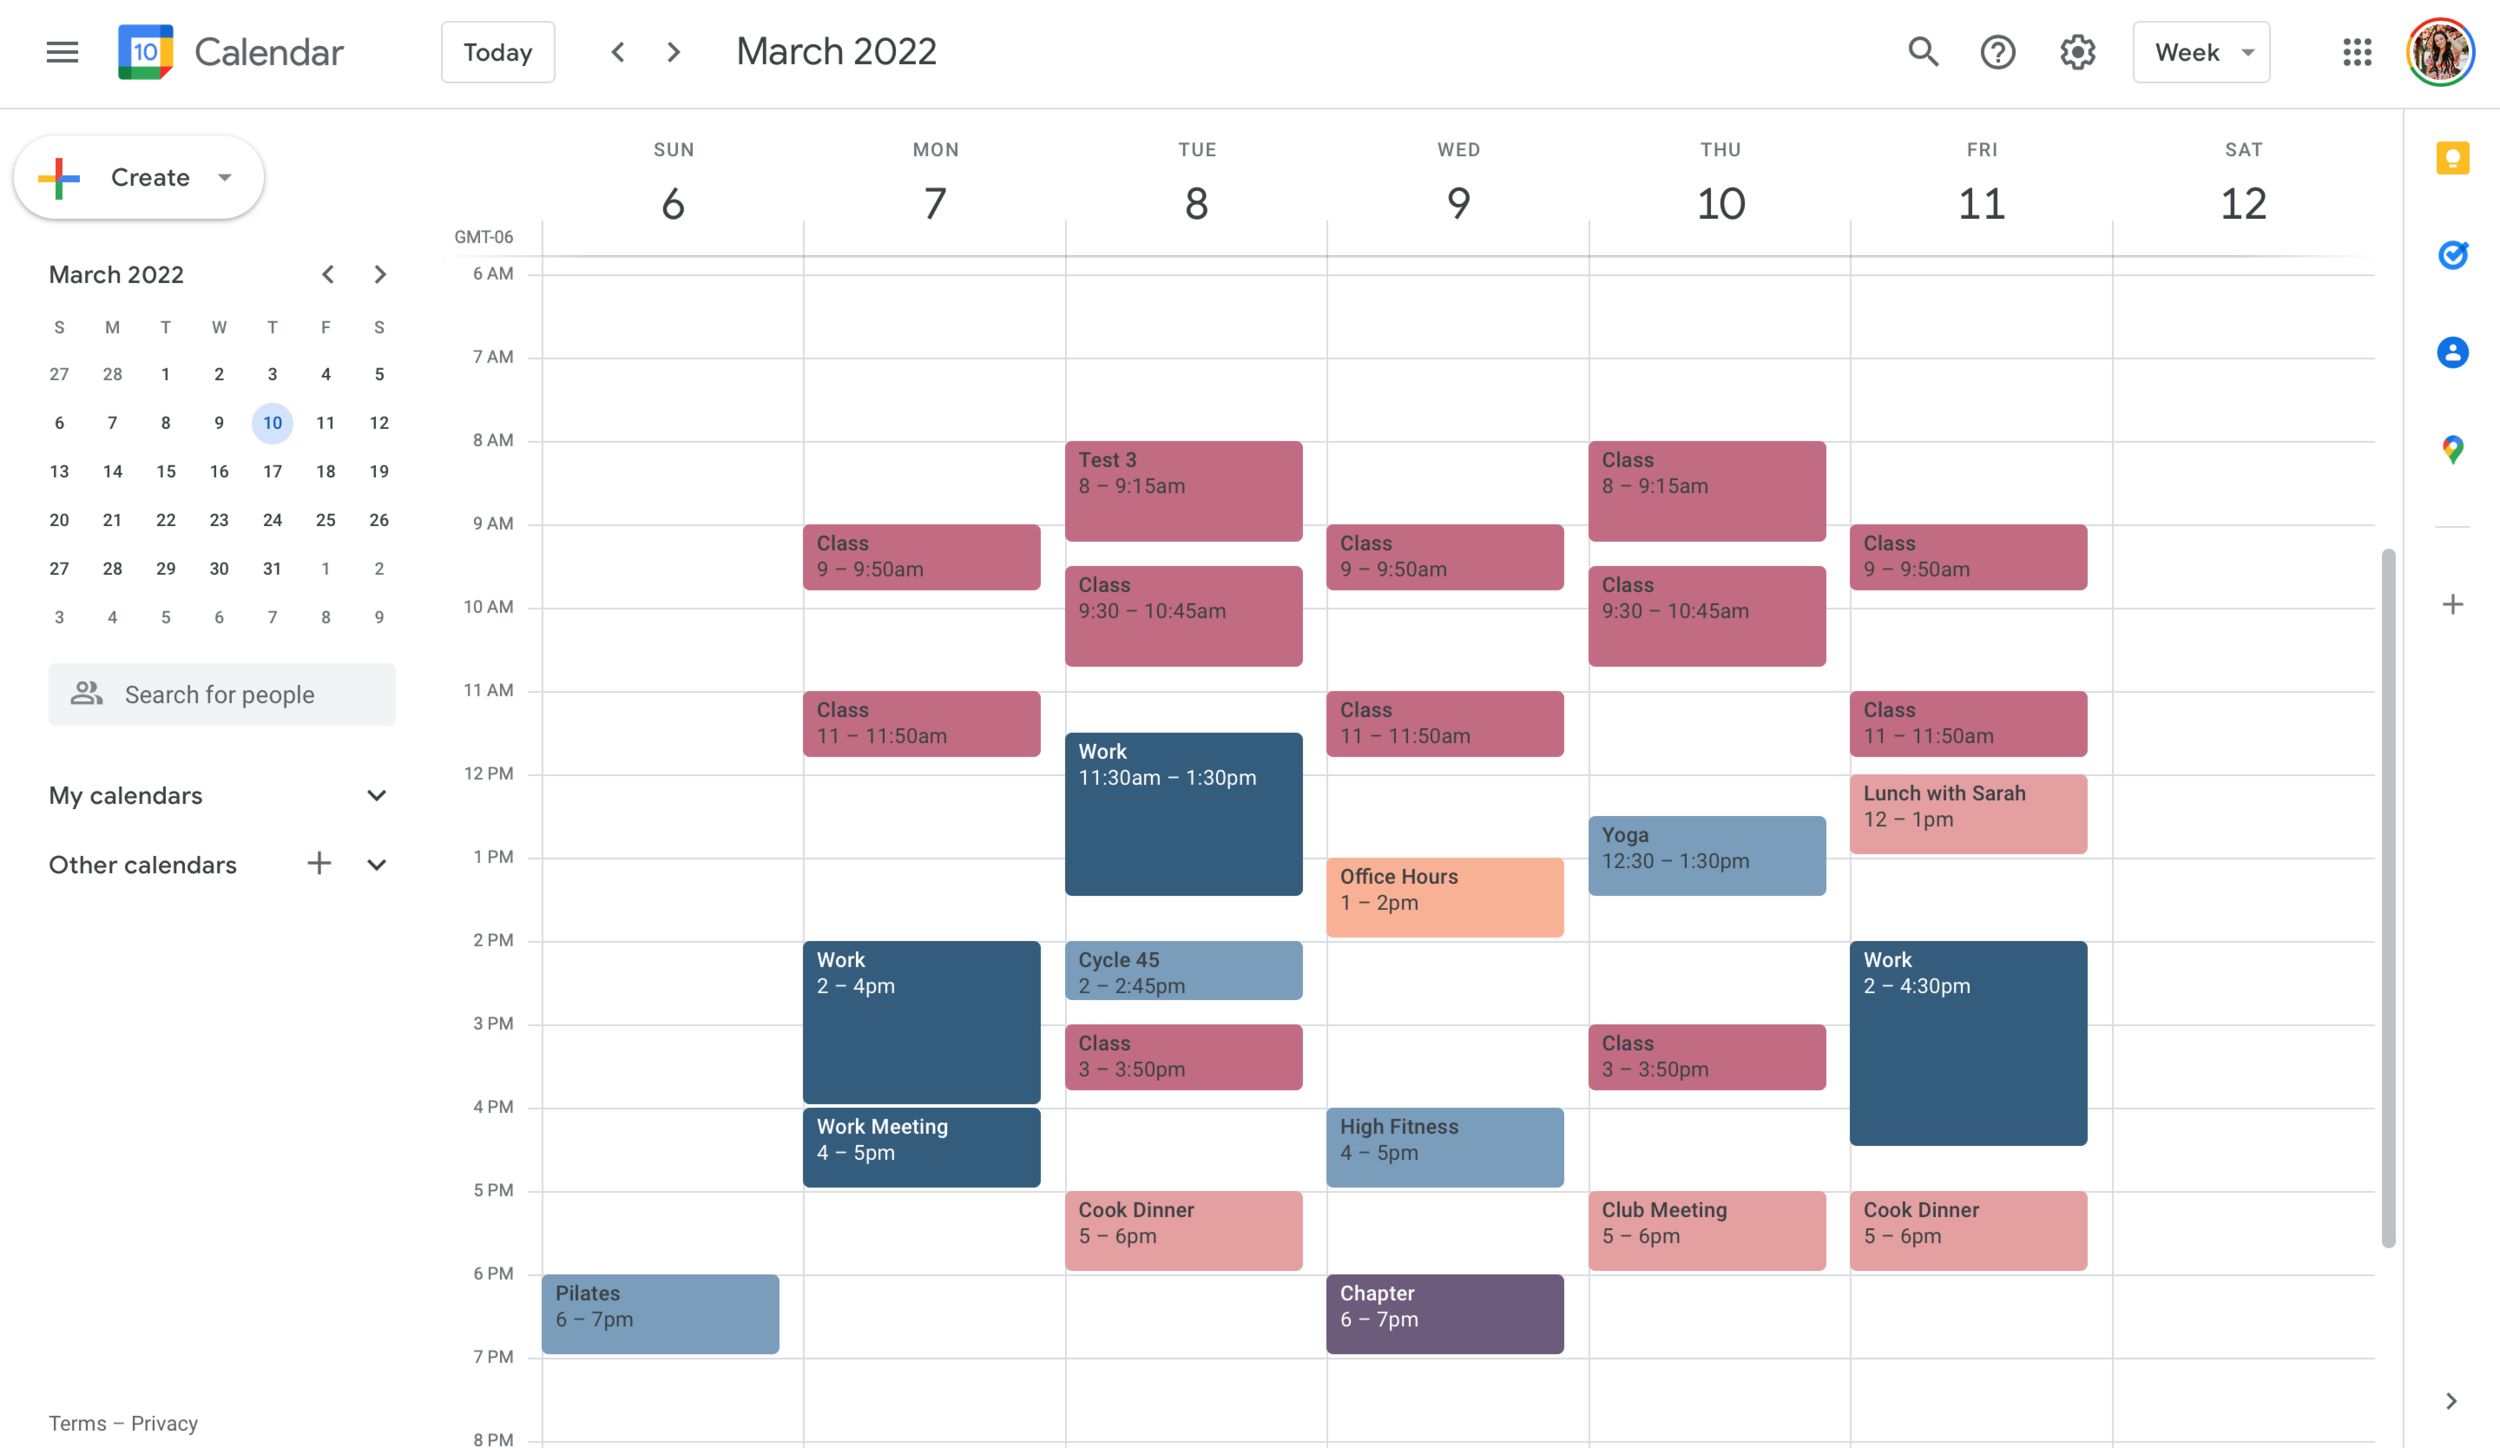
The first step in stopping Google Calendar email notifications is to sign in to your Google account and open Google Calendar. If you don’t have a Google account, you can create one for free by visiting the Google Account Creation page.
Once you’re signed in to your Google account, you can access Google Calendar through multiple platforms, including the web version, mobile app, or desktop application. Choose the platform that you’re most comfortable using and open Google Calendar.
If you’re using the web version, you can simply visit the Google Calendar website or access it through your Google Account’s app menu. If you’re using the mobile app, open the app and sign in to your Google account if prompted. If you prefer using the desktop application, make sure that it’s installed on your computer and open it to proceed.
By signing in to Google Calendar, you gain access to all your scheduled events and notifications, allowing you to make the necessary changes to your settings and preferences.
Now that you’re signed in to Google Calendar, it’s time to move on to the next step and access the calendar settings.
Step 2: Access the Calendar Settings
Once you’re signed in to Google Calendar, the next step is to access the calendar settings. The settings menu allows you to customize various aspects of your Google Calendar, including email notifications.
If you’re using the web version of Google Calendar, look for the gear icon located in the top right corner of the screen. Click on the gear icon to open a drop-down menu, and then select “Settings” from the options provided. This will take you to the Settings page, where you can make adjustments to your calendar preferences.
If you’re using the mobile app, open the app and navigate to the menu. The location of the menu may vary depending on your device, but it is usually represented by three horizontal lines or a hamburger icon. Once you find the menu, tap on it to open it, and then look for “Settings” or “Preferences.” Selecting this option will direct you to the settings page.
If you’re using the desktop application, locate the “Settings” or “Preferences” option within the application’s menu. The exact location of this option may vary depending on your operating system and the version of Google Calendar you’re using. Once you find the settings option, click on it to open the settings page.
Accessing the calendar settings is essential as it allows you to make the necessary changes to your notification preferences. With the settings page open, you’re now ready to proceed to the next step and choose your notification preferences.
Step 3: Choose Notification Preferences
Now that you’ve accessed the calendar settings, it’s time to choose your notification preferences. Google Calendar provides various options for customizing how you receive notifications, including email notifications.
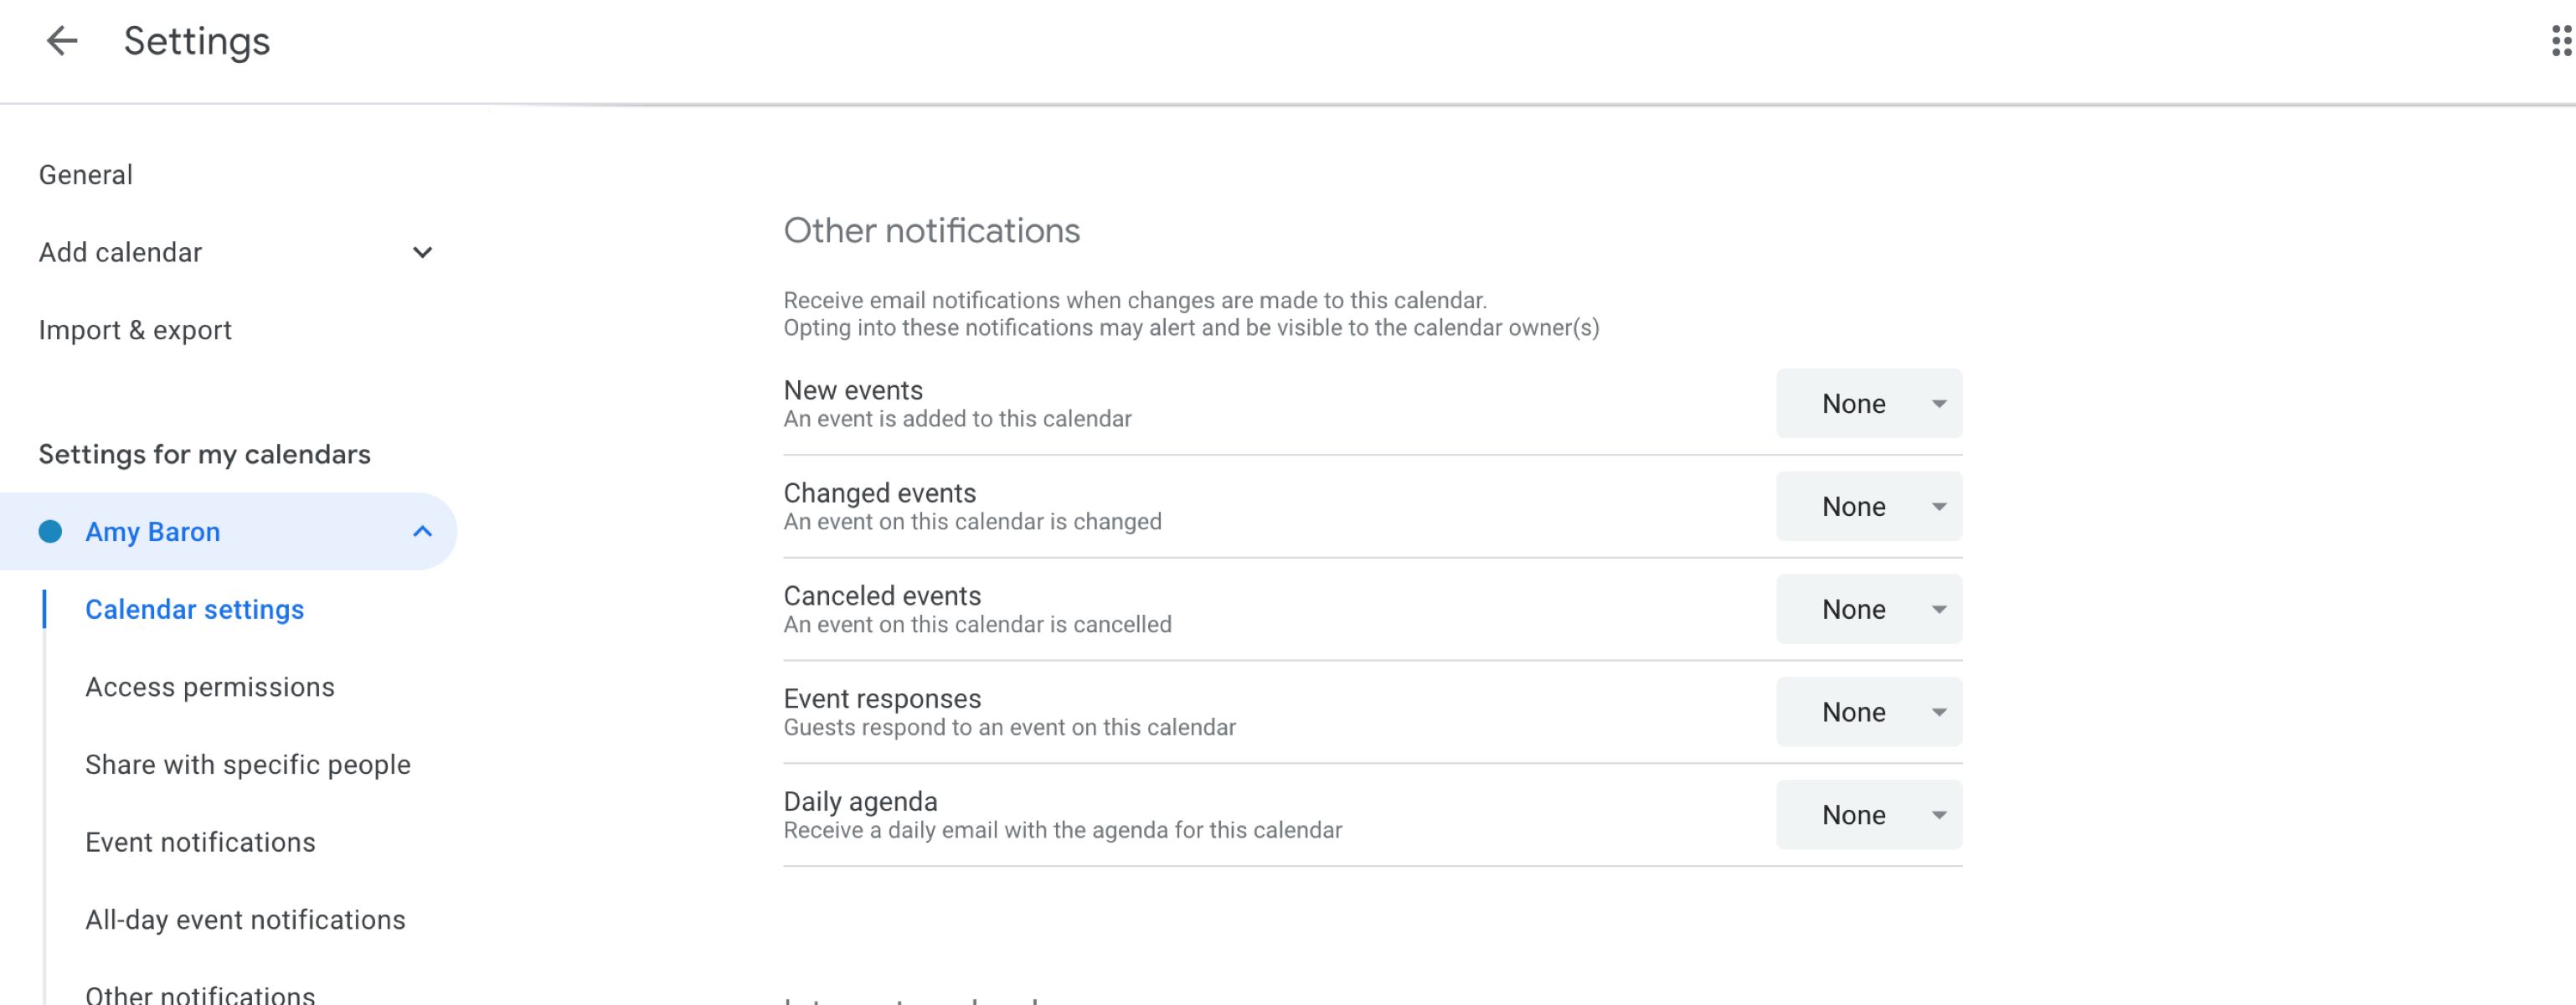
In the settings menu, you will find a section dedicated to notifications. Look for the option that allows you to manage email notifications specifically. This may be labeled as “Email notifications,” “Notifications,” or something similar.
Clicking or tapping on this option will open a new window or page where you can view and modify your email notification settings. Here, you can set the frequency and type of email notifications you wish to receive.
Google Calendar offers three options for email notifications:
- Default notifications: This option follows the default settings established by Google Calendar. It typically includes a combination of email, pop-up, and mobile notifications for various event reminders.
- Event notifications: With this option, you can choose to receive email notifications for all events, including reminders for upcoming appointments, meetings, and tasks.
- No notifications: This option allows you to turn off email notifications completely. If you prefer not to receive any email reminders from Google Calendar, select this option.
Choose the option that aligns with your preferences and needs. If you still want to receive notifications but are looking to reduce the number of emails you receive, you can opt for the “Event notifications” option and deselect other forms of notifications such as mobile or pop-up.
It’s important to note that by selecting the “No notifications” option, you won’t receive any email reminders for your events. Therefore, it’s recommended to rely on alternative methods like setting up mobile notifications or using calendar apps that sync with Google Calendar if you still need reminders.
Once you’ve chosen your preferred email notification option, you’re ready to save the changes and proceed to the next step.
Step 4: Disable Email Notifications
In this step, we will guide you through the process of disabling email notifications in Google Calendar. Once you’ve selected your desired notification preferences in the previous step, it’s time to save the changes and disable email notifications.
On the email notifications settings page, you will typically find a “Save” or “Apply” button that allows you to save your changes. Click or tap on this button to apply your selected preferences.
After saving your changes, you can verify that email notifications are disabled by reviewing the settings you’ve just modified. Ensure that the option you chose, such as “No notifications,” is still selected or reflected in the settings page.
If you encounter any difficulties or if your email notifications are still appearing despite choosing the “No notifications” option, double-check that you’ve saved your changes correctly and refresh your calendar page or application. Sometimes, it may take a moment for the changes to take effect.
By disabling email notifications, you can free yourself from the constant influx of reminders and notifications in your inbox. This allows you to have a more focused and streamlined experience with Google Calendar, where you can review your schedule at your convenience without interruptions.
However, remember that by disabling email notifications, you’re solely relying on other forms of notifications, such as mobile notifications or calendar apps that sync with Google Calendar. Ensure that you have alternative methods in place to ensure you’re still receiving the necessary reminders and staying on top of your schedule.
Now that you’ve successfully disabled email notifications, let’s move on to the final step – saving the changes you’ve made.
Step 5: Save the Changes
After making the necessary adjustments to your email notification settings in Google Calendar, it’s important to save the changes to ensure they take effect. Saving the changes will ensure that your preferences for email notifications are applied to your calendar going forward.
To save the changes, locate the “Save” or “Apply” button on the settings page where you made the modifications. This button is typically located at the bottom or top of the page, depending on the platform you’re using.
Click the “Save” or “Apply” button to save your settings. After doing so, a confirmation message may appear, indicating that the changes have been successfully saved.
It’s important to note that after saving the changes, you may need to refresh your calendar page or application for the new settings to take effect. This will ensure that the email notifications are disabled based on your chosen preferences.
By saving the changes, you’ve successfully disabled email notifications in Google Calendar, allowing you to have a more focused and streamlined experience with your schedule. With email notifications turned off, you can manage your calendar without the distraction of constant reminders filling your inbox.
Remember, although email notifications may be disabled, it’s essential to rely on alternative notification methods, such as mobile notifications or calendar apps, to ensure that you’re still receiving reminders for your events and staying on top of your schedule.
Congratulations! You’ve now completed all the steps to stop Google Calendar email notifications. Enjoy the freedom from unnecessary email clutter and have a more organized and productive experience with Google Calendar.
Conclusion
Managing email notifications in Google Calendar is an essential step in taking control of your schedule and reducing unnecessary distractions. By following the steps outlined in this guide, you can easily disable email notifications and customize your calendar experience according to your preferences.
Throughout this guide, we’ve walked you through the process of signing in to Google Calendar, accessing the calendar settings, choosing your notification preferences, disabling email notifications, and saving the changes. By following these steps, you can achieve a more focused and streamlined approach to managing your events and appointments.
Remember, while disabling email notifications can be beneficial in reducing inbox clutter, it’s important to rely on alternative methods, such as mobile notifications or calendar apps, to ensure you’re still receiving timely reminders for your important events.
By taking control of your Google Calendar notifications, you can better prioritize your time, stay organized, and improve your overall productivity. Whether you’re using Google Calendar for personal or professional purposes, this guide empowers you to tailor your experience to fit your needs.
Now that you have the knowledge to stop Google Calendar email notifications, go ahead and customize your settings according to your preferences. Enjoy a more organized and distraction-free approach to managing your schedule with Google Calendar!