Introduction
Have you ever been faced with the challenge of organizing events and keeping everyone in your group on the same page? Whether it’s scheduling meetings, planning outings, or coordinating activities, managing a group’s calendar can be a daunting task. Thankfully, Google Calendar offers a simple and efficient solution for creating a shared calendar that allows all members of your group to stay informed and updated.
In this article, we will guide you through the process of creating a Google Calendar specifically designed for a group. We will cover everything from setting up the calendar to customizing its settings, adding members, managing permissions, setting up event notifications, and sharing the calendar with the group. By following these steps, you’ll be able to streamline your group’s scheduling process and ensure that everyone is on the same page.
Before diving into the step-by-step process, let’s take a moment to understand the benefits of using a shared Google Calendar for your group. Firstly, it provides a centralized platform where all members can access and contribute to the calendar, eliminating the need for back-and-forth communication and potential scheduling conflicts. Secondly, the calendar can be accessed on multiple devices, making it convenient for members to stay updated whether they are using a computer, smartphone, or tablet. Lastly, Google Calendar offers various customization options and automation features that can simplify the management of your group’s events.
Now that we understand the value of creating a Google Calendar for a group, let’s move on to the step-by-step process of setting it up. By the end of this article, you’ll have all the tools you need to create a shared calendar that will revolutionize your group’s scheduling and coordination efforts.
Step 1: Sign in to Google Calendar
The first step to creating a Google Calendar for your group is to sign in to your Google account and access Google Calendar. If you don’t have a Google account, you can easily create one by going to the Google sign-up page and filling out the required information.
Once you’re signed in, navigate to Google Calendar by either typing “Google Calendar” into the search bar or clicking on the “Apps” icon (represented by a square of nine dots) in the top right corner of your Google homepage and selecting “Calendar” from the available apps.
Upon accessing Google Calendar, you’ll be greeted by the default calendar that is usually associated with your Google account. This calendar is where you can manage your personal events and appointments. To create a separate calendar for your group, follow the next steps.
Creating a separate calendar for your group allows you to keep your personal events separate from the events related to the group. It also enables you to have better control and organization of your group’s activities.
To begin creating a new calendar, locate the sidebar on the left side of the Google Calendar interface. Scroll down the sidebar until you find the section labeled “My calendars” and click on the “+” icon next to it. A drop-down menu will appear with several options.
From the drop-down menu, select “Create new calendar.” You will be prompted to enter a name for your new calendar. Choose a name that is descriptive and easily recognizable by the members of your group. For example, you could use the name of your group or the purpose of the calendar, such as “Marketing Team Calendar” or “Family Reunion Schedule.”
After entering the name, you can optionally provide additional details, such as the time zone for the calendar or a description that explains its purpose and guidelines. These details can help members of your group understand the context and expectations associated with the calendar.
Once you’ve entered the necessary information, click on the “Create Calendar” button to finalize the creation of your new group calendar.
Step 2: Create a new calendar
Now that you have signed in to Google Calendar, it’s time to create a new calendar specifically for your group. This will allow you to keep your group’s events separate from your personal calendar and ensure that your group members have easy access to the shared calendar.
To create a new calendar, locate the sidebar on the left side of the Google Calendar interface. Scroll down the sidebar until you find the section labeled “My calendars” and click on the “+” icon next to it. A drop-down menu will appear with different options.
From the drop-down menu, select “Create new calendar.” A pop-up window will appear where you can provide the necessary information for your new calendar.
First, enter a descriptive name for your group calendar. Choose a name that clearly represents the purpose or name of your group, such as “Marketing Team Calendar” or “Family Reunion Planner.” This will make it easier for your group members to identify the calendar when they view their own calendars.
Next, you can set the time zone for the calendar. By default, the calendar will use your current time zone, but if your group members are located in different time zones, it’s a good idea to set the calendar to the most appropriate one. This way, all events will be displayed correctly for each member, regardless of their location.
Additionally, you have the option to provide a description for the calendar. This can be helpful for giving your group members more information about the calendar’s purpose, guidelines, or any other details they may need to know.
Once you’ve filled in the necessary information, click on the “Create Calendar” button. Your new calendar will now be added to the “My calendars” section on the sidebar, and you will be redirected to the main Google Calendar interface.
Congratulations! You’ve successfully created a new calendar specifically for your group. In the next step, we will explore how to customize the settings of your group calendar to fit the needs of your group.
Step 3: Customize calendar settings
After creating a new calendar for your group, it’s important to customize the settings to fit the specific needs and preferences of your group. By customizing the settings, you can ensure that your group calendar functions optimally and provides the necessary functionality for efficient collaboration and scheduling.
To customize the settings of your group calendar, start by locating the calendar in the “My calendars” section of the sidebar on the left side of the Google Calendar interface. If you have multiple calendars, make sure to select the one you want to customize.
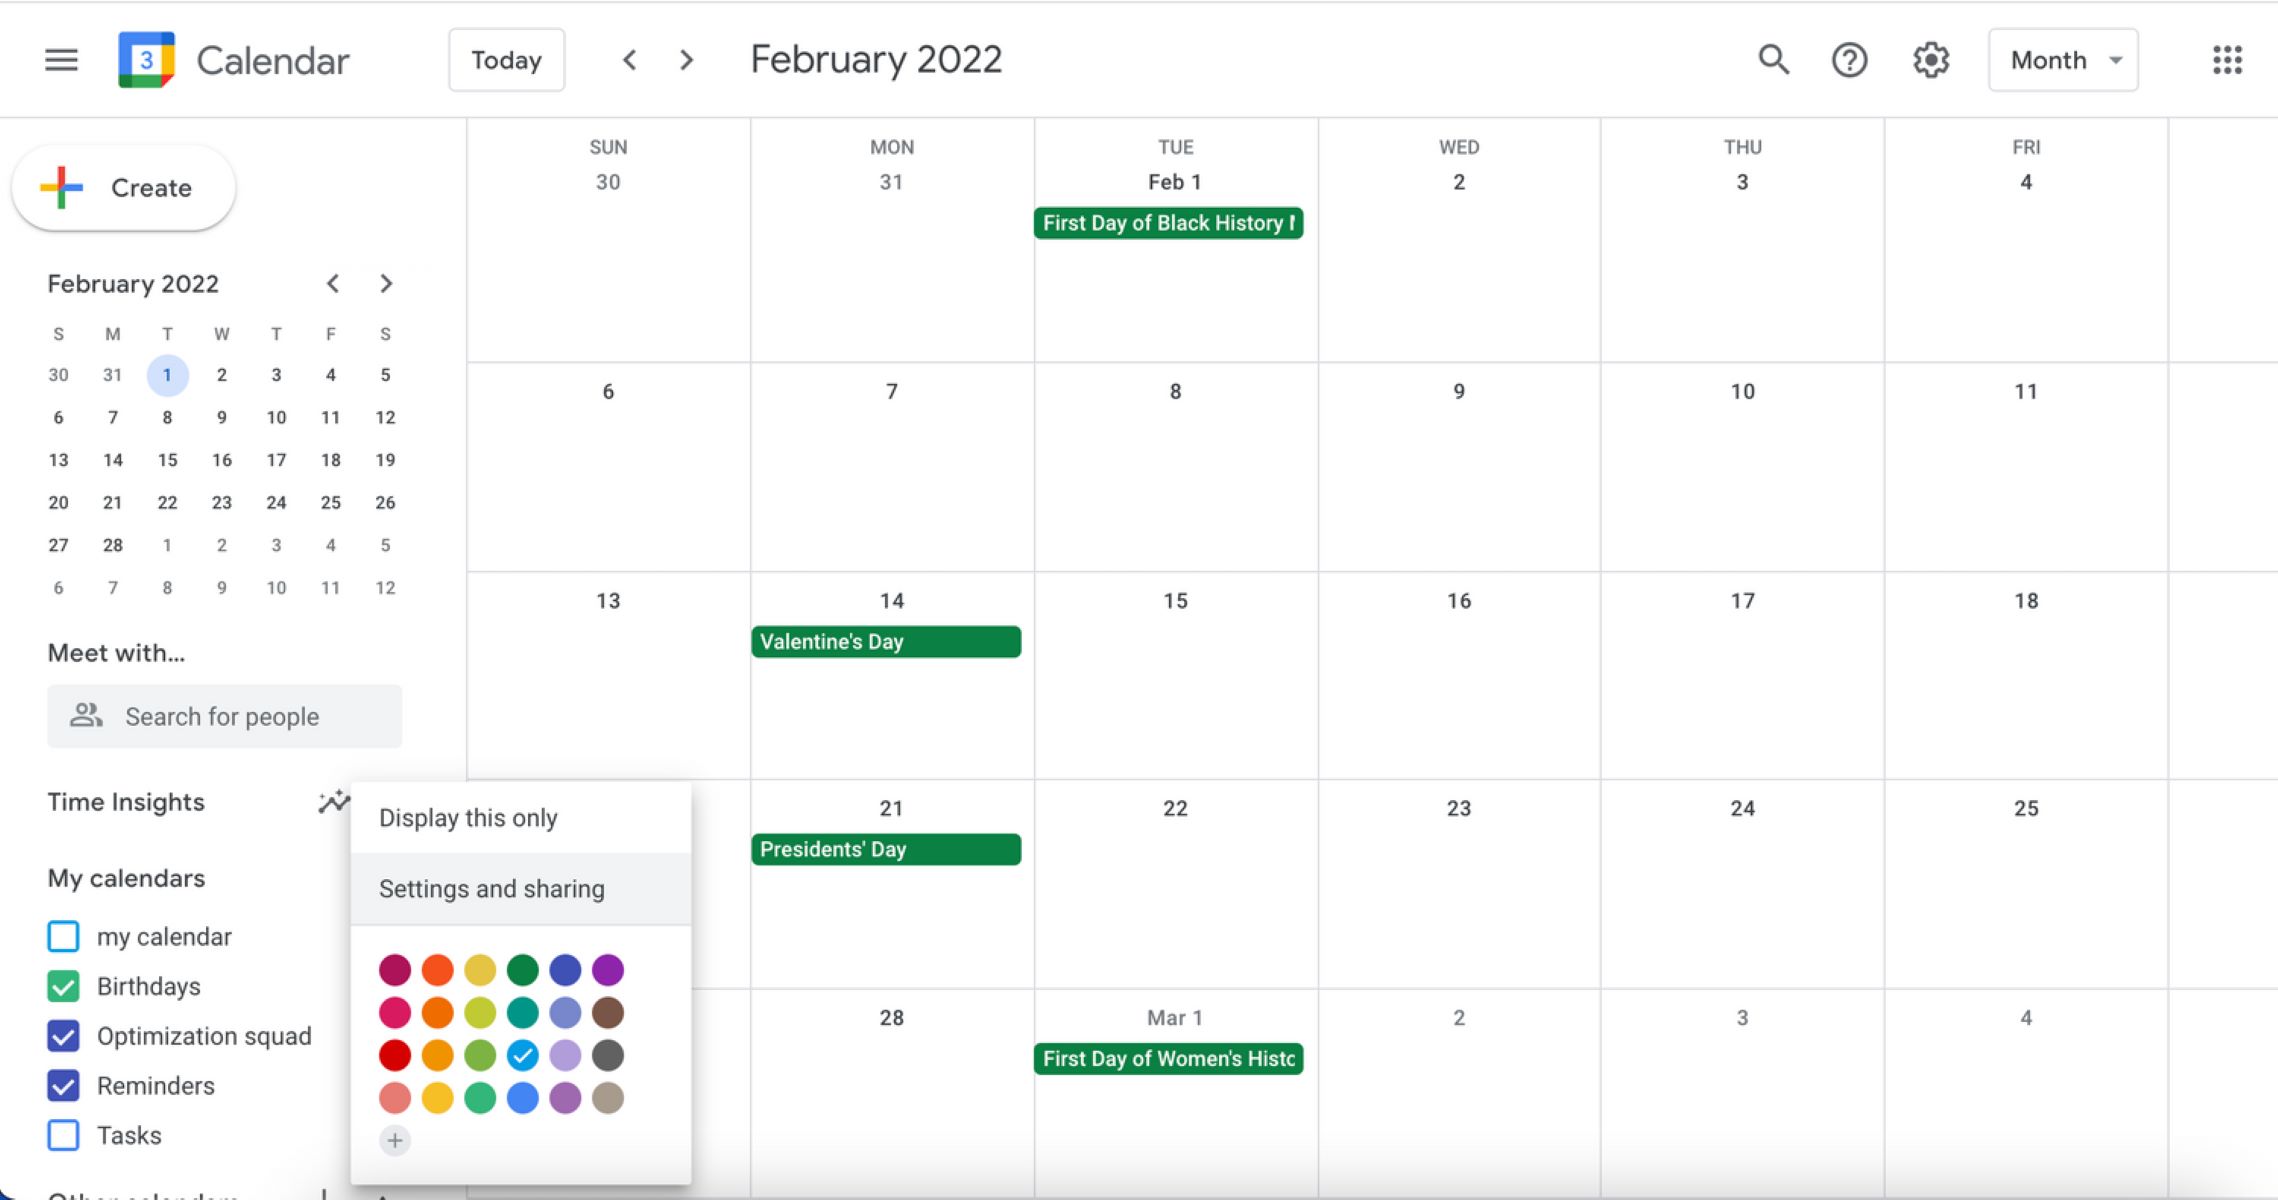
Once you’ve selected the calendar, click on the three-dot menu icon next to the calendar’s name. This will open a dropdown menu with various options. From the menu, select “Settings and sharing.”
In the settings and sharing window, you will find several tabs that allow you to customize different aspects of the calendar. The available tabs usually include General, Event notifications, Access permissions, and Integrate calendar.
The General tab allows you to modify basic settings, such as the calendar’s name, description, and time zone. You can also choose to make the calendar public or private. If you want to make the calendar accessible to the group members only, select the “Make available to public” option.
The Event notifications tab is where you can set up notifications for your group members. You can choose to receive notifications via email, pop-up reminders, or both. Adjust the notification settings based on your group’s preferences and ensure that everyone is adequately informed about upcoming events.
The Access permissions tab is crucial for managing who can view and edit the calendar. Here, you can grant specific permissions to individual group members, giving them varying levels of access, such as making them an owner, editor, or viewer of the calendar. Select the appropriate access level for each member to maintain control over the calendar and prevent unauthorized modifications.
The Integrate calendar tab provides options for integrating your group calendar with other applications, such as email clients or project management tools. This can streamline communication and ensure that your group members have all the necessary information in one place.
After customizing the necessary settings, make sure to click on the “Save” or “Done” button to apply the changes. Your group calendar is now configured according to your preferences, and you can move on to the next step of adding members to the calendar.
Step 4: Add members to the calendar
Adding members to your group calendar is essential to ensure that everyone has access to the shared events and can contribute to the scheduling process. By adding members, you can collaborate seamlessly and keep everyone in your group on the same page.
To add members to your calendar, start by opening the calendar in the Google Calendar interface. Locate the calendar in the “My calendars” section of the sidebar on the left side of the screen.
Once you’ve selected the calendar, click on the three-dot menu icon next to the calendar’s name. From the dropdown menu, select “Settings and sharing.”
In the settings and sharing window, you will find a section labeled “Share With Specific People.” This is where you can add individual members and specify their access permissions for the calendar.
To add a member, click on the “+ Add people” button. A dialog box will appear where you can enter the email address or Google account of the person you want to add. You can add multiple members by separating their email addresses with commas.
After entering the email addresses, choose the appropriate access level for each member. The available options are “Make changes and manage sharing,” “Can make changes to events,” and “See all event details.” Select the access level based on the level of involvement and responsibility you want the member to have.
If you want to notify the added members about their access to the calendar, make sure the “Send email” checkbox is selected. This will send them an email notification with the calendar details and their access permissions.
Once you’ve added the members and specified their access permissions, click on the “Send” button to invite them to the calendar. The added members will receive an email invitation with a link to the calendar.
It’s important to note that members added to the calendar can only access it if they are signed in to their Google account. If they don’t have a Google account, they will be prompted to create one in order to access the calendar.
By adding members to your group calendar, you enable them to view and contribute to the shared events and ensure that everyone is up to date with the group’s schedule.
In the next step, we will explore how to grant appropriate calendar permissions to the added members, allowing them to collaborate effectively.
Step 5: Grant appropriate calendar permissions
After adding members to your group calendar, it’s crucial to grant them appropriate permissions to ensure smooth collaboration and effective scheduling. By assigning the right permissions, you can control who can make changes, edit events, or simply view the calendar’s details.
To grant calendar permissions to the added members, start by opening the calendar in the Google Calendar interface. Locate the calendar in the “My calendars” section of the sidebar on the left side of the screen.
Once you’ve selected the calendar, click on the three-dot menu icon next to the calendar’s name. From the dropdown menu, select “Settings and sharing.”
In the settings and sharing window, scroll down to the section labeled “Share With Specific People.” Here, you will see the list of added members along with their access permissions.
To modify the permissions for a member, click on the dropdown menu next to their name. The available options include “Make changes and manage sharing,” “Can make changes to events,” and “See all event details.”
If you want a member to have full control over the calendar, including the ability to add or remove members, change settings, and manage sharing, select the “Make changes and manage sharing” option.
For members who should have the ability to make changes to events on the calendar, but not alter the calendar’s settings or manage sharing, select the “Can make changes to events” option.
If there are members who simply need to have read-only access to the calendar and be able to view all event details without making any changes, choose the “See all event details” option for them.
It’s important to consider the responsibilities and level of involvement of each group member when assigning permissions. By granting appropriate permissions, you can maintain control over the calendar while allowing members to collaborate effectively.
It’s worth mentioning that even with the “Make changes and manage sharing” permission, other members cannot remove or modify the permissions of the calendar’s owner. The owner has ultimate control over the calendar and can adjust permissions as needed.
Once you’ve assigned the appropriate permissions to each member, be sure to click on the “Save” or “Done” button to apply the changes. Your group members will now have the proper permissions to collaborate and contribute effectively to the group calendar.
In the next step, we will explore how to set up event notifications to ensure that all members stay informed about upcoming events and deadlines.
Step 6: Set up event notifications
Setting up event notifications is an essential step in ensuring that all members of your group stay informed about upcoming events and deadlines. By configuring notifications, you can ensure that everyone receives timely reminders and stays on top of their schedule.
To set up event notifications for your group calendar, start by opening the calendar in the Google Calendar interface. Locate the calendar in the “My calendars” section of the sidebar on the left side of the screen.
Once you’ve selected the calendar, click on the three-dot menu icon next to the calendar’s name. From the dropdown menu, select “Settings and sharing.”
In the settings and sharing window, you will find a tab labeled “Event notifications.” Click on this tab to access the event notification settings.
In the event notification settings, you have the option to configure notifications for various events, including reminders for upcoming events, notifications for event changes, and notifications for event responses.
To set up a reminder notification, click on the “Add notification” button. A dialogue box will appear where you can select the type of notification, the timing of the reminder, and how the notification will be delivered.
Select the desired timing for the reminder, such as “At the time of the event” or a specific time period before the event, such as “10 minutes before” or “1 day before.” Choose a notification method, such as email or pop-up notification, or select both to receive reminders through multiple channels.
For event changes and event responses, you can choose to be notified about updates and RSVPs made by other calendar members. This can help you stay updated on any modifications or confirmations related to the group’s events.
It’s important to consider the preferences and needs of your group members when setting up event notifications. Some members may prefer more frequent reminders, while others may prefer fewer notifications. Finding the right balance is key to ensure that everyone stays informed without feeling overwhelmed by too many notifications.
Once you’ve configured the event notification settings to your liking, be sure to click on the “Save” or “Done” button to apply the changes.
By setting up event notifications for your group calendar, you can ensure that all members receive timely reminders and stay informed about upcoming events and changes.
In the next step, we will explore how to share the calendar with your group members so that they can easily access and view the shared events.
Step 7: Share calendar with the group
Sharing your group calendar with all the members is crucial to ensure that everyone has easy access to the shared events and can stay updated on the latest schedule. By sharing the calendar, you facilitate seamless collaboration and enable efficient coordination within your group.
To share your group calendar, start by opening the calendar in the Google Calendar interface. Locate the calendar in the “My calendars” section of the sidebar on the left side of the screen.
Once you’ve selected the calendar, click on the three-dot menu icon next to the calendar’s name. From the dropdown menu, select “Settings and sharing.”
In the settings and sharing window, you will find a section labeled “Share With Specific People.” Here, you can manage the sharing settings for the calendar and control who can access it.
To share the calendar with your group members, click on the “+ Add people” button. A dialog box will appear where you can enter the email addresses or Google accounts of the individuals you want to share the calendar with. You can add multiple members by separating their email addresses with commas.
After entering the email addresses, you can choose the level of access you want to grant to the members. The available options include “Make changes and manage sharing,” “Can make changes to events,” and “See all event details.”
Select the appropriate access level for each member based on their role and responsibilities within the group. For members who need full control over the calendar, choose the “Make changes and manage sharing” option. For members who should only be able to make changes to events, but not manage sharing, select the “Can make changes to events” option. And for members who only need read-only access, choose the “See all event details” option.
Additionally, when sharing the calendar with your group members, you can choose to notify them via email. Make sure the “Send email” checkbox is selected if you want them to receive an email notification with the calendar details and their access permissions.
Once you’ve added the members and specified their access permissions, click on the “Send” button to invite them to the calendar. They will receive an email invitation with a link to access the shared calendar.
It’s important to note that the shared calendar will appear in the “Other calendars” section of your group members’ Google Calendar interface. They can easily toggle the visibility of the shared calendar by checking or unchecking its name in the sidebar.
By sharing your group calendar with all the members, you ensure that everyone has easy access to the shared events and can collaborate effectively.
In the next step, we will explore how to add events to the group calendar and keep it up to date with the latest schedule.
Step 8: Add events to the group calendar
Adding events to your group calendar is a pivotal step in keeping it up to date with the latest schedule and ensuring that all members are informed about upcoming activities. By adding events, you can easily coordinate with your group members and avoid scheduling conflicts.
To add an event to your group calendar, open the Google Calendar interface and make sure you have selected the group calendar in the “My calendars” section on the left side of the screen.
Once you’re in the correct calendar, click on the date and time slot where you want to create the event. A small event creation form will appear, allowing you to input the event details.
Start by entering the title of the event. Make it descriptive and concise, so that your group members can understand the purpose of the event at a glance.
Next, you can specify the date and time for the event. Click on the “Date” field to select the date from a calendar pop-up. If the event spans multiple days, toggle the “All day” option. Otherwise, provide the start and end times for the event.
In the event description field, you can add more details about the event, such as location, agenda, or any other relevant information. This can help provide context and ensure that all necessary information is readily available to your group members.
If you wish to set a reminder for the event, click on the “Add a reminder” link. Choose the timing for the reminder, such as “10 minutes before” or “1 day before,” and select the appropriate notification method.
It’s worth noting that you can also invite specific members to the event by entering their email addresses in the “Guests” field. This will send them an email invitation with the event details and allow them to RSVP.
Once you’ve entered all the necessary event information, click on the “Save” button to add the event to your group calendar.
Your newly created event will now be visible on the group calendar, and all members who have access to the calendar will be able to view the event’s details and stay informed about its occurrence.
Repeat the same process for any additional events you need to add to the group calendar, making sure to provide accurate details and consider the preferences and availability of your group members.
By regularly adding events to your group calendar, you can keep it updated with the latest schedule, facilitate smooth coordination among your group members, and avoid any scheduling conflicts that may arise.
In the next step, we will explore how to modify and manage the group calendar to adapt to evolving needs and changes within your group.
Step 9: Modify and manage the group calendar
As the needs and dynamics of your group change, it’s important to be able to modify and manage your group calendar accordingly. By effectively managing the calendar, you can ensure that it remains up to date, organized, and reflective of the group’s activities.
To modify and manage your group calendar, open the Google Calendar interface and select the group calendar from the “My calendars” section on the left side of the screen.
Once you’re in the correct calendar, you can perform various actions to modify and manage the calendar as needed:
Edit or delete events: To modify an existing event, simply click on the event in the calendar to open its details, and then click on the pencil icon to make changes. To delete an event, click on the event and then click on the trash can icon.
Move or resize events: If you need to change the date or time of an event, click on the event and drag it to another slot on the calendar. You can also resize the duration of the event by dragging its edges.
Create recurring events: For events that occur regularly, you can set up recurring patterns. When creating or modifying an event, click on the “Repeat” option to configure the recurrence settings, such as daily, weekly, monthly, or custom recurring patterns.
Change calendar settings: To modify the settings of your group calendar, such as the name, description, or notification settings, click on the three-dot menu icon next to the calendar’s name and select “Settings and sharing.” From there, you can access different tabs to customize various aspects of the calendar.
Share with additional members: If new members join your group or you need to grant calendar access to others, you can go to the “Settings and sharing” window, click on “+ Add people,” and enter their email addresses along with the desired access permissions.
Manage access permissions: To modify the access permissions of existing members or remove access for certain individuals, open the “Settings and sharing” window and adjust the permissions by clicking on the dropdown menu next to each member’s name.
Color-code events: To visually organize events on the calendar, you can assign different colors to specific events or event categories. Open an event’s details, click on the color palette icon, and choose the desired color.
By effectively modifying and managing your group calendar, you can ensure that it accurately reflects the group’s activities, stays organized, and serves as a valuable resource for all members.
Remember to regularly review and update the calendar as needed to keep it up to date and aligned with the evolving needs of your group.
Congratulations! You have successfully learned how to create, customize, and manage a group calendar using Google Calendar. With these skills, you can streamline your group’s scheduling and coordination efforts, ensuring that everyone stays informed and on the same page.
Remember to regularly communicate with your group members and encourage them to utilize the group calendar for all relevant events and activities. This will help foster transparency, efficiency, and effective collaboration within your group. Happy scheduling!
Conclusion
Creating a Google Calendar for a group is a powerful tool for efficient scheduling and collaboration. By following the step-by-step process outlined in this guide, you can successfully create a shared calendar that keeps all members of your group on the same page.
Throughout this journey, we’ve covered the essential steps, from signing in to Google Calendar and creating a new calendar, to customizing settings, adding members, granting appropriate permissions, setting up event notifications, and sharing the calendar with your group. We’ve also explored how to add and manage events, ensuring that the calendar remains up to date and reflective of the group’s activities.
By utilizing the features and functionalities of Google Calendar, such as creating recurring events, modifying settings, and color-coding events, you can maximize the effectiveness of your group calendar. This centralized platform allows for seamless collaboration, efficient coordination, and the elimination of scheduling conflicts.
Remember to regularly maintain and manage your group calendar, reviewing and updating it to adapt to the evolving needs of your group. Communication with your group members is key, as their active participation and utilization of the calendar will contribute to its success.
With a well-managed group calendar, you can streamline your scheduling processes, enhance productivity, and foster effective collaboration within your group. So, go ahead and create your Google Calendar for the group, and enjoy the benefits of efficient scheduling and organized coordination.
We hope this guide has provided you with the necessary insights and instructions to create and manage a group calendar successfully. Happy scheduling!