Introduction
Google Calendar is a versatile and powerful tool for managing your schedule and staying organized. One of its key features is the ability to set default visibility for your events. Default visibility determines who can see your events by default, ensuring that you maintain your desired level of privacy and sharing. Whether you want to keep your calendar private or share it with specific individuals or even the public, setting default visibility can help streamline your scheduling process.
In this article, we will explore the concept of default visibility in Google Calendar and provide a step-by-step guide on how to set it. We will also share some tips on using default visibility effectively to optimize your calendar experience.
Understanding and utilizing default visibility in Google Calendar can be immensely beneficial for various scenarios. For instance, as a busy professional, you may want to keep your work calendar private and share only specific events with colleagues. Alternatively, you might be a teacher who wants to share a class calendar with your students while keeping personal events private. By customizing the default visibility settings, you can align Google Calendar with your unique needs and preferences.
So, whether you are a student, professional, parent, or anyone looking to manage your time effectively, learning how to set default visibility in Google Calendar is an essential skill that can enhance your productivity and organization.
Understanding Default Visibility in Google Calendar
Default visibility in Google Calendar refers to the preset visibility settings for your events. It determines who can see your events when they are created unless you manually change the visibility for specific events. By defining default visibility, you can control who has access to your calendar and ensure that your events are shared with the intended audience.
There are four default visibility options in Google Calendar:
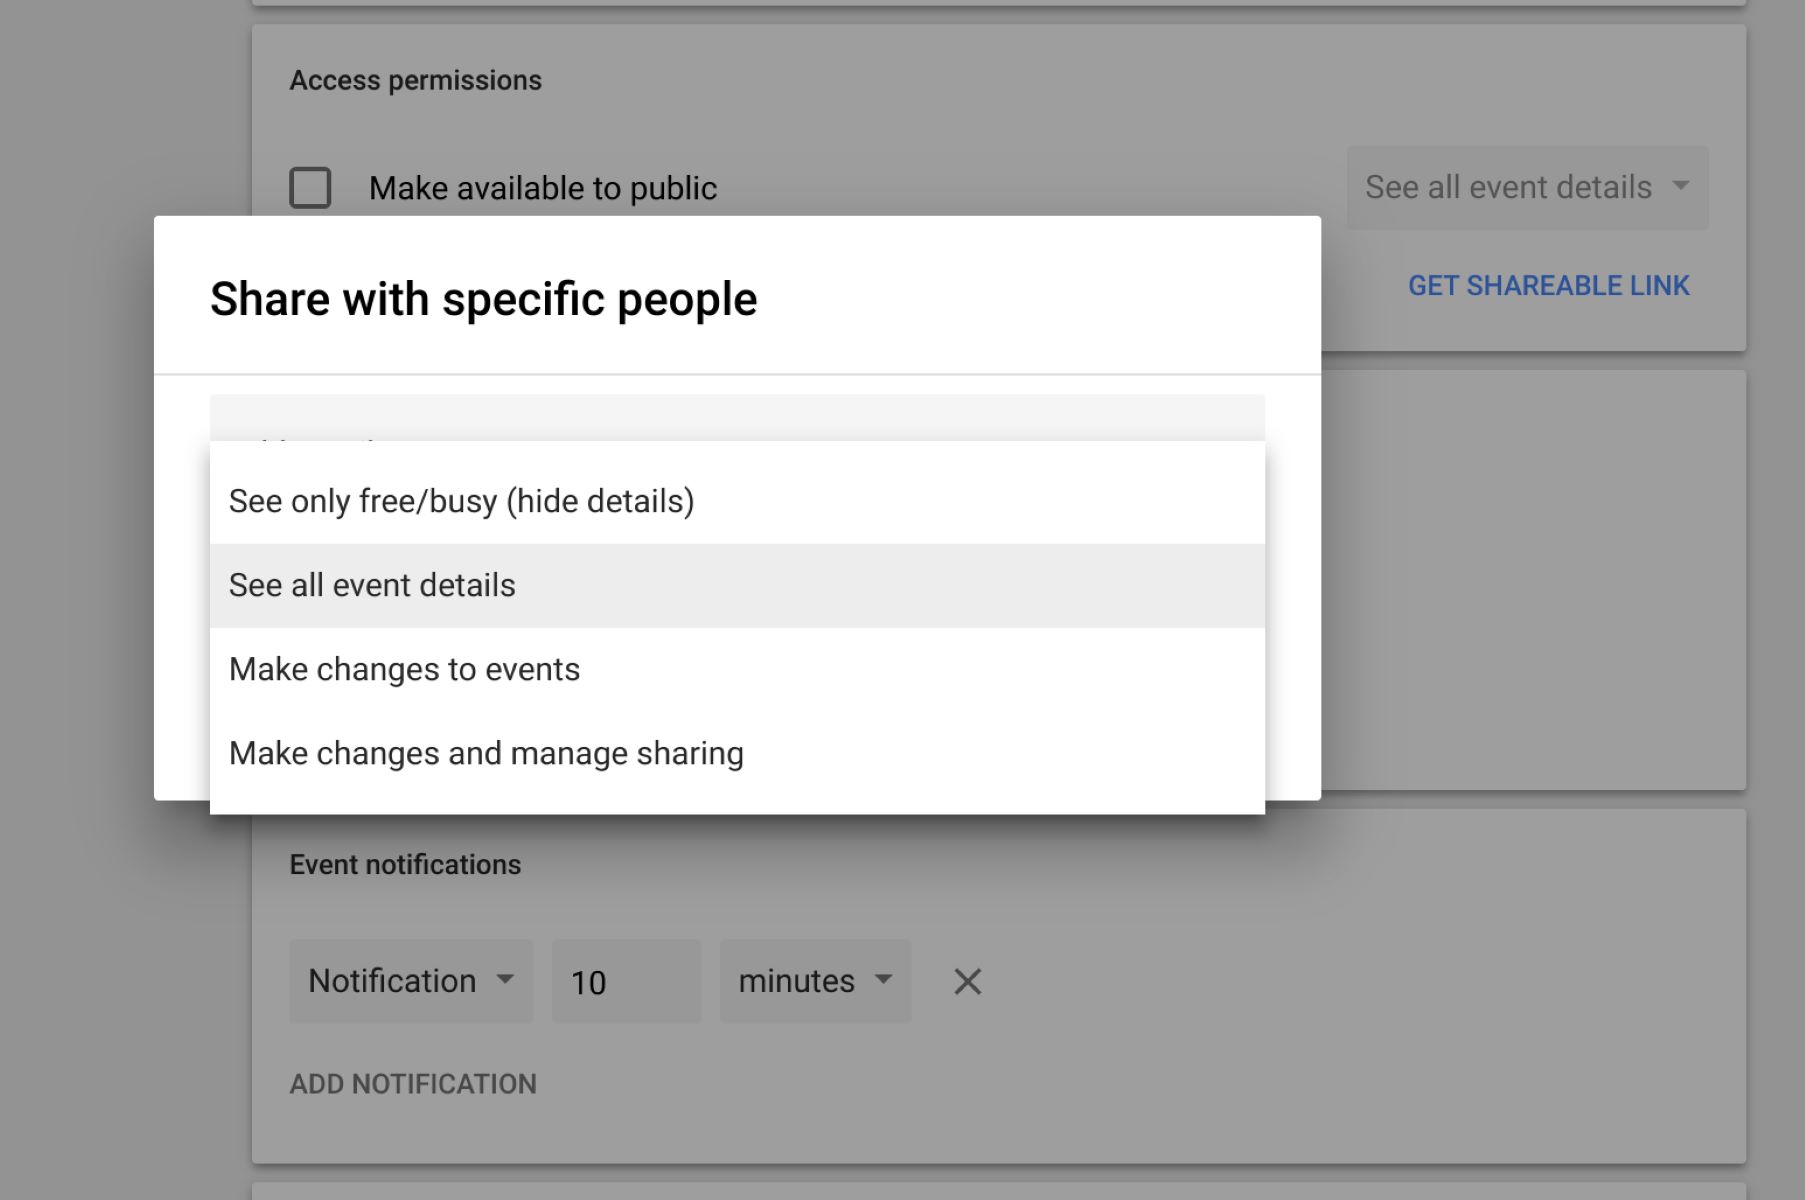
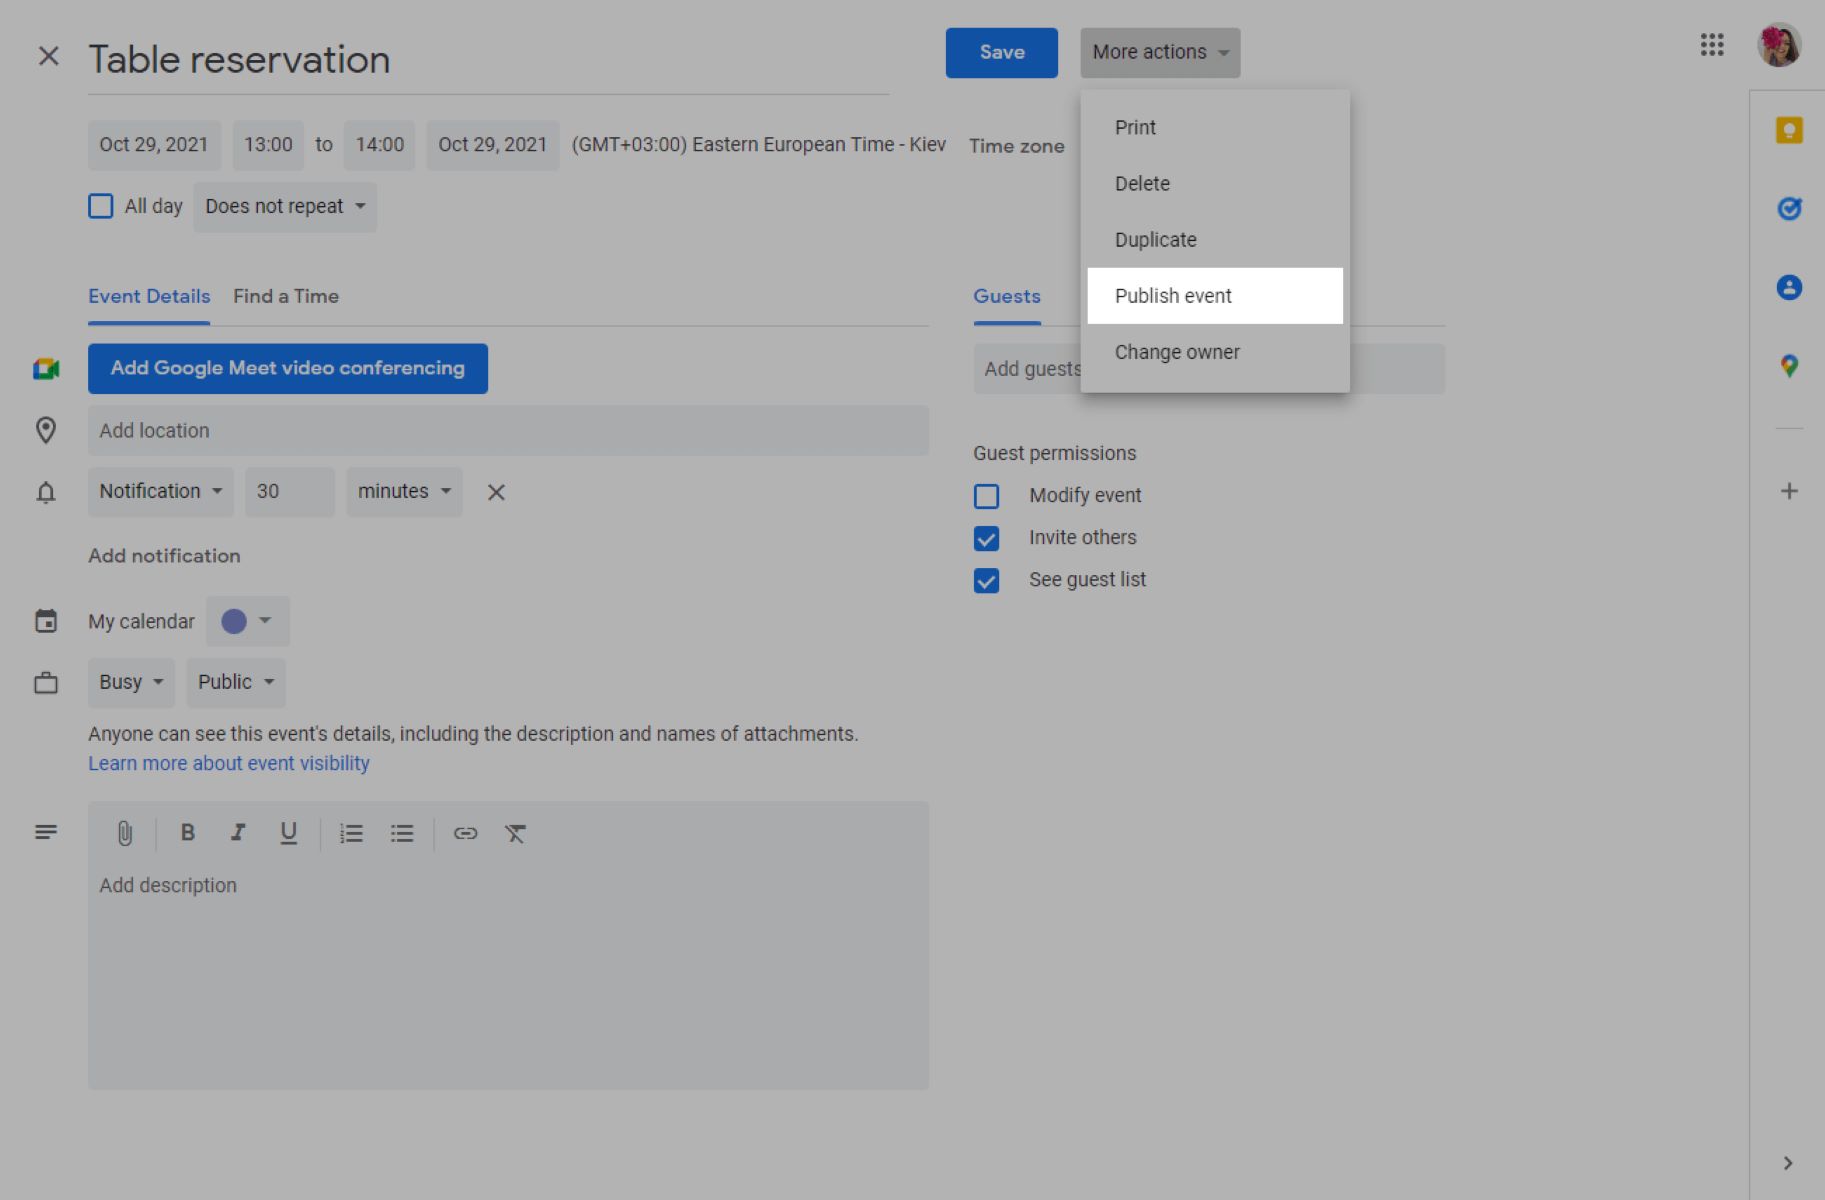
- Public: Events with public visibility are visible to anyone who has the link to your calendar. This option is ideal for sharing event details with a large audience, such as public seminars, conferences, or community events.
- Calendar-wide: This option allows anyone you have shared your calendar with to see all events. It is useful when you want to share your entire calendar with a specific group of people, for instance, a team or family members.
- Default: Events with default visibility are visible to anyone you have shared your calendar with, but not to the public. This is often the preferred setting for personal calendars or work calendars that you want to share with a limited number of individuals.
- Private: With private visibility, only you can see the events. This option is useful for personal events or sensitive information that you want to keep confidential.
By selecting the appropriate default visibility option, you can customize the level of privacy and sharing for your events. It is important to choose a setting that aligns with your preferences and the nature of your calendar. For example, if you frequently create public events, setting the default visibility to public can save you time by automatically applying the desired visibility to new events.
Understanding default visibility is crucial for effectively organizing and sharing your calendar. Now that we have a clear grasp of default visibility options, let’s move on to the steps on how to set it up in Google Calendar.
How to Set Default Visibility in Google Calendar
Setting up the default visibility in Google Calendar is a straightforward process that can be done in just a few simple steps. Follow the instructions below to customize the visibility settings according to your preferences:
- Step 1: Accessing Google Calendar Settings
- Step 2: Configuring Default Visibility
- Step 3: Choosing Default Visibility Options
- Step 4: Saving and Applying Changes
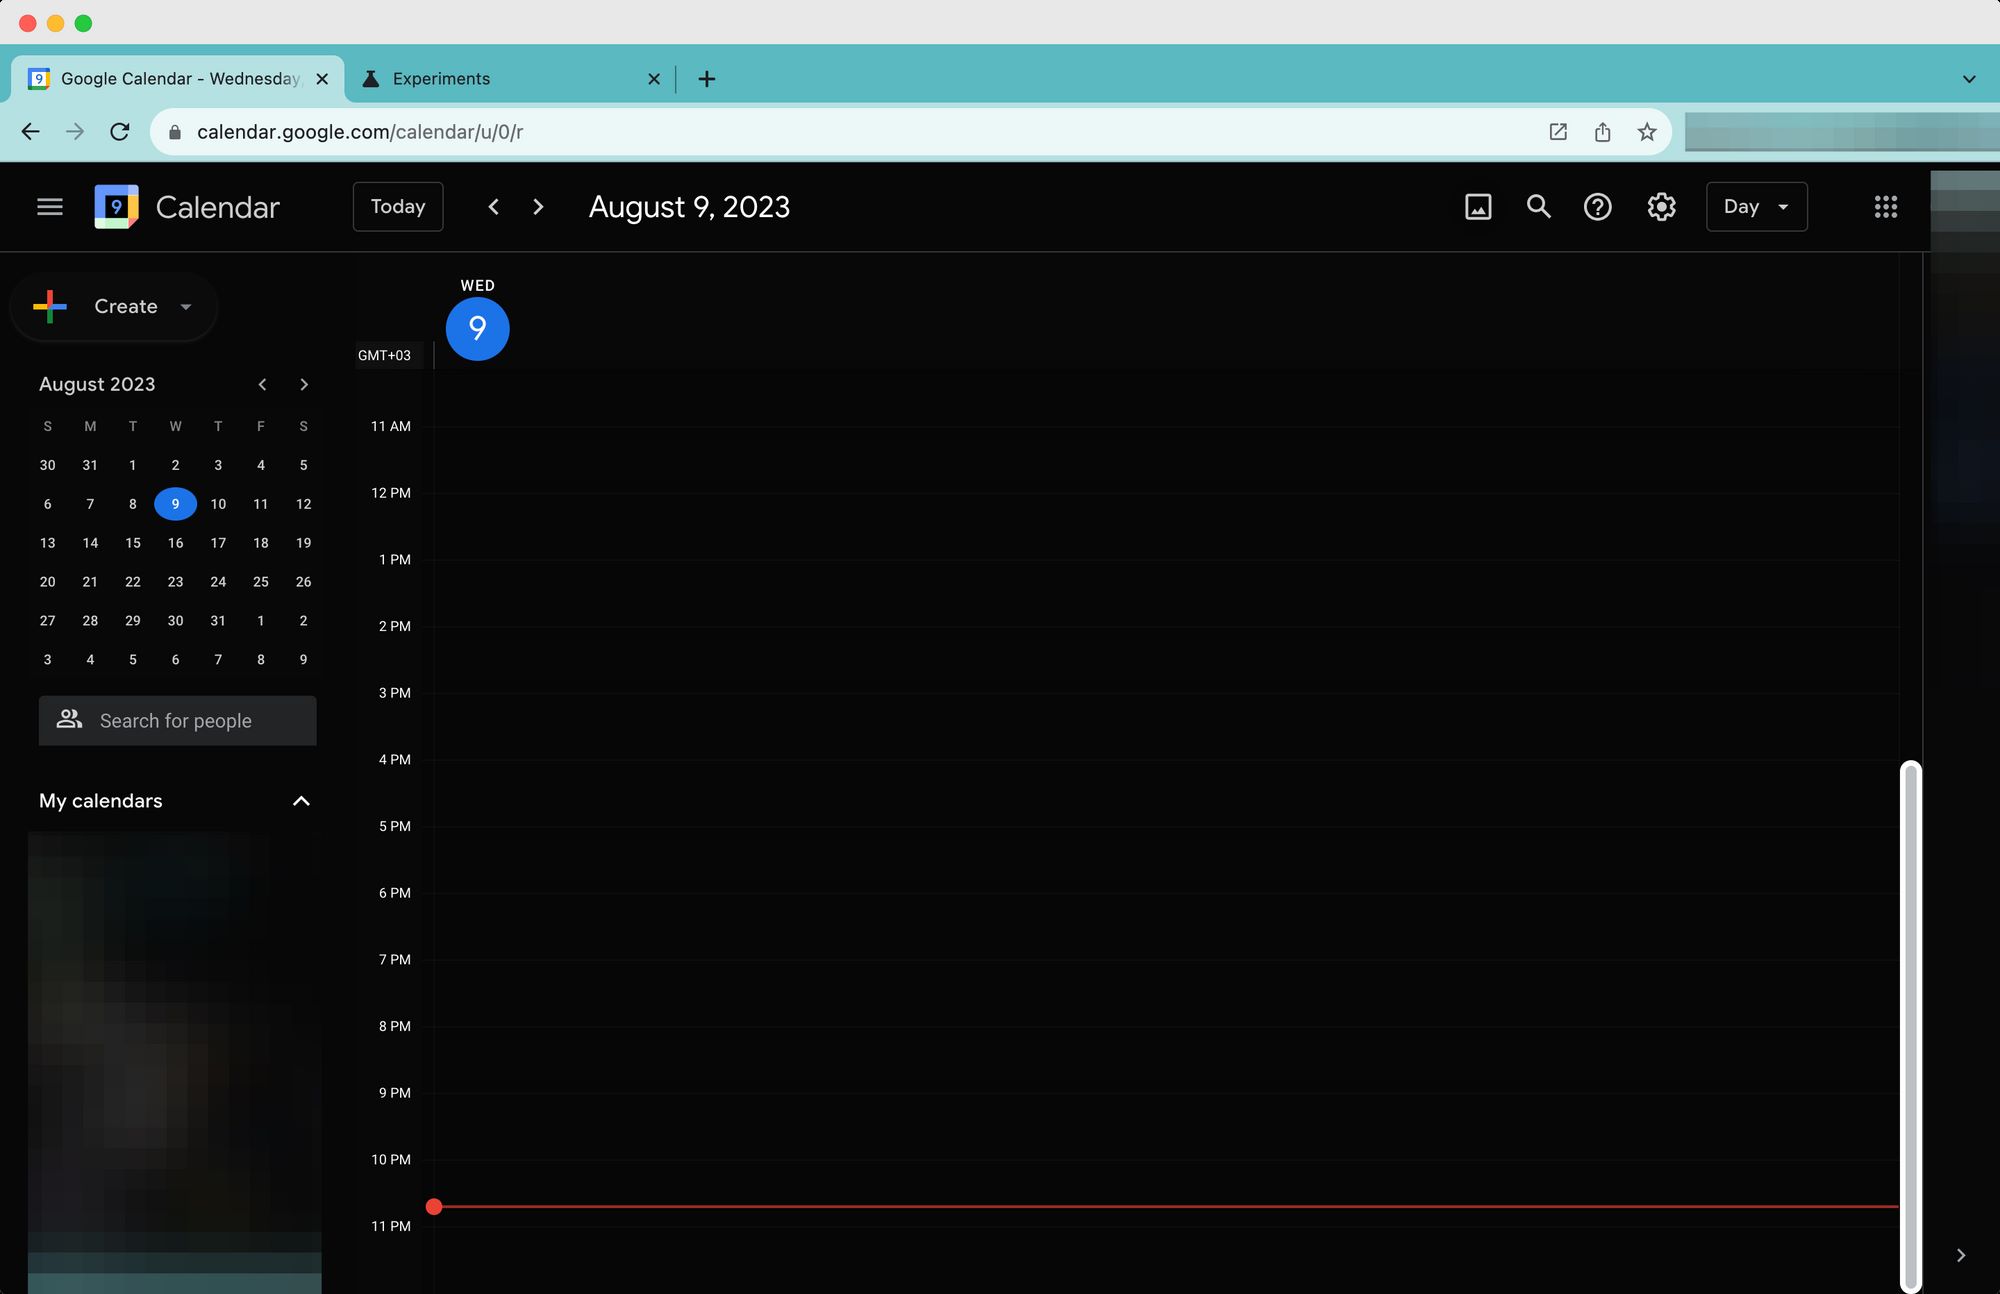
To begin, open Google Calendar in your web browser and make sure you are signed in to your Google account. On the left-hand side of the screen, you will see a navigation pane. Click on the gear icon located at the top-right corner, then select “Settings” from the dropdown menu.
In the Settings menu, you will find various tabs. Click on the “Event settings” tab to access the options related to visibility settings. Scroll down until you see the section titled “Default visibility.”
In the “Default visibility” section, you will see the four visibility options we discussed earlier: Public, Calendar-wide, Default, and Private. Choose the option that best suits your needs by clicking on the radio button next to it. If you are unsure which option to select, refer to the descriptions provided in the previous section.
After selecting your desired default visibility option, scroll to the bottom of the Settings page and click on the “Save” button to save your changes. Google Calendar will apply the new default visibility to all future events you create.
Congratulations! You have successfully set the default visibility in Google Calendar. Now, all your new events will inherit the chosen visibility setting unless you manually change it for specific events.
It is important to note that default visibility settings are applied only to newly created events and do not affect existing events in your calendar. If you want to change the visibility settings for existing events, you will need to update the visibility individually for each event.
Now that you know how to set default visibility in Google Calendar, let’s explore some useful tips to make the most out of this feature.
Step 1: Accessing Google Calendar Settings
The first step in setting the default visibility in Google Calendar is accessing the settings menu. Follow the instructions below to navigate to the settings page:
- Open your web browser and log in to your Google account.
- Once you are logged in, open Google Calendar by visiting https://calendar.google.com.
- On the left-hand side of the screen, you will see a navigation pane. Look for a gear icon located at the top-right corner and click on it. This will open a dropdown menu.
- In the dropdown menu, select “Settings” to proceed to the Google Calendar settings page.
By following these steps, you will be able to access the settings page of your Google Calendar account, where you can configure various options, including the default visibility settings.
It’s worth mentioning that Google Calendar settings may vary slightly depending on the version and interface you are using. However, the general steps provided here should help you navigate to the settings page regardless of the specific version.
Now that we have accessed the settings page, let’s move on to the next step of configuring the default visibility in Google Calendar.
Step 2: Configuring Default Visibility
After accessing the settings page in Google Calendar, you can proceed to configure the default visibility for your events. Follow the steps below to configure the default visibility:
- On the settings page, you will see multiple tabs. Look for the tab labeled “Event settings” and click on it. This tab contains options related to event configurations, including visibility settings.
- Scroll down the page until you find the “Default visibility” section. This section allows you to choose the default visibility option that will be assigned to new events.
Configuring the default visibility is crucial as it determines who can see your events by default. Choose the option that best suits your needs by selecting the appropriate radio button next to the desired visibility option.
Public: Choosing this option means that events created in your Google Calendar will be visible to anyone who has the link to your calendar. This is ideal when you want to share event details with a larger audience or if you want to make your calendar public.
Calendar-wide: This option grants visibility to anyone whom you have shared your entire calendar with. When you select this option, all events in your calendar will automatically be visible to those with whom you have shared access.
Default: By selecting this option, your events will be visible to anyone you have shared your calendar with, while remaining private to the general public. This is a popular choice for personal calendars or work calendars that you want to share with a limited number of individuals.
Private: Choosing this option ensures that only you can see the events. This is useful for personal events or sensitive information that you wish to keep confidential.
Once you have selected the desired default visibility option, you are ready to move on to the next step of saving and applying the changes. This ensures that the selected default visibility will be assigned to all future events that you create.
Let’s proceed to the next step to complete the configuration of default visibility in Google Calendar.
Step 3: Choosing Default Visibility Options
Now that you have accessed the settings page and located the “Default visibility” section in Google Calendar, it’s time to select the default visibility option that aligns with your preferences. Follow the steps below to choose the appropriate default visibility option:
- In the “Default visibility” section, you will see the four visibility options: Public, Calendar-wide, Default, and Private.
- Read the descriptions of each option carefully to understand their implications:
Public: Selecting this option means that all newly created events in your calendar will be visible to anyone who has the link to your calendar. This is suitable when you want to share event details with a large audience or make your calendar public, such as for public seminars or community events.
Calendar-wide: This option grants visibility to anyone with whom you have shared your entire calendar. When you choose this option, all events in your calendar will automatically be visible to those individuals. It is useful when you want to share your calendar with a specific group of people, such as a team or family members.
Default: By selecting this option, your events will be visible to anyone you have shared your calendar with, while remaining private to the general public. This is often the preferred setting for personal calendars or work calendars that you want to share with a limited number of individuals.
Private: This option ensures that only you can see the events created in your calendar. It is useful for personal events or sensitive information that you wish to keep confidential.
Choose the default visibility option that best suits your needs by clicking on the radio button next to it. It’s important to consider factors such as the nature of your calendar, the level of privacy required, and the audience with whom you want to share your events.
Remember, you can change the visibility settings for individual events if needed, but the default visibility option you select here will be applied to all newly created events in your Google Calendar.
Now that you have chosen the appropriate default visibility option, you are ready to save your changes and apply them to your calendar. Let’s move on to the next step to complete the configuration process.
Step 4: Saving and Applying Changes
After selecting the desired default visibility option in Google Calendar, you need to save and apply the changes to ensure that the new settings take effect. Follow the steps below to save and apply the changes:
- Scroll to the bottom of the settings page to locate the “Save” button. This button is typically located below all the configuration options on the page.
- Click on the “Save” button to save your changes and apply the new default visibility settings to your Google Calendar.
Once you have clicked the “Save” button, Google Calendar will save the changes and make the selected default visibility option applicable to all future events that you create.
It’s important to note that the default visibility settings you choose only apply to new events created after the changes have been saved. Existing events in your calendar will retain their original visibility settings. If you need to change the visibility for individual events, you can do so by editing the event details manually.
By saving and applying the changes, you have completed the process of configuring the default visibility in Google Calendar. From now on, each time you create a new event, it will automatically adopt the default visibility option that you selected.
This customization allows you to have greater control over who can see your events and helps streamline your scheduling process. It ensures that your events are shared with the intended audience while maintaining the desired level of privacy.
With default visibility set up in Google Calendar, you can now use this powerful tool with confidence and efficiency. As you continue to use Google Calendar, don’t forget to adjust the visibility settings for specific events if needed.
Now that you have completed the configuration process, let’s explore some useful tips for using default visibility effectively in Google Calendar.
Tips for Using Default Visibility Effectively
Now that you have successfully configured the default visibility in Google Calendar, it’s time to explore some tips for using this feature effectively. These tips will help you optimize your calendar experience and make the most out of the default visibility settings:
- Regularly review and update your default visibility: As your needs and preferences evolve, it’s important to review and update your default visibility settings accordingly. Regularly check your calendar settings to ensure they align with your current requirements.
- Customize visibility for individual events: Although default visibility simplifies your scheduling process, remember that you can still customize the visibility for individual events if needed. Take advantage of this feature to fine-tune the visibility settings for specific events.
- Consider creating multiple calendars: If you have different types of events that require distinct visibility settings, consider creating separate calendars for each category. This allows you to have more control over visibility and easily manage events with different privacy requirements.
- Be mindful of sharing sensitive information: Even with default visibility settings in place, it’s essential to be mindful of the information you share in your calendar. Avoid including sensitive details in event titles or descriptions to maintain confidentiality.
- Share calendars selectively: If you want to share specific events or calendars with certain individuals or groups, utilize the sharing options available in Google Calendar. This way, you can maintain control over who has access to your events.
- Communicate visibility preferences: If you are sharing your calendar with others, it’s important to communicate your visibility preferences to prevent any misunderstandings. Let others know about the default visibility settings you have chosen to ensure everyone is on the same page.
- Regularly check event visibility: It’s a good practice to periodically check the visibility of your events to ensure they are displayed according to your intended settings. This helps you stay informed and makes any necessary adjustments if visibility changes unexpectedly.
- Keep privacy settings in mind when creating events: When creating events, be mindful of the default visibility that will be applied. Double-check the visibility before saving the event to ensure it aligns with your intentions.
By following these tips, you can optimize your use of default visibility in Google Calendar and ensure that your events are shared and protected according to your preferences. Remember that default visibility is a tool to simplify your scheduling process and enhance your productivity, so make sure to regularly review and customize the settings as per your evolving needs.
With these tips in mind, you are now well-equipped to make the most out of default visibility in Google Calendar.
Conclusion
Configuring the default visibility in Google Calendar is a valuable feature that allows you to control who can see your events by default. By selecting the appropriate visibility option, you can maintain your desired level of privacy and sharing, ensuring that your calendar aligns with your unique needs and preferences.
In this article, we explored the concept of default visibility in Google Calendar and provided a step-by-step guide on how to set it. We learned about the four visibility options: Public, Calendar-wide, Default, and Private, and discussed the significance of each option in different scenarios.
By following the instructions to access the settings, configure the default visibility, and save the changes, you can customize your calendar according to your requirements. We also provided useful tips for using default visibility effectively, including regularly reviewing and updating settings, customizing visibility for individual events, and being mindful of sensitive information.
With default visibility set up, you can confidently manage your schedule, collaborate with others, and streamline your workflow. Google Calendar’s flexibility and customization options empower you to maintain the desired level of privacy while sharing necessary information with the appropriate individuals or groups.
Remember to regularly review your default visibility settings to ensure they align with your current needs and preferences. By fine-tuning the visibility options and utilizing the various features available, you can optimize your use of Google Calendar and enhance your productivity.
Now that you have a solid understanding of default visibility in Google Calendar and the steps to configure it, you can make the most out of this powerful tool. Happy scheduling!