Introduction
Welcome to the world of Google Calendar, a powerful tool that helps you stay organized and manage your tasks efficiently. Whether you’re a busy professional, a student with a packed schedule, or simply someone who wants to keep track of important events, Google Calendar is here to simplify your life.
In this article, we will explore how to add tasks on Google Calendar and make the most out of its features. Adding tasks to your calendar allows you to set reminders, allocate dedicated time for specific activities, and ensure nothing falls through the cracks.
With Google Calendar, you can not only schedule appointments and events but also create to-do lists and set task reminders, consolidating all your important commitments in one place. Whether it’s a deadline for a project, a meeting with a client, or a personal errand, adding tasks on Google Calendar will keep you on top of everything.
From the convenience of your computer or smartphone, you can seamlessly add, edit, and manage all your tasks with just a few simple steps. Let’s dive in and discover how to add tasks on Google Calendar, keeping yourself organized and productive.
Step 1: Open Google Calendar
The first step to adding tasks on Google Calendar is to open the application. You can access Google Calendar from various devices, including your computer, smartphone, or tablet.
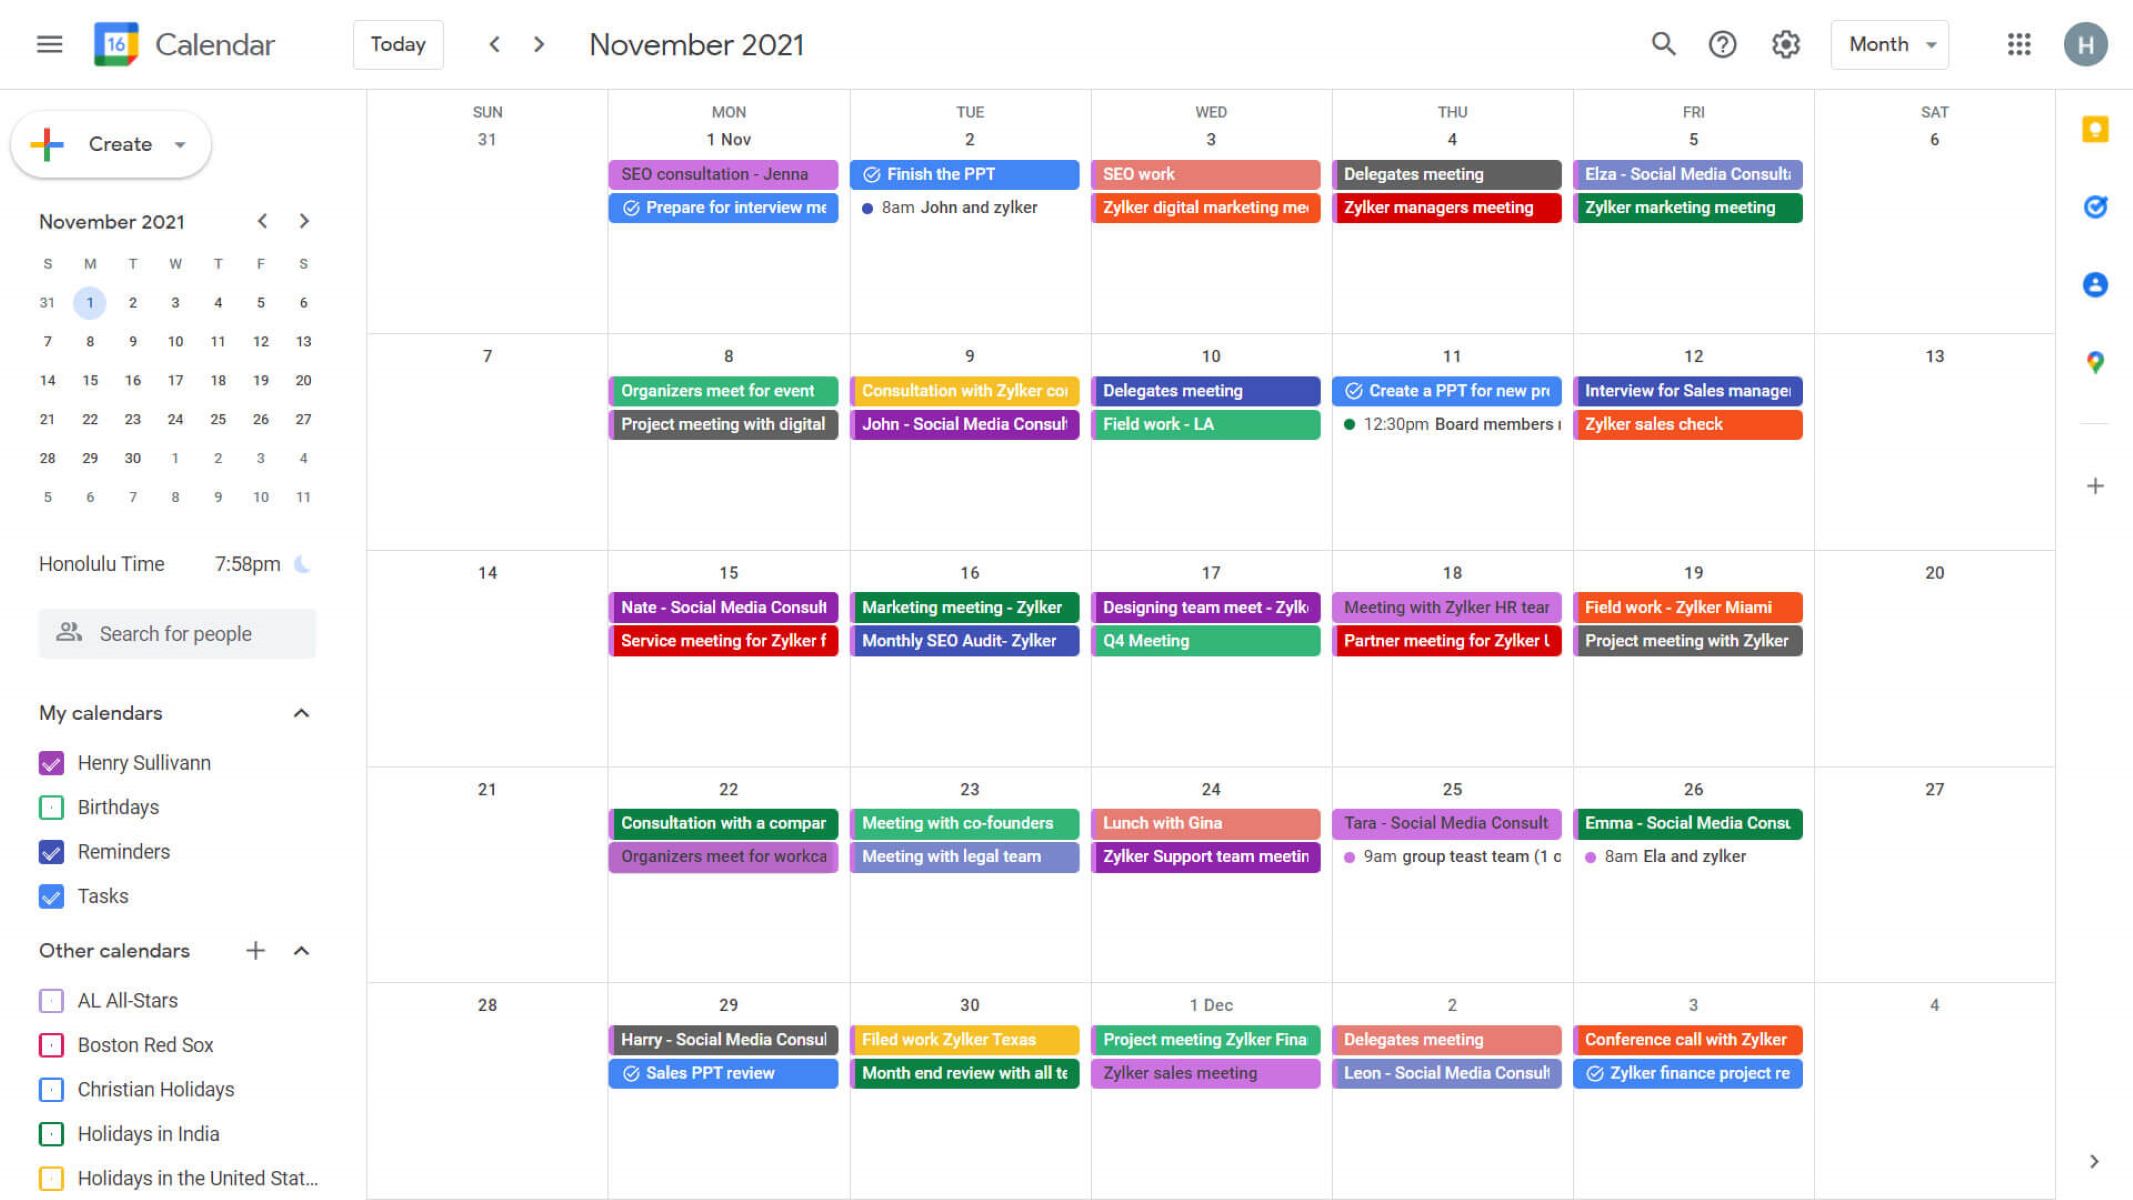
If you’re using a computer, open your preferred web browser and navigate to https://calendar.google.com. Sign in with your Google account credentials if you haven’t already done so. Once logged in, you will see the familiar Google Calendar interface with your calendar view.
If you’re on a smartphone or tablet, simply open the Google Calendar app on your device. Make sure you have it installed on your device. If not, you can download it for free from the respective app store for your operating system.
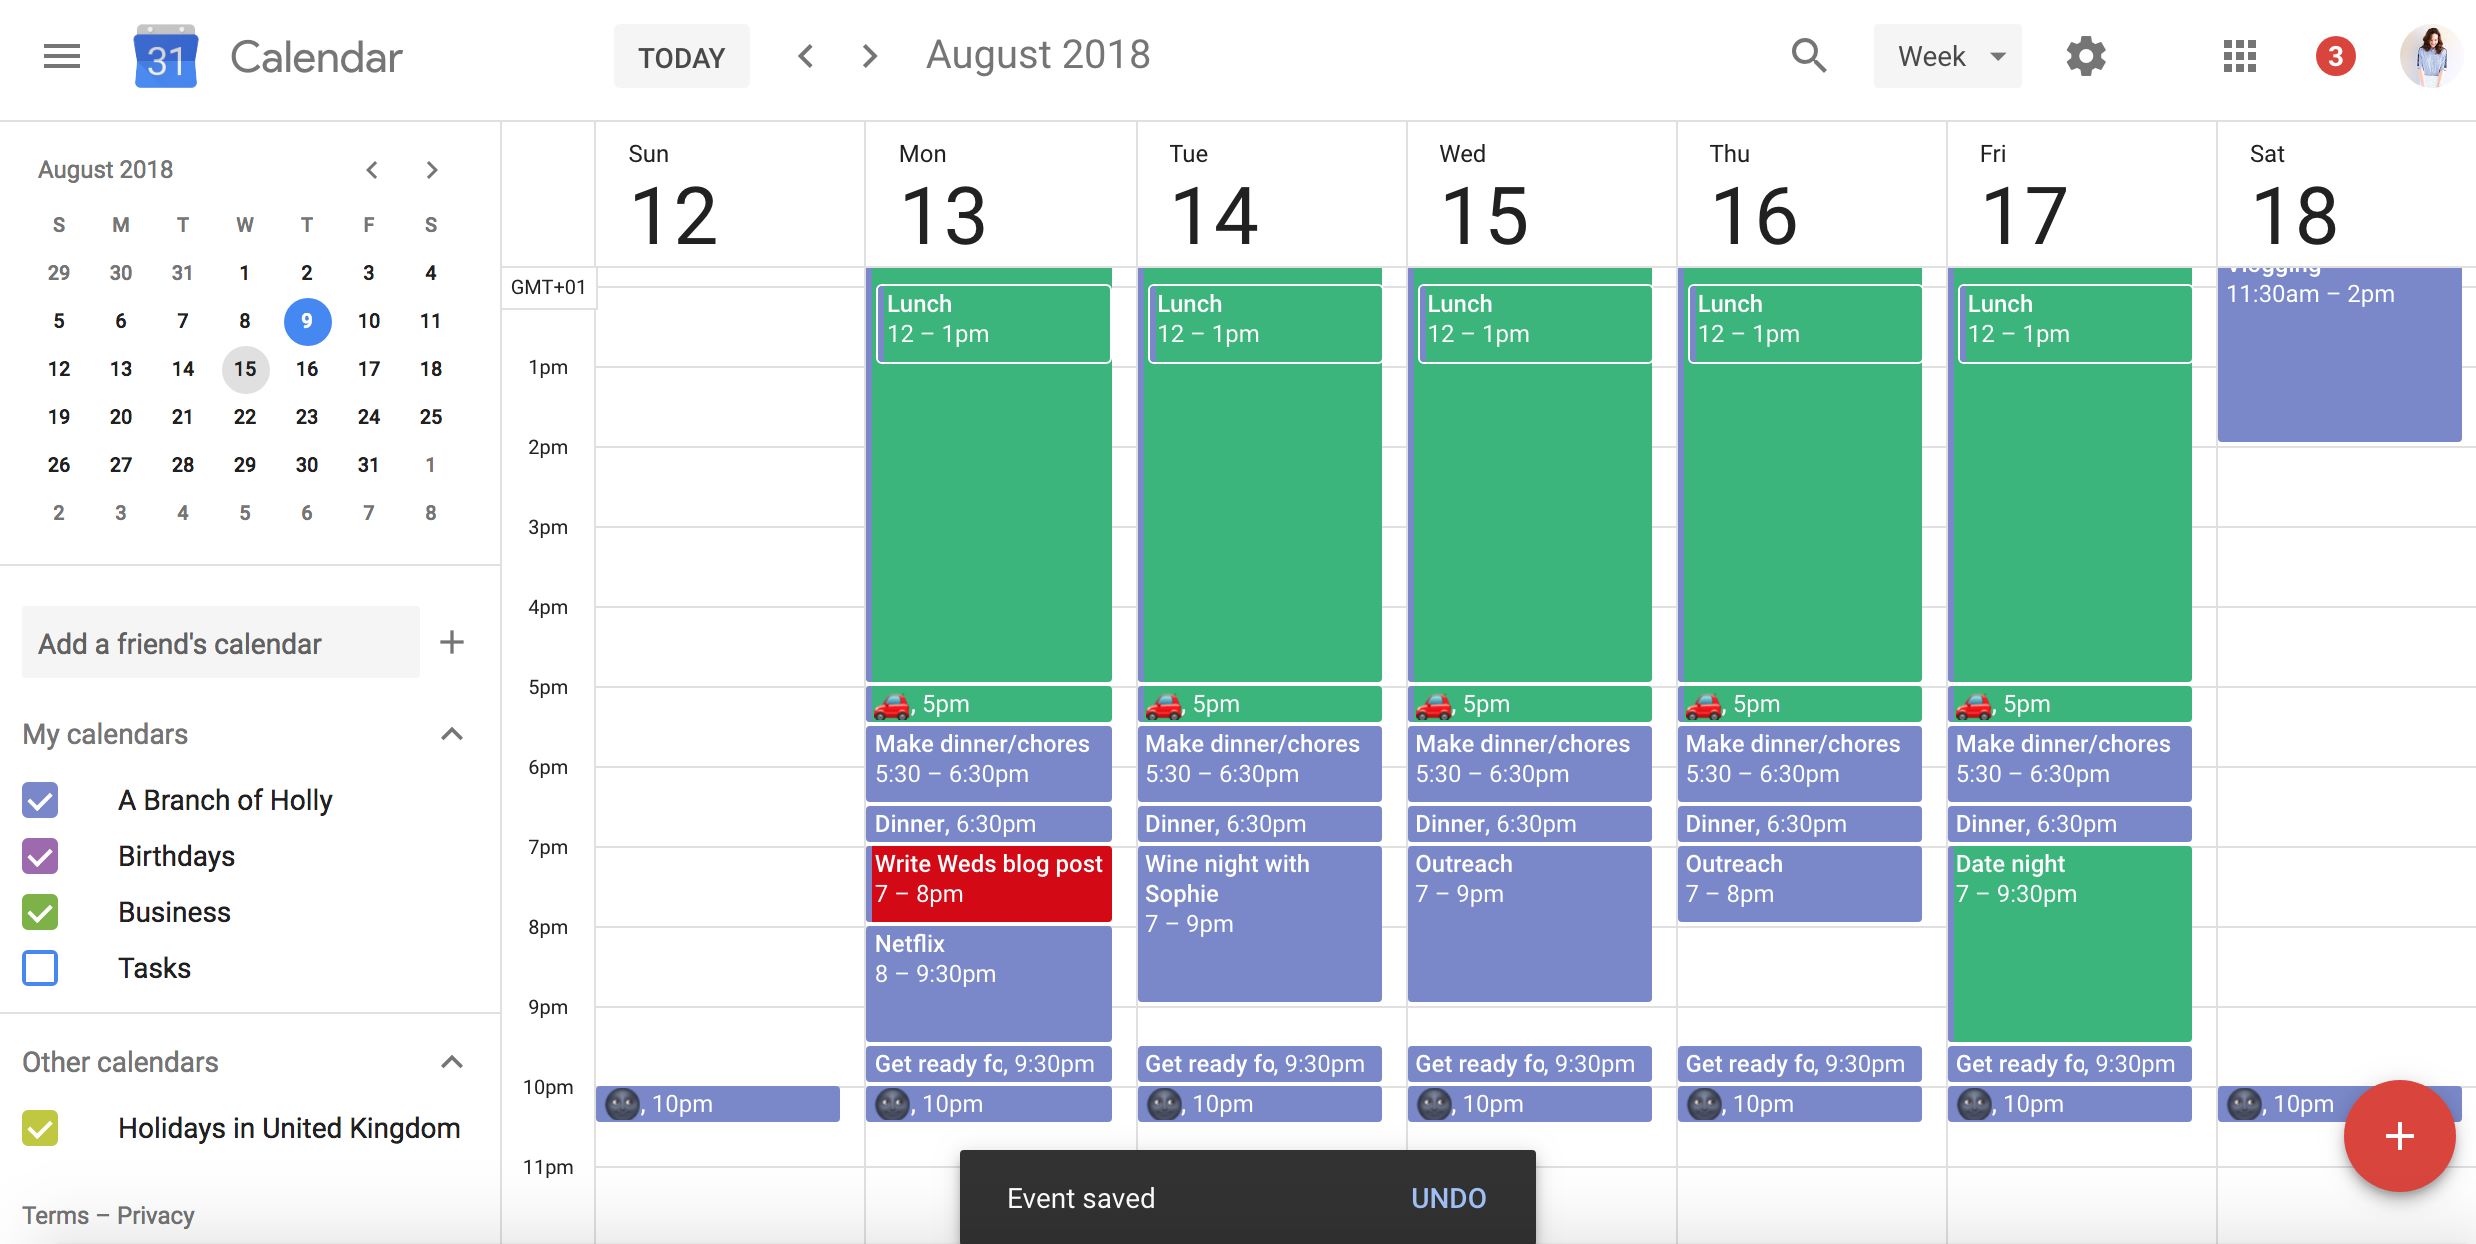
Once you have opened Google Calendar, you are ready to start adding tasks to your calendar. Proceed to the next step to learn how to select the date and time for your task.
Step 2: Select the Date and Time for the Task
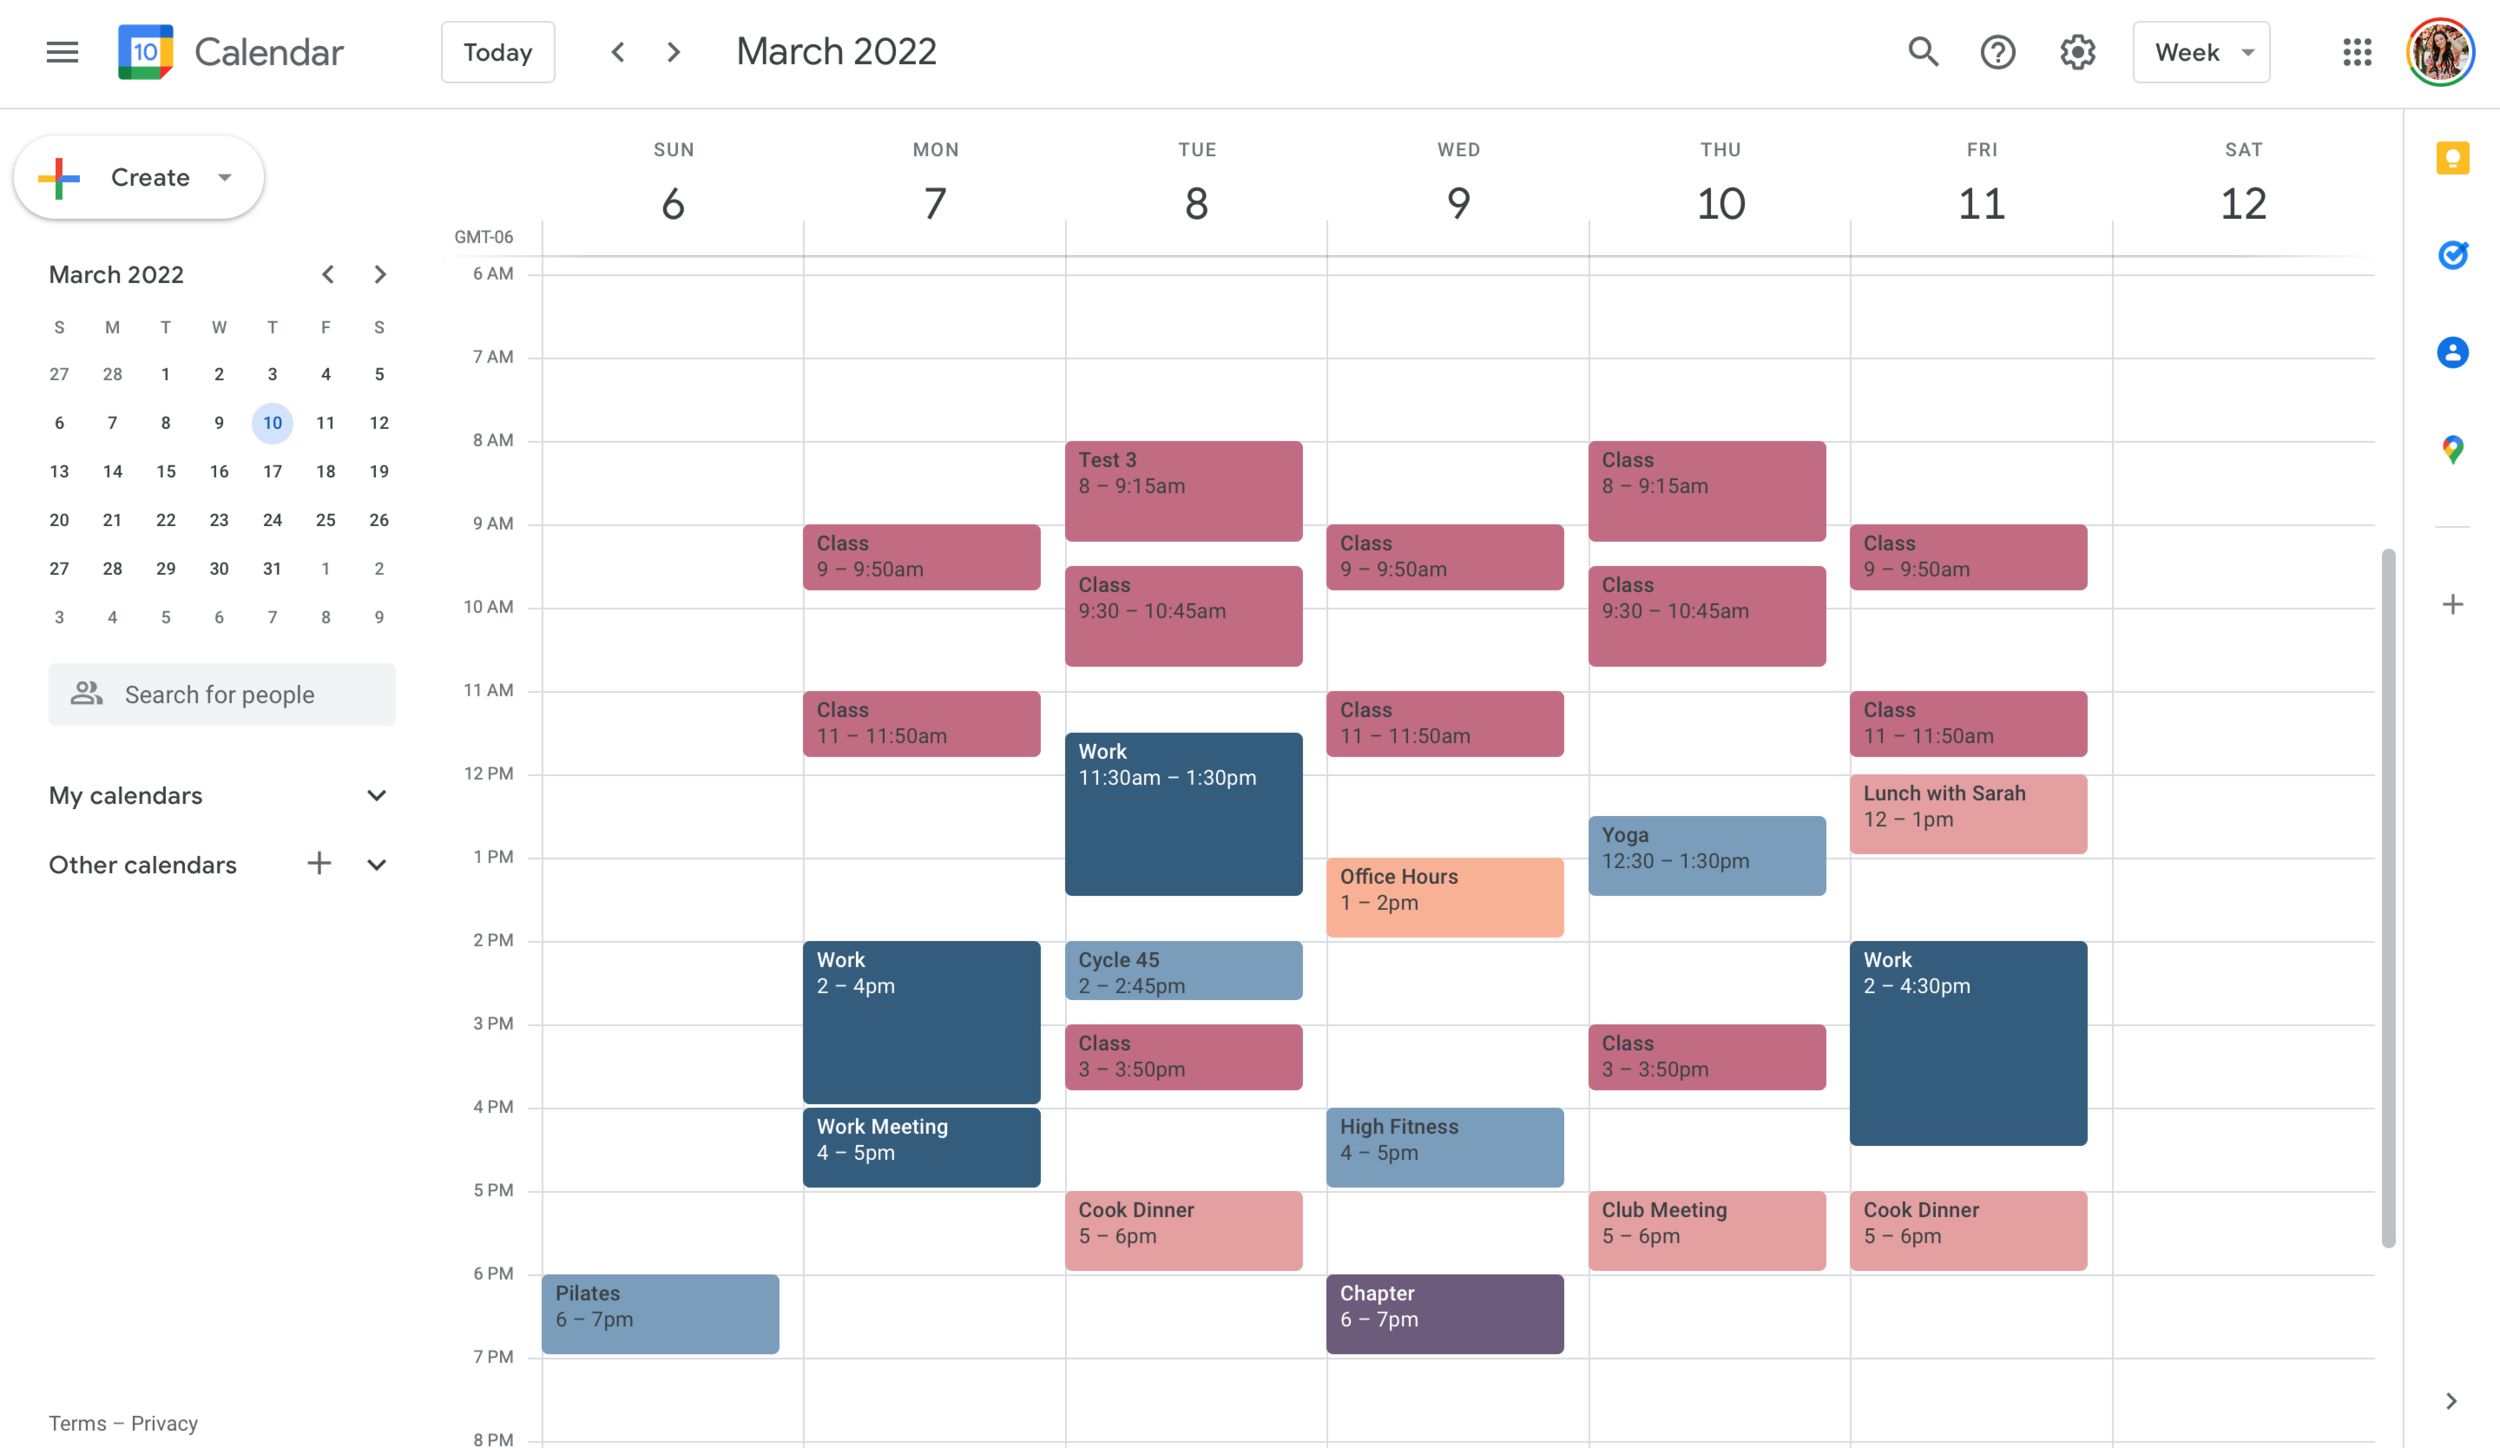
After opening Google Calendar, the next step is to select the date and time for the task you want to add. This ensures that the task is recorded accurately on your calendar and you can plan your day effectively.
To select the date, simply navigate to the desired month, week, or day using the navigation options within Google Calendar. You can click on the arrows or use the drop-down menu to switch between different time periods. Once you have chosen the appropriate date, click on that specific day in the calendar view.
To set the time for the task, you have two options. If the task has a specific start and end time, click and drag on the calendar grid to select the desired time range. Alternatively, if the task doesn’t have a specific duration or if it’s an all-day task, you can simply click on the day without selecting a specific time slot.
Google Calendar also offers the option to set recurring tasks, allowing you to repeat tasks on a daily, weekly, monthly, or yearly basis. This is particularly useful for tasks that occur regularly, such as weekly meetings or monthly bill payments.
By selecting the appropriate date and time for your task, you ensure that it fits seamlessly into your overall schedule. Once you have chosen the date and time, it’s time to move on to the next step and add the task details.
Step 3: Click on the Plus Sign
Once you have selected the date and time for your task in Google Calendar, it’s time to add the task details. To do this, locate the plus sign icon in the top left corner of the calendar view and click on it.
Clicking on the plus sign icon will open a new event/task creation window, allowing you to input all the necessary information for your task. This window is where you will provide the essential details, such as the task title, description, location, and other relevant information.
Upon clicking the plus sign, you may also see a few suggested event templates based on your previous entries or upcoming events. These templates can save you time by pre-populating some fields and providing you with a starting point to customize further for your task.
In the new event/task creation window, you will see different input fields and options to fill in. The most important field is the “Event Title” or “Task Name” field. This is where you should enter a descriptive yet concise title for your task.
In addition to the task title, you can provide additional details by expanding the fields under “More Options.” This includes options such as setting the task duration, adding a description or notes, assigning a color for better categorization, and more.
Don’t forget to take advantage of the different formatting options available, such as bold, italics, and bullet points, to make your task details more organized and visually appealing.
After entering all the necessary details, you’re ready to move on to the next step and set reminders for your task in Google Calendar.
Step 4: Add Task Details
Now that you have clicked on the plus sign and opened the event/task creation window in Google Calendar, it’s time to add the task details. This step allows you to provide additional information about the task to ensure clarity and organization.
One of the most important aspects of task details is the task title. Make sure to create a clear and concise title that accurately represents the task at hand. A well-defined title will make it easier to identify and prioritize tasks within your calendar.
In addition to the title, you can include a detailed description or notes for the task. This can provide additional context or instructions related to the task, helping you stay organized and informed. Use this space to jot down any necessary details, important points, or specific requirements that need to be addressed.
If your task requires a specific location, you can specify it using the “Location” field. This can be helpful for tasks such as meetings, appointments, or events that require you to be present at a particular place. Simply enter the address or name of the location, and Google Calendar will provide suggestions and auto-complete options.
Furthermore, Google Calendar allows you to assign tasks to specific calendars. This feature is useful if you have multiple calendars set up for different aspects of your life, such as work, personal, or family. Assigning tasks to the appropriate calendar can help you keep things organized and easily distinguish between various activities.
Lastly, don’t forget to assign a color to your task. Colors can be used to visually differentiate tasks or categorize them based on their nature or priority. Assigning different colors to different types of tasks can make it easier to identify and manage them within your calendar.
By adding task details such as a clear title, description, location, calendar assignment, and color, you can enhance the organization and understanding of your tasks within Google Calendar. Once you have inputted the necessary details, you’re ready to move on to the next step and set task reminders.
Step 5: Set Task Reminders
Setting task reminders in Google Calendar is an essential step to ensure that you never miss an important deadline or appointment. Reminders serve as gentle nudges to keep you on track and prompt you to complete your tasks in a timely manner.
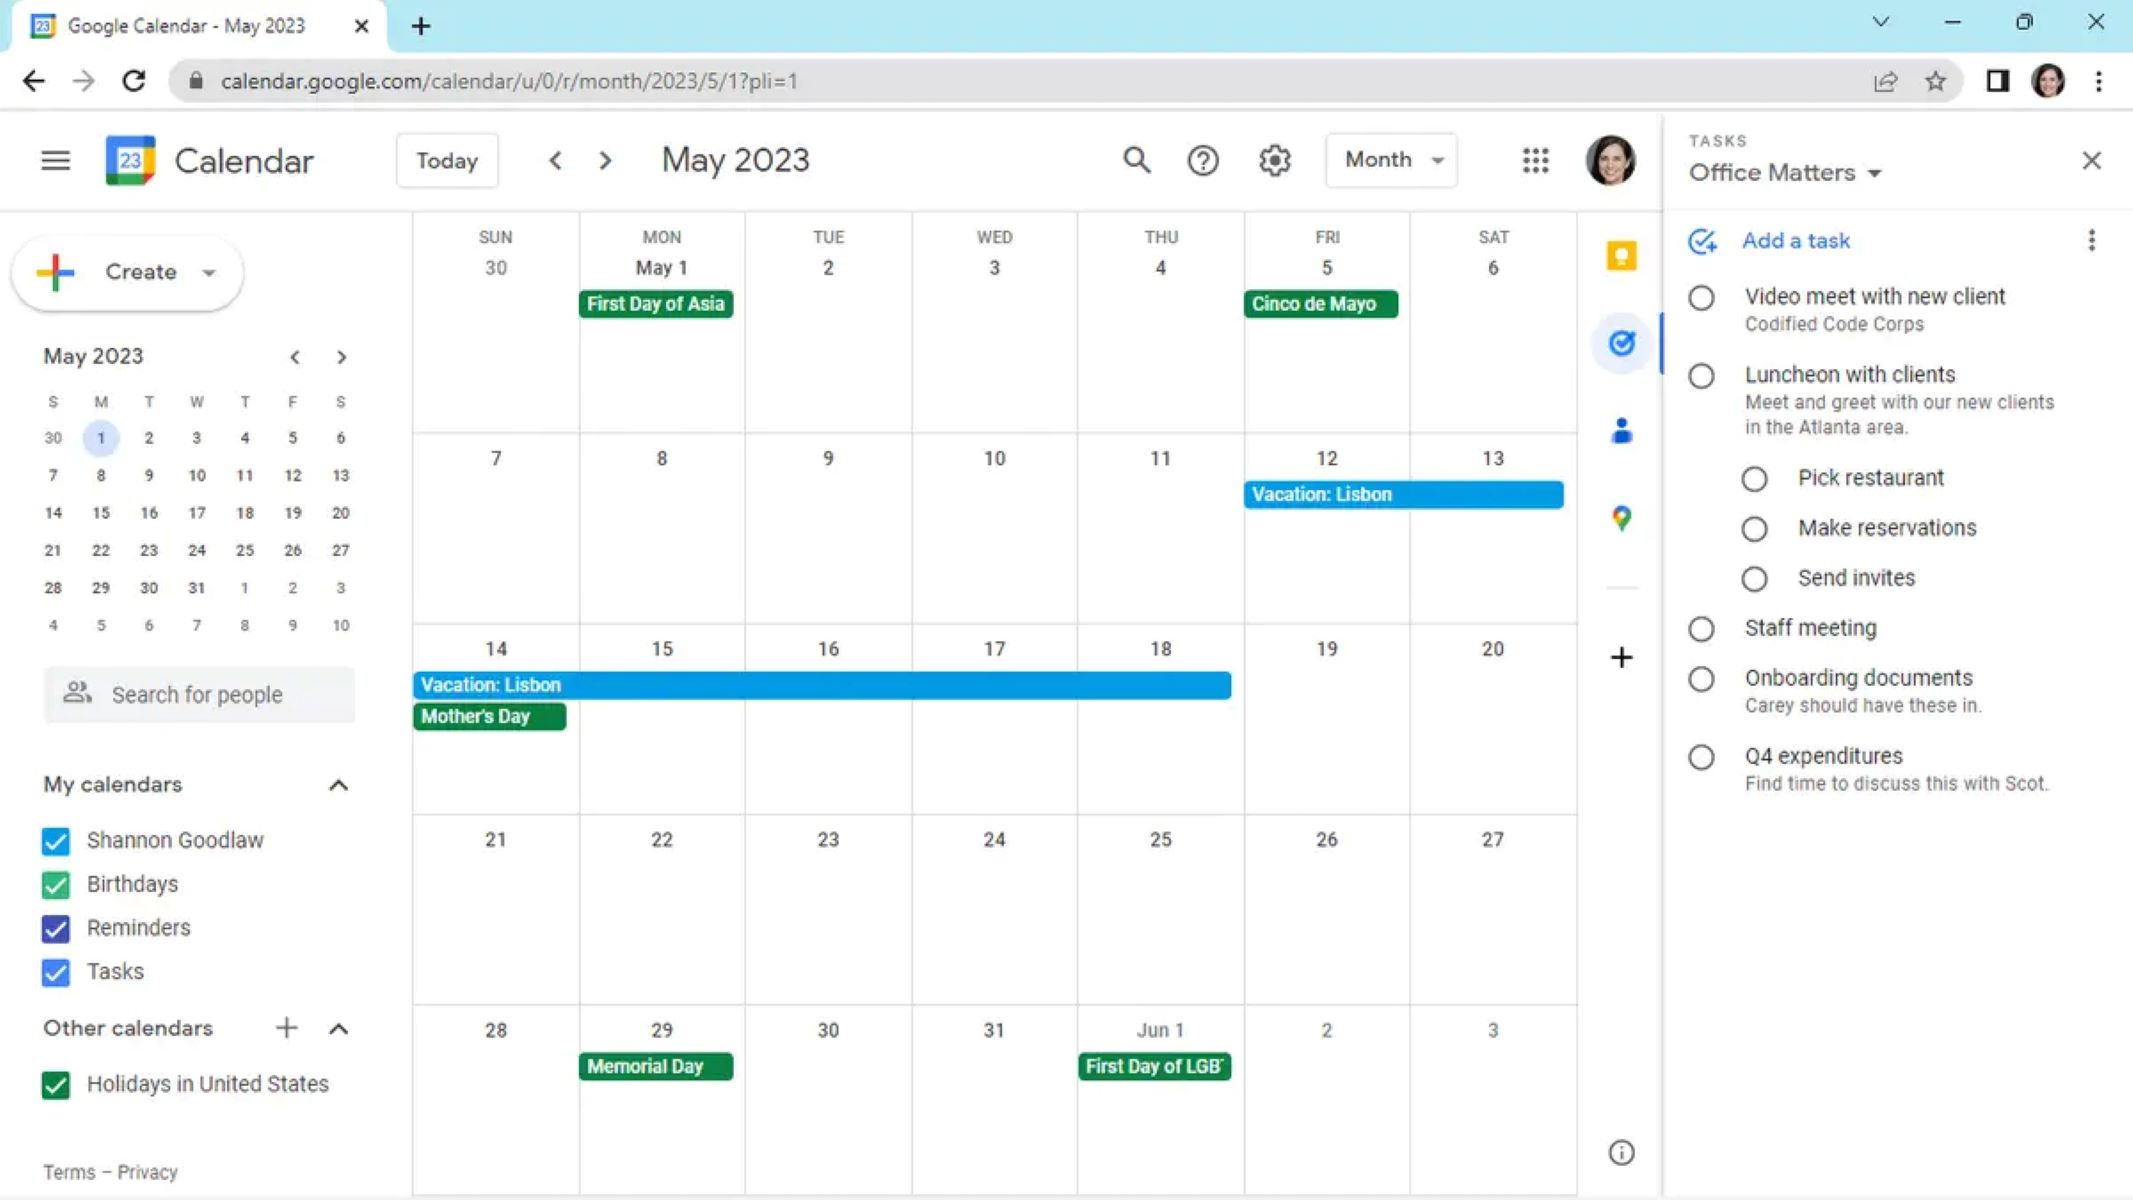
Within the event/task creation window, you will find a section specifically designated for reminders. Here, you can set multiple reminders for each task, depending on your preferences and the level of urgency.
To add a reminder, click on the “Add a reminder” option and select the desired timing. Google Calendar offers various reminder options, including minutes, hours, or days before the task. Simply choose the appropriate option based on how much advance notice you need for the task.
By default, Google Calendar provides a reminder 10 minutes before the task, but you can customize it to suit your needs. You can also add multiple reminders at different intervals to ensure you have enough time to prepare for the task.
Furthermore, Google Calendar allows you to choose the type of reminder you prefer. You can opt for a pop-up notification on your device, an email reminder, or a notification on your mobile device. Choose the option that works best for you, considering your workflow and how you prefer to be reminded.
In addition to setting reminders for individual tasks, you can also configure default reminders in your Google Calendar settings. This ensures that every new task you add will automatically have reminders set according to your preferred default settings, saving you time and effort.
Remember to set reminders strategically, so they align with your workflow and help you stay productive without overwhelming you with excessive notifications. The goal is to strike a balance between being reminded of your tasks and avoiding interruption of your workflow.
Once you have set the task reminders to your liking, you’re now ready to save the task and move on to the next step.
Step 6: Save the Task
After you have added all the necessary details and set the reminders for your task in Google Calendar, it’s time to save the task. Saving the task ensures that it is securely stored in your calendar and can be easily accessed and referenced.
To save the task, simply look for the “Save” or “Create” button within the event/task creation window. It is usually located at the top or bottom of the window. Click on this button to save the task and add it to your calendar.
Once the task is saved, you will see it appear on your designated date and time in Google Calendar. The task will be displayed with the assigned title, any additional details or notes, the location (if provided), and the specified reminders.
At this point, you can review the task on your calendar and ensure all the information is correct. If any changes or edits are required, you can click on the task to modify its details or adjust the reminders.
Google Calendar also allows you to make further modifications to the saved tasks, such as rescheduling, deleting, or marking the task as completed. These options can be accessed by clicking on the task and selecting the appropriate action from the menu.
Additionally, once the task is saved, it will sync across all your devices that are connected to your Google account. This ensures that you have access to your tasks and reminders wherever you are, whether it’s on your computer, smartphone, or tablet.
By saving your tasks in Google Calendar, you can effectively manage your schedule and stay on top of your commitments. The saved tasks will serve as a visual representation of your to-do list, allowing you to prioritize and allocate your time efficiently.
Now that you have successfully saved the task, it’s time to move on to the final step and explore how to add additional tasks to your Google Calendar.
Step 7: Repeat for Additional Tasks
Adding tasks to Google Calendar doesn’t stop at just one. You can continue the process and add multiple tasks to your calendar to create a comprehensive schedule and stay organized.
To add additional tasks, simply repeat the steps outlined in the previous sections. Open Google Calendar, select the date and time for the next task, click on the plus sign to open the event/task creation window, and add the task details. Don’t forget to set reminders and save the task before moving on to the next one.
You can add as many tasks as you need, whether they are work-related, personal, or a mix of both. By systematically adding your tasks to Google Calendar, you can ensure that nothing slips through the cracks and all your commitments are accounted for.
If you have recurring tasks that happen on a regular basis, such as weekly team meetings or monthly bill payments, you can take advantage of the repeating task feature. By setting the appropriate options, Google Calendar will automatically add the recurring task to your calendar at the specified intervals, saving you time and effort.
As you add more tasks to your calendar, don’t forget to regularly review and manage them. Prioritize your tasks, reschedule or adjust as needed, and mark tasks as completed when you finish them. This will help you stay on track and effectively manage your time and commitments.
Remember, Google Calendar offers various customization options, such as color-coding, different calendar views, and integration with other apps and platforms. Explore these features to enhance your task management experience and tailor it to your specific needs.
With each additional task you add to Google Calendar, you’ll have a clear roadmap of what needs to be done and when. This will enable you to be more productive, stay organized, and make the most out of your time.
So, continue adding tasks to your heart’s content and enjoy the benefits of a well-managed schedule!
Conclusion
Google Calendar is a powerful tool for managing your tasks and staying organized. By following the step-by-step process outlined in this article, you can easily add tasks to your calendar and ensure that you never miss an important deadline or appointment.
We started by opening Google Calendar and navigating to the desired date and time for the task. Then, we clicked on the plus sign to open the event/task creation window and added task details such as the title, description, and location. We also explored how to set task reminders to keep us on track.
Saving the task ensured that it was securely stored in our calendar and easily accessible. We also learned how to make modifications and manage the saved tasks, such as rescheduling or marking as completed.
Finally, we discussed the importance of repeating the process for additional tasks and explored how Google Calendar allows for customization options and integration with other apps and platforms.
By utilizing the features and functionalities of Google Calendar, you can effectively manage your schedule, prioritize your tasks, and stay on top of your commitments. This will enhance your productivity, reduce stress, and ensure that you make the most out of your time.
So, don’t wait any longer. Open Google Calendar, start adding your tasks, and experience the benefits of a well-organized and efficient schedule. Happy task management!